Last updated on March 15, 2026

Molten Duplication | Illustration by Justyna Dura
Combos are the most efficient way to win in Commander. Many players don’t care for this, but win conditions that destroy all three of your opponents at once are simply superior to whittling everybody down.
If you want to power up your Commander deck and reach for a more concise win condition—which isn’t necessary if you enjoy the casual life—I have you covered with a range of powerful combos for your next brew.
What Are Commander Combos in MTG?

Isochron Scepter | Illustration by Mark Harrison
Commander combos are combinations of two or more cards that generally result in a win. This often comes from the generation of infinite resources like card draw or mana, but some combos just win. Since these are combos to play in Commander, only singleton combos qualify.
The best of these combos are cheap with few parts. Ideally, those cards are also useful outside the combo and/or have many redundant pieces that can fill in for a single card. Redundancy matters in Commander because of the singleton restriction. The more similar cards that fill a role, the more consistent your deck becomes. Combos that use a potential commander are also quite strong because you have perpetual access to one of your combo pieces.
#23. Basking Bloodchiefs

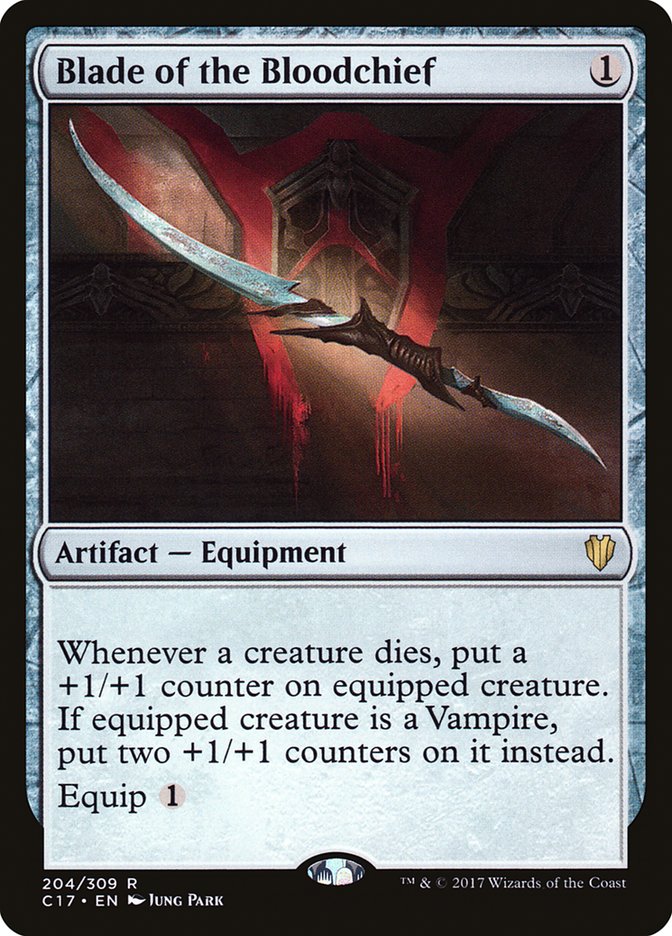
Cards: Basking Broodscale + Blade of the Bloodchief
Prerequisites: You control both permanents, with Blade equipped to the Broodscale, and you can make a creature die.
Result: Infinite +1/+1 counters on Basking Broodscale, infinite Eldrazi Spawn tokens, infinite death/sacrifice/enters triggers, infinite colorless mana.
Variations: You can use any card that puts counters on the Broodscale when it makes Eldrazi Spawn or you sacrifice them; two examples are Rosie Cotton of South Lane and Sadistic Glee.
Modern and Pauper players are plenty familiar with Basking Broodscale’s combo potential. It’s a great, cheap combo enabler that goes infinite with plenty of cards while being a respectable threat in decks that spread +1/+1 counters about.
#22. The Exquisite Rose
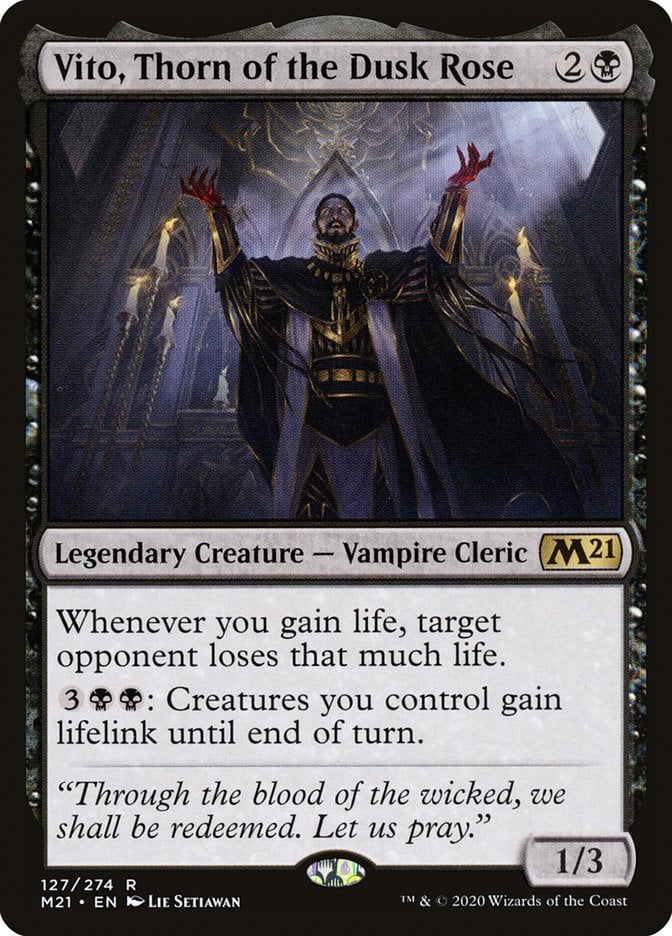
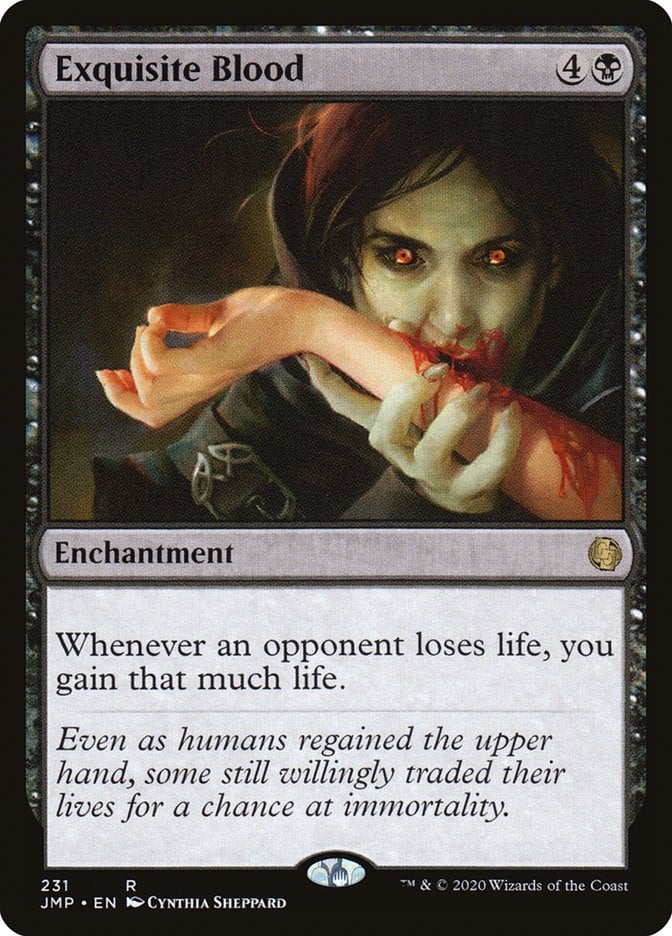
Cards: Vito, Thorn of the Dusk Rose + Exquisite Blood.
Prerequisites: You control both permanents and can gain 1 life.
Result: Near infinite lifegain/life loss.
Variations: Any card that makes your opponent lose life when you gain it can replace Vito; Sanguine Bond is the classic, but Enduring Tenacity works. You can swap Exquisite Blood for Bloodthirsty Conqueror.
Though Sanguine Bond is the classic pairing with Exquisite Blood, Vito is better, both because it can be your commander and because it’s much cheaper. This is a slick mono-black combo that only works in lifegain decks because Vito and its variations are too weak to play without significant support, but it’s as clean a way to turn life loss into a win as any.
#21. Strixhaven Smog
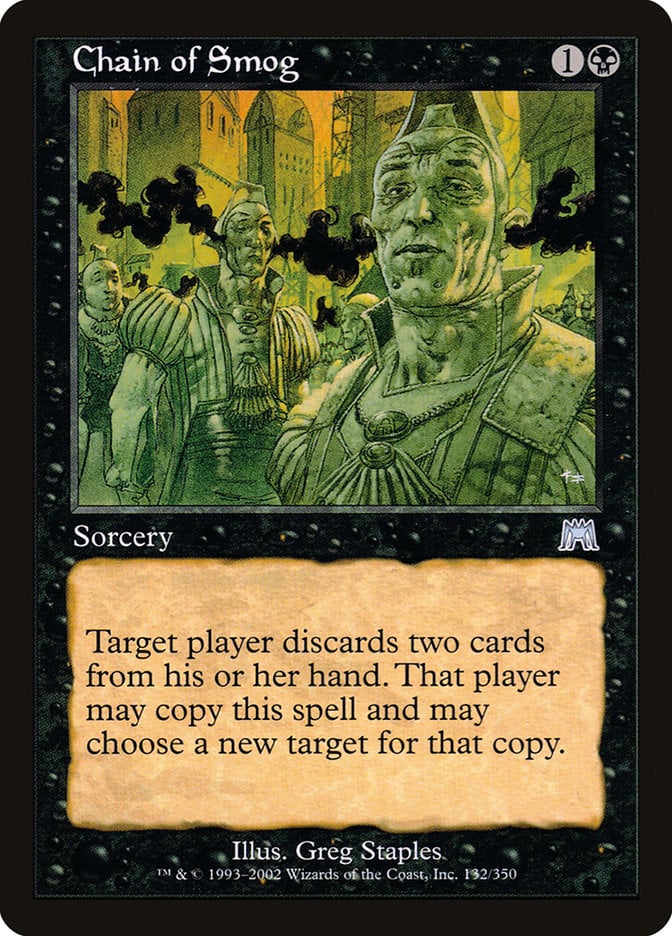

Cards: Chain of Smog + Witherbloom Apprentice
Prerequisites: You control Witherbloom Apprentice and can cast Chain of Smog.
Result: Infinite magecraft triggers, near-infinite life loss for opponents, near-infinite lifegain for yourself.
Variations: Chain of Smog combos with any magecraft card because it results in infinite magecraft triggers as long as you target yourself. A few good choices are Professor Onyx and Ral, Storm Conduit (which effectively has magecraft, though it predates the mechanic) for the instant win or Sedgemoor Witch for infinite Pest tokens.
The charm of this combo is its easy assembly. These are very cheap spells that are easy to tutor for, and access to green gives you ample ramp to go for it fast. It’s held back only by an absolute lack of utility—both pieces are pretty useless independently, a weakness outweighed by the fact that this goes for an instant win unlike cards like Sedgemoor Witch and Storm-Kiln Artist that need additional work.
#20. Moggwarts
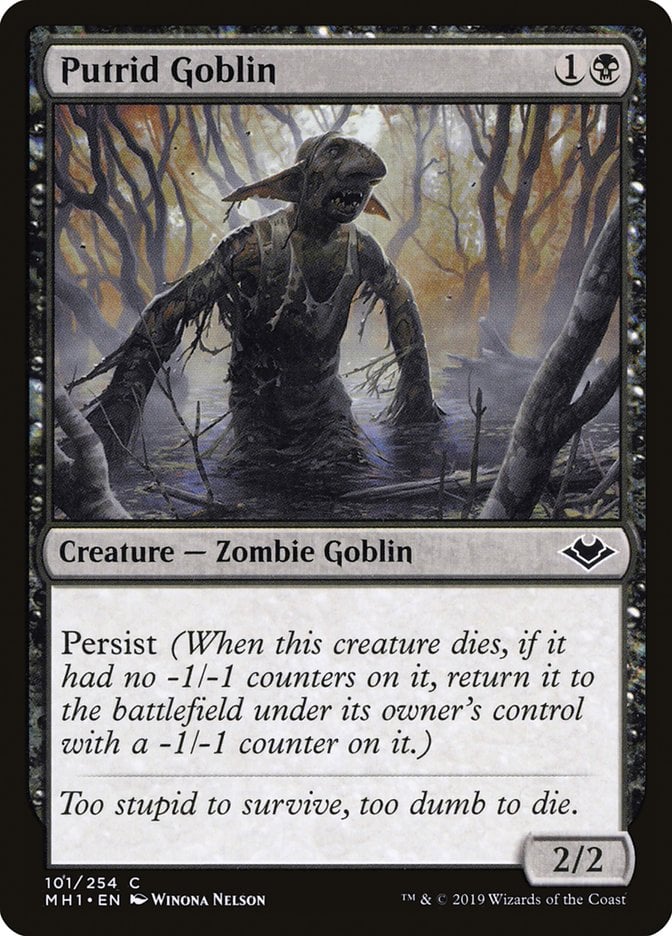
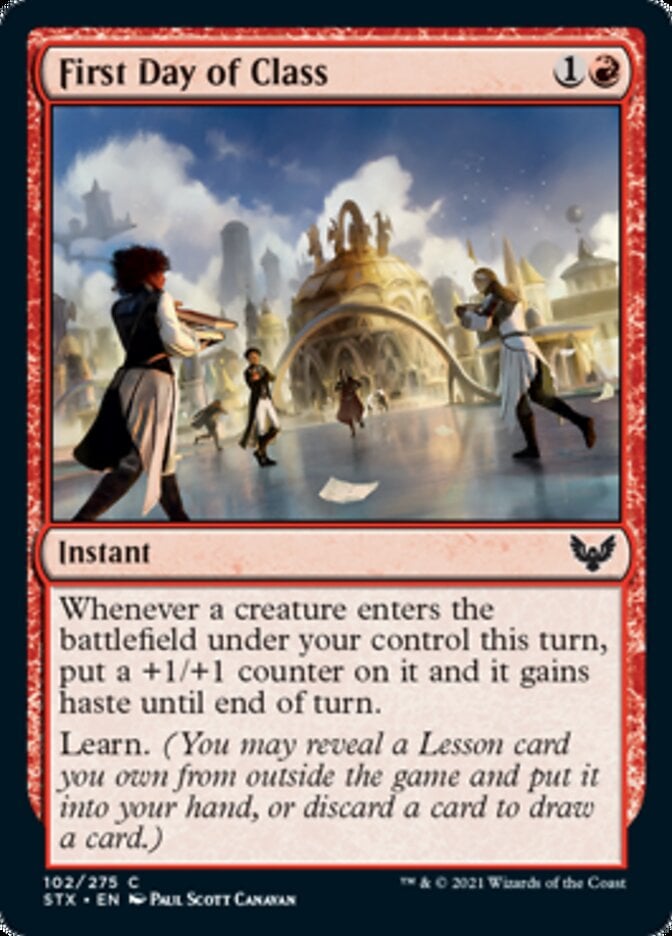

Cards: Putrid Goblin + First Day of Class + Goblin Bombardment
Prerequisites: You control both permanents and have the mana to cast First Day of Class.
Result: Infinite damage, infinite sacrifice/death triggers, infinite enters triggers.
Variations: Any persist creature plus any way to add +1/+1 counters (or prevent the creature from getting -1/-1 counters, like Solemnity), and a free sacrifice outlet work; each piece of this combo has multiple possible substitutes.
I love this combo for its high numbers of variations. So many different cards can fill in for each of the three pieces that you can sculpt this combo to your needs and pack your deck with redundancy. It’s perfect for Bracket 3, and it even works in budget decks.
#19. Kodama’s Garden
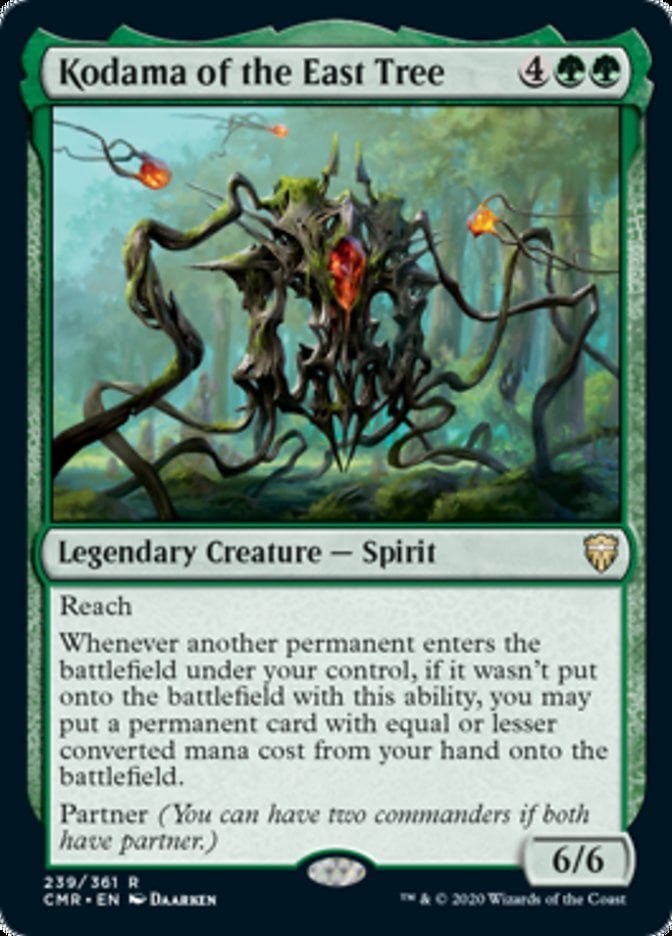

Cards: Kodama of the East Tree + Simic Growth Chamber
Prerequisites: You control Kodama and can play the bounce land.
Result: Infinite landfall triggers.
Variations: You can use any bounce land; Arid Archway/Guildless Commons notably make this a mono-green combo. Play Spelunking or Amulet of Vigor for infinite mana.
This combo generates infinite landfall triggers, for which there are many outlets. Scute Swarm is a common inclusion to gain infinite creatures, and Lotus Cobra generates infinite mana. Wizards has printed so many landfall cards that you can have redundant pieces for practically any outcome.
#18. Restoration Guardian
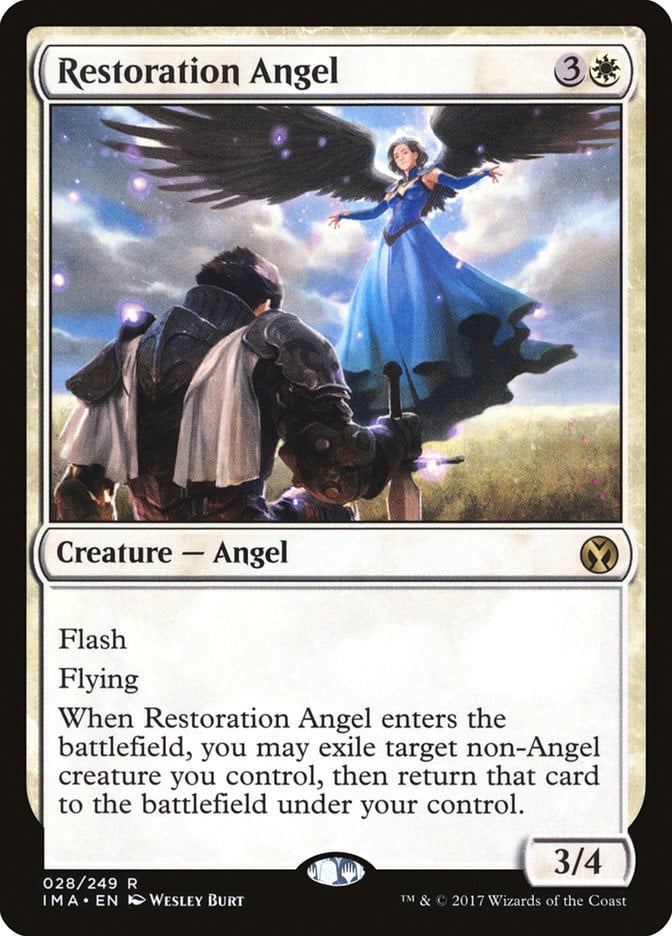
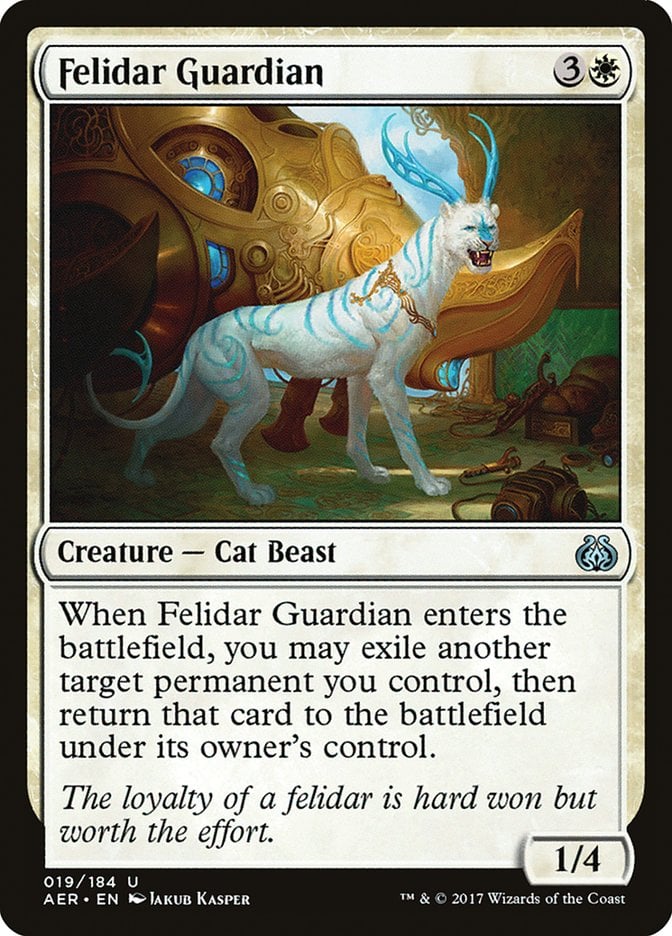
Cards: Restoration Angel + Felidar Guardian
Prerequisites: You control one permanent and have the mana to cast the other—the order doesn’t matter.
Result: Infinite creature leaves/enters the battlefield triggers.
Variations: Icewind Stalwart can replace either piece. Wispweaver Angel works with the Stalwart or Felidar, but not Restoration Angel.
This combo requires a third piece to do something. That might be an Impact Tremors to burn your opponents out or an enters ability doubler to flicker permanents outside these two looping creatures. But the utility of these creatures, which extract incredible value from creatures with great enters abilities, more than makes up for that handicap.
#17. Scurry Lane Denizen
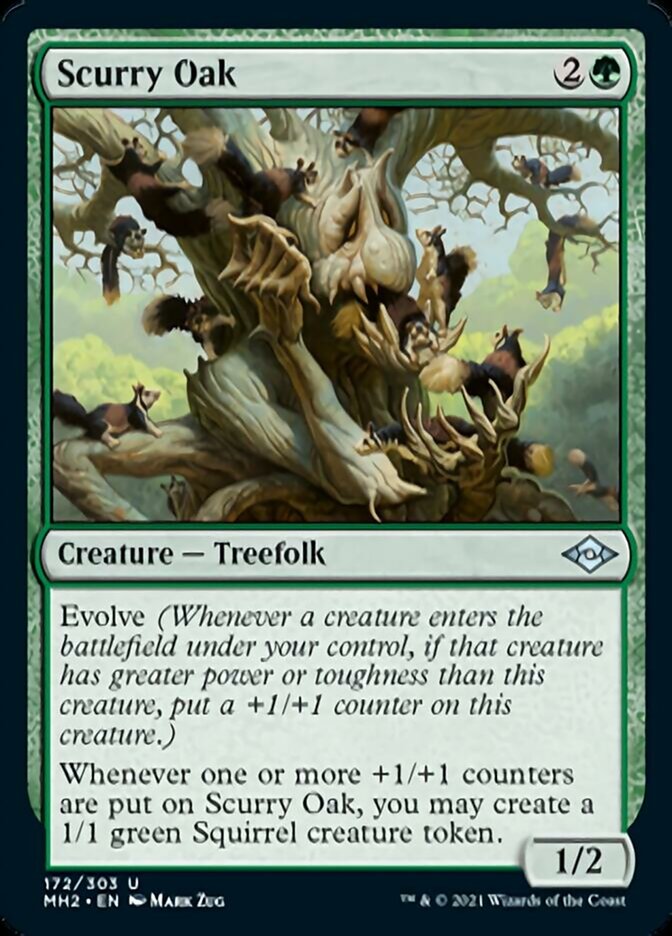
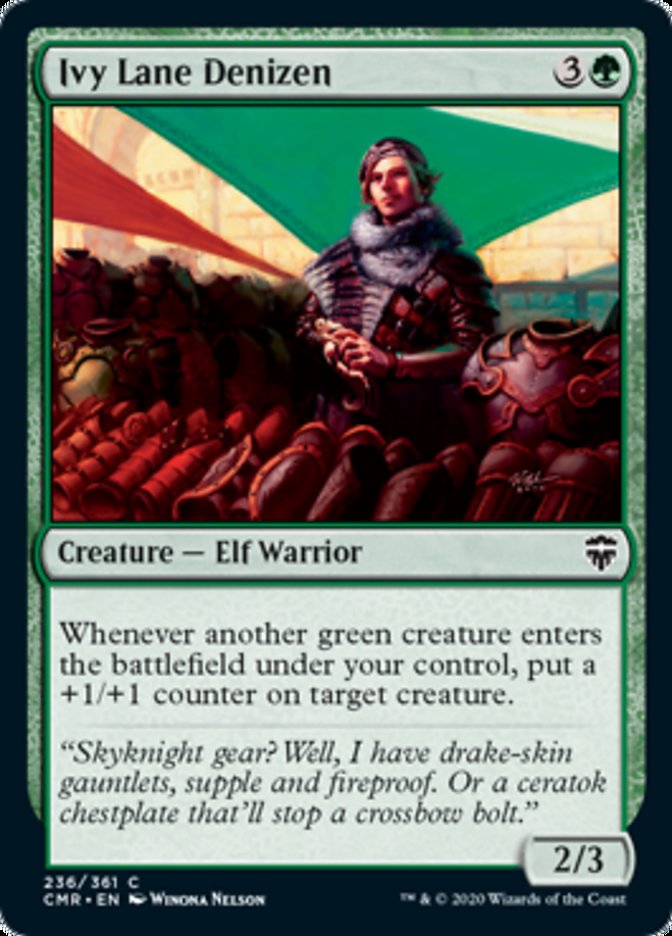
Cards: Scurry Oak + Ivy Lane Denizen
Prerequisites: You control Ivy Lane Denizen and can cast Scurry Oak; or you control both and get put a counter on Scurry Oak.
Result: Infinite Squirrel tokens, infinite counters on Scurry Oak.
Variations: Herd Baloth can replace Scurry Oak, while Rosie Cotton of South Lane replaces Ivy Lane Denizen.
I appreciate this combo for its redundancy, especially with white; versions of the deck with Rosie Cotton can slot in Basking Broodscale for another cheap, two-card infinite. Green has no trouble getting creatures or counters into play, so these are fine cards to run in any +1/+1 counter deck.
#16. Deadeye Drake
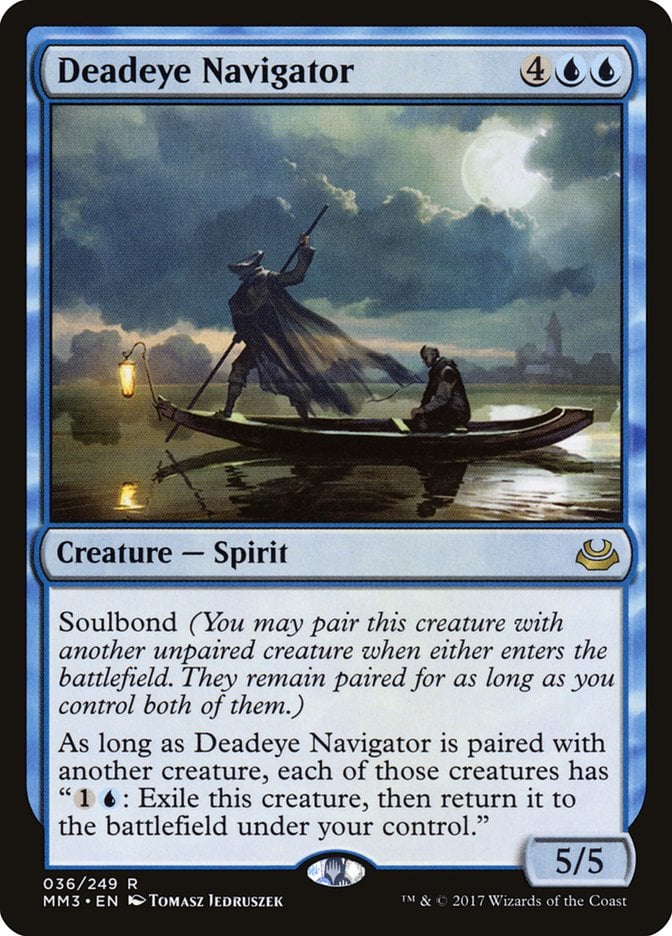
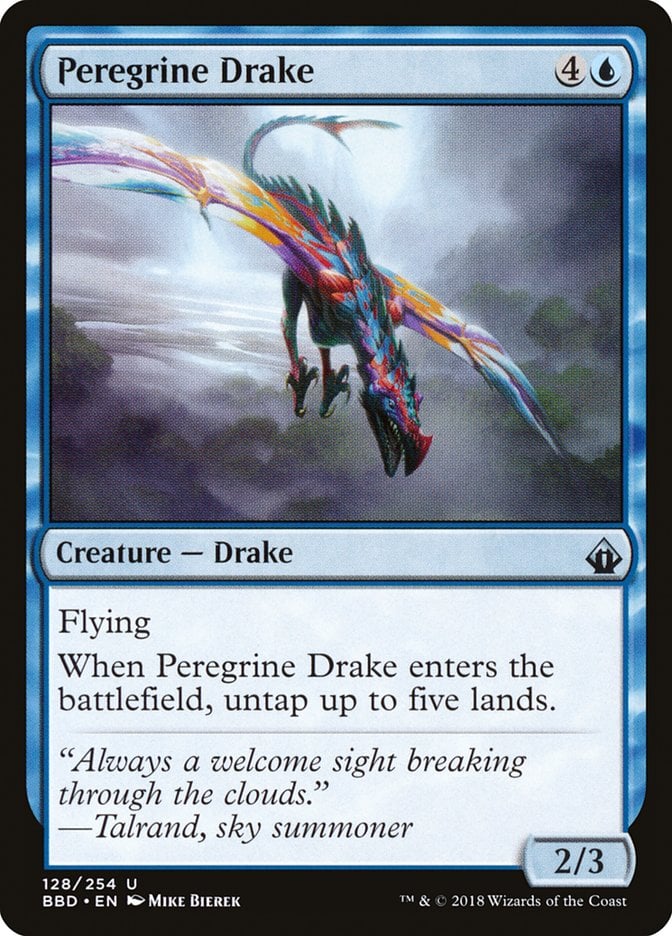
Cards: Deadeye Navigator + Peregrine Drake
Prerequisites: You control both permanents, they’re soulbonded, and you have access to and lands that tap for at least 3 mana.
Result: Infinite enters/leaves the battlefield triggers, infinite land untaps, infinite mana.
Variations: You can use Palinchron or Great Whale instead of the Drake; if you have an ETB doubler like Panharmonicon, you can also substitute Cloud of Faeries.
Modern creatures have so many powerful enters abilities that Deadeye Navigator becomes a fierce engine in pretty much any deck with a solid creature base. While the drake doesn’t pull as much weight, it still works as a ramp piece with other cheap flicker effects. These cards are useful apart and game-breaking together, which makes them a very compact combo that fits in many blue decks.
#15. Bolas’s Reservoir
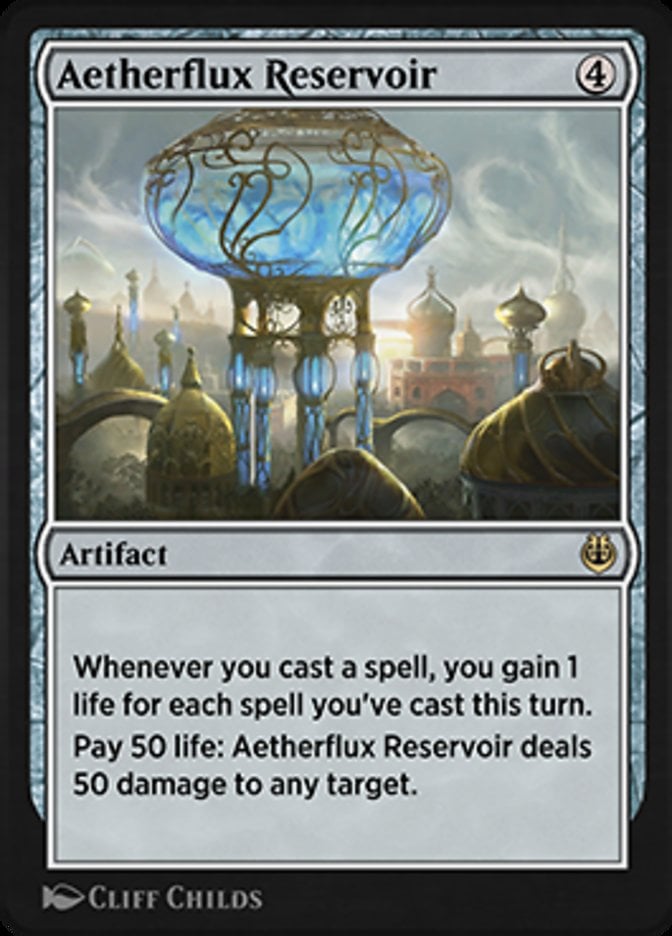
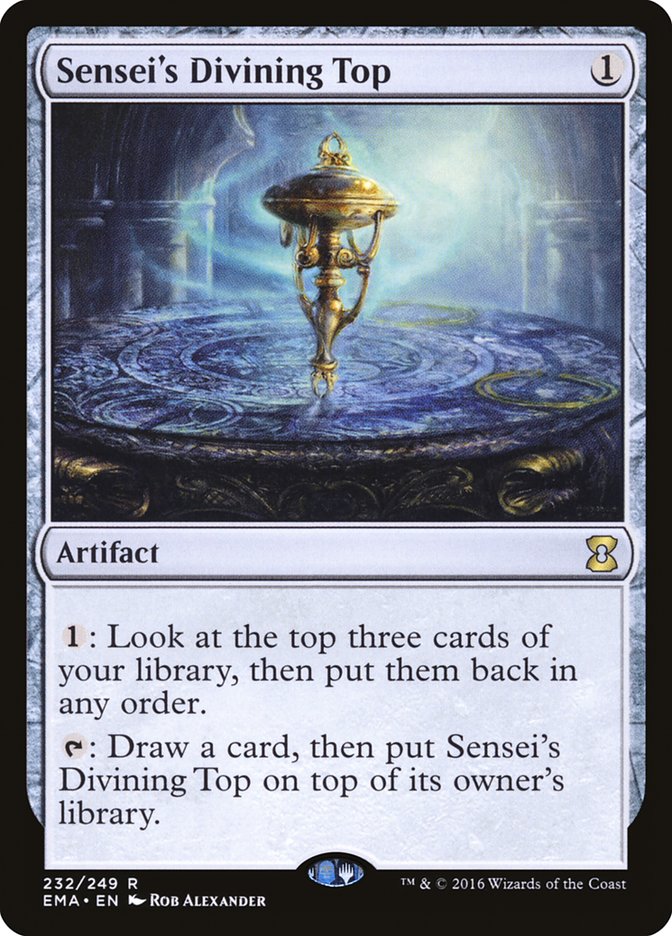
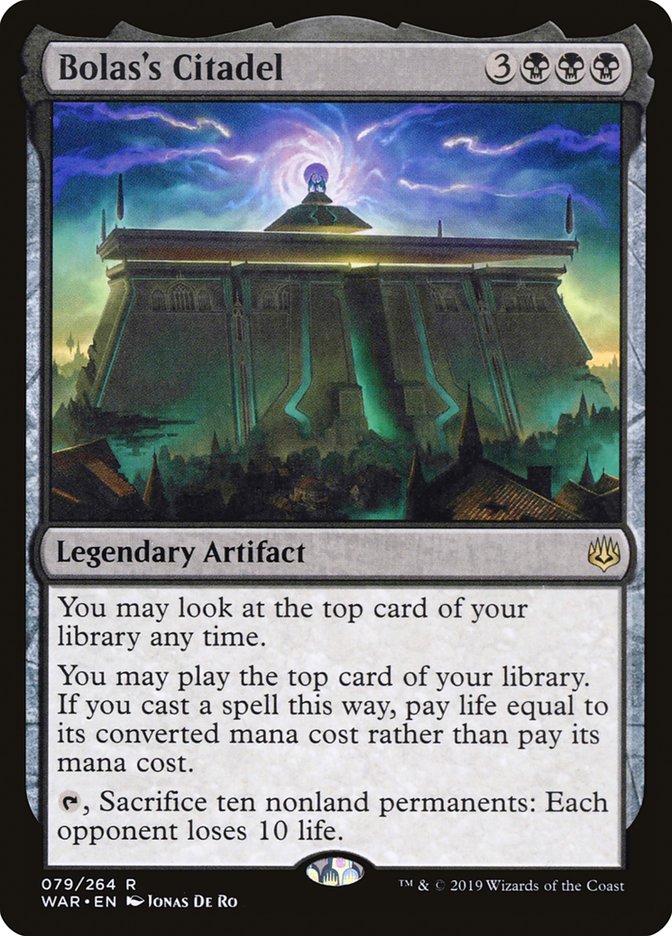
Cards: Aetherflux Reservoir + Sensei's Divining Top + Bolas's Citadel
Prerequisites: You control all three permanents and have at least 2 life.
Result: Draw your deck, near-infinite storm, card draw, and life. Win the game by activating Aetherflux Reservoir thrice.
Variations: You can replace Citadel with Gwenom, Remorseless or with a Future Sight effect plus a cost reducer. An example pair is The Reality Chip and Etherium Sculptor.
The best part of this mono-black combo is, again, flexibility. Swapping Citadel out for a future sight effect/cost reducer makes this mono-blue or even colorless. Also, Top + Citadel is a potent combo that allows you to draw as many cards as you like by paying 1 life. All these details make this a powerhouse.
#14. Keen-Eyed Buccaneer
Cards: Malcolm, Keen-Eyed Navigator + Glint-Horn Buccaneer
Prerequisites: You control both permanents and the Buccaneer is attacking, and you have a red partner.
Result: Draw your deck, near-infinite discard, near-infinite damage, near-infinite mana/Treasure.
Variations: None.
This is essentially a one-card combo since you start with Malcolm in the command zone, so it’s easy to assemble—especially if your partner adds black for tutors. Malcolm’s mana generation is pretty decent, but this combo rides on how cheap and quickly it wins rather than its utility or flexibility.
#13. Phyrexian Graves
Cards: Gravecrawler + Phyrexian Altar
Prerequisites: You control both permanents as well as another zombie.
Result: Infinite enters/death/sacrifice triggers, infinite leaves the graveyard triggers.
Variations: You can use Forsaken Miner instead of Gravecrawler if you have a card like Blood Artist or Judith, the Scourge Diva that commits crimes when you sacrifice a permanent.
Commander players have courted this classic combo for years. It’s super efficient, and it thrives because both cards are respectable in their own right. I especially like it with Wizards’ recent focus on cards that trigger when creatures leave your graveyard, like Teval, the Balanced Scale and Kheru Goldkeeper.
#12. Ghostly Drakes
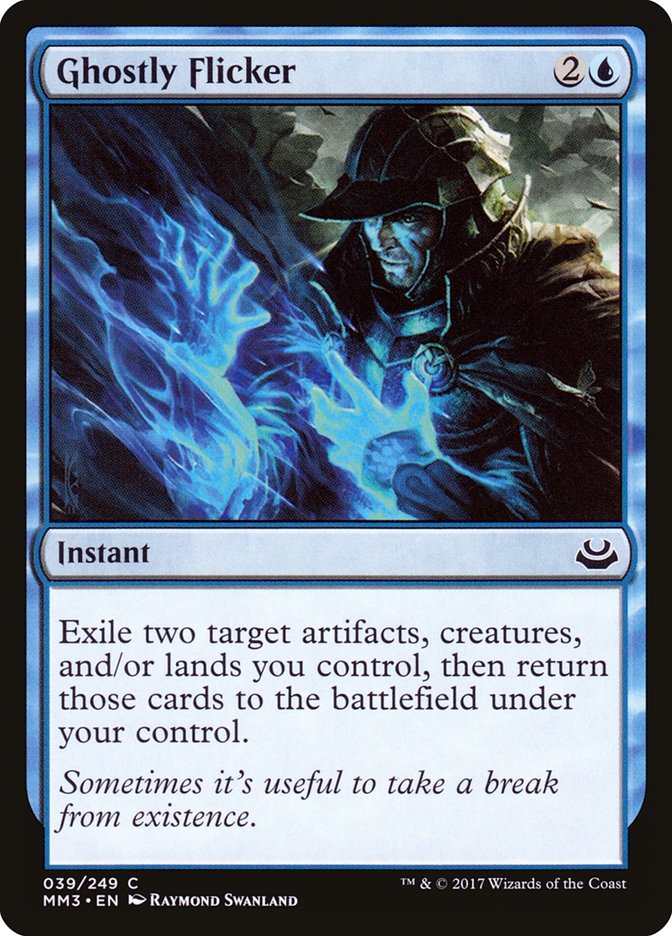
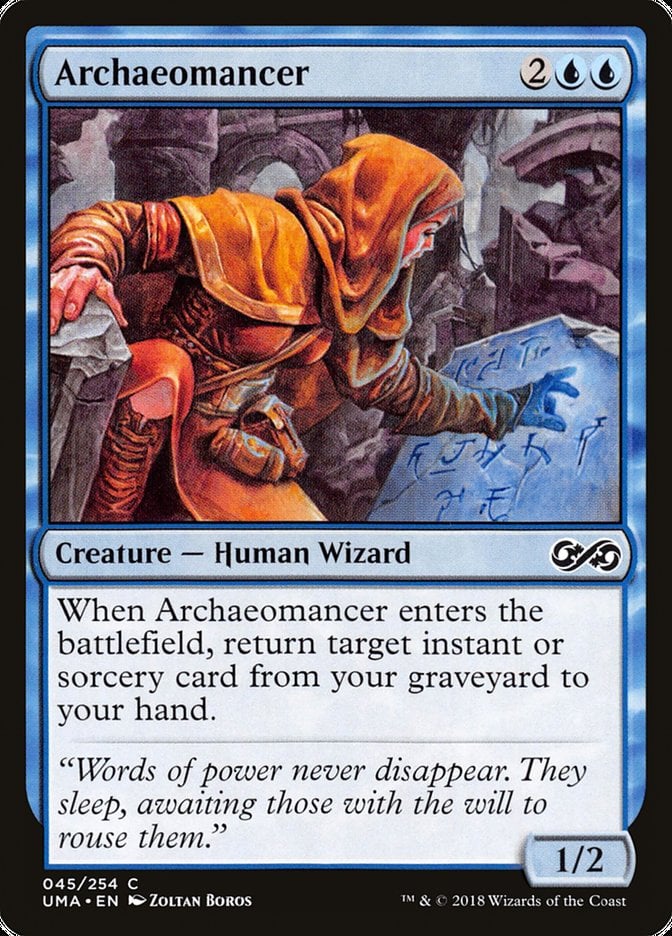
Cards: Ghostly Flicker + Peregrine Drake + Archaeomancer
Prerequisites: You control both creatures, can cast Ghostly Flicker, and have lands that tap for at least 4 mana.
Result: Infinite storm, infinite mana, infinite enters/leaves the battlefield and graveyard triggers.
Variations: Great Whale and Palinchron can replace the Drake, Displace works instead of Ghostly Flicker, and Archaeomancer can swap out for Eternal Witness or any creature that Regrowths an instant.
Another classic combo, this one feels great in Bracket 3. It’s fairly easy to interact with due to its redundancy, it takes time to set up, and all the cards have decent utility, assuming you build your deck to take advantage of flicker effects. Don’t jam this into a deck that can’t use Ghostly Flicker well.
#11. Niv-Mizzet, the Curious
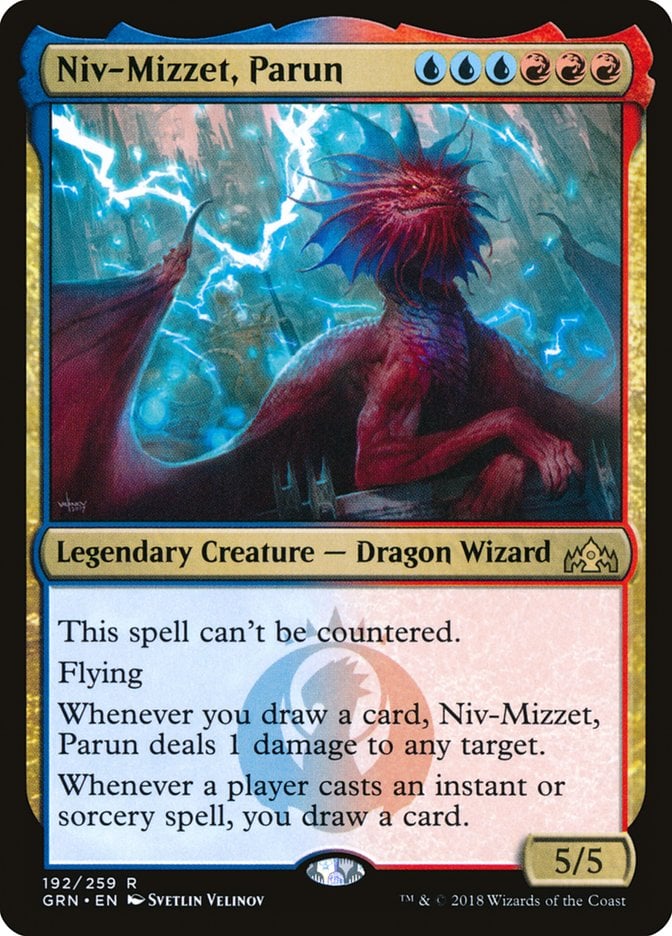
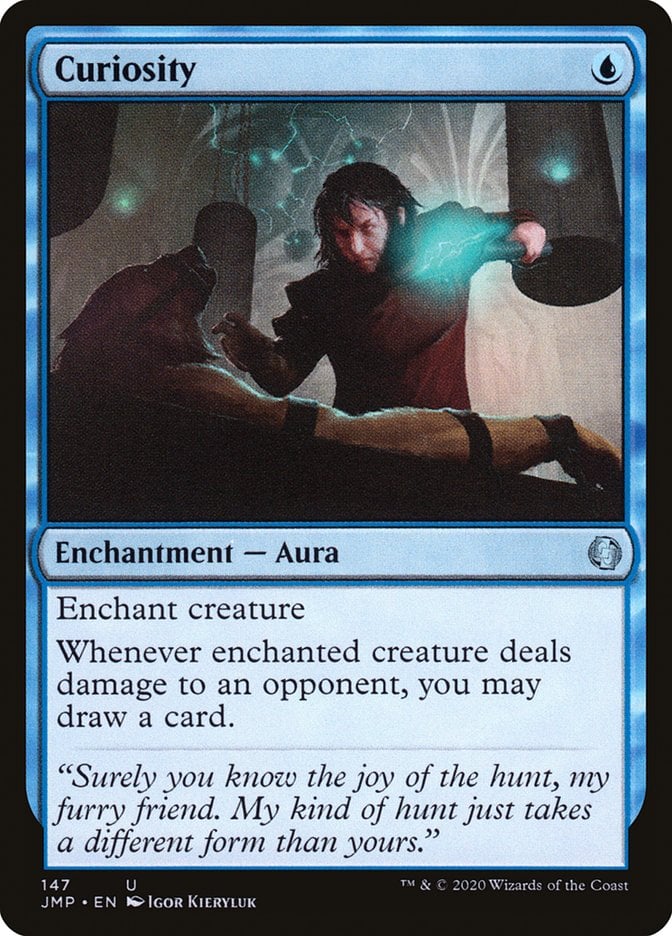
Cards: Niv-Mizzet, Parun + Curiosity
Prerequisites: Niv-Mizzet is enchanted with Curiosity and you can draw a card.
Result: Draw your deck, lots of damage.
Variations: Anything that draws a card when Niv-Mizzet deals damage works. Ophidian Eye and Tandem Lookout are popular alternatives. You can use Niv-Mizzet, the Firemind instead of the Parun, though it’s much weaker overall.
This combo takes advantage of a disgustingly overpowered Izzet commander (). You don’t win a game of Commander outright since you don’t have 120 cards to draw, but picking up your deck should result in a win if you’ve built it correctly. Perhaps you backdoor into a Thassa's Oracle combo?
#10. Sun-Crowned Ballista
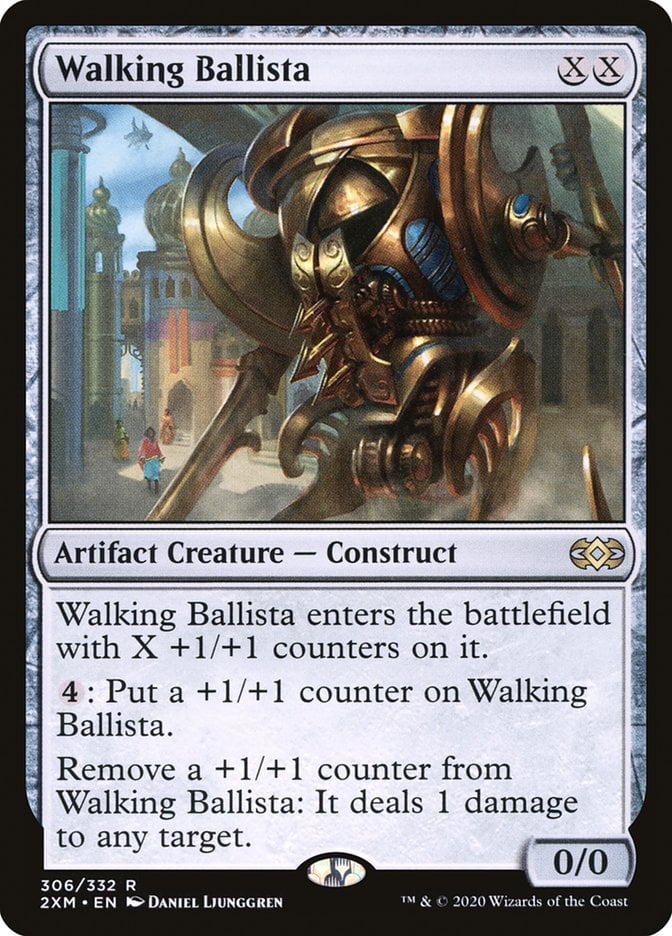
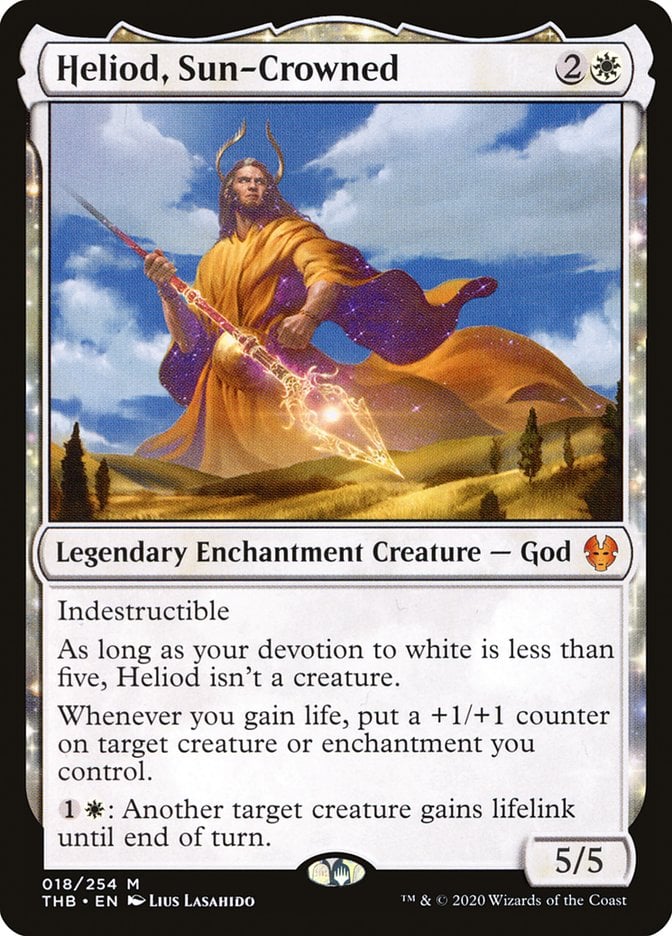
Cards: Walking Ballista + Heliod, Sun-Crowned
Prerequisites: Ballista has at least two counters and lifelink, you control both creatures.
Result: Infinite damage, infinite lifegain.
Variations: You can use Shalai and Hallar or Triskelion instead of Walking Ballista.
Walking Ballista is an incredibly flexible combo piece; in addition to having nearly a hundred potential combos, it’s a great outlet for infinite mana. Heliod doesn’t have nearly the same utility, but it’s a cheap enough enabler for multiple combos to respect.
#9. Dualcaster Duplication
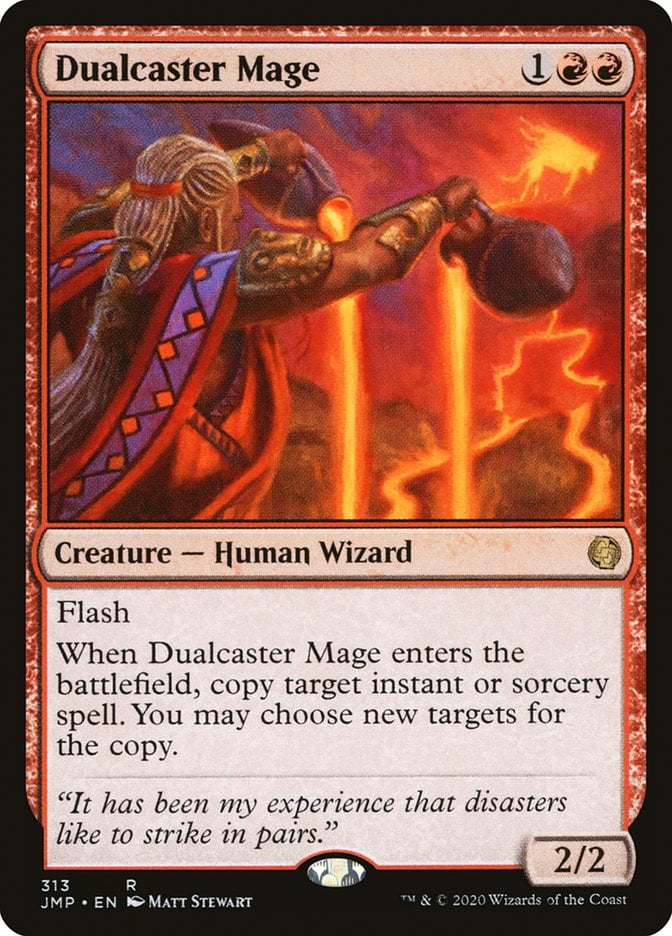
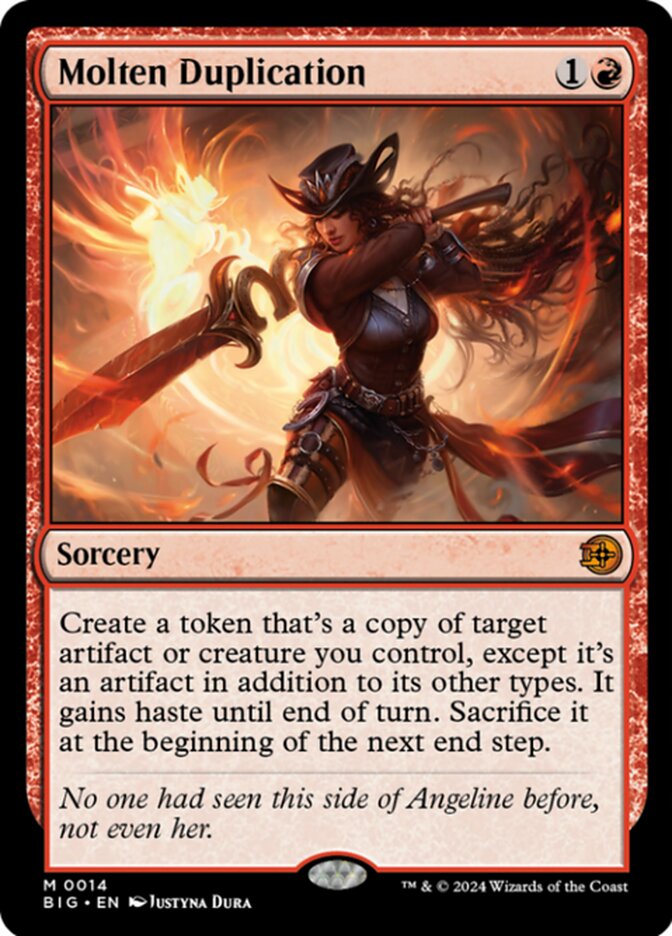
Cards: Dualcaster Mage + Molten Duplication
Prerequisites: You can cast both cards.
Result: Infinite magecraft, infinite enters triggers, infinite hasty creatures.
Variations: You can use any instant or sorcery that makes a token copy of Dualcaster instead of Molten Duplication; variants include Twinflame, Rite of Replication, and Heat Shimmer.
This combo shines because it’s reasonably cheap and mono-colored, though you can incorporate more colors as needed. It’s also another high-utility combo thanks to Dualcaster, which even copies opposing spells like countermagic. Molten Duplication’s no slouch either, especially when you hit a high-value target like Grim Monolith that goes mana-positive.
#8. Plundering Squirrels

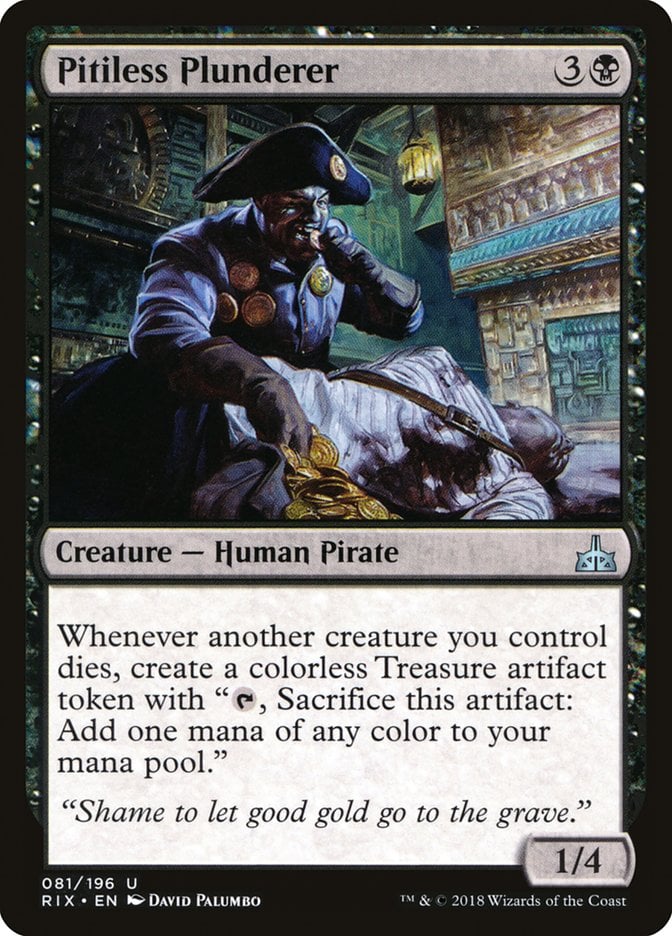
Cards: Chatterfang, Squirrel General + Pitiless Plunderer
Prerequisites: You control both permanents plus a creature you can sacrifice (a Squirrel token from Chatterfang works best). Additional Squirrels allow for infinite mana.
Result: Infinite mana, infinite enters/death/sacrifice triggers, infinite Treasure.
Variations: Warren Soultrader and a source of lifegain can replace Pitiless Plunderer. Ashnod's Altar and Reassembling Skeleton can replace Chatterfang.
Most Chatterfang decks employ this combo. Having half the combo in the command zone is partially responsible for its strength, but there’s much to be said for the flexibility of its pieces. Chatterfang and Plunderer are combo engines that fuel different infinite loops, which allows you to construct multiple redundant combos in case one piece or the other goes missing.
#7. Horror of the Ring
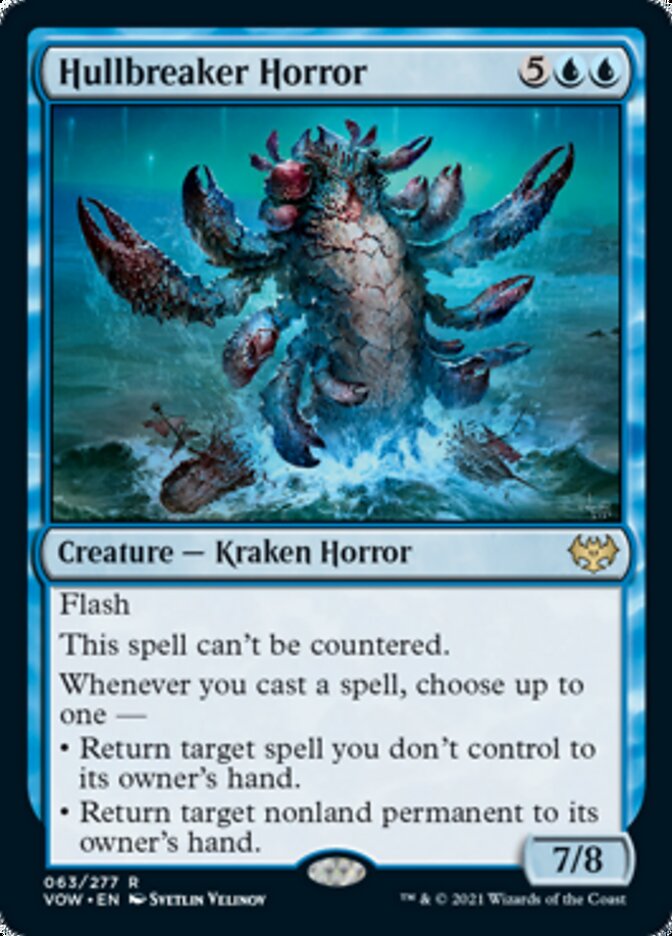
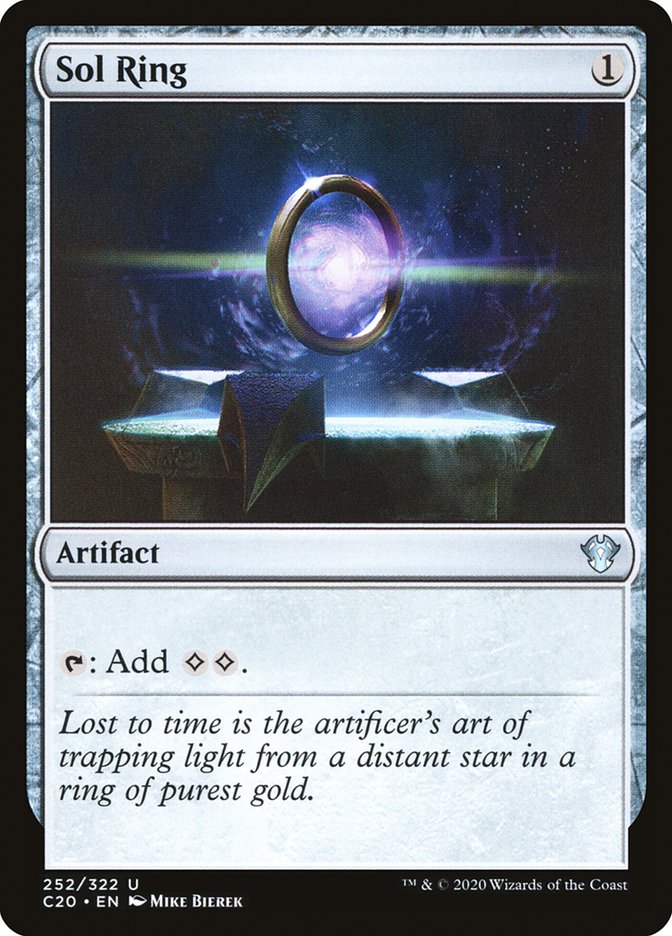
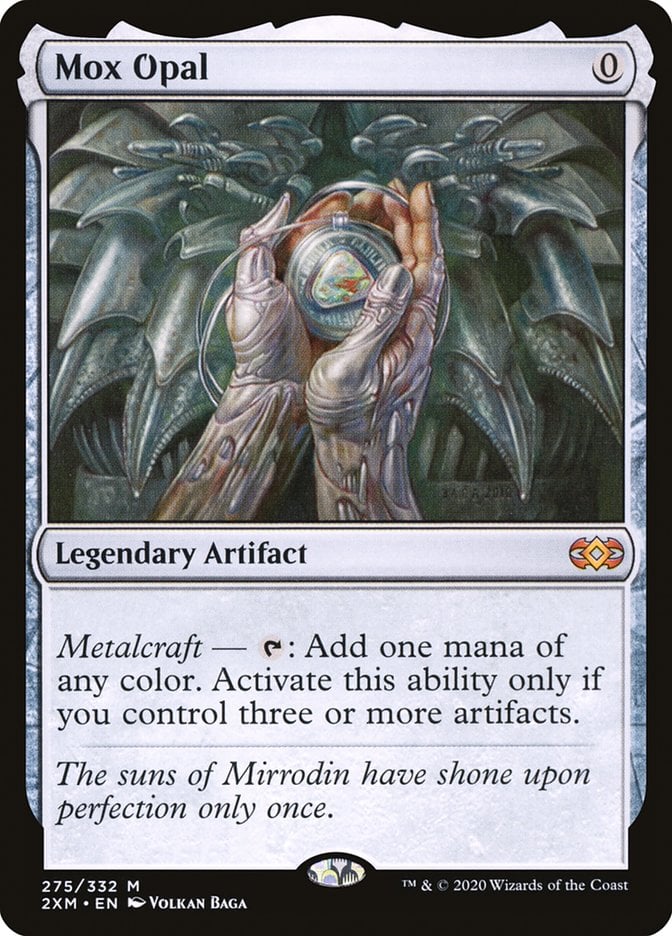
Cards: Hullbreaker Horror + Sol Ring + any 0-mana artifact.
Prerequisites: You control Hullbreaker Horror and have the two necessary artifacts—in hand, in play, or some mix thereof is okay.
Result: Infinite storm, infinite colorless mana, infinite artifact enters triggers.
Variations: You can use Tidespout Tyrant instead of the Horror. Your choice of artifacts is very flexible; as long as you have two artifacts that produce more mana than it costs to cast them, you can go infinite. Sol Ring is an easy choice, but it also works with Mox Opal, Mana Vault, etc.
This combo has some of the best utility among Commander combos because every card is a banger. Hullbreaker Horror offers excellent control over the board and the stack, Sol Ring is one of Magic’s most broken cards, and the final piece can be whatever you need. Sometimes this collection of cards goes infinite, sometimes it carries you to a win on sheer value. Either way, you’ll appreciate running them.
#6. Bonder’s Monolith
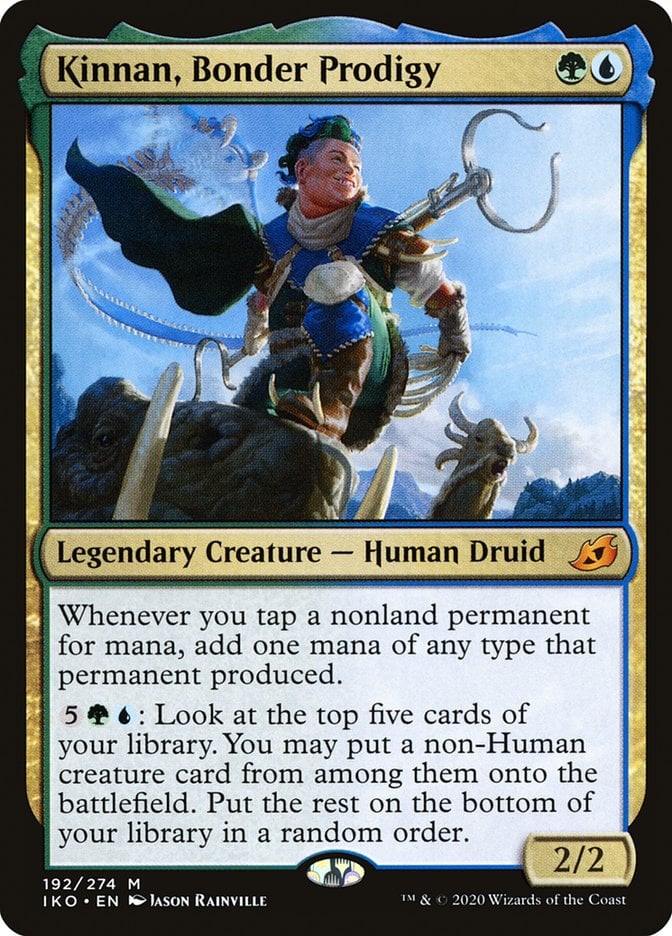
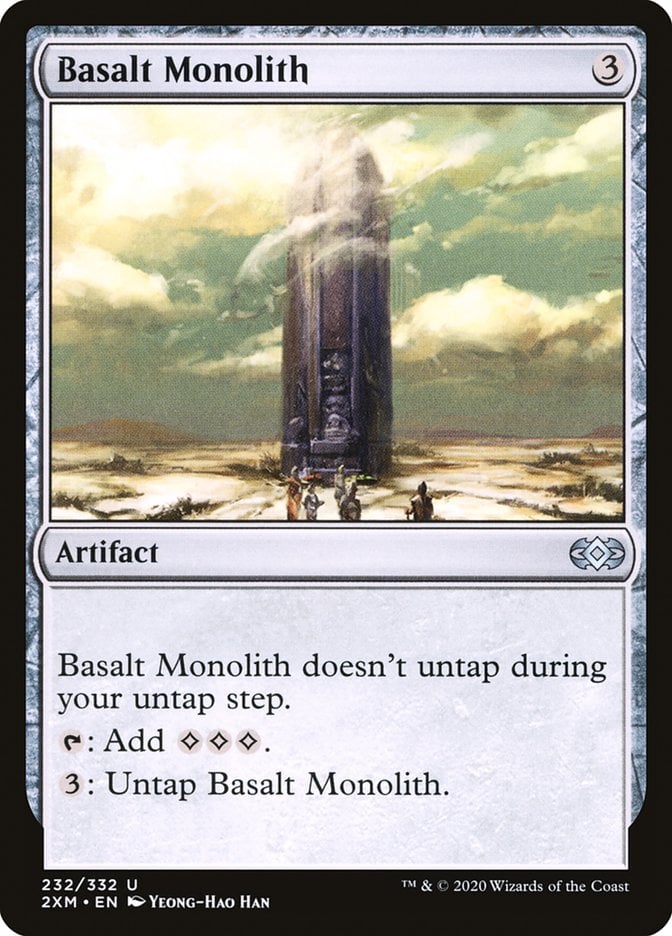
Cards: Kinnan, Bonder Prodigy + Basalt Monolith
Prerequisites: Basalt Monolith is untapped; you control both permanents.
Result: Infinite colorless mana.
Variations: This combo works by making Basalt Monolith produce more mana than the untap ability costs. It works in the opposite direction by reducing the cost of the activated ability with cards like Zirda, the Dawnwaker and Forensic Gadgeteer.
This combo exploits Kinnan’s already-insane text box to generate infinite mana. This works best when Kinnan is your commander; if you’re just adding a Basalt Monolith combo to the 99, I suggest looking into the Forensic Gadgeteer combo as a mono-colored option or even Rings of Brighthearth for a colorless combo.
#5. Dramatic Scepter
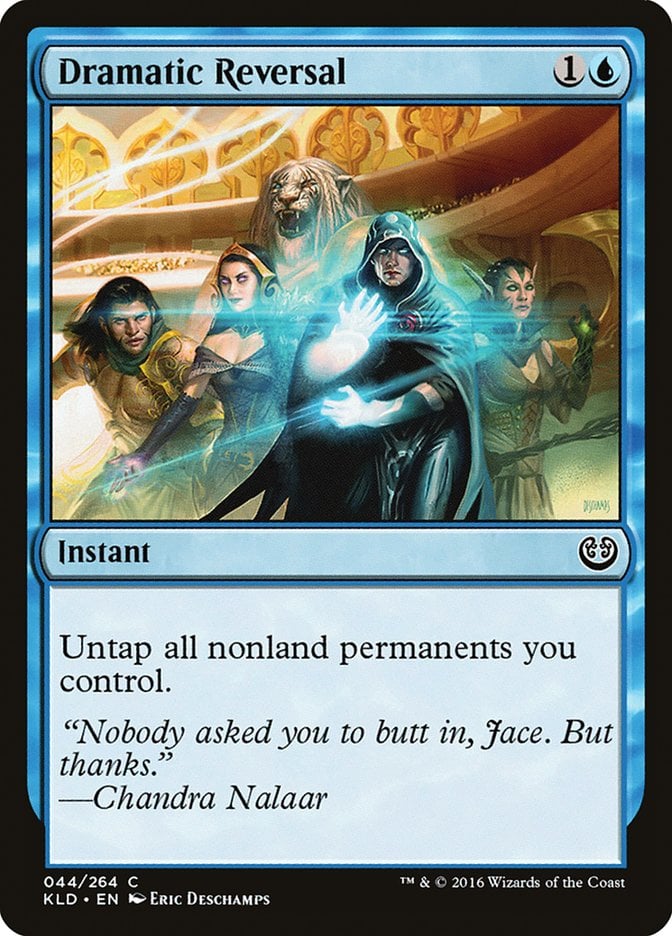
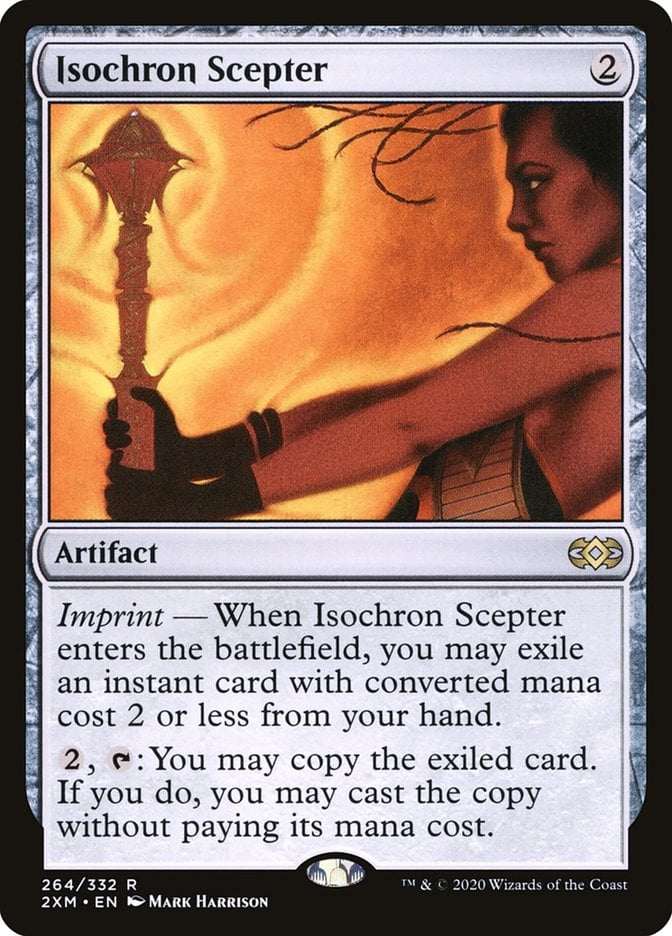
Cards: Dramatic Reversal + Isochron Scepter
Prerequisites: You have nonland permanents that can tap for 3 or more mana and Isochron Scepter has imprinted Dramatic Reversal.
Result: Infinite mana, infinite storm (only requires permanents that can tap for 2 mana), infinite untaps of nonland permanents you control.
Variations: Cards that tap to copy a spell can replace the Scepter, including Kitsa, Otterball Elite, Lithoform Engine, and Twinning Staff. Note that these all require more mana than Scepter does.
This feels like the baseline Commander combo, the one that players experiment with first. I’m not sure why; that’s just how it sticks in my head. Both cards offer decent utility outside the combo; the Scepter can imprint card draw or countermagic, and Reversal serves as a ritual to enable explosive turns.
#4. Swift Devotion
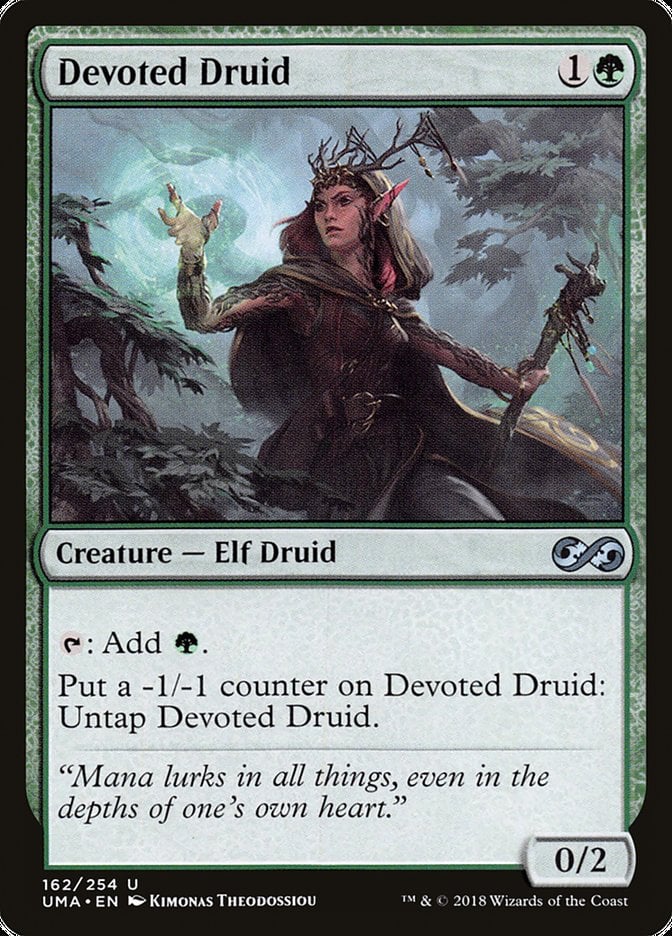
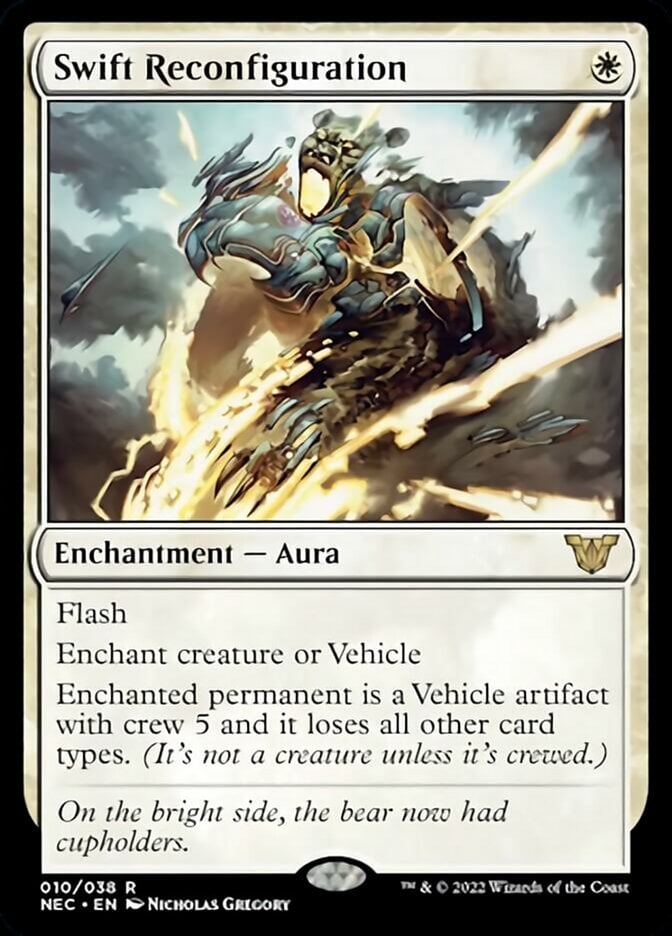
Cards: Devoted Druid + Swift Reconfiguration
Prerequisites: You control both permanents, and Reconfiguration enchants the Druid.
Result: Infinite green mana.
Variations: What doesn’t go infinite with Devoted Druid? Anything that prevents it from accumulating counters, makes a non-creature copy with abilities, or adds toughness faster than the -1/-1 counters works. Vizier of Remedies is a classic, Luxior, Giada's Gift makes it a mono-colored combo, and Machine God's Effigy has the most utility. Reconfiguration is just the most efficient enabler.
Devoted Druid is a perfectly respectable mana dork: 2 mana for a dork that taps for 1 mana, and 2 when you need it, with subtle +1/+1 counter synergy would be worth running. But it’s also half of like 10 two-card combos, which makes it a great finisher. Depending on your colors, you can pack the deck with multiple redundant pieces for easy assembly.
#3. Najeela, Blade Tactician
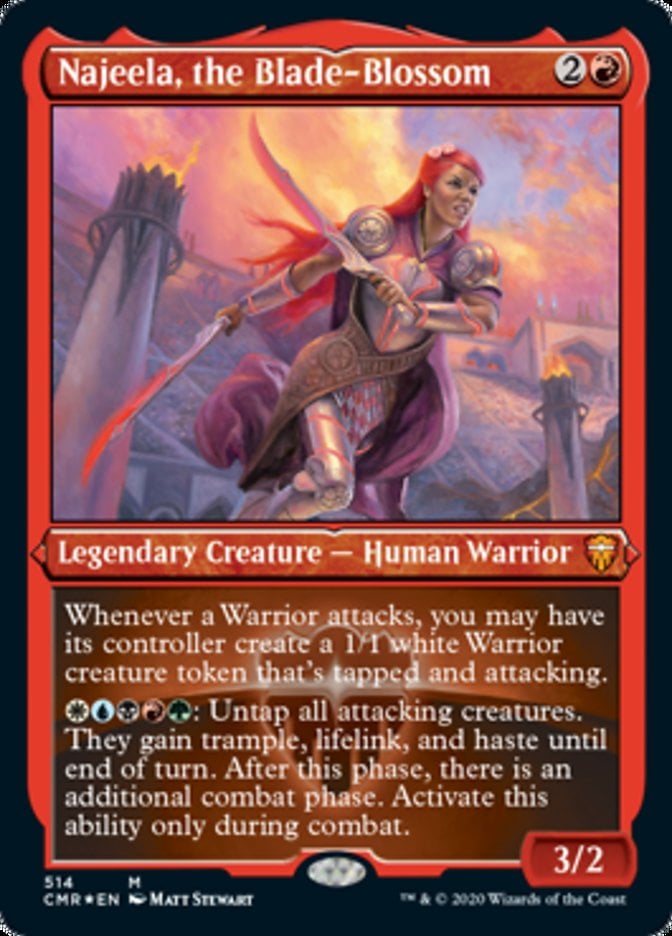
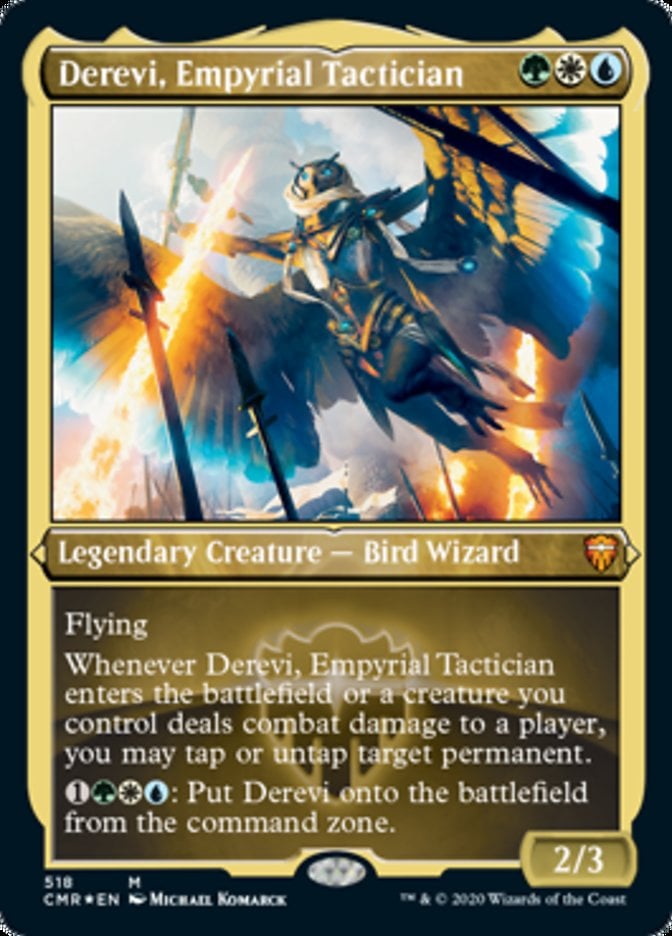
Cards: Najeela, the Blade-Blossom + Derevi, Empyrial Tactician
Prerequisites: You need two additional creatures, and permanents that can tap for at least .
Result: Infinite combats, infinite mana, infinite creature tokens, infinite creature ETB triggers.
Variations: Najeela goes infinite with anything that exploits the combat step or its untap ability to produce . Derevi alternatives include Sword of Feast and Famine, Faeburrow Elder, and Druids' Repository.
Once again we have a successful combo based on flexibility. Najeela goes infinite with so many different cards that it’s a reliable combo commander. Since you start with Najeela in your hand, you practically have five or more different one-card combos to draw, which offers a high level of consistency for a singleton format.
#2. Lion’s Freezing Breach
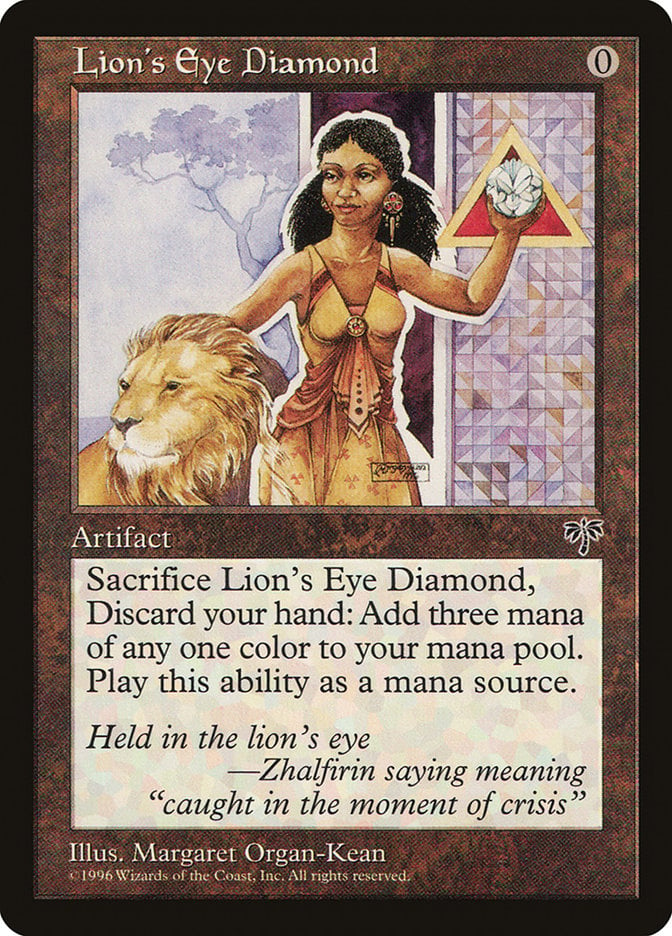
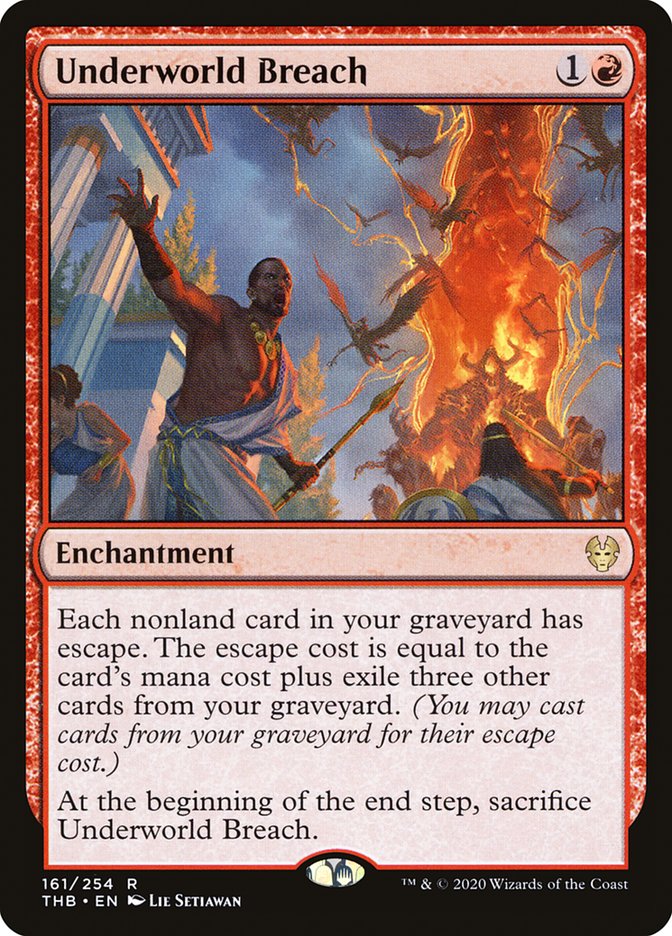
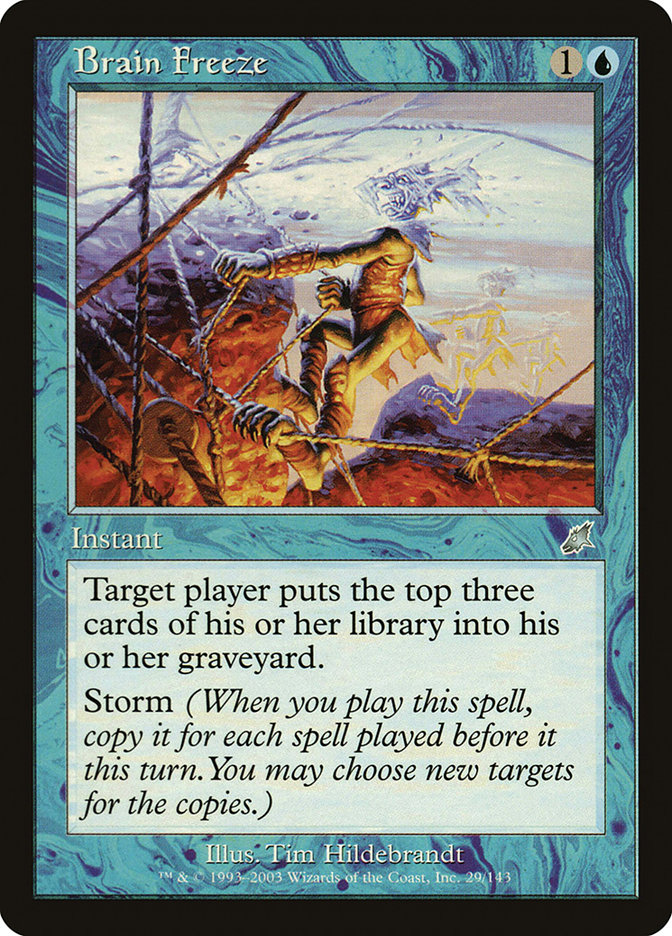
Cards: Lion's Eye Diamond + Underworld Breach + Brain Freeze
Prerequisites: You have all three cards in hand. You can also start with non-Breach pieces in the graveyard, though you need enough cards to escape them.
Result: Mill your deck, near-infinite colored mana, storm, and magecraft triggers.
Variations: You can use Lotus Petal in place of Lion's Eye Diamond, and Wheel of Fortune instead of Brain Freeze (which makes the combo mono-colored).
Another cEDH staple, this combo wins in a variety of ways. Perhaps the most effective is to mill yourself into a Thassa's Oracle, but you can also mill your opponents. It relies on Underworld Breach to create a deterministic finisher, though it lacks the wild excitement of a traditional storm deck.
#1. Thoracle-Consult
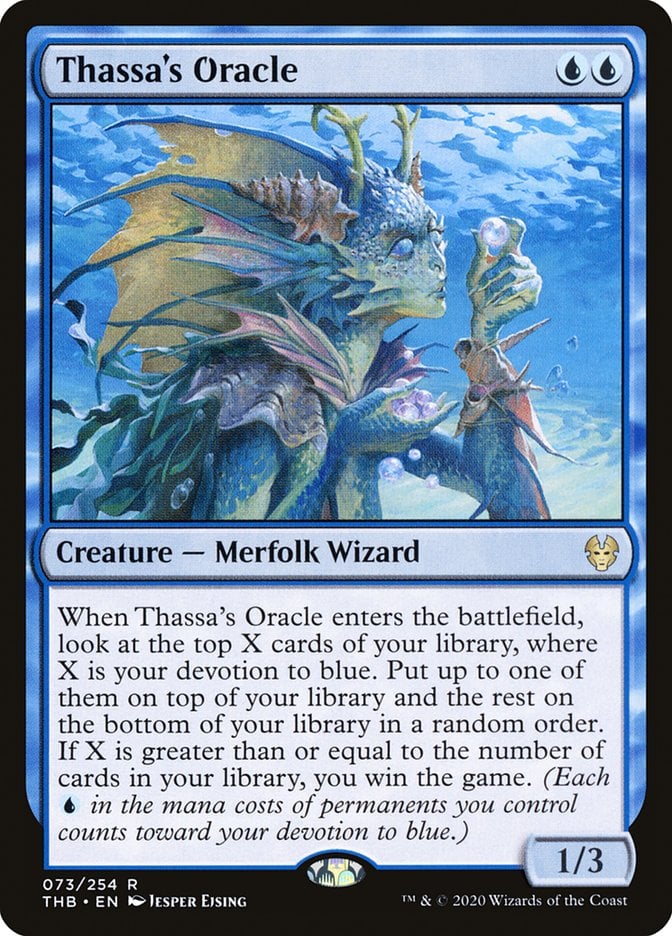
Cards: Thassa's Oracle + Demonic Consultation
Prerequisites: None.
Result: You win the game.
Variations: You can use any other card that removes your entire deck. Tainted Pact is the go-to since it’s also black, but you can also use Hermit Druid in a deck with no basic lands.
Thoracle combo is among the most efficient possible wins in the format. It’s hard to interact with, costs very little mana, and uses two of Magic’s strongest combo colors—blue for protection, black for tutors. It’s even flexible: Demonic Consultation and Tainted Pact can be tutors, and Thassa's Oracle works with about a thousand other combos.
What Commander Brackets Are Combos Allowed In?
Combos are technically allowed at any Bracket level, though the power level of the combo matters greatly. Brackets 1 and 2 ask that you don’t play 2-card instant wins, but appropriately jank combos can thrive. Bracket 3 eases up, allowing 2-card combos, though you’re encouraged to play for late game combos rather than fast, Thoracle-style wins. Brackets 4 and 5 remove the guard rails and allow for any level of combo your heart desires.
How Do You Beat Combo Decks in Commander?
There are two answers. The first is to win faster: If your opponent can combo kill you turn 7, kill them turn 6. Alternatively, and perhaps more reliably, play plenty of interaction to prevent the combo. Counterspells are a must here, but spot removal often works. The important thing here is to know how the combo functions so you can disrupt it.
Commanding Conclusion
Sensei's Divining Top | Illustration by Rob Alexander
Combos can be contentious in Commander because they often fall outside players’ definition of casual play, but they’re perfectly appropriate at the right power level, and they’re among the most efficient ways to beat three players. These combos exploit powerful cards to overwhelm your opponents.
Do you like combos in Commander? Which do you use? Let me know in the comments below or on the Draftsim Discord!
Stay safe, and thanks for reading!
Follow Draftsim for awesome articles and set updates:


Add Comment