Last updated on June 22, 2026

Peer into the Abyss | Illustration by Izzy
Looking for the best mono-black combos in Magic: The Gathering? You’re in the right place. From infinite death loops to brutal life drain engines, mono-black has some of the most devastating and efficient combos in the game, all without needing a single splash of another color.
I’ve rounded up some of the strongest and most fun mono-black combos, complete with the cards you need, how to set them up, and what kind of result you can achieve!
Curious how far the power of black magic can go? Let’s dive in and find out.
What Are Mono-Black Combos in MTG?
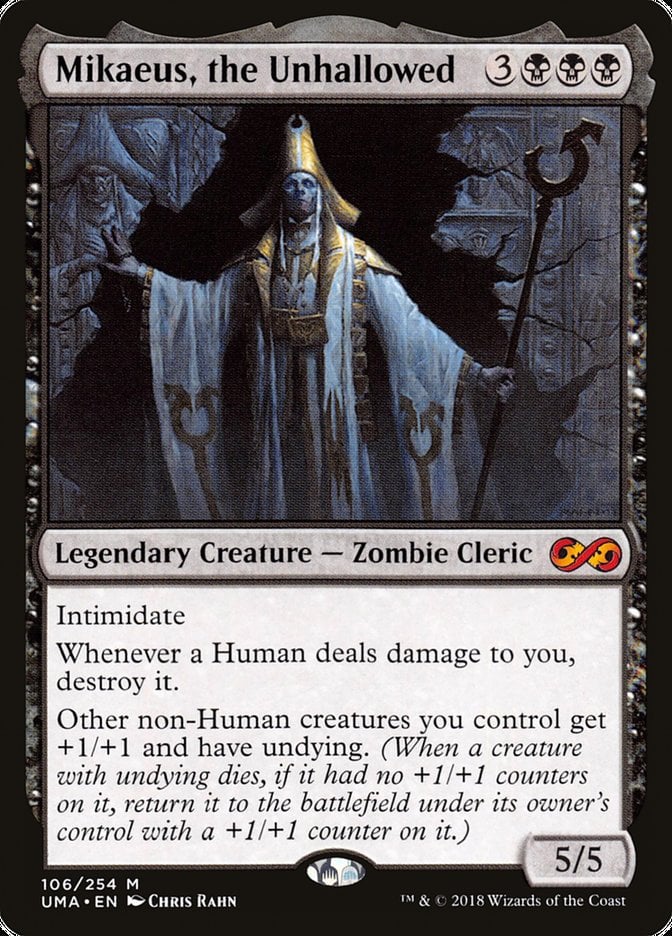
Nest of Scarabs | Illustration by Jason A. Engle
Mono-black combos are powerful interactions between black cards that create infinite loops or game-winning effects. These combos often focus on life drain, recursion, sacrifice, or graveyard synergies.
#16. Mikaeus + Yawgmoth + Gray Merchant of Asphodel
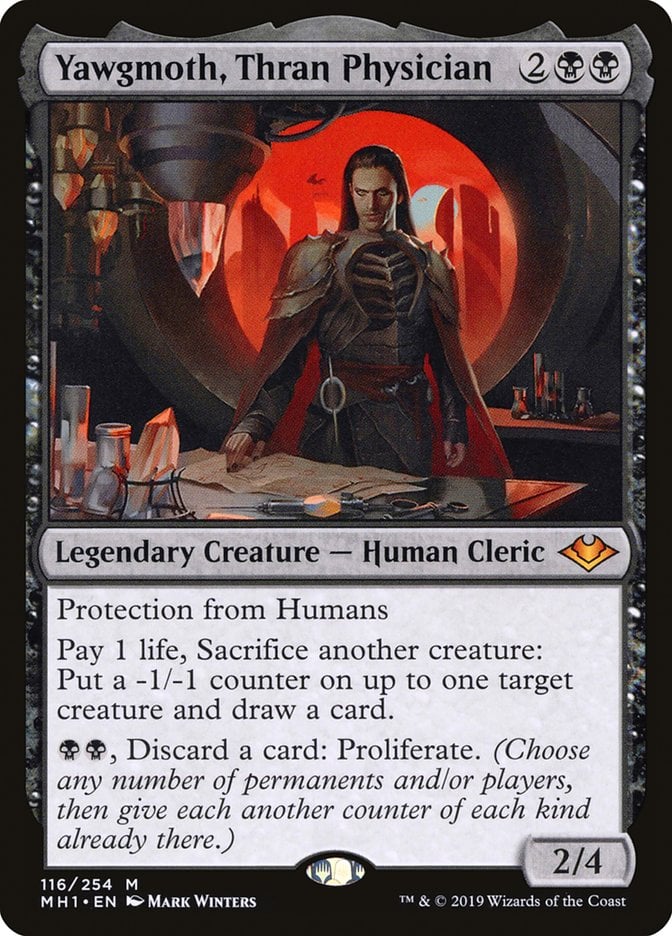
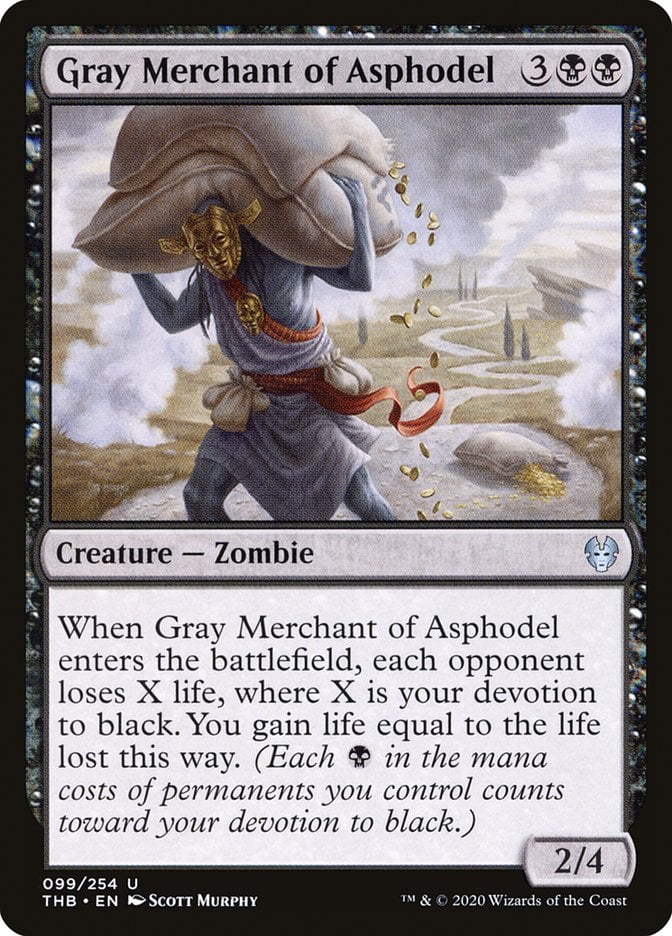
Cards – Mikaeus, the Unhallowed, Yawgmoth, Thran Physician, Gray Merchant of Asphodel
Prerequisites – All permanents on the battlefield. Your life total is at least 2. You control at least one additional non-token, non-human creature with toughness 2 or greater.
Result – Infinite lifegain + infinite opponent life loss + infinite card draw + infinite ETB/LTB/death/sacrifice triggers
Variations – This combo is packed with ways to expand or tune it depending on your deck’s flavor. If you don’t have Gray Merchant of Asphodel, Kokusho, the Evening Star is a strong stand-in for draining life—just be sure to track those triggers carefully in multiplayer. To layer on value, Blood Artist and Zulaport Cutthroat give you extra redundancy while making each death even more punishing. Want tokens or mana as a bonus? Nest of Scarabs gives you infinite Insect tokens thanks to Yawgmoth’s counters, and Pitiless Plunderer floods you with Treasures. Add Phyrexian Altar and you’ve got the fuel to combo into nearly anything.
Execution – Use Yawgmoth, Thran Physician to sacrifice Gray Merchant of Asphodel, targeting another creature. Merchant dies, returns with a +1/+1 counter, draining opponents and gaining you life. Then, sac the other creature, targeting Merchant. That creature comes back with a +1/+1 counter. Yawgmoth’s ability keeps drawing you cards. Repeat for infinite life drain, draw, and triggers.
#15. Grave Titan + Ashnod’s Altar + Nim Deathmantle
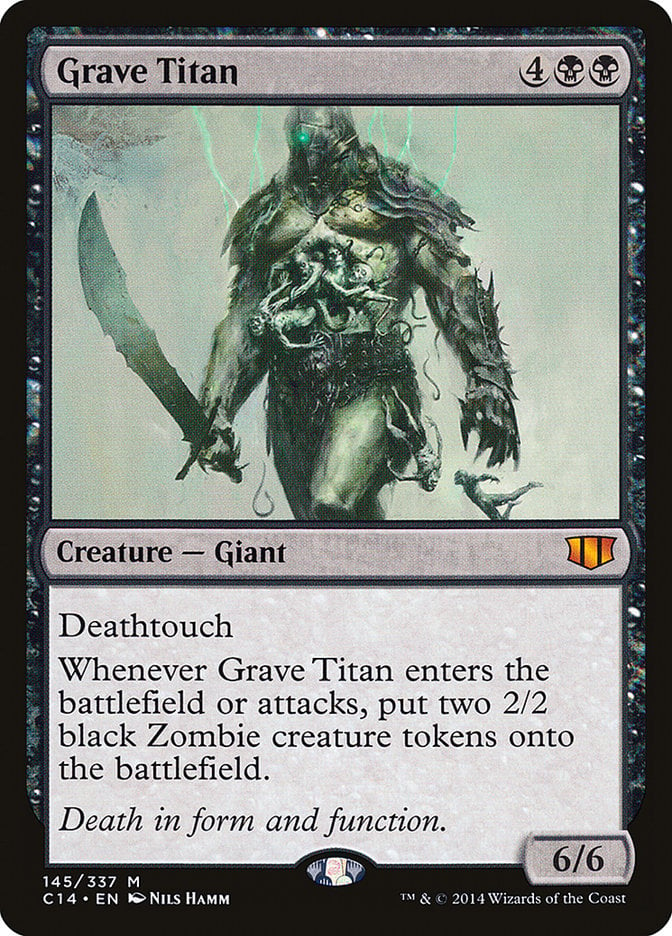
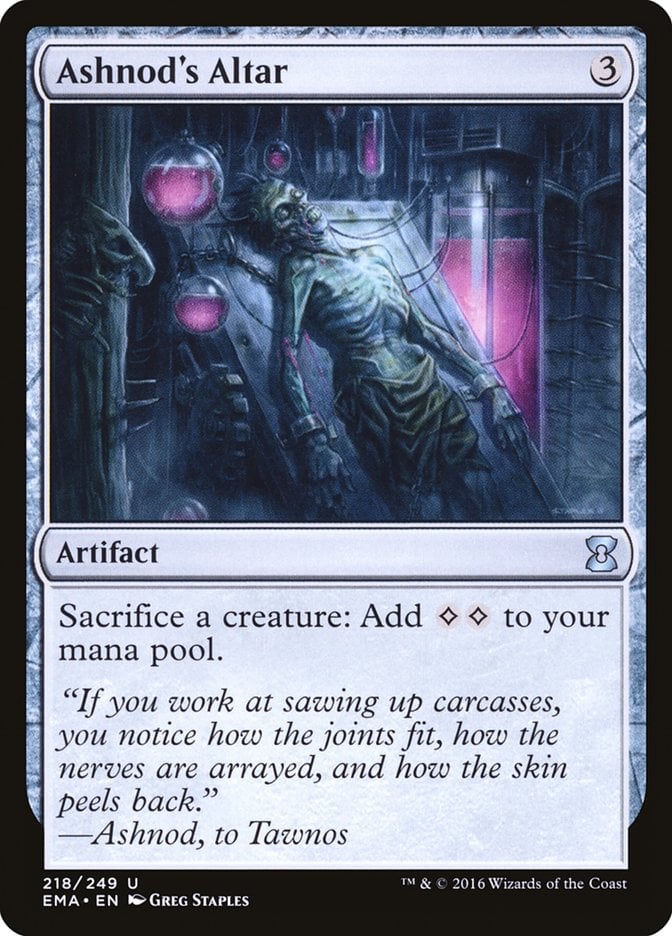
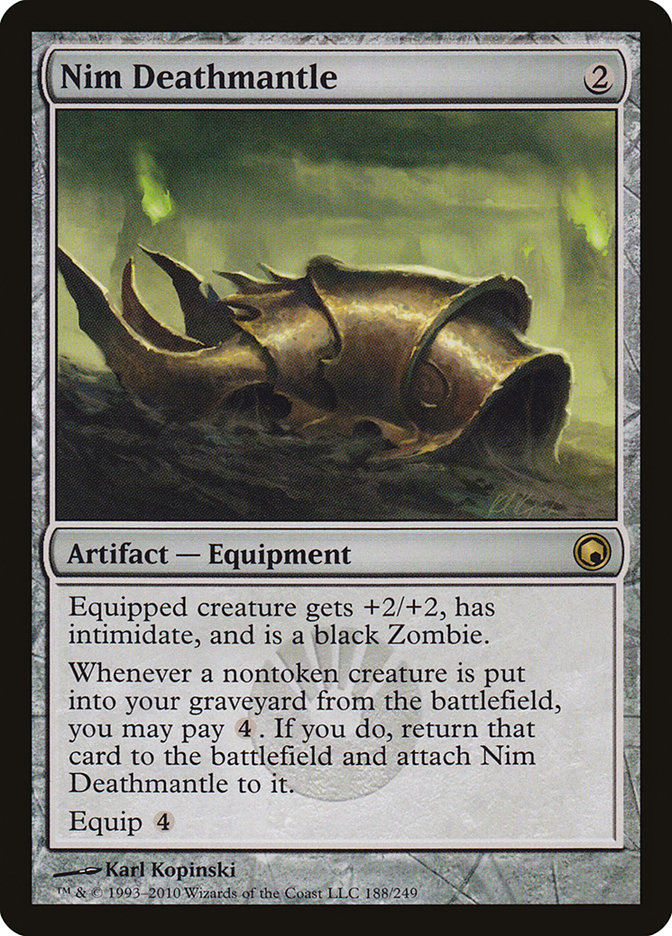
Cards – Grave Titan, Ashnod's Altar, Nim Deathmantle
Prerequisites – All three cards are on the battlefield. Grave Titan has entered and created at least two Zombie tokens. You can produce 4 colorless mana using those tokens.
Result – Infinite creature tokens + infinite colorless mana + infinite death/ETB triggers
Variations – There’s a surprising number of creatures that can sub in for Grave Titan here. Sling-Gang Lieutenant turns each loop into a win if you start flinging Goblin tokens for damage, while Marionette Master drains opponents every time an artifact creature dies—perfect when paired with Treasure or Servo synergies. Even Sengir Autocrat can get the job done with its trio of Serfs, though you’ll need to time the sacrifices carefully since it pulls the tokens when it leaves. If you're casting creatures repeatedly, Diregraf Colossus adds another infinite token line as long as you’ve got a critical mass of zombies. Basically, if a creature brings two or more friends when it enters, you’re in business.
Execution – Sacrifice Grave Titan and two Zombie tokens to Ashnod's Altar for 6 mana. Spend 4 to activate Nim Deathmantle, returning Grave Titan to the battlefield and making two more tokens. Repeat for infinite mana and tokens.
#14. Magus of the Coffers + Umbral Mantle
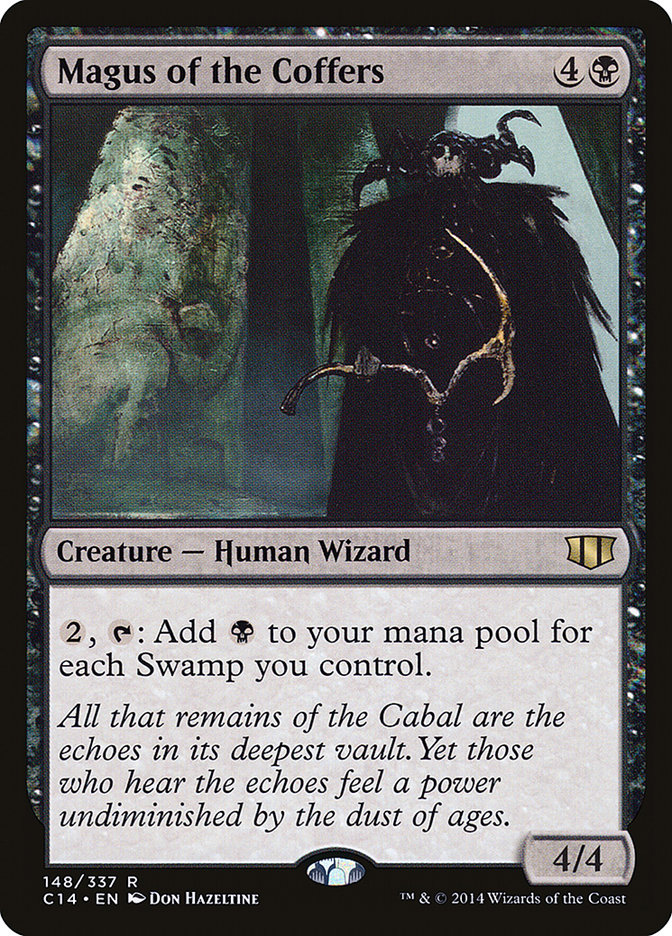
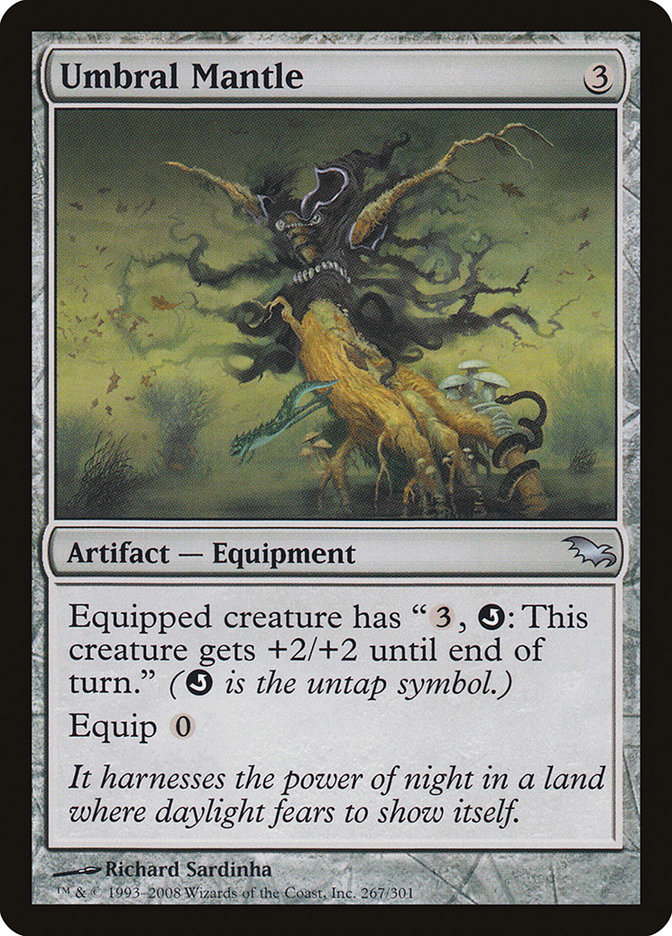
Cards – Magus of the Coffers, Umbral Mantle
Prerequisites – Magus isn’t summoning sick. Umbral Mantle is equipped to Magus. You control at least six swamps. You have at least 5 mana available to start the loop (2 for Magus, 3 for Mantle).
Result – Infinite black mana + infinitely large Magus of the Coffers
Variations – This combo has a bunch of fun variations depending on your build. If you don’t have Umbral Mantle, Sword of the Paruns does the same thing—just keep in mind it’s a bit clunkier with its equip and activation costs. For even more value, Staff of Domination not only untaps Magus but also lets you draw your deck, gain life, and go full engine mode. If you'd rather avoid creatures, the classic Cabal Coffers, Deserted Temple, and Rings of Brighthearth combo gets you the same infinite mana result. And while Crypt Ghast takes more setup, it can fuel similar loops with swamps and untap effects.
Execution – Tap Magus for 6 black by paying 2. Use 3 black to untap it with Umbral Mantle, leaving 1 black floating. Repeat the process to build infinite black mana. Each untap also gives Magus +2/+2, making it arbitrarily large.
#13. Doctor Doom, Unrivaled + Demonic Consultation
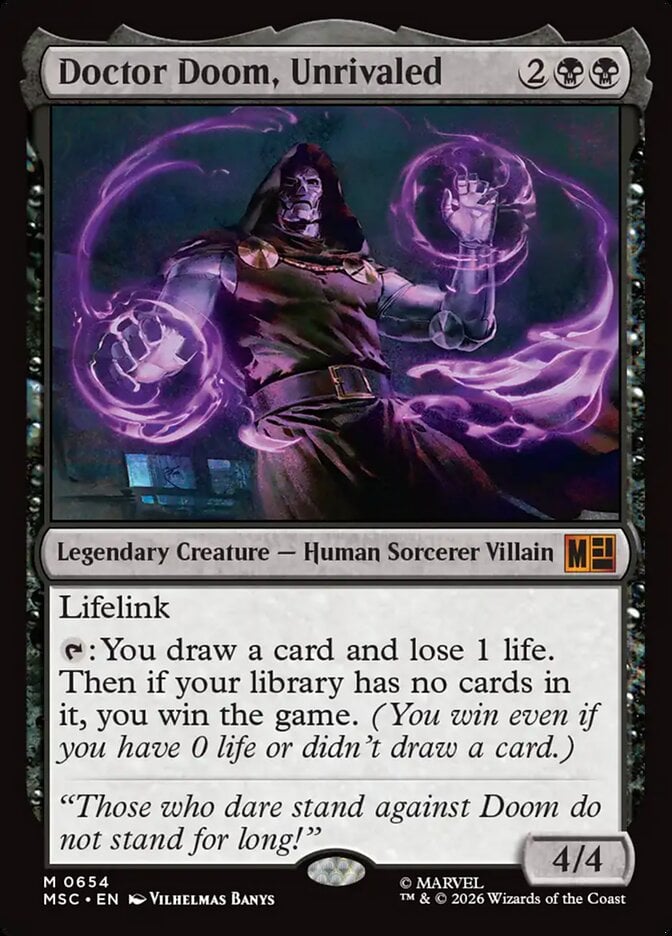
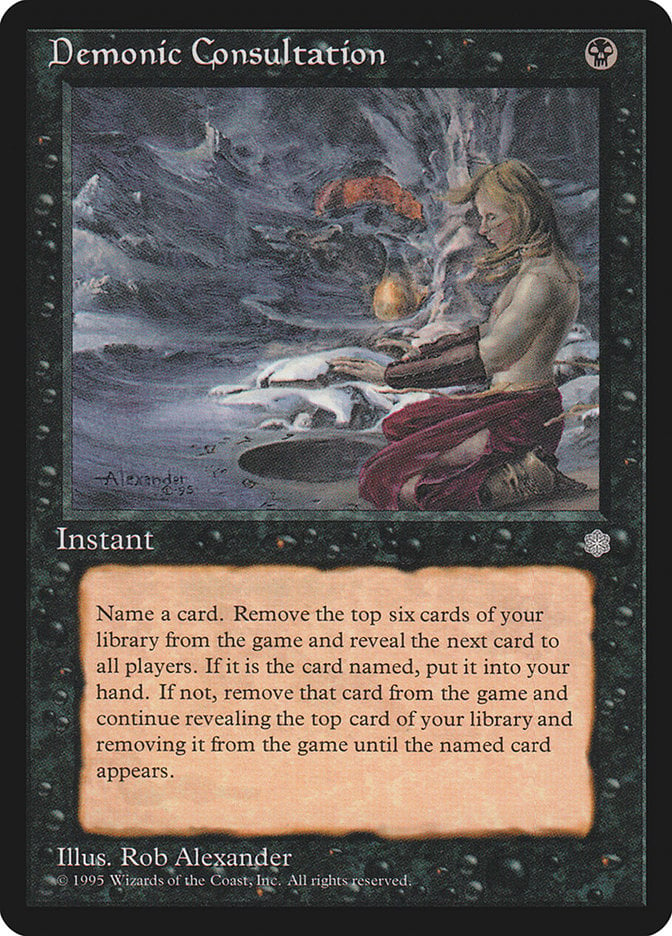
Cards – Doctor Doom, Unrivaled, Demonic Consultation
Prerequisites – You control Doctor Doom, can activate its ability, and have to cast Consultation.
Result – You win the game
Variations – You can use Tainted Pact instead of Demonic Consultation.
Execution – Cast Demonic Consultation and name a card that isn’t in your library. When Consultation resolves, you’ll exile your entire library. Then activate Doctor Doom, Unrivaled; because your library is empty, you will win the game.
#12. Bolas’s Citadel + Sensei’s Divining Top + Aetherflux Reservoir
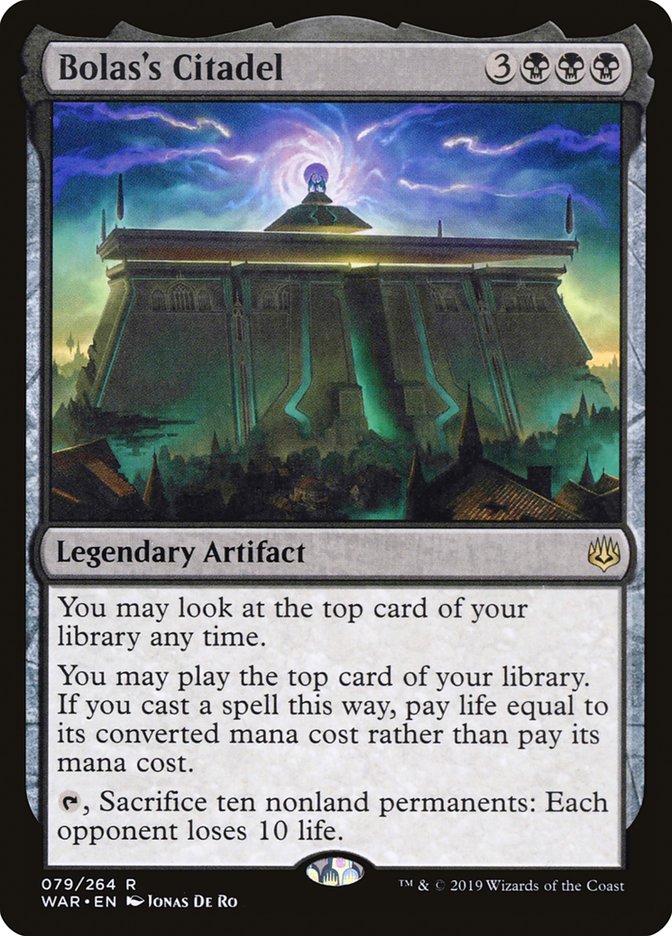
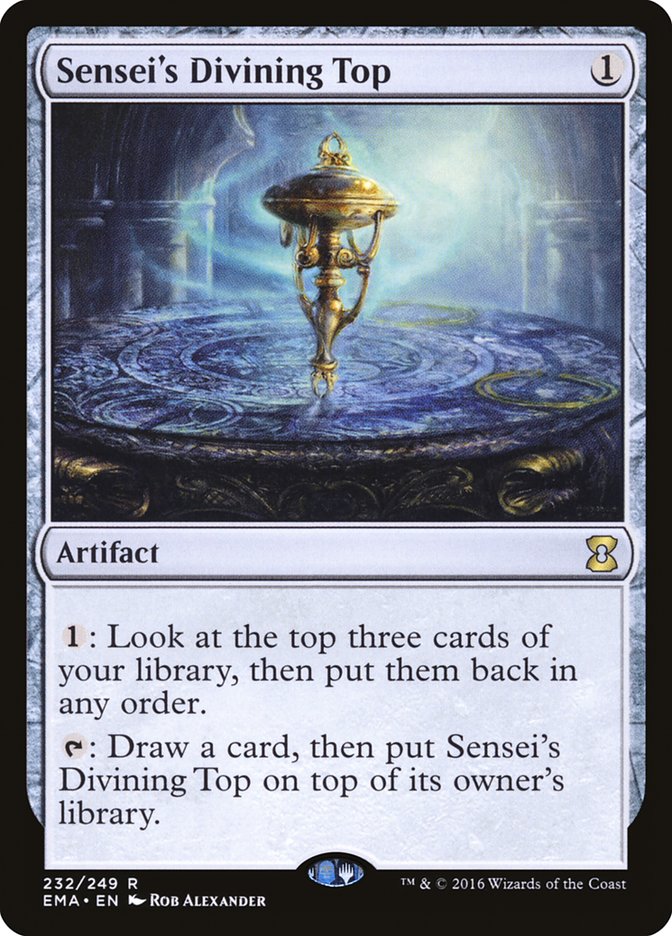
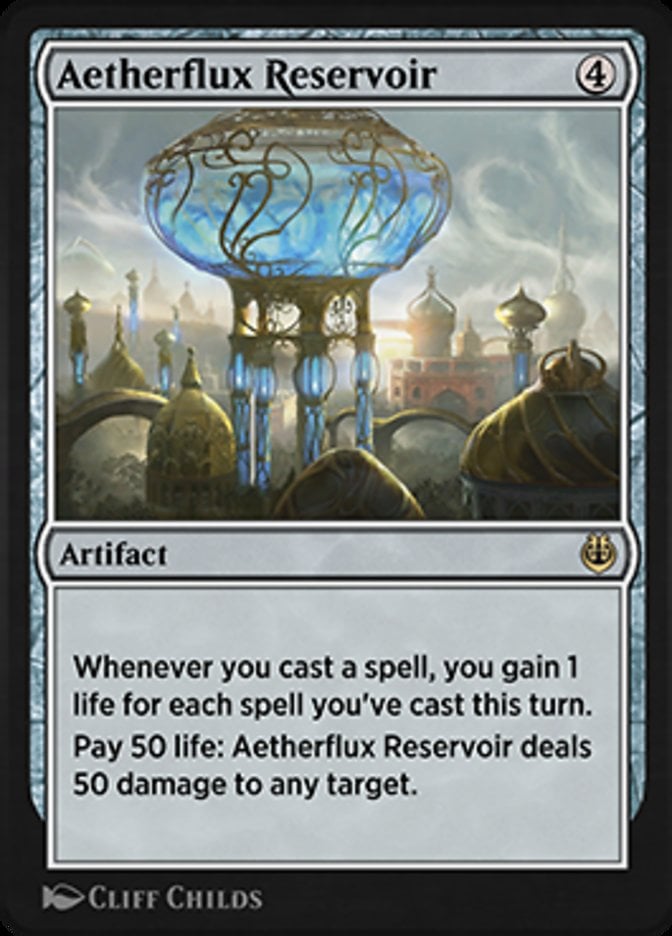
Cards – Bolas's Citadel, Sensei's Divining Top, Aetherflux Reservoir
Prerequisites – All three permanents are on the battlefield. You have at least 1 life to pay for Sensei's Divining Top via Bolas's Citadel. The top card of your library must not be a land.
Result – Infinite spell casts + infinite lifegain + infinite damage via Aetherflux Reservoir + infinite card draw (optional)
Variations – This combo has tons of room for personalization. If you’re missing Aetherflux Reservoir, Sheoldred, the Apocalypse turns every draw into a life drain, letting you grind opponents down instead of nuking them outright. You can also pair Vito, Thorn of the Dusk Rose with Greed to build a slower, drain-based win from the same draw loop. Want a spicier twist? Mortuary plus a 0-mana creature like Memnite lets you create an infinite loop with deaths instead of draw. And if you’re storm-inclined, Tendrils of Agony gives you a storm kill once you’ve looped enough spells.
Execution – Use Bolas's Citadel to cast Sensei's Divining Top from the top of your library for 1 life. Then tap Top to draw a card and put it back on top of your library. Repeat the process. Each loop increases Aetherflux Reservoir’s lifegain triggers, quickly gaining you enough life to pay 50 life per opponent and win. You also draw through your deck during the loop if needed.
#11. Tree of Perdition + Triskaidekaphobia
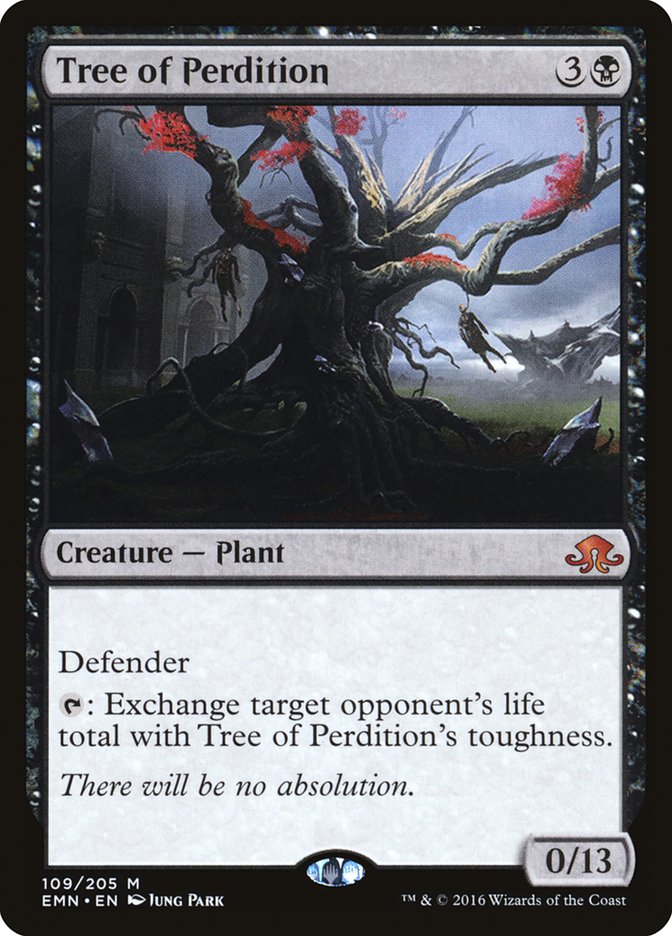
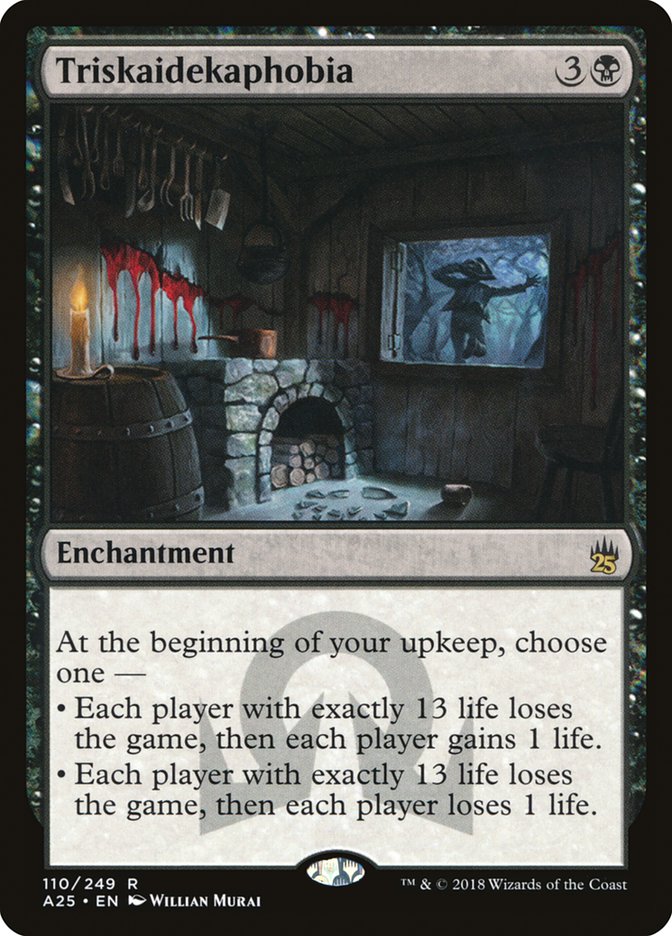
Cards – Tree of Perdition, Triskaidekaphobia
Prerequisites – Both permanents are on the battlefield. You activate Tree’s ability to set an opponent’s life total to 13 before the next upkeep.
Result – Target player loses the game at the next upkeep.
Variations – While Triskaidekaphobia has no true mono-black replacement, you can still mix up the life-setting piece. Soul Conduit swaps life totals and can act like a slower, more political version of Tree of Perdition, especially if you’ve taken some hits yourself. Cards like Sorin Markov and Peer into the Abyss also drop life totals sharply, though they won’t trigger the 13-life loss effect, so they’re better for other setups.
Execution – Activate Tree of Perdition to set an opponent’s life to 13. On the next upkeep, Triskaidekaphobia triggers, and that player loses the game for having exactly 13 life.
#10. Basalt Monolith + Mesmeric Orb + Syr Konrad, the Grim
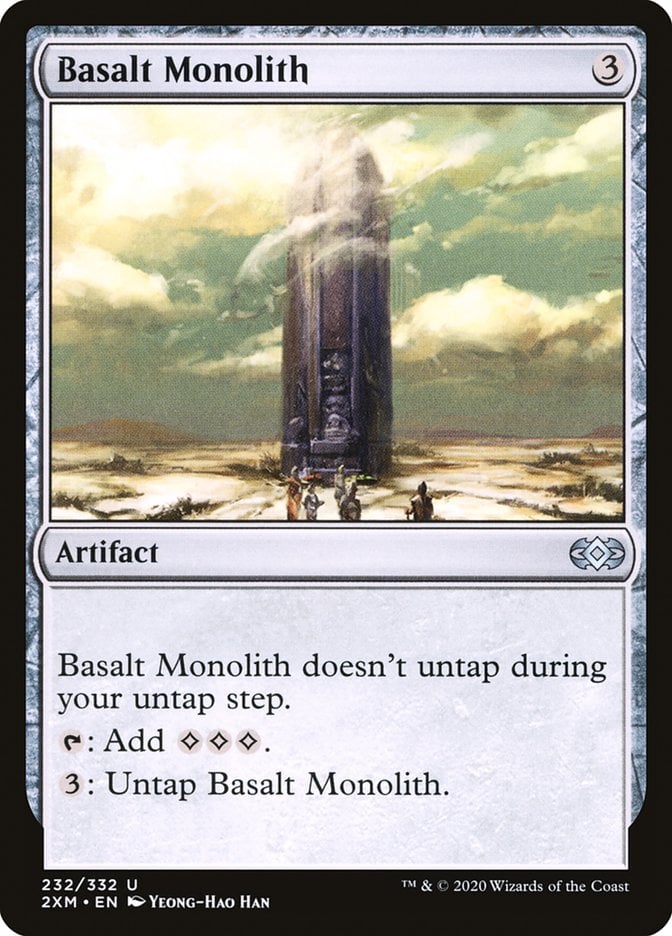
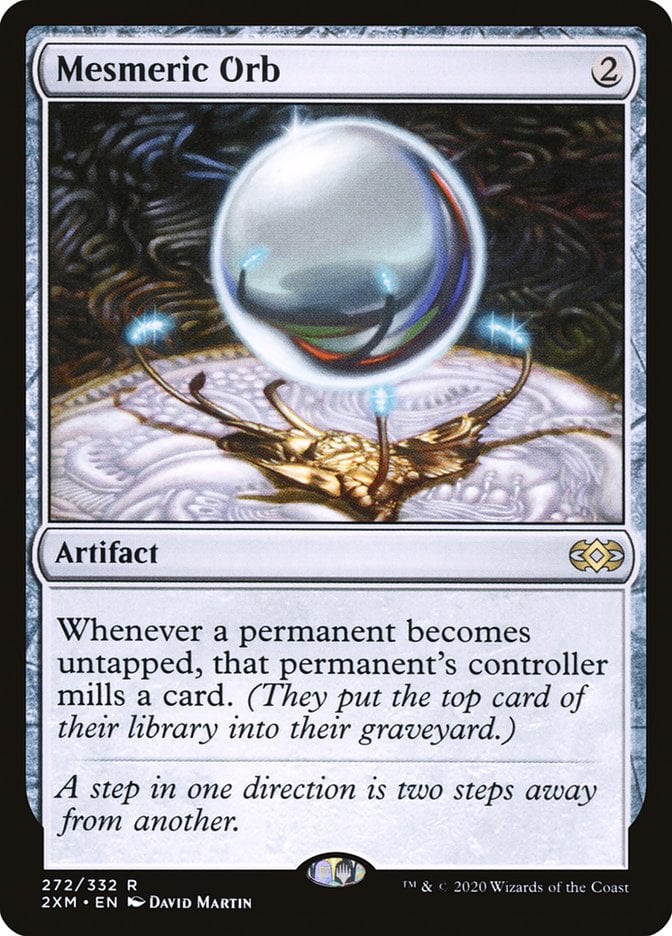
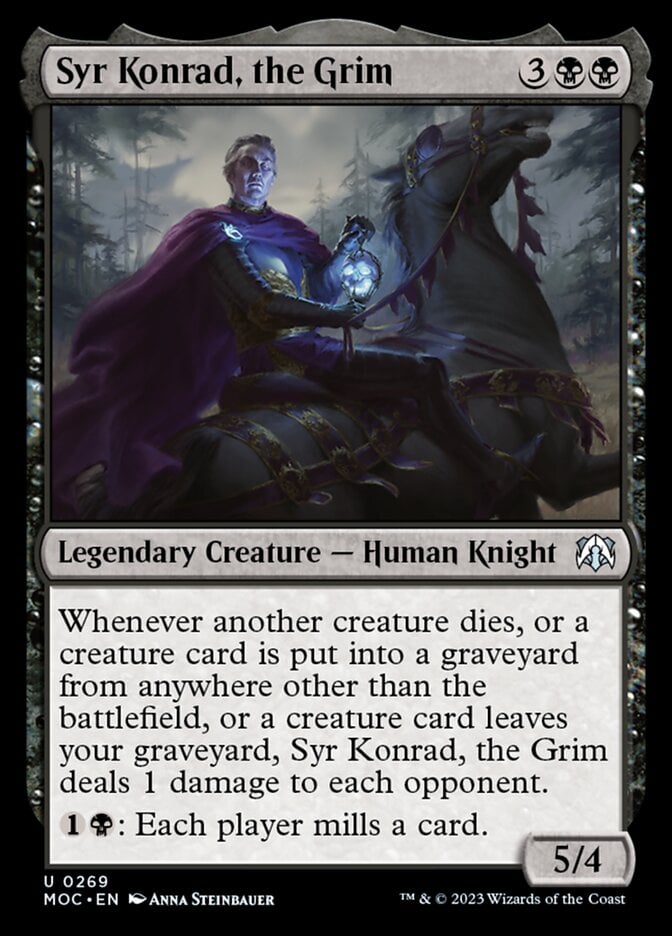
Cards – Basalt Monolith, Mesmeric Orb, Syr Konrad, the Grim
Prerequisites – All three cards are on the battlefield. You have enough cards in your library and ideally a creature-heavy deck.
Result – Infinite Syr Konrad pings (or one-shot kill if not infinite)
Variations – There are a few slick ways to mix this combo up. Dreadhound can take over for Syr Konrad, the Grim with similar mill-damage synergy, especially in more casual pods. If you want a one-shot setup, Morality Shift plus Syr Konrad dumps your entire library into the graveyard at once—clean and brutal. For a true infinite loop, tossing in Ulamog, the Infinite Gyre or any Eldrazi titan with a shuffle clause lets you keep milling and reshuffling endlessly, pinging forever. And while not mono-black, mill wincons like Jace, Wielder of Mysteries or Thassa's Oracle are always lurking for the blue splash crowd.
Execution – Tap Basalt Monolith for 3, use that mana to untap it. Mesmeric Orb mills you for untapping. Repeat the loop to mill your deck. Syr Konrad, the Grim triggers on every milled creature, dealing massive or infinite damage to each opponent.
#9. Chain of Smog + Professor Onyx
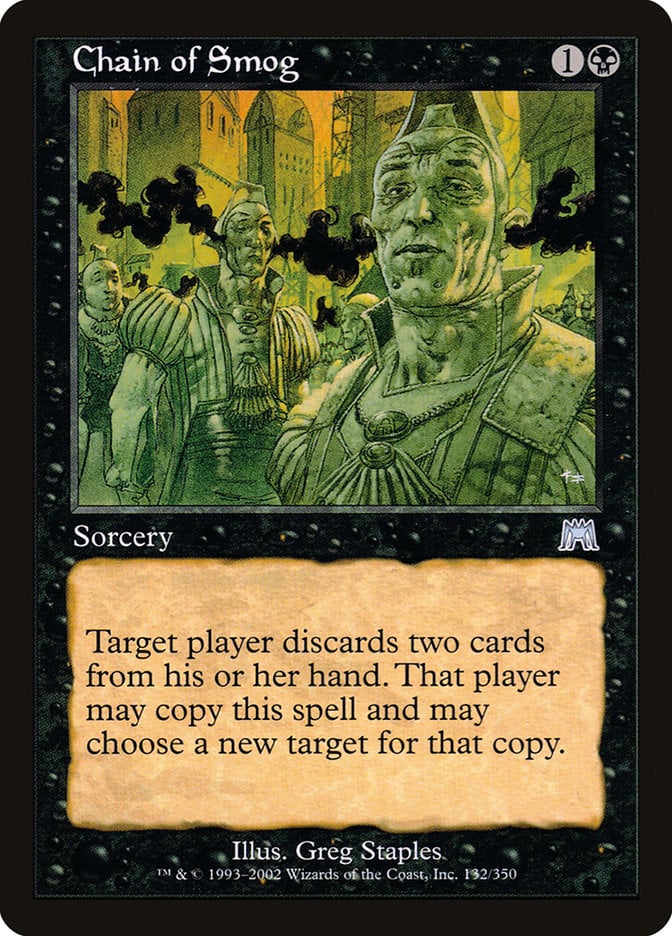
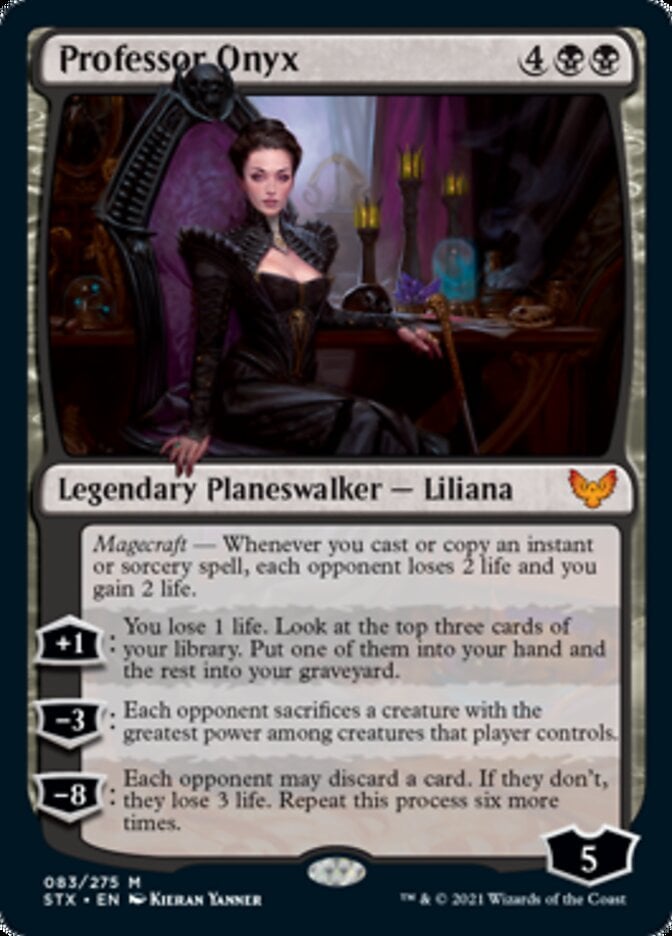
Cards – Chain of Smog, Professor Onyx
Prerequisites – Professor Onyx is on the battlefield. Chain of Smog is in hand.
Result – Infinite magecraft triggers + infinite opponent life loss + infinite lifegain
Variations – This combo doesn’t have many mono-black variations, but it still offers a few twists. The most well-known alternative is Witherbloom Apprentice, though it dips into green, making it off-limits for pure mono-black builds. If you're not aiming to win on the spot, Sedgemoor Witch can turn the loop into a token engine instead, flooding the board with Pest creatures. Sadly, there’s no true mono-black stand-in for Chain of Smog, but if you’re sticking to black and want inevitability, this combo is still one of the cleanest 2-card wins out there.
Execution – Cast Chain of Smog targeting yourself. Discard two cards, then choose to copy the spell targeting yourself again. Each copy triggers Professor Onyx’s magecraft ability, draining opponents for 2 and gaining 2 life. Repeat indefinitely.
#8. Orcish Bowmasters + Peer into the Abyss
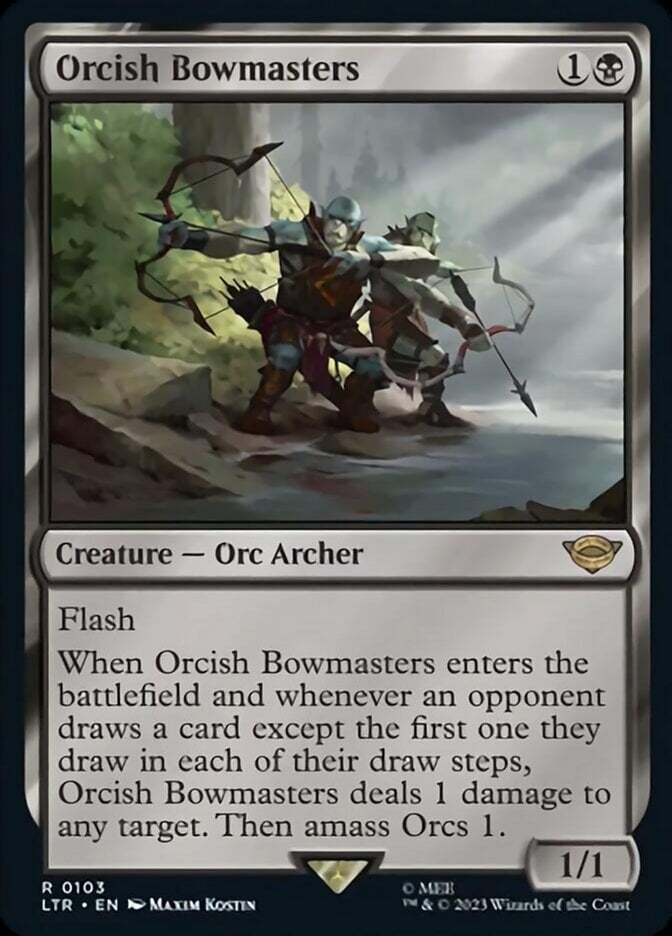
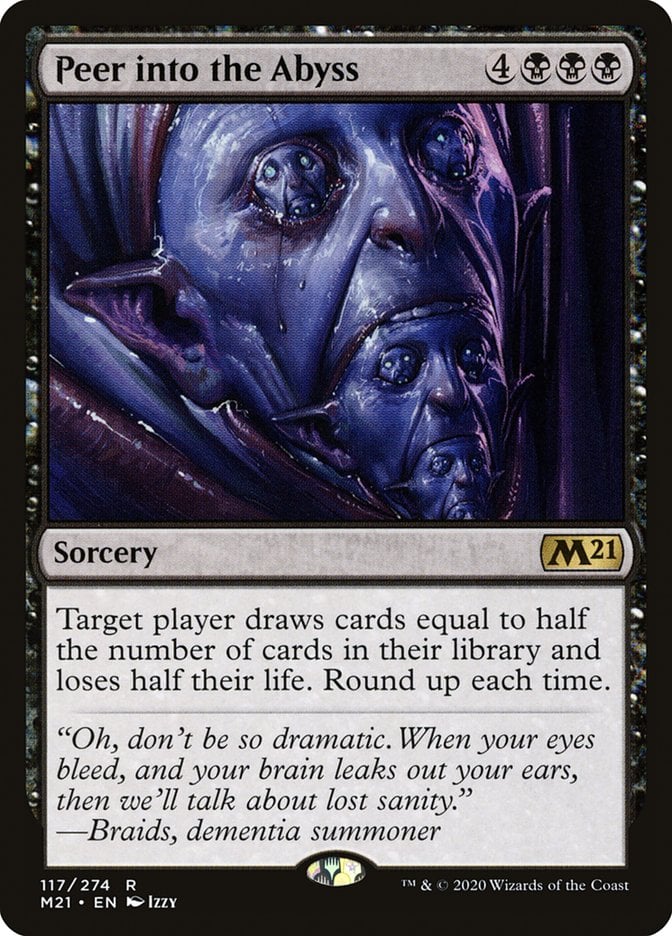
Cards – Orcish Bowmasters, Peer into the Abyss
Prerequisites – Orcish Bowmasters is on the battlefield. Peer into the Abyss is in hand. You can pay . Target opponent’s library size is greater than or equal to their life total.
Result – Near-infinite damage to one opponent + near-infinite amass triggers + that opponent loses the game
Variations – While there’s no perfect mono-black stand-in for Peer into the Abyss, cards like Damnable Pact or Necrologia can still push a player to draw a dangerous number of cards—just not quite as explosively. You can also pair Peer into the Abyss with Sheoldred, the Apocalypse for a lethal life-loss combo instead. Really, any spell that forces an opponent to draw a ton at once turns Orcish Bowmasters into a machine gun, making this combo surprisingly flexible despite its flashy pieces.
Execution – Cast Peer into the Abyss targeting an opponent. They draw half their library and lose half their life. Orcish Bowmasters triggers once for each card drawn, dealing 1 damage per trigger. If their library size exceeds their life total, they die from the Bowmasters’ damage before resolving the full draw.
#7. Sheoldred, the Apocalypse + Vilis, Broker of Blood + K'rrik, Son of Yawgmoth
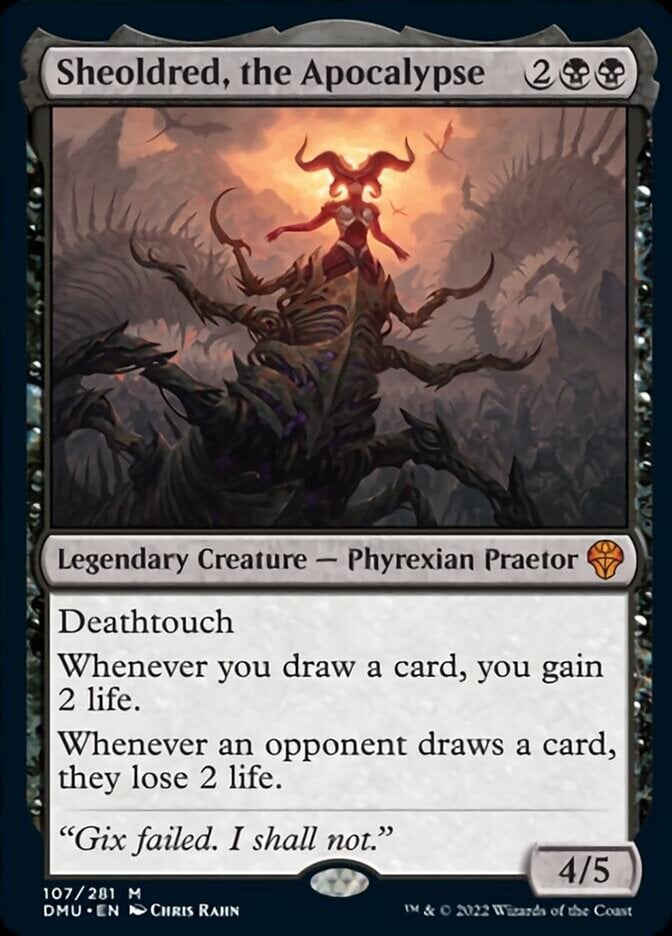

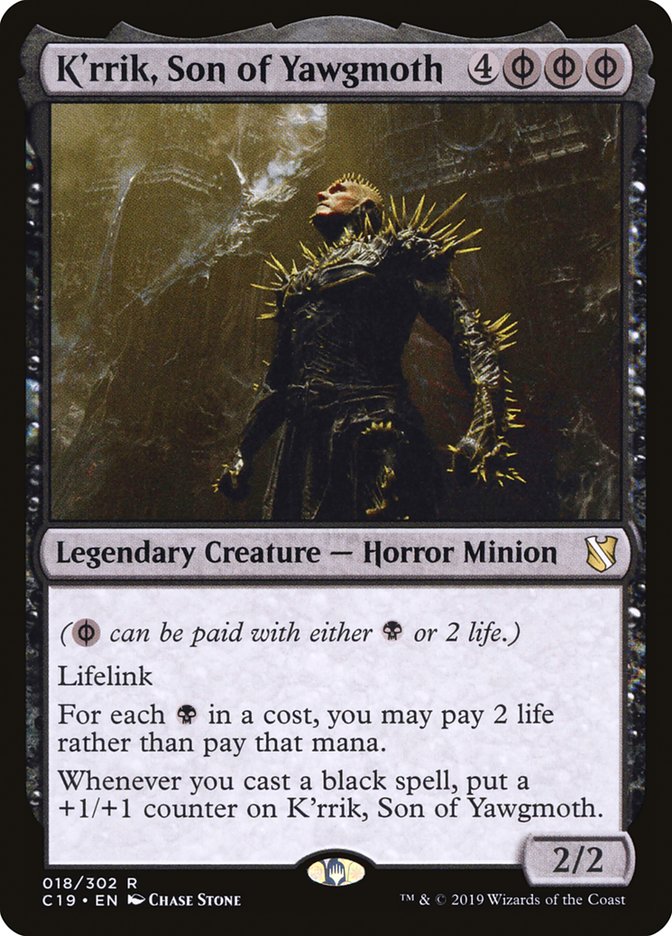
Cards – Sheoldred, the Apocalypse, Vilis, Broker of Blood, K'rrik, Son of Yawgmoth
Prerequisites – All three creatures are on the battlefield. You have at least 2 life to pay for K'rrik, Son of Yawgmoth‘s Phyrexian mana cost.
Result – Infinite card draw + infinite lifegain + infinite death triggers (with payoff)
Variations – There are a few neat ways to swap pieces in and out of this loop depending on what you’ve got. If you don’t have Vilis, Broker of Blood, Greed works in a pinch—it’s slower and needs black mana, but it still gets the job done. For finishing the loop, Vito, Thorn of the Dusk Rose or Sanguine Bond can stand in for Sheoldred, the Apocalypse, turning all that lifegain into lethal drain. You can even get creative with Necropotence or Blood Celebrant, which open up alternate lines if you build around them.
Execution – Use K'rrik, Son of Yawgmoth to pay 2 life instead of to activate Vilis, Broker of Blood’s ability. Each activation causes you to lose life, which draws you cards with Vilis. Each card draw then gains you 2 life from Sheoldred, the Apocalypse, which offsets K’rrik’s life payment, letting you repeat infinitely.
#6. Yawgmoth, Thran Physician + Nest of Scarabs + Blood Artist
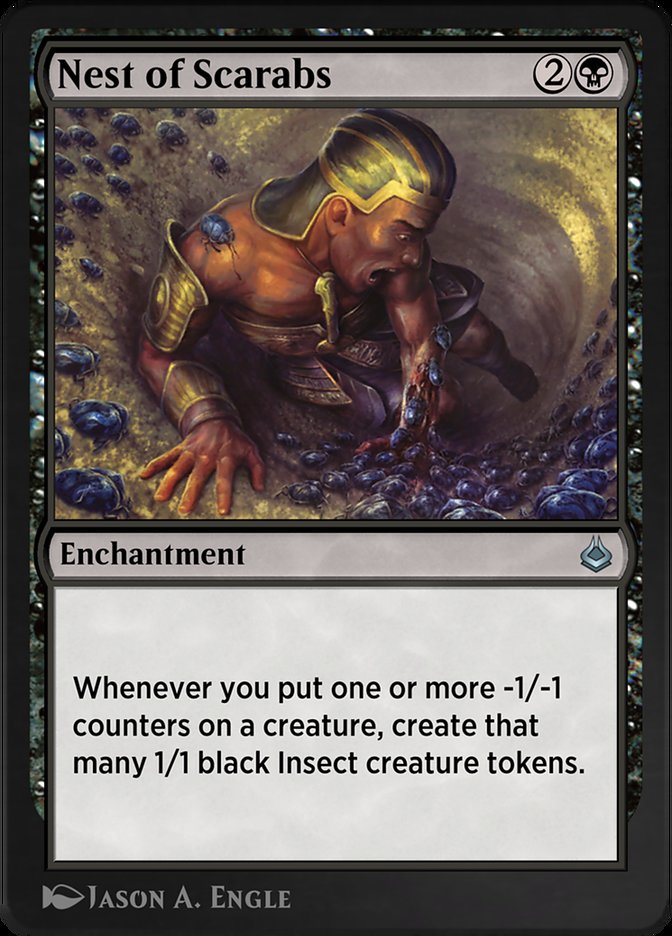
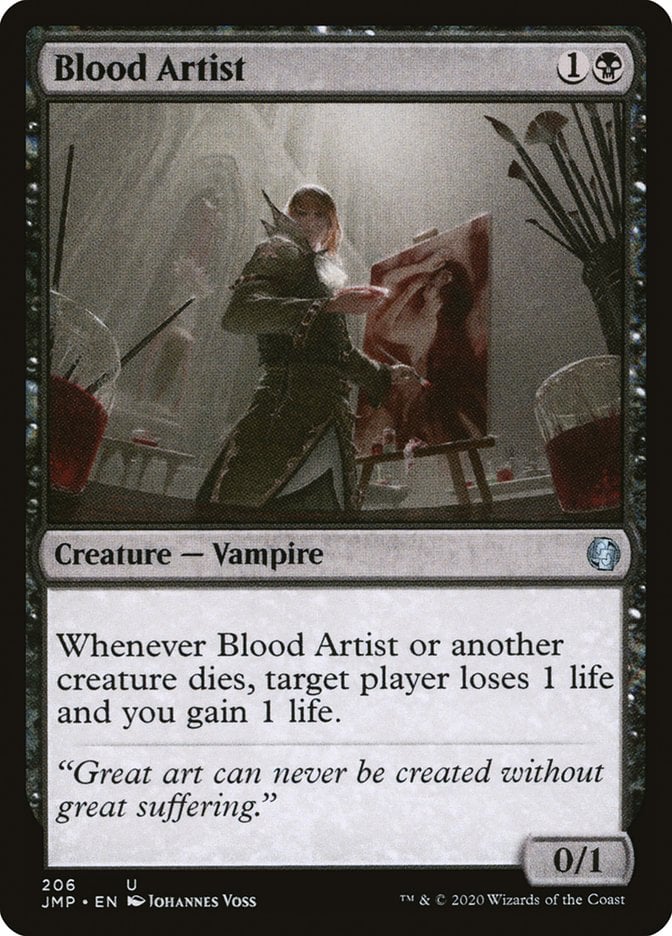
Cards – Yawgmoth, Thran Physician, Nest of Scarabs, Blood Artist
Prerequisites – All permanents are on the battlefield. You have at least 2 life and there's at least one other creature on the battlefield to place -1/-1 counters on.
Result – Near-infinite -1/-1 counters + infinite card draw + infinite death/sacrifice/ETB/LTB triggers + infinite life drain and gain
Variations – You’ve got tons of ways to tweak this combo depending on what’s in your deck. Zulaport Cutthroat is a straight swap for Blood Artist, and it’s especially good in multiplayer since it hits all opponents. If you want to go wide, Hapatra, Vizier of Poisons floods the board with deathtouch Snake tokens. Adding Pitiless Plunderer turns every death into free Treasures, opening up even more busted plays. And for finishers, anything that loves death or ETB triggers—like Syr Konrad, the Grim or Ayara, First of Locthwain—will seal the deal.
Execution – Use Yawgmoth, Thran Physician to sacrifice a creature and pay 1 life. Blood Artist triggers to offset the life loss, and Nest of Scarabs creates a token when the -1/-1 counter is placed. Repeat the loop using the new tokens, drawing cards and draining life until your opponents are dead or your deck is empty.
#5. Exquisite Blood + Sanguine Bond
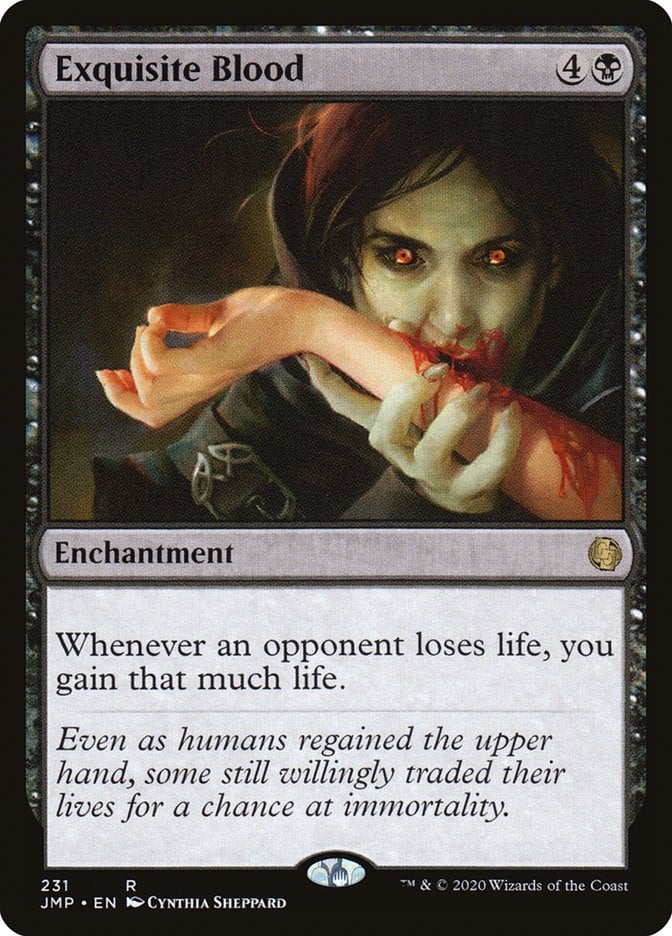

Cards – Exquisite Blood, Sanguine Bond
Prerequisites – Both enchantments are on the battlefield. Any lifegain or opponent life loss event occurs.
Result – Infinite lifegain + infinite opponent life loss (kills all opponents)
Variations – This combo has a handful of fun and deadly variations, especially if you're building around Exquisite Blood. Vito, Thorn of the Dusk Rose works just like Sanguine Bond, but being a creature can make it easier to tutor for or reanimate. Cliffhaven Vampire and Defiant Bloodlord are solid stand-ins too, each turning your lifegain into life loss for your opponents and keeping the loop going. As long as you’ve got Exquisite Blood and any one of these payoffs, all it takes is a single point of life movement to start the chain reaction.
Execution – Any point of lifegain or loss triggers the loop. You gain life, Sanguine Bond makes opponents lose life, which triggers Exquisite Blood to gain more life, and the cycle repeats until everyone else is dead.
#4. Bloodcrank
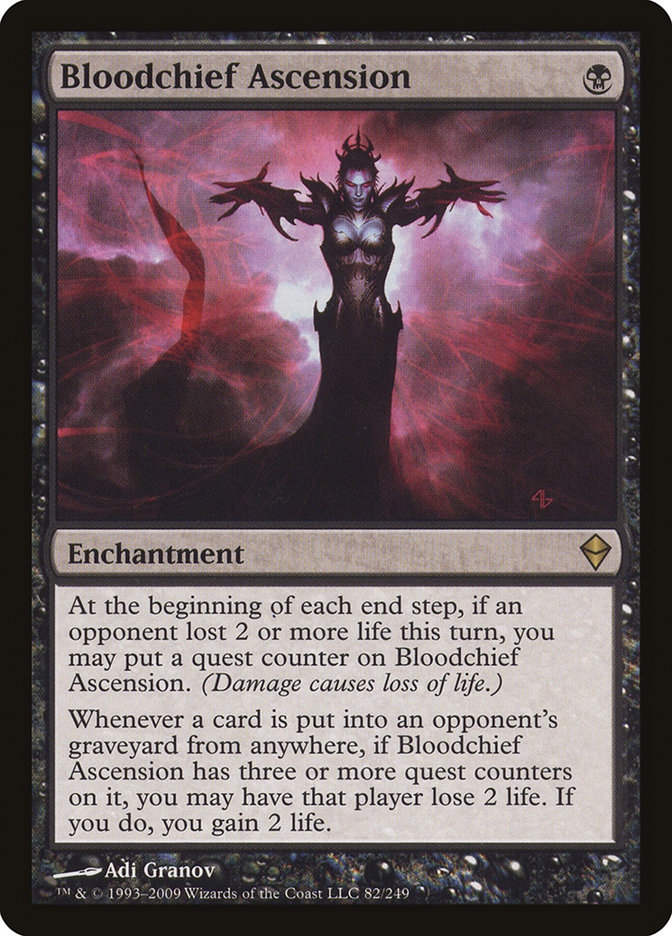
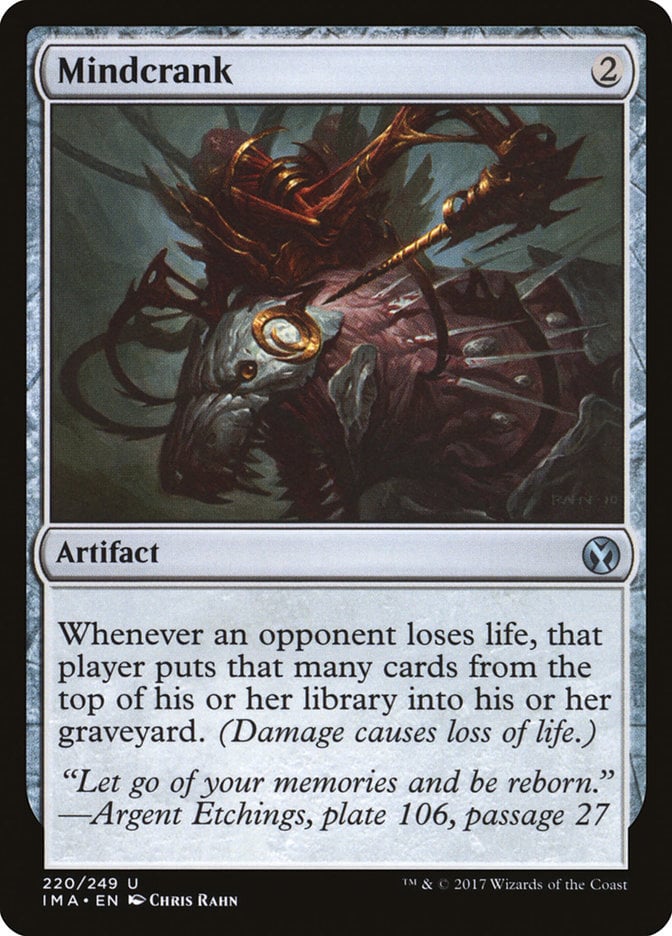
Cards – Bloodchief Ascension, Mindcrank
Prerequisites – Bloodchief Ascension has three quest counters. An opponent loses life or puts a card into their graveyard.
Result – Infinite opponent mill + infinite life loss (kills targeted opponent)
Variations – This classic two-card combo has a couple of flavorful offshoots. If you're not sticking strictly to mono-black, Duskmantle Guildmage works with Mindcrank in a nearly identical way, just needing a bit of mana to kick things off. In loops where you're milling yourself or everyone, Syr Konrad, the Grim can pile on damage with every creature card that hits the ‘yard.
Execution – Any life loss or mill causes Mindcrank to mill cards, which triggers Bloodchief Ascension to drain life, causing more mill, and so on. The opponent’s life and library are emptied in one unbroken loop.
#3. Mike & Trike
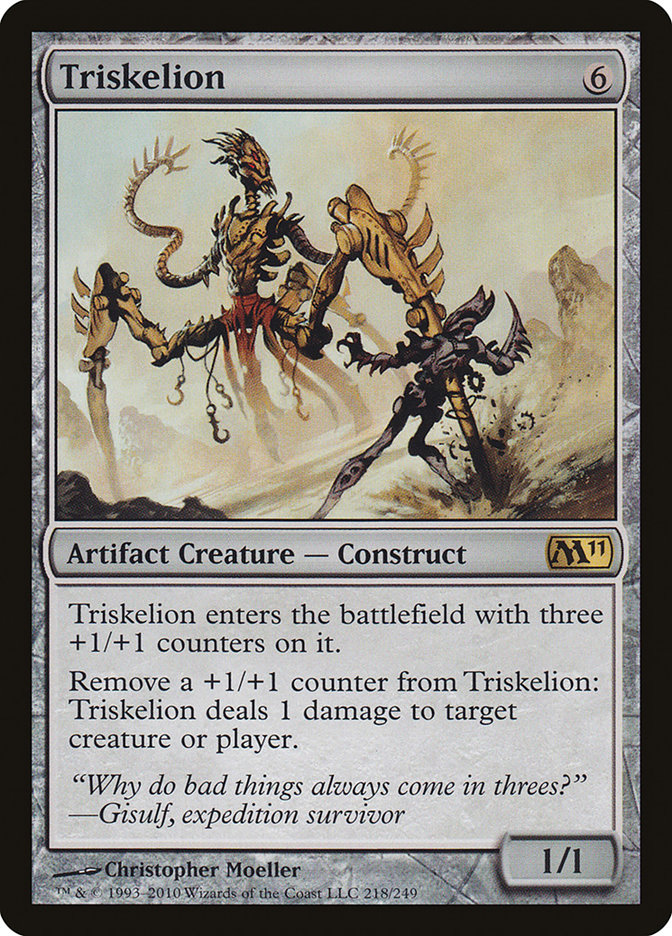
Cards – Mikaeus, the Unhallowed, Triskelion
Prerequisites – Both creatures are on the battlefield. Triskelion has at least two +1/+1 counters.
Result – Infinite damage to opponents + infinite death and ETB triggers
Variations – The Mike & Trike combo has a couple of slick variations if you're looking to switch things up. Walking Ballista can step in for Triskelion, though you’ll need a way to give it that first +1/+1 counter after undying brings it back. If you're running graveyard shenanigans, Necrotic Ooze can pull off the entire combo on its own just by having both creatures in the graveyard—it copies their abilities and loops damage from there.
Execution – Remove two counters from Triskelion to deal 1 damage to an opponent and 1 to itself. It dies, undying brings it back with an extra +1/+1 counter. Repeat the loop to deal unlimited damage and trigger death-based effects endlessly.
#2. Gravecrawler + Phyrexian Altar
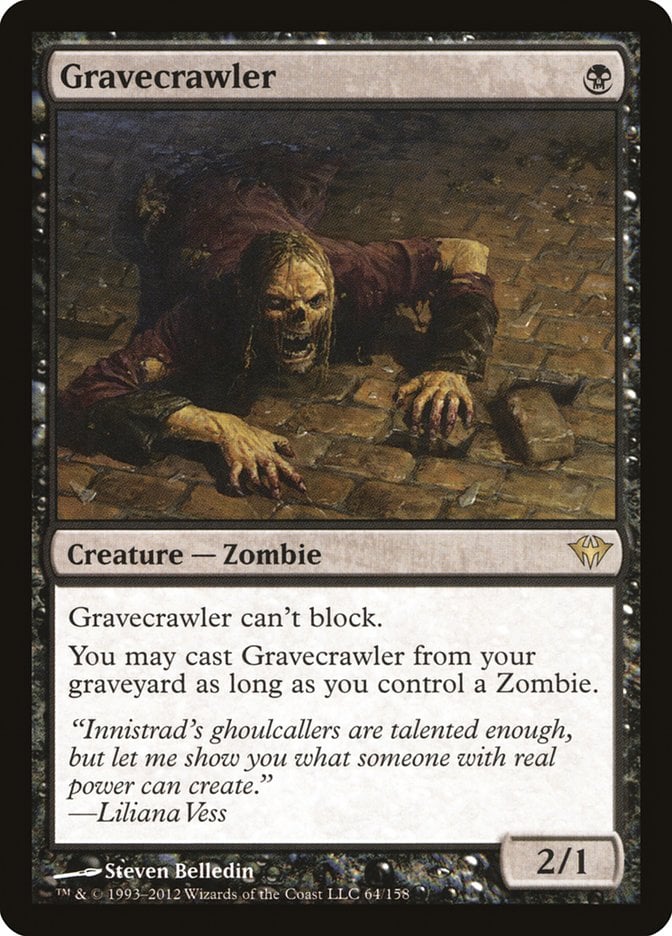
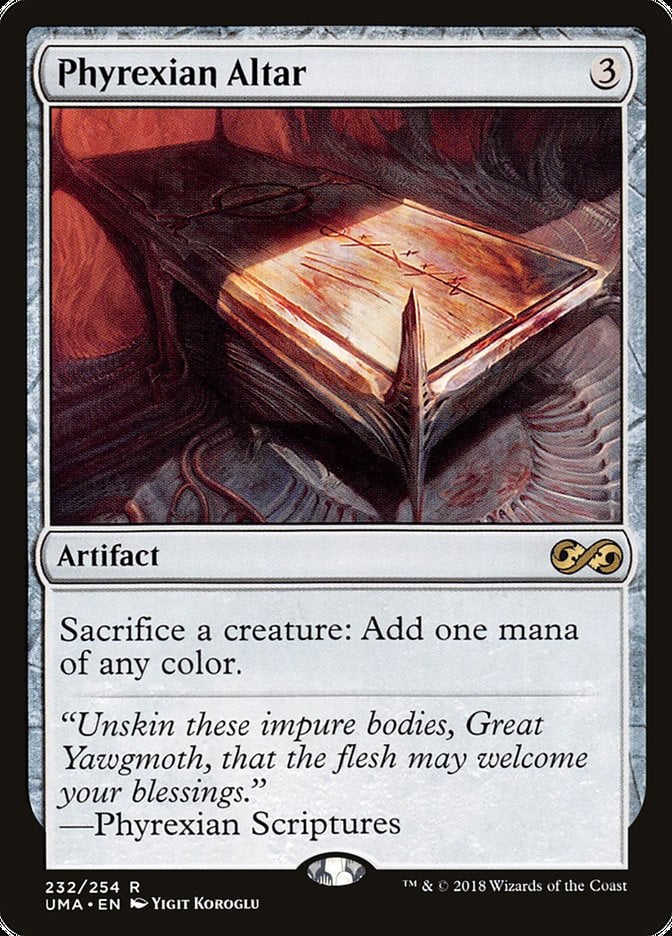
Cards – Gravecrawler, Phyrexian Altar
Prerequisites – Phyrexian Altar is on the battlefield. Gravecrawler is in the graveyard or on the field, with another zombie under your control. You must be able to produce black mana.
Result – Infinite creature deaths + infinite ETBs + infinite sacrifices + infinite spell casts (infinite storm count)
Variations – This combo is super modular and easy to customize. If you don’t have Phyrexian Altar, you can sub in Ashnod's Altar plus something like Bog Initiate to convert colorless into black mana, or you can go big with Chromatic Orrery for total color flexibility. Want to go wide while going infinite? Diregraf Colossus turns every Gravecrawler cast into a new Zombie token, flooding the board. And for finishing the game, you’ve got tons of drain options—Zulaport Cutthroat, Blood Artist, or Ayara, First of Locthwain all turn the loop into a one-sided slaughter.
Execution – Sacrifice Gravecrawler to Phyrexian Altar for black mana, then use that mana to cast Gravecrawler from your graveyard since you control a zombie. Repeat the loop endlessly, triggering any death, ETB, or cast payoffs.
#1. Helm of Obedience + Leyline of the Void
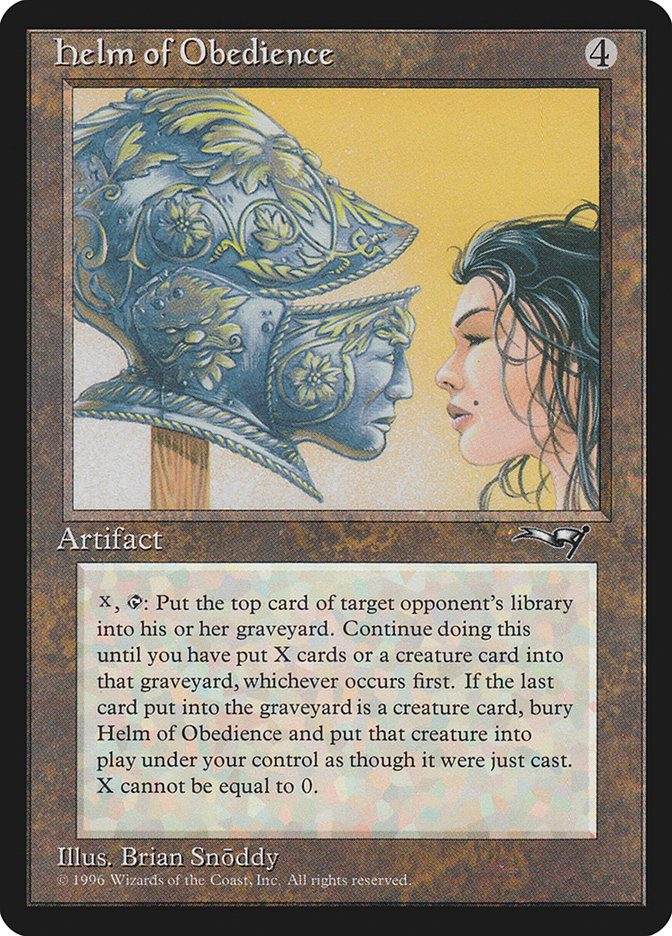
Cards – Helm of Obedience, Leyline of the Void
Prerequisites – Leyline of the Void is on the battlefield. You can activate Helm of Obedience for at least X=1 targeting an opponent.
Result – Target opponent’s entire library is exiled.
Variations – There are a few ways to replicate this exile loop if you don’t have Leyline of the Void. Dauthi Voidwalker works beautifully and even gives you a chance to cast some of the exiled cards later. Planar Void is a budget-friendly alternative that accomplishes the same thing, though it’s easier to remove. If you’re splashing white, Rest in Peace is a go-to replacement and often used in cEDH lists for this combo. You can even turn it into a pseudo-lock by adding Web of Inertia, making it nearly impossible for opponents to attack once their graveyards are perpetually empty.
Execution – Activate Helm of Obedience targeting an opponent. Its ability never resolves because Leyline of the Void exiles each card before it reaches the graveyard, so Helm never hits its stop condition and continues until the opponent's library is gone.
Wrap Up
Bloodchief Ascension | Illustration by Adi Granov
Mono-black combos bring some truly terrifying power to the table—especially in Commander and high-power games. Whether you’re looping creatures, draining life totals, or drawing your entire deck, black has all the tools to win in style, often with just two or three cards.
Did any of these combos catch your eye? Or do you have a favorite mono-black setup I didn’t include? Let us know in the comments!
Thanks for sticking around. If you enjoy MTG content and want to stay up to date on new combos, brews, and strategy tips, be sure to follow us on social media and join our Discord community.
Take care, and see you next time.
Follow Draftsim for awesome articles and set updates:


Add Comment