
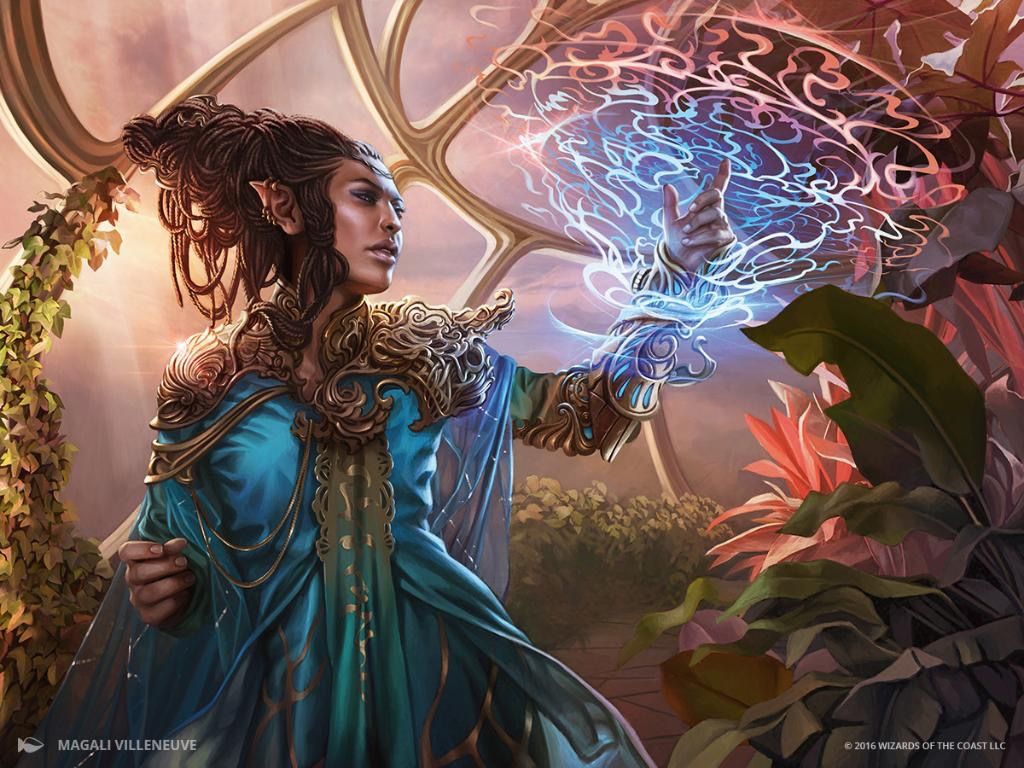
Rashmi, Eternities Crafter | Illustration by Magali Villeneuve
The Commander Bracket system is a set of deckbuilding standards suggested by the Commander Format Panel (CFP) to help players discuss their Commander decks to find even matchups.
Sitting at the center of the five Brackets is Bracket 3, which includes many decks. Here, Commander players teeter between “look how cool this uncommon is” and “I will win at all costs,” leading to decks that employ plenty of pet cards yet still go for the throat—just not as ruthlessly as, say, a cEDH deck.
Today, I’ve compiled four decklists that show off what you can do in Bracket 3 and what makes a good B3 commander.
What Is Bracket 3 in MTG?

Bracket 3 sits at the center of Wizard’s Bracket scale for Commander decks. Unlike Brackets 1 and 2, players can have up to three Game Changers, the strongest cards in the format. Infinite combos are allowed, though cheap, 2-card combos are discouraged. Extra turn cards are okay, as long as you don’t plan to chain them, and only use a few extra turn cards.
As the power level increases, Bracket 3 decks tend to focus less on pet cards and cute synergies in favor of fleshed out, powerful strategies, though they aren’t turbo decks trying to win as fast as possible like Brackets 4 & 5.
What Makes a Commander Good for Bracket 3?
Basically any commander is viable in Bracket 3. Commanders on the extremes of the unplayable/broken spectrum are tough—for example, The Ur-Dragon does nothing while Winota, Joiner of Forces does too much. But nearly all commanders exist between those examples.
Because of this broadness, a good Bracket 3 EDH deck is about the 99 as much as the legend itself. Commanders that provide critical resources, like card advantage or a mana advantage, commanders with well-supported archetypes like elves and +1/+1 counters, or commanders that can win the game with minimal fuss are all excellent options.
Each commander I picked fell into the above categories. Not all of them are cut out for Bracket 4—Otharri, for example, encourages a fair game plan that might struggle in a combo-heavy Bracket.
Rashmi, Eternities Crafter
Rashmi, Eternities Crafter | Illustration by Magali Villeneuve
Commander (1)
Planeswalker (1)
Creature (23)
Aether Channeler
Archaeomancer
Birds of Paradise
Bloom Tender
Delighted Halfling
Displacer Kitten
Elvish Visionary
Endurance
Eternal Witness
Frilled Mystic
Hydroelectric Specimen
Kogla, the Titan Ape
Laboratory Maniac
Marang River Regent
Peregrine Drake
Reclamation Sage
Seedborn Muse
Spellseeker
Tatyova, Benthic Druid
Thrasios, Triton Hero
Vedalken Aethermage
Venser, Shaper Savant
Wavebreak Hippocamp
Instant (27)
An Offer You Can't Refuse
Brainstorm
Chord of Calling
Counterspell
Dig Through Time
Dispel
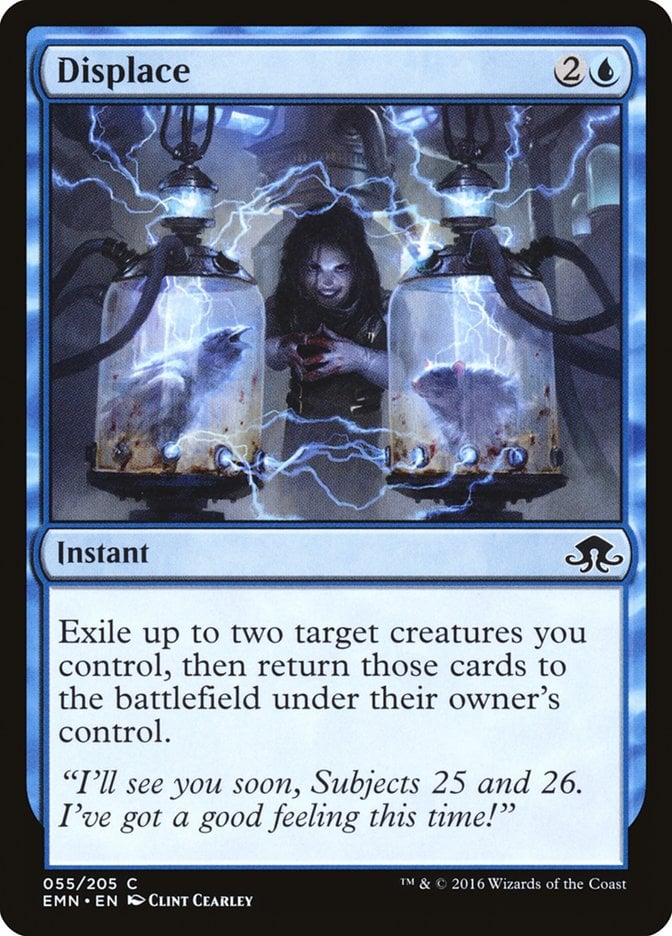
Displace
Dizzy Spell
Evacuation
Ghostly Flicker
Growth Spiral
Mana Drain
Muddle the Mixture
Mystical Tutor
Mystic Confluence
Noxious Revival
Planar Genesis
Pongify
Quick Study
Rewind
Sink into Stupor
Snap
Swan Song
Tamiyo's Safekeeping
Three Steps Ahead
Veil of Summer
Worldly Tutor
Sorcery (9)
Bridgeworks Battle
Explore
Nature's Lore
Sea Gate Restoration
See the Truth
Step Through
Stock Up
Stream of Thought
Three Visits
Enchantment (5)
Exploration
Sylvan Library
Utopia Sprawl
Wilderness Reclamation
Wild Growth
Artifact (2)
Lotus Petal
Sensei's Divining Top
Land (32)
Boseiju, Who Endures
Breeding Pool
Command Tower
Demolition Field
Dreamroot Cascade
Flooded Grove
Flooded Strand
Forest x2
Hedge Maze
Hinterland Harbor
Horizon of Progress
Island x6
Mana Confluence
Mistrise Village
Misty Rainforest
Mystic Sanctuary
Otawara, Soaring City
Polluted Delta
Prismatic Vista
Rejuvenating Springs
Scalding Tarn
Tropical Island
Waterlogged Grove
Willowrush Verge
Yavimaya Coast
Yavimaya, Cradle of Growth
The Commander: Rashmi, Eternities Crafter
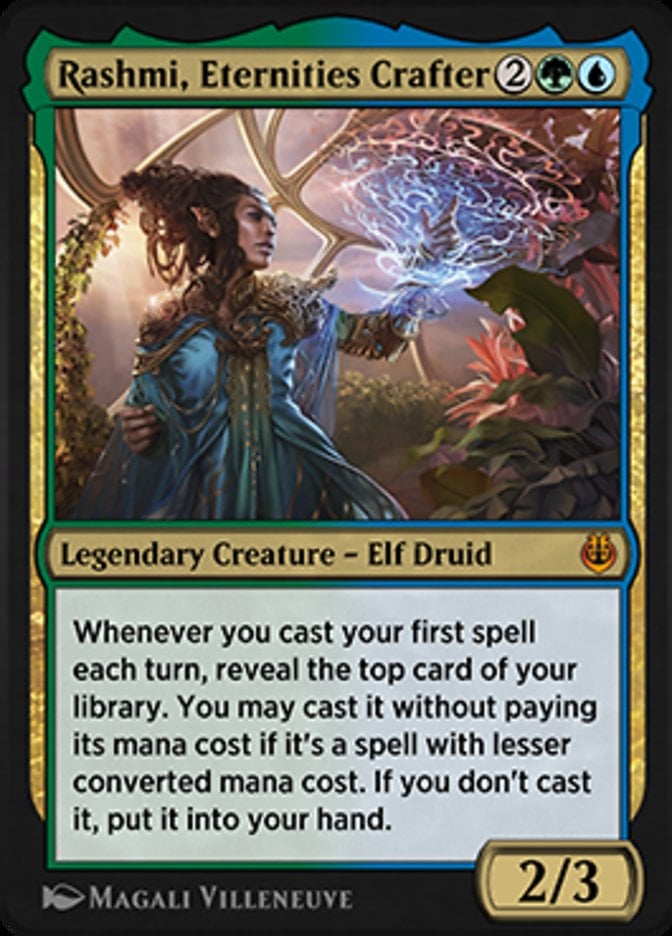
Rashmi, Eternities Crafter works well in Bracket 3 because it offers incredible card advantage when you play at instant speed and cast spells on as many opposing turns as possible.
That card advantage lends itself well to a grindy deck or a combo deck that needs to see lots of cards. This deck falls into the latter category, built to use Rashmi to churn through its library and help to assemble winning combos. Rashmi gives the deck the resources to take its time assembling a win in a combo-control strategy.
The Deck
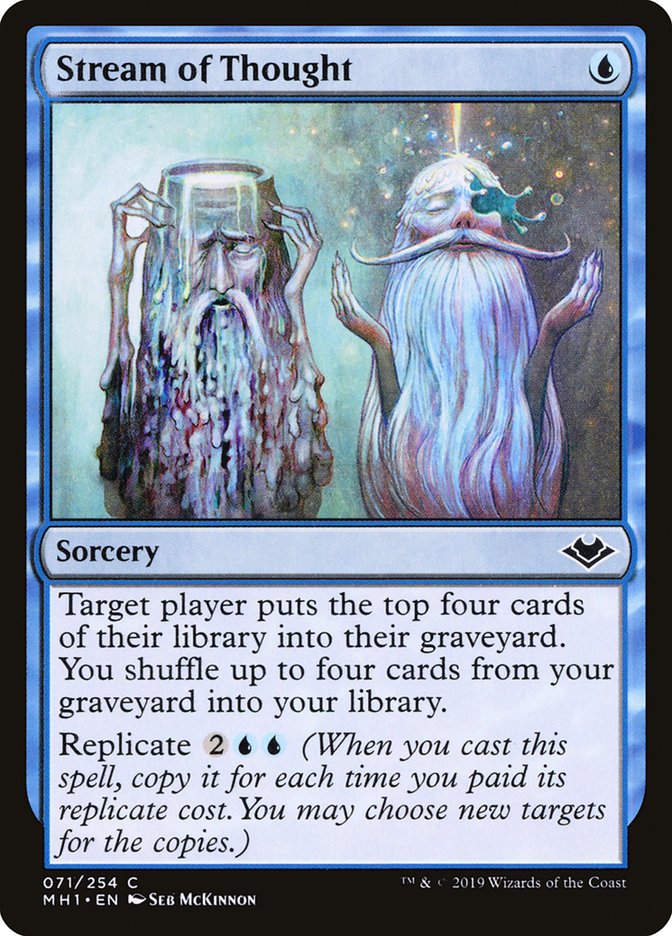
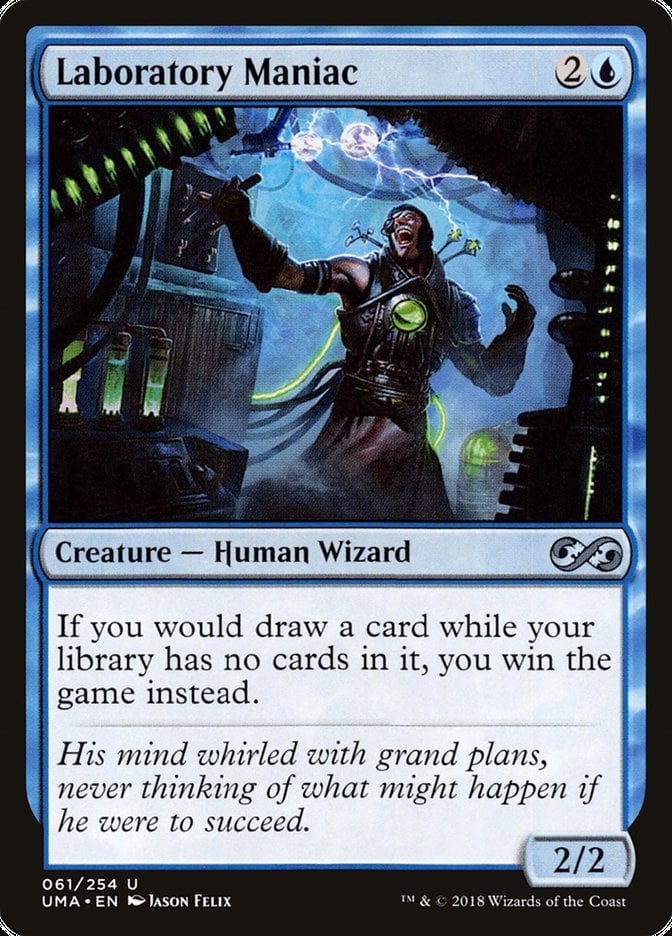
This deck wins by creating infinite mana, then drawing its deck. It can also mill itself (or its opponents) with Stream of Thought, replicated infinitely. Then you play Laboratory Maniac and draw a card—no Thassa's Oracle, as the Game Changer slots are better filled by tutors.
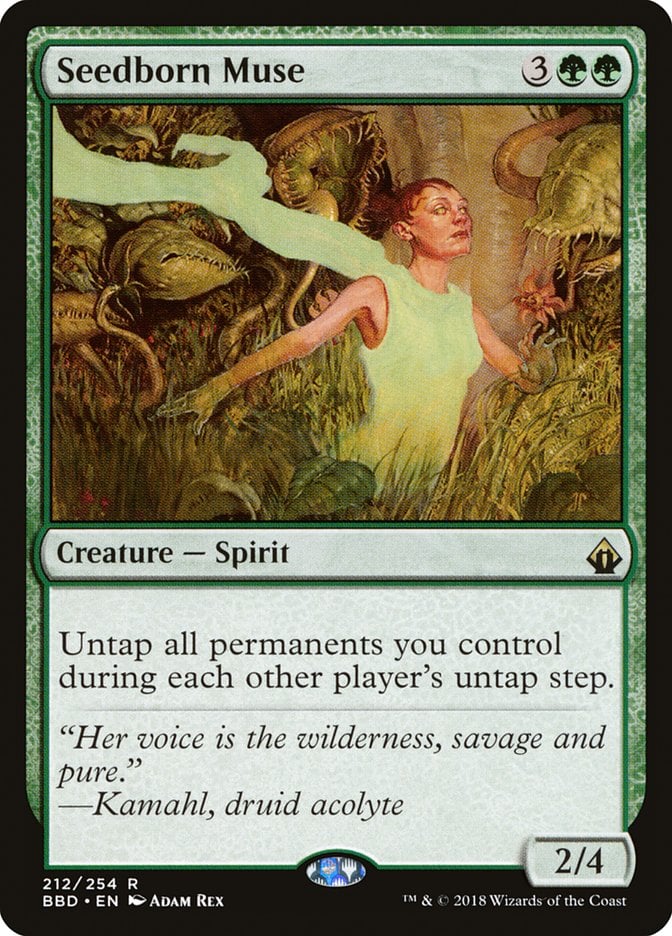
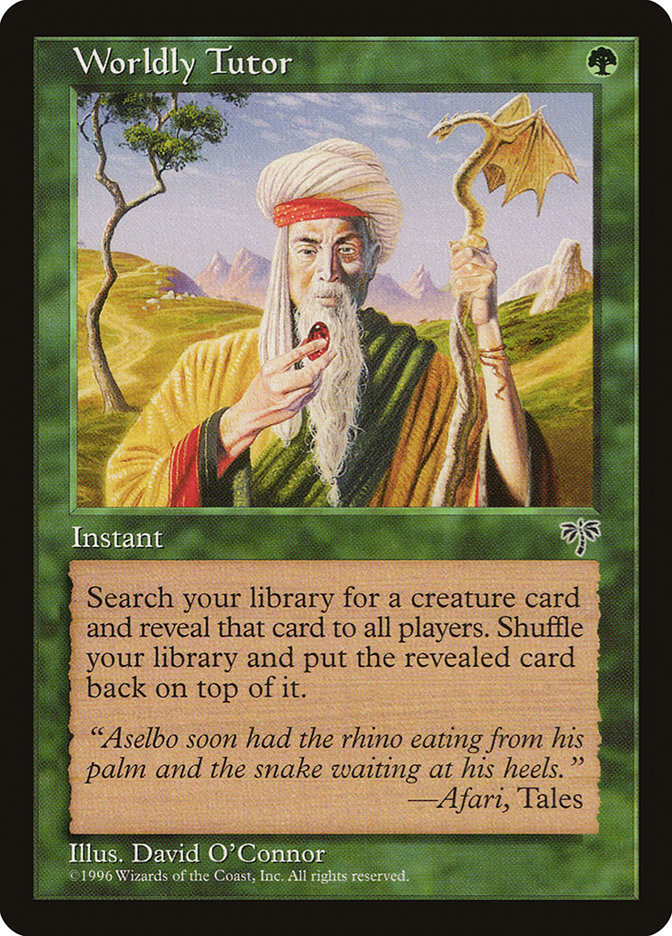
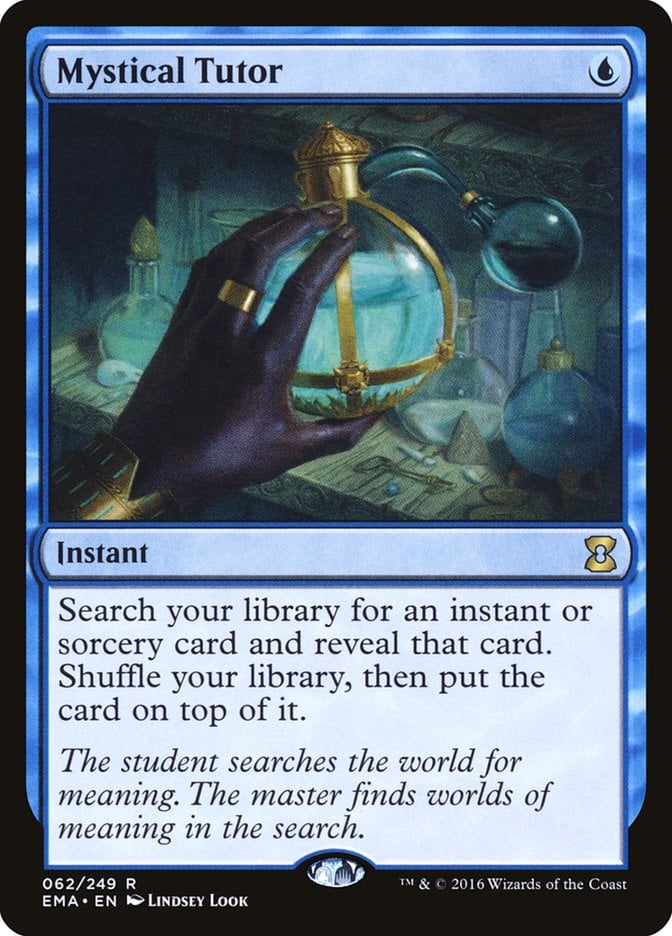
This deck uses the full three Game Changers. Seedborn Muse could have been designed specifically for Rashmi; it certainly feels that way when you play it. Worldly Tutor and Mystical Tutor help to assemble your combos.
Backing up the combo is a very controlling game plan. Rashmi encourages playing at instant speed, so the deck has lots of creatures with flash and instants to keep your opponents from doing anything frightening.
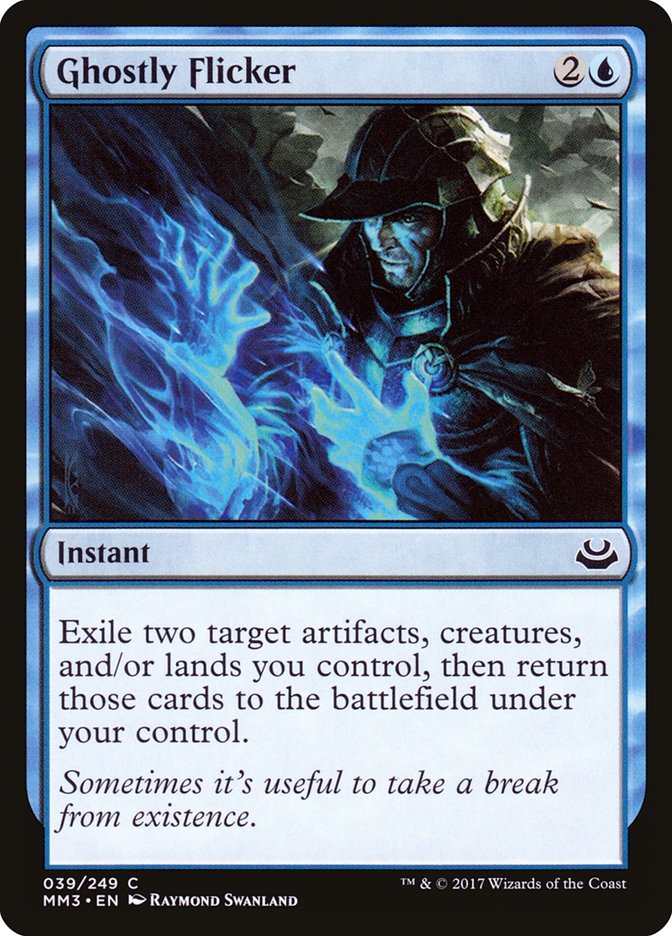
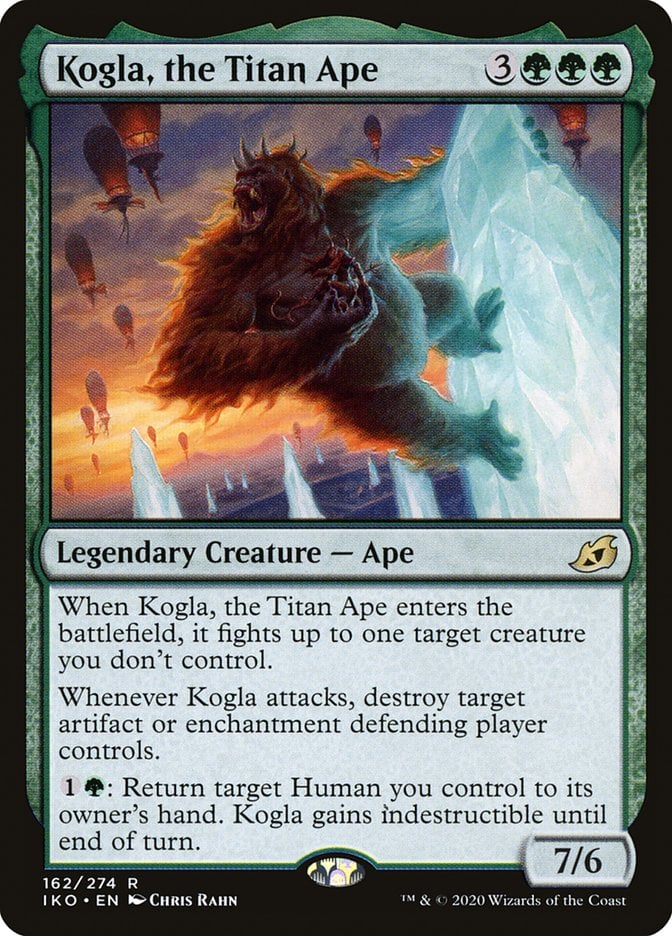


There’s also a small flicker subtheme that came about due to Ghostly Flicker. It’s why you have creature-based interaction in cards like Kogla, the Titan Ape, Marang River Regent, and Frilled Mystic. The rare fair win involves flickering the first two creatures often and attacking.
Combos and Interactions
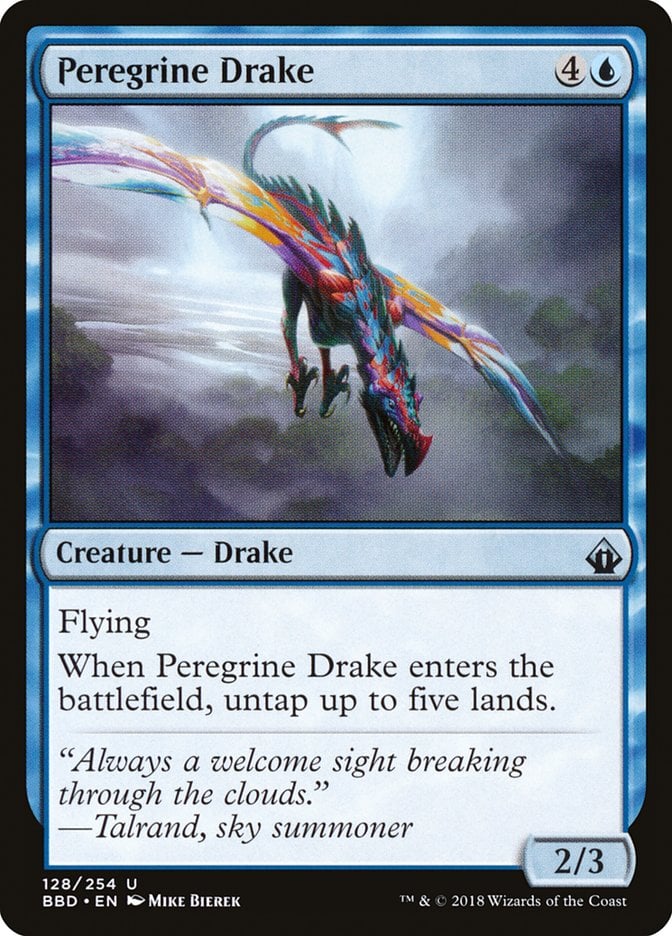
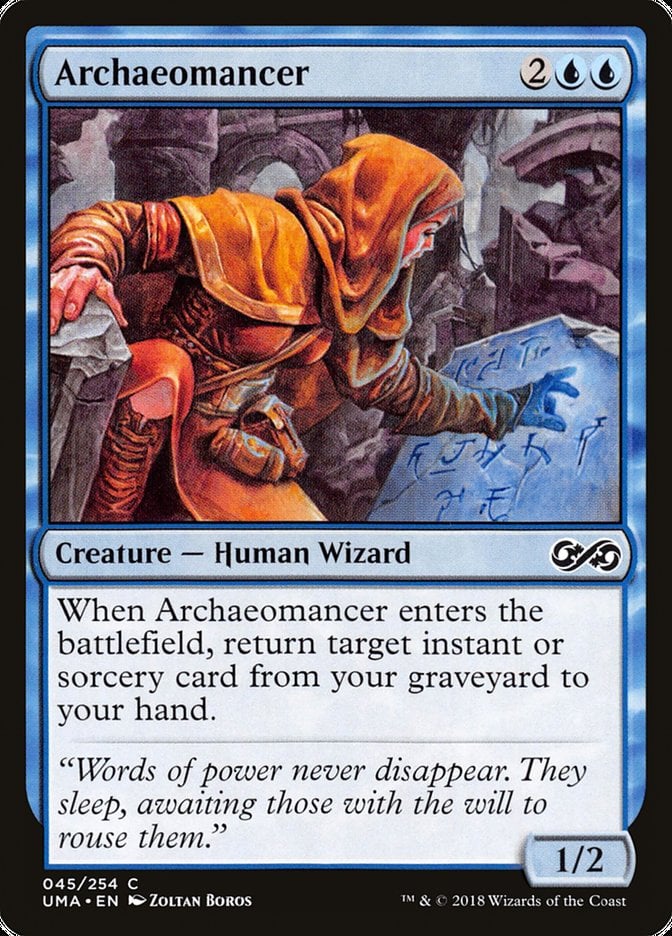

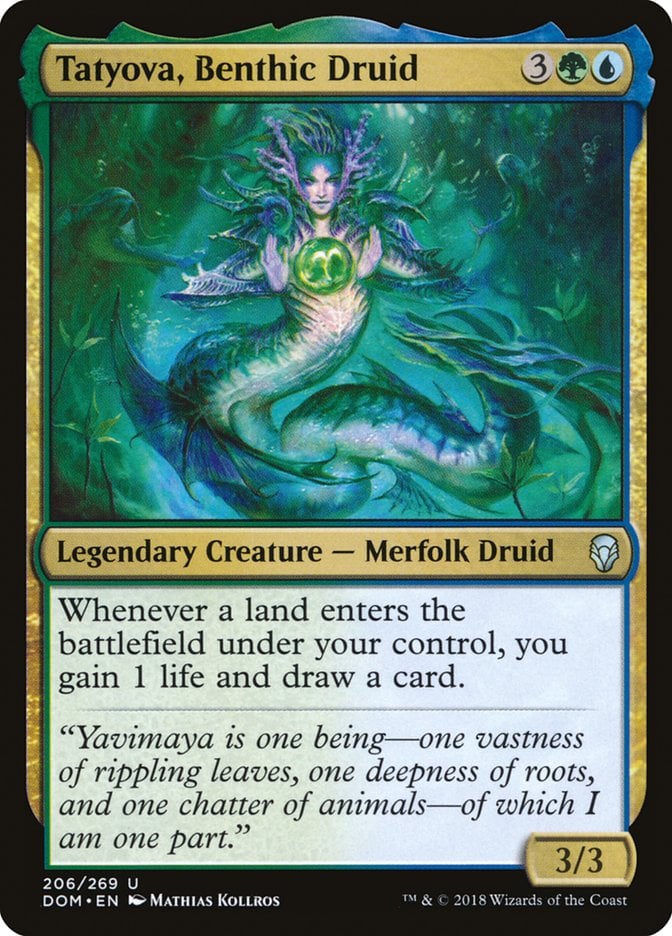
The most significant infinite loop is the Peregrine Drake + Ghostly Flicker + Archaeomancer combo. Flicker the two creatures, and Archaeomancer returns Ghostly Flicker to hand. A variant on this combo uses Mystic Sanctuary and Tatyova, Benthic Druid instead of Archaeomancer. The Sanctuary puts Flicker on top of your library, and Tatyova’s landfall trigger draws it.
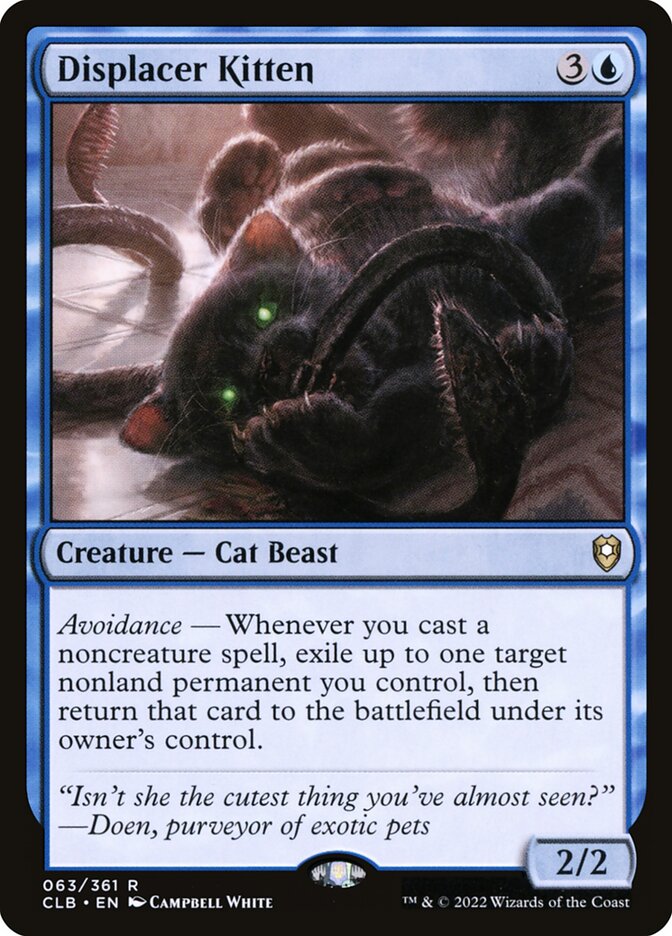
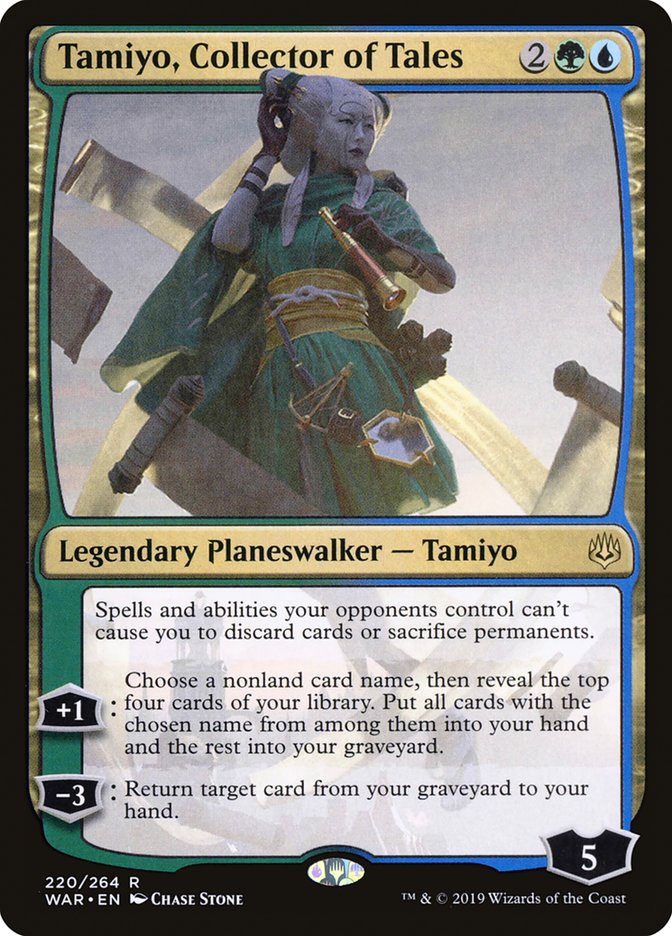
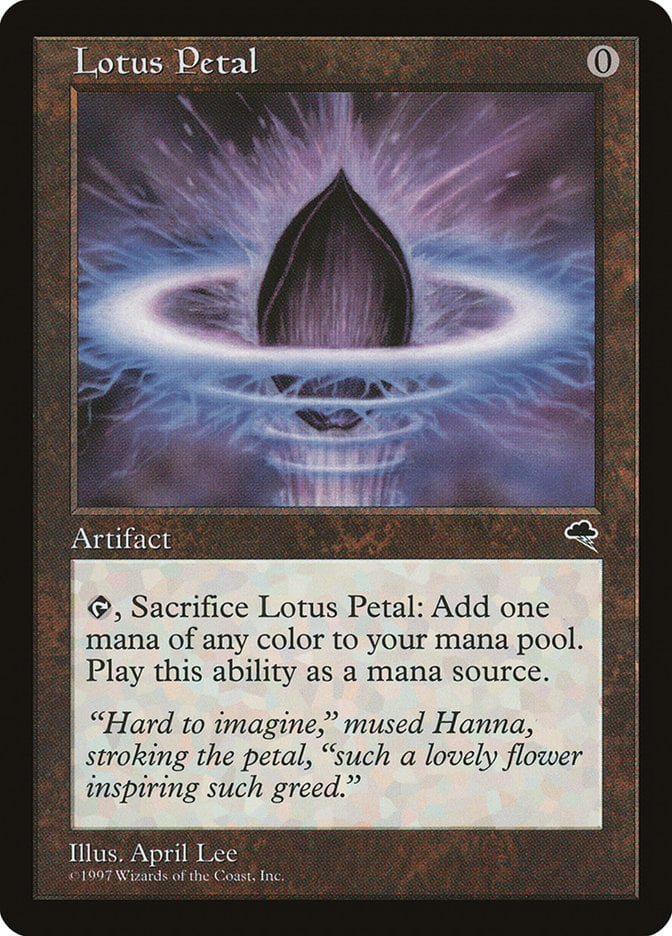
The other main combo is Displacer Kitten + Tamiyo, Collector of Tales + Lotus Petal. Casting the Petal triggers the Kitten, which flickers Tamiyo. You can then use Tamiyo to return the Petal to your hand and start all over.
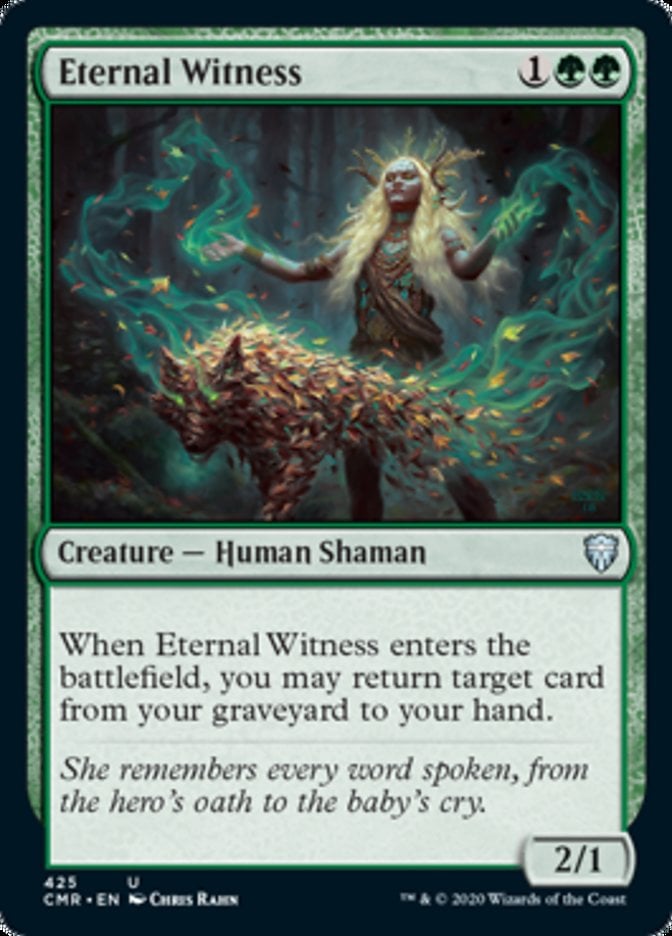
A non-infinite but crucial interaction is Archaeomancer (or Eternal Witness) and Ghostly Flicker/Displace. Instead of Peregrine Drake, you can flicker control pieces like Frilled Mystic or Marang River Regent repeatedly to control the game until a win surfaces.
Bracket 4 Upgrades
This is already a combo deck, so it upgrades into Bracket 4 quite easily by tweaking the interaction and combo options.
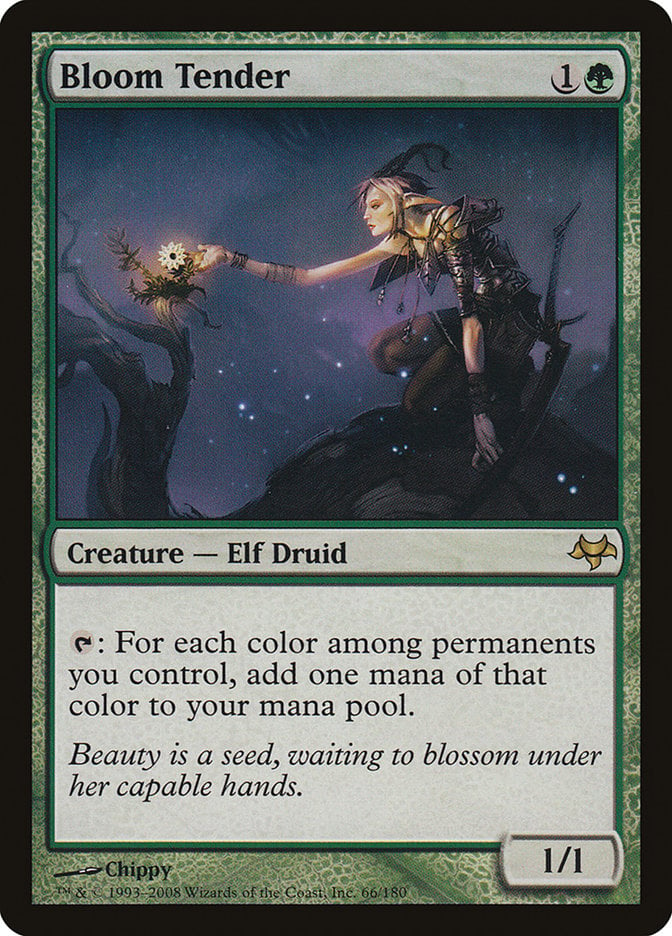
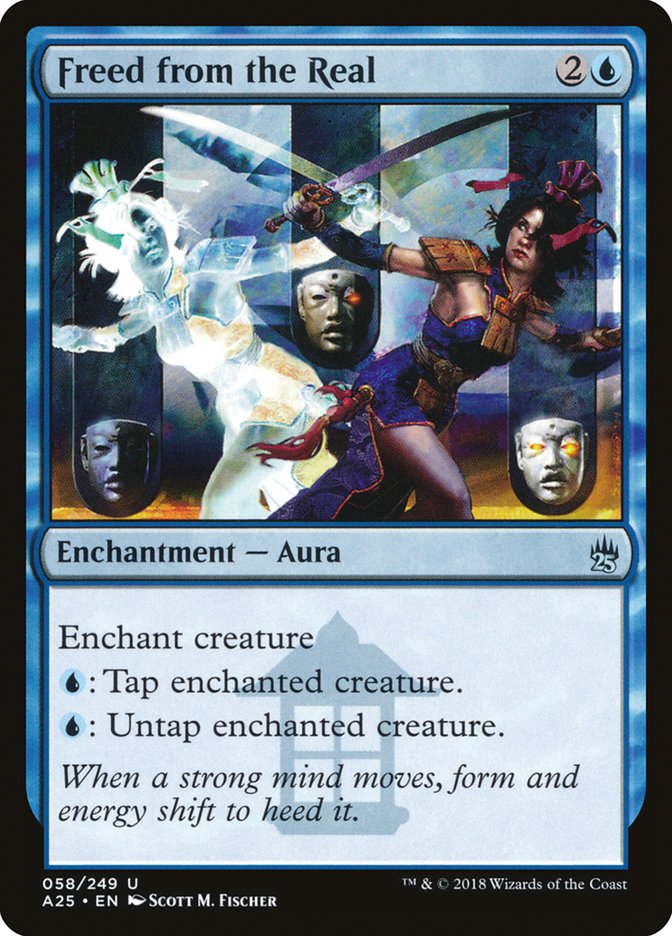
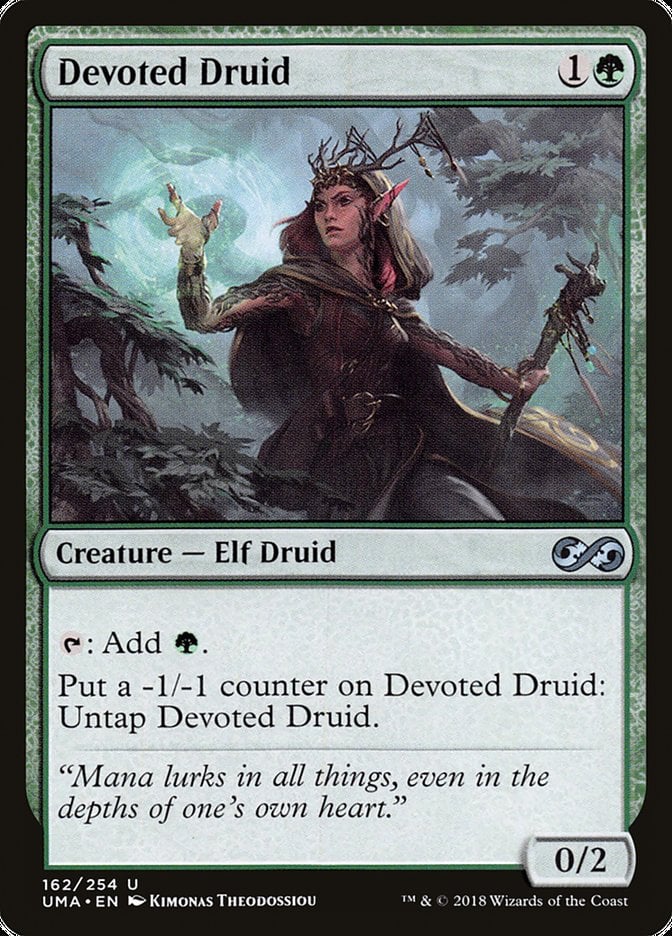
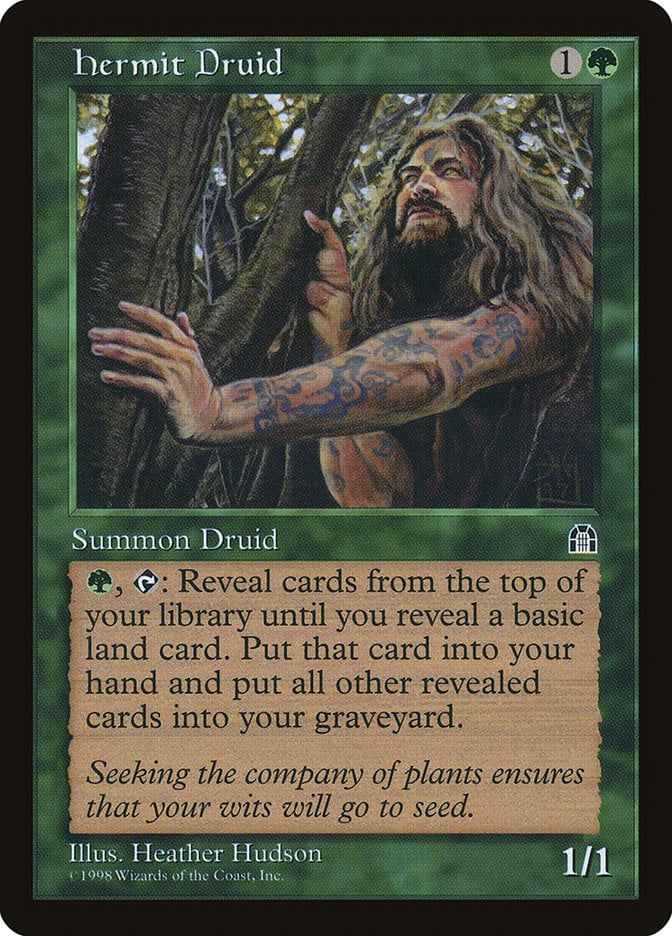
Bracket 4 allows any number of Game Changers, so Thassa's Oracle provides an immediate upgrade over LabMan. Two-card combos are allowed, so ditch Ghostly Flicker loops for Bloom Tender + Freed from the Real, Devoted Druid + any Magic card ever printed, and Hermit Druid + Thassa's Oracle.

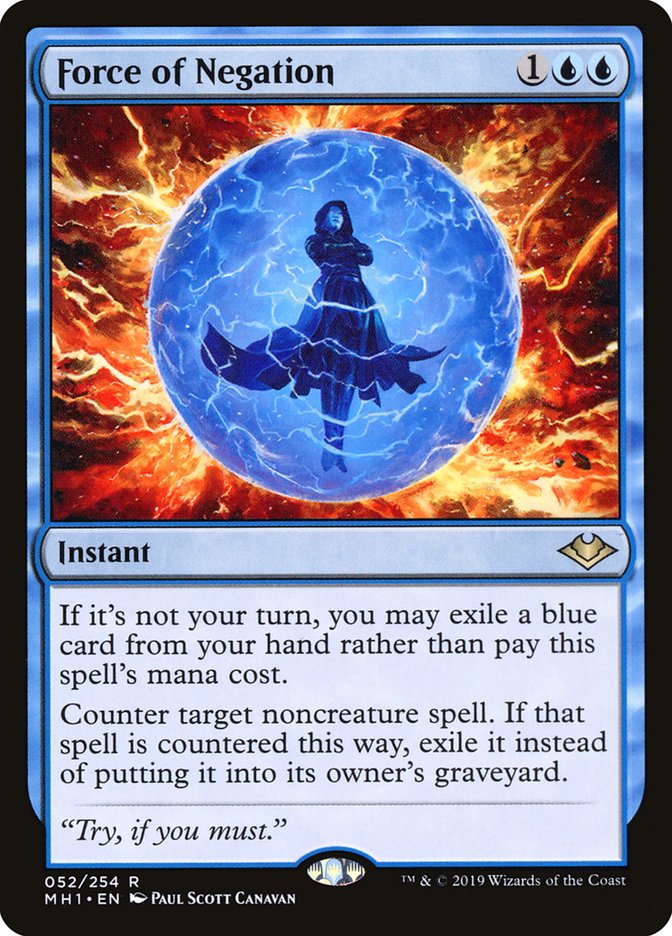
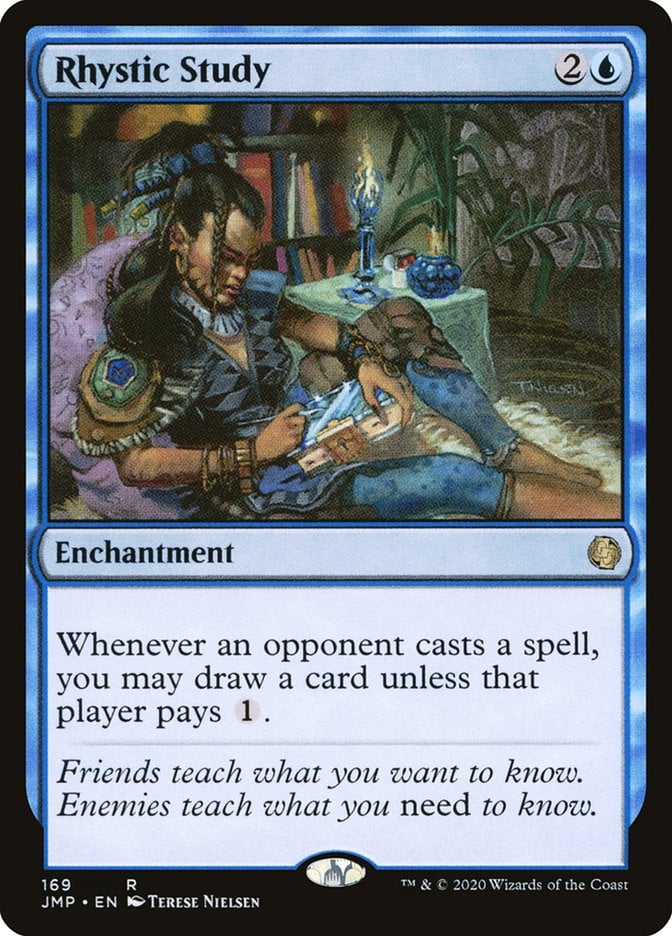
Blue’s premium interaction like Force of Will and Force of Negation must come in, as should other high-powered staples like fast mana and Rhystic Study.
Not only does this make the deck stronger, but it also improves Rashmi; once you add more 0-mana plays, it becomes much easier to trigger it each turn.
Otharri, Suns’ Glory
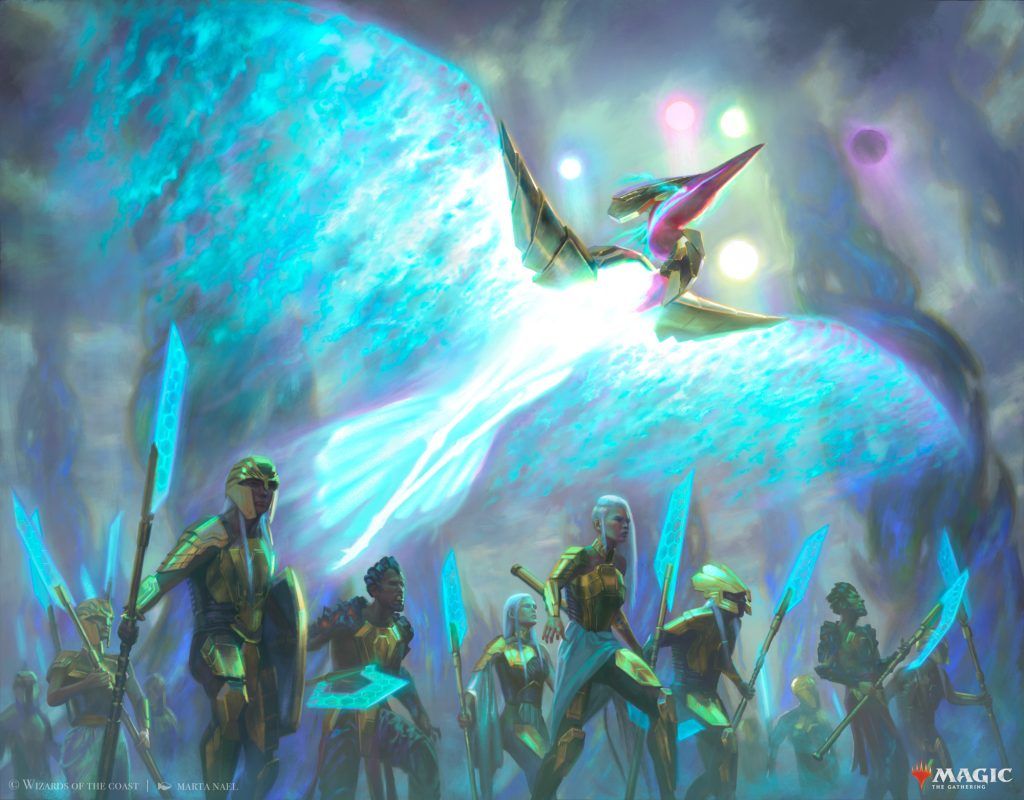
Otharri, Suns' Glory | Illustration by Marta Nael
Commander (1)
Creature (29)
Adept Watershaper
Agate Instigator
Anim Pakal, Thousandth Moon
Aurelia, the Law Above
Aurelia, the Warleader
Enduring Innocence
Esper Sentinel
Giver of Runes
Grand Abolisher
Hexing Squelcher
Inti, Seneschal of the Sun
Karlach, Fury of Avernus
Kirol, Attentive First-Year
Metastatic Evangel
Mother of Runes
Neyali, Suns' Vanguard
Norn's Choirmaster
Ocelot Pride
Patrolling Peacemaker
Professional Face-Breaker
Purphoros, God of the Forge
Rosie Cotton of South Lane
Selfless Savior
Selfless Spirit
Solitude
Voice of Victory
Welcoming Vampire
Witch Enchanter
Zack Fair
Instant (16)
Akroma's Will
Blacksmith's Skill
Boros Charm
Clever Concealment
Cloud's Limit Break
Crumb and Get It
Divine Resilience
Ephemeral Shields
Flawless Maneuver
Galadriel's Dismissal
Path to Exile
Reroute Systems
Sejiri Shelter
Swords to Plowshares
Tithe
Valorous Stance
Sorcery (7)
Hour of Reckoning
Light Up the Stage
Reckless Impulse
Relentless Assault
Shatterskull Smashing
Sundering Eruption
Wrenn's Resolve
Enchantment (4)
Aggravated Assault
Impact Tremors
Warleader's Call
Windcrag Siege
Artifact (11)
Arcane Signet
Boros Signet
Everflowing Chalice
Fellwar Stone
Glimmer Lens
Mind Stone
Sol Ring
Staff of the Storyteller
Talisman of Conviction
Thought Vessel
Throne of the God-Pharaoh
Land (32)
Abandoned Air Temple
Arid Mesa
Battlefield Forge
Bloodstained Mire
Castle Embereth
City of Brass
Clifftop Retreat
Command Beacon
Command Tower
Cori Mountain Monastery
Diamond City
Eiganjo, Seat of the Empire
Elegant Parlor
Flooded Strand
Mana Confluence
Minas Tirith
Mountain
Needleverge Pathway / Pillarverge Pathway
Plains x6
Prismatic Vista
Sacred Foundry
Spectator Seating
Starting Town
Sunbaked Canyon
Sunbillow Verge
Sundown Pass
Talon Gates of Madara
The Commander: Otharri, Suns’ Glory
Otharri, Suns' Glory snowballs with experience counters to bring down the pod. It encourages an aggressive strategy that wants the game to end shortly after Otharri comes down. This level of aggression might be a little much for Bracket 2, which makes it a perfect choice for Bracket 3, where a generic beatdown engine is more welcome.
The Deck
This Otharri build employs similar strategies to a Voltron deck, largely because it’s built entirely around Otharri. Most of the 99 supports Otharri with damage and card draw or by protecting Otharri. The primary difference between this and a more traditional Voltron strategy is that the deck doesn’t stack buffs on Otharri.
The general game plan is simple: Play something that rewards you for attacking with Otharri, then play Otharri, preferably with a protection spell up. Then attack relentlessly and grind the table to dust.
Combos and Interactions
A glorious part of aggro is its straightforward nature. That’s not the same as calling it simple; sequencing matters to maximize your potential. But pretty much any player can pick this deck up and start to jam games with a reasonable understanding of its interactions.
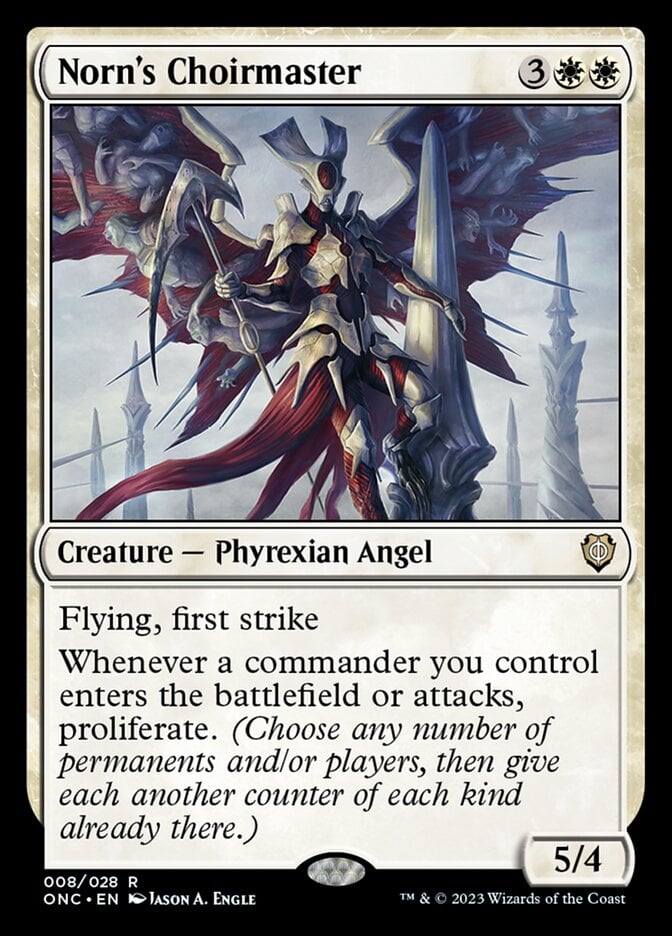

The most important thing to consider is how you stack abilities with cards like Norn's Choirmaster and Windcrag Siege. You want to proliferate before you make tokens with Otharri (or Anim Pakal, Thousandth Moon, which acts as a backup commander).
Bracket 4 Upgrades
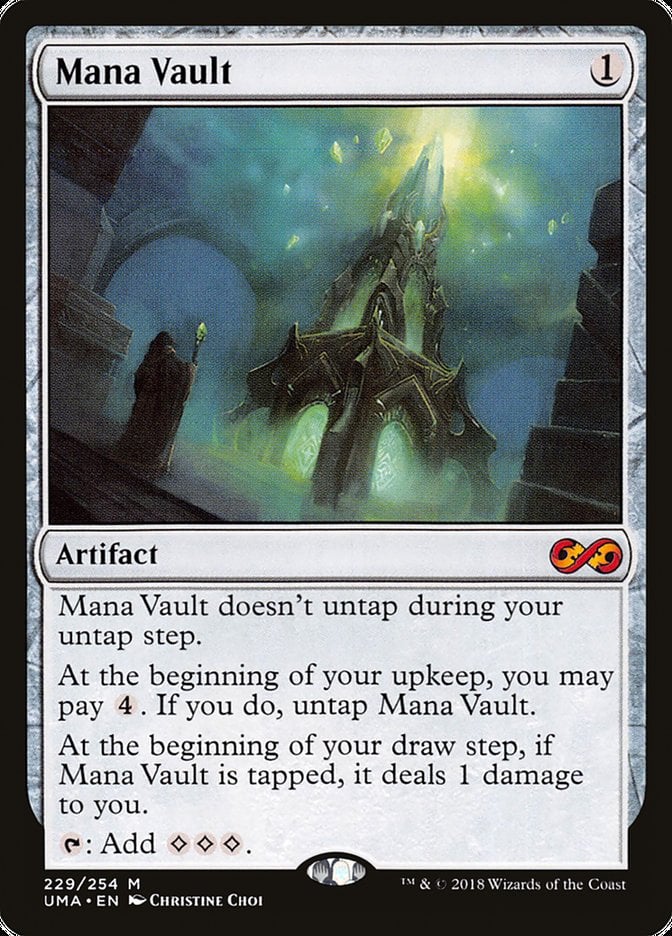
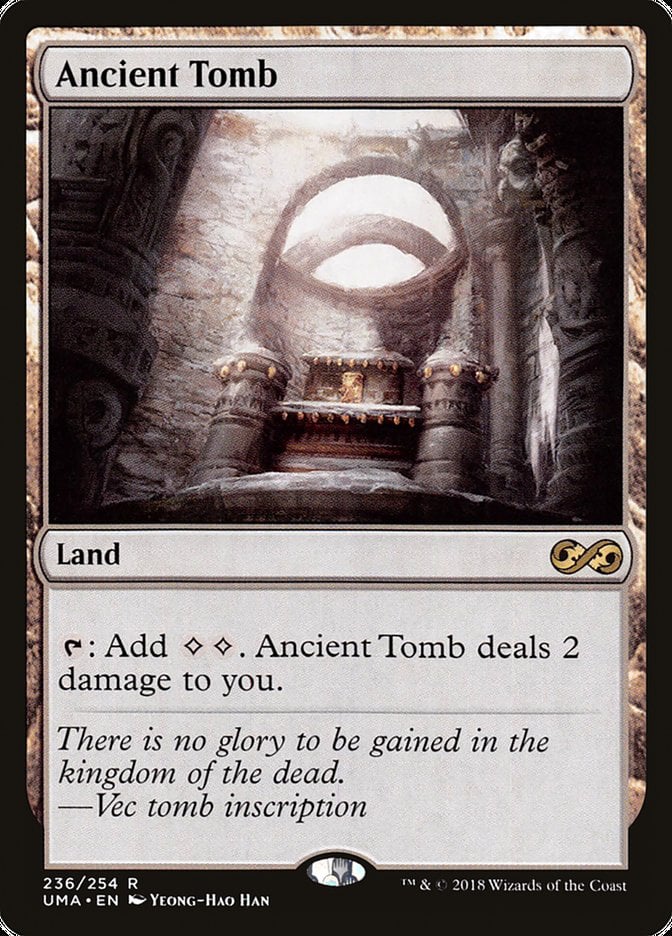
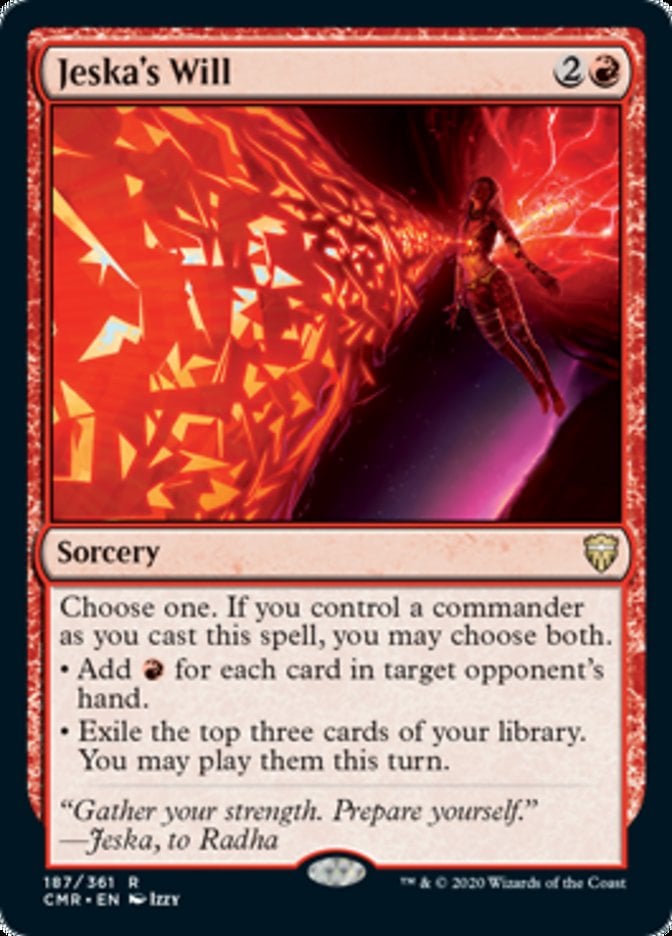
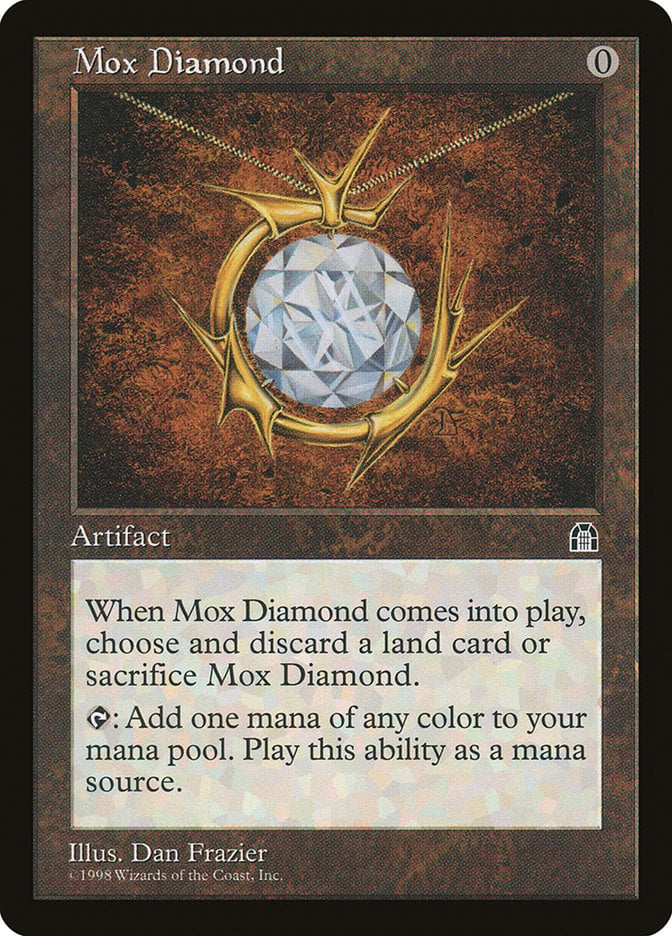
Otharri is a tough sell in Bracket 4, but fair decks work there, too. The first step? Upgrade the ramp package with fast mana like Mana Vault, Ancient Tomb, Jeska's Will, Mox Diamond—anything that gets Otharri out fast.
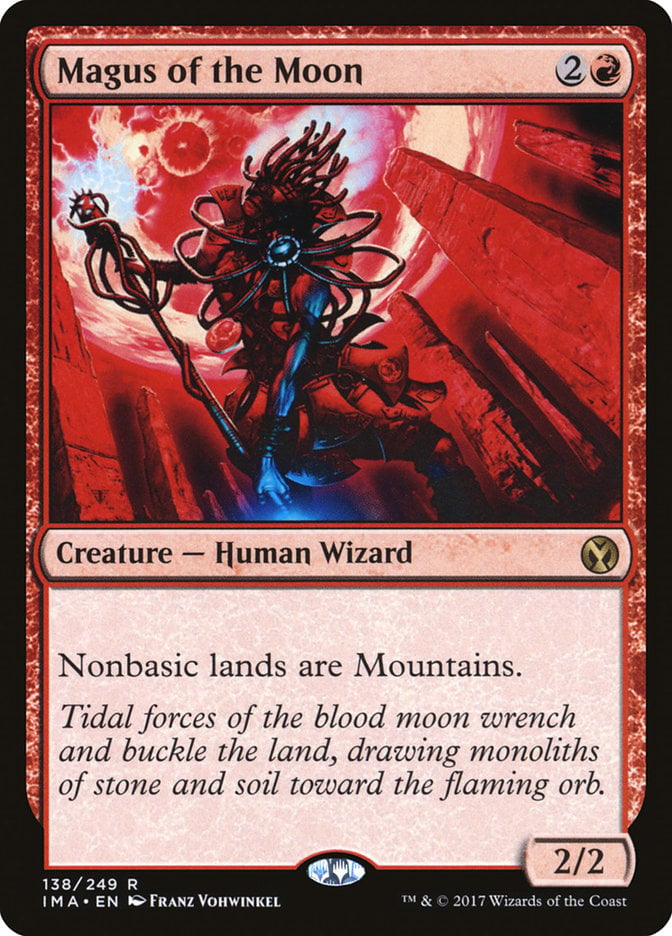
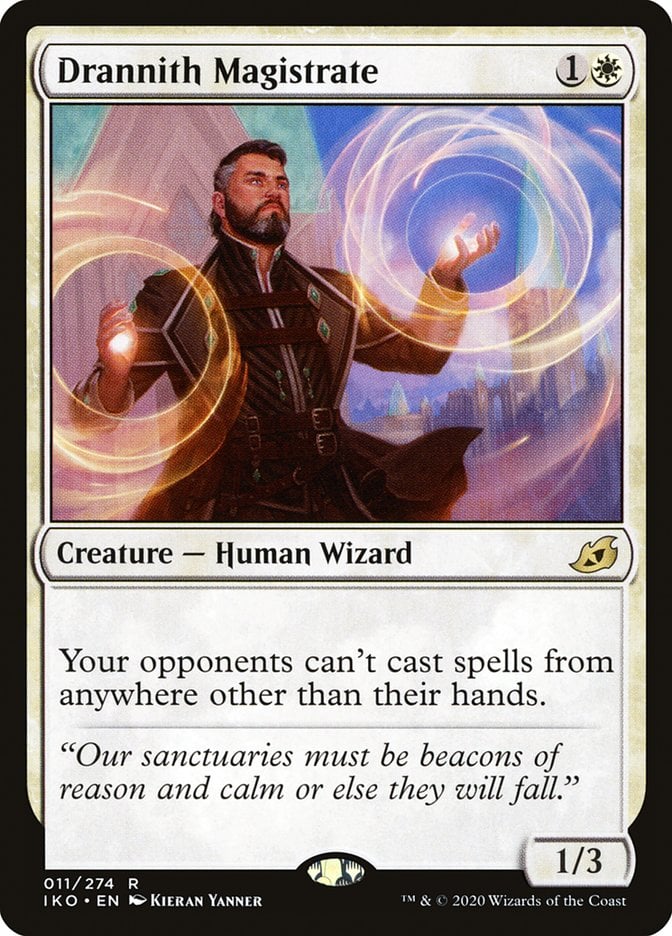
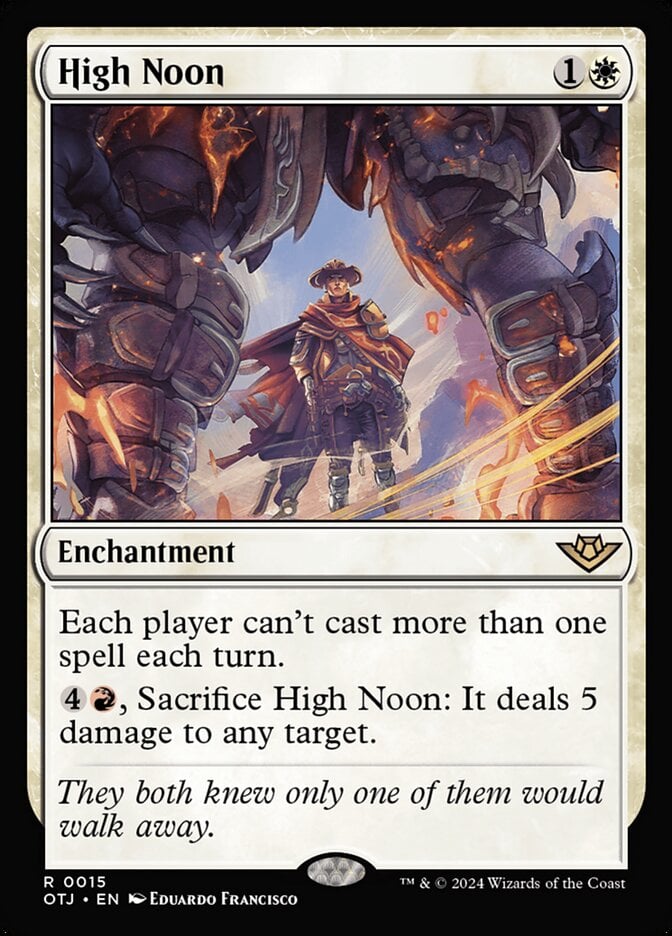
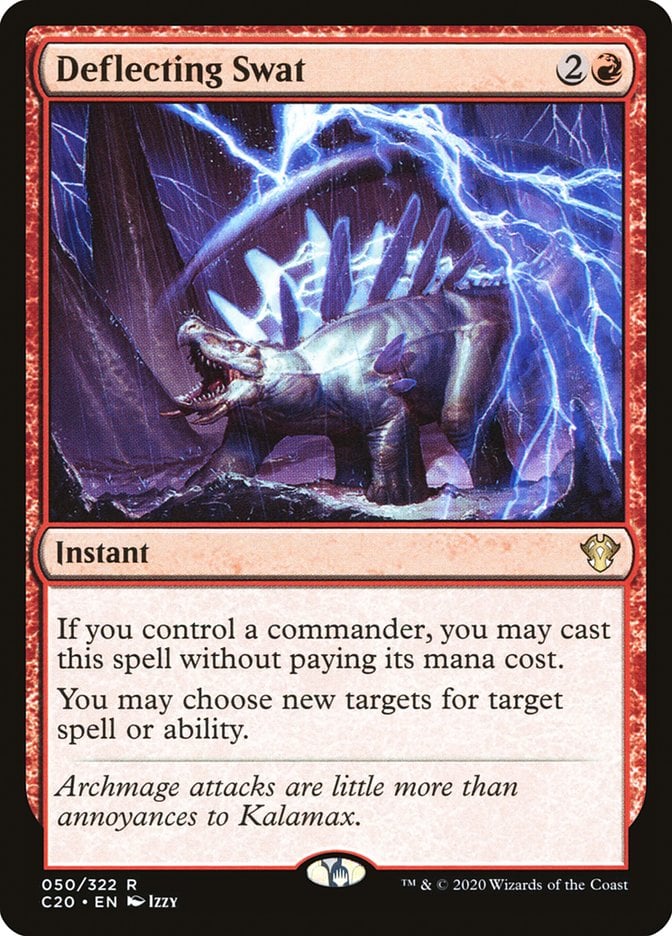

The interaction suite could still use an upgrade, but it looks a little different here than with Rashmi. This deck wants stax pieces and disruptive creatures. Cards like Magus of the Moon, Drannith Magistrate, and High Noon ought to throw enough obstacles at your opponents to buy time for Otharri to attack. Additional protection from countermagic with cards like Deflecting Swat and Redirect Lightning would also be worth considering.
Shalai and Hallar
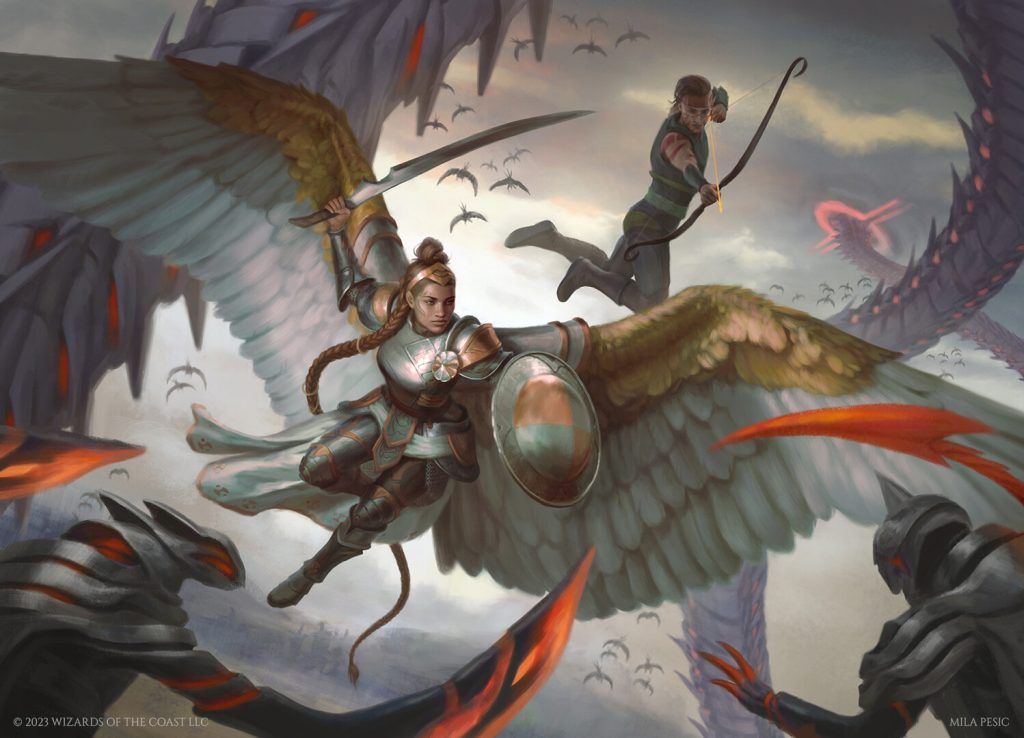
Shalai and Hallar | Illustration by Mila Pesic
Commander (1)
Creature (43)
Araña, Heart of the Spider
Arwen, Weaver of Hope
Avacyn's Pilgrim
Biophagus
Birds of Paradise
Bloom Tender
Boromir, Warden of the Tower
Bristly Bill, Spine Sower
Captain Sisay
Conclave Mentor
Delighted Halfling
Dusk Legion Duelist
Endurance
Esper Sentinel
Forgotten Ancient
Generous Pup
Gyre Sage
Hajar, Loyal Bodyguard
Halana and Alena, Partners
Hexing Squelcher
Incubation Druid
Kami of Celebration
Kodama of the West Tree
Krenko, Tin Street Kingpin
Kutzil, Malamet Exemplar
Loyal Guardian
Luminarch Aspirant
Managorger Hydra
Miles Morales / Ultimate Spider-Man
Mother of Runes
Ouroboroid
Pir, Imaginative Rascal
Ragavan, Nimble Pilferer
Rishkar, Peema Renegade
Scurry Oak
Scythecat Cub
Skrelv, Defector Mite
Skyclave Apparition
Solitude
Spider-Man, Miles Morales
Walking Ballista
Witch Enchanter
Yoshimaru, Ever Faithful
Instant (7)
Akroma's Will
Chaos Warp
Clever Concealment
Cloud's Limit Break
Galadriel's Dismissal
Heroic Intervention
Swords to Plowshares
Sorcery (8)
Bridgeworks Battle
Damning Verdict
Light Up the Stage
Reckless Impulse
Shatterskull Smashing
Sundering Eruption
Winds of Abandon
Wrenn's Resolve
Enchantment (5)
Annie Joins Up
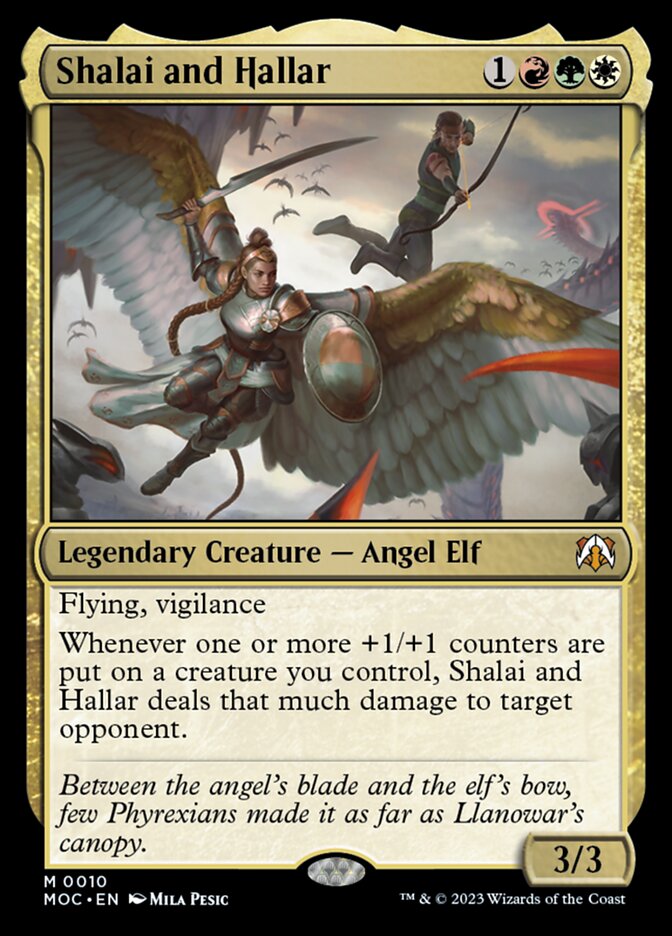
Court of Garenbrig
Innkeeper's Talent
Trouble in Pairs
Uncivil Unrest
Land (36)
Arena of Glory
Arid Mesa
Battlefield Forge
Boseiju, Who Endures
Bountiful Promenade
Brushland
Command Tower
Eiganjo, Seat of the Empire
Forest x3
Gavony Township
Horizon Canopy
Hushwood Verge
Karplusan Forest
Mana Confluence
Mountain
Overgrown Farmland
Plains
Plateau
Prismatic Vista
Rockfall Vale
Sacred Foundry
Savannah
Shifting Woodland
Spectator Seating
Spire Garden
Starting Town
Stomping Ground
Sunbillow Verge
Sundown Pass
Taiga
Temple Garden
Thornspire Verge
Windswept Heath
Wooded Foothills
The Commander: Shalai and Hallar
Shalai and Hallar is an excellent commander for Bracket 3 because its archetype, +1/+1 counters, has ample support. +1/+1 counters have gotten so many powerful tools that building it at Bracket 2 would require you to power down the deck deliberately and to avoid its best cards; this deck isn’t interested in that.
The Deck

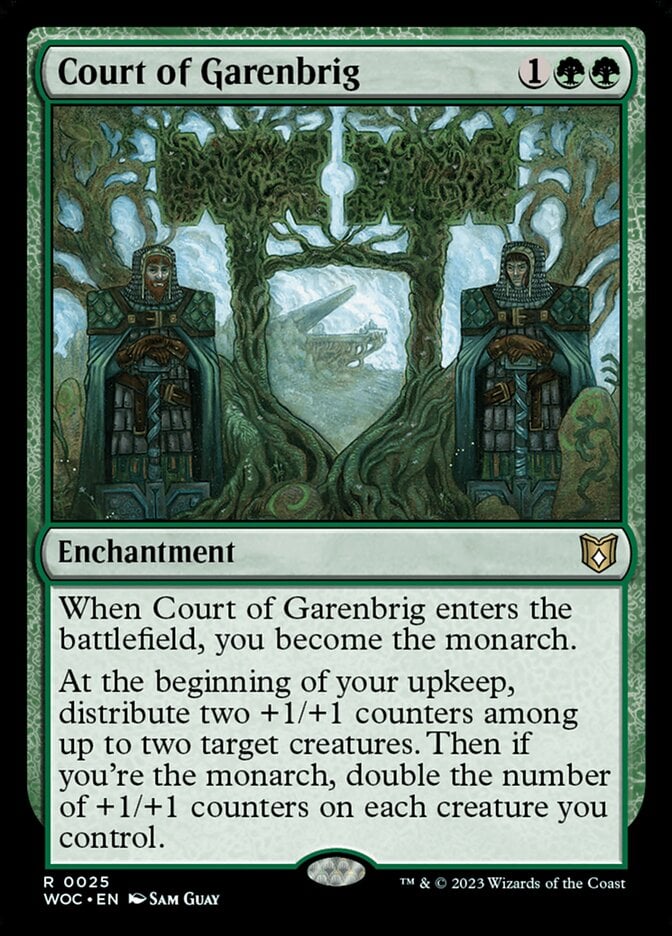

This deck rivals Otharri, Suns' Glory in terms of straightforwardness: Play creatures, cover them in counters, and pummel your opponents. It’s a good old-fashioned slugfest, a Commander deck that wants to make the numbers go up. Much of its power comes from the deep support +1/+1 counters have; recent additions like Ouroboroid, Court of Garenbrig, and Generous Pup are especially noteworthy.
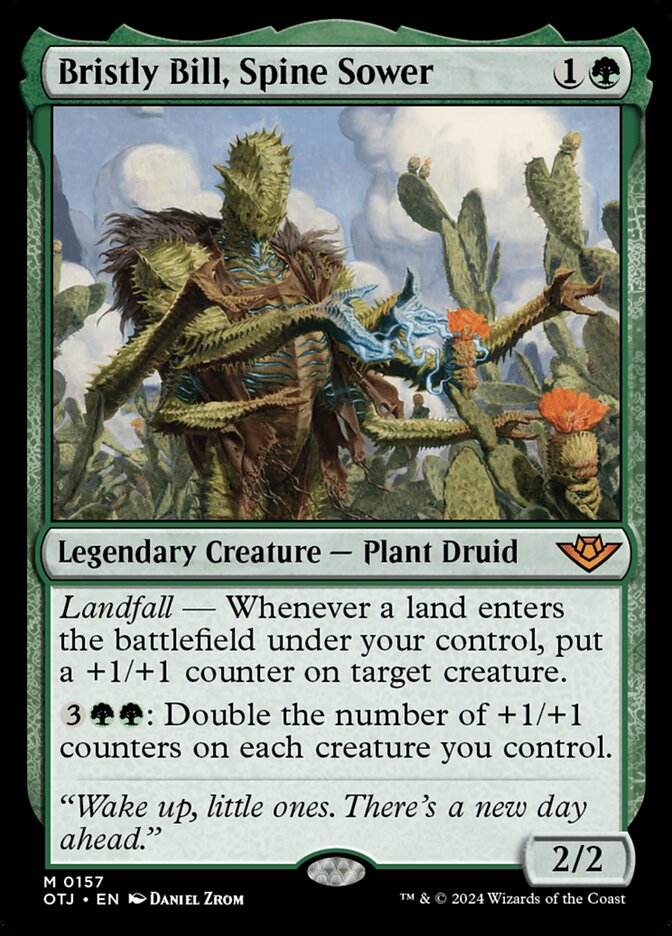
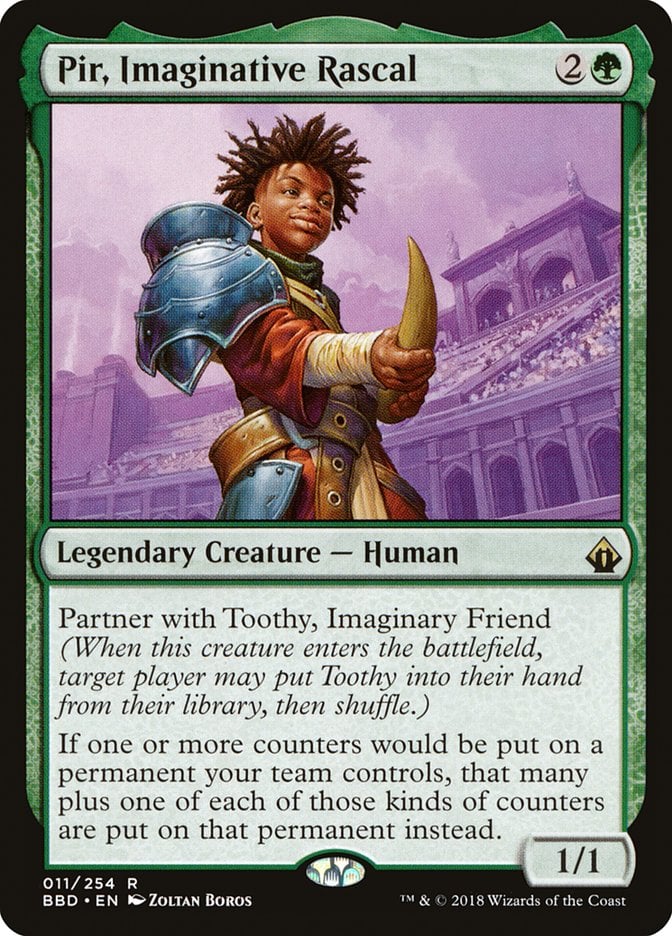

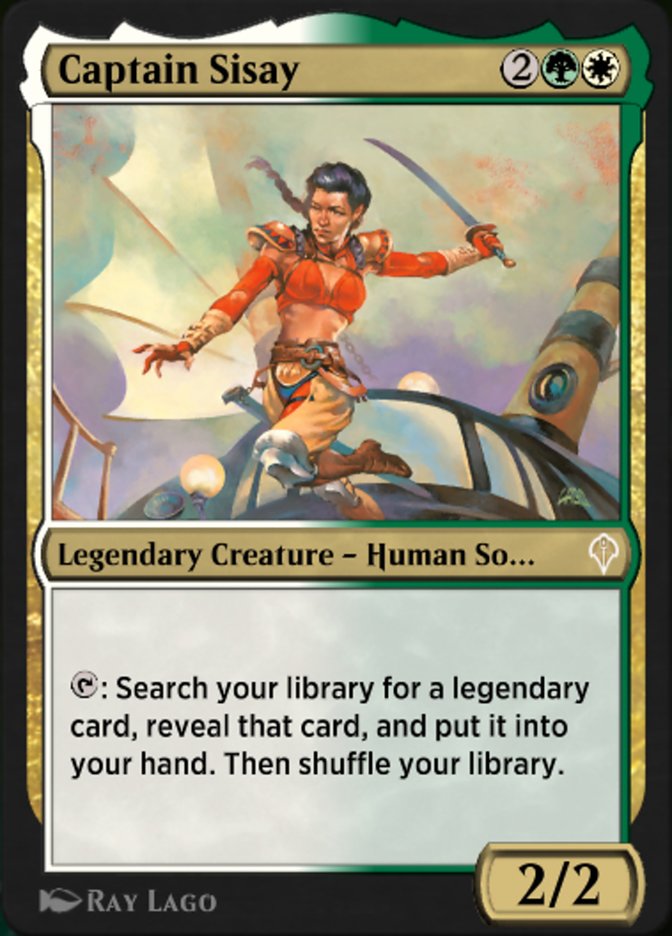
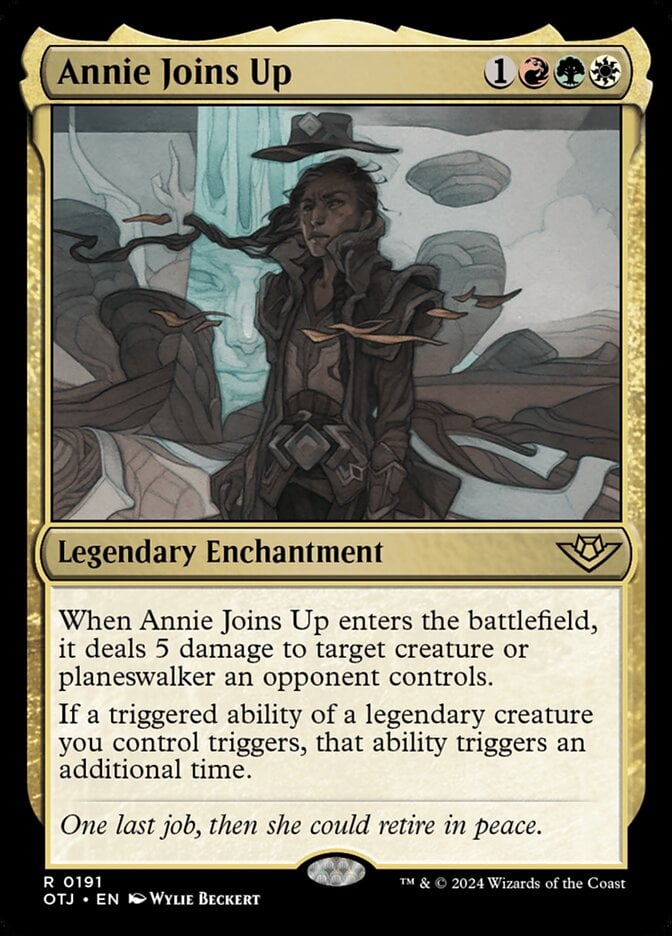
The deck also has a legendary creature subtheme. A +1/+1 counter deck naturally wants some legends; Kodama of the West Tree, Bristly Bill, and Pir, Imaginative Rascal are archetype staples. The legendary subtheme was inspired by Ultimate Spider-Man. It works very well with Shalai and Hallar’s trigger and took little work to incorporate. Additional payoffs for the high legend count include Captain Sisay and Annie Joins Up.
Combos and Interactions

This deck’s interactions are as straightforward as having a card like Dusk Legion Duelist that rewards you for putting counters on creatures and cards to put counters on it.
Bracket 4 Upgrades
Jumping this deck to Bracket 4 only need a few changes, like Rashmi.
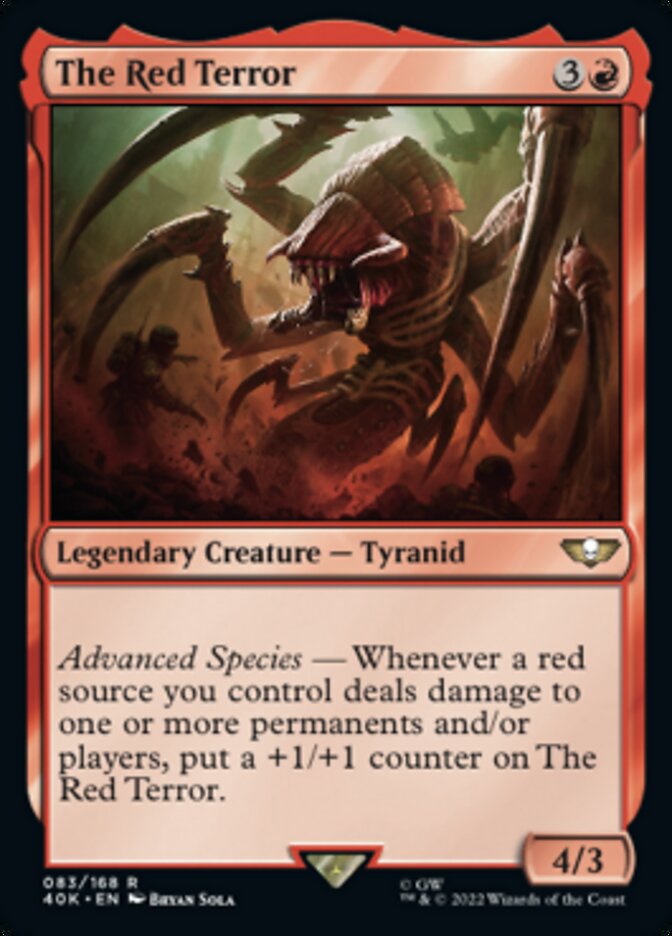
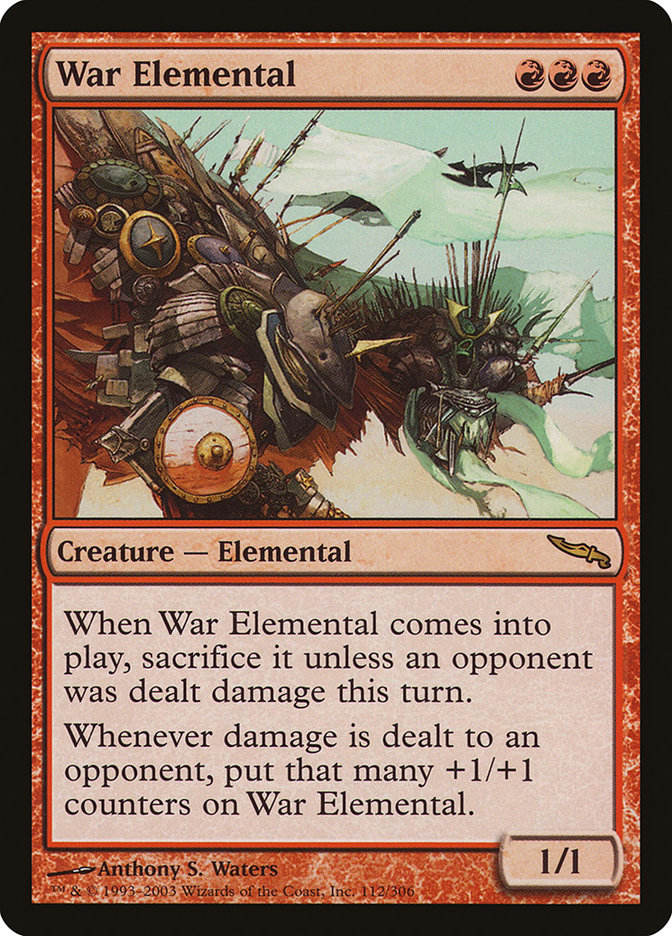
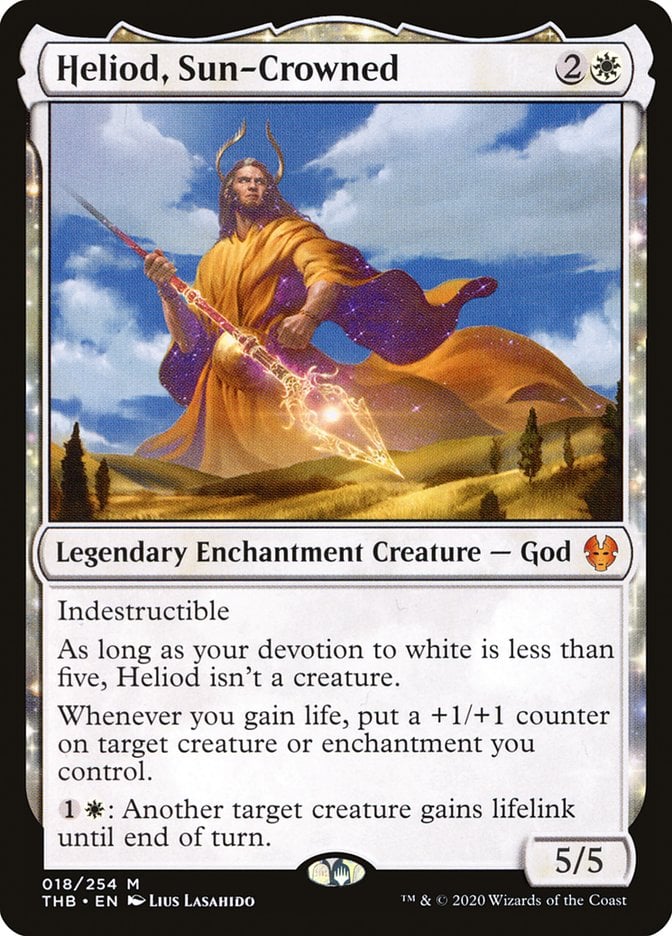
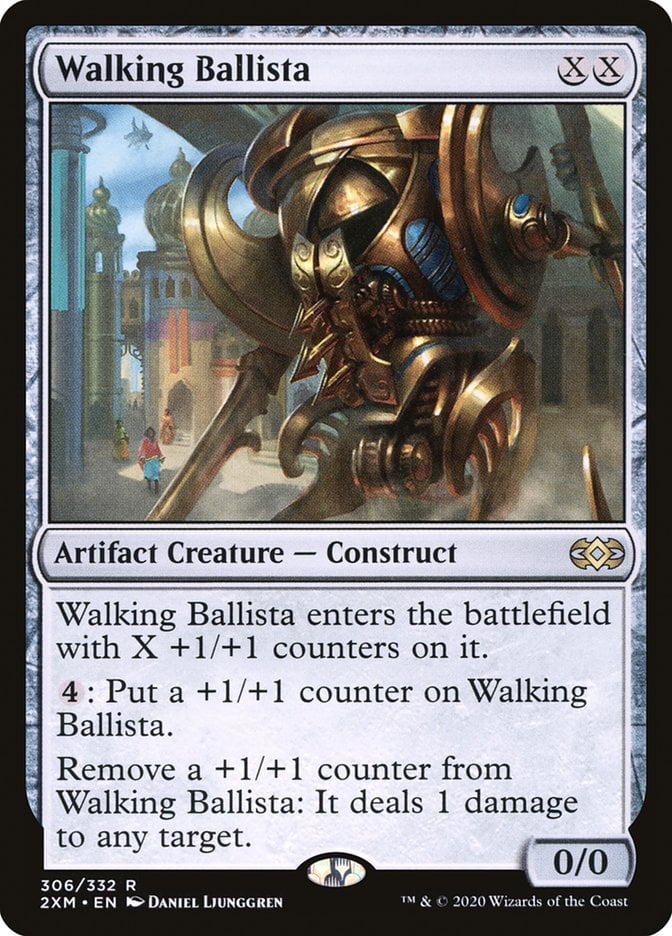
Ditch beating face and the legendary subtheme for combos. The deck already has half of several infinites; toss in The Red Terror or War Elemental, and Shalai and Hallar obliterates the pod. Heliod, Sun-Crowned makes Walking Ballista similarly lethal. These are also the perfect colors to exploit Devoted Druid.
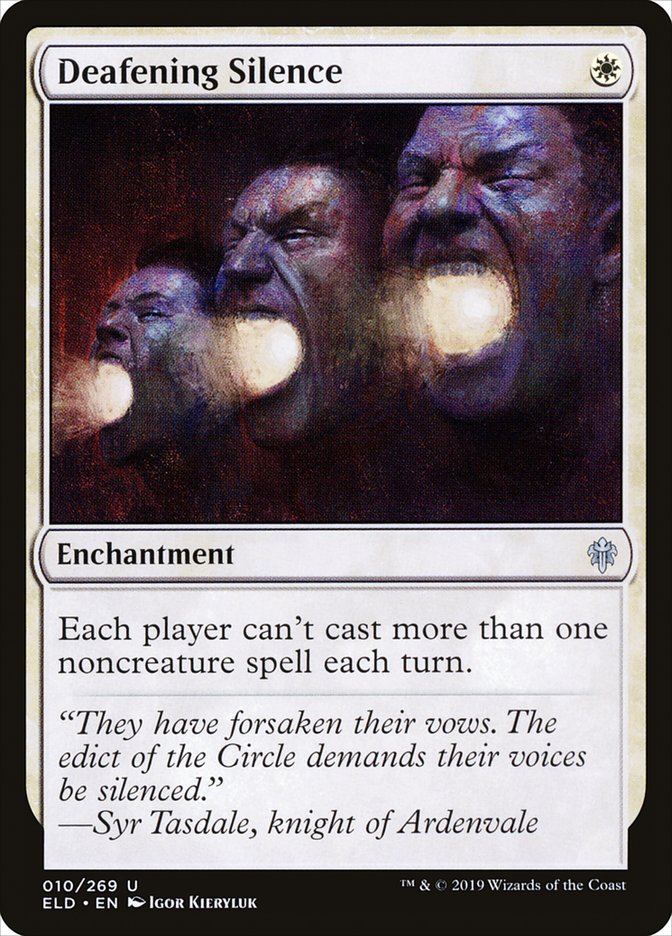
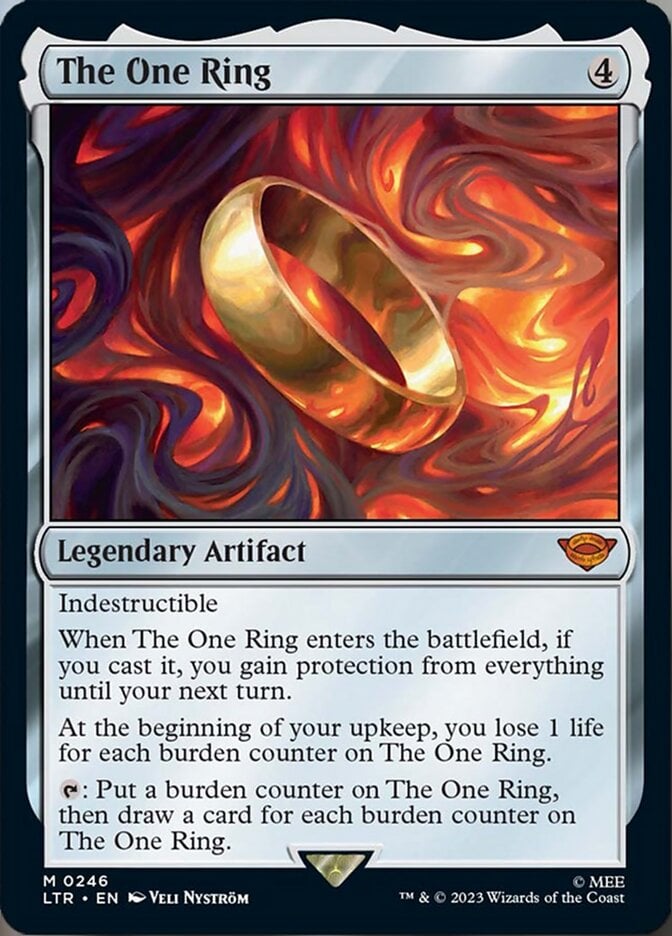
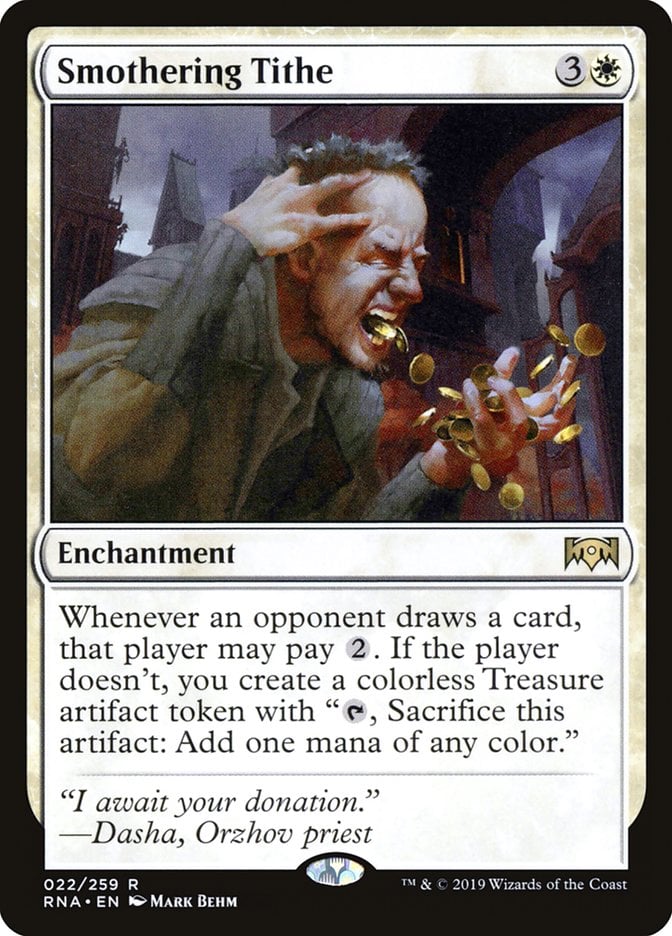
Then upgrade the interaction and fast mana. The deck can’t use free countermagic, but disruptive cards like Drannith Magistrate and Deafening Silence go up in value with higher power levels. There are also more generically powerful Game Changers to add, like The One Ring and Smothering Tithe.
Teval, the Balanced Scale

Teval, the Balanced Scale | Illustration by Chris Rahn
Commander (1)
Creature (30)
Aftermath Analyst
Ardyn, the Usurper
Birds of Paradise
Bloodghast
Boggart Trawler
Colossal Grave-Reaver
Deathrite Shaman
Delighted Halfling
Elves of Deep Shadow
Elvish Mystic
Eternal Witness
Glen Elendra Archmage
Hedron Crab
Icetill Explorer
Jubilation
Kishla Skimmer
Lamentation
Llanowar Elves
Lumra, Bellow of the Woods
Molt Tender
Overlord of the Balemurk
River Kelpie
Six
Stitcher's Supplier
Subterfuge
Syr Konrad, the Grim
Tasigur, the Golden Fang
Titania, Protector of Argoth
Tormod, the Desecrator
Undead Butler
Instant (9)
Bitter Triumph
Crop Rotation
Entomb
Fell the Profane
Revitalizing Repast
Sink into Stupor
Strix Serenade
Stubborn Denial
Swan Song
Sorcery (10)
Agadeem's Awakening
Breach the Multiverse
Bridgeworks Battle
Dread Return
Life from the Loam
Malevolent Rumble
Reanimate
Sylvan Scrying
Toxic Deluge
Treasure Cruise
Enchantment (10)
Animate Dead
Court of Cunning
Dredger's Insight
Exploration
Insidious Roots
Ripples of Undeath
Teval's Judgment
Tortured Existence
Utopia Sprawl
Wild Growth
Artifact (2)
Land (38)
Barren Moor
Boseiju, Who Endures
Breeding Pool
City of Brass
Dakmor Salvage
Dark Depths
Demolition Field
Field of the Dead
Flooded Strand
Forest x2
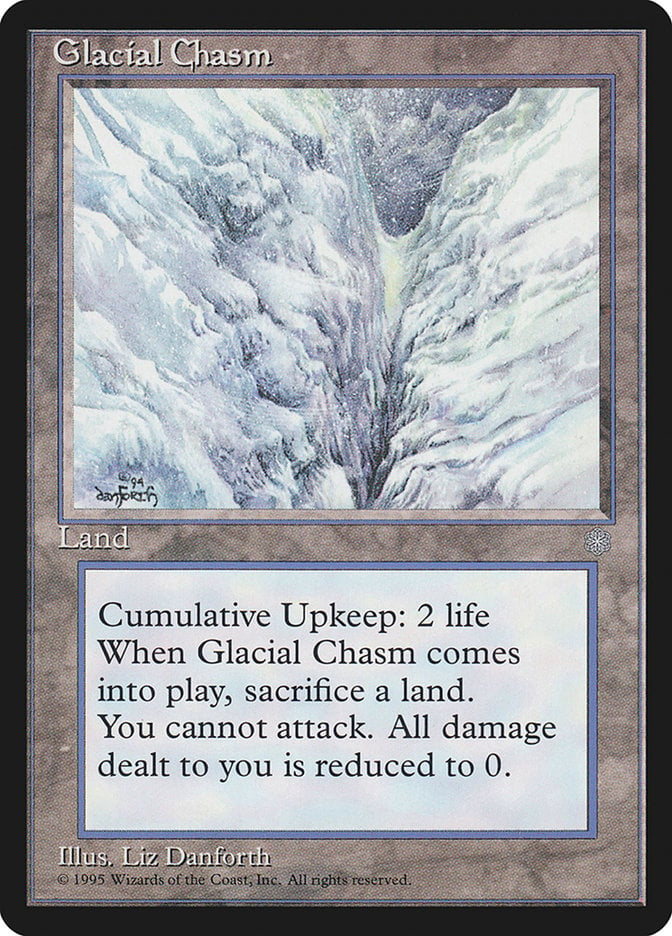
Glacial Chasm
Hedge Maze
Horizon of Progress
Mana Confluence
Marsh Flats
Mistrise Village
Misty Rainforest
Morphic Pool
Multiversal Passage
Otawara, Soaring City
Overgrown Tomb
Polluted Delta
Rejuvenating Springs
Starting Town
Swamp
Takenuma, Abandoned Mire
Talon Gates of Madara
Thespian's Stage
Tolaria West
Underground Mortuary
Undergrowth Stadium
Urza's Cave
Verdant Catacombs
Volrath's Stronghold
Watery Grave
Windswept Heath
Zagoth Triome
The Commander: Teval, the Balanced Scale

Teval, the Balanced Scale quickly became one of Magic’s most popular commanders. It’s the de facto leader for the archetype that cares about cards leaving your graveyard and a fantastic lands commander.
Much of Teval’s power comes from being a self-fueling engine: Its second ability cares about cards leaving the yard, which the attack triggers does while filling it. Each card that triggers when cards leave the graveyard makes Teval stronger because it’s more likely to create additional triggers just for attacking.
The Deck

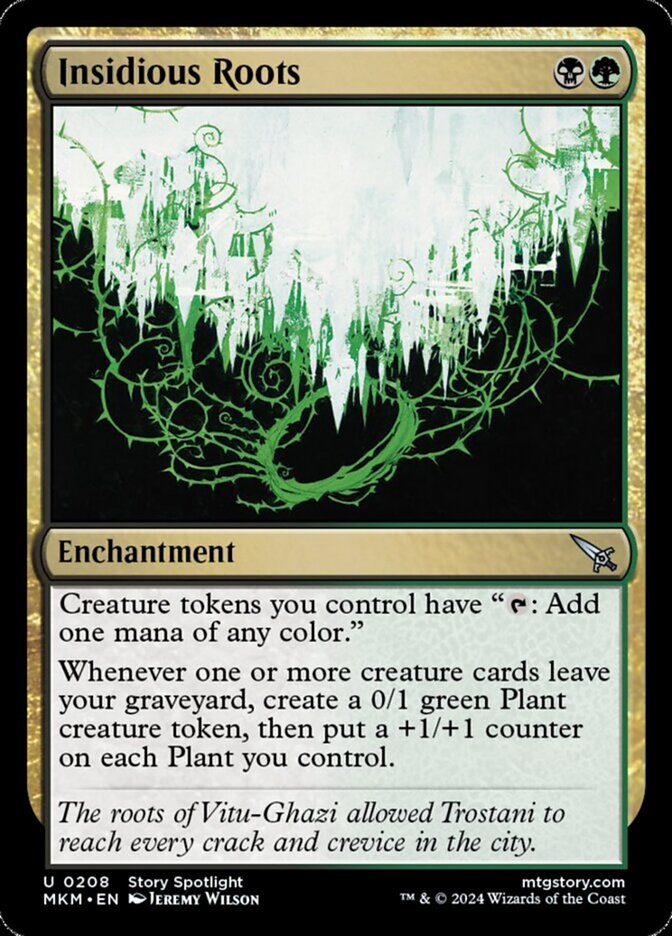
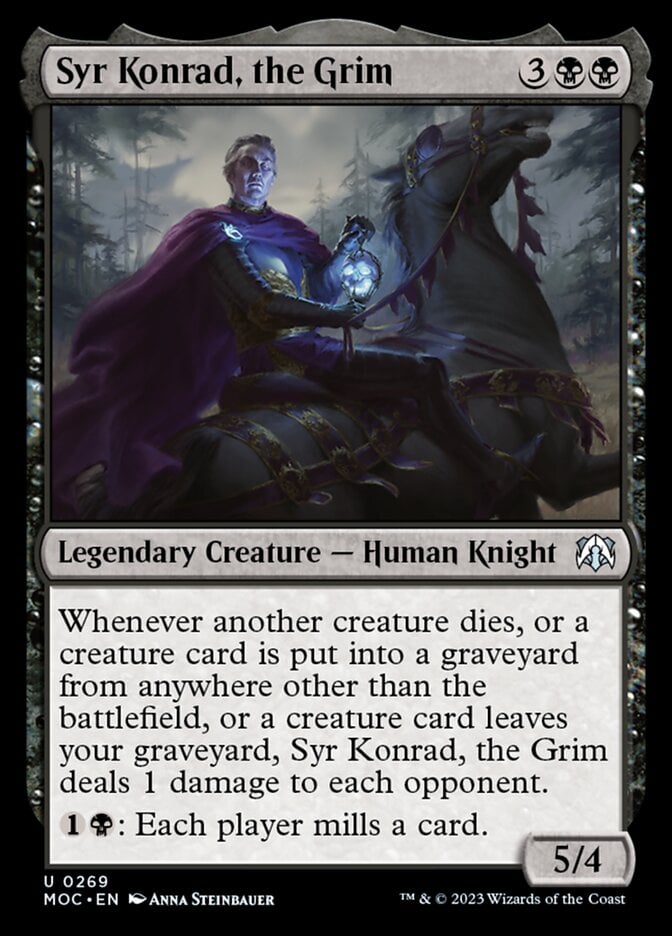
This deck focuses on getting cards in and out of the graveyard, with a secondary lands package. The core focuses on that ever-impressive leaves the graveyard package. Teval's Judgment turns it into a long-term advantage, Insidious Roots makes Teval’s tokens tap for mana, and Syr Konrad, the Grim provides a win condition.


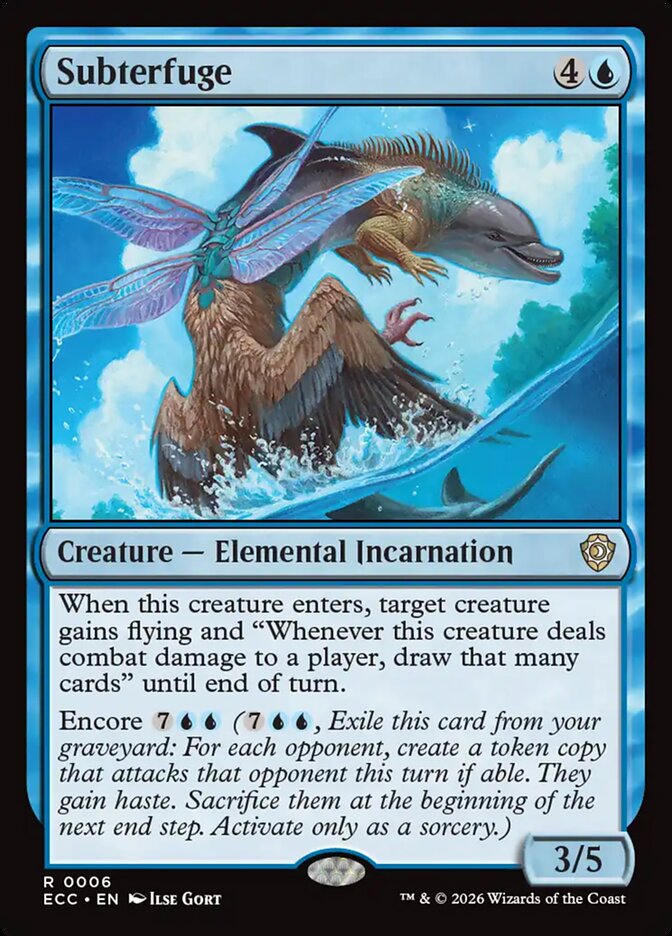
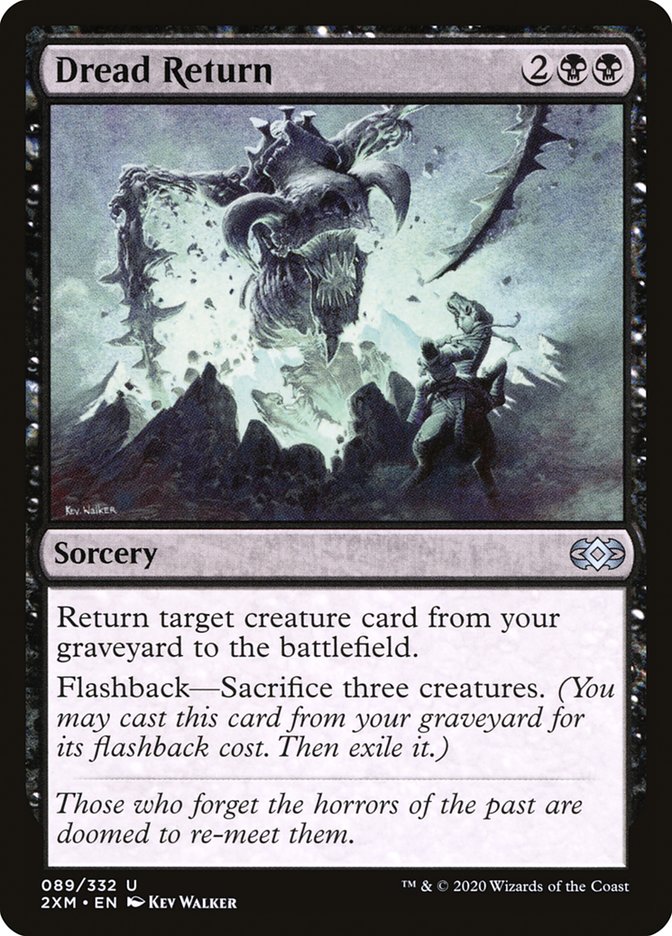
Plenty of other additions pull cards from the graveyard, like Six, Icetill Explorer, and Eternal Witness. A handful of cards that you can cast or exile from the graveyard, like Subterfuge and Dread Return, bolster this further.
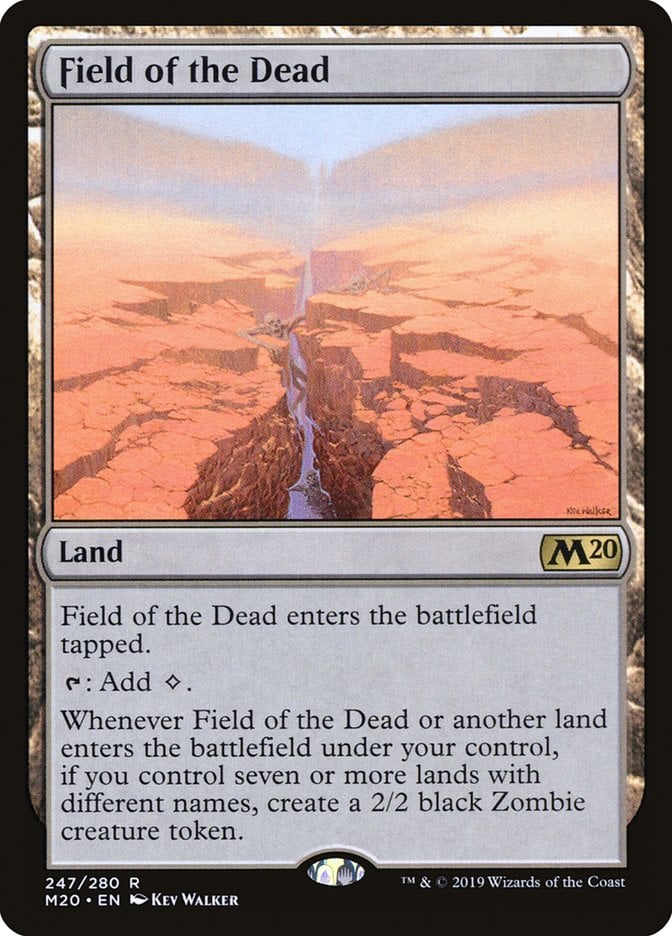
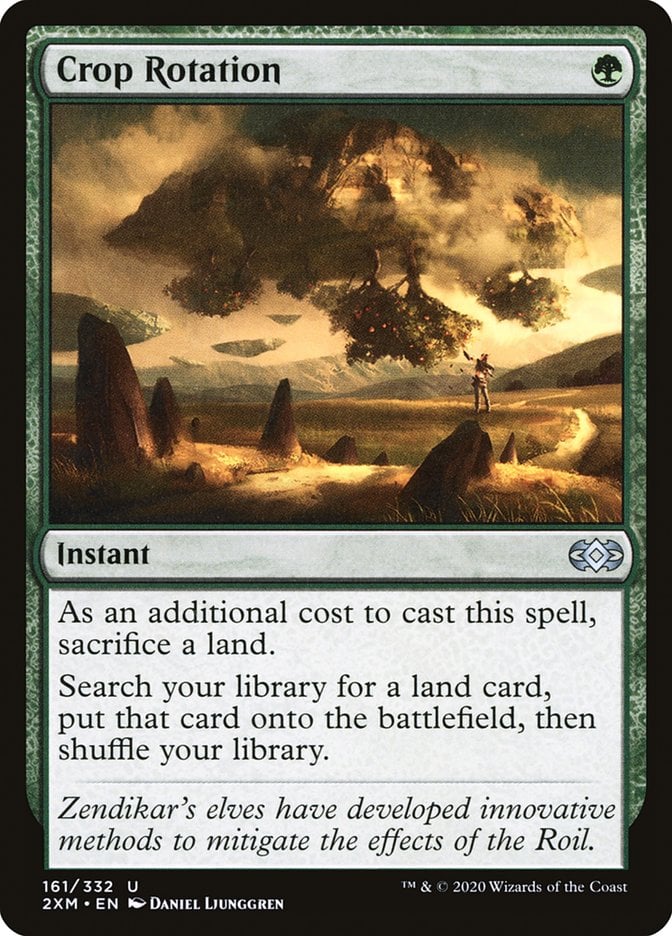

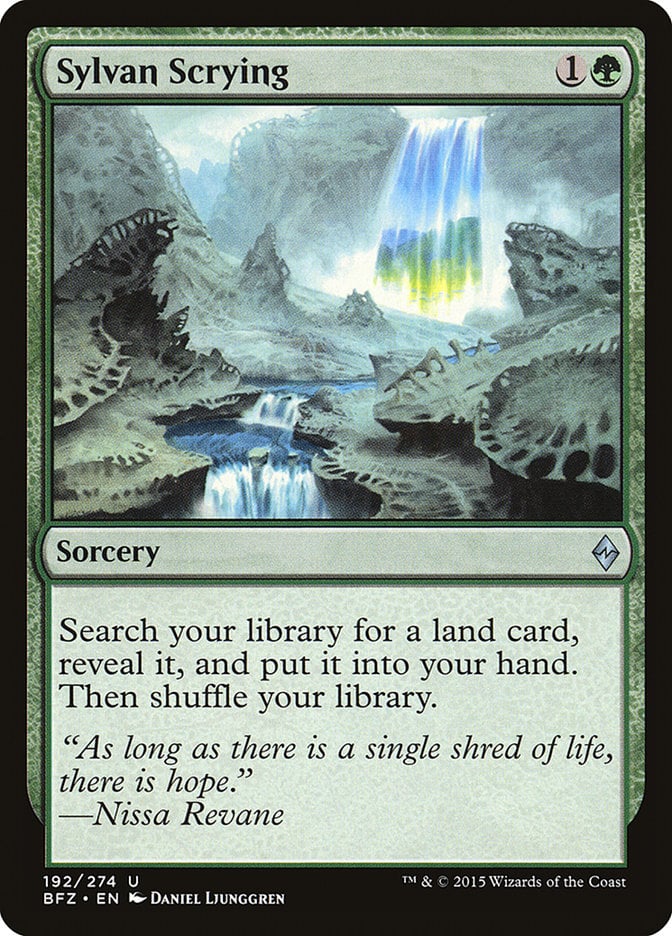
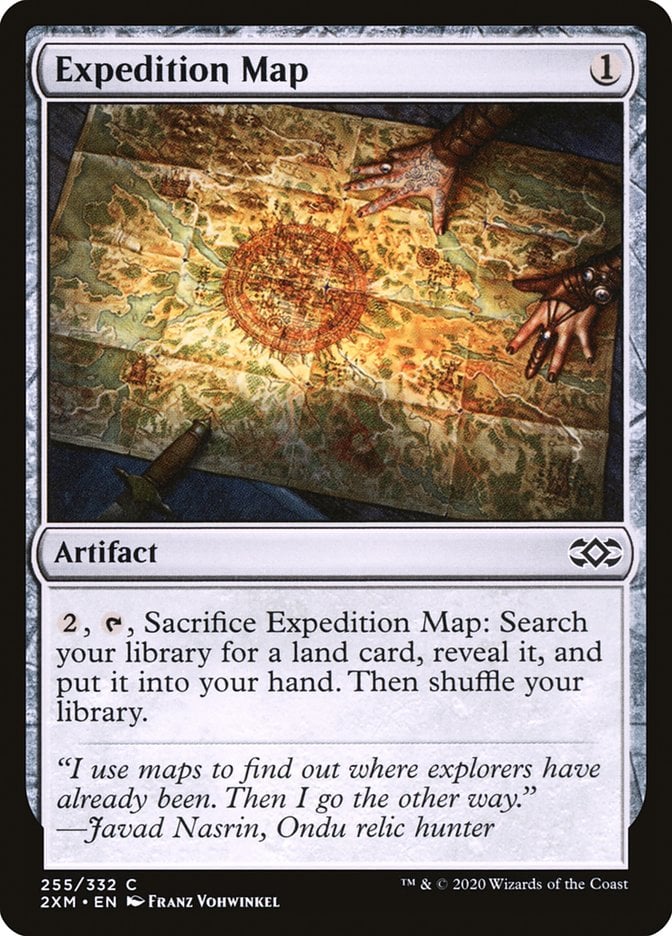
Teval employs the three Game Changers allowed in Bracket 3 to serve the land package. Two of them, Field of the Dead and Glacial Chasm, practically are the land package, with Crop Rotation to find them—though you have more land tutors in Urza's Cave, Sylvan Scrying, and Expedition Map.
Combos and Interactions
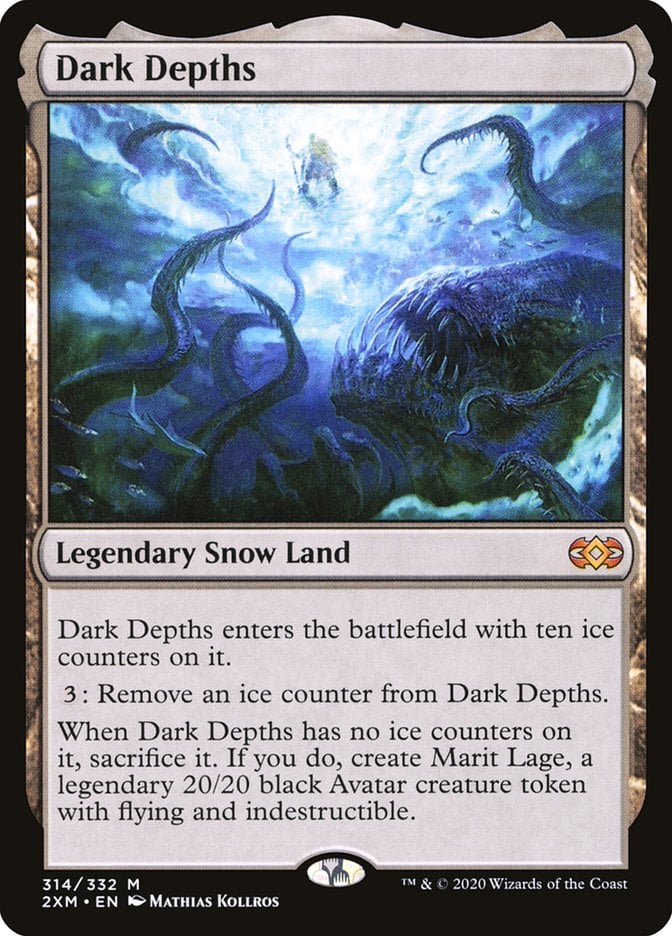

This deck uses the classic Dark Depths + Thespian's Stage combo. With both lands in play, copy Dark Depths with Stage to invoke the legend rule. Keep the copy of Depths and sacrifice the original. After you sacrifice the original, the copy sees it has no counters, and you get a Marit Lage.
Speaking of Teval and lands, the commander combos with Glacial Chasm. You don’t need to worry about the cumulative upkeep with Teval. Simply sacrifice the land, then reanimate it. That provides an extremely powerful land and a resource loop to keep the triggers rolling.

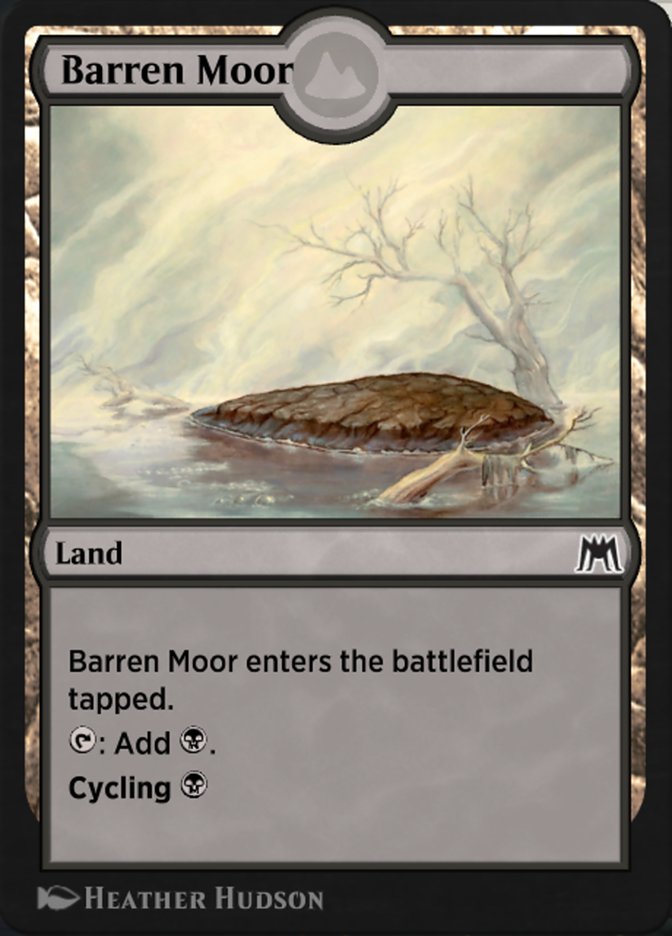
You can establish a similar loop with Life from the Loam and Barren Moor. If you have Loam in your graveyard, you can cycle Barren Moor, then dredge Loam instead of drawing. Loam can then recur Barren Moor. The deck contains many of these little loops.
Bracket 4 Upgrades
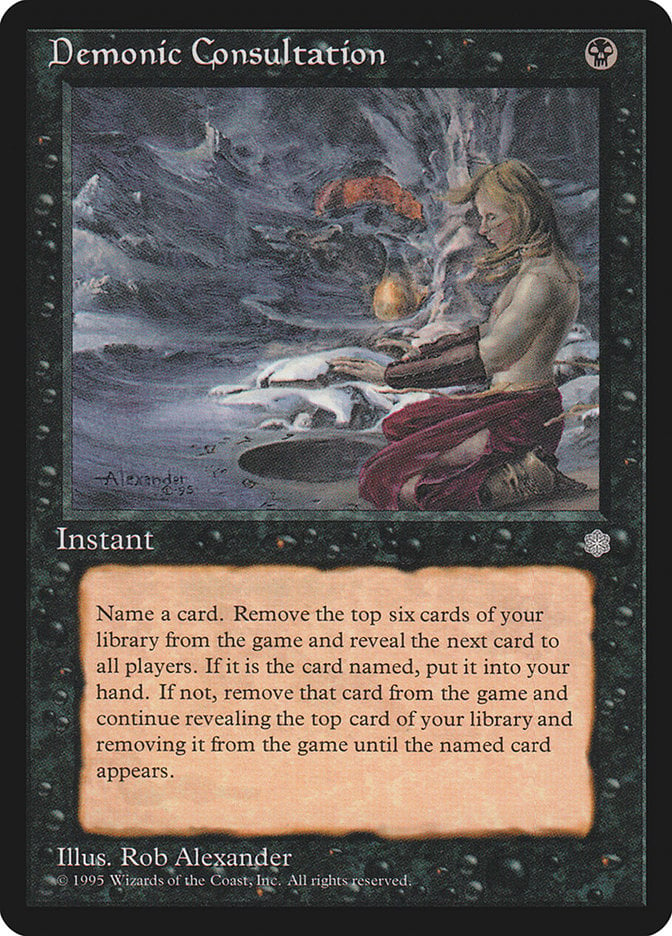
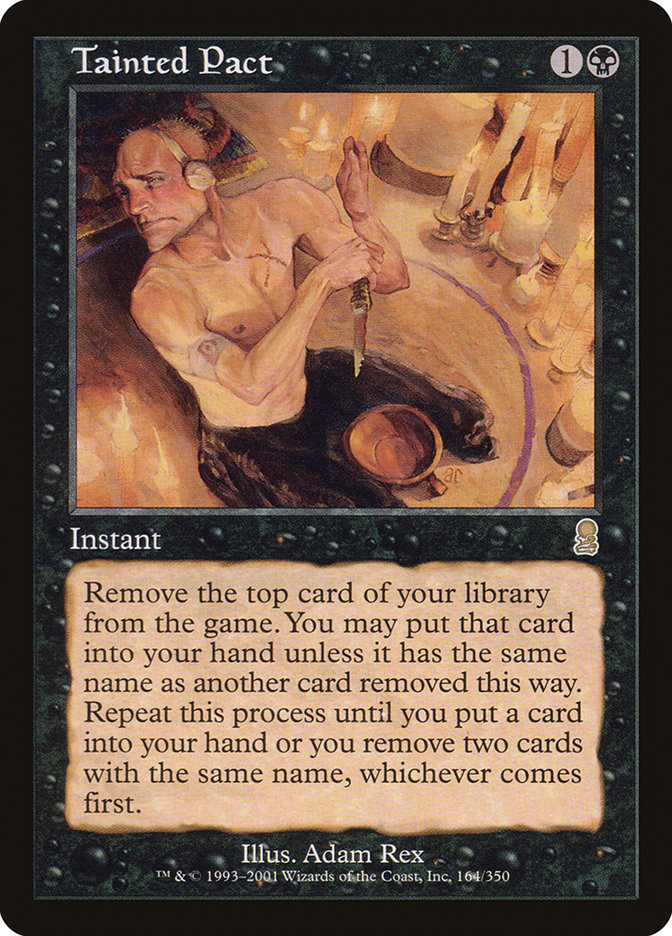
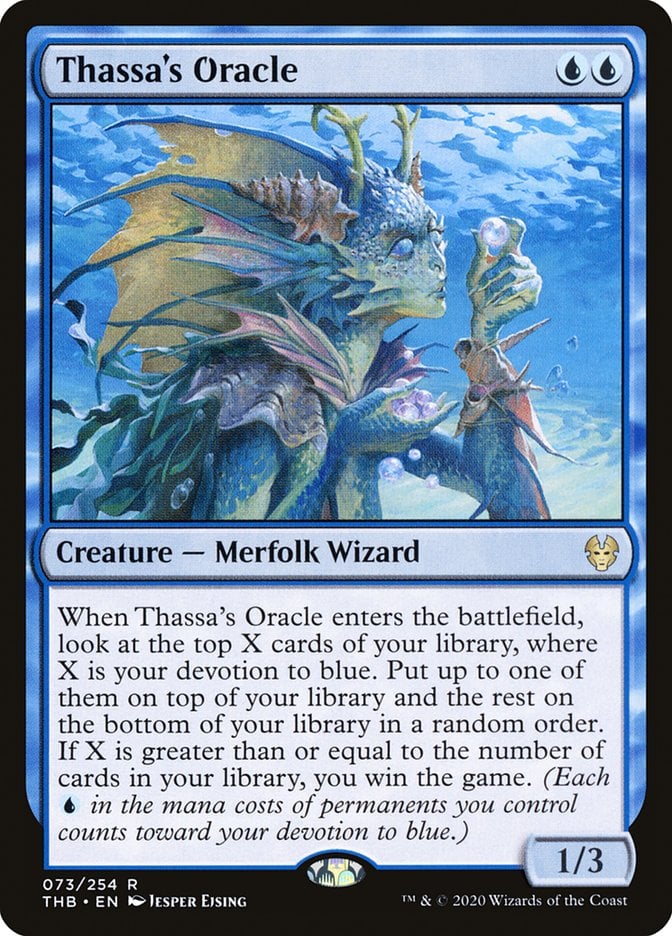
Teval isn’t so different from other decks when upgrading for Bracket 4: Get in some combos and busted cards! Notably, this is the first deck that can consider Thassa's Oracle + Demonic Consultation or Tainted Pact, though those push it towards Bracket 5.
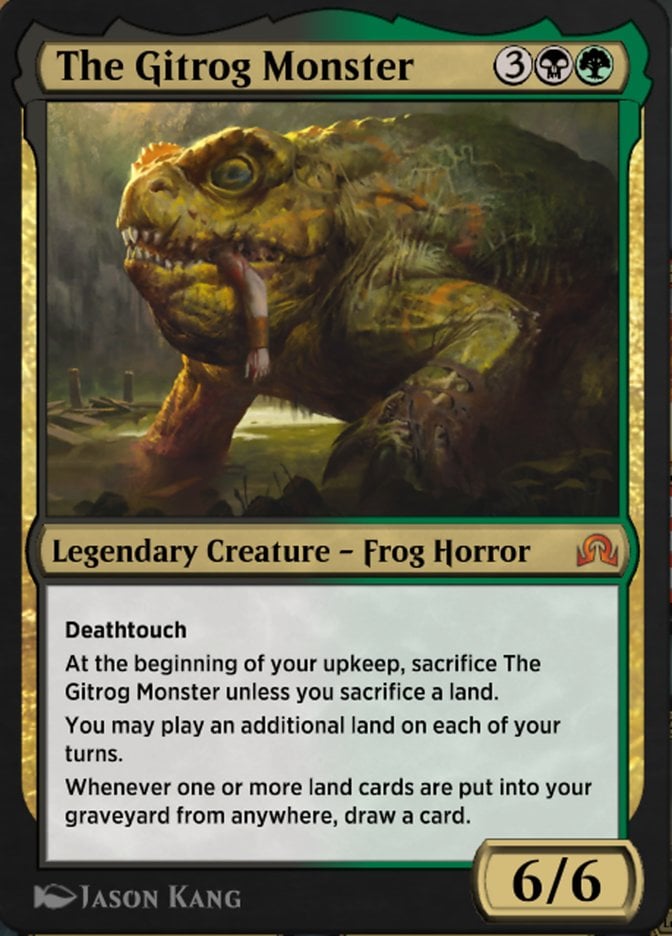
Another path is The Gitrog Monster. Everybody’s favorite legendary frog has a few potent though complex loops that see fringe cEDH play. That package could work with Teval; while you lose the consistency of The Gitrog Monster being in your hand, you get blue interaction plus Thassa's Oracle.
Commanding Conclusion
Sol Ring | Illustration by Mike Bierek
Building a good Bracket 3 deck is tricky. Make the deck too weak, and it can’t hang with the strong ones, but push it too far and you won’t have a satisfying game then, either. Much of that hinges on the commander, but the 99 is just as important.
Which Bracket 3 commanders are your favorite? How do you build them and keep balance? Let me know in the comments below or on the Draftsim Discord!
Stay safe, and thanks for reading!
Follow Draftsim for awesome articles and set updates:


Add Comment