Last updated on March 25, 2026
Demonic Tutor | Illustration by Scott Chou
When you started playing Magic, odds are that you were playing a deck that was just a combination of some of the cards you owned. Cards that you liked and had multiples of, to put in one big pile and call it your deck.
This simplicity is my most missed characteristic of the typical Constructed formats like the rotating Standard and eternal Modern. Not only do you have a more narrow range of cards but you also need to get up to four of each.
Commander’s success in both casual and competitive settings can be attributed to many of its qualities. The wide range of legal cards and how easy it is to get your hands on them are two of its best. But what else is there to know about this popular format?
Hold on to your hats, let's dive right in.
What Is the Commander Format?
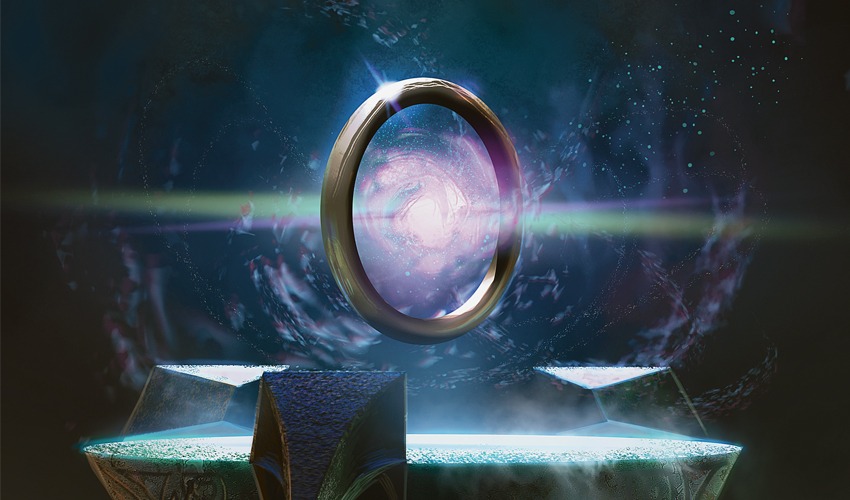
Sol Ring | Illustration by Mike Bierek
Commander, also known as Elder Dragon Highlander (EDH), is a singleton format that revolves around building 100-card decks that usually work around a single card: that deck’s “commander.” Commander has its own set of unique rules that separate it from the typical Constructed formats.
The Rules of Commander
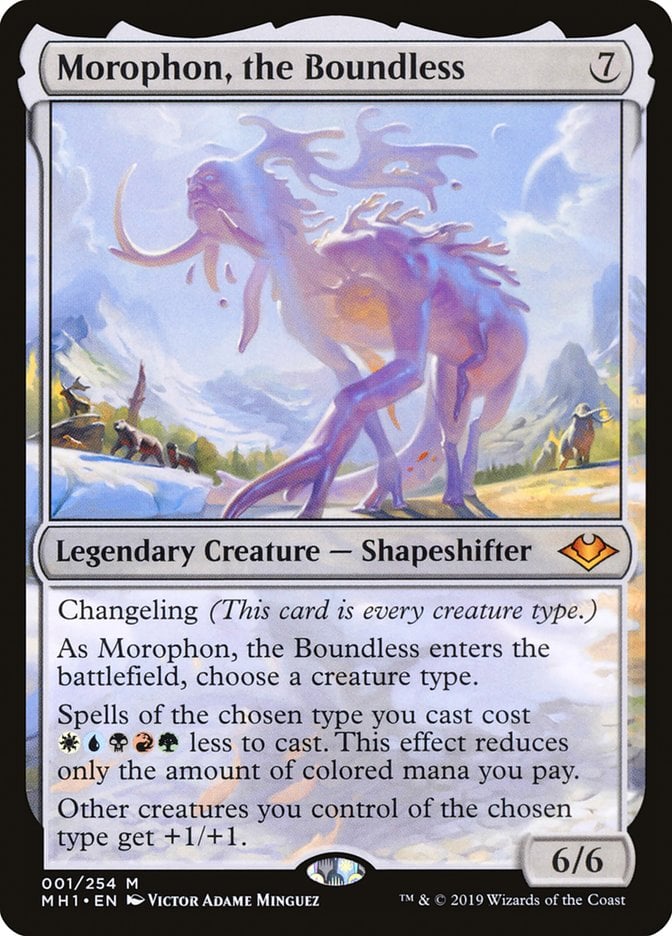
Commanders (with rare exceptions) must be a legendary creature and your deck can only include cards with mana symbols that are present on your commander’s card face (this is their color identity). If your commander is a card like Morophon, the Boundless, then your deck can use any cards as all five color symbols are present on the card.


Alternatively, if your commander is a colorless card with no colored mana symbols like Ulamog, the Defiler, then you are limited to colorless cards plus Wastes instead of the colored five basic lands. Hearthhull, the Worldseed represents legendary vehicles and spacecraft that can be commanders as long as they have a printed power/toughness, it's colors are black, red, and green, so no blue or white cards can be included in a Hearthhull deck.
A commander deck has to be exactly 100 cards, including your commander.
You deck can include no more than one copy of each card. No playsets required here. This rule is what helps Commander be such an accessible format for players on a budget as well as what leads to players having unique and creative ways to play. There's no need to buy four of each on-color fetch or shock land. This saves you the price of a car payment each time you build a deck.
There’s also an alternative way to win than regular damage. Every time a commander deals combat damage to a player it also does commander damage. If a player receives 21 or more commander damage from a single commander throughout the course of the game, they lose.
Your start with 40 life instead of 20 and the format runs as a free-for-all between two to six players, often a table of four.
Format Characteristics
Your commander is set aside from your deck and castable as though it were in your hand. When your commander dies, or gets removed you can recast it, but you have to pay a commander tax of additional mana each time.
The higher life total and multiplayer aspects mean that games not only go longer but also offer a wide variety of ways to interact with your opponents. Removal spells like Lightning Bolt are often swapped for cards that affect each opponent or every player. Strategies like group hug, where you deliver table-wide benefits to your opponents, become a very opportunistic game plan.
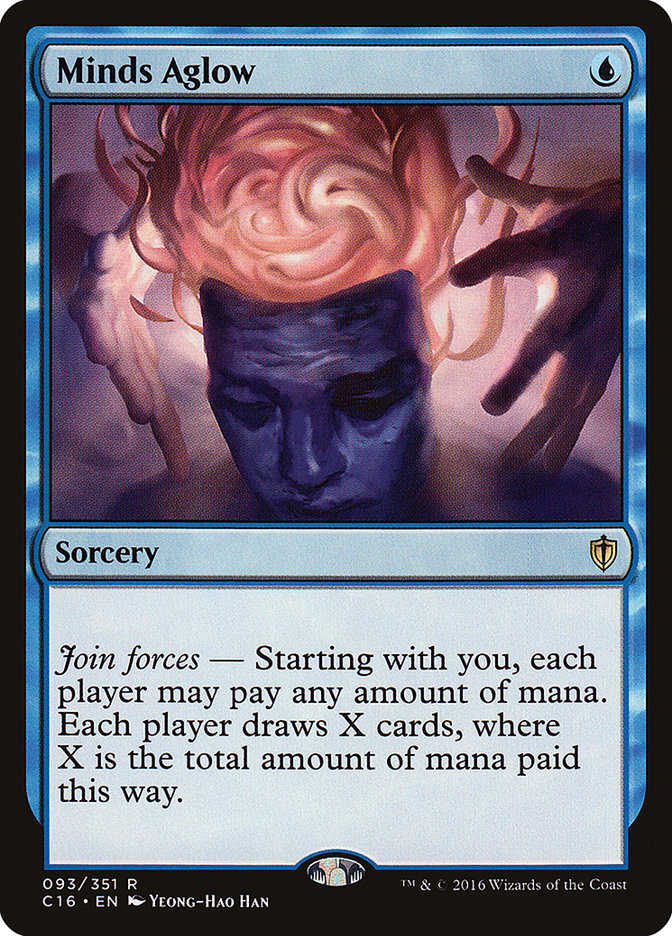
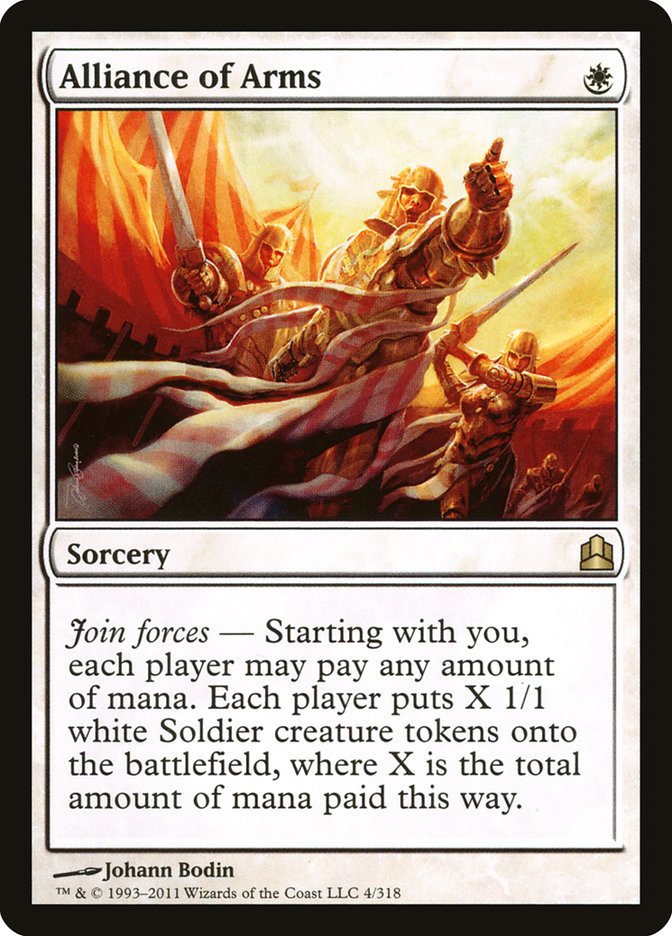
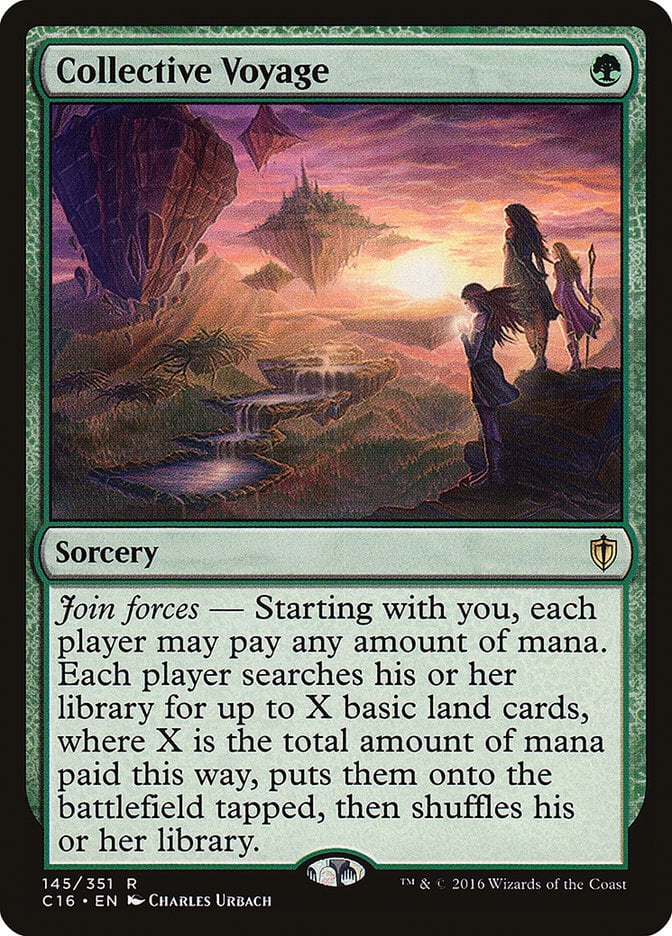
Join forces from Commander 2011 is a good example of a group hug mechanic.
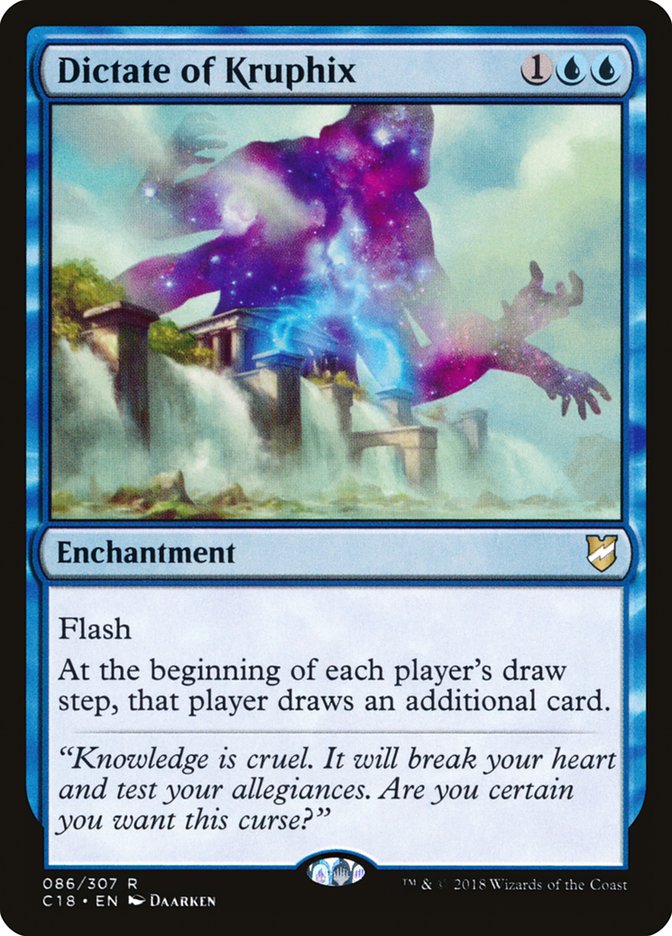

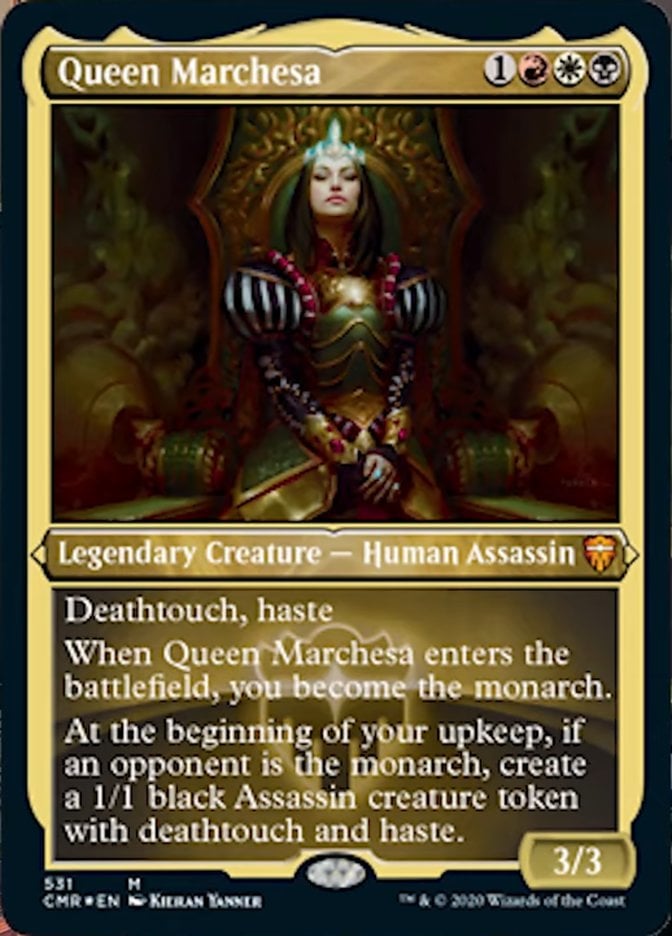
Cards like Dictate of Kruphix gives opponents the resources to keep going. Group hug can be a unique and refreshing way to play Magic, and Jolene, the Plunder Queen is just one example of a card that introduces rewards for players attacking players other than you. Whether you like it or not, Commander's politics affect everyone and each player can form secret alliances as an accepted method of play. Strategies that leave you as the last player standing are paramount in a multiplayer environment. Like in a Queen Marchesa-led EDH deck.
EDH vs. Commander? Which Is “Right”?
Commander’s origin dates back to a format called “Elder Dragon Highlander” that was nearly identical aside from the options you had to pick from for your “commander.” Instead of any legendary creature as your commander, players chose from one of the Elder Dragon creature cards printed in sets like Legends, Chronicles, or Modern Horizons 2.
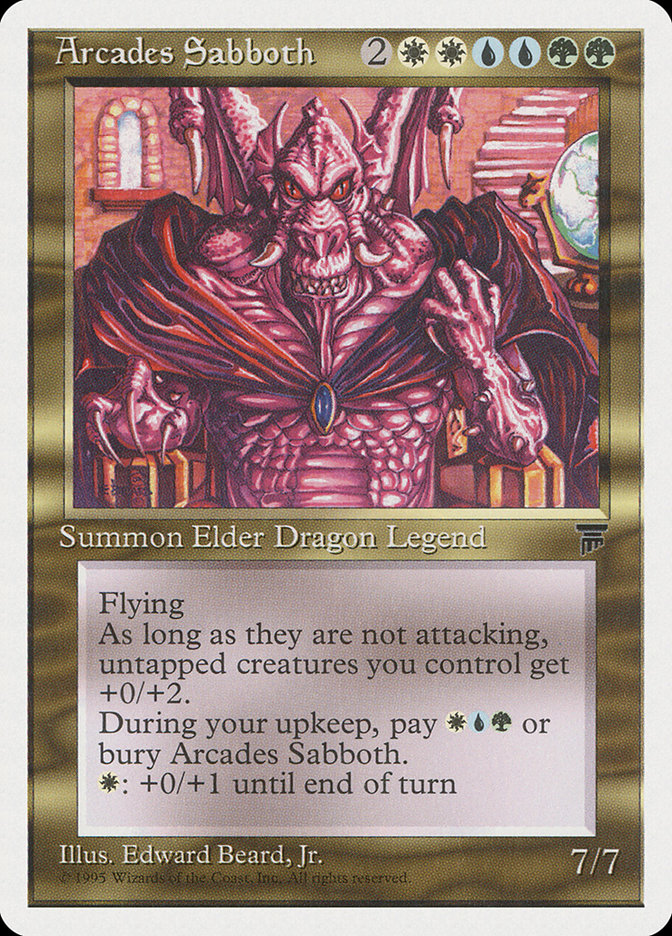
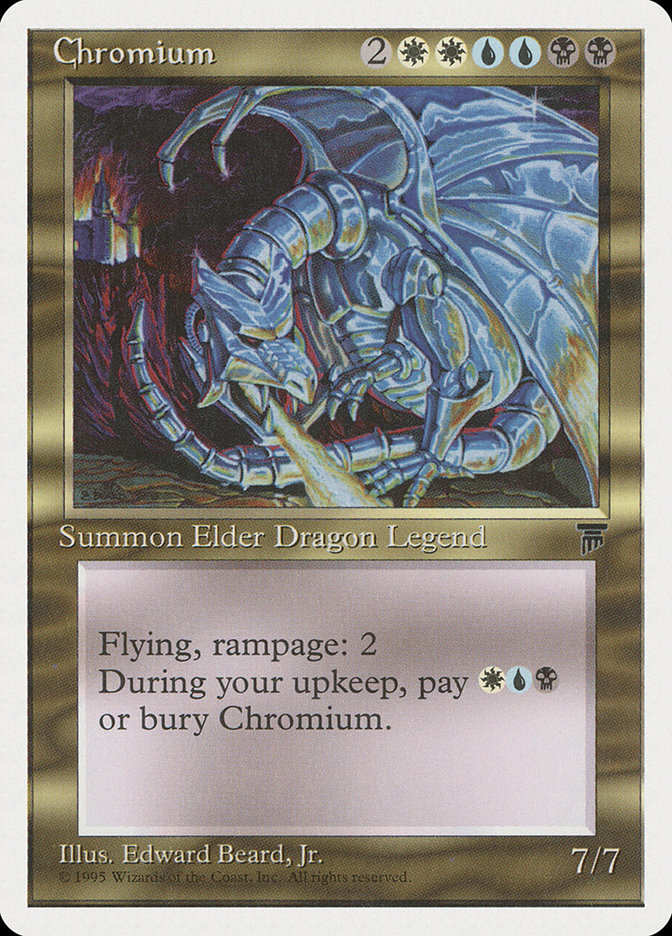
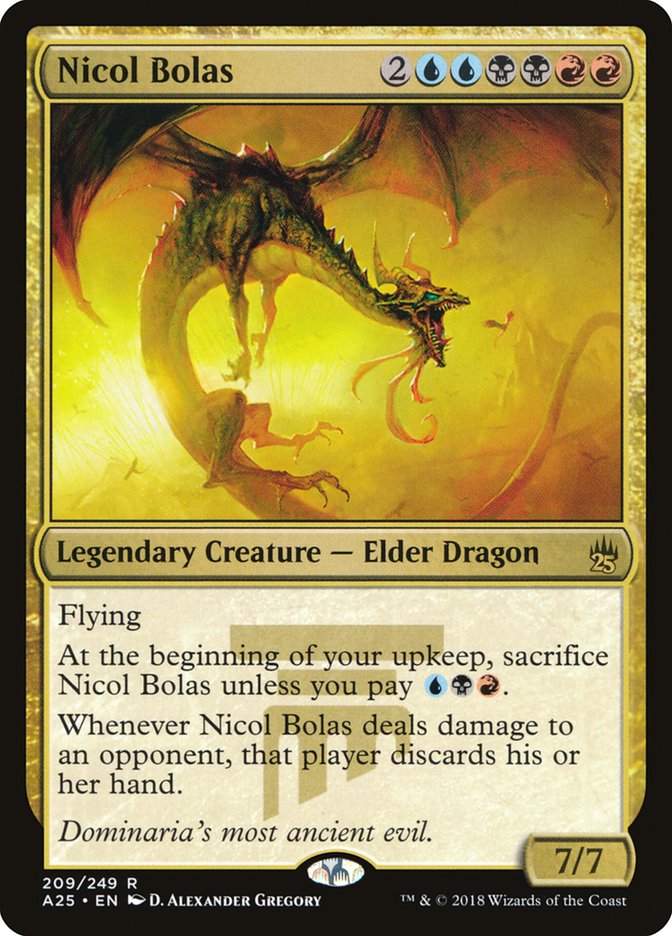
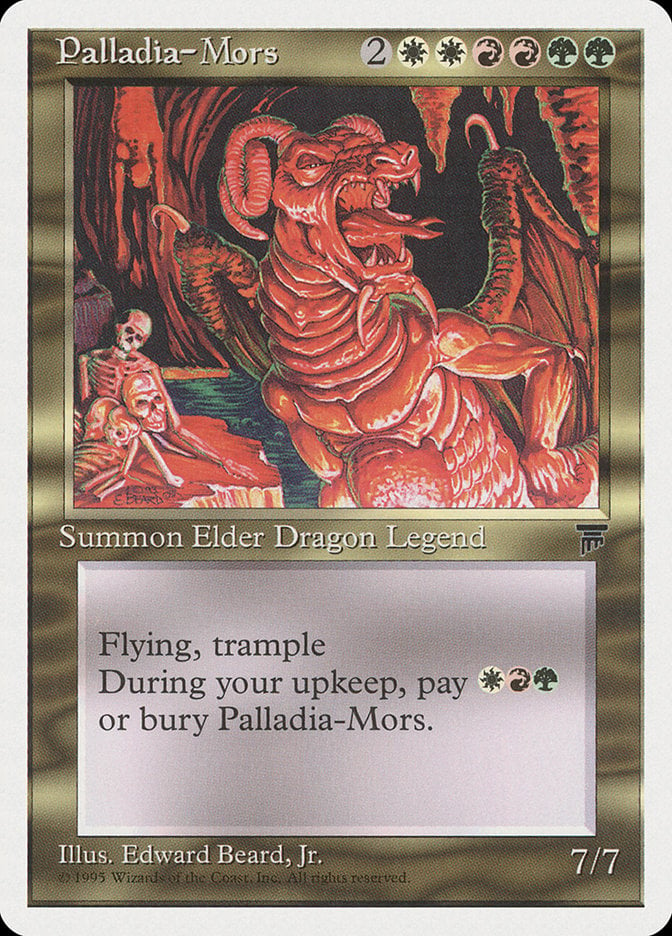
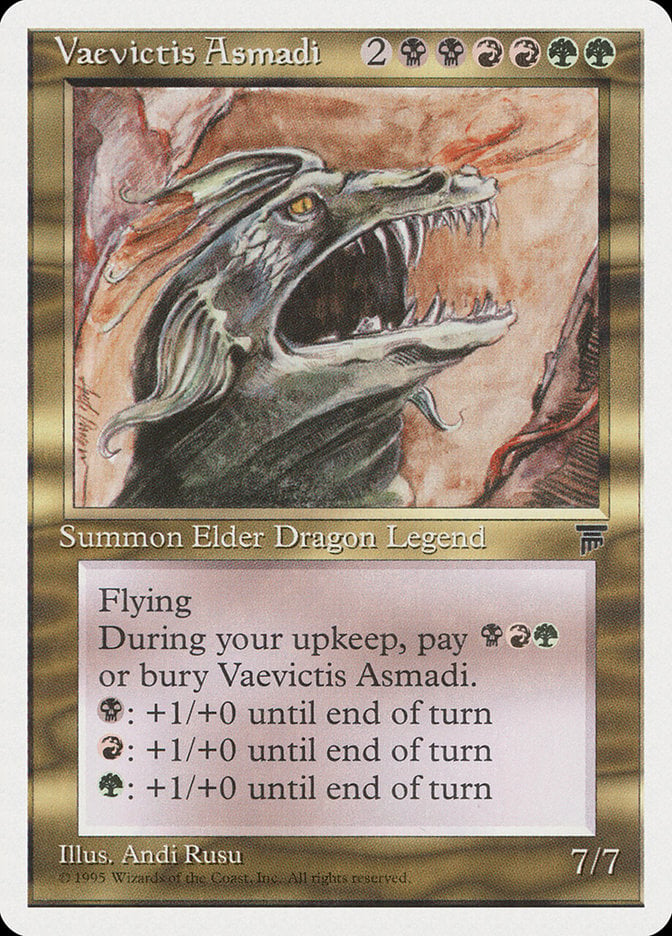
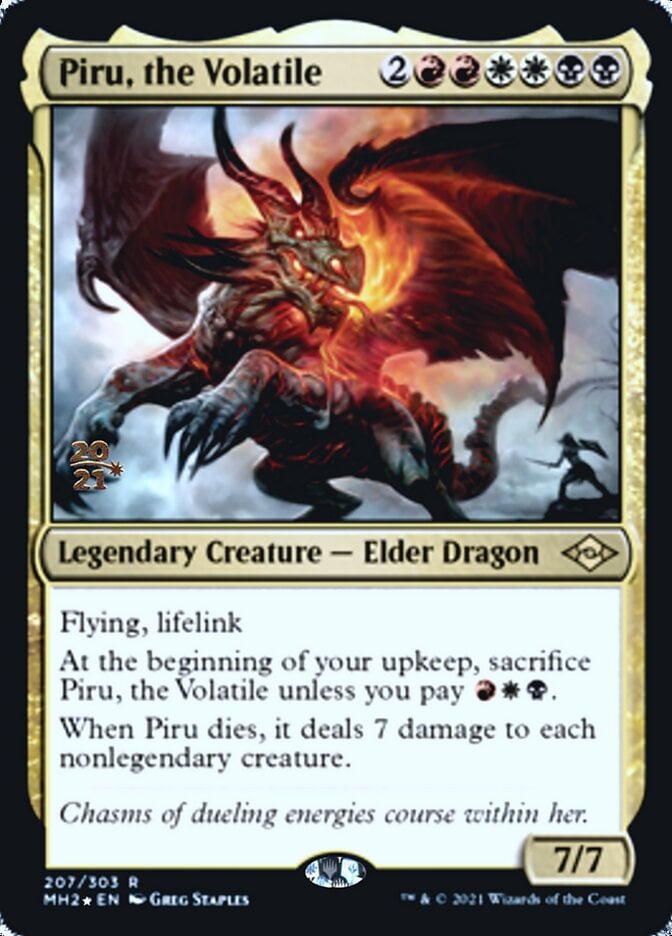
These original Elder Dragons include Arcades Sabboth, Chromium Rhuell, Nicol Bolas, Palladia-Mors, Vaevictis Asmadi, Ugin, and Piru, each represent a different 3-color combo except Ugin. These origins resulted in the format having the alternative and exchangeable title of “EDH.” This acronym is also used in the competitive Commander sub-format often referred to as “cEDH.”
Why Is Commander So Popular?
Commander’s success and popularity stem from its ability to act as both a casual format as well as one with a large level of creativity. There’s no serious meta-gaming aside from the ultra-competitive scene and the format allows players to build decks that represent their play styles. The scope of a typical Commander/EDH deck is much broader than that of a Standard deck that usually aims to reach a very narrow goal as efficiently as possible.
Commander also gives you the option to throw a bunch of “good stuff” cards into a pile, add in some mana fixing and table interaction, and just have it work. Your ability to politic and persuade acts as a sort of equalizer between your deck’s power level and that of your opponent’s deck.


My love for the format comes from two aspects. First is the part where I only need to buy one copy of Snapcaster Mage for my deck instead of four, and second is that it allows for interactions that simply don’t happen in any other format. Where else do you get to Blasphemous Act an entire board of dragons, werewolves, and ninjas only to leave shrines, slivers, and The Walls of Ba Sing Se? Certainly not Standard, that's for sure.
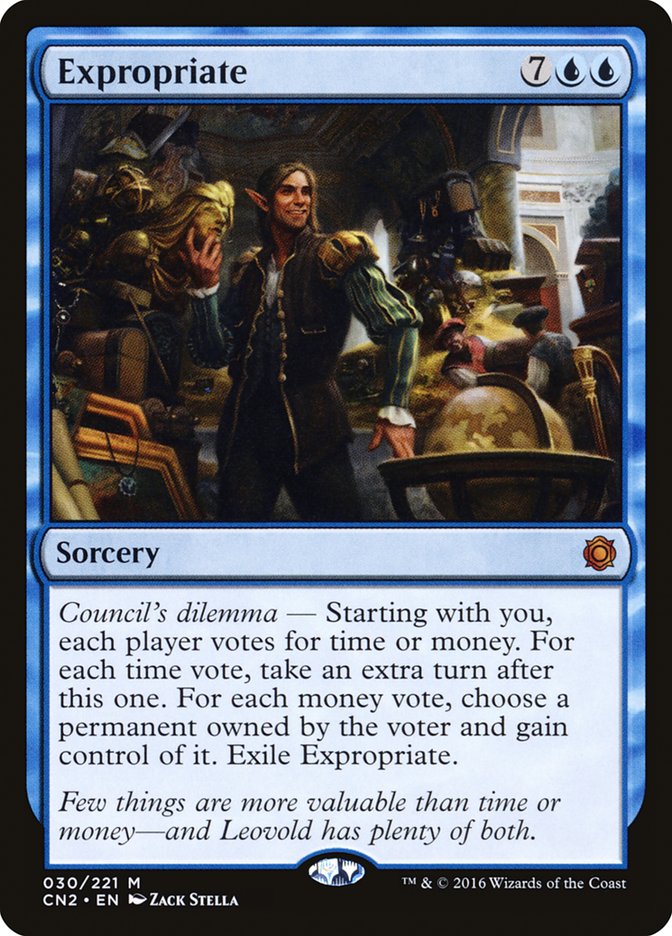
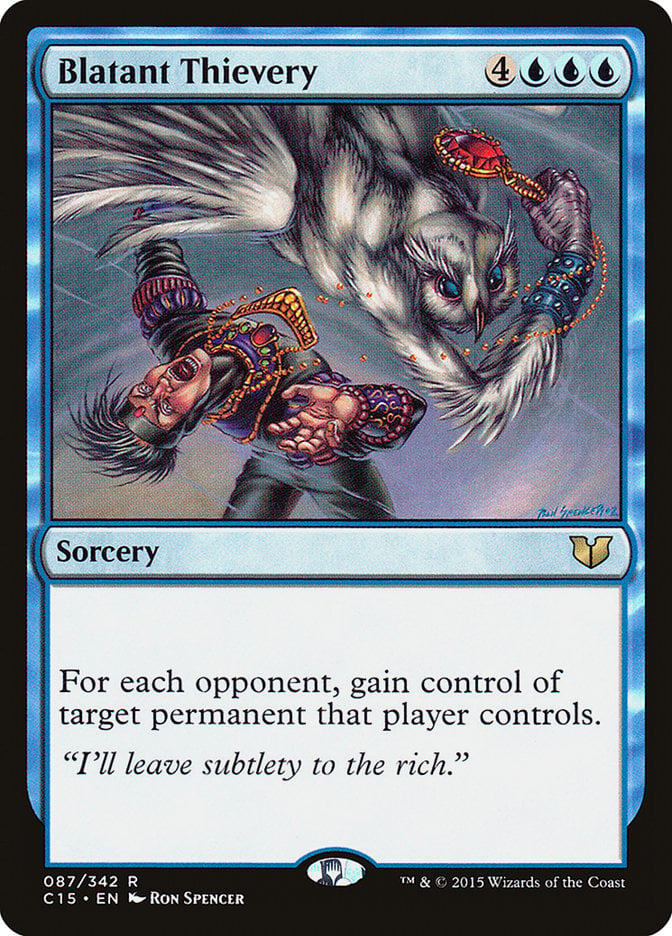
I don’t know of another format where I get to play Expropriate and hear three of my best friends groan in annoyance. Commander also gives cool cards like Blatant Thievery a home!
Commander-Legal Sets
Any card with white or black borders that was released by Wizards of the Coast is legal in Commander, with a few notable exceptions. This is in stark contrast to a smaller legal range of sets like in Modern or Pioneer. So as long as the cards you run aren’t acorn-foiled or silver-bordered from a set like Unglued, and it's not on Commander's ban list then you’re good to go!
Commander Game Changers
The Game Changers for Commander are a Wizards-defined list of cards that are on-watch for their power level, and tied to the deck rating brackets to help players sit down at tables of similar-strength decks. The fewer Game Changers you include, the more casual versus competitive your deck tends to be.
Commander Banned List
In the unlikely event of a card coming off the ban list, that card goes to the Game Changer list, and in theory the reverse is also true, and cards go to the GC list before they are fully banned in Commander:
- 25 cards with the card type “Conspiracy.”
- 9 cards that reference “playing for ante.”
- Cards whose art, text, name, or combination thereof are racially or culturally offensive are banned in all formats.
- Ancestral Recall
- Balance
- Black Lotus
- Chaos Orb
- Channel
- Dockside Extortionist
- Emrakul, the Aeons Torn
- Erayo, Soratami Ascendant
- Falling Star
- Fastbond
- Flash
- Golos, Tireless Pilgrim
- Griselbrand
- Hullbreacher
- Iona, Shield of Emeria
- Jeweled Lotus
- Karakas
- Leovold, Emissary of Trest
- Library of Alexandria
- Limited Resources
- Lutri, the Spellchaser banned as a companion.
- Mana Crypt
- Mox Emerald
- Mox Jet
- Mox Pearl
- Mox Ruby
- Mox Sapphire
- Nadu, Winged Wisdom
- Paradox Engine
- Primeval Titan
- Prophet of Kruphix
- Recurring Nightmare
- Rofellos, Llanowar Emissary
- Shahrazad
- Sundering Titan
- Sylvan Primordial
- Time Vault
- Time Walk
- Tinker
- Tolarian Academy
- Trade Secrets
- Upheaval
- Yawgmoth's Bargain
Where to Play Commander
Paper and IRL
Many Magic players ask the question: “Where can I play Commander IRL?” Lucky for us, Commander has grown quite mainstream. Commander Nights and Parties are in-person events connected to the release of some sets, with promotional support from Wizards. In addition to playing in casual pods with friends, local game stores run their own casual Commander events. My LGS has an entire weekly event called “Commander Monday” that separates players into random pods based on the strength of their deck. Commander also found a permanent home in the side events at many Magic conventions and gatherings.
MTGO
MTG Online has long offered both 1v1 and multiplayer Commander games in both casual and league formats. It offers a great alternative to paper Commander thanks to the affordability of buying certain singles on the platform.
MTG Arena
Brawl is the closest workaround. This is essentially the Magic Arena variant of Commander/EDH, the big differences include the ability to put a planeswalker into the command zone, 1v1 matches, a starting life total of 25 and the only legal cards are the cards in Historic, which includes all cards on MTG Arena except for a few banned cards (looking at you, Oko, Thief of Crowns). MTG Arena has relatively few cards from Ixalan onward, plus a few anthologies and remastered sets. Many of the sets that are legal in Commander are not accessible on Arena.
Commander Precons and WotC Decks
With many set releases comes a new set of preconstructed Commander decks from WotC for us to pick from. These decks offer a bang-for-your-buck type entry into the format and usually come with Commander staples like Sol Ring and Arcane Signet. Each release covers a variety of themes and play styles within each deck and is a solid choice in terms of content and value for new players.
Teenage Mutant Ninja Turtles
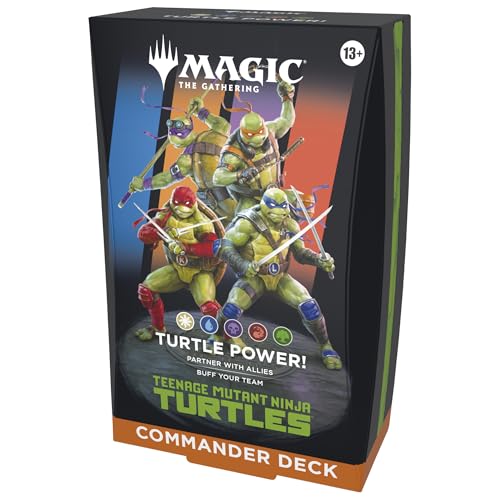
The Teenage Mutant Ninja Turtles commander deck is Turtle Power! with a welcome amount of color fixing to allow for all colors. This jams baddies like Shredder, Shadow Master and Baxter, Fly in the Ointment into the same deck as Raphael, the Muscle and Michelangelo, the Heart. Arcade and pizza references like Continue? and Ninja Pizza are top notch cards, period.
- TAP INTO TURTLE POWER—Magic gets a quadruple dose of mutagenic mayhem as the Teenage Mutant Ninja Turtles make their debut on the battlefield!
- PARTNER WITH ALLIES AND BUFF YOUR TEAM—Unleash mutagenic mayhem and battle your friends in Commander, Magic’s most popular multiplayer format.
- INCLUDES 43 NEW CARDS—This 100-card ready-to-play Commander deck introduces 43 never-before-seen cards to Magic: The Gathering
- CONTENTS—100-card deck with 43 new cards, 1 deck box, 10 double-sided token cards, 1 strategy insert, 1 reference card
World Shaper
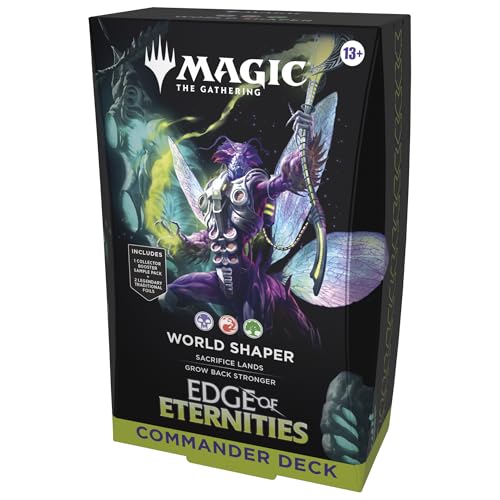
World Shaper wants to break down lands, the foundational card type of Magic. It's full of sacrifice and self-mill and in the process it has wildly powerful payoffs beyond simply replaying your lands from the graveyard like Hearthhull, the Worldseed, Titania, Protector of Argoth, and Omnath, Locus of Rage.
- TERRAFORM AND TERRORIZE—Sacrifice lands and grow back stronger alongside the massive seedship, Hearthhull, and Szarel, director of terrasymbiosis
- 2 FOIL BORDERLESS COMMANDERS—Every Edge of Eternities Commander Deck includes 2 Traditional Foil Legendary Creature cards featuring Borderless art
- INTRODUCES 12 COMMANDER CARDS—Each deck introduces 12 never-before-seen Commander cards to Magic: The Gathering
- COLLECT SPECIAL TREATMENT CARDS—Each deck also comes with a 2-card Collector Booster Sample Pack containing 1 Traditional Foil card and 1 alt-border Rare or Mythic Rare (foil or nonfoil)
- THRILLING MULTIPLAYER BATTLES—Commander is a multiplayer way to play Magic, an epic, free-for-all battle full of strategic plays and social intrigue
Counter Blitz
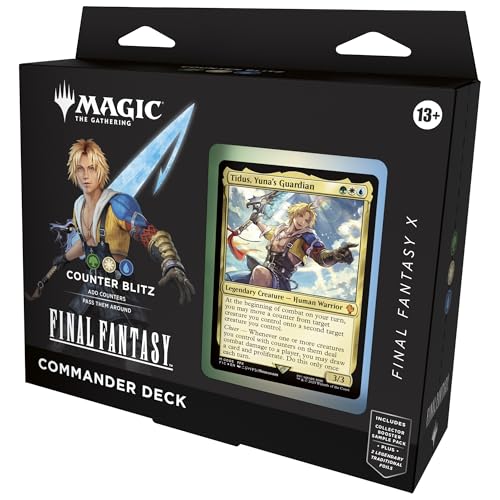
Counter Blitz celebrates the crazy counters you find randomly throughout Magic including the summons that Final Fantasy introduced. There are some scary ones like Walking Ballista, tricky ones like Luminous Broodmoth and the one-sided board wipe Damning Verdict, and each cares about counters in a different way.
- FINAL FANTASY X-THEMED DECK—Battle your friends with FINAL FANTASY X’s iconic heroes, villains, and spells with the strategic gameplay of the Magic: The Gathering collectible card game
- WHEN YOU GOT THE BALL, YOU GOTTA SCORE.—Embark on a journey to Zanarkand alongside Tidus, Yuna’s Guardian as you buff your creatures with counters and pass them around to boost team spirit
- 25 NEW CARDS plus ALL NEW ART—All 100 cards in this ready-to-play deck feature new FINAL FANTASY-themed art, including 25 Commander cards entirely new to Magic: The Gathering
- 2 FOIL LEGENDARY CARDS—Each deck includes 2 Legendary Creature cards with a shiny Traditional Foil treatment that can be played as your commander
- COLLECT SPECIAL ALT-BORDER CARDS—Each deck also comes with a 2-card Collector Booster Sample Pack containing 2 alternate-border cards of rarity Rare or higher
Starter Commander Decks
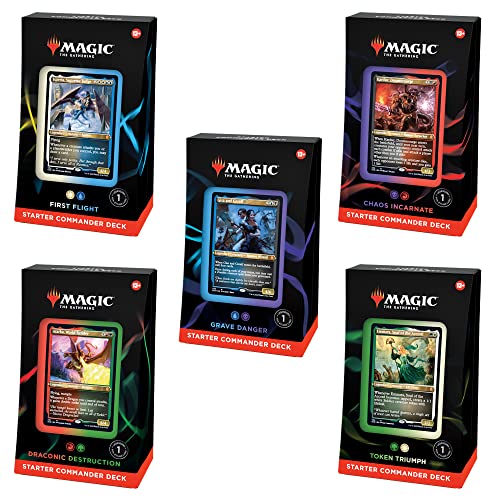
The Starter Commander Deck Bundle is an excellent way to break into the format for a group of friends on a budget. For about $35 each, you get five unique decks to learn the format with. Each Starter Commander deck takes on a different two-color combination. You get to try out every classic synergy from Azorius () fliers to Dimir () graveyard.
- Bundle of all 5 Starter Commander Decks—First Flight, Grave Danger, Chaos Incarnate, Draconic Destruction, and Token Triumph
- Each deck contains 100 cards—1 Foil-Etched Legendary card + 99 nonfoil cards
- Each deck also comes with 1 deck box, 10 double-sided tokens, punchout counters, a strategy insert, and a reference card
- The perfect introduction to Magic’s most popular format—join your friends in epic multiplayer battles with a ready-to-play MTG deck
- Commander Game Format 2–5 players, around 120 minutes to play
Older Commander Precons
WotC gives players new precons on a regular basis since 2012 which means there’s a long list of precons to choose from. Lucky for you, Draftsim has evaluated all of the precons from 2017 onward for your choosing pleasure (plus a couple extras).
Take a look:
- Commander 2017
- Commander 2019
- Commander 2020
- Commander Legends
- Zendikar Rising Commander decks
- Kaldheim Commander decks
- Strixhaven Commander decks
- Forgotten Realms Commander decks
- Midnight Hunt Commander decks
- Crimson Vow Commander decks
- Neon Dynasty Commander decks
- New Capenna Commander decks
- Commander Legends: Battle for Baldur's Gate Commander decks
- Dominaria United Commander decks
- The Brother's War Commander decks
- Phyrexia: All Will Be One Commander decks
- March of the Machines Commander decks
- Lord of the Rings: Tales of Middle-earth Commander decks
- Commander Masters decks
- Wilds of Eldraine Commander decks
- Dr. Who Commander decks
- The Lost Caverns of Ixalan Commander decks
- Murders at Karlov Manor Commander decks
- Fallout Commander decks
- Outlaws of Thunder Junction Commander decks
- Bloomburrow Commander decks
- Duskmourn: House of Horror Commander decks
- Aetherdrift Commander decks
- Tarkir: Dragonstorm Commander decks
- Final Fantasy Commander decks
- Edge of Eternities Commander decks
- Lorwyn Eclipsed Commander decks
- Teenage Mutant Ninja Turtles deck
- The Best Commander Precons
- The Cheapest Commander Precons
Popular Commanders and Deck Building Resources
So you’re a more advanced player and want to go beyond the power of the precons. Where do you start? With more than 3,000 unique legendary creatures to choose from, more than 60 partner commanders, and 30 backgrounds there are nearly infinite routes to build a Commander deck in a single lifetime. If you can think of a strategy or theme, then there's a commander that powers it.
The best way to start is to pick a central theme or color you want to play. This can be as open as “mono green () fun stuff” or something much more narrow like “Esper () stun counters.”
The next step is the most obvious: pick a commander that promotes or empowers your chosen theme in a useful or consistent way (you could start with mono green commanders or stun counter commanders). This decision isn’t as easy as it seems.
Luckily for you, we’ve already done the hard work and broken down the best commanders in several different categories to get you started:
- Bracket 1 Commanders
- Bracket 3 Commanders
- Bracket 4 Commanders
- Bracket 5 Commanders
- Best aristocrat commanders
- Best partner commanders
- Best partner with commanders
- Best mono-color commanders
- Best 4-color commanders
- Best 5-color commanders
- Best dragon commanders
- Best Jeskai commanders
- Best Grixis commanders
- Best Mardu commanders
- Best Gruul commanders
- Best Izzet commanders
- Best Selesnya commanders
- All of the 1-Mana commanders
- Best 4-Mana commanders
- Best tribal commanders
- Best token commanders
- Best group hug commanders
- Best lands commanders
- Best land destruction commanders
- Best wall defender commanders
- Best goad commanders
- Best control commanders
- Best planeswalker commanders
The real fun begins once you have a theme and style established. There’s a near-infinite number of resources online about the best commander cards to include in any color, the best removal and board wipes, or the best tutors. There are even large databases like EDHREC which give you example decklists for various themes if you need inspiration.
We've also got a tier list of the best commanders, the most fun commanders, and a guide on how many lands you need to build a good deck.
Sample Theme: Azorius Flicker/Blink Commanders
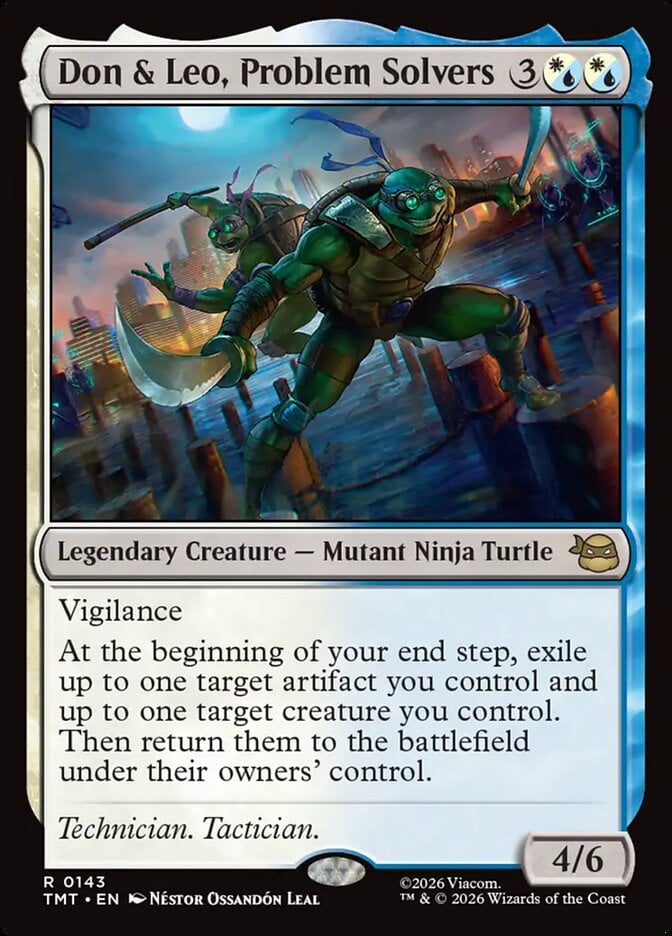

Let’s say you want to build an Azorius Flicker/Blink Commander deck and need to start from scratch. You have a couple of really strong choices here.
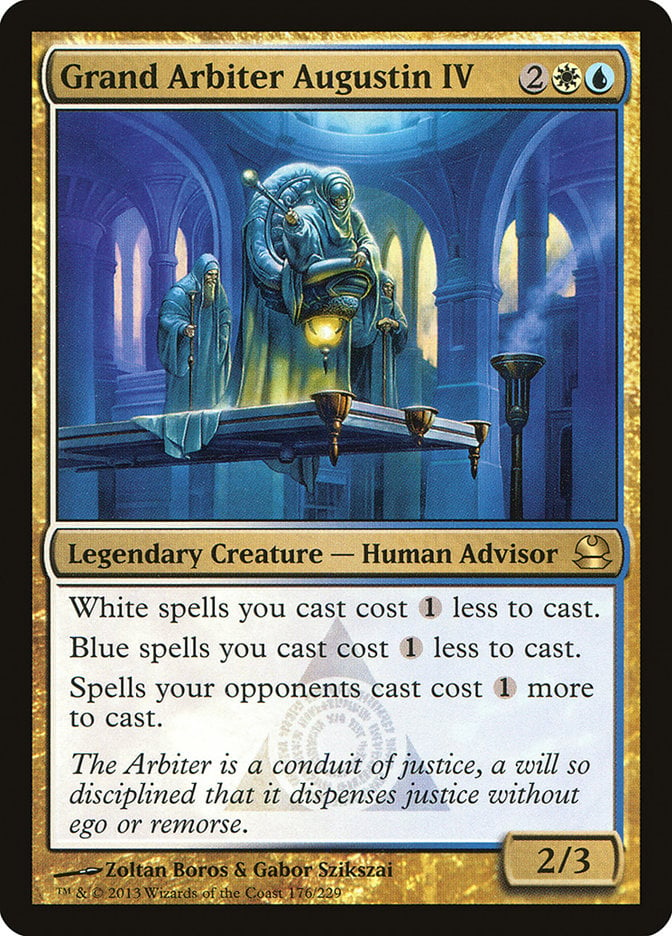
Don & Leo, Problem Solvers makes two flickers per turn available in your command zone to help you find incredible value. The Game Changer Grand Arbiter Augustin IV gives an overall cost reduction to all of your spells and frustrates your opponents. Ephara, God of the Polis provides card advantage if you flash in your blink cards on your opponent's turns.
What you see here in your quest to pick our commander is a bunch of choices and roads to go down. This is the higher level of creativity and choice that Commander offers as a casual format. Brago gives you a very narrow and clear path while Grand Arbiter allows you to push your main goal while simultaneously benefiting you in multiple other ways.
There’s no right or wrong choice. It all depends on you and what you think is the most fun for you. That’s the beauty of the format.
cEDH vs. Casual EDH
As with anything Magic there exists both a casual and ultra-competitive sub-format. Competitive Commander, often referred to as “cEDH,” is a unique breed of EDH that highlights decks that consistently win by combo-ing off as early as possible and killing everyone but yourself.
cEDH Decks
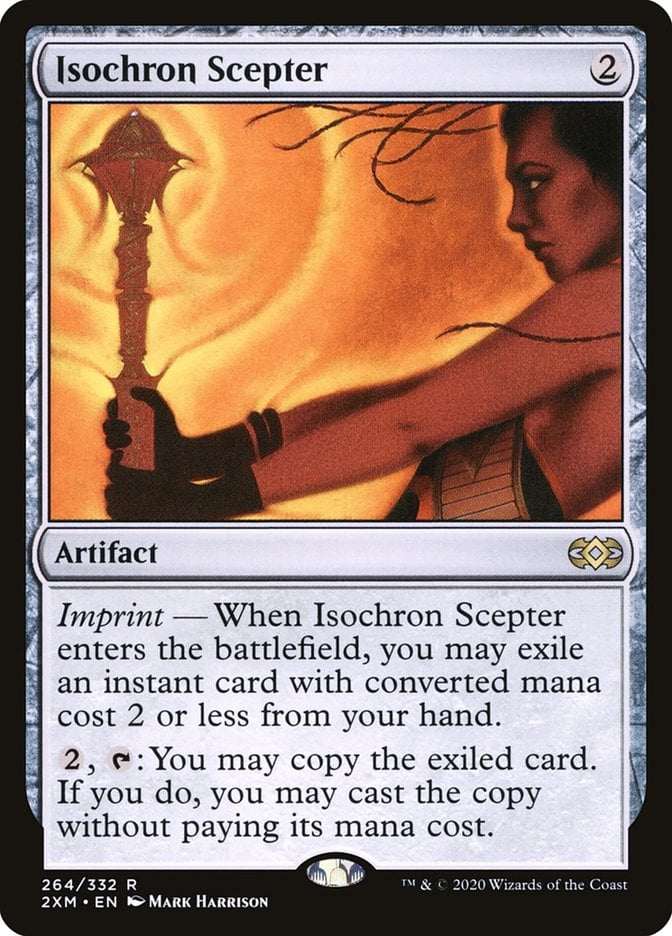
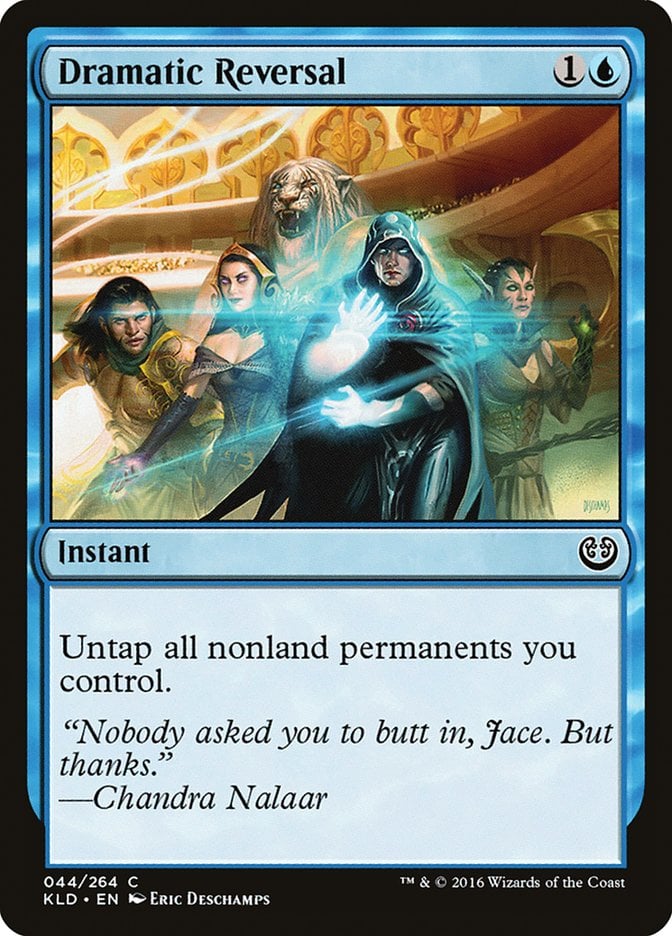
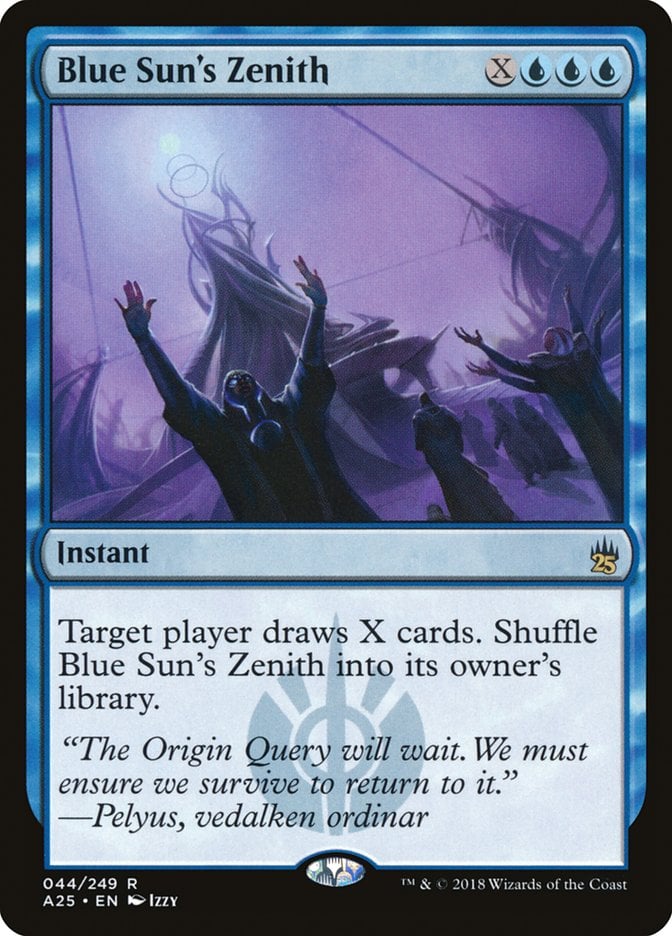
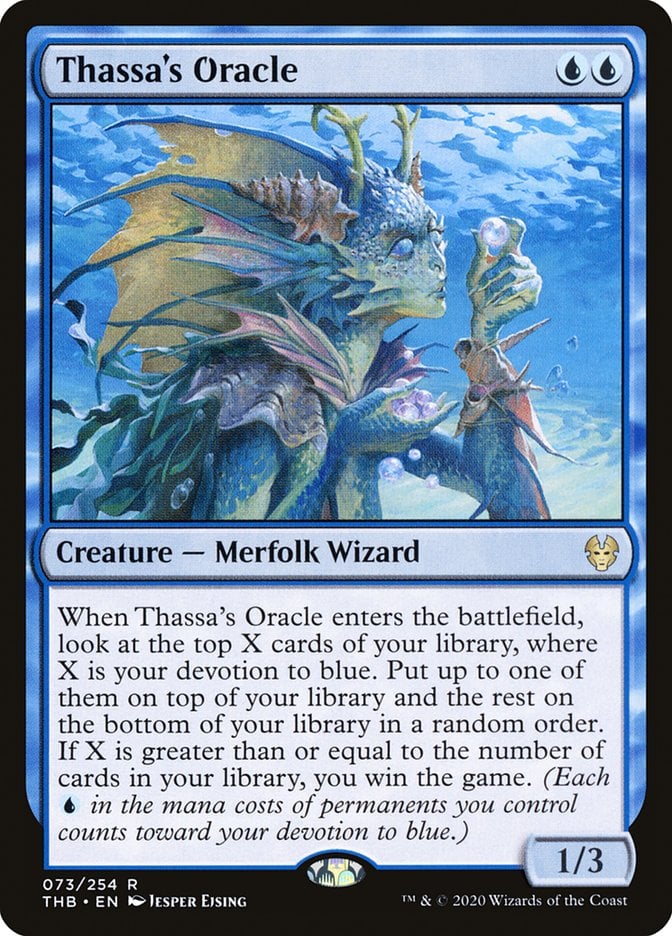
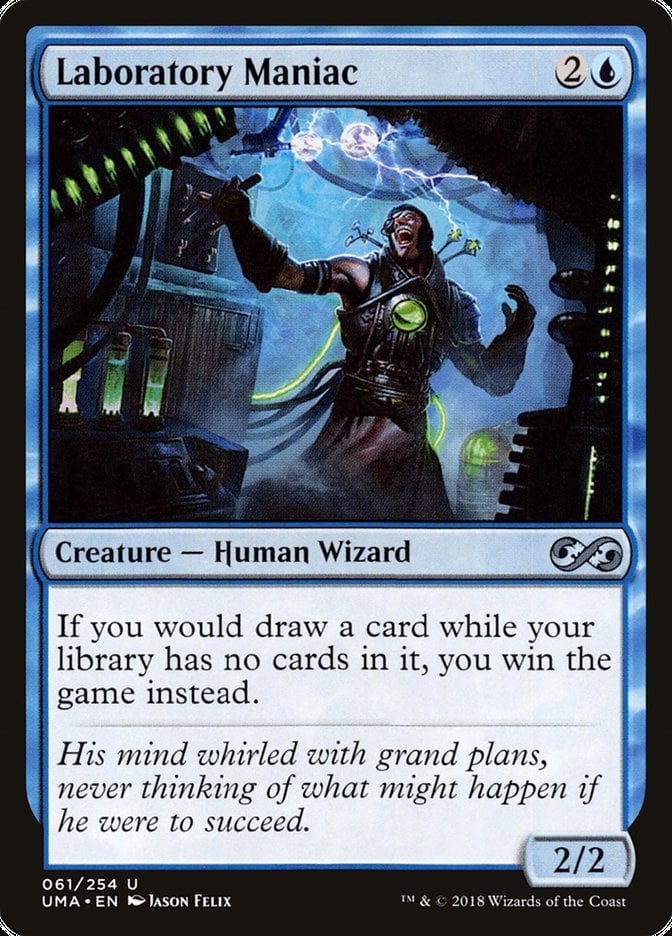
An common way to do this is to create an infinite mana combo for mana through cards like Isochron Scepter and Dramatic Reversal paired with some mana rocks. They can then be used through outlets, like drawing your whole deck with Blue Sun's Zenith and winning off of a Thassa's Oracle or Laboratory Maniac. The goal of cEDH decks is to win by any means necessary, and reserved for Bracket 5 where any cards are fair game and the nuance of beating the other best decks is the focus.
Casual EDH Decks
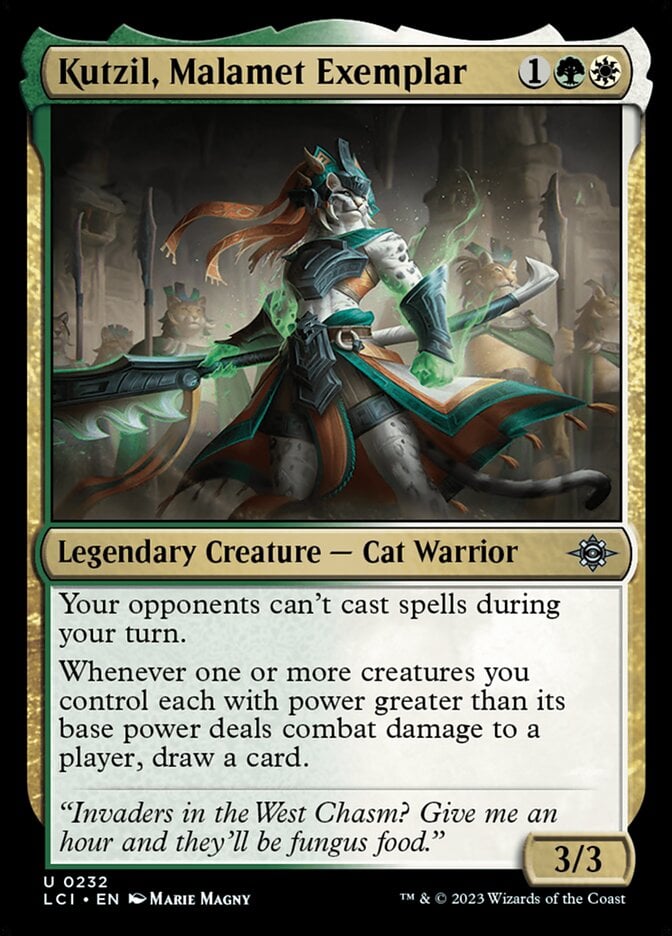
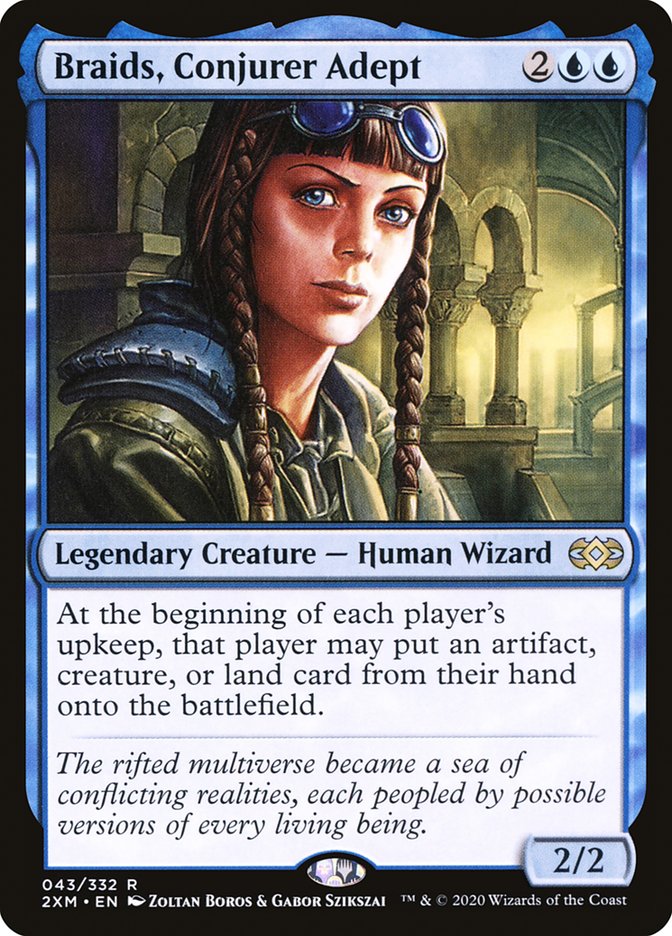
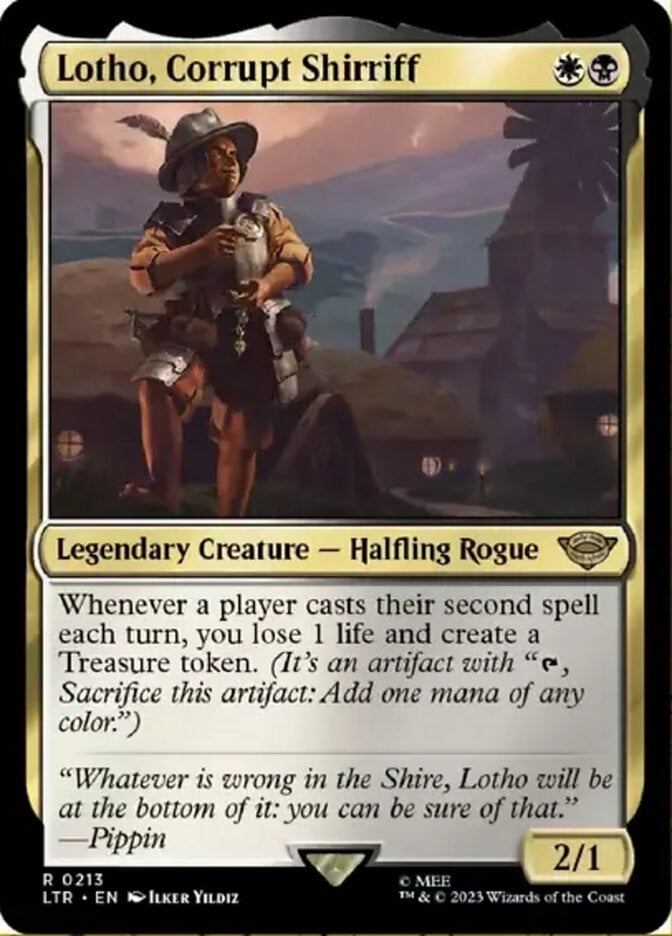

Casual EDH, as the name suggests, is a much more laid-back and “for fun” format. This means that play groups typically use the unwritten Rule 0, to discuss which cards mean fun. Instead of winning as soon as possible through infinite combos that blow everybody up on turn 4, casual EDH games go for as many as 8 turns or longer and include unique and exciting interactions that wouldn’t stand a chance in cEDH. The name of the game is to play big ol’ eldrazi like Ulamog, the Defiler, find fun synergy with Kutzil, Malamet Exemplar, group hug show-and-tell effects with Braids, Conjurer Adept or fill your library with flavor from Universes Beyond characters like Lotho, Corrupt Shirriff or Vivi Ornitier.
Casual play groups sometimes set their own rules like “no tutors” or “no combos” to promote a play style and game that prevents players from being knocked out before they’ve even gotten comfortable at the table. This is to promote a fun and welcoming environment where new players aren’t crushed before they can play their third land.
Commander Variants
A few varieties and flavors of Commander have popped up since it began. These EDH variants include formats such as Canadian Highlander, Oathbreaker, Pauper Commander, PreDH, and Tiny Leaders. These samples of spinoff formats bring a refreshing ruleset that still resembles the official EDH we know and love.
Commander Cube
Commander Cube is exactly what it sounds like: a Cube meant to be drafted that creates 60-card Commander decks in a Limited format. The Cube, over 900 cards tall, is drafted in a standard draft format with four 15-card packs or from a sealed kit of 120 cards.
There are a few rules for Commander Cube that aren’t present in traditional EDH:
- Mono-colored commanders can splash one color.
- Some legendary creatures can’t be used as commanders but can still be included in a decklist.
- Decks are a minimum of 60 cards with one commander.
- Each player receives one free Command Tower after the draft to use as mana fixing.
Commander Cube can be difficult to get going since the Cube costs roughly $7,000 to own on paper. This means that players typically phantom draft online and then play their drafted decks on MTGO or another online card sim like Tabletop Simulator where they can access the cards they drafted.
Commander Jumpstart
Just in case you’re not familiar, Jumpstart is a Limited format where you combine two boosters and create a finished deck instead of drafting from three packs. The packs include lands, multiple rares, and all the cards needed to create a 40-card deck when combined. You can probably see where Commander Jumpstart is going.
With this EDH variant you combine two different Commander packs plus a third pack. This final pack includes a variety of lands, fixing, acceleration, and other 2-color cards that all revolve around the color combo you created with your first two packs.
This allows players to scratch their Commander itch while providing a refreshing scene. It also improves on the time it takes to get started since similar formats like Commander Cube can take up to two hours just to draft, let alone build your deck.
Emperor
As a six-player format, Emperor lands close to a casual game night, and is like an evolved form of Two-Headed Giant with two teams of three attacking the single opposing leader. Players follow range of influence rules in which they can only attack opponents within one seat of them. This gives the game momentum, includes all players, and helps avoid isolated three-person pods.
Kingdoms
The Kingdoms variant of Commander gives 5-6 secret roles and objectives to each player which are only revealed after the game is completely over. Take a Plains, Island, Swamp, two Mountains, and one Forest, shuffle and deal one to each player. Here's the super-brief breakdown:
- Plains: The Monarch is the only role that is revealed, starts with 50 life, and must defeat all others unless the last is The Knight.
- Forest: The Knight must protect the Monarch at all costs and defeat all others.
- Swamp: The Assassin must be the last one to survive.
- Mountain: The Bandits. Two players that must eliminate the Monarch.
- Island: The Usurper‘s goal is to do the final bit of damage to the Monarch. If this happens, the usurper becomes the new monarch with refreshed life, while the former Monarch stays in the game as the new Usurper, but with one life. If you only have five players, this role can be left out.
Peasant Commander
Stick with the commoners and you get Peasant Commander. In this variant the biggest change is that your commander has to be a common or uncommon creature and doesn’t need to be legendary. Only 15 of your 99 cards can be uncommon. All other cards must have been printed as commons at some point in the game’s history.
The commander damage is also reduced from 21 to 18, and you're able to use your commander’s abilities from the command zone with a tax applying for every time you use them after the first one.
Commander Communities
As with any kind of subculture or hobby, there’s more than one subreddit or Discord server attached to Commander. Here’s a list of a bunch of the relevant subreddits, Discords, podcasts, and YouTube channels that you might find useful or entertaining when it comes to EDH:
- The Canadian Highlander Discord is a great place to find games and players to play with online.
- EDH Subreddit covers many various topics about Commander.
- cEDH Subreddit has redditors that are competitors.
- EDHREC The EDH database with decklists and data on card usage.
- EDHRECast The EDH-focused MTG Podcast by EDHREC.
- MTG Muddstah YouTube Channel presents loads of summarized gameplay videos.
- Pauper EDH Subreddit is competitive with budgets on the mind.
- r/cEDH Discord Community a discussion board with brews, bling, and puzzles.
- PlayEDH Discord Community is great for finding online playgroups!
- Playing with Power MTG features gameplay and deck discussion.
- The Command Zone YouTube Channel is a production team behind a Commander-focused podcast, gameplay and occasional celebrities.
- The Daily Upkeep is a mix of news and Magic-related content including precon upgrades.
Commanding Conclusion

Lorehold Command | Illustration by Jason Rainville
That’s all there is to know about Commander. Except for these critical EDH deckbuilding tips. Have any suggestions or decklists you want to share? Leave a comment or head over to the Draftsim Discord and talk to us there! I really want to build a nice wizard commander that does nothing but draw cards and counter spells. My friends will think it's just awesome, right?… Right?
…
Guys?
Anyway, I hope this info is useful to you on what I think is the best format in Magic. Until next time, eat well, and stay healthy!
Note: this post contains affiliate links. If you use these links to make a purchase, you’ll help Draftsim continue to provide awesome free articles and apps.
Follow Draftsim for awesome articles and set updates:


1 Comment
Great article!
Recommend editing this portion at the beginning of the article:
“Commanders must always be a legendary creature…”,
and append some asterisk or parantheses caveat detailing “minus a few designated Planeswalkers”
Add Comment