Last updated on December 22, 2025

Deadly Dispute | Illustration by Evan Stanley
Fans of the Sonic franchise, rejoice! Your favorite edgy anti-hero has been promoted to cEDH legend status. Shadow the Hedgehog isn’t just a cool character; it’s a powerful and flexible commander that blends treasure synergies, sacrifice loops, and stack protection into one sleek, aggressive package.
Today, we’ll go over a deck that promises a lot for the high stakes meta. From fast mana and interaction to infinite combos and alternate win conditions, we’ll cover it all! Let's dive in!
The Deck

Treasure token | Illustration by John Thacker
Commander (1)
Creature (20)
Forsaken Miner
Gravecrawler
Ragavan, Nimble Pilferer
Orcish Bowmasters
Opposition Agent
Sephiroth, Fabled SOLDIER
Warren Soultrader
Kellogg, Dangerous Mind
Lagomos, Hand of Hatred
Mayhem Devil
Captain Lannery Storm
Professional Face-Breaker
Xorn
Dualcaster Mage
Grim Hireling
Pitiless Plunderer
Anger
Jaxis, the Troublemaker
Goldspan Dragon
Knuckles the Echidna
Instant (14)
Dark Ritual
Vampiric Tutor
Pyroblast
Red Elemental Blast
Deadly Dispute
Rakdos Charm
Terminate
Saw in Half
Withering Torment
Chaos Warp
Deflecting Swat
Deadly Rollick
Big Score
Unexpected Windfall
Sorcery (11)
Reanimate
Gamble
Vandalblast
Demonic Tutor
Diabolic Intent
Feed the Swarm
Molten Duplication
Toxic Deluge
Jeska's Will
Beseech the Mirror
Blasphemous Act
Enchantment (3)
Goblin Bombardment
Black Market Connections
Revel in Riches
Artifact (20)
Lotus Petal
Mox Amber
Mox Opal
Darksteel Citadel
Drossforge Bridge
Great Furnace
Treasure Vault
Vault of Whispers
Sol Ring
Arcane Signet
Fellwar Stone
Lightning Greaves
Mind Stone
Rakdos Signet
Swiftfoot Boots
Talisman of Indulgence
Thought Vessel
Ashnod's Altar
Phyrexian Altar
The Reaver Cleaver
Land (31)
Badlands
Blazemire Verge
Blightstep Pathway
Blood Crypt
Bloodstained Mire
Bojuka Bog
Command Tower
Dragonskull Summit
Exotic Orchard
Graven Cairns
Haunted Ridge
Luxury Suite
Mountain x7
Raucous Theater
Smoldering Marsh
Sulfurous Springs
Swamp x7
Tainted Peak
Urborg, Tomb of Yawgmoth
This is a lean cEDH, combo-heavy Rakdos () brew that uses Treasure tokens as both fuel and a win condition. It’s fast and disruptive, and it rewards aggressive play and careful timing. You’ll often be the one to push the pace at the table, and with so many interaction pieces and backup combos, you're rarely out of the game.
The Commander: Shadow the Hedgehog

Shadow the Hedgehog sets the tone for the deck by being aggressive, fast, and very hard to stop once rolling. It rewards sacrifice-heavy, blitz-focused strategies by drawing cards when your creatures with haste or flash die. More importantly, its Chaos Control ability gives your spells split second when you use artifact mana, so it’s harder for your opponents to respond to your interaction and combo pieces. In a format as cutthroat as cEDH, that’s a big deal.
The Enablers
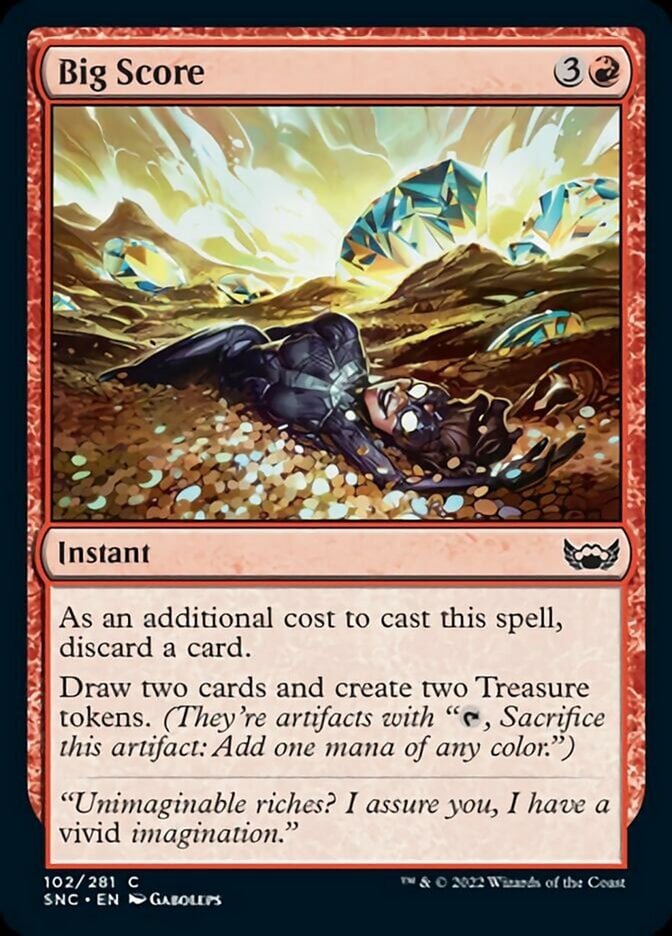
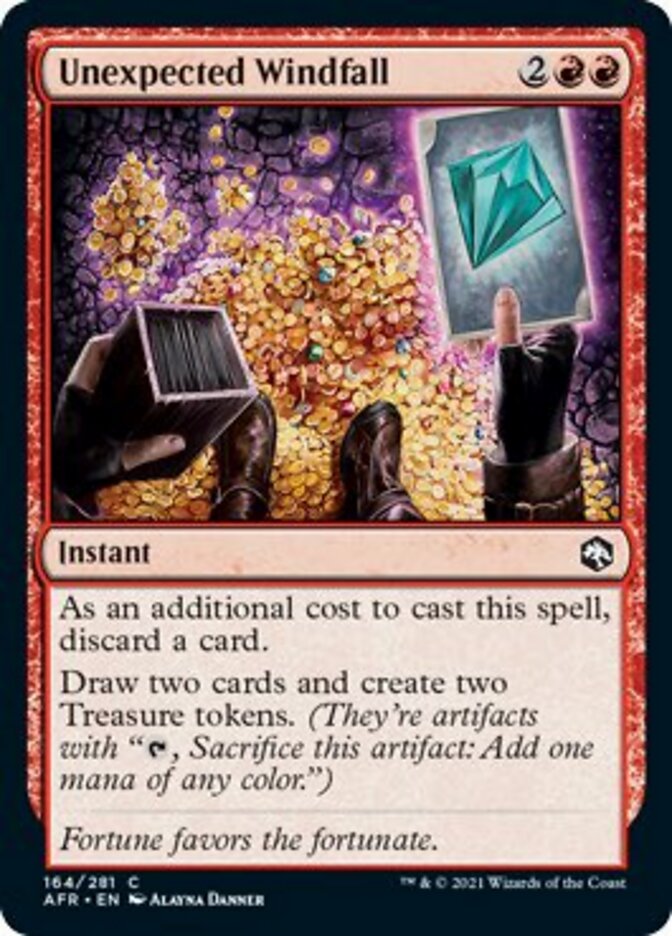
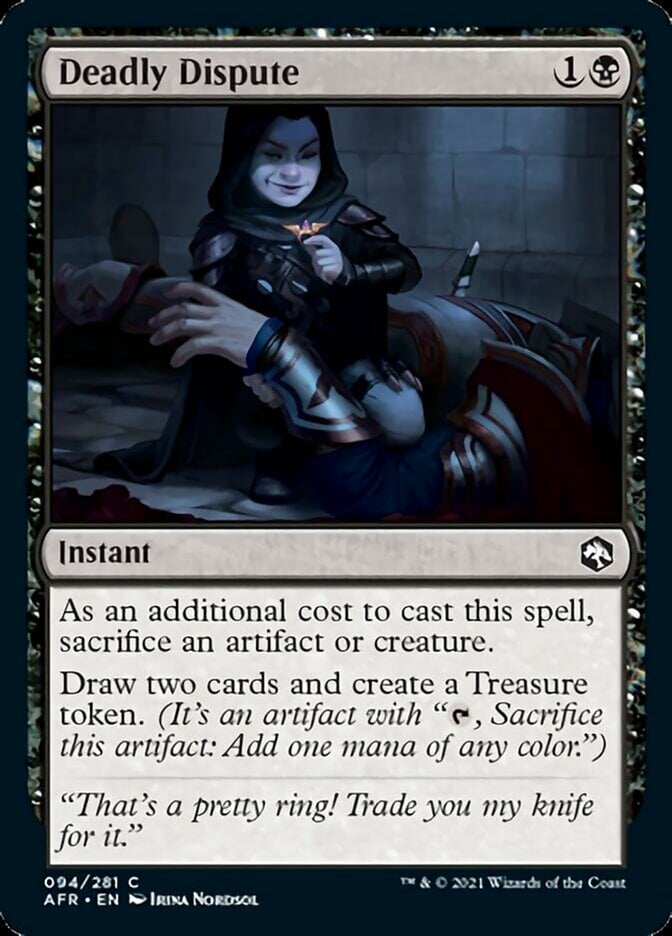
Your deck runs on Treasure tokens, and these are the cards that keep the engine going. Spells like Big Score, Unexpected Windfall, and Deadly Dispute let you trade cards or creatures for more mana and cards, which helps you dig through your deck while you build up Treasures.
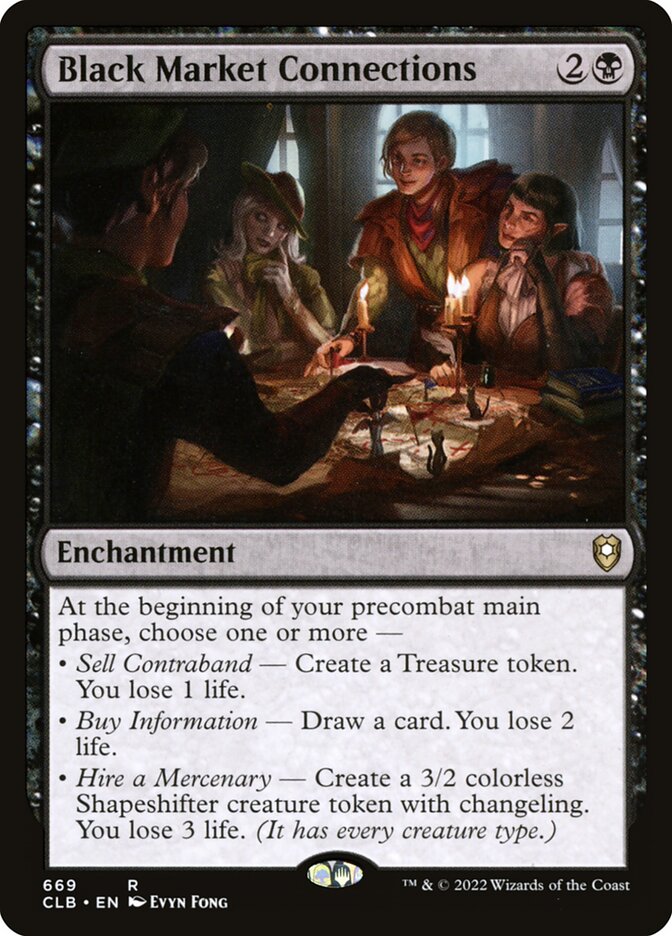
Black Market Connections does a little of everything each turn—Treasures, cards, and even creatures—all for a bit of life.
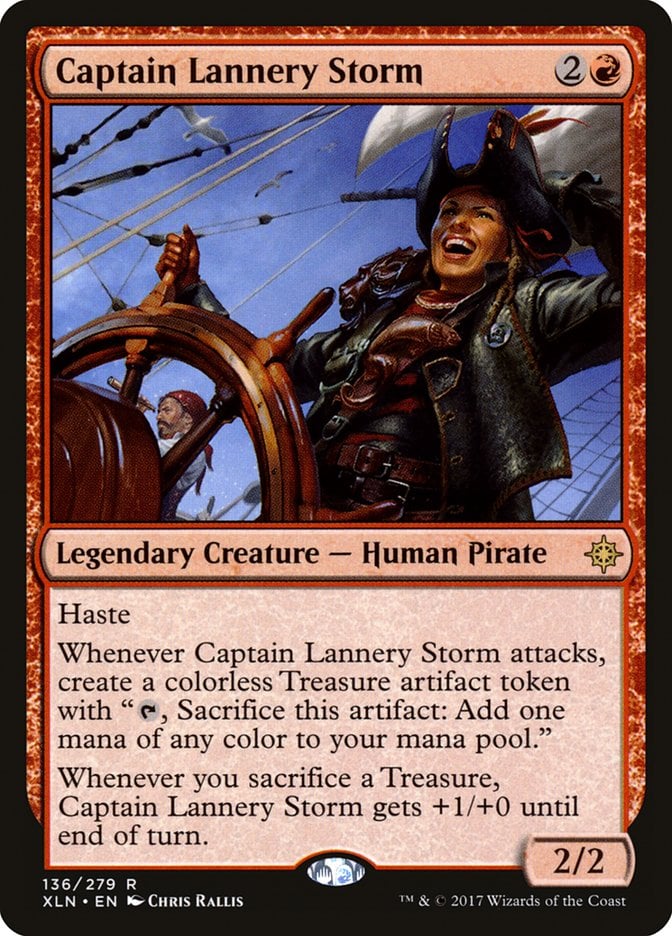
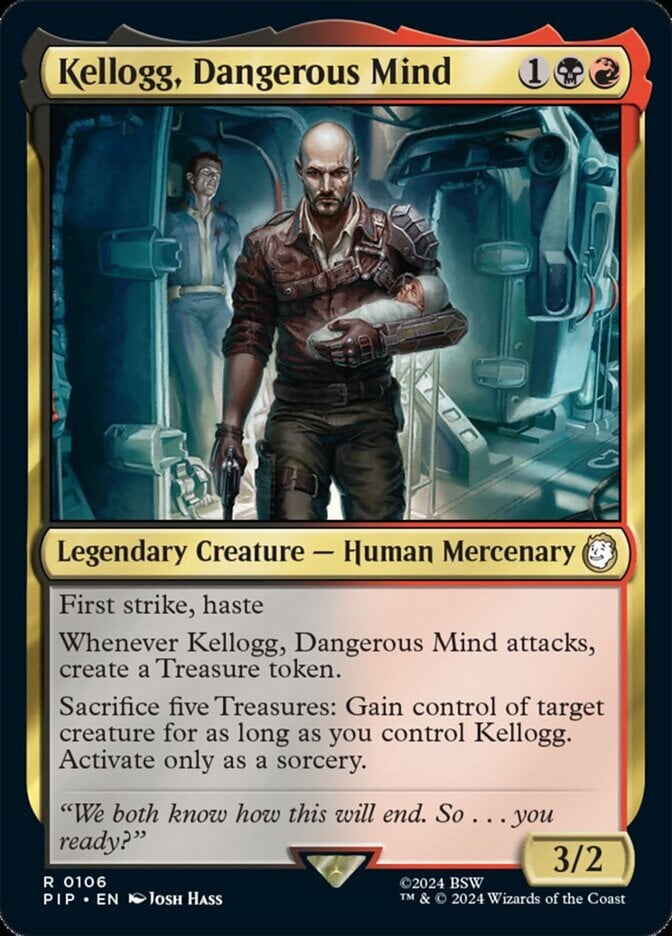
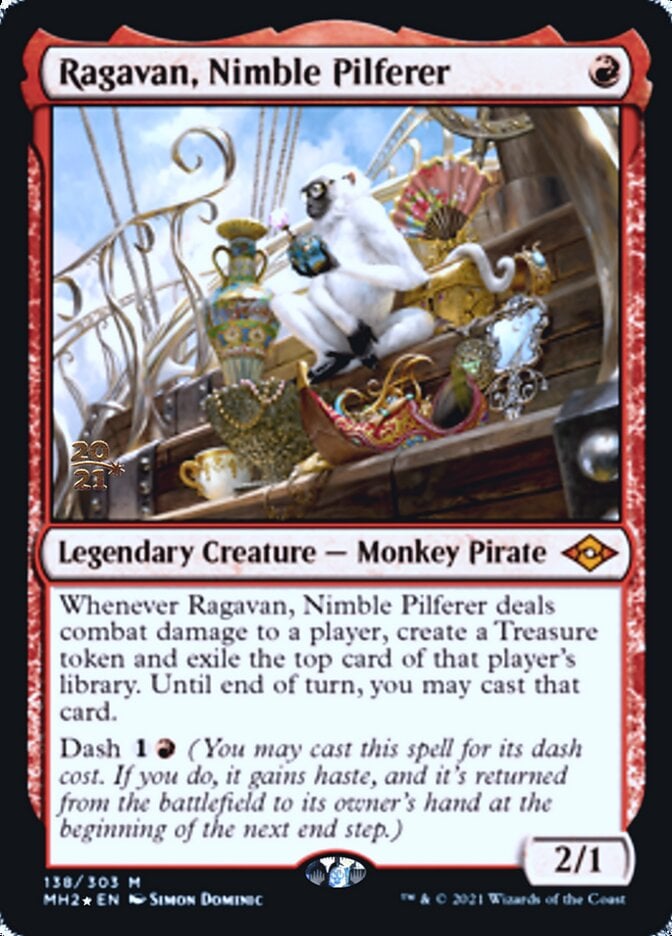
A lot of your Treasure production comes from combat. Captain Lannery Storm, Kellogg, Dangerous Mind, and Ragavan, Nimble Pilferer reward aggressive play by generating Treasures whenever they connect.
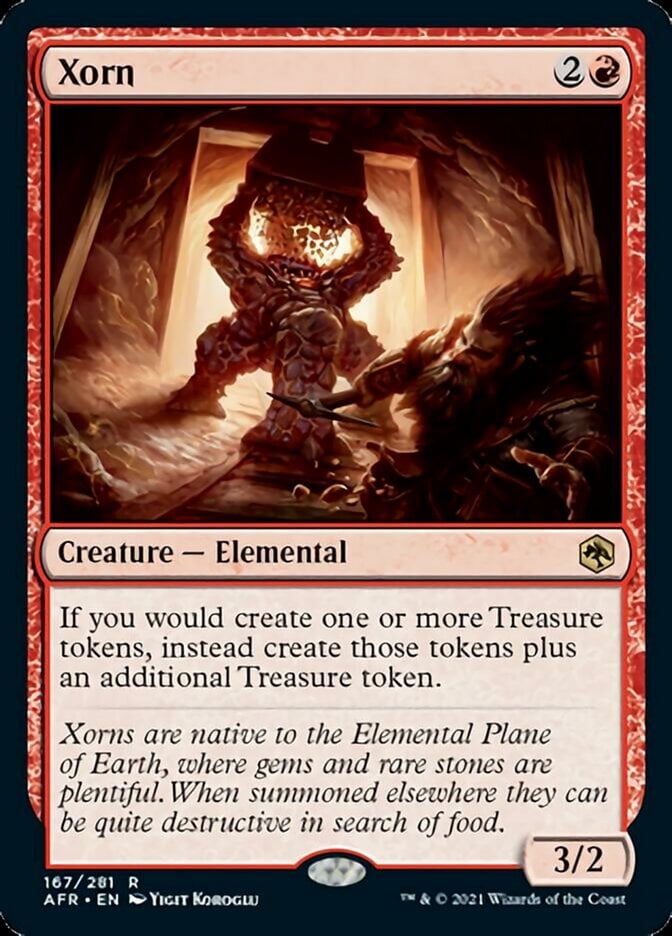
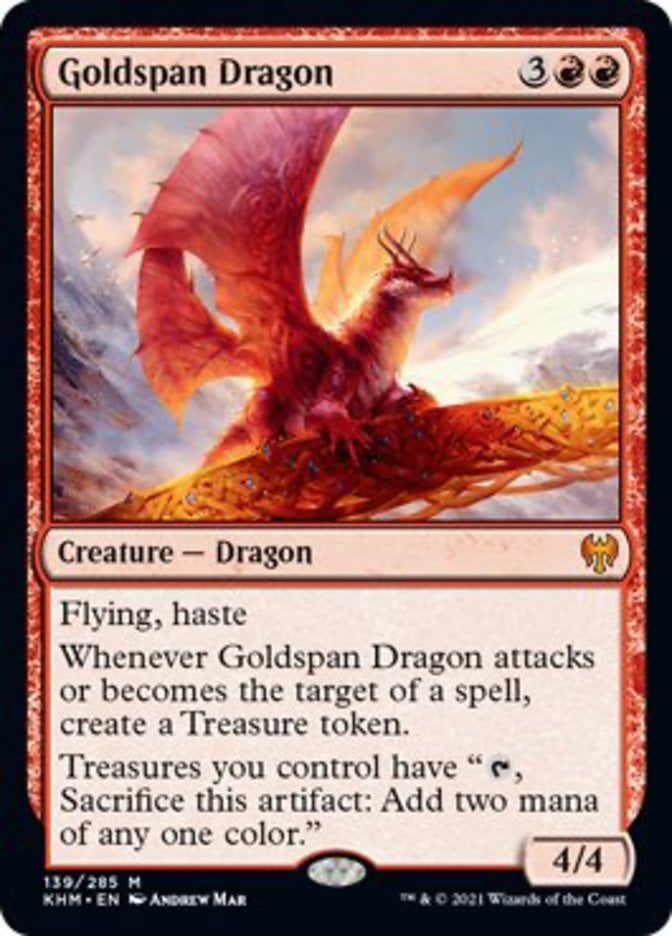
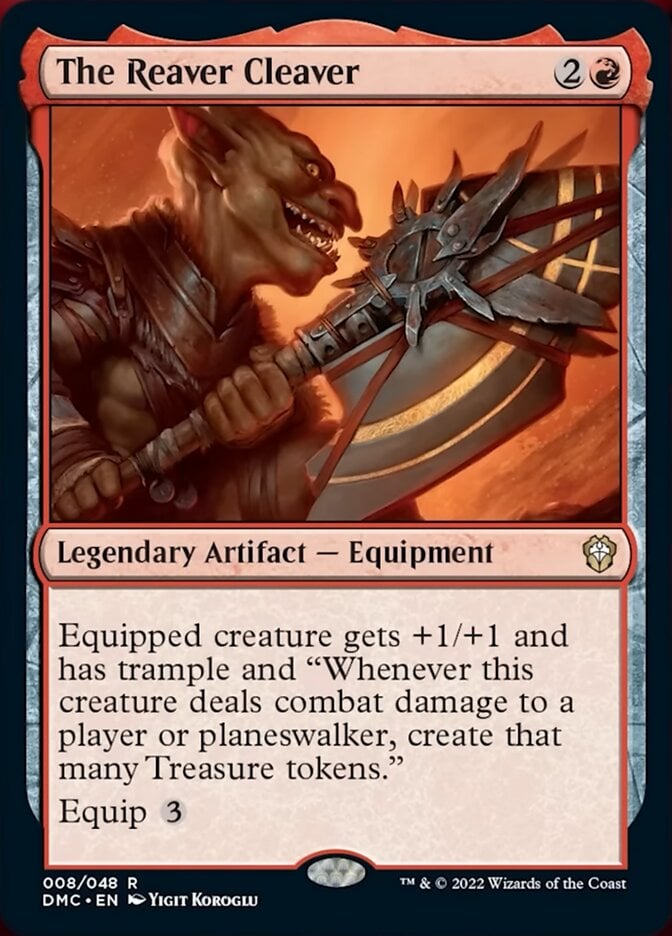
And once you’ve got some Treasures going, cards like Xorn double your output, while Goldspan Dragon makes each Treasure twice as powerful. If you're swinging in with something equipped with The Reaver Cleaver, things can get out of hand quickly.
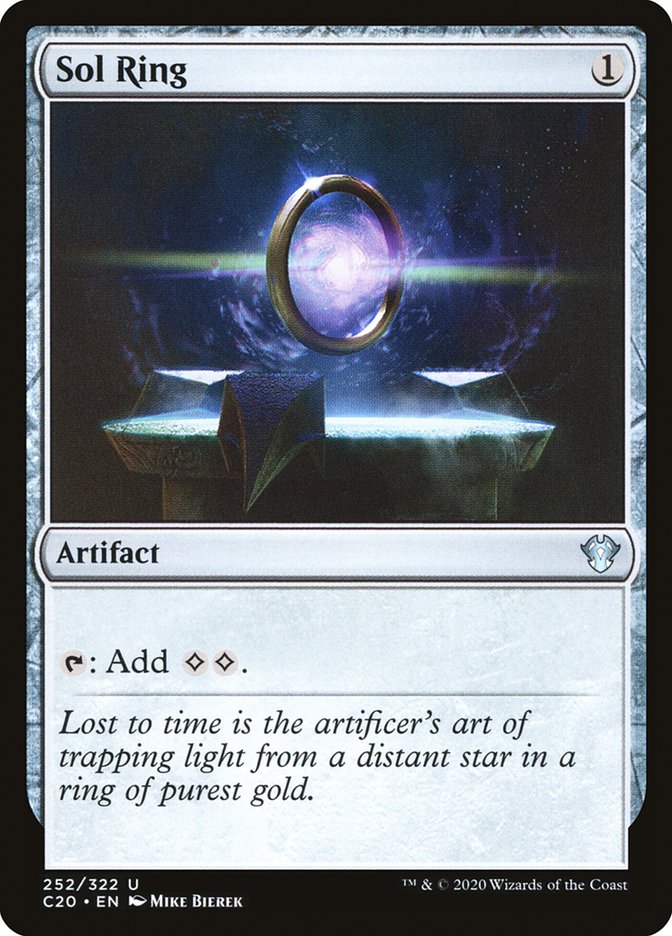


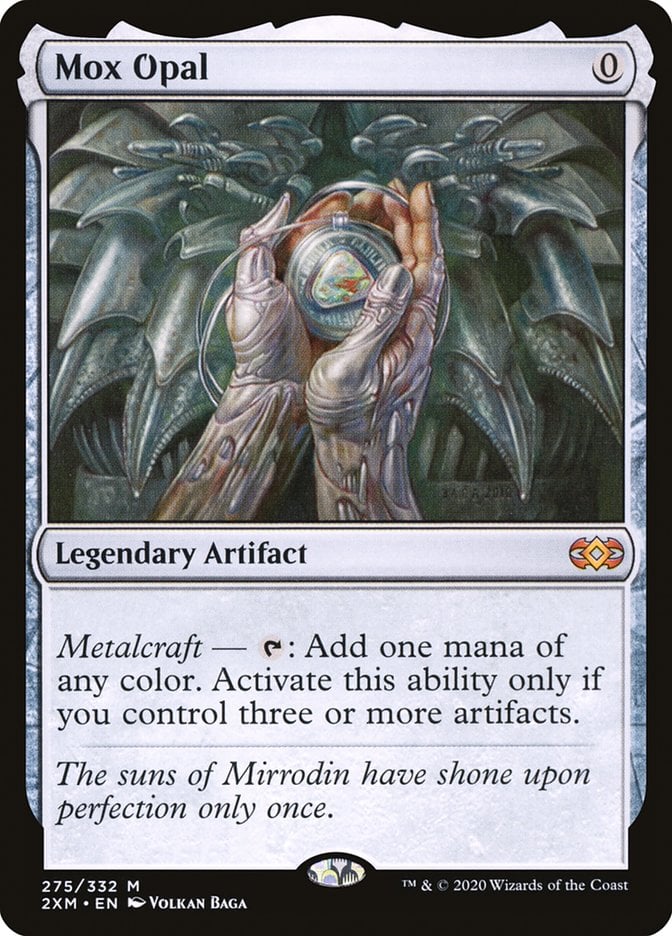
To support this treasure strategy, this deck includes plenty of fast mana and ramp. Cards like Sol Ring, Arcane Signet, Fellwar Stone, and Mox Opal help you get Shadow and other threats down quickly.
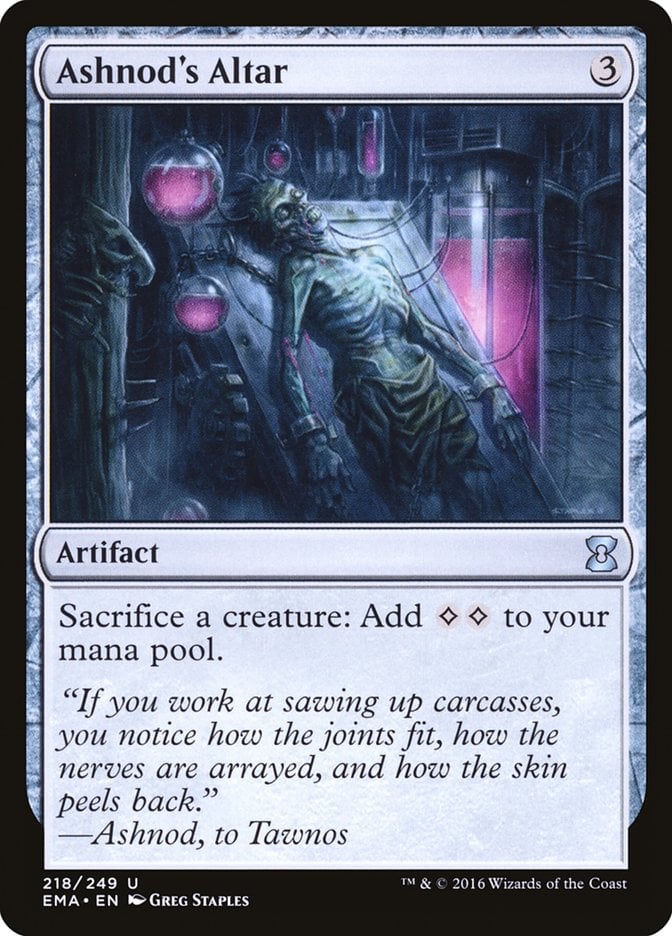
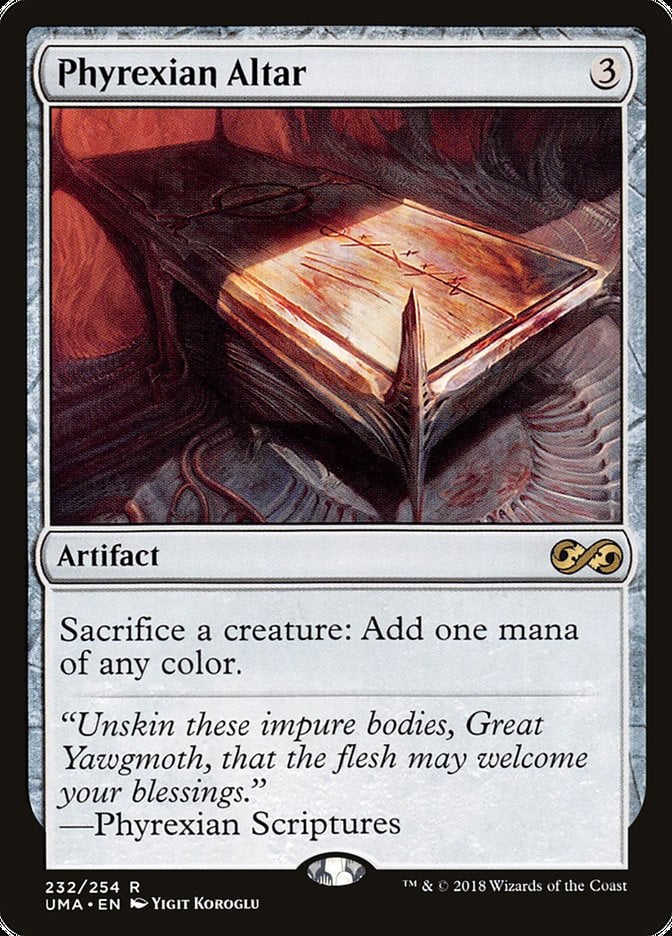
Sac outlets like Ashnod's Altar and Phyrexian Altar are key—they let you convert creatures into mana, which is crucial for combo turns and looping effects.
The Payoffs
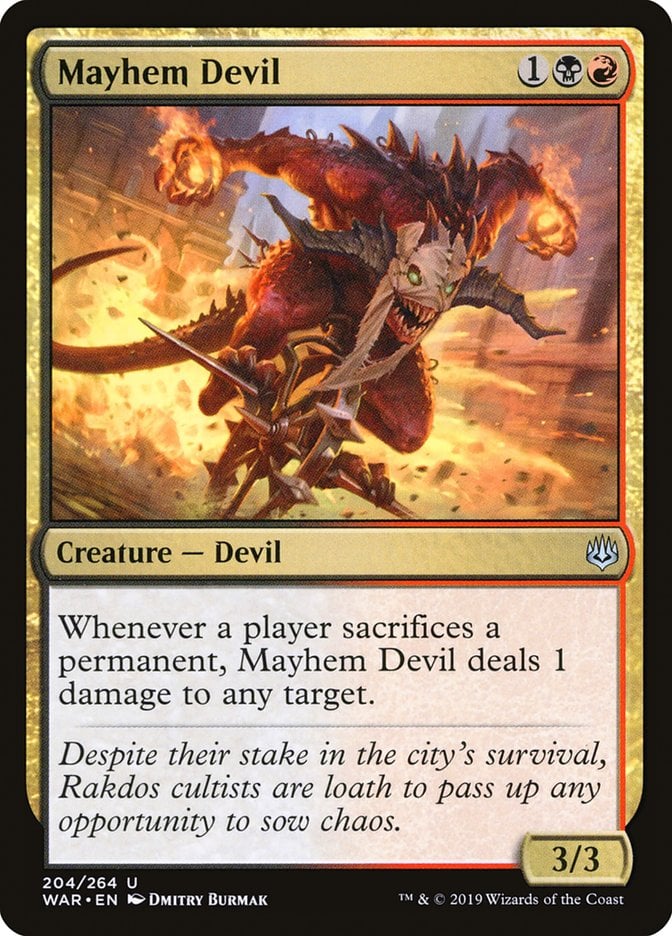

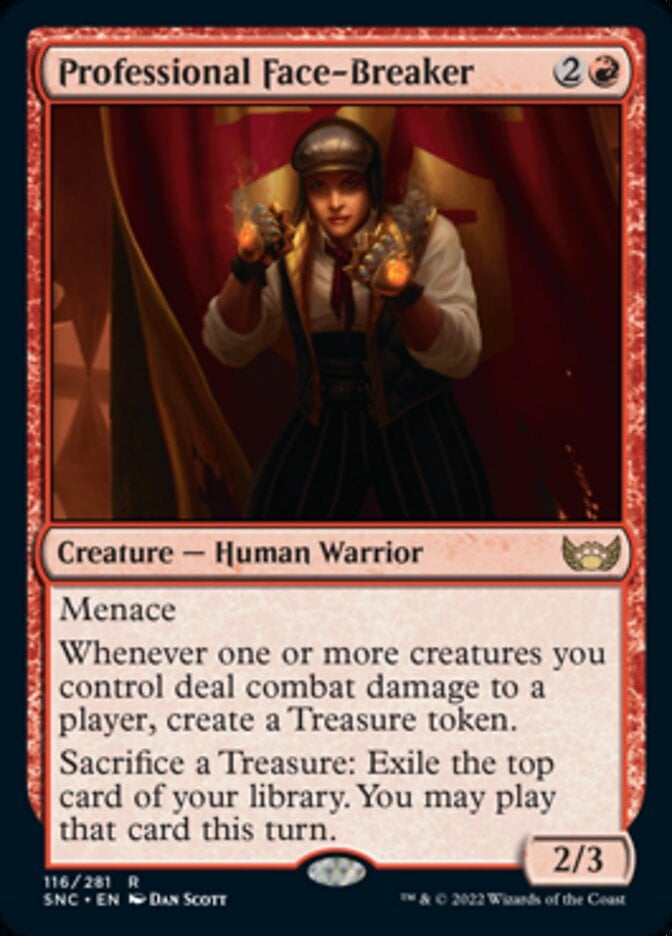
All that Treasure-making and sacrificing isn’t just for fun—it leads to powerful payoffs. Mayhem Devil turns every sacrifice into direct damage and lets you ping creatures, planeswalkers, or even opponents over and over. Grim Hireling also gives you Treasures through combat and lets you turn them into creature removal, while Professional Face-Breaker gives you a steady Treasure flow and lets you cash them in for card advantage.


Sephiroth, Fabled SOLDIER adds another layer to your sac plan. Once you start looping deaths, Sephiroth can transform and start to drain life from your opponents while it draws you cards, which quickly turns into a one-card win engine.
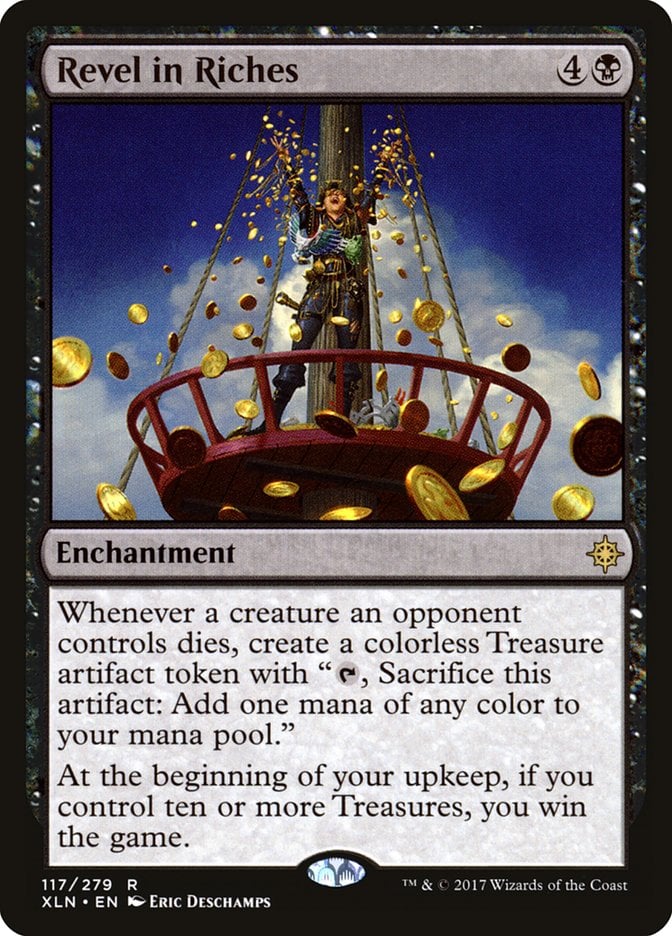
And if you're hoarding Treasures, Revel in Riches becomes a sneaky win condition—if you hit 10 Treasures and untap with it, you just win. Knuckles the Echidna offers another alternate win if you can pile up 30 artifacts, which is very doable in this deck.
These payoffs make every Treasure and every creature's death feel meaningful.
Interaction
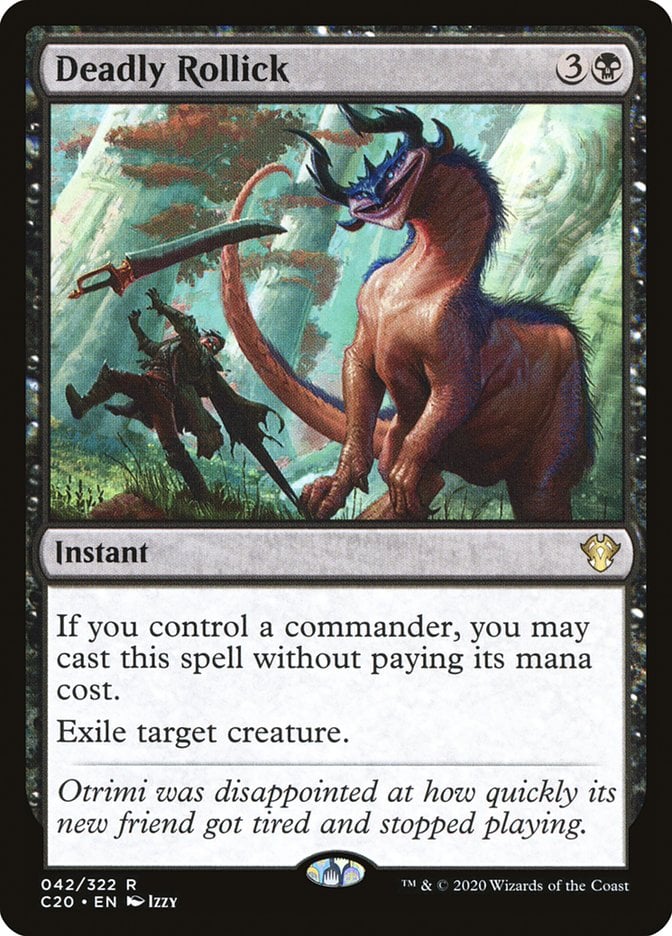
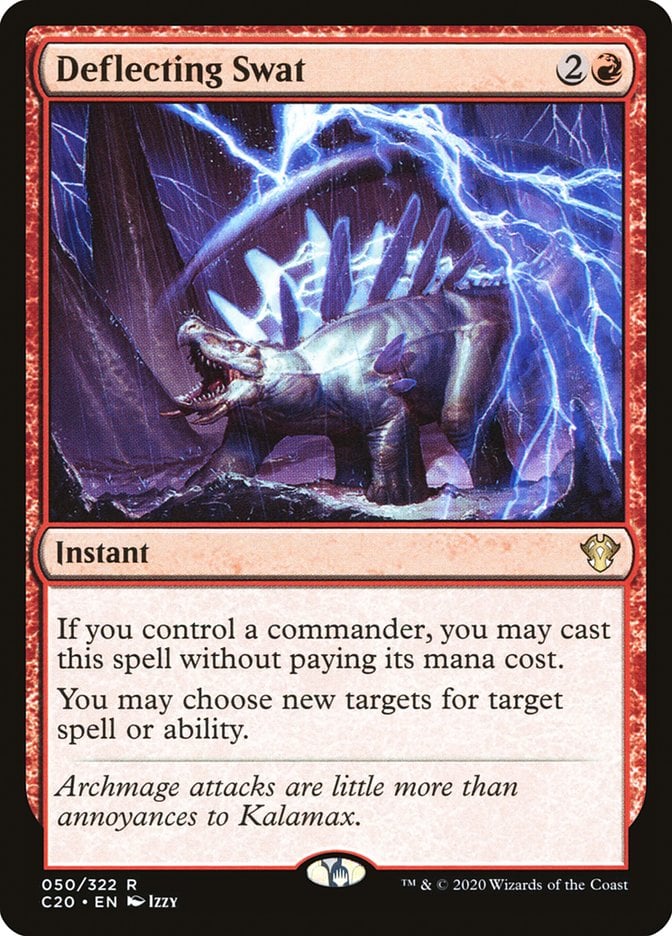
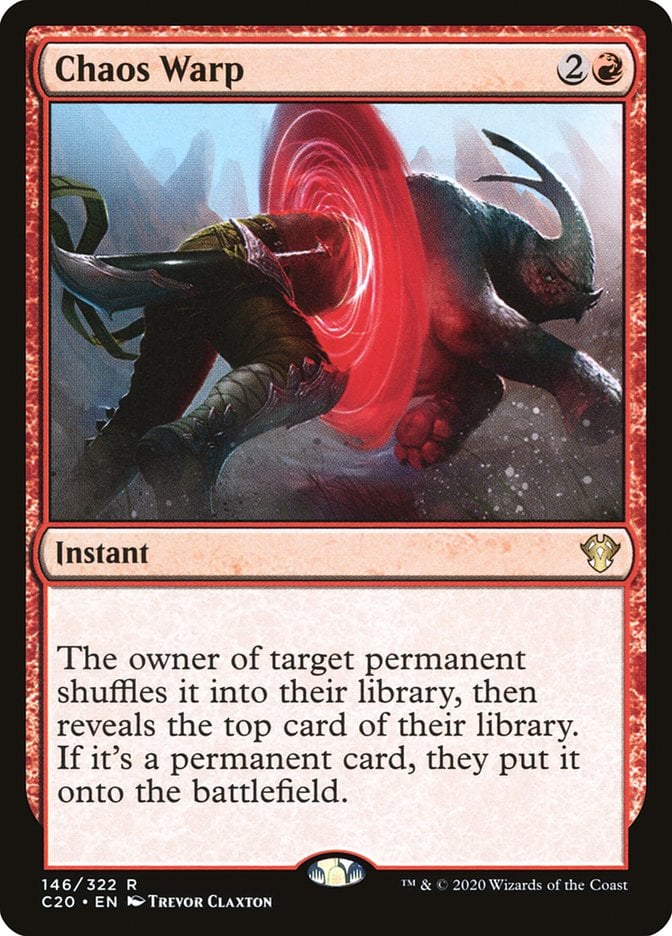
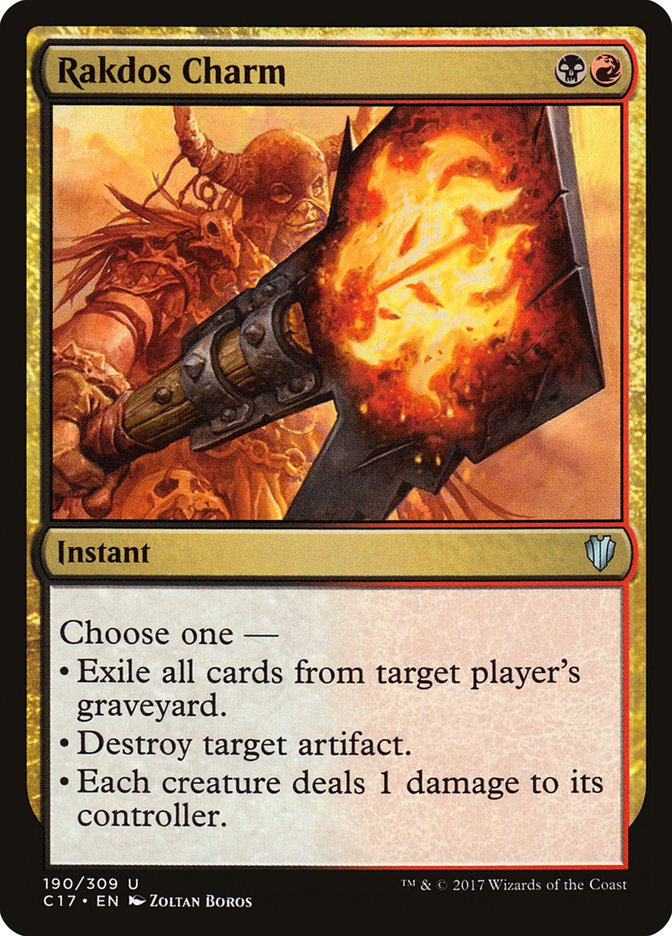
You’ve got flexible and efficient answers here. Deadly Rollick and Deflecting Swat are basically free with your commander out. Chaos Warp and Rakdos Charm handle different types of permanents and situations.
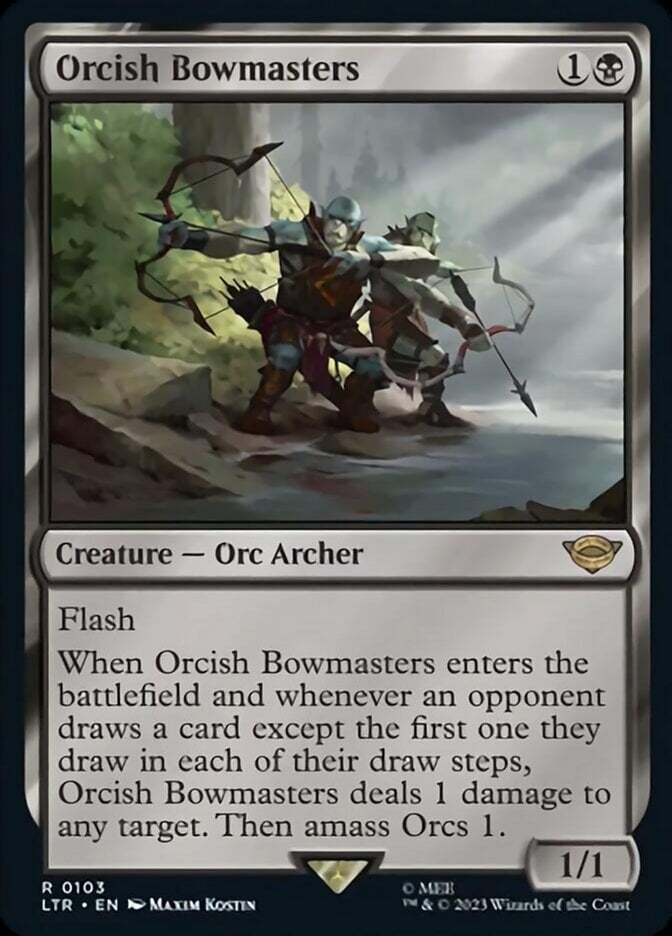
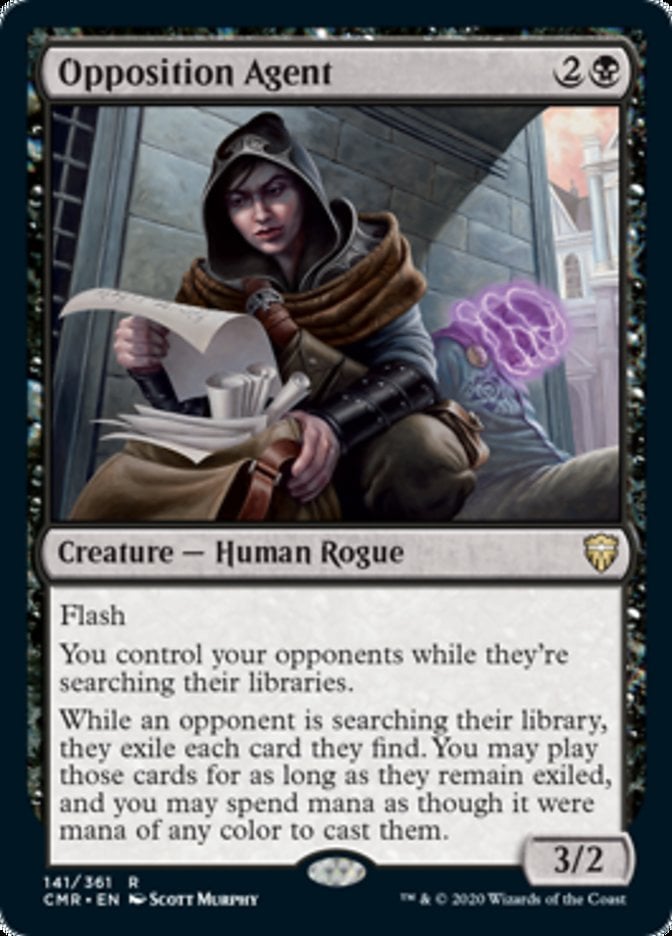
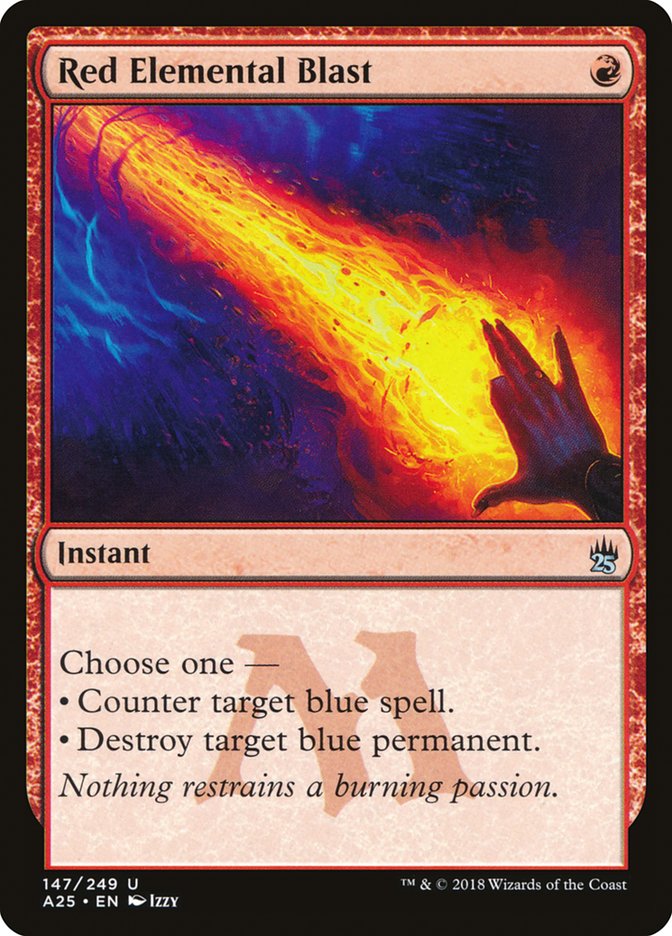
Orcish Bowmasters and Opposition Agent disrupt draw and tutor strategies, while Red Elemental Blast and Pyroblast punish blue players.

Tutors like Vampiric Tutor and Beseech the Mirror double as interaction by grabbing answers.
Removal

Toxic Deluge and Blasphemous Act serve as board wipes when you’re behind or need a reset. Terminate, Feed the Swarm, and Withering Torment are cheap spot removal.
Vandalblast wipes artifacts, and you can use Saw in Half either to eliminate a threat or to double your own ETBs. Mayhem Devil does double duty here, pinging down creatures while it enables combos.
Win Conditions
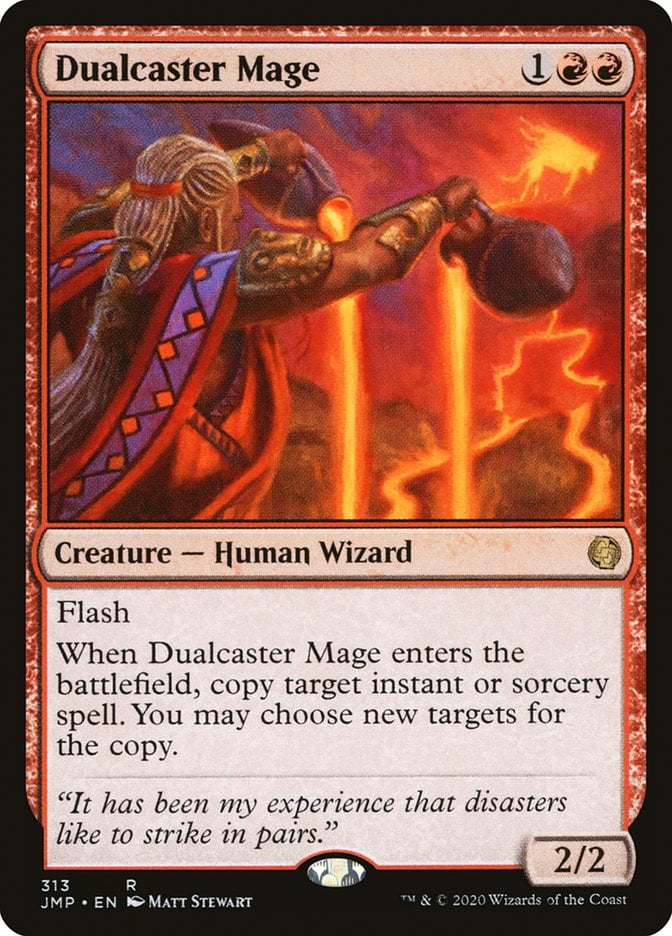
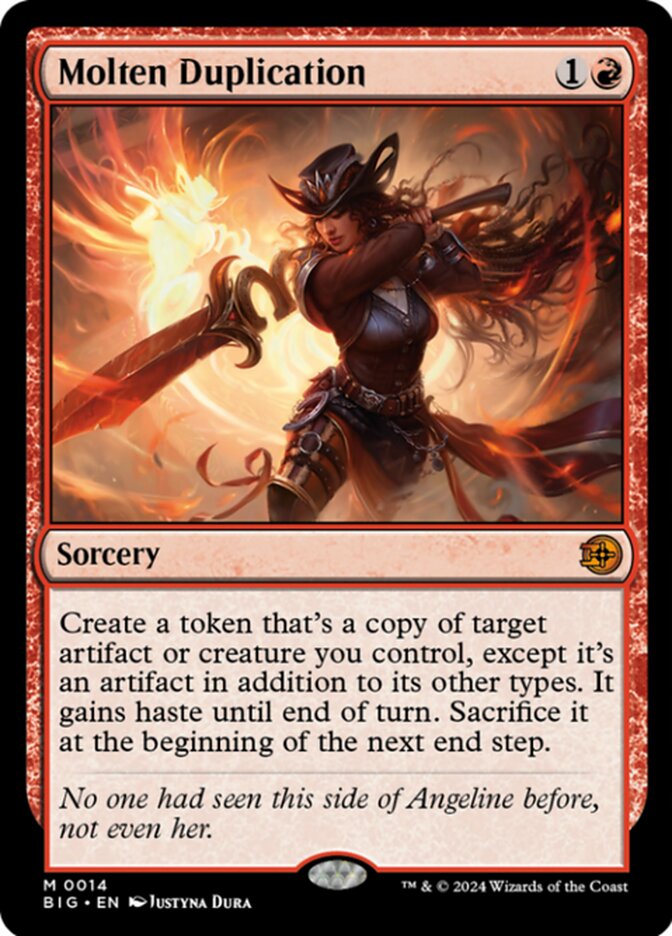
This deck can win in a few explosive ways. Dualcaster Mage and Molten Duplication go infinite, flooding the board with hasty mages.

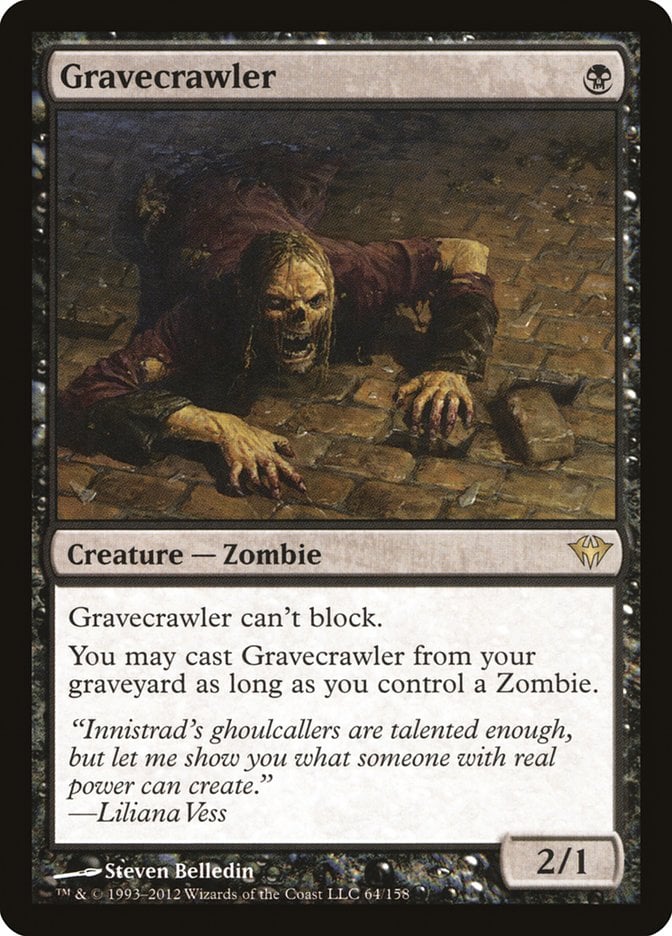
You can also use Warren Soultrader with Gravecrawler and Mayhem Devil to loop infinite death and treasure triggers.
Sephiroth, Fabled SOLDIER enables another loop via sacrifice chains that eventually drain the table. Alternate wins include Revel in Riches after a big board wipe or artifact burst, or simply assembling 30 artifacts for Knuckles the Echidna.
The Mana Base
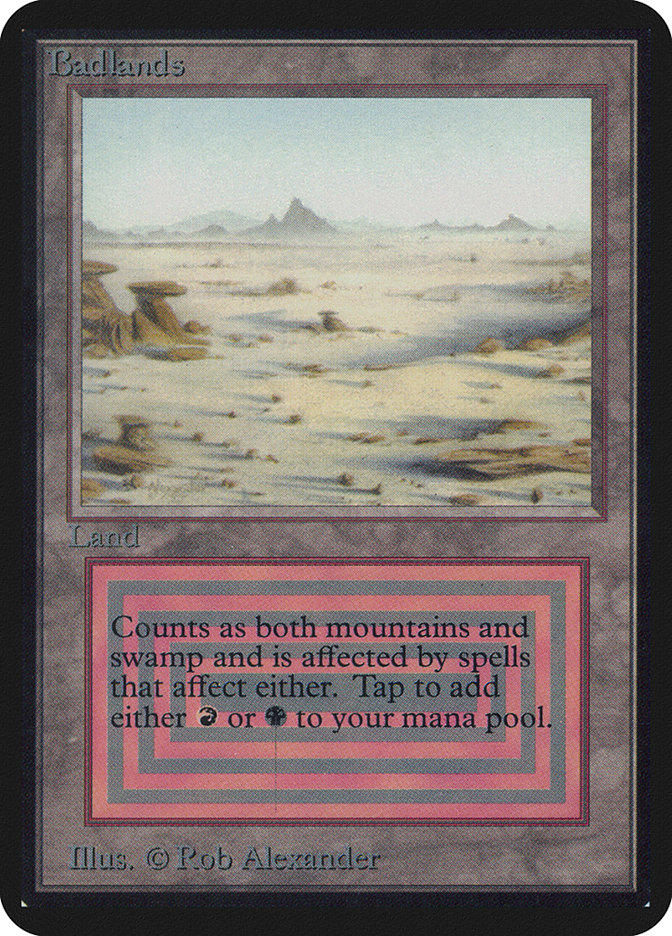

This mana base is tuned for speed and consistency, just like you'd expect from a cEDH deck. You’ve got the full suite of Rakdos duals like Badlands, Blood Crypt, and Haunted Ridge, plus Bloodstained Mire to grab what you need on demand. Faster lands like Luxury Suite, Dragonskull Summit, and Smoldering Marsh smooth things out early.
Utility lands like Bojuka Bog give you free graveyard hate, while Treasure Vault doubles as ramp and combo fuel. You’re also running artifact lands like Great Furnace, Vault of Whispers, and Drossforge Bridge, which synergize beautifully with Mox Opal and artifact sacrifice effects.
And with Urborg, Tomb of Yawgmoth, even your colorless lands like Darksteel Citadel and Treasure Vault tap for black when needed.
The Strategy
This deck wants to get off to a fast start, just like your commander Shadow the Hedgehog. In the first couple of turns, you're looking to play mana rocks like Sol Ring and Arcane Signet, or cheap spells like Dark Ritual to ramp ahead. If you can cast Shadow early, that’s great—it lets you draw cards whenever your hasty or flashy creatures die, and it makes all your spells harder to interact with when you use artifact mana.
Once you’re set up, the mid-game is all about creating Treasures and getting value from cards like Captain Lannery Storm, Deadly Dispute, and Goldspan Dragon. Build up mana and draw more cards through your sacrifice effects. This is also when you should start to assemble your combo pieces, using tutors like Demonic Tutor or Beseech the Mirror to find what you need and even put it into play at the expense of a Treasure token.
By the time you reach turn 5 or 6, you should be ready to win. You can go infinite with combos like Dualcaster Mage and Molten Duplication or set up loops with Warren Soultrader, Gravecrawler, and a ping effect. Most of your combos happen all in one turn, which is perfect for a competitive pod. And since you’re using Treasures to cast spells, Shadow makes sure your opponents can’t easily respond while you assemble your combo pieces.
Even if the combo doesn’t come together, you’ve got other ways to win. You can overwhelm opponents with Treasures and value then finish them off with your other dedicated win conditions like Revel in Riches, or Knuckles the Echidna.
Combos and Interactions
Here’s where things get spicy. The most iconic combo in the deck is Dualcaster Mage and Molten Duplication. You cast Duplication targeting Dualcaster, which enters and copies the spell, creating another Dualcaster. That new copy then targets and copies the original spell again, repeating the loop. This gives you infinite Dualcaster tokens with haste, infinite enter-the-battlefield triggers, and potentially infinite card draw if Shadow the Hedgehog is on the battlefield—even if you can’t swing in right away.
Another powerful loop involves Warren Soultrader, Gravecrawler, and Sephiroth, Fabled SOLDIER. With these three, you can create infinite Treasure tokens, gain infinite life, and drain your opponents out through repeated sacrifices. If you swap Sephiroth for Mayhem Devil, you get a similar effect by dealing infinite damage—though this version is limited by your life total, since Soultrader costs 1 life each time.
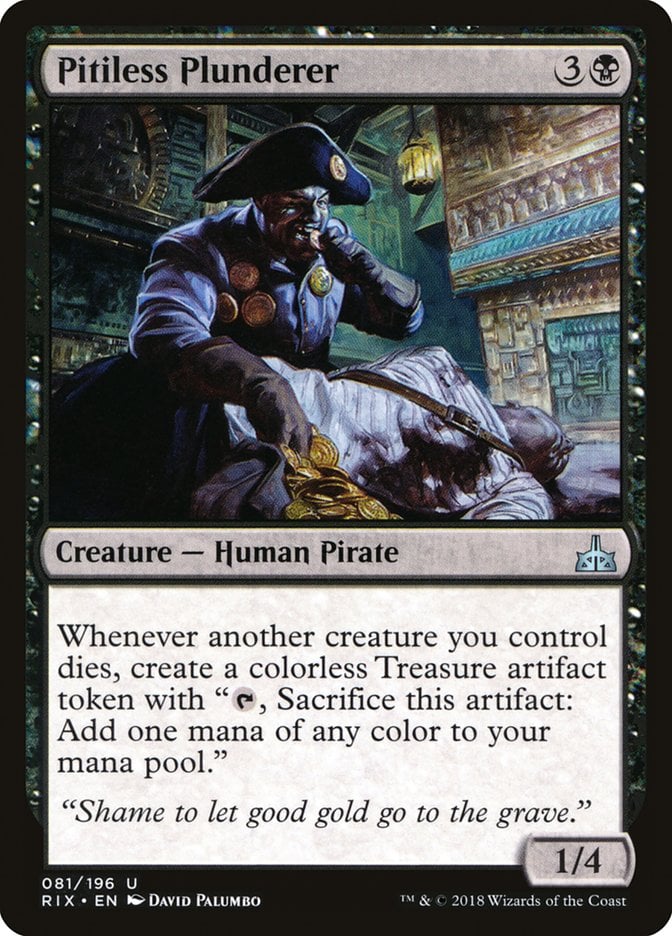
Pitiless Plunderer also opens the door to infinite mana when you pair it with an altar (like Ashnod's Altar or Phyrexian Altar) and Gravecrawler. If you're using Phyrexian Altar and have another zombie in play, you can go infinite on both mana and Treasure tokens.
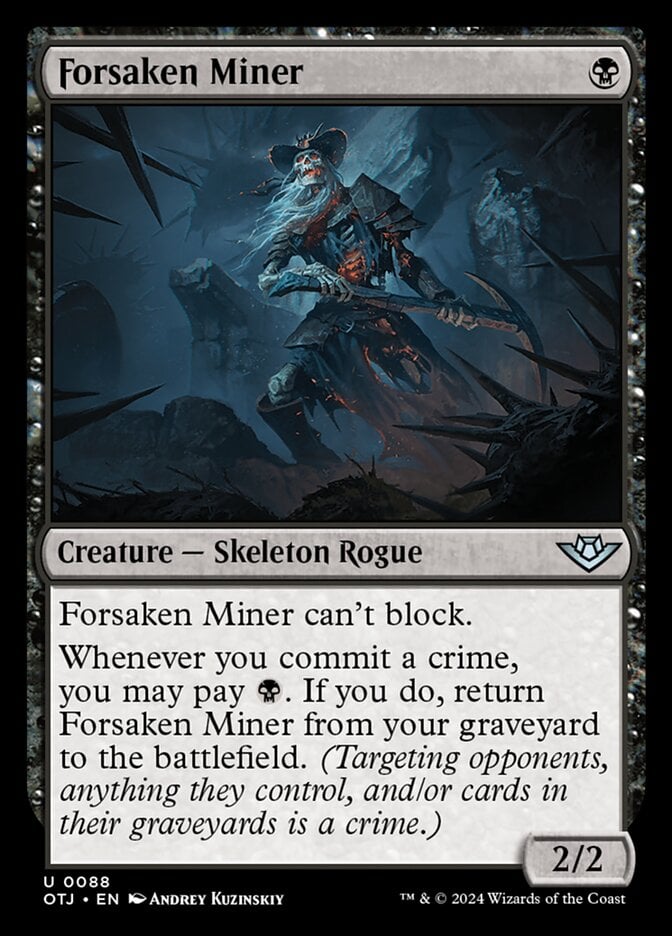

One of the simplest combos in the deck uses Pitiless Plunderer, Forsaken Miner, and Goblin Bombardment. This setup lets you infinitely sacrifice the Miner, create a Treasure, return it to the battlefield, and deal 1 damage with each loop—an easy and effective way to close out the game.
Budget Options
If you're trying to keep costs down, there are some great budget cards in black and red that still work really well with your game plan.
Let’s start with tutors. Instead of pricey cards like Demonic Tutor or Vampiric Tutor, you can use Diabolic Intent. It costs less money and fits perfectly in this deck since you’re already sacrificing creatures. Beseech the Queen is another decent option. It’s a little slower, but it still lets you search for important combo pieces without spending a lot.
For card draw and value, red has a few hidden gems. Big Score and Unexpected Windfall are already in this deck and do a great job of giving you cards and Treasures, but if you're looking for even more options, Pirate's Pillage and Reckless Impulse are super cheap cards that give you two extra ones to play with for a turn or two. In black, Read the Bones is still solid—draw two, scry 2, and only for 3 mana.
When it comes to protection, cards like Malakir Rebirth are great budget tools. It can save one of your combo creatures for just 1 mana, and you can play it as a land early if needed. Another fun option is Undying Malice, which brings a creature back even stronger. These might not be free like Deflecting Swat, but they still help you keep your best pieces on the board.
For extra treasure synergy or sacrifice payoffs, Storm-Kiln Artist is a fun budget red card that makes Treasures whenever you cast an instant or sorcery. Skullport Merchant is a nice black option that lets you sacrifice creatures or treasures to draw cards, keeping your hand full and your engine going.
You can also run some budget fetch lands like Evolving Wilds and Riveteers Overlook. They might be a bit slower, but they fix your mana and even help fill the graveyard for some delve spells like Murderous Cut that you might also want to include.
These cards might not be as flashy as some cEDH staples, but they’re strong and cheap, and they fit the theme of your deck really well.
Other Builds
If you’re not all-in on combos, there’s a really fun and aggressive version of this deck you can build around Shadow the Hedgehog. Instead of focusing as much on looping Treasures and sacrifice engines, you can lean into fast, hasty creatures and combat damage. Shadow already rewards you when hasty creatures die, so blitz creatures like Riveteers Requisitioner and Tenacious Underdog and red aggro tools fit right in.
Another great direction is a pseudo-aristocrats build. Since you’re already leaning into sacrifice synergies, you can add cards like Blood Artist and Zulaport Cutthroat to drain your opponents whenever your creatures die. One really cool inclusion is Marionette Master from Kaladesh—it has fabricate, so it gives you extra bodies to sac, and it deals damage whenever one of your artifacts hits the graveyard. Marionette Apprentice does a very similar job at just 2 mana. Pair them with Treasures and sac outlets, and suddenly your game plan gets deadly even without going infinite.
If you're looking for something spicier, there's also a less obvious Rakdos reanimator angle you can explore. Cards like Reanimate, Victimize, and Animate Dead can bring back key threats or combo pieces from your graveyard for cheap. You can discard your own bombs with cards like Big Score or Unexpected Windfall, then reanimate them the next turn. Even aggressive reanimation targets like Sire of Insanity or Archon of Cruelty can turn the tide when brought back early. Shadow helps to refill your hand if any of those creatures die again, keeping the engine going.
These alternate builds might not be as fast or consistent as a focused combo list, but they offer lots of room for creativity.
Commanding Conclusion

Swiftfoot Boots | Illustration by Mike Burns
This hedgehog—with the brooding attitude of a rival and the voice of Keanu Reeves in our heads—brings some serious power to the table. Whether you’re a longtime Sonic fan or just love Rakdos treasure loops, Shadow the Hedgehog offers a wild ride full of explosive plays and sneaky combos that you can use to win!
Would you take this list to your next cEDH tournament? What changes would you make? Let me know in the comments or on the Draftsim Discord. If you enjoyed this deck tech, be sure to check out our other builds and follow us on social media so you never miss anything.
As always, take care, and see you next time.
Follow Draftsim for awesome articles and set updates:


Add Comment