Last updated on June 10, 2026

Village Rites | Illustration by Matthew G. Lewis
Sacrificing creatures for value is a time-honored tradition hailing back to the very first days of Magic as a core tenet of black’s desperate bids for power, regardless of the rites and costs associated.
After 30 years of development, sacrifice cards have matured well beyond Sacrifice and Lord of the Pit to encompass all colors, at least a little, and black’s have become stronger than ever. Whether you want to support a fair aristocrats strategy or build a nasty combo deck, you’ll need some of these cards.
What Are Sacrifice Outlets in MTG?
Immoral Bargain | Illustration by Diana Franco
Sacrifice outlets are any cards that allow you to sacrifice a permanent you control, though they typically focus on sacrificing creatures. For this list, I’m considering permanents with activated abilities or triggered abilities that allow you to sacrifice creatures or permanents as well as cards that require a sacrifice as an additional cost.
The best versions of these effects are generally activated abilities on permanents that don’t have a mana cost or timing restriction on the ability. These are essential for the many infinite combos sacrifice decks can deploy, but they also just make things run smoother. That said, there’s room for all kinds of sacrifice outlets on this list!
#59. Bone Shards
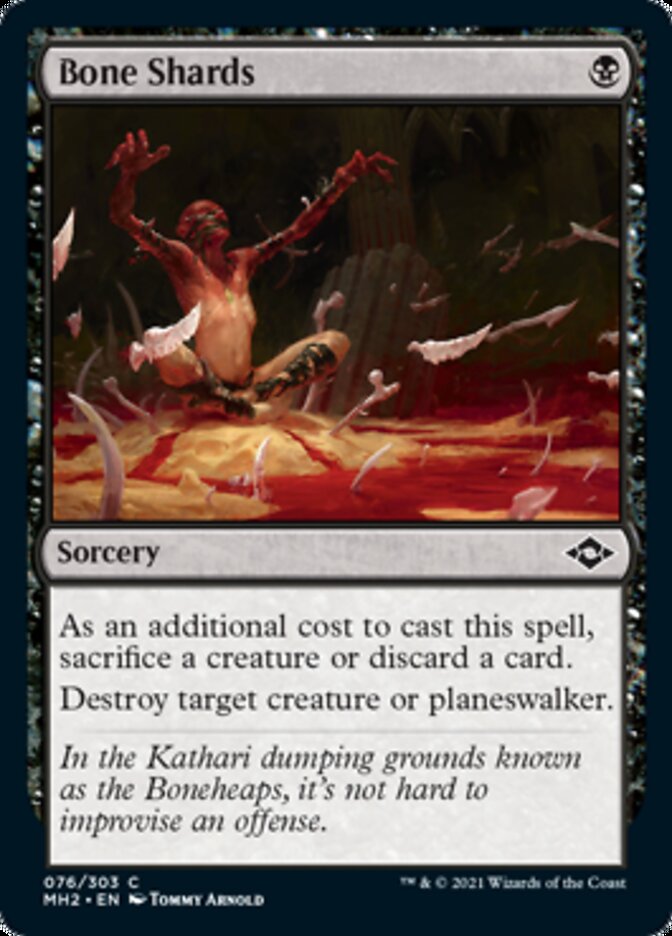
While removal spells like Bone Shards (there are too many variants to reasonably list) tend to be looked down upon as two-for-ones, sacrifice decks make up the extra card with triggers, plus it’s always valuable to have thematic removal. Bone Shards has particular merit since you can ditch an excess land or reanimation target.
#58. Fleshbag Marauder
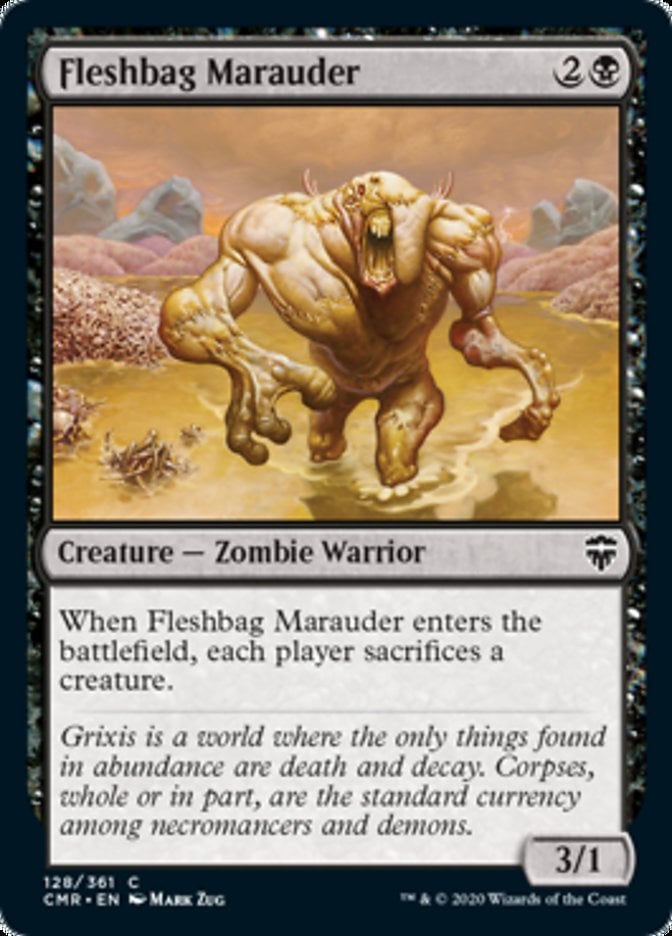
Fleshbag Marauder and its variants do tons of work in Commander since they trade one card for three opposing creatures. Tokens are a weakness, but a card can’t do everything, right?
#57. Evolutionary Leap
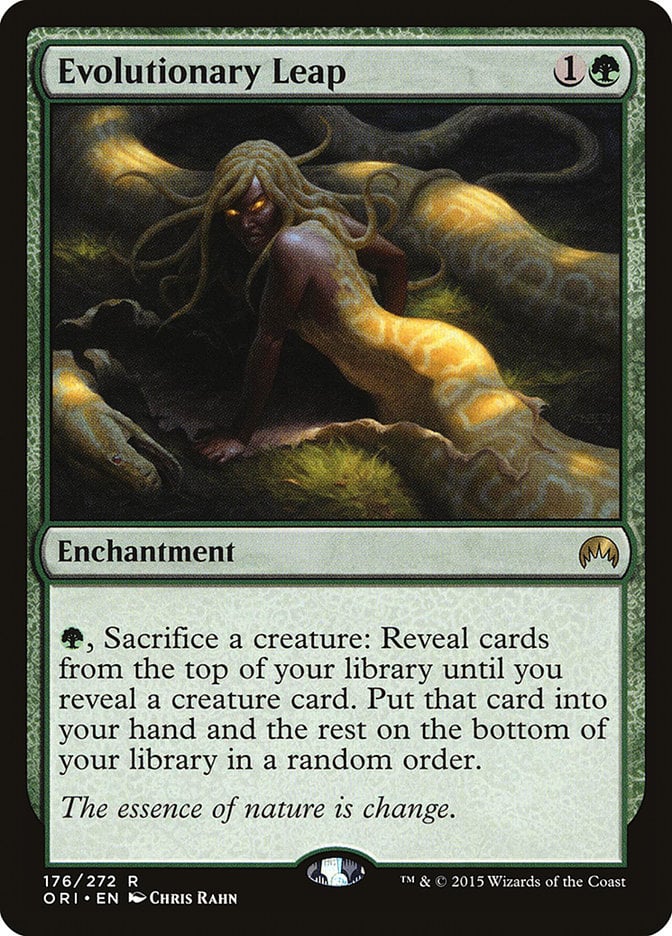
I like Evolutionary Leap best in token-centric sacrifice decks where it turns random insects into real cards. It’s also handy in a spot-removal heavy meta since you can replace your creatures.
#56. Repurposing Bay

Repurposing Bay requires more deckbuilding care than other sacrifice outlets as a Birthing Pod variant, so you need a careful curve of artifacts. But it’s a plenty powerful sacrifice outlet when you build around it.
#55. Fling
Fling variants are effective tools for winning the game. Fling and sacrifice decks have a little tension as the average sacrifice deck wants to sacrifice small creatures, but cards like Nantuko Husk get around this because they grow as you sacrifice cards.
#54. The Golden Throne
The Golden Throne offers immense mana advantage off a 4-mana rock. It’s certainly slow, but it’s worthwhile given that activating it triggers all your sacrifice payoffs; making 3 mana and drawing a card and damaging an opponent and so on.
#53. Midgar, City of Mako

Technically, the sacrifice outlet is the adventure spell, Reactor Raid. It’s not an amazing rate on what’s just a Village Rites, but the cost of a tapped Swamp is super low, so many black decks can just sneak Midgar, City of Mako in.
#52. Vraska, Golgari Queen
One of my favorite planeswalkers, Vraska, Golgari Queen’s mostly useful as a card draw engine that shelters your life total as your opponents focus on it. Since you can sacrifice any permanent, it works beyond creature-based sacrifice decks to support sacrificing lands or sacrificing artifacts like Ichor Wellspring.
#51. Cultist of the Absolute
Cultist of the Absolute embraces black’s ideal of greatness at any cost with a massive stat boost to your commander at the cost of a routine sacrifice, but it takes little effort to turn that into an upside. You always run the risk of your commander becoming the only creature, thus forcing you to sacrifice it, but this legendary enchantment’s sheer efficiency is worth those odds.
#50. Vampiric Rites
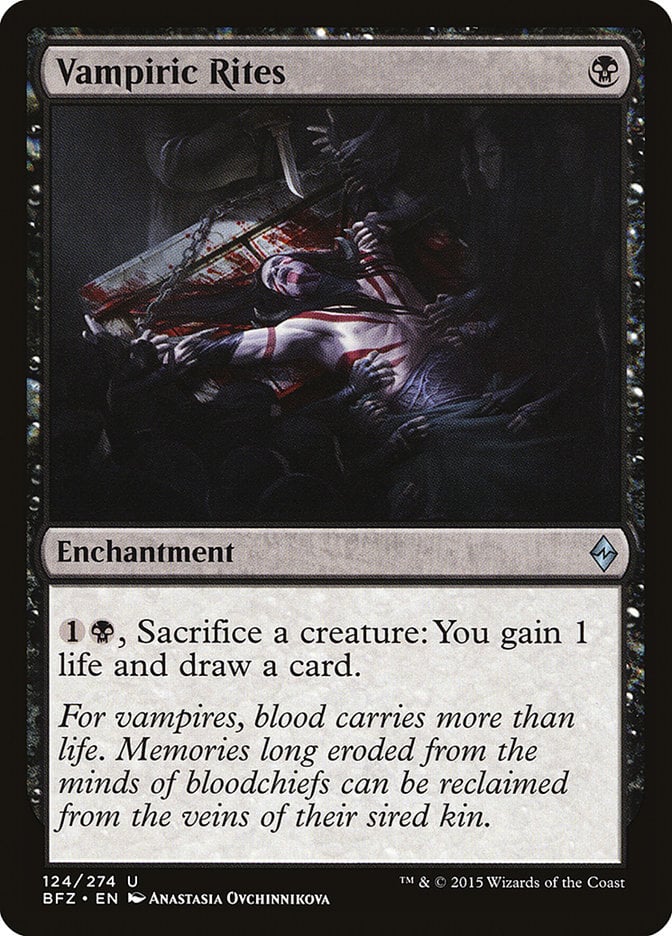
Vampiric Rites isn’t the most mana-efficient card draw spell. It costs 3 mana for one card, 5 for two, and so on, but the repeatable sacrifice outlet has value; this slots nicely into casual EDH decks and lower-powered Cubes.
#49. Cauldron of Essence

Cauldron of Essence is both payoff and outlet for sacrifice decks, and an extremely powerful one. You could use the Cauldron to set up a slow loop of sacrificing and reanimating two creatures with powerful enters abilities or just turn a random pest into an Archon of Cruelty, whichever suits you in the moment.
#48. Abjure
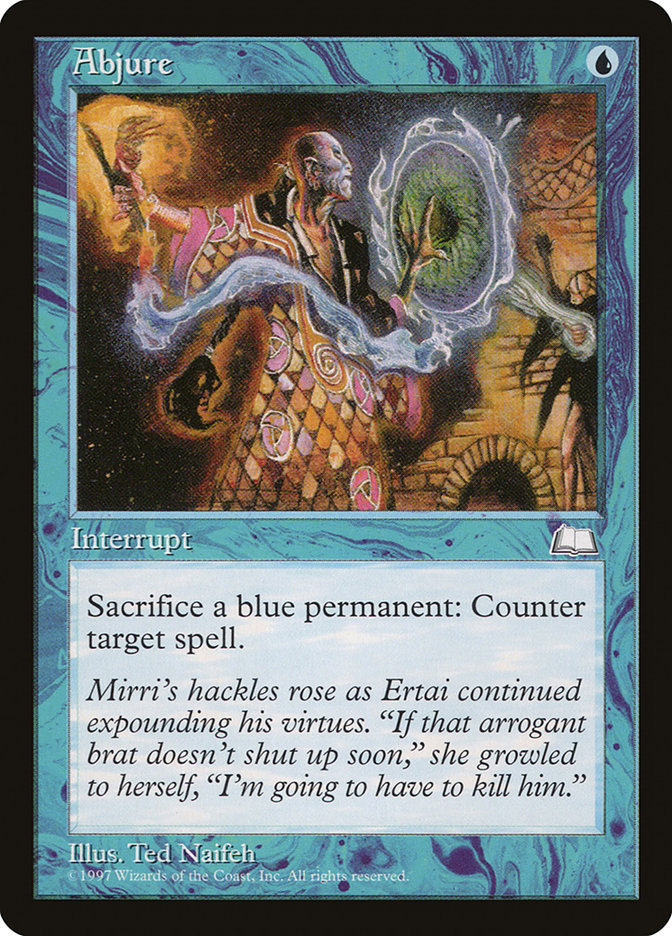
Blue cards rarely dabbles in sacrifice synergies, but Abjure’s one of the stronger options given the flexibility of a 1-mana counterspell.
#47. God-Eternal Bontu
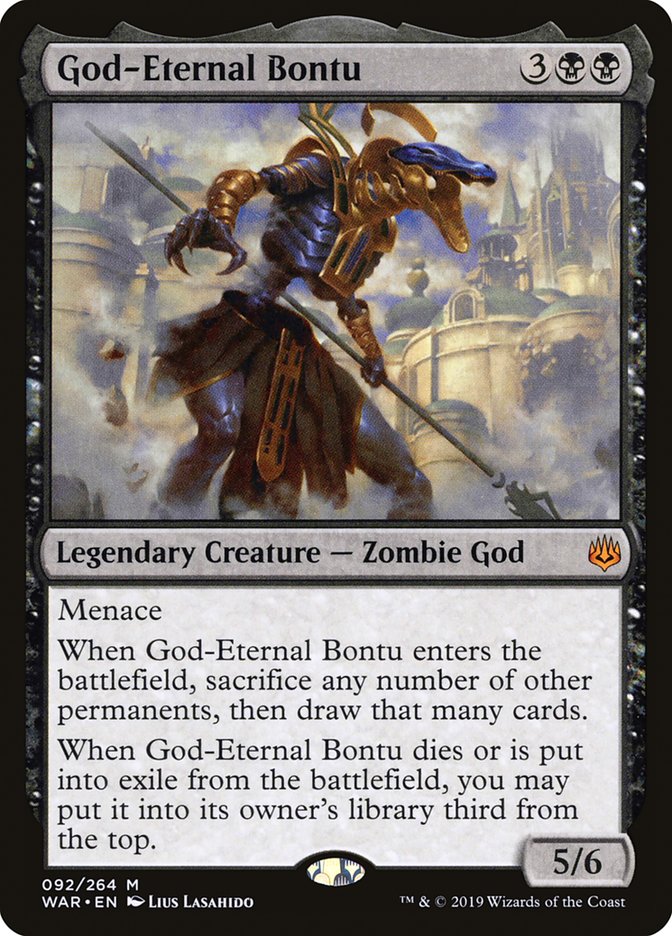
You don’t get repeatable value off God-Eternal Bontu—at least, not without a lengthy cycle of Bontu dying and you redrawing it—but the huge burst of card draw makes up for it. It also serves as a finisher of sorts. Late in the game, you can cast this zombie god and sacrifice your entire board to mass-trigger Blood Artist and its compatriots.
#46. Fanatical Devotion

Fanatical Devotion largely stands out as one of the few mono-white sacrifice outlets. It works well alongside expensive commanders like Regna, the Redeemer and Vish Kal, Blood Arbiter who need protection. Shout out to Martyr's Cause as a very similar effect.
#45. Plumb the Forbidden
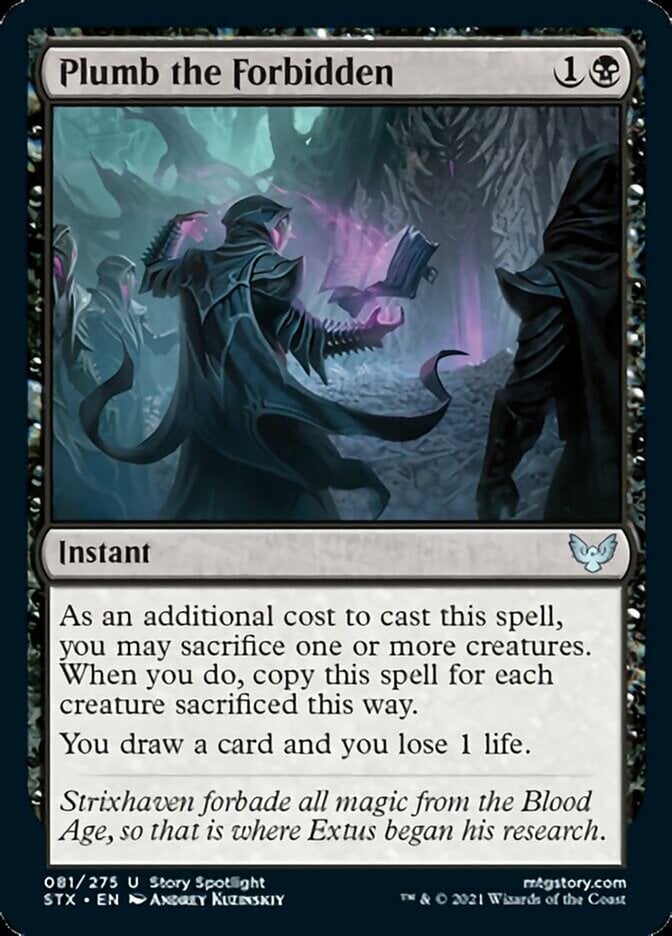
The mass sacrifice of Plumb the Forbidden makes it an excellent response to a board wipe or simply a way to cash in some meaningless tokens. Though you pay a high cost in life, Bastion of Remembrance and similar cards easily offset this.
#44. Eldrazi Monument
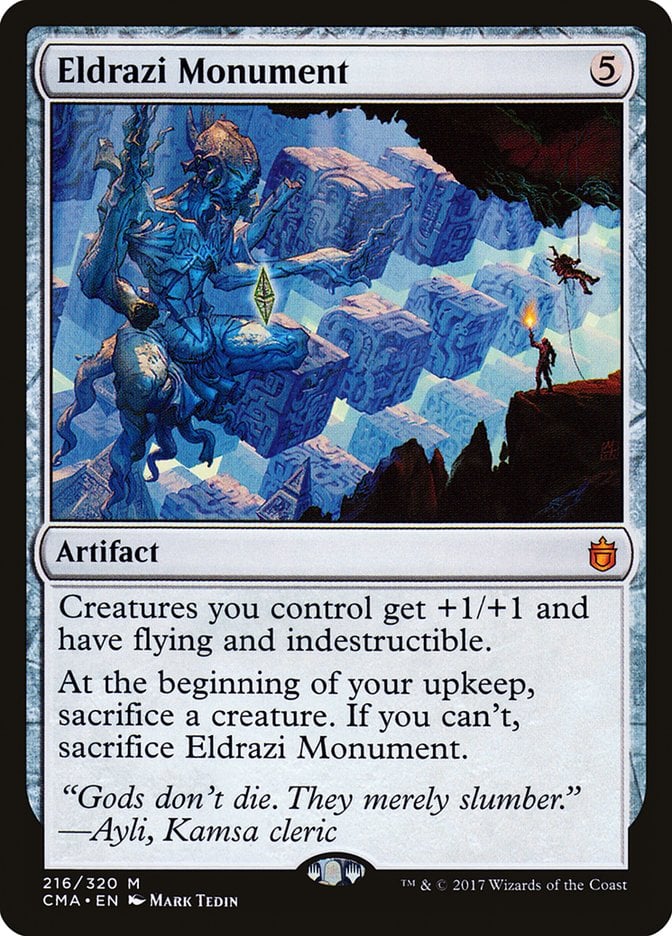
While the sacrifice trigger on Eldrazi Monument was ostensibly designed as a downside, black mages the world over can bend the power of these eldritch beings to their whim. It’s great with token-based sacrifice decks as those have plenty of fodder and grow larger enough board states to leverage the uber-anthem.
#43. Tarrian’s Journal / The Tomb of Aclazotz
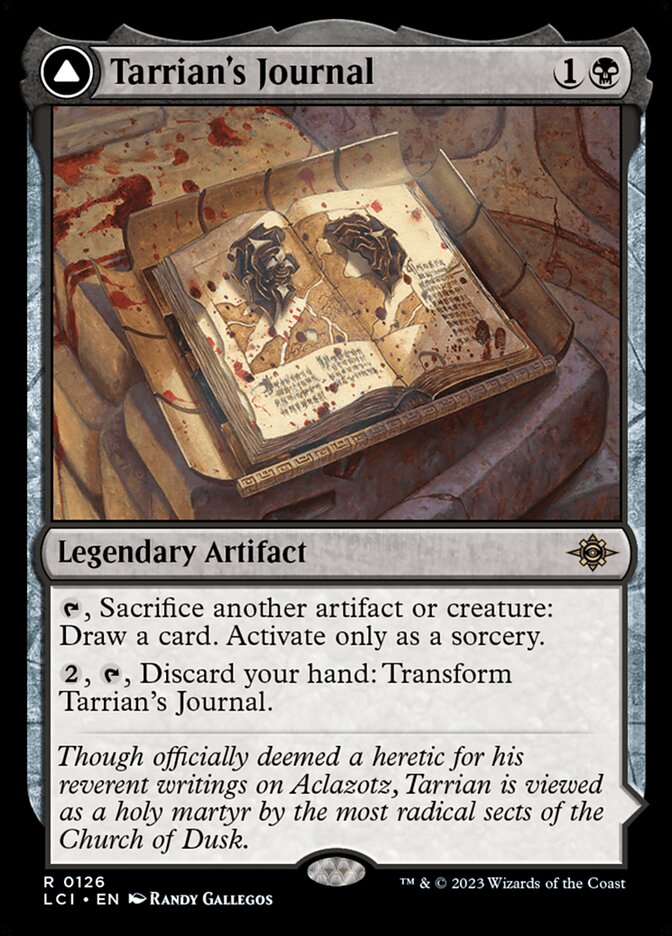
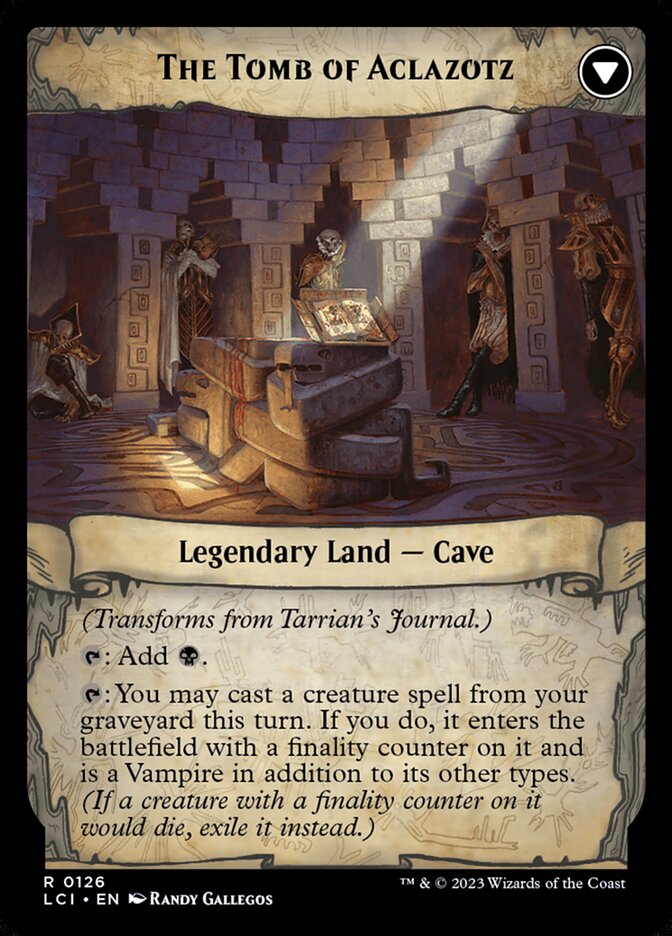
Being locked at sorcery speed makes Tarrian's Journal… remarkably unexciting, even though the rate on the card draw’s quite reasonable. The real spice comes from transforming this flip land into The Tomb of Aclazotz, which allows you to recast all those creatures you sacrificed and gives us a rare source of black ramp.
#42. Scavenger’s Talent

It takes time to reach the sacrifice outlet on Scavenger's Talent, but that time’s well spent as this class works as a strong sacrifice payoff, especially when your deck leverages the graveyard. Once you start recurring creatures, your opponents have a steady stream of problems to deal with.
#41. Memorial Vault

Memorial Vault takes time to get going, but the ceiling on the card draw is pretty cool. It works well with artifact reanimation effects to loop powerful ETBs like Portal to Phyrexia.
#40. Smokestack + Braids, Cabal Minion
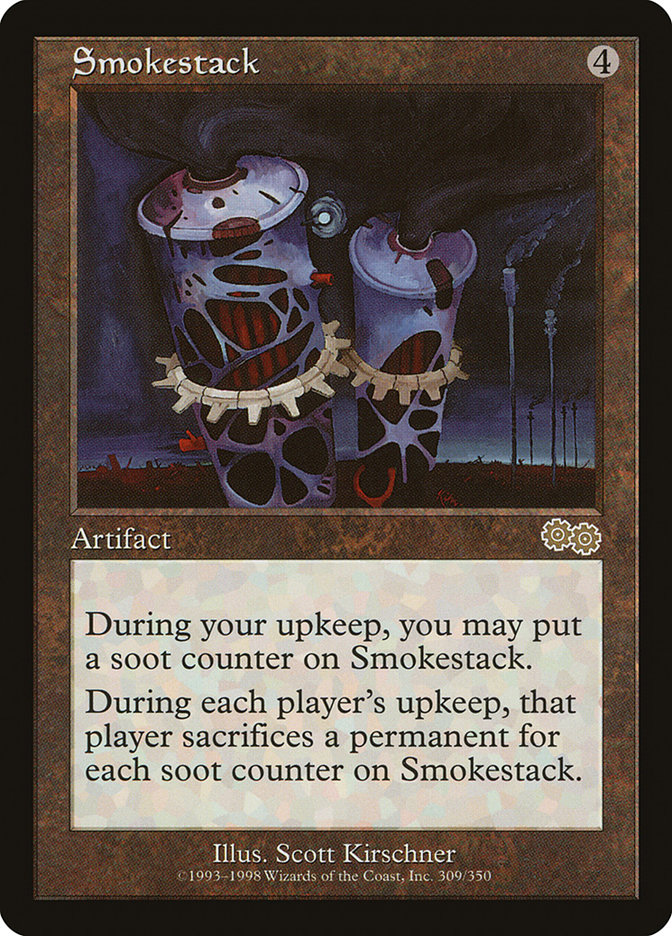
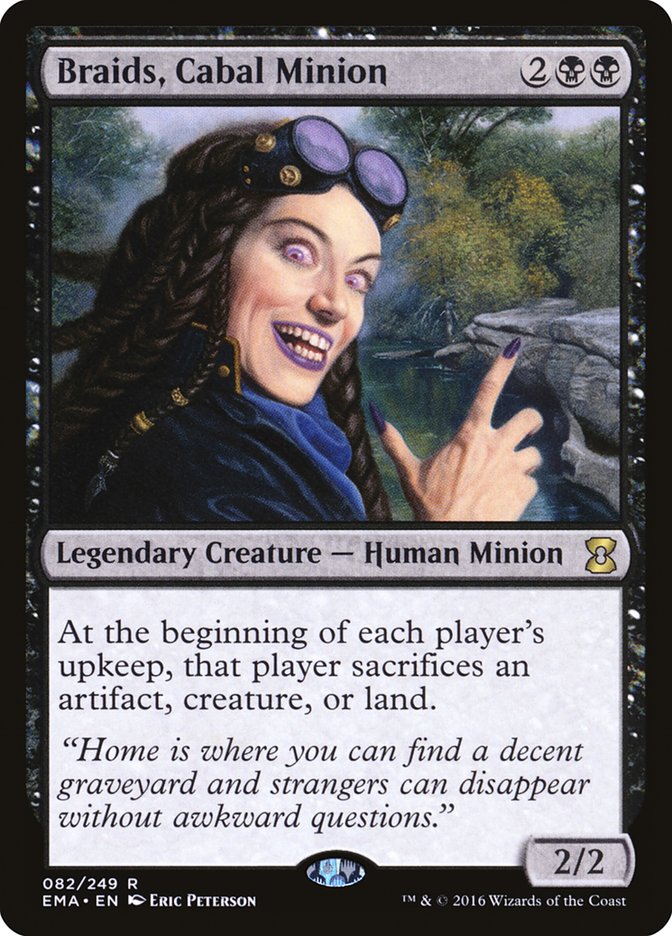
To exploit cards like Smokestack and Braids, Cabal Minion, you need a way to break the symmetry, to make them hurt you less than your opponents. One way to do so is by benefiting more from the forced sacrifice triggers. Your aristocrats deck undoubtedly has more cards to throw away and more ways to benefit from it, making these interesting resource denial tools.
#39. Ayara, First of Locthwain

The biggest knock against Ayara, First of Locthwain is how strongly this black noble locks you into playing mono-black; even in the 99, its power significantly wanes as you add additional colors. The trade-off for that restriction comes in strength, of course; the combination of pressure and card draw plus plenty of devotion for Gray Merchant of Asphodel and Nykthos, Shrine to Nyx makes this black creature a formidable threat for decks that don’t mind losing those additional colors.
#38. Perilous Research
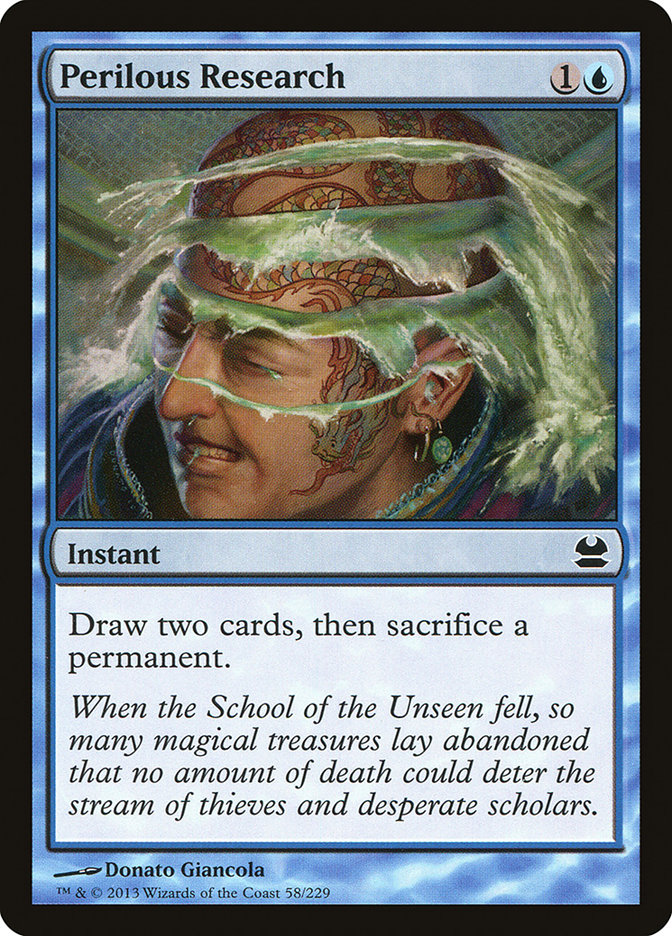
Perilous Research isn’t flashy, but it’s an honest source of card draw at a reasonable rate, assuming you have an additional effect or two to benefit from sacrificing the permanent—which could be as simple as sacrificing something that wants to die like Experimental Synthesizer.
#37. Liliana, Dreadhorde General
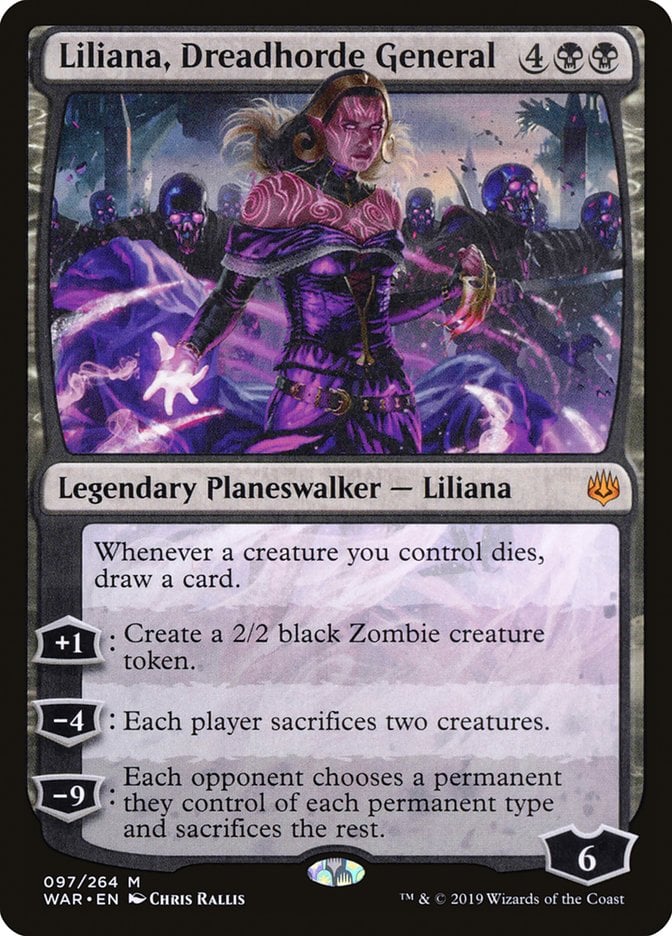
Liliana, Dreadhorde General doesn't have a very repeatable sacrifice ability, but that can be forgiven as we really want that static ability, especially when it comes tacked onto a double edict that puts us up two cards. This black planeswalker’s almost a sacrifice payoff more so than a sacrifice outlet, but it should be on any aristocrat player’s radar.
#36. Birthing Pod
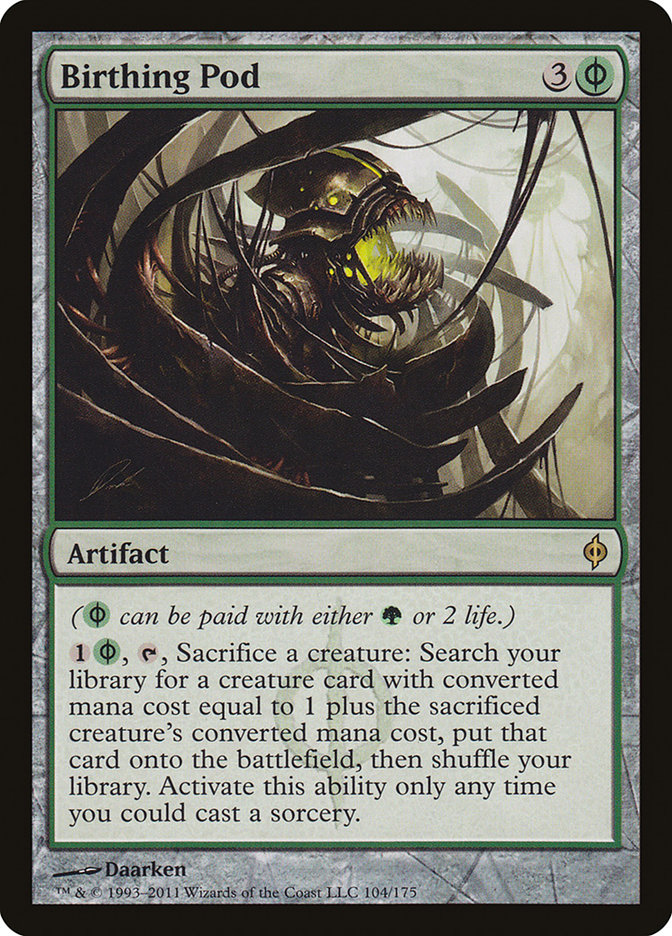
While Birthing Pod has a reputation for warping formats, really maximizing it comes with a huge deckbuilding cost as you must sculpt a careful curve around its repeated activations. While the card’s strong enough to warrant such consideration, that makes it hard to slip into the average sacrifice deck, especially considering they often want to sacrifice smaller creatures.
#35. Attrition
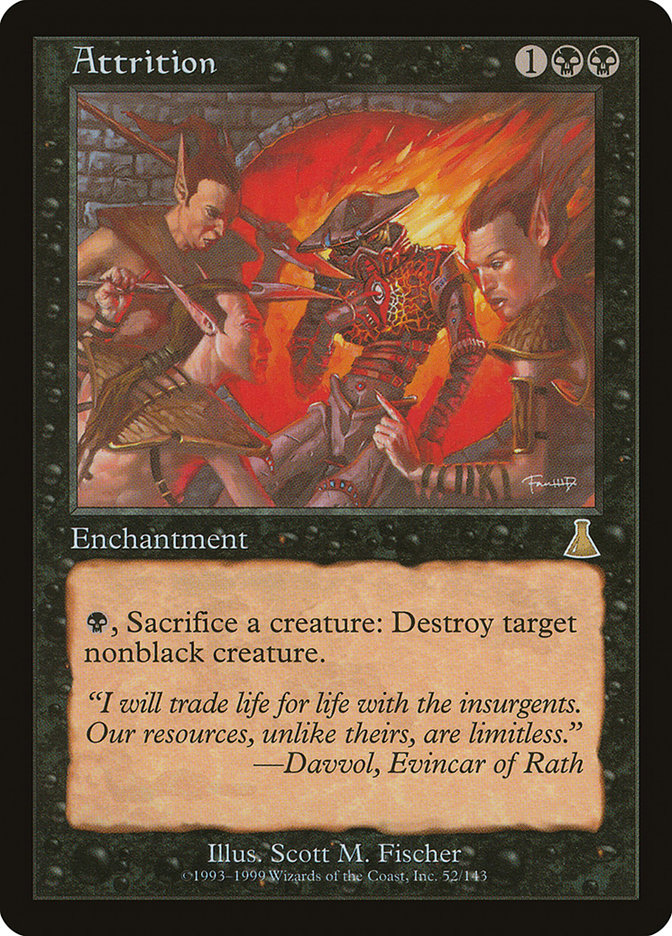
If you want to punish your opponents for running anything but black, Attrition gives you a stream of interaction. It’s a meta call since this won’t impact every EDH pod, but it does work in the right context.
#34. Evendo Brushrazer

Evendo Brushrazer provides consistent card advantage, provided you sacrifice permanents. You don’t even need another card to do that thanks to the mana ability. Mana production and card advantage on one card is generally quite strong, and the Brushrazer is no exception.
#33. Erebos, Bleak-Hearted
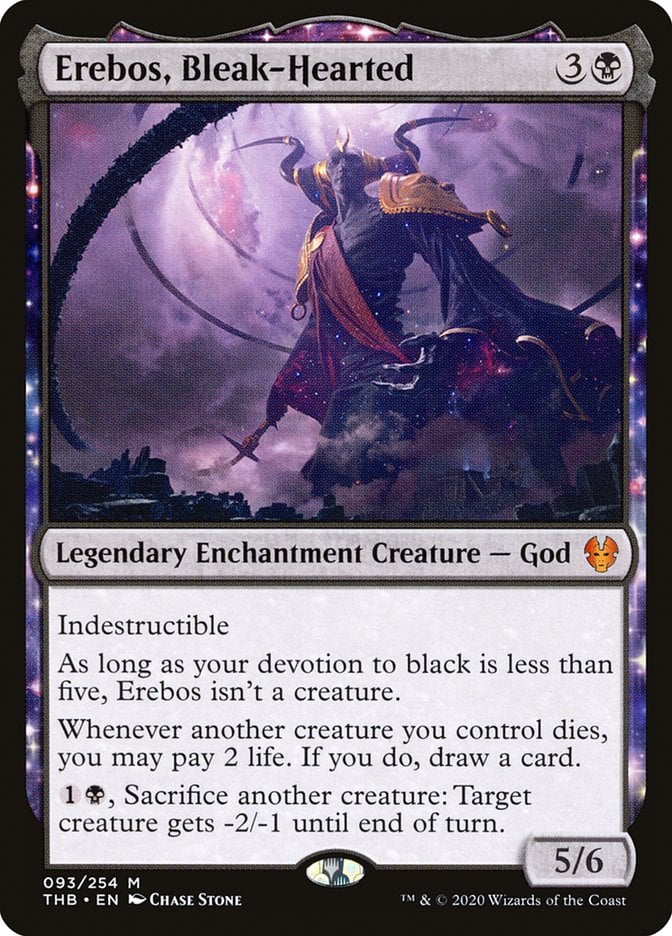
Erebos, Bleak-Hearted combines interaction and card draw into a potent threat that your opponents will have a devil of a time removing. It’s admittedly not the greatest rate as it only kills small creatures, but the debuff acts as a combat trick that discourages larger creatures from getting in, plus picking off that Orcish Bowmasters might be essential.
#32. Tevesh Szat, Doom of Fools
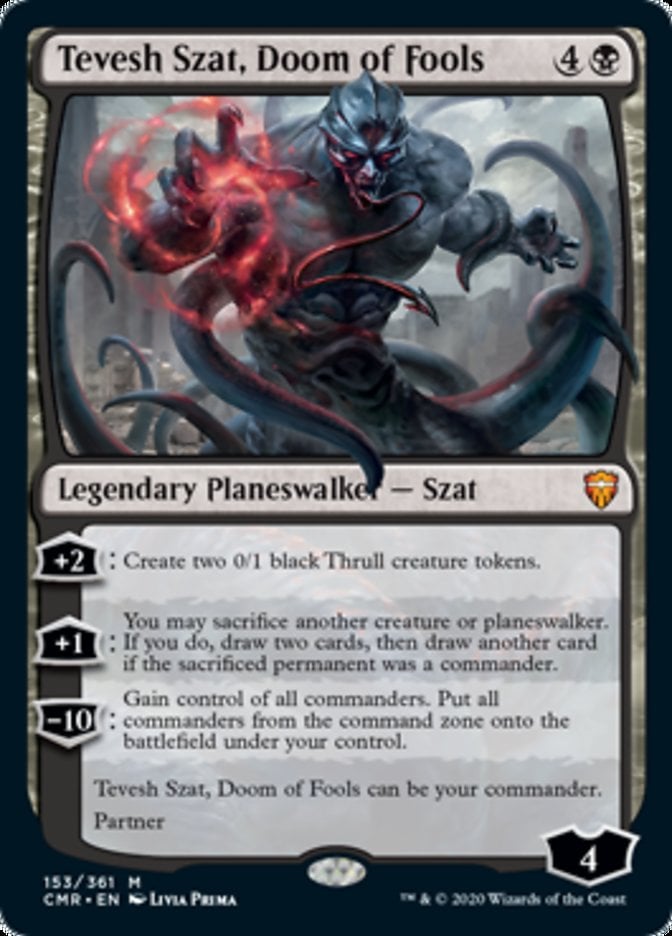
Tevesh Szat, Doom of Fools sets your opponents up for a mighty betrayal as it builds up to a treacherous ult… though that’s not why the sacrifice deck wants it. Chewing through creatures to draw cards might be the single best payoff an aristocrat deck can hope for, especially when that sacrifice outlet feeds itself with thrull tokens.
#31. Priest of Forgotten Gods
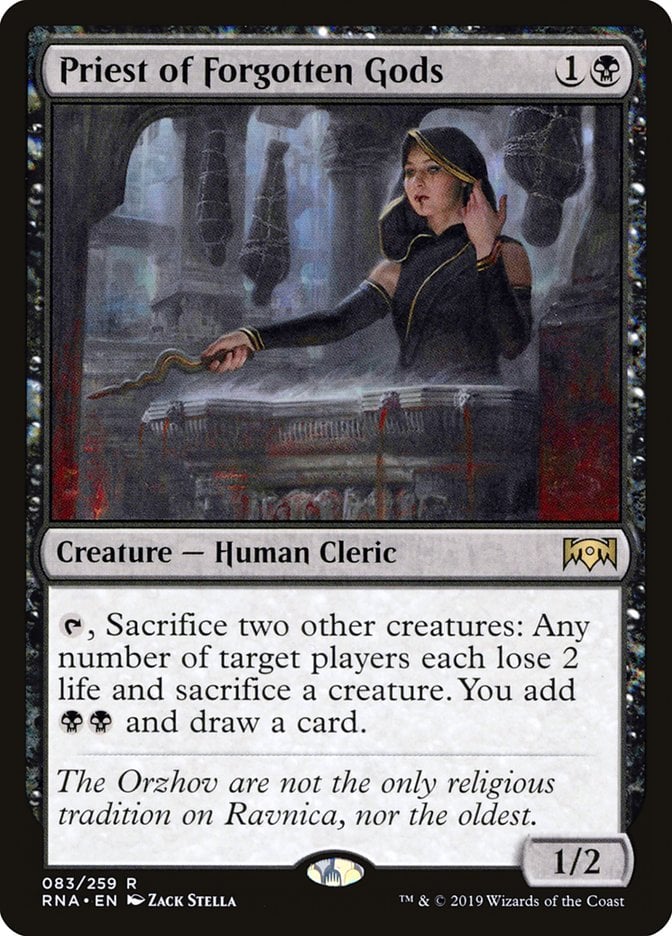
Requiring two pieces of sacrifice fodder makes Priest of Forgotten Gods one of the costlier sacrifice outlets around, but it’s well worth the high entry fee given the incredible trifecta of mana, card draw, and interaction. This human cleric generally works best on your turn so you have the best chance of using that mana, though black has plenty of 2-mana removal spells to fire off at instant speed.
#30. Braids, Arisen Nightmare
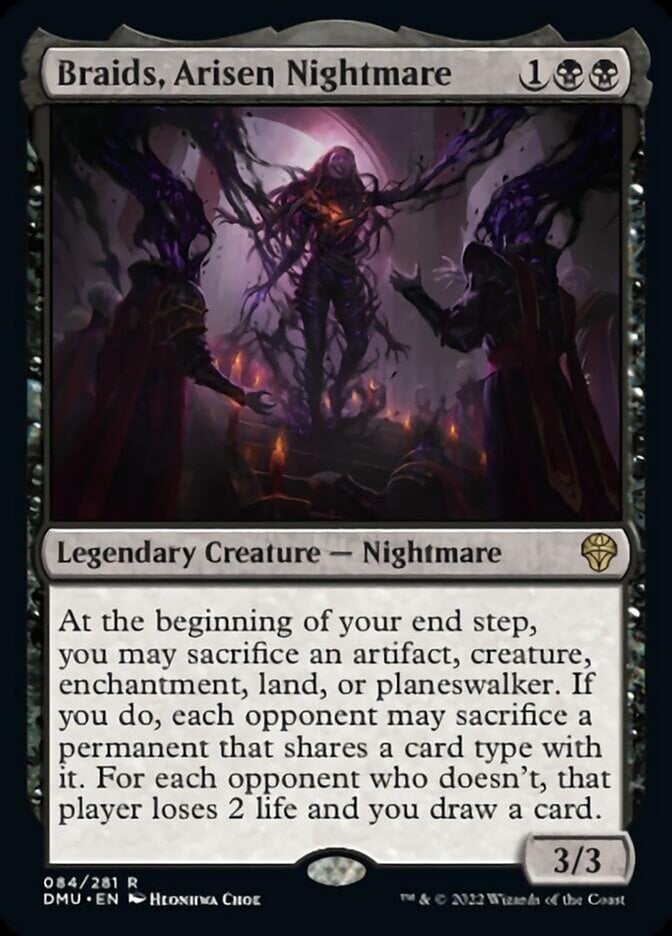
I love Braids, Arisen Nightmare, especially alongside cards like Mycosynth Wellspring and Carrot Cake that reward me for sacrificing them. This version of Braids has incredible potential in Commander; you might draw three cards or force your opponents to collectively sacrifice three permanents. And, of course, any combination of the above rocks.
#29. Flare Cycle


The Flare cycle from Modern Horizons 3 consists of five cards that can be cast for free by sacrificing a nontoken creature of the appropriate color:
Each of them are perfectly reasonable cards, especially Flare of Denial given the power of free counters and Flare of Malice since it negates the inherent weakness of a two-for-one by removing multiple cards. Any deck can feasibly run these with little to no ill effect.
#28. Ruthless Technomancer
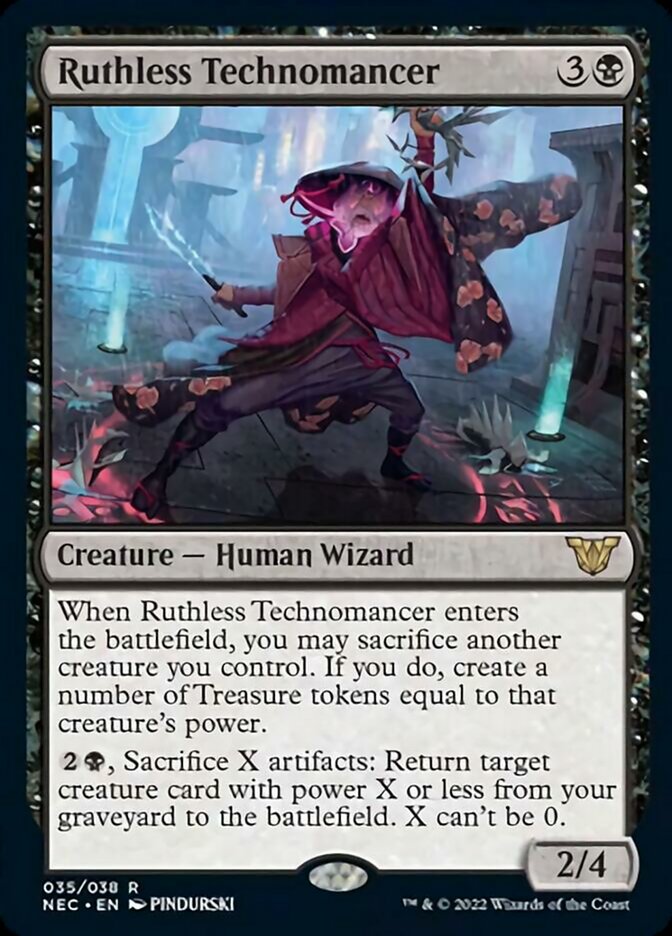
The burst of mana from Ruthless Technomancer’s Treasure production can be integral to setting up an explosive turn or it can be the explosive turn by reanimating a massive threat. That flexibility results in a fantastic piece for grindy Treasure or sacrifice decks looking for a way to rebuild after a board wipe.
#27. Eddie Brock / Venom, Lethal Protector


The sacrifice outlet lives on Venom, Lethal Protector, which isn’t good for decks interested in many sacrifice triggers but works well when you’re focused on sacrificing creatures with high power. The surge of card draw is nice, but I really like putting in another permanent—that just means you have something to feed to Greater Good next turn.
#26. Caesar, Legion’s Emperor
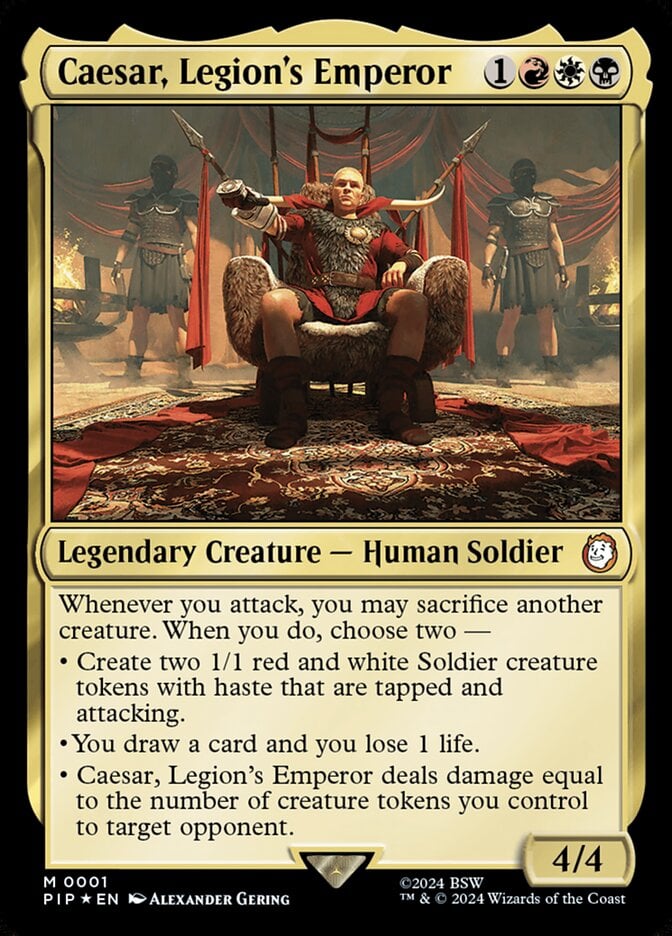
Caesar, Legion's Emperor strikes hard and ruthlessly. This Mardu card’s () power comes from having enough text to make Brandon Sanderson jealous, and it’s all good. The trick comes from bridging the mid and late game. Drawing cards and making tokens gives you plenty of momentum while the burn mode ensures you have the reach to finish things off. Toss in some ways to build a board presence before Caesar arrives and you’ll have a pretty stout deck.
#25. Village Rites + Corrupted Conviction
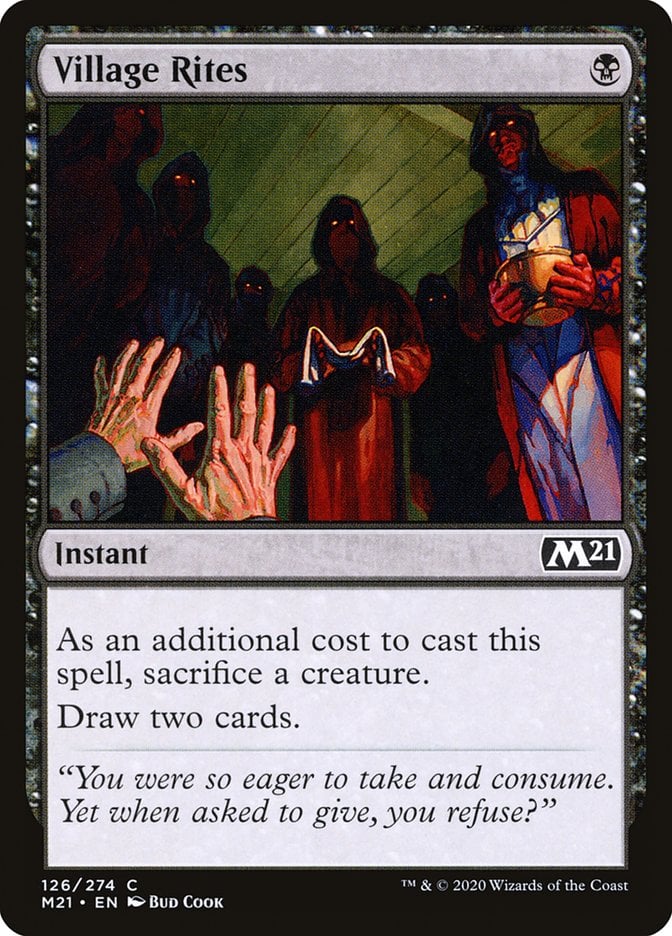
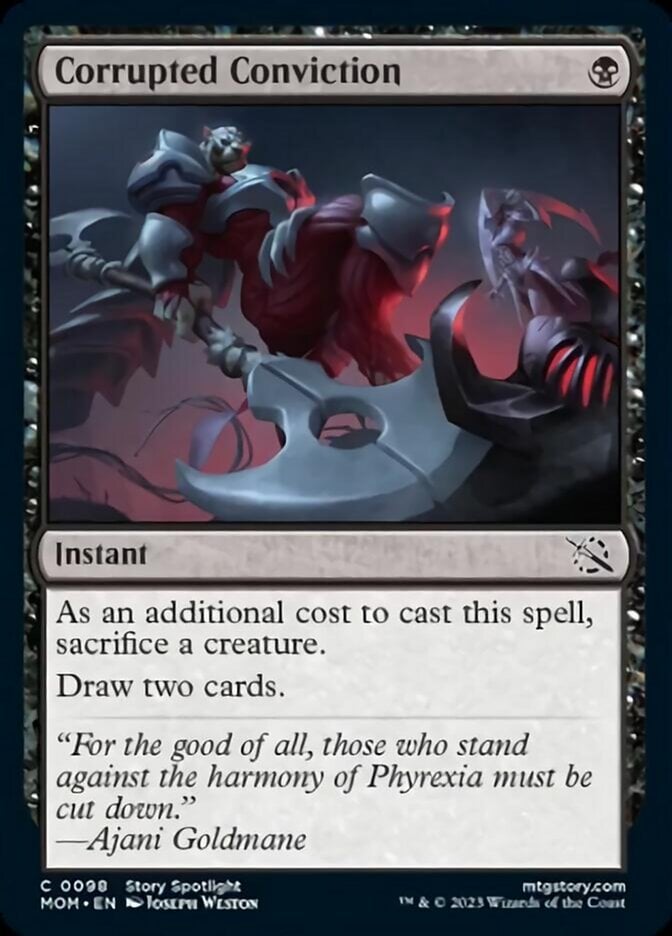
Village Rites strikes me as a quintessential sacrifice card. Many Draft formats have some variant of it to support their sacrifice themes and it’s just efficient, especially when you sacrifice a creature your opponent has targeted with removal. Corrupted Conviction is a functional reprint of the same card.
#24. Immoral Bargain
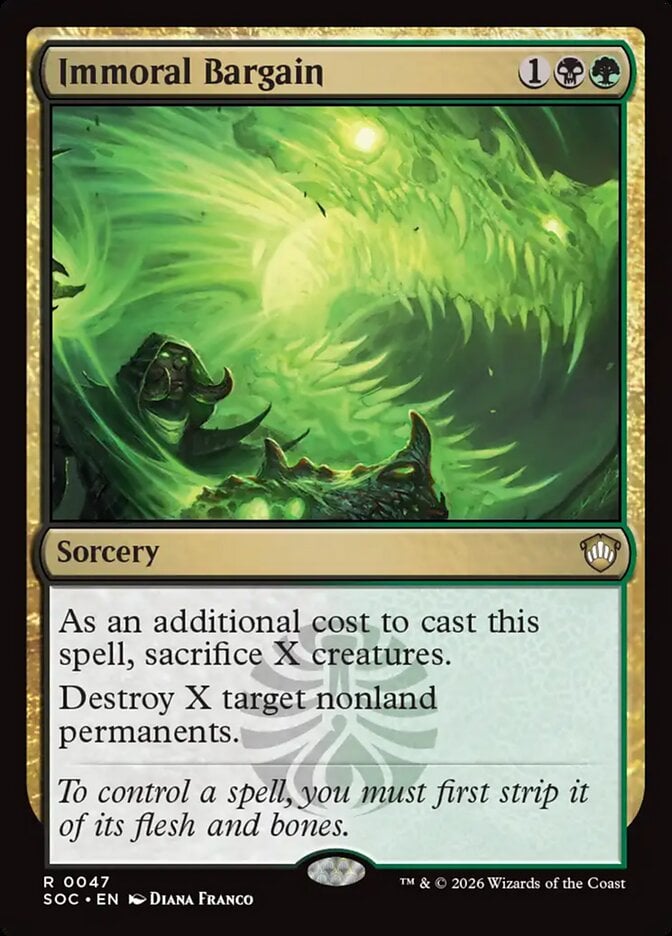
Immoral Bargain turns your worst creatures into removal for your opponents’ best permanents. Who cares about throwing away a few tokens when you surgically remove the best permanents in play, netting a death trigger or three in the process?
#23. Broadside Bombardiers
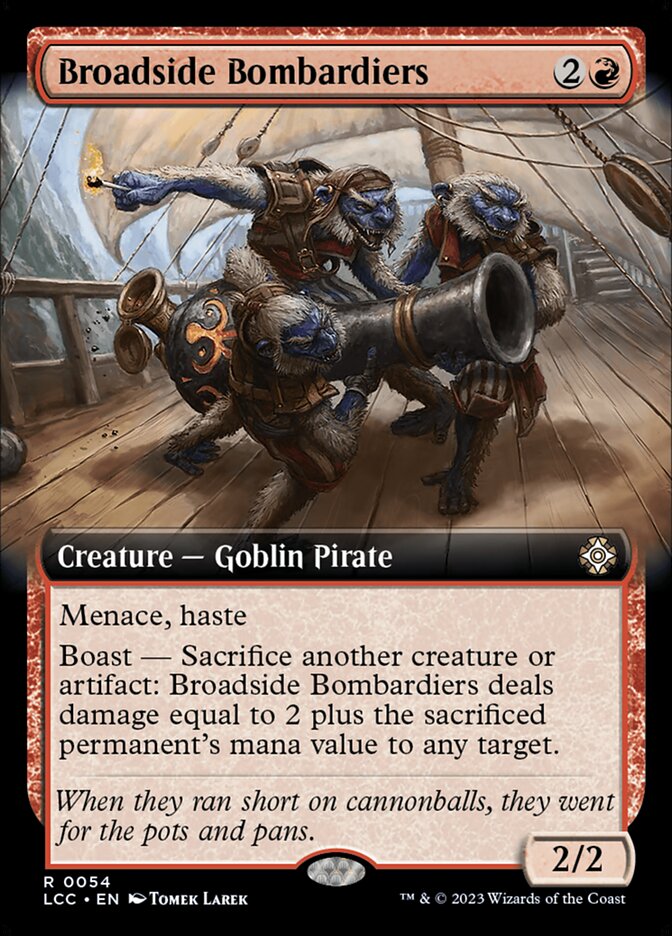
Broadside Bombardiers hits hard and fast with one of the best boast abilities in the game. You can burn your opponent out or simply blast away their best creatures to attack or prevent a crackback alpha strike. However you handle it, the combination of menace and haste means you almost always get that first attack in.
#22. Grist, the Hunger Tide
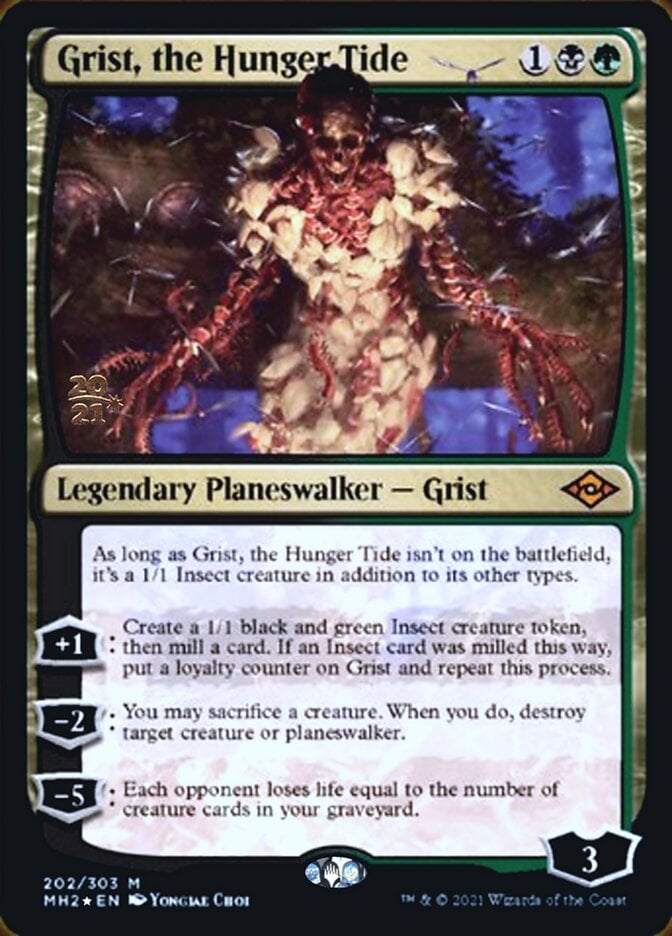
Perhaps my favorite planeswalker of all time, Grist, the Hunger Tide fulfills two vital roles for the sacrifice deck: a sacrifice outlet, which happens to be incredibly powerful since it kills virtually anything you care about, and sacrifice fodder. The best part, however, is the static ability that allows you to Reanimate this Golgari card () and find it with Green Sun's Zenith and similar effects.
#21. Grafted Wargear
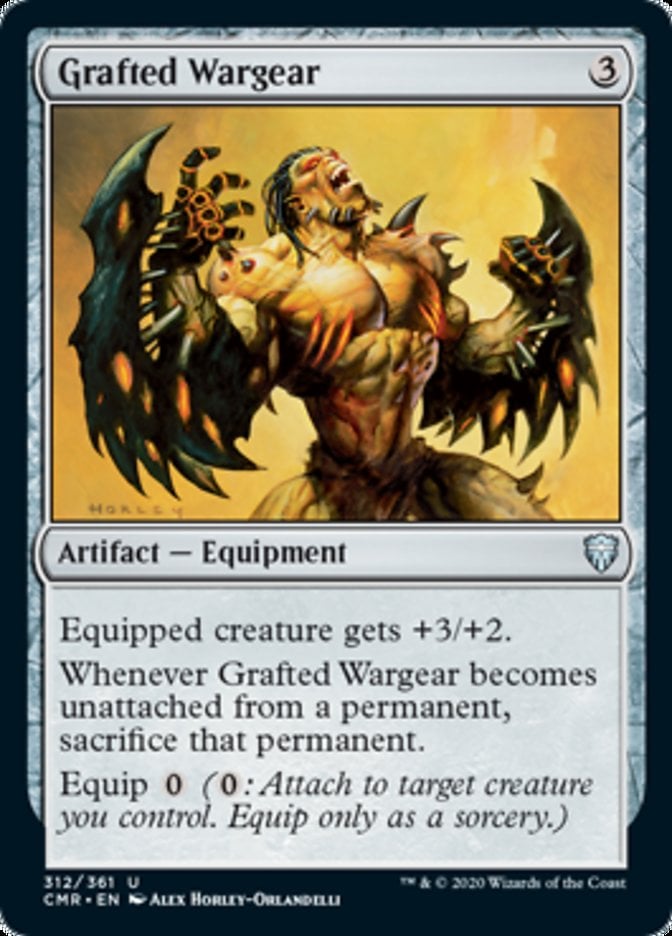
Grafted Wargear lets even your measliest creature strike well above its weight class while giving you a 0-mana sacrifice outlet. The sorcery-speed restriction of equipment holds this back, but being a colorless card is a nod in its favor.
#20. Krav, the Unredeemed
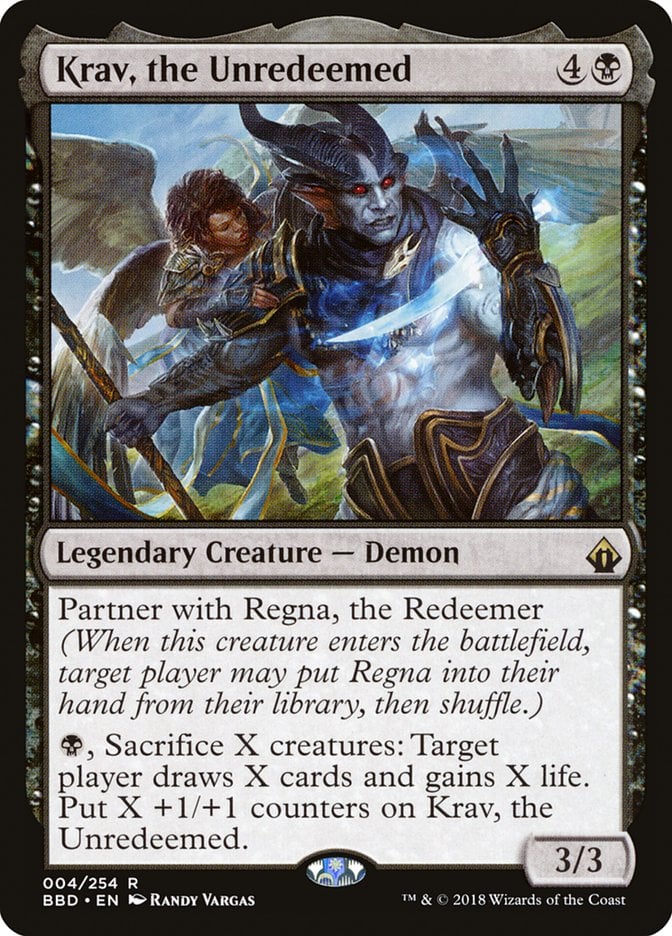
Krav, the Unredeemed boasts an incredibly high ceiling with its ability to draw a ton of cards while becoming a massive threat, rather reminiscent of Korvold, Fae-Cursed King. The dash of lifegain’s far from flavor text considering the overlap between lifegain synergies and sacrifice strategies as evidenced by cards like Blood Artist and Vengeful Bloodwitch.
#19. Sephiroth, Fabled SOLDIER / Sephiroth, One-Winged Angel


Blood Artist is the gold standard for sacrifice payoffs in Magic, so a legendary one makes perfect sense. Sephiroth, Fabled SOLDIER gives you that classic and powerful payoff in the command zone… along with a sacrifice outlet and card draw. It’s an incredibly pushed commander before we consider Sephiroth, One-Winged Angel, which scales into a game-ending threat with little effort.
#18. Wight of the Reliquary

Wight of the Reliquary largely earns its spot for the uniqueness of the ability; ramp, especially from permanent mana sources, is a rare payoff for sacrifice decks. It would be valuable even if it just got basic lands, but you can even set up Dark Depths, find Gaea's Cradle, and far more.
#17. Gut, True Soul Zealot
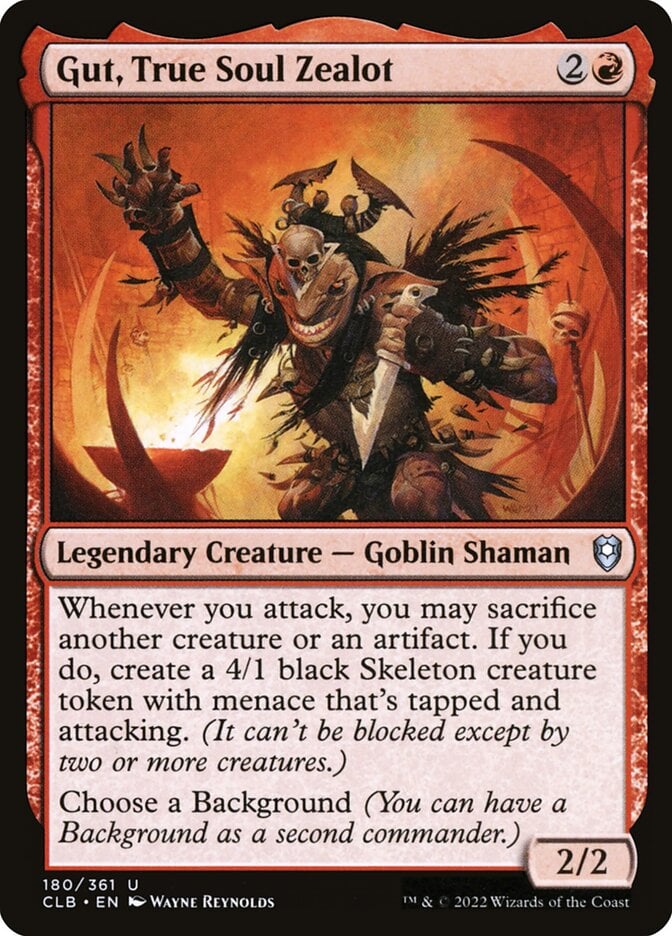
If you want to punch really hard as a reward for sacrificing your dorks, you can’t do much better than Gut, True Soul Zealot. It only takes a couple of these skeleton tokens to overwhelm your opponents considering they have menace and usually eat whatever blocks them.
#16. Spawning Pit

Spawning Pit’s largely playable as a cheap, free sacrifice outlet with no color or timing restrictions. The spawn tokens are fine and all, but not really what the card’s for.
#15. Hearthhull, the Worldseed

Hearthhull, the Worldseed is the lands commander in Magic, with a focus on land sacrifice. As a modern commander, it’s both payoff and enabler, which makes this one of the stronger land sacrifice engines since it nets you some card draw and an extra land drop.
#14. Altar of Dementia
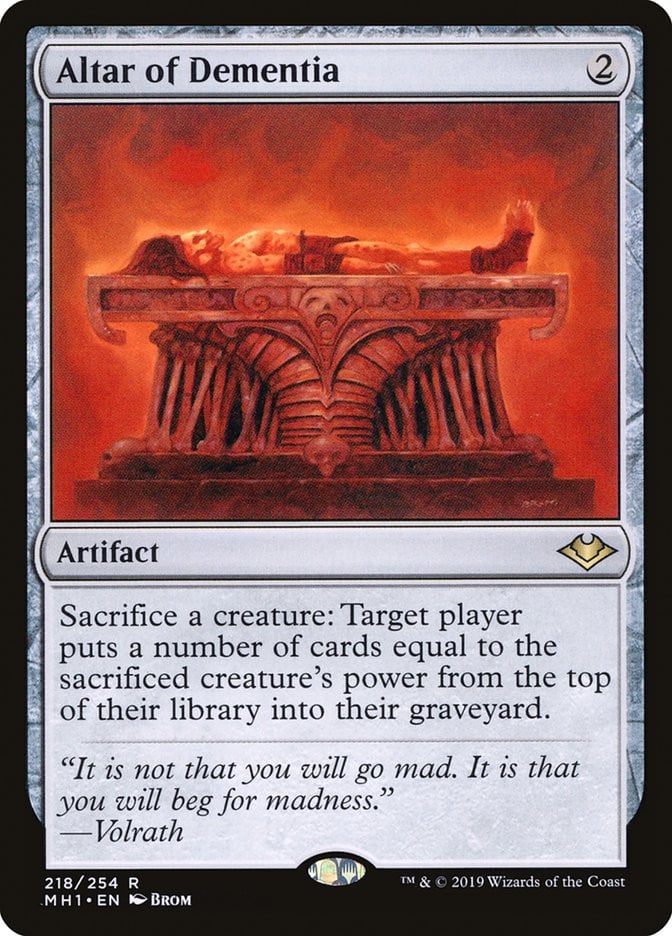
Altar of Dementia almost exclusively serves as a combo piece to give a variety of infinite loops a mill win condition. It also fills your graveyard, perhaps for commanders like Muldrotha, the Gravetide and Phlage, Titan of Fire's Fury.
#13. Burnt Offering + Culling the Weak
Burnt Offering and the mono-colored variant Culling the Weak provide huge bursts of mana in exchange for one measly creature, setting up incredibly explosive turns that either shove you far ahead or simply end the game.
#12. Greater Gargadon
Greater Gargadon can’t sub in for infinite combos since it eventually comes off suspend, but it’s still fantastic. You get a 1-mana sacrifice outlet that your opponents basically can’t counter and are eventually rewarded with a massive threat that ignores timing restrictions. Is this the best Ambush Viper?
#11. Eldritch Evolution + Neoform
These mini Birthing Pod effects don’t offer the same sustained value as the OG but also don’t warp your deck around them. Eldritch Evolution and Neoform often act as simple tutors that help assemble combos or transmute your commander into something threatening.
#10. Korvold, Fae-Cursed King
One of the fiercest sacrifice commanders in the game, Korvold, Fae-Cursed King does it all. While Treasure traditionally breaks this noble dragon, it works just as well with a variety of creature synergies, serving as an enabler, a payoff, and a massive threat all at once.
#9. Deadly Dispute
Deadly Dispute should be among the first cards you add to any sacrifice deck. The Treasure makes it so efficient, as does the flexibility of the additional cost. The real trick comes from sacrificing something like Ichor Wellspring to draw a third card for a nasty Ancestral Recall impression.
#8. Blasting Station
Blasting Station is often featured as a key component in infinite combos, especially those in non-black or red color combinations like the many variations of Karmic Guide or Darien, King of Kjeldor combos. This artifact's colorless versatility makes a vital piece of those decks.
#7. Greater Good
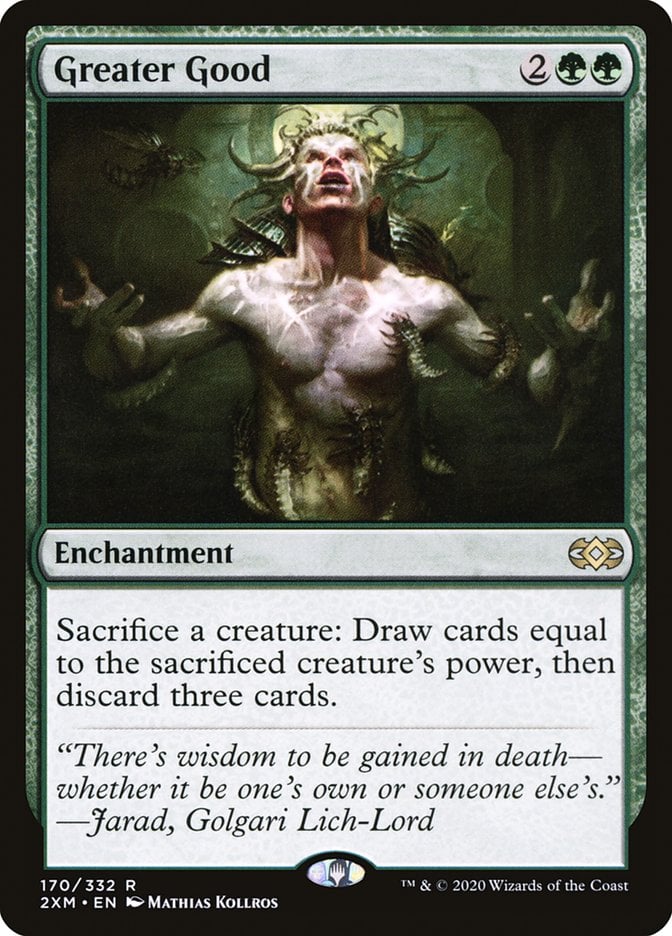
Greater Good offers green players a brutally efficient answer to the trolley problem. This generally works best with massive creatures like Yargle and Multani and Ghalta, Primal Hunger, though decks interested in filling the graveyard don’t necessarily need this green enchantment to be card-positive.
#6. Viscera Seer + Carrion Feeder
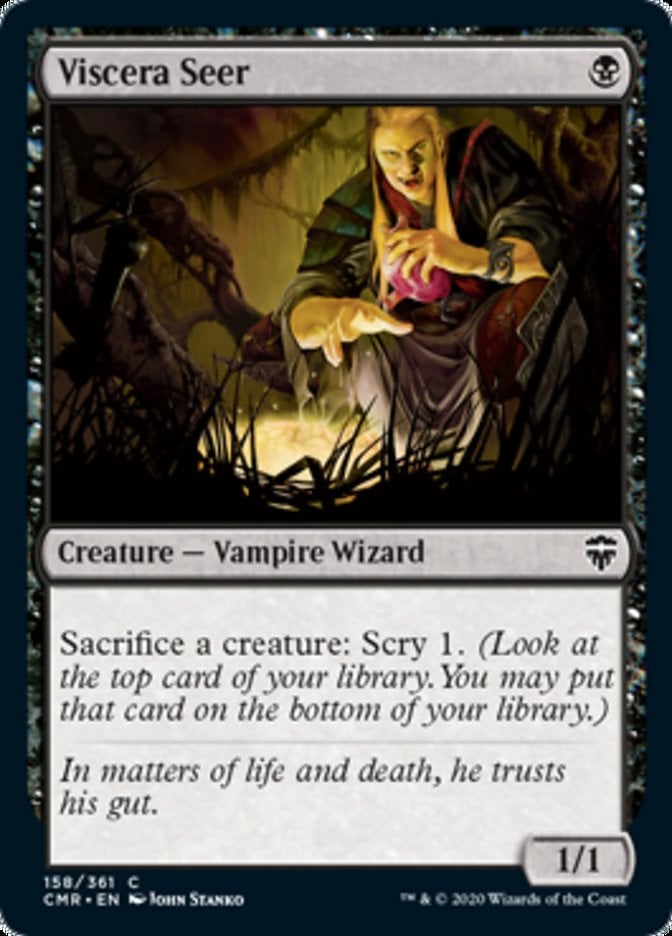
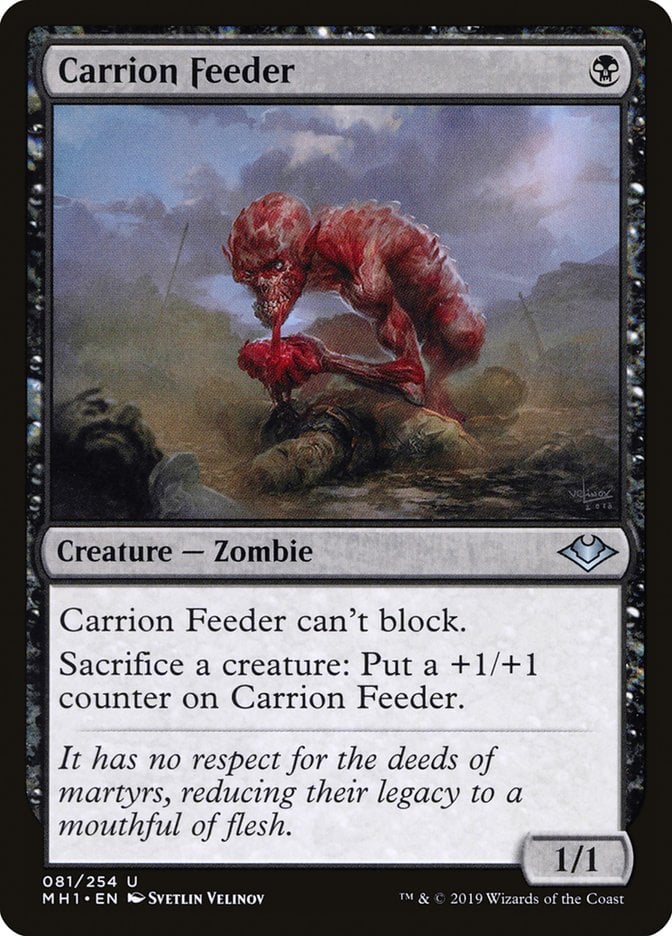
Access to free sacrifice outlets makes any aristocrat deck stronger. They’re necessary for infinite loops but just make things flow much smoother when you don’t need to invest mana to trigger your Blood Artist and Midnight Reaper.
Viscera Seer and Carrion Feeder are notable as highly efficient free sacrifice outlets. This effect doesn’t come much cheaper, so these show up in aristocrat decks across formats.
#5. Goblin Bombardment

Goblin Bombardment is among the best sacrifice payoffs in the game and another common combo piece, largely because this one wins on the spot when you assemble your loop. It exists in a very similar space to Blasting Station, but this red enchantment ultimately got the higher slot because the potential of multiple activations in a turn just nudged out the colorless utility of the former.
#4. Recurring Nightmare

If you want to do fundamental unfair things in a non-EDH format, look no further than Recurring Nightmare and its busted play pattern. Looping creatures while giving your opponents a very narrow window of opportunity to interact gives you an unparalleled edge in grindy games.
#3. Yawgmoth, Thran Physician
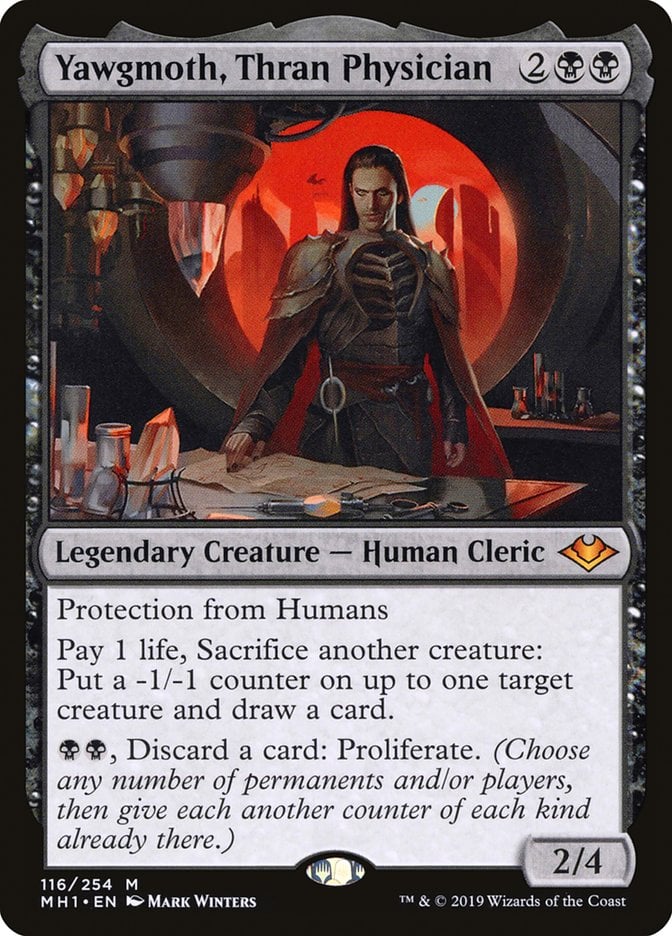
Yawgmoth, Thran Physician does a bit of everything. It sacrifices creatures, draws cards, interacts with your opponents, and even fills the graveyard. This card represents basically everything black cares about, making it an incredible sacrifice outlet in any aristocrat deck. After all, drawing cards is one of the best payoffs you can have!
#2. Phyrexian Tower
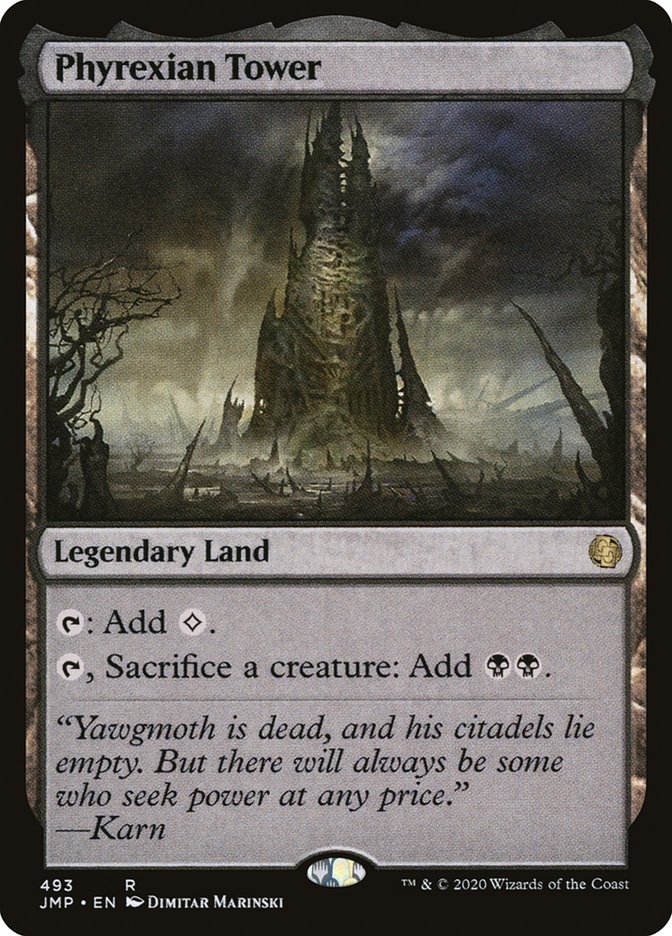
The other best payoff is a mana advantage, which is what makes Phyrexian Tower an incredible sacrifice outlet. A thematic Ancient Tomb gives you a huge leg up in the early game. Adding a sacrifice outlet to your mana base makes it much stronger than it would be if it was just lands that tapped for mana, especially considering how hard it is for your opponent to interact with it.
#1. Ashnod’s Altar + Phyrexian Altar
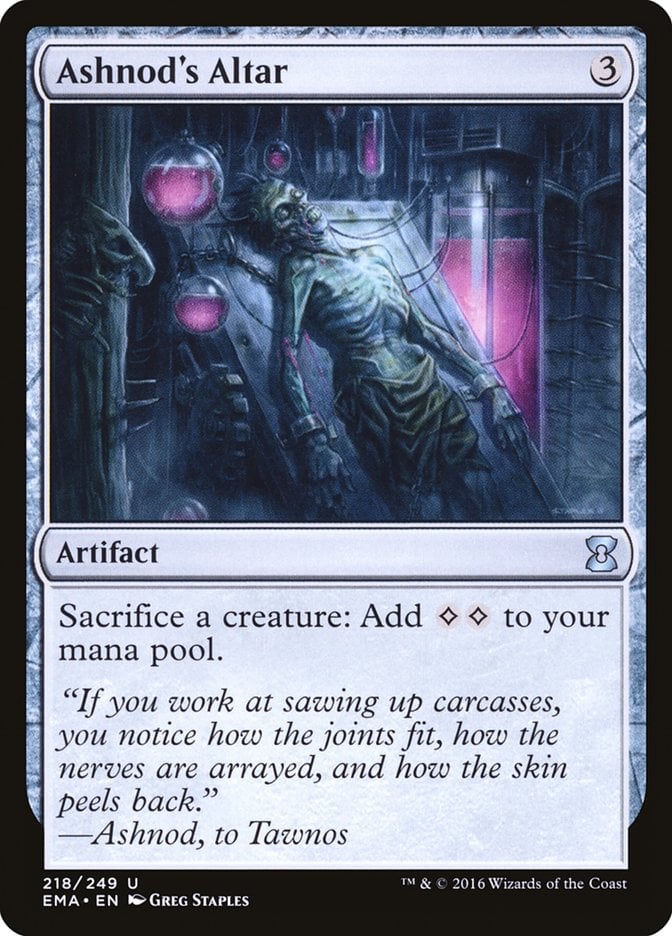
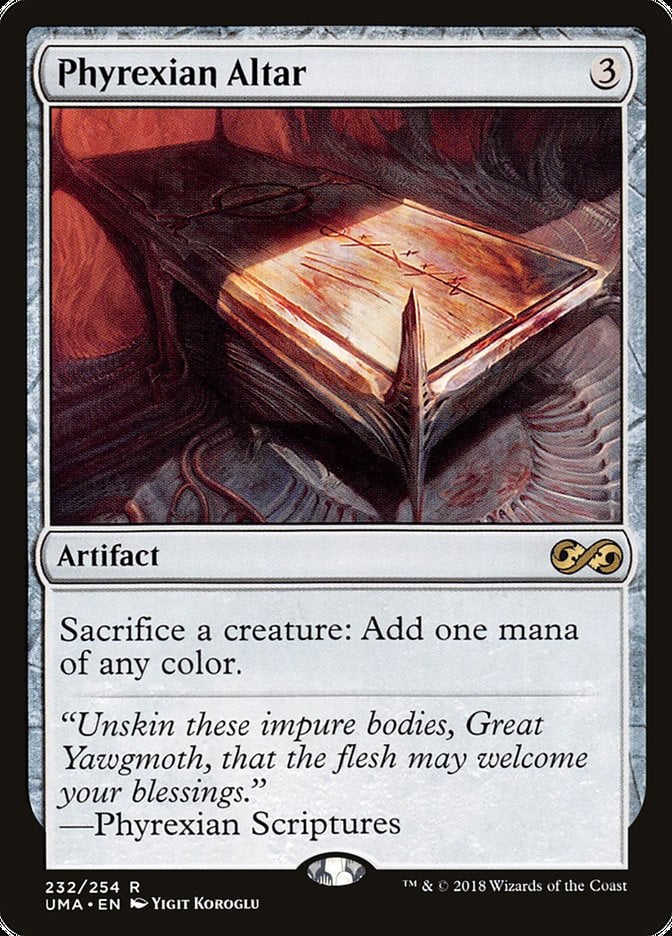
Ashnod's Altar and Phyrexian Altar are two of the best combo cards in the game thanks to their role in many loops while generating mana, but they’re fundamentally unfair even without infinites. Turning a random thrull into 2 colorless or 1 colored mana gives you all the ramp you need to make your deck function while stacking invaluable triggers from your sacrifice payoffs. The biggest drawback to running these is how quickly they make you into a target, which only proves their power.
Best Sacrifice Payoffs
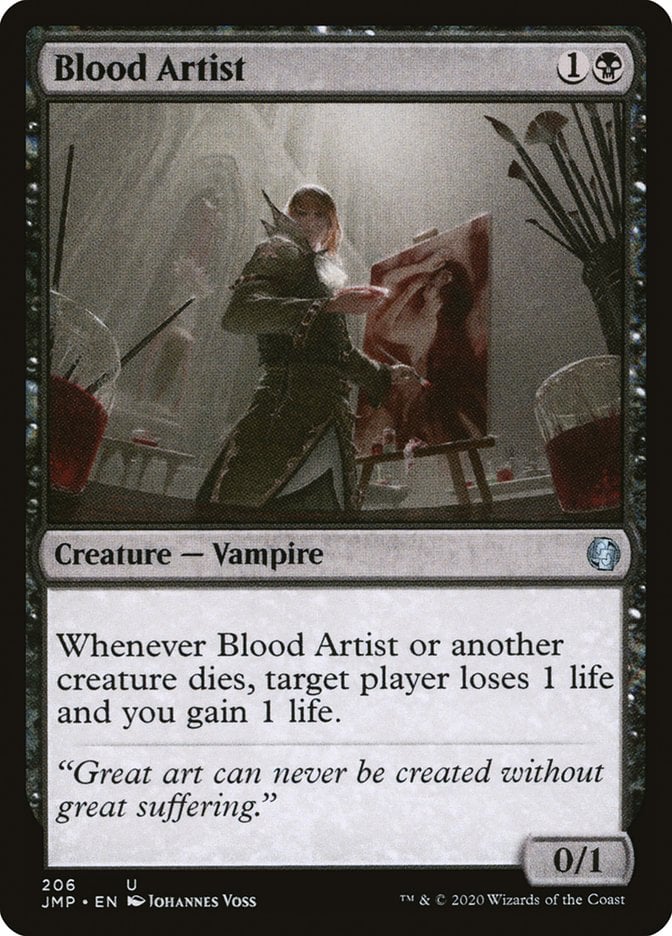
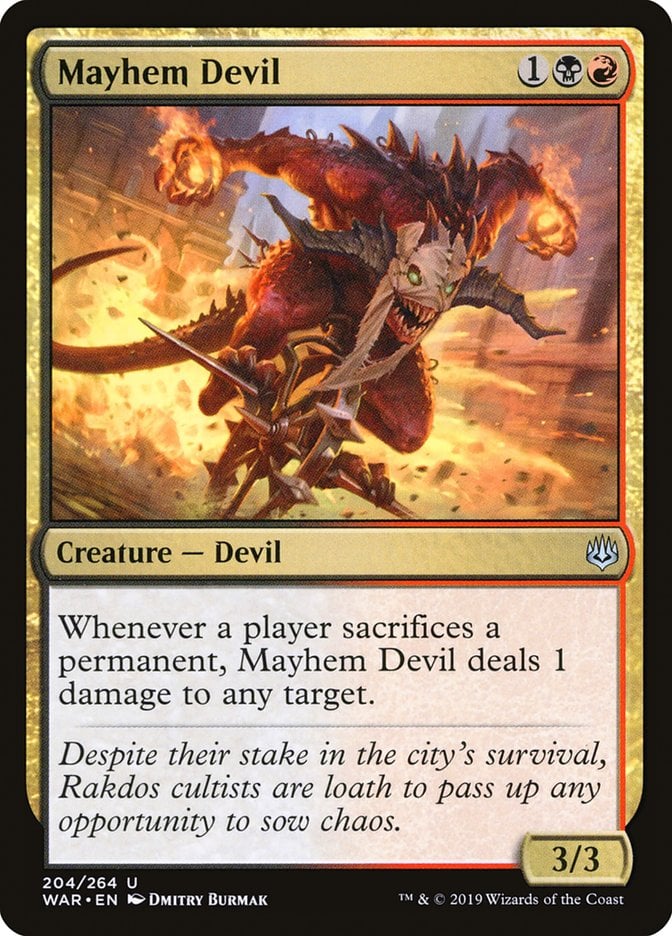
The best sacrifice payoffs reward you when your creatures die or you sacrifice permanents. Blood Artist and Mayhem Devil are two of the most prominent examples since they become win conditions.

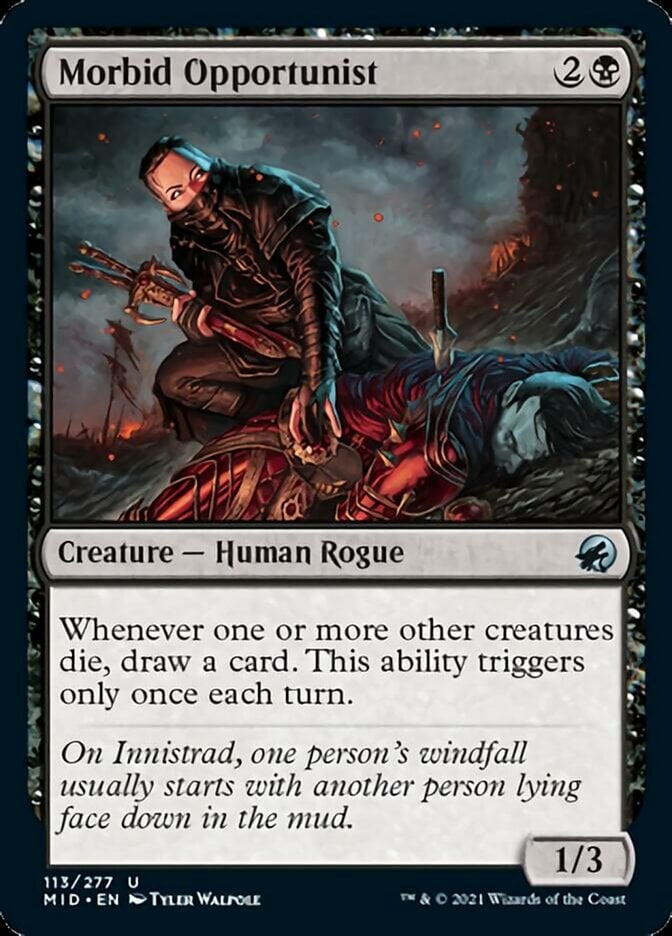
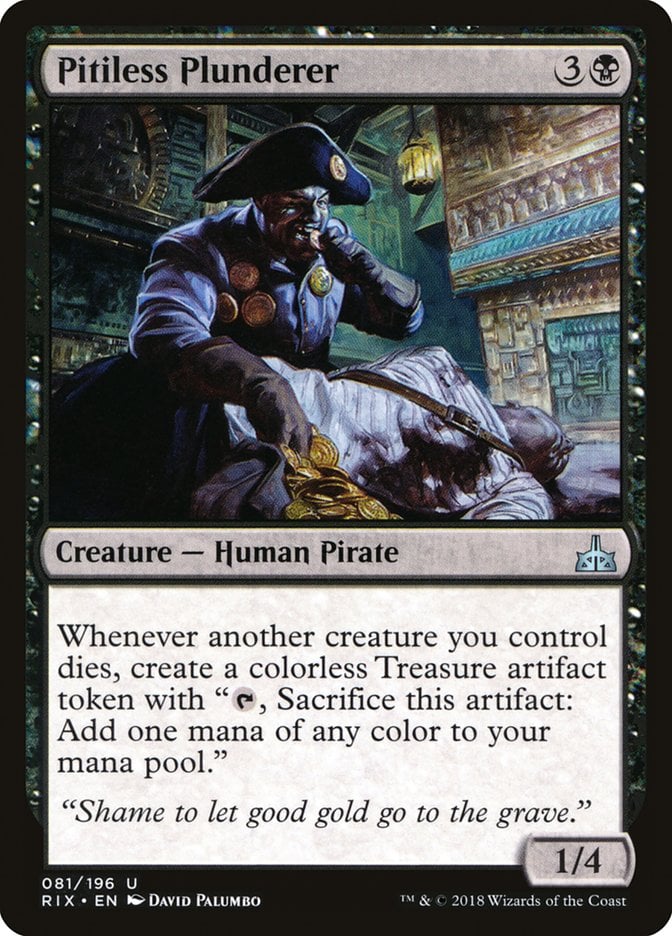
You also get a variety of other payoffs, like card draw from cards like Midnight Reaper and Morbid Opportunist, mana from Pitiless Plunderer, and so on.
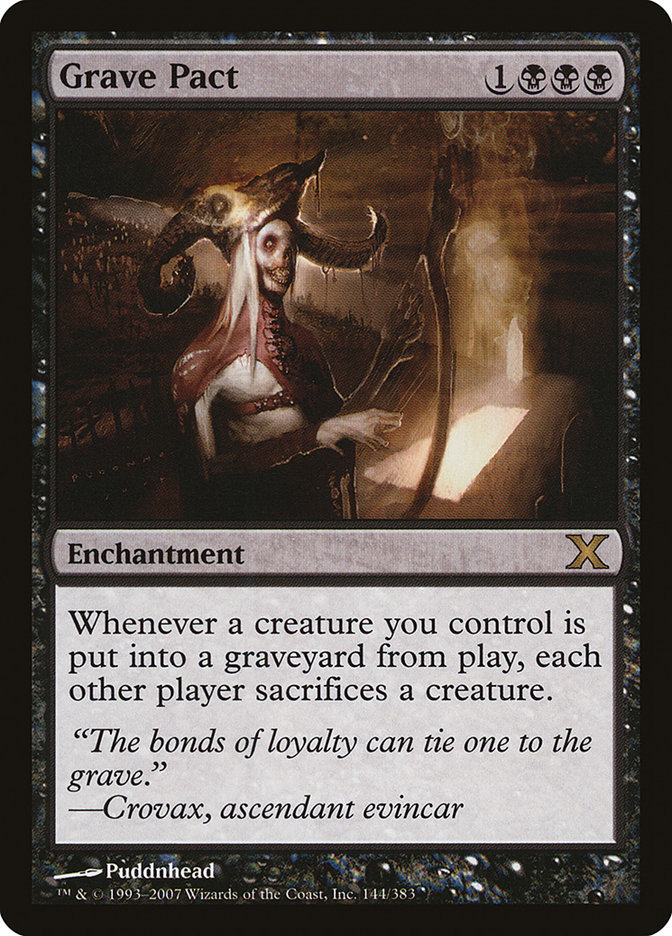

Other great payoffs include Grave Pact, Dictate of Erebos, and Sothera, the Supervoid, all of which punish your opponents when you sacrifice creatures.
Best Sacrifice Fodder
For the most part, sacrifice fodder falls into a few categories: There’s cheap permanents with good abilities that reward sacrificing them, recursive permanents, and token producers that make lots of fodder.
For the first category, cards like Experimental Synthesizer, Doomed Traveler, and Hangarback Walker are all useful candidates, though there are many more options.
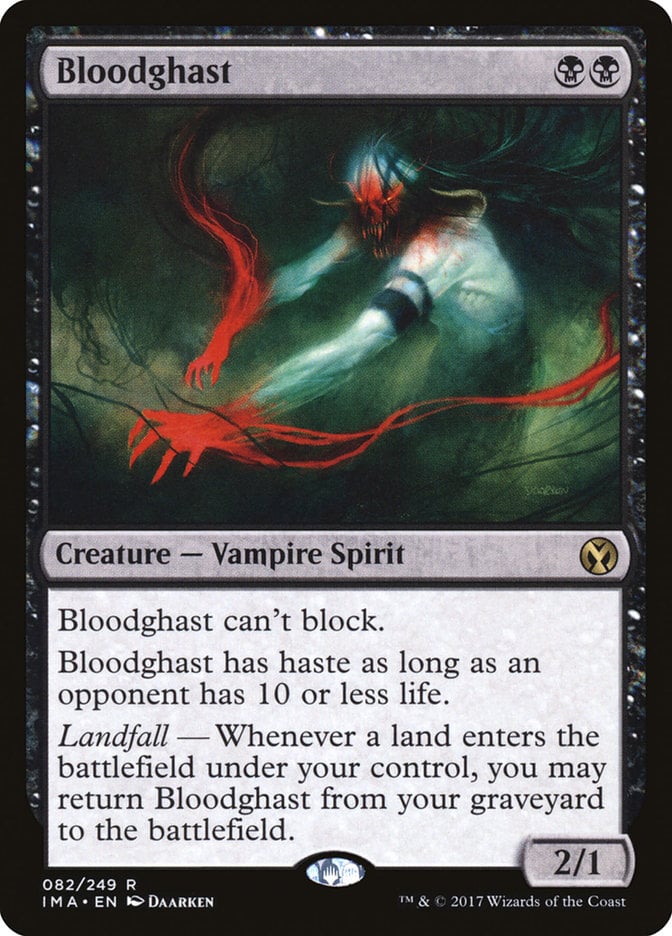
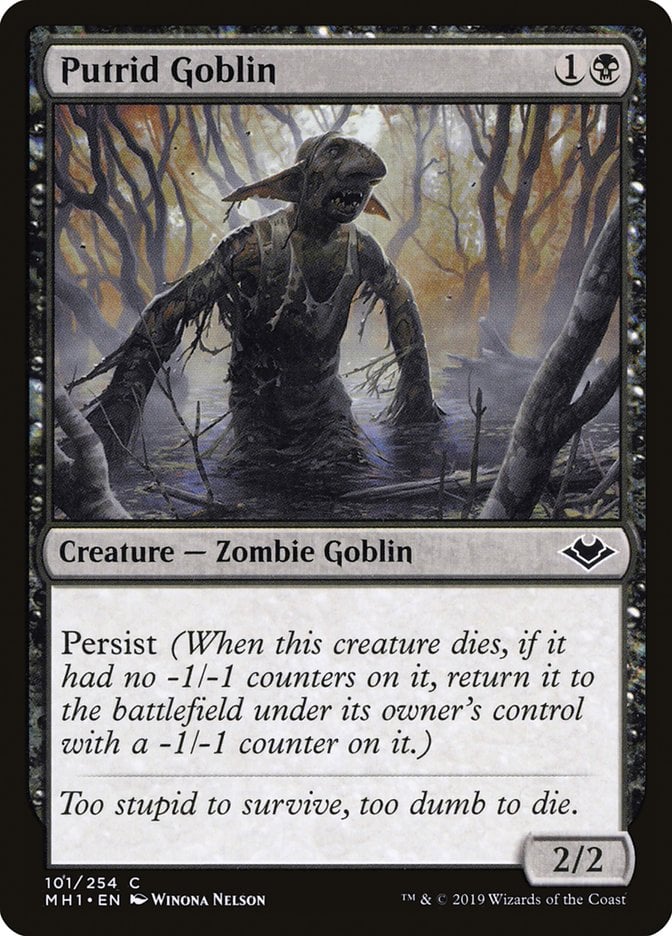
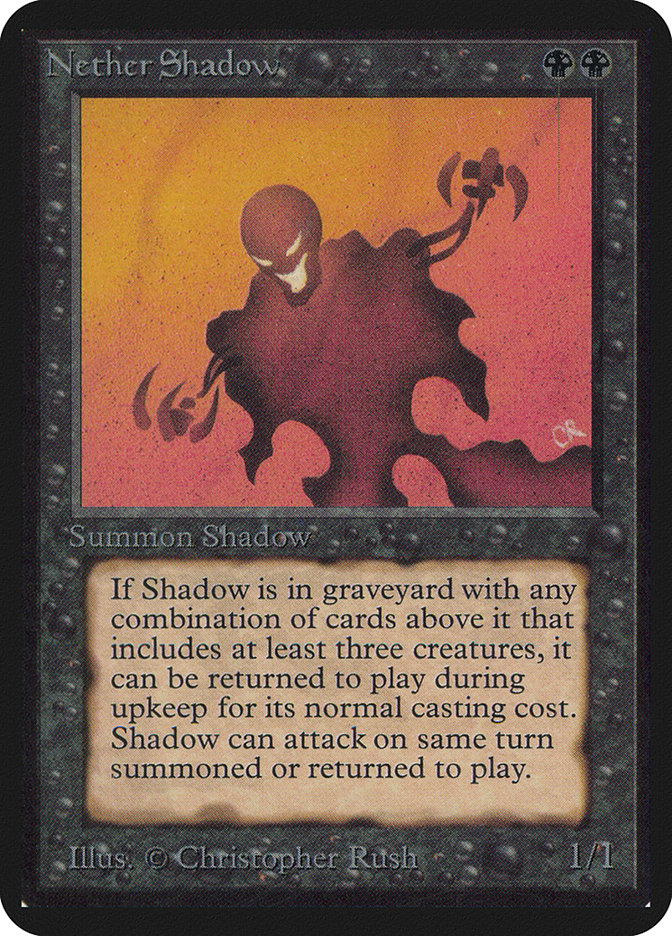
Recursive permanents like Bloodghast, Putrid Goblin, and Nether Shadow are great because you can often sacrifice them multiple times.
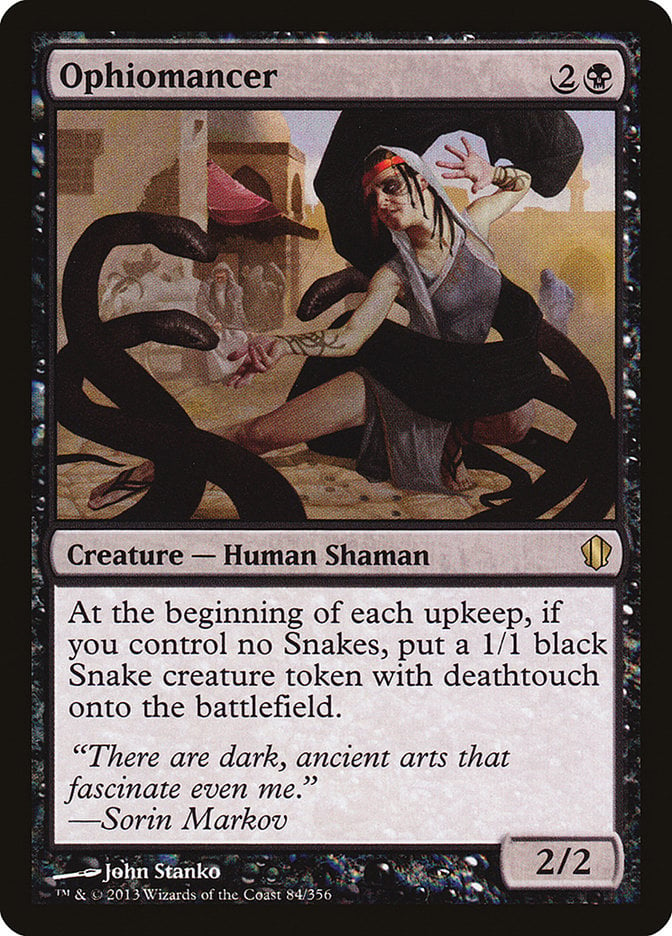
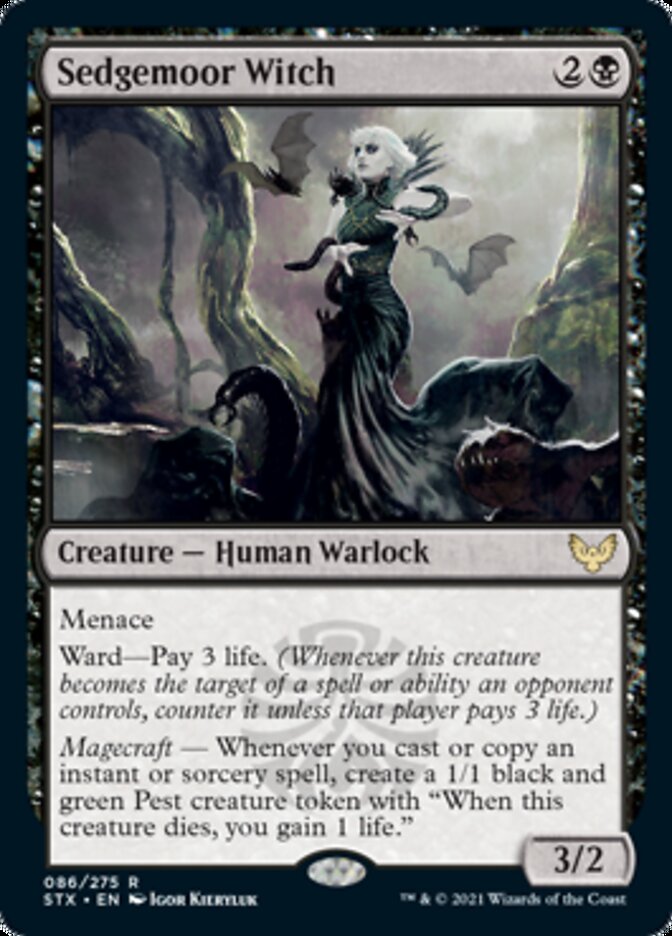

Token engines have a similar use: Cards like Ophiomancer, Sedgemoor Witch, and Bitterblossom produce consistent streams of sacrifice fodder to pour into your outlets. Keep in mind that not every sacrifice payoff works with tokens, though; for example, Evendo Brushrazer and Midnight Reaper only trigger off nontoken deaths.
When Can You Sacrifice a Creature?
Whenever your sacrifice outlet allows you! Some abilities restrict you to sorcery speed, like Tarrian's Journal, but outlets like Goblin Bombardment that don’t limit you can be activated whenever you have priority.
Can You Sacrifice a Creature You Don’t Control?
No, you can only sacrifice creatures you control.
If you really want to sacrifice your opponents’ creatures, you need to gain control of them with threaten effects first.
Can You Sacrifice a Creature Before it’s Destroyed?
Yes! As long as your sacrifice outlet can be used at instant speed, you can use it in response to a board wipe or removal spell.
For example, if you control a creature and your opponent targets it with a Doom Blade, you could sacrifice it to an outlet like Carrion Feeder after Doom Blade hits the stack but before it resolves.
Is Sacrificing the Same as Dying?
Not exactly. “Dying” is Magic shorthand for “leaves the battlefield and enters the graveyard.” When you sacrifice a creature, that creature often dies, which is why you can use Blood Artist and the like with your sacrifice outlets. However, a creature dying isn’t the same as it being sacrificed for Mayhem Devil and the like.
Can You Sacrifice a Creature with Summoning Sickness?
Yes! Summoning sickness prevents a creature from attacking or activating abilities that require tapping; it doesn’t interact with sacrifice outlets.
Can You Sacrifice a Tapped Creature?
Yes! Sacrifice outlets don’t care if a creature is tapped or untapped. Some tapped creatures are practically designed to be sacrificed; for example, Gutterbones comes into play tapped, so you can sacrifice it, then recur it during a later turn to sacrifice again.
Can You Regenerate a Creature You Sacrifice?
Not really. You can give a creature you plan to sacrifice a regeneration shield, it just won’t do anything since regeneration only protects from lethal damage or destruction.
Does Sacrificing a Creature Go on the Stack?
Not generally. Most sacrifice outlets require the sacrifice as the cost to an ability or as an additional cost to casting a spell, then that spell or ability goes on the stack.
For example, if I cast Deadly Dispute by sacrificing a creature, the creature dies and the Dispute goes on the stack. Your opponent can counter the black instant, but the sacrifice has already occurred.
Does Totem Armor Protect from Sacrifice?
No. Totem armor, renamed umbra armor, only prevents destruction and lethal damage, rather like regeneration. So, a Bear Umbra can’t save your commander from an Innocent Blood.
Can You Sacrifice a Creature for Multiple Effects?
No, you can only sacrifice one creature to one effect at a time. You can’t, for example, sacrifice one creature to both Phyrexian Altar and Ashnod's Altar because costs for multiple abilities or spells can’t be paid simultaneously.
Can You Sacrifice a Creature with Hexproof? Shroud?
You can, unless the creature has shroud and you specifically need to target it. However, the majority of sacrifice outlets don’t target at all, so this rarely comes up.
Does Protection Protect Against Sacrifice?
No. Protection prevents targeting, damage, blocking, and enchanting from whatever your creature has protection from. Since sacrifice outlets generally don’t target, protection doesn’t interact with sacrifice effects.
That means something like Akroma's Will that gives your creatures protection from all colors can’t protect you from a Fleshbag Marauder. But that also means edict effects can help you to get around an opponent's protection.
Can You Sacrifice Tokens in Magic?
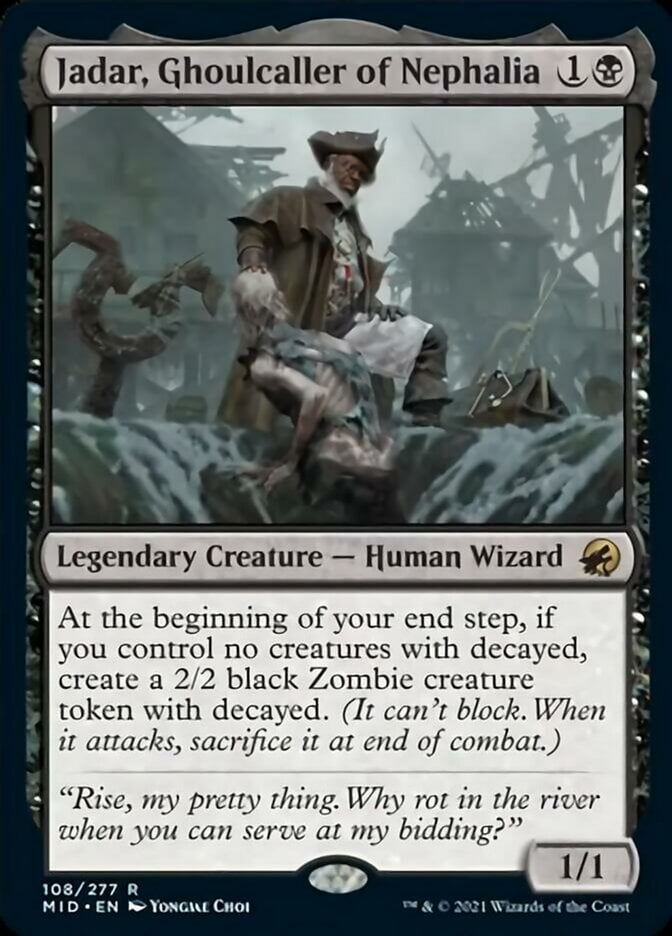
Yes! In fact, sacrificing tokens is often a great plan since cards like Grist, the Hunger Tide and Jadar, Ghoulcaller of Nephalia produce a steady stream of sacrifice fodder. If you want to sacrifice tokens, you must consider that some sacrifice payoffs don’t reward you for nontoken creatures dying.
Can You Sacrifice a Creature from Your Hand?
No. Any permanents you sacrifice must be in play under your control.
Your Sacrifices Won’t Be in Vain

Yawgmoth, Thran Physician | Illustration by Mark Winters
Sacrificing creatures might be one of the most fundamentally black game actions you can take in the game, even though over the years it’s spread to other colors in Magic's color wheel. However you leverage these effects, they ensure you get the most of your creatures from birth to the grave.
What’s your favorite sacrifice outlet? Do you like leveraging infinite combos? Let me know in the comments below or on the Draftsim Discord! And check out The Daily Upkeep Newsletter to stay up to date on all the latest MTG news.
Stay safe and remember to take your power at any cost!
Follow Draftsim for awesome articles and set updates:


12 Comments
Warren Soultrader should 100% be on this list!
Agreed, definitely needs a spot when we revisit this.
No Woe Strider? Woe is me. Free sac to scry, creates its own sac fuel, comes back bigger with Escape if your opps nuke it. All for the low low price of 2B.
Woe is me too, which is weird, because I seem to remember Woe Strider being on this list at one point.
Fanatical Devotion but no Martyr’s Cause? For shame.
I’ll add in a little shoutout, since they’re so similar.
Thanks for the suggestion~
Dimir House Guard is also a good one. I believe you can infinitely sacrifice creatures to its regenerate ability and you can transmute it, which gives me a lot of value usually.
That’s a great one to point out.
I wrote this article a while ago now and I’d probably consider House Guard if I were to rewrite it today.
Altar of Dementia
Already one there 😉
“Can You Sacrifice a Creature for Multiple Effects?”
You can sacrifice a creature to trigger multiple affects. You just can’t sacrifice a creature as a cost for more than one effect. The distinction is important for newer players.
Sure, probably worth the clarification.
Add Comment