Last updated on May 17, 2025
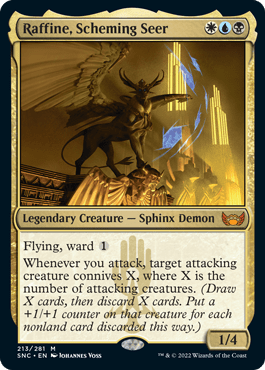
Raffine, Scheming Seer | Illustration by Johannes Voss
I’ve always really enjoyed Esper () in Commander. It’s the perfect intersection of control, removal, and efficient interaction that allows for so many other gimmicky and slow strategies to thrive.
Today I’m focusing on building around a creature I’ve played with a lot since its release but haven’t given enough attention to: Raffine, Scheming Seer, one of the best Esper commanders. This time around I'm going with reanimator as the strategy. Let’s jump in!
The Deck

Priest of Fell Rites | Illustration by Pauline Voss
Commander (1)
Creatures (30)
Shinewend
Ashen Rider
Dream Trawler
Ghostly Pilferer
Judge's Familiar
Master of Death
Necrogoyf
Priest of Fell Rites
Big Game Hunter
Chasm Skulker
Containment Construct
Ornithopter of Paradise
Sun Titan
Malevolent Hermit
Selfless Spirit
Archfiend of Ifnir
Baleful Strix
Breena, the Demagogue
Grim Hireling
Mausoleum Wanderer
Shadowgrange Archfiend
Bone Miser
Loran of the Third Path
Dauthi Voidwalker
Serra Paragon
Adeline, Resplendent Cathar
Jin-Gitaxias, Progress Tyrant
Sheoldred, Whispering One
Archon of Cruelty
Toxrill, the Corrosive
Instants (9)
Negate
Counterspell
Hagra Mauling
Swords to Plowshares
Vanishing Verse
Void Rend
Dovin's Veto
Anguished Unmaking
Swan Song
Sorceries (12)
Painful Truths
Unburial Rites
Ondu Inversion
Victimize
Persist
Ascend from Avernus
Sevinne's Reclamation
Incarnation Technique
Damn
Living Death
Reanimate
Agadeem's Awakening
Enchantments (8)
Together Forever
Wizard Class
Teferi's Ageless Insight
Animate Dead
Mystic Remora
Necromancy
Smothering Tithe
Rhystic Study
Artifacts (5)
Midnight Clock
Arcane Signet
Sol Ring
Archaeomancer's Map
Lightning Greaves
Lands (35)
Path of Ancestry
Command Tower
Darkwater Catacombs
Dimir Aqueduct
Exotic Orchard
Skycloud Expanse
Arcane Sanctum
Caves of Koilos
Bojuka Bog
Underground River
Fetid Heath
Reliquary Tower
Adarkar Wastes
Fabled Passage
Sea of Clouds
Deserted Beach
Morphic Pool
Hallowed Fountain
Swamp x4
Plains x5
Vault of Champions
Island x7
There are a handful of solid strategies to go with and build around when it comes to Raffine, but I think that reanimator is one of the more flexible ones that can be well-built across different power levels and adjusted to your liking.
In case you’re unaware, “reanimator” decks try to cheat in massive creatures and threats into play directly from the graveyard. The best and most efficient way to do this is to use Entomb to get your choice creature into the graveyard, and then use Reanimate to put it into play.
This strategy is seen across a plethora of formats, and its strength is derived from how consistently it can deploy these threats and deal with graveyard hate. Obviously you’re mostly limited by the quantity of combo pieces in formats like Commander, while a format like Standard is limited by the quality of your reanimation spells.
I’ve included more than enough to reanimate things consistently, and it makes for a very smooth and hard-hitting strategy when you pair that with the kind of interaction and early threats in the list.
The Commander
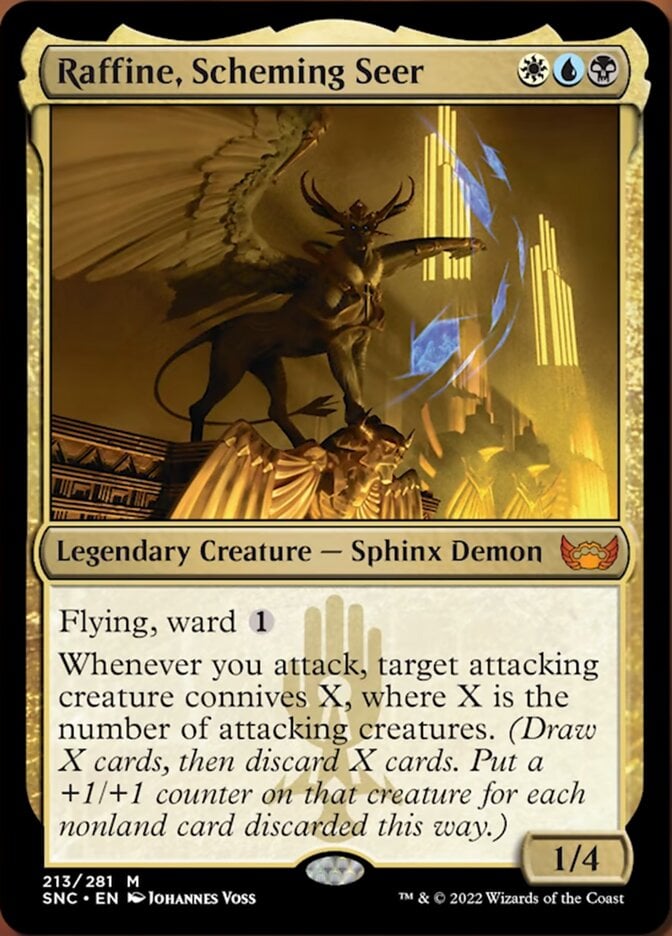
This deck plays more than enough reanimation cards and ways to put things into the graveyard, and Raffine, Scheming Seer plays an active role in that. Its main claim to fame as your commander comes from its ability to connive for a large number of cards.
Not only do you gain the conventional benefits of extra power and toughness to deal more commander damage, you also get to pitch cards to the graveyard. That means you get to get rid of cards you don’t want or that aren’t useful, but it also means you can put things you want to reanimate right into the graveyard where you want them.
Connive also works well with other creatures. Sometimes you don’t want to throw Raffine into a situation where it’s shot down by a reach creature or combat trick, and that’s when you'd use the benefits of connive by attacking with something like the tokens from Adeline, Resplendent Cathar or Baleful Strix. The mechanic turns conventional value creatures into even stronger attackers.
Reanimation Engines
The most important part of reanimator decks is, well, reanimating. There are actually quite a few cards that do this at increasingly higher costs and with less efficient means, but they’re all still good enough.
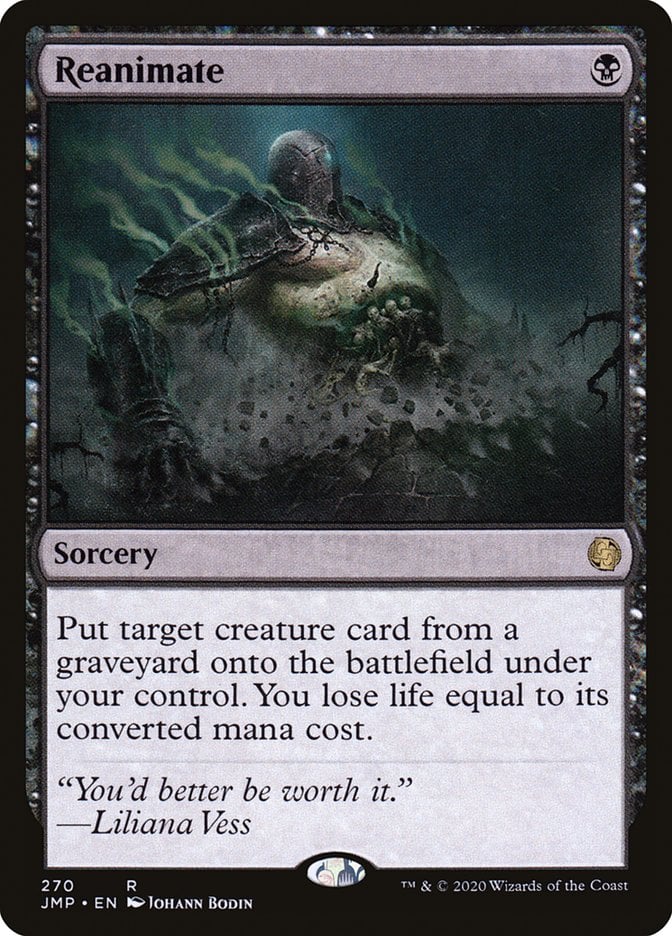
Reanimate is as good as it comes. It’s always worth paying upwards of eight or nine life for some of the most powerful cards in the game in formats with 20 life, so why not also do it when you have 40 life?
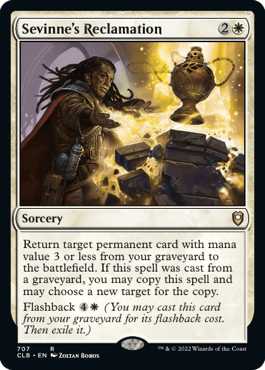
Sevinne's Reclamation is a great way to keep Raffine, Scheming Seer up and about. You don’t have to worry about letting it go to the graveyard in this deck for obvious reasons, and seeing this in your opening hand is a great way to start a game.
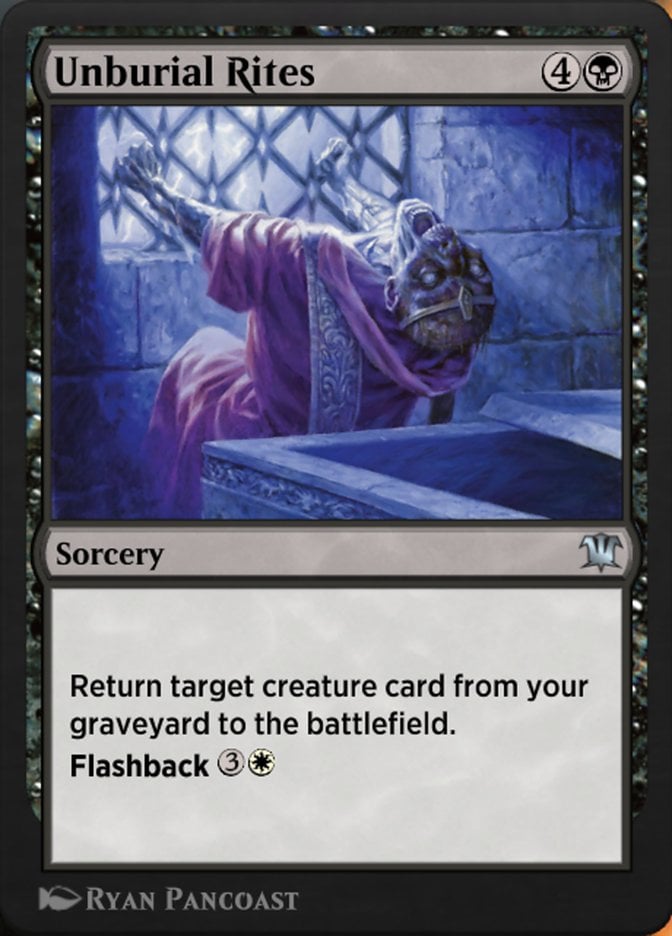
Unburial Rites is a little less efficient at five mana, but it has no drawback and can be cast a second time with flashback. I really like this card, and it performs well in this deck.
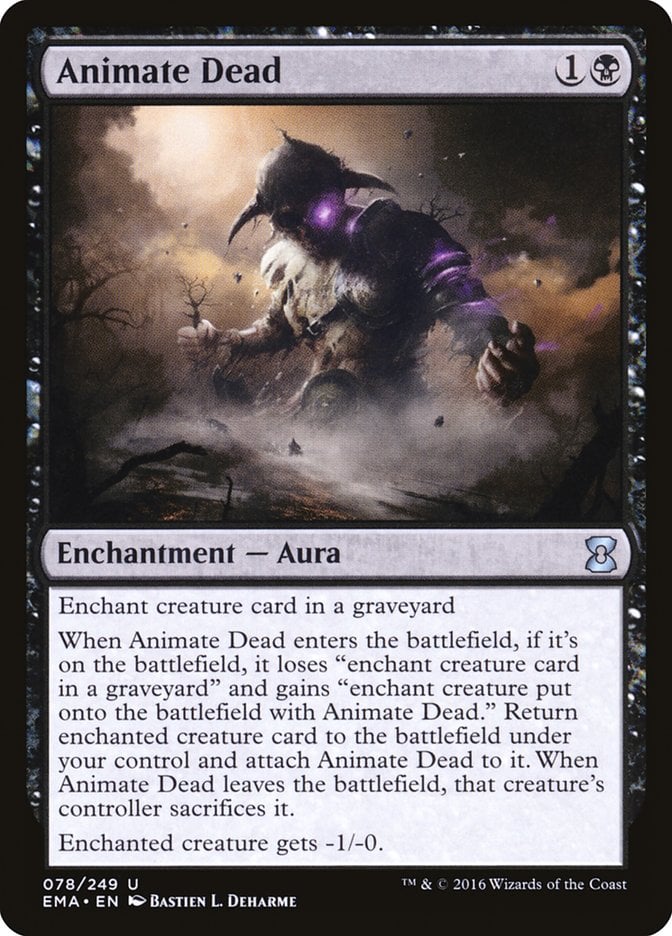
Animate Dead is a classic. At two mana you get to reanimate whatever you’d like with -1/-0. That power difference typically won’t matter.
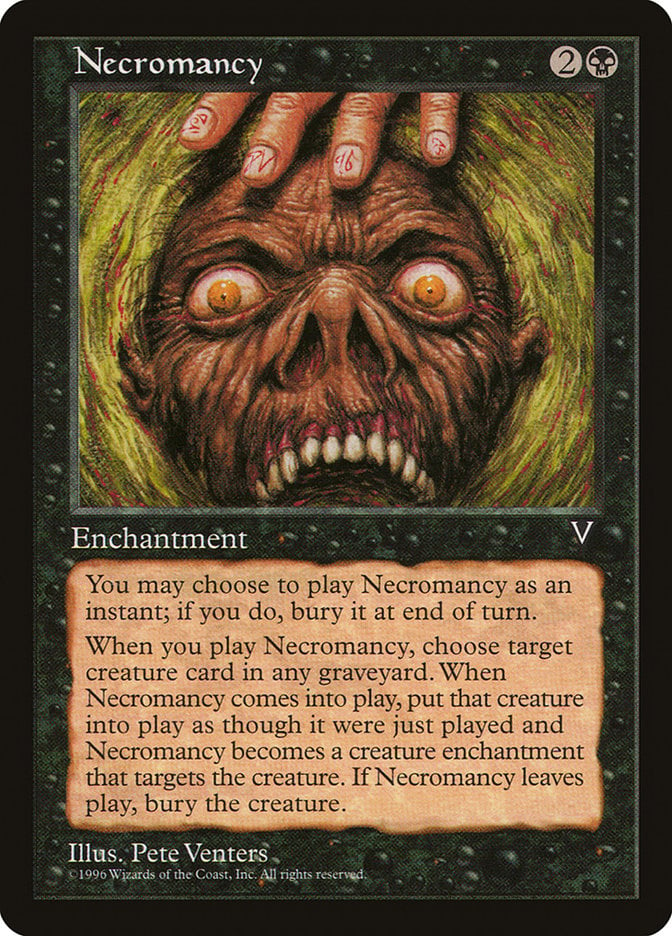
Necromancy has far more text on it than you need to read. The oracle version basically reads that it has flash, but if you cast it at non-sorcery speed it's sacrificed at the end step. Other than that it just reanimates something as an enchantment aura, and the creature has to be sacrificed when it leaves the battlefield.
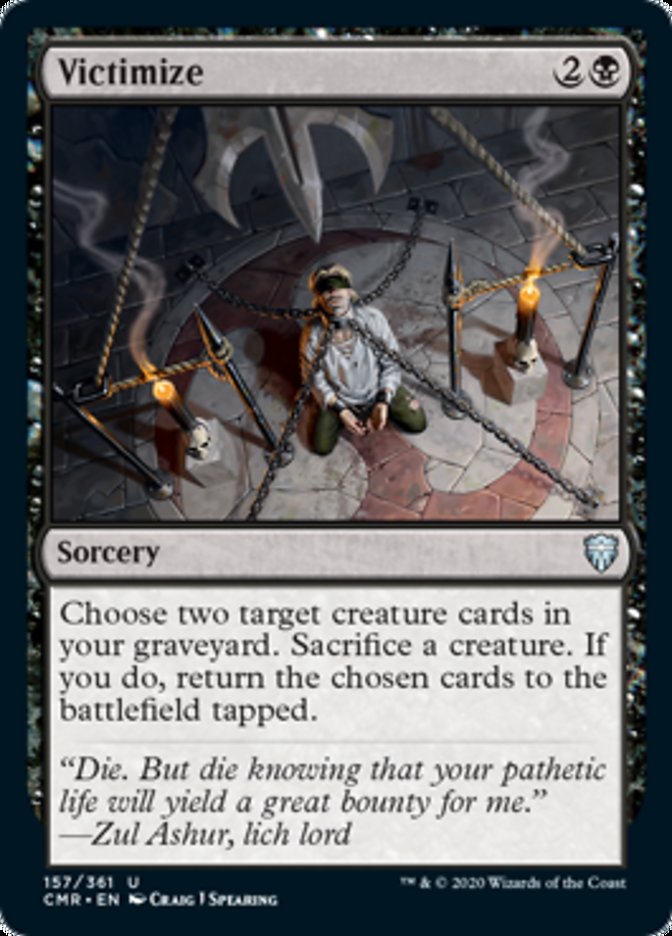
Victimize is technically a two-for-two since it also requires you to sacrifice a creature, but that’s not even really a downside.
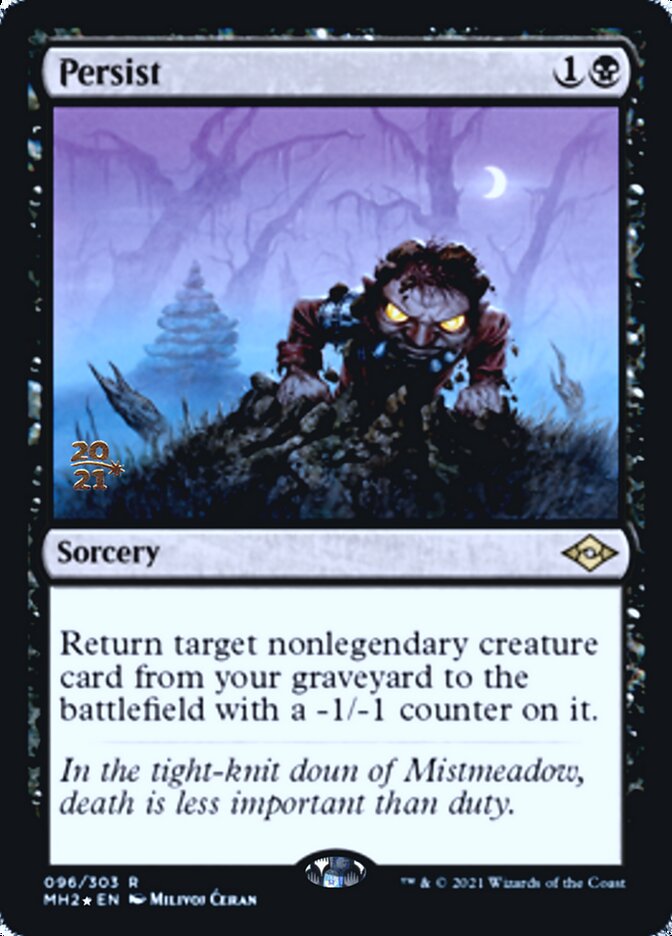
Persist is really solid. You’re only paying two mana to reanimate, and the downside is pretty minimal. This one is great.
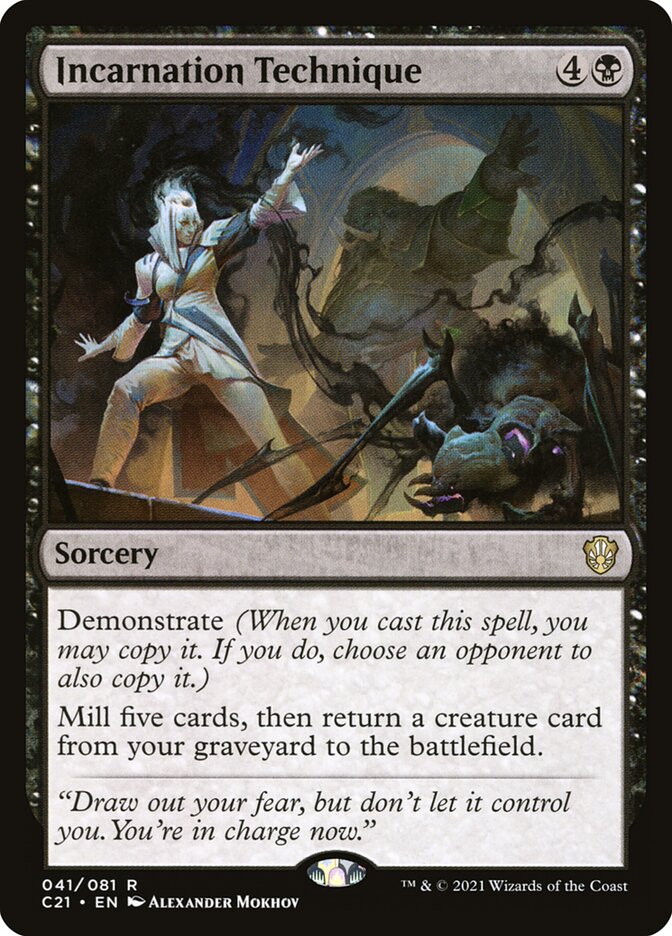
Incarnation Technique is sort of a two-for-one, but it always works as a simple reanimator spell. It starts by milling you five cards, so you can theoretically cast this as a last-ditch effort and hope you hit something, but don’t count on it. The copy effect from Demonstrate is also really good. You can use it to play politics or just target a player with nothing good in their graveyard.
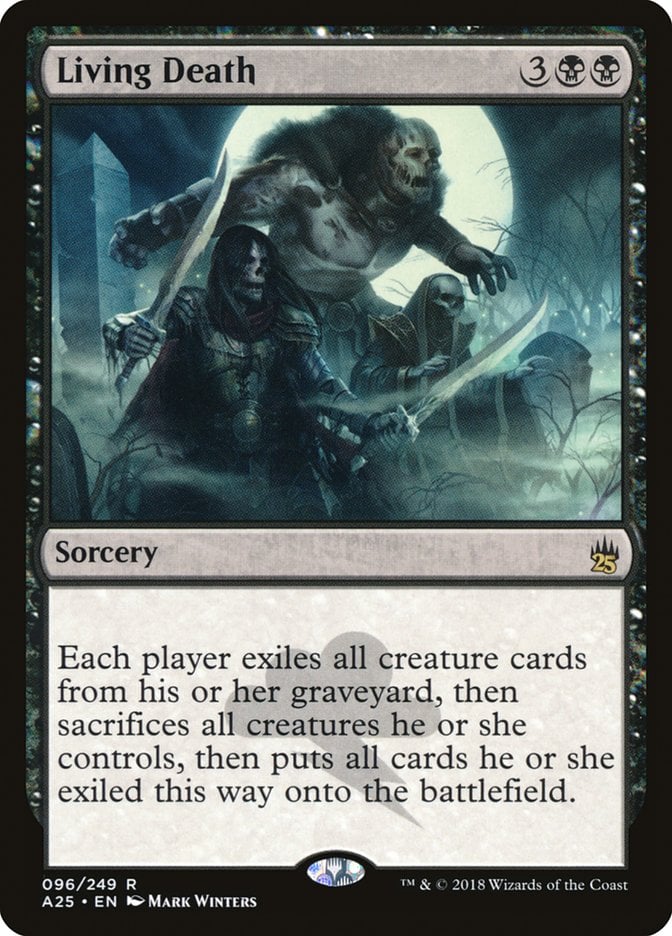
Living Death is pretty self-explanatory. You pay five mana to effectively swap each players' graveyards and battlefields. You don’t lose out on this since you can reanimate whatever you lost anyway, and odds are you’ll be able to stack your graveyard far better than any of your non-reanimator opponents.
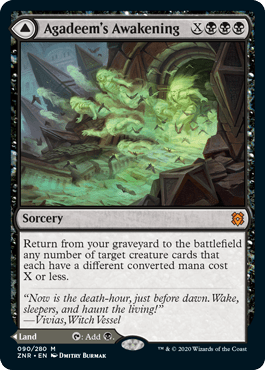
Agadeem's Awakening is one of the only MDFCs in the deck, and it’s honestly a solid reanimation spell. You’re paying a much heftier cost, the mana value of the creature plus , but that shouldn’t matter in the mid-to-late game when you’re (hopefully) sufficiently ramped out and have hit your land drops.
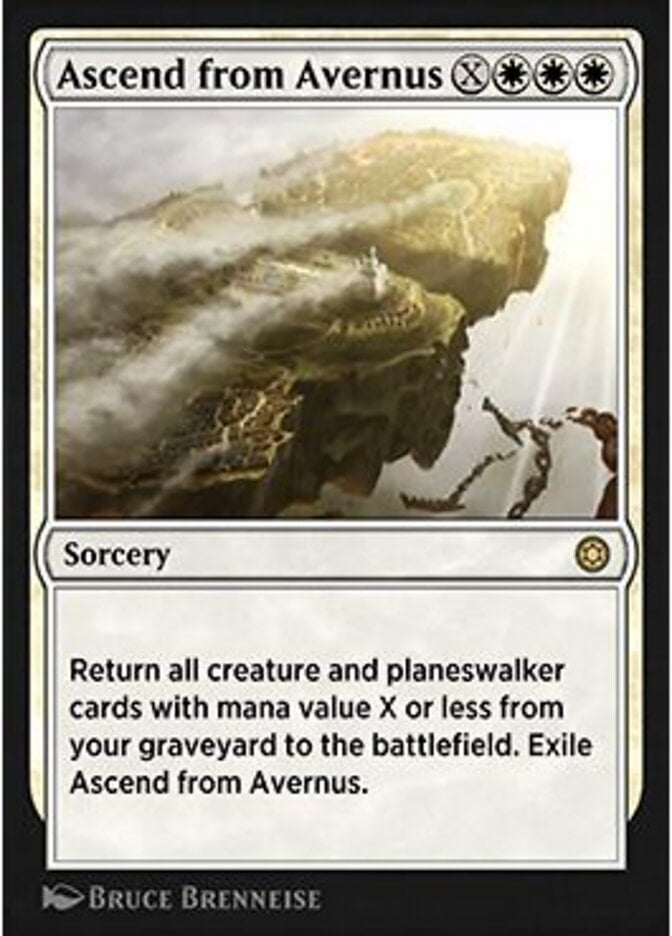
Ascend from Avernus is a total bomb. It costs a lot, triple white plus however much mana you can sink into it, but it’s got the most powerful reanimation effect in the game: reanimating everything in your graveyard. I promise you that your opponents will immediately read the card when you tell them what’s about to happen.
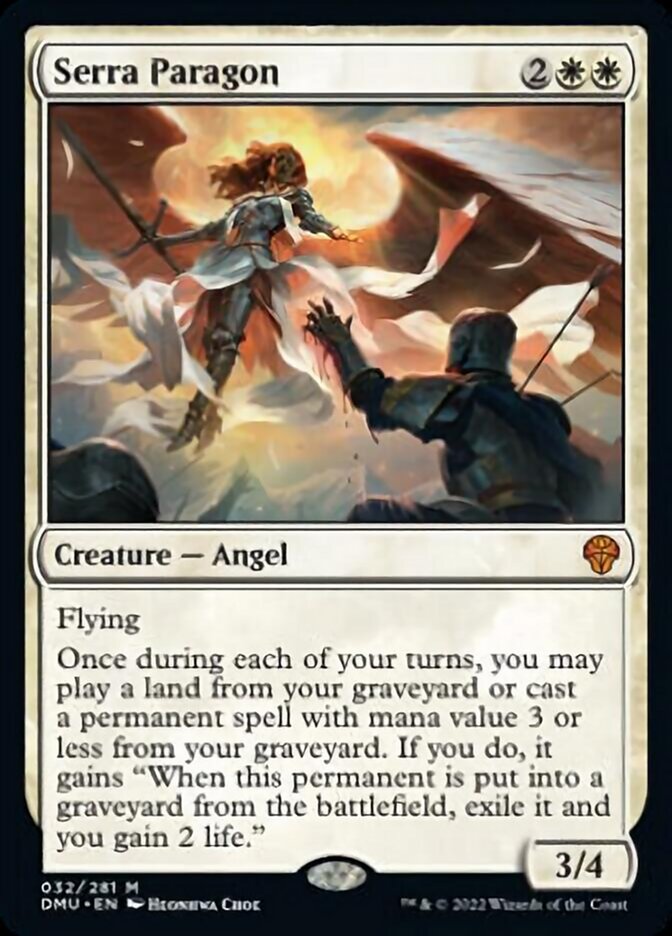
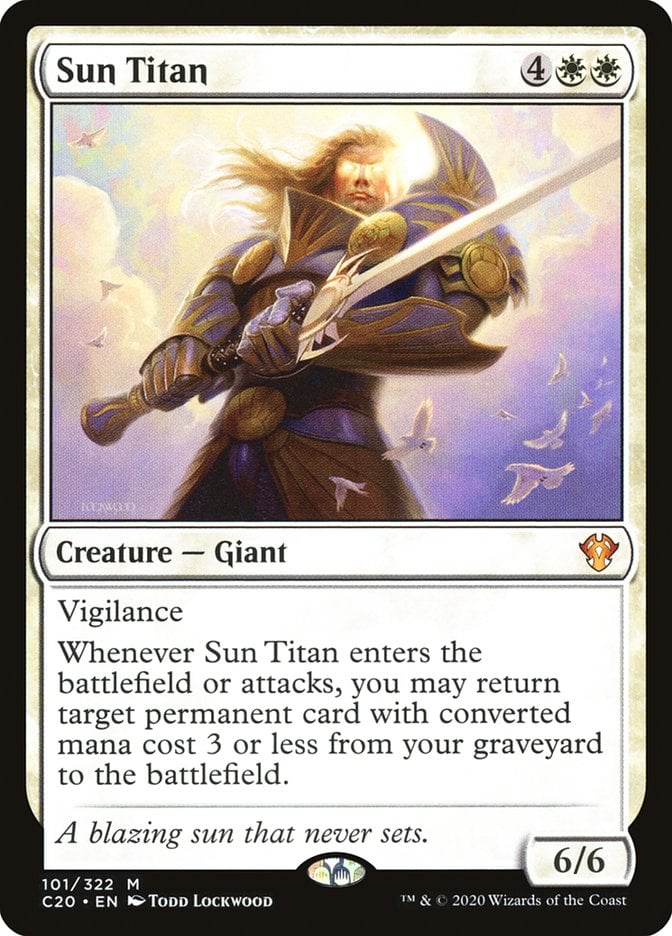
Serra Paragon is one of the few creature-based reanimation engines in the deck. There are a lot of creatures with a mana value 3 or less, including your commander, so this is more of a strong 4-drop to keep up pressure and maintain your board early on. Sun Titan plays a similar role.
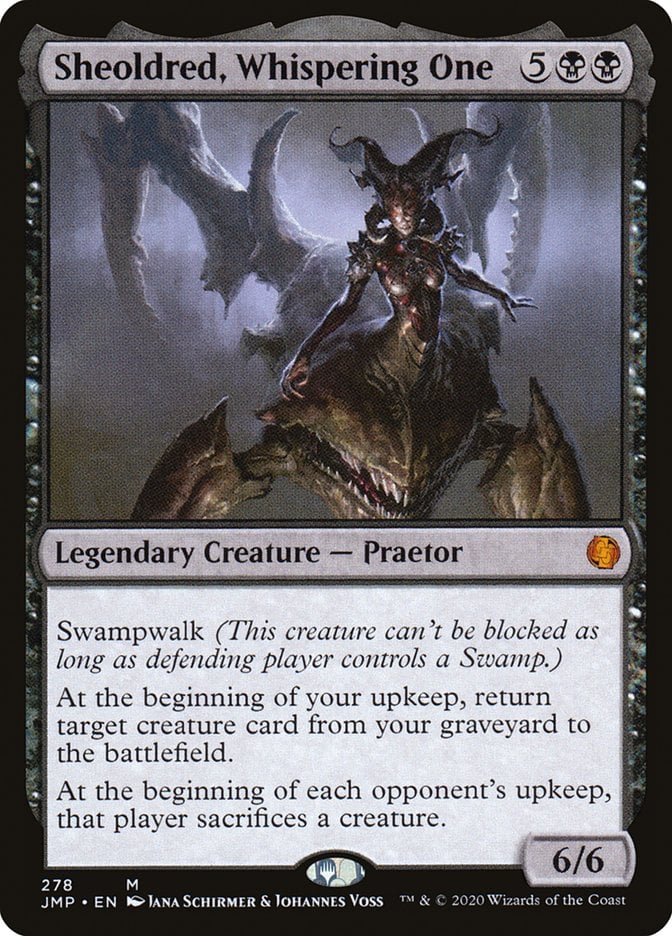
Sheoldred, Whispering One isn’t just a great card to reanimate, it also reanimates a creature on your upkeep turn after turn. That’s almost impossible to deal with if it’s not just immediately killed and is one of my favorite cards in the deck.
Reanimation Targets
There are a lot of bomb reanimation targets to look for, and you’re probably familiar with most of them already.

Ashen Rider is a simple but powerful flier. It exiles any permanent when it enters or dies, which will probably happen more than once, and it gets to beating opponents down quite quickly.

Archon of Cruelty is incredible. You get a 6/6 flier that gains you some life and cards as well as doing the opposite effects to your opponents. There’s a lot of value here.
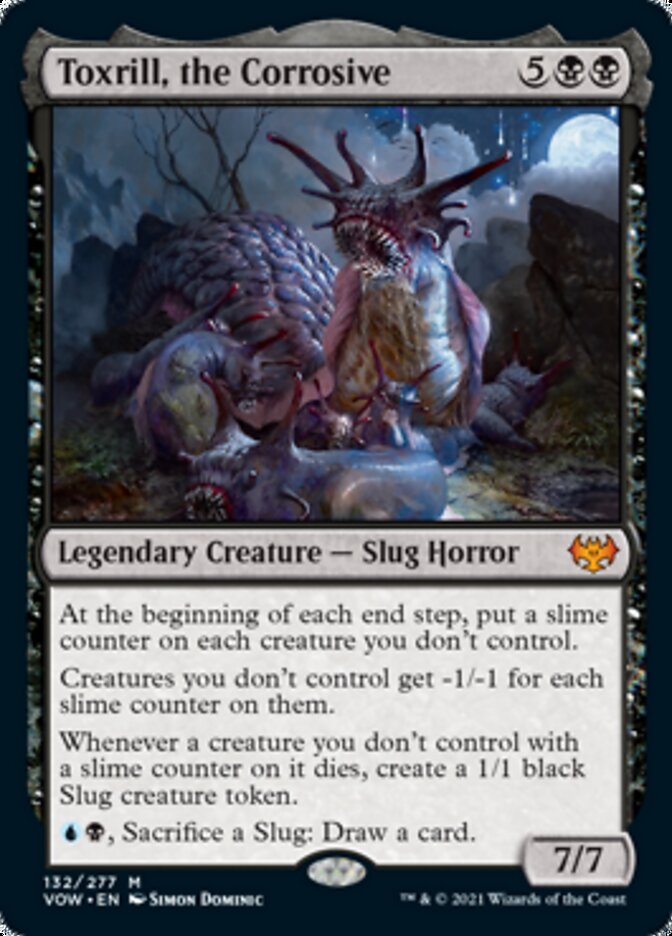
Toxrill, the Corrosive is a gross 7/7 slime with a lot of text. It does a few big things: it puts slime counters on every creature you don’t control at each end step and then gives those creatures -1/-1 for each slime counter. And when those creatures die, it creates a 1/1 Slug. Oh, and you can sacrifice a slug and pay to draw a card.
This card gets to work right away and immediately checks your opponents for removal. You’re going to really shift the game in your favor if they don’t have anything, even for a turn or two.
Sheoldred, Whispering One also hits hard and fast. On top of reanimating more and more creatures for you turn after turn, it forces each opponent to sacrifice creatures and has Swampwalk for almost unblockable attacks. The Praetors really don’t mess around.
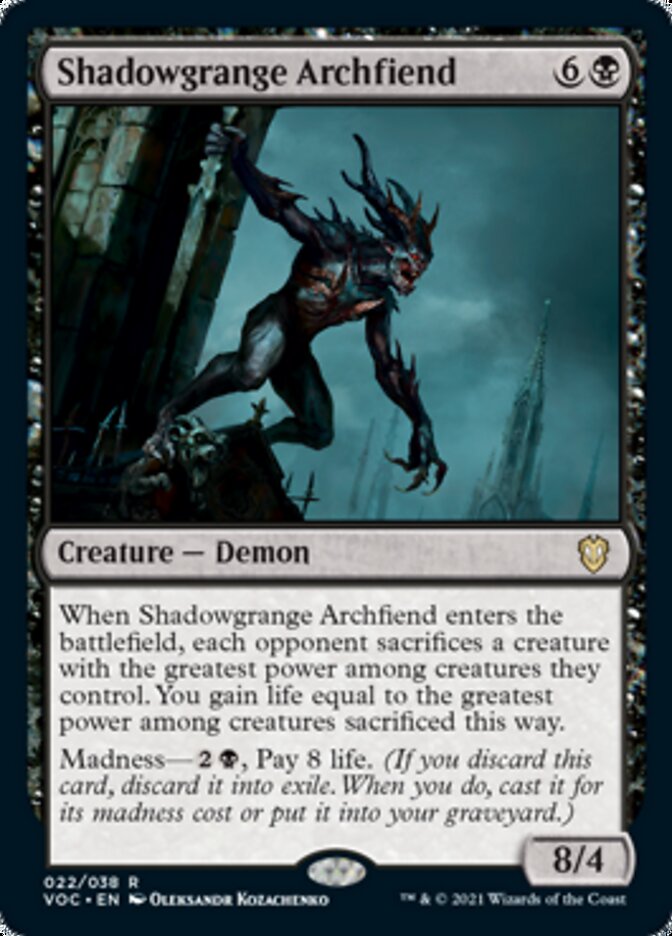
Next up is Shadowgrange Archfiend, a huge 8/4 demon that forces opponents to sacrifice their most powerful creature and, in turn, supply you with a lot of life. I like keeping this in the graveyard for an opportune moment instead of trying to get it in play on turn 3 like other cards.
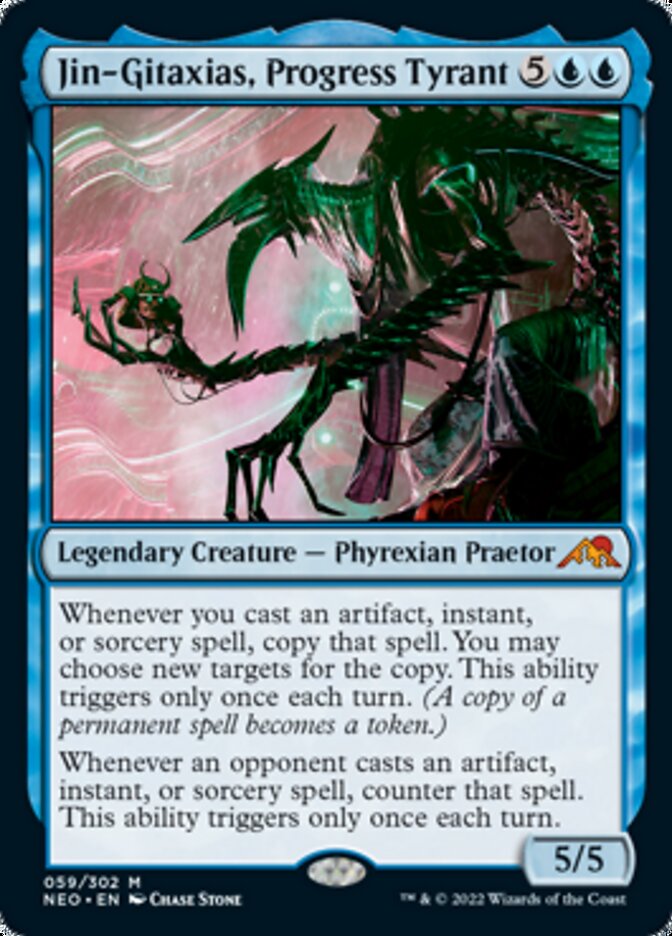
Jin-Gitaxias, Progress Tyrant is just a really strong creature in terms of controlling the pace of the game and pulling ahead of your opponents. It copies most of the spells you’re casting while also locking down your opponent’s hopes and dreams on their turns. What’s not to love?
Sun Titan is certainly a worthy reanimation target, especially considering that it only brings more little friends along with it.
Those are all of the main reanimation targets. There are still plenty of strong 4- and 5-drops worth bringing back, and it’s never a bad idea to reanimate a dead Raffine.
Removal
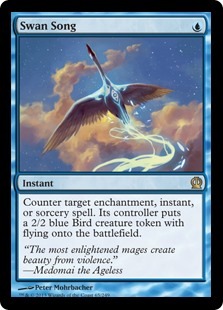
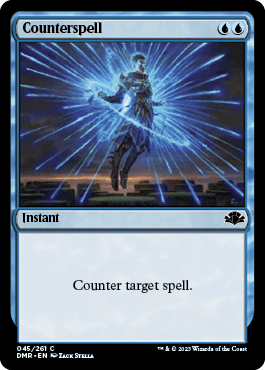
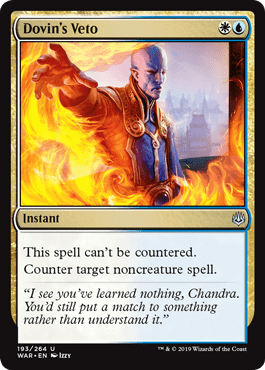
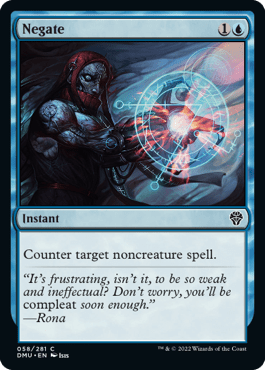
Swan Song, Counterspell, Dovin's Veto, and Negate is your modest countermagic package. It gives you some nice diversity and efficiency without taking up too much space on the list.
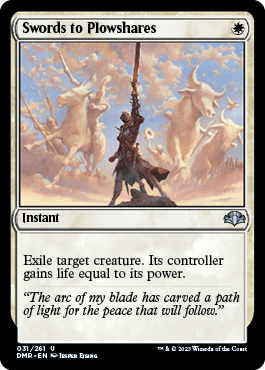
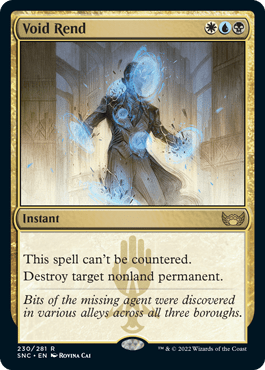
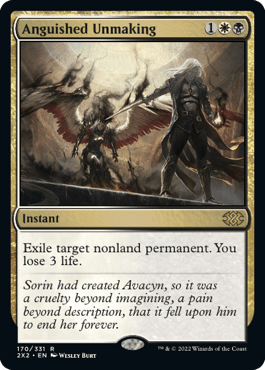
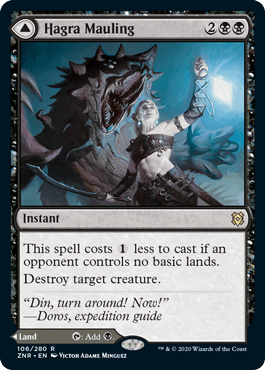
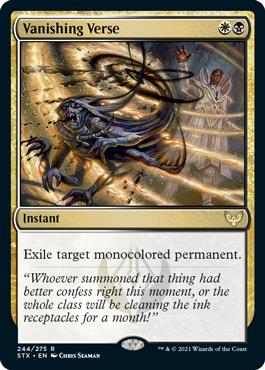
Swords to Plowshares, Void Rend, Anguished Unmaking, Hagra Mauling, and Vanishing Verse make up your instant-speed permanent removal. These are all fairly encompassing, and there shouldn’t be many instances where you’re faced with something you can’t get rid of.
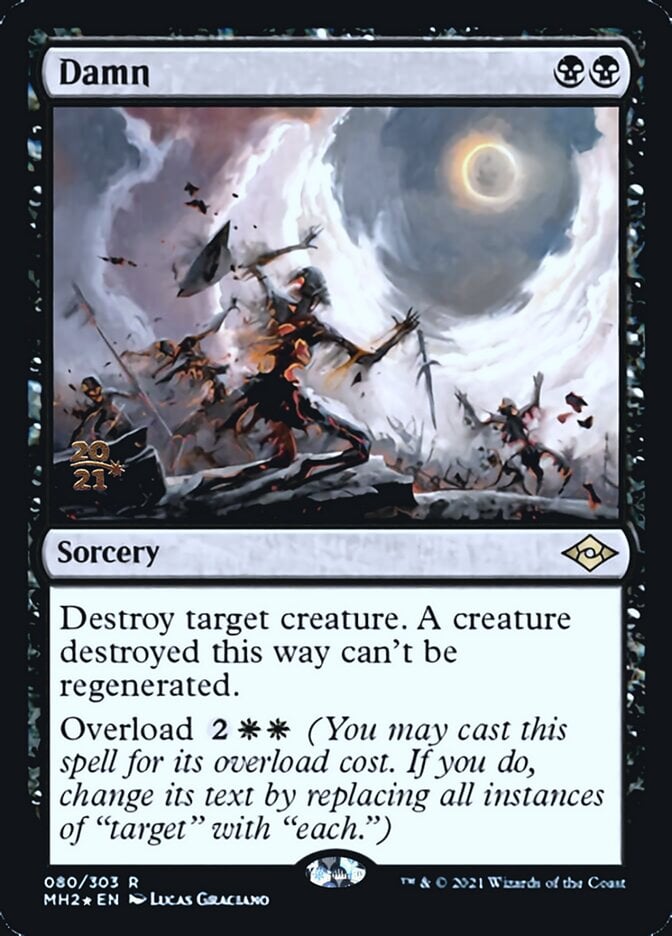
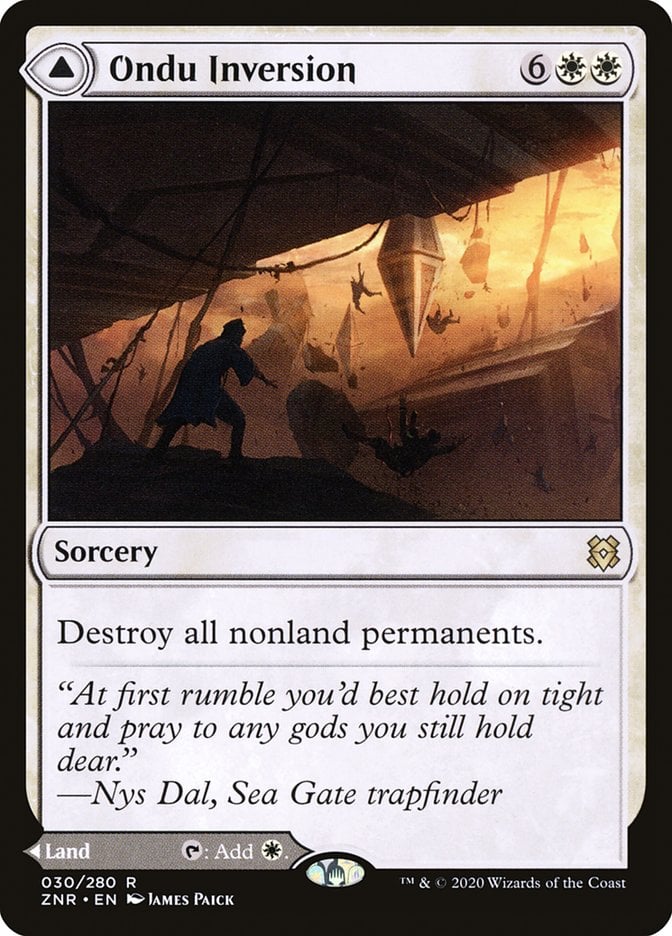
Damn and Ondu Inversion have your emergency board wipes covered at sorcery speed.
Other Interaction
Some of your creatures that aren’t meant to be specifically reanimated still provide some extra interaction to keep your opponents on their toes.

Judge's Familiar, on top of being a great connive attacker, can be tossed aside to get a Mana Tithe effect.
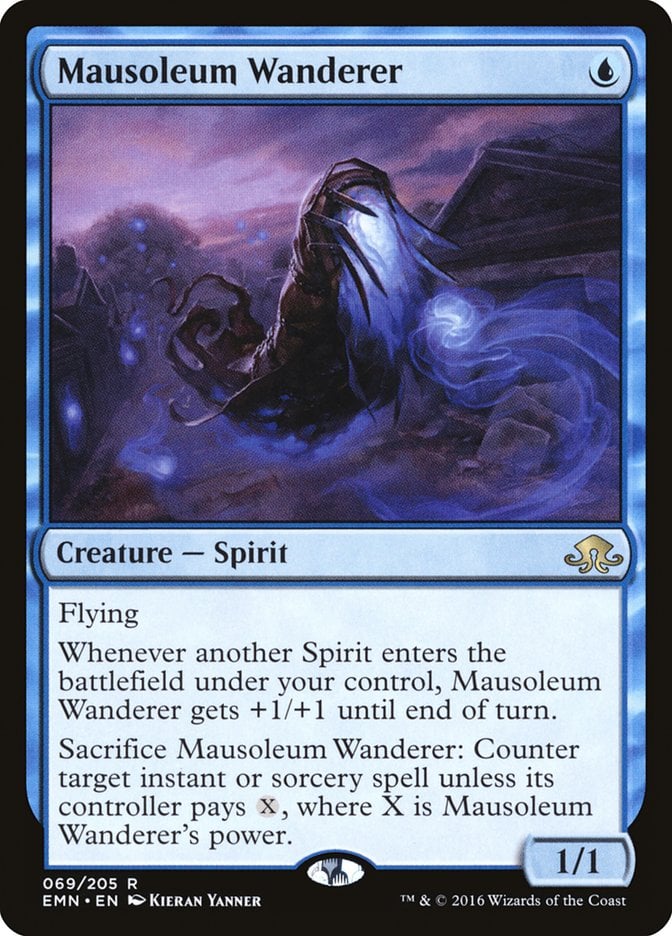
Mausoleum Wanderer is also a bit better at this.
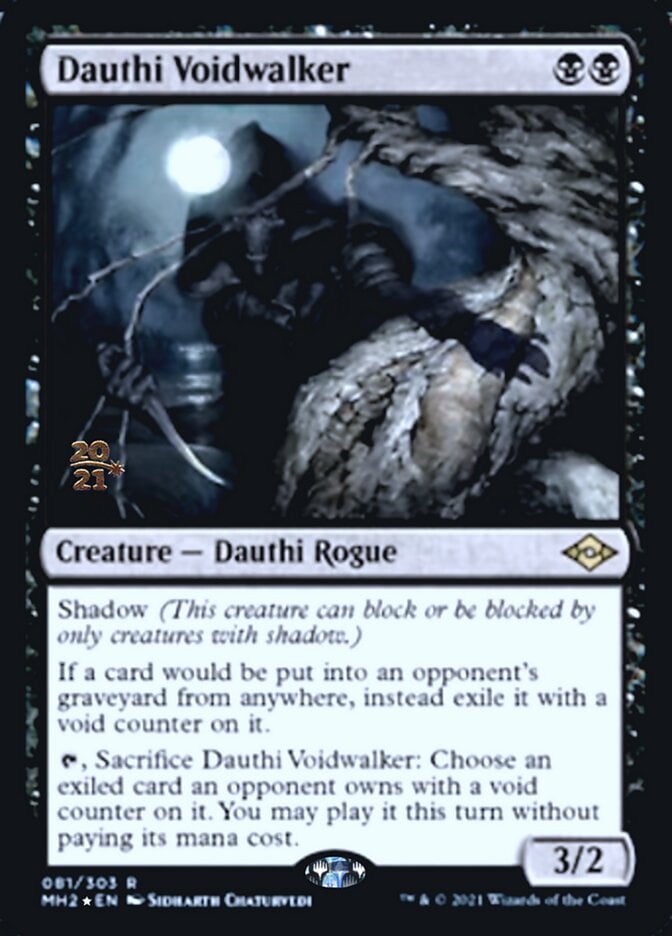
Dauthi Voidwalker is just a thorn in your opponent’s side that also may end up giving you a nice spell to cast.
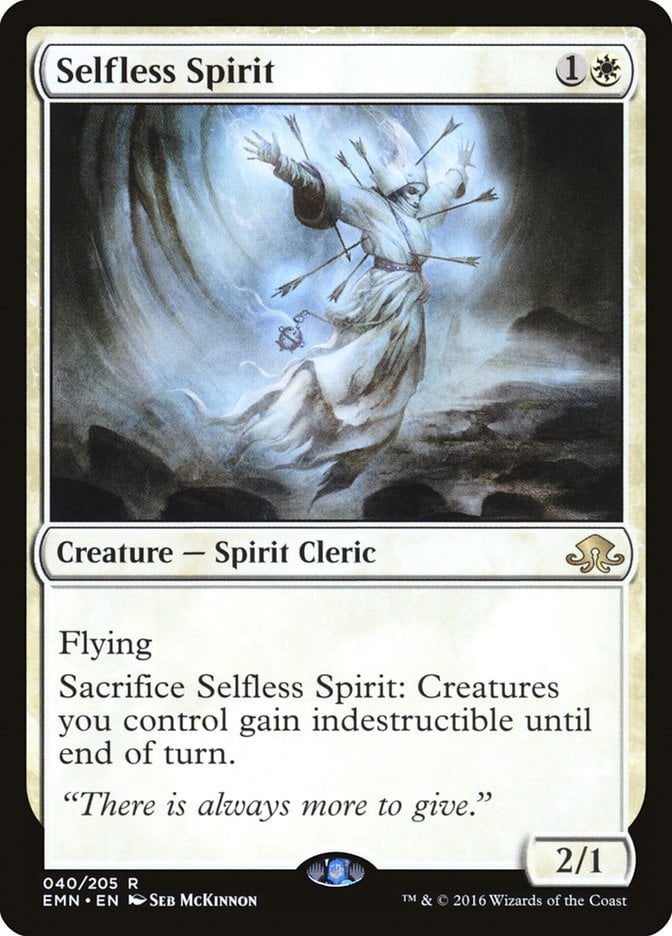
Selfless Spirit is a great defensive piece to keep your other creatures alive, even if you’re the one casting the board wipe.
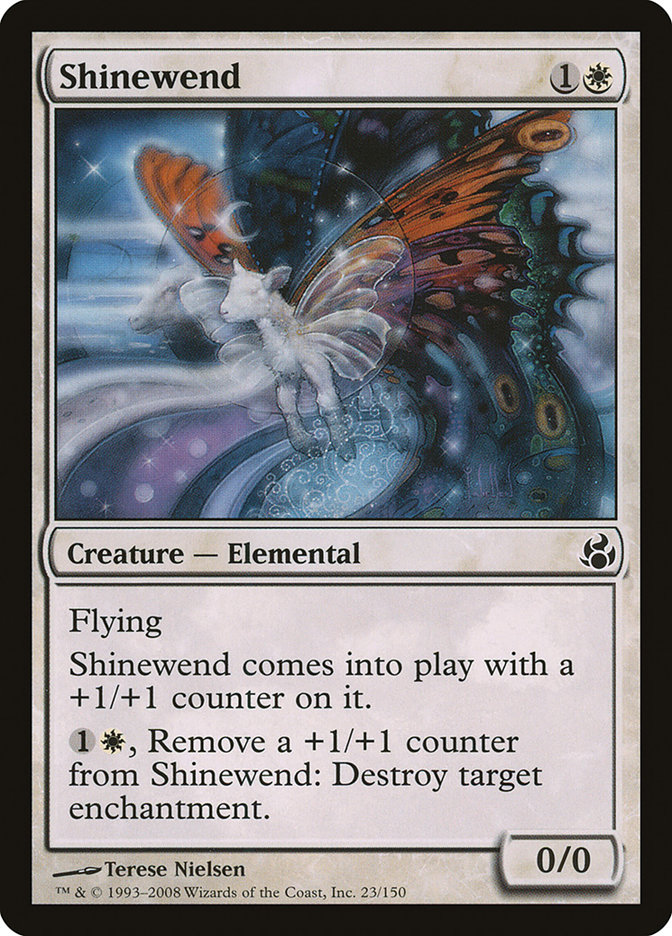
Shinewend is cheap, attacks for connive with flying, and can blow up pesky and problematic enchantments.
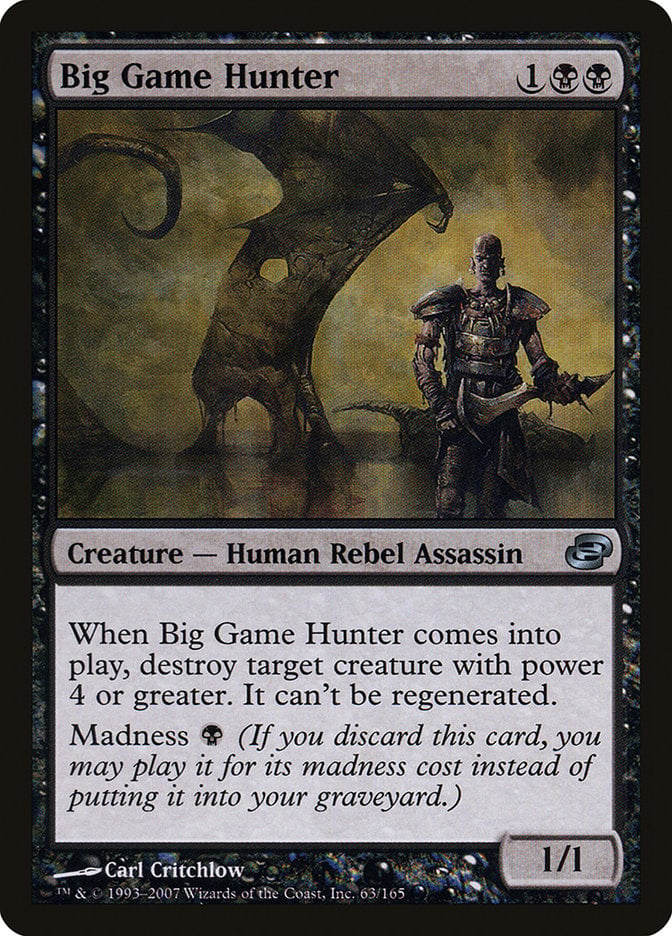
Big Game Hunter, one of the best assassins in Magic, is easy ETB removal that also works with cards like Sun Titan for efficient interactions. It’s also very similar to the version in Hearthstone.
Enchantments
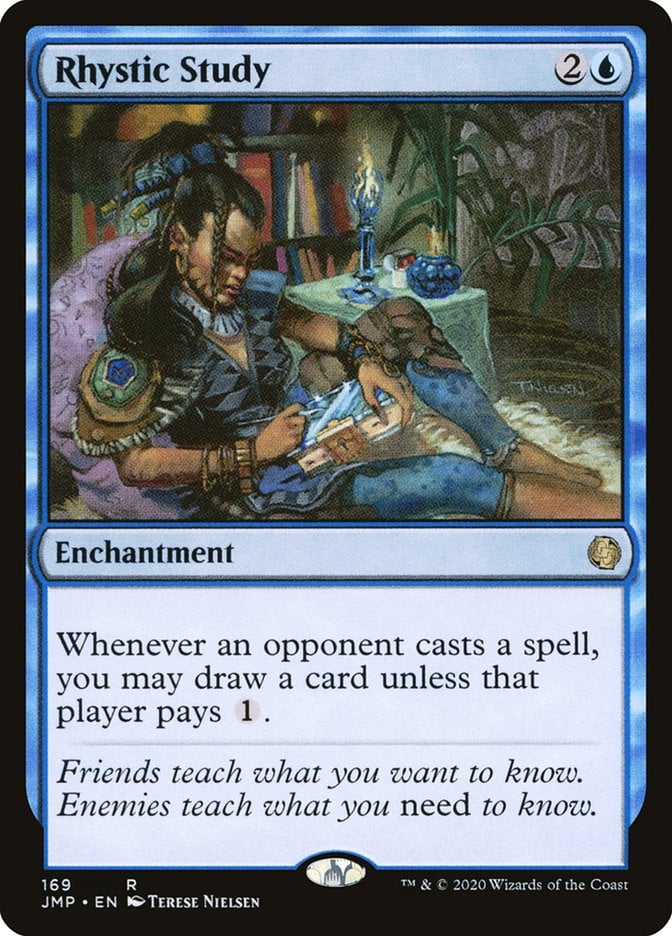
It would be a huge shame if this Esper deck didn’t include Mystic Remora and Rhystic Study. These two just help so much in the early and mid-game when it comes to supplying resources and being a lightning rod.
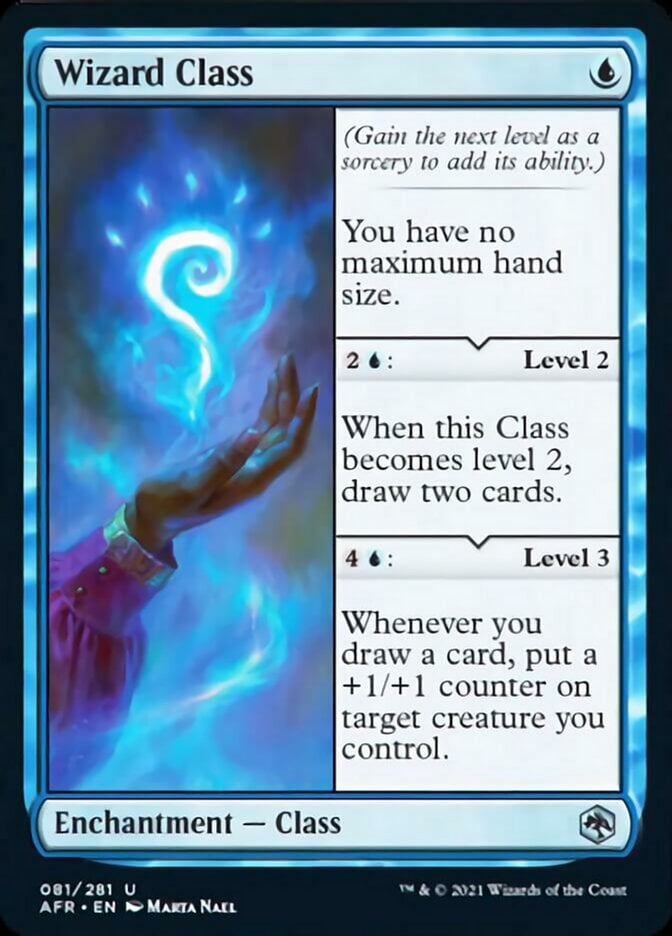
I think that Wizard Class is sweet. It’s cheap, has solid benefits right away and later on, and fits into the mana curve quite well. I just think it’s neat.
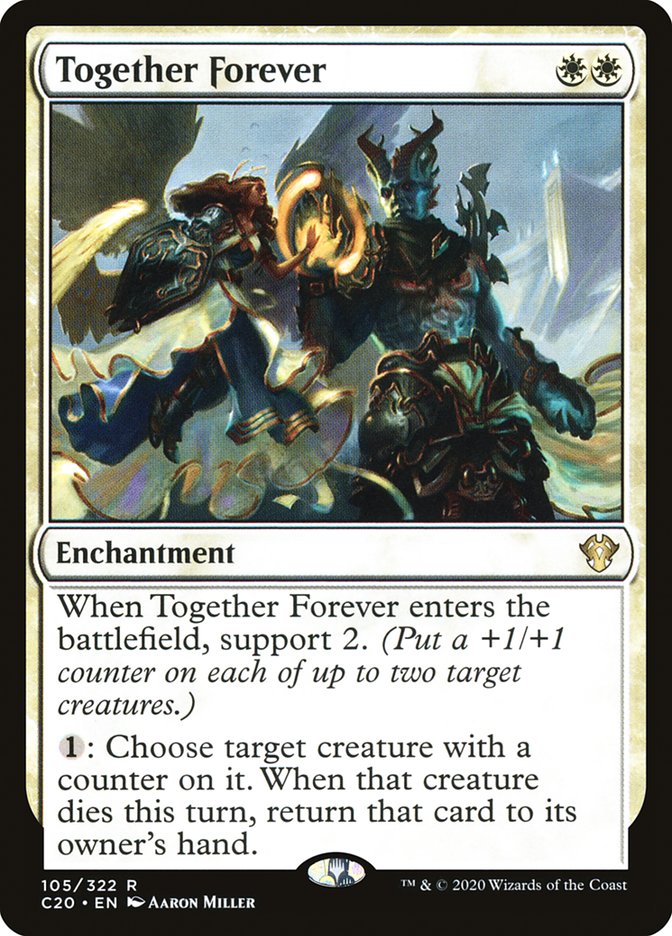
Together Forever is very on-theme. It gives some extra +1/+1 counters to your early fliers and also has an instant-speed, nearly free way to mitigate the effects of removal from the opposition.
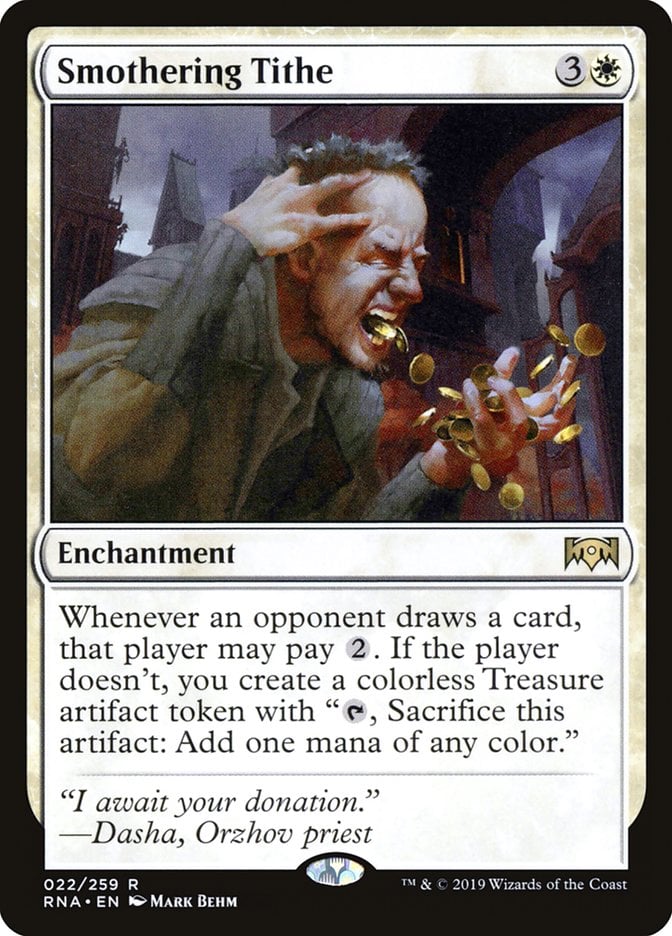
Smothering Tithe is great and gives a lot of mana pretty quickly. If your opponents don’t give this card the respect it so firmly demands, you won’t even need a reanimation spell to get a turn 4 Sheoldred, Whispering One out.
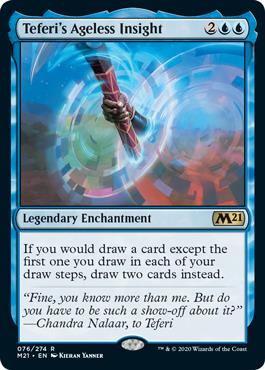
Last but certainly not least is Teferi's Ageless Insight. This 4-mana legendary enchantment gives you two cards instead of one on every instance of card draw except your first. This is huge with connive since it hits every instance of drawing (meaning you’re drawing twice as many), and you only have to discard half as many.
The Mana Base
Acceleration
While this list benefits from mana acceleration, it isn’t incredibly effective nor important to the main strategy. For that reason the acceleration here is pretty light.
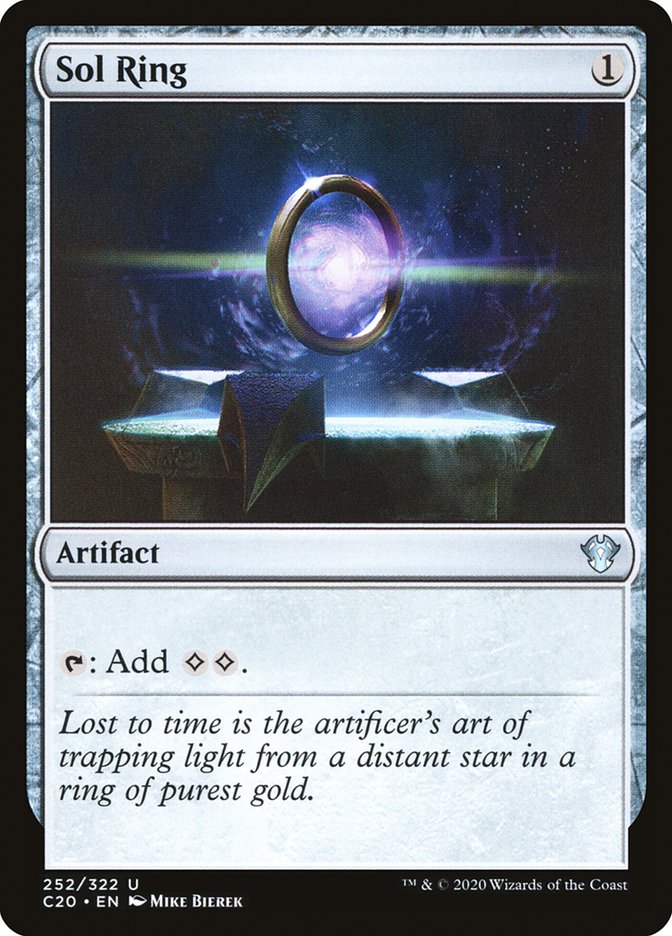
Sol Ring isn’t as beneficial here since it doesn’t get you your commander out one turn early by itself, but it can if you have a second rock to play.

Speaking of the second mana rock, which is also your only other one, Arcane Signet is a great inclusion. You’re playing three colors, and playing this on turn 1 really helps to get an extra creature out on turn 3 or ensure you have the colors to play your commander.
Fixing
Playing three color’s ain’t easy.
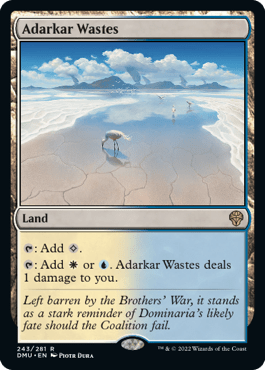
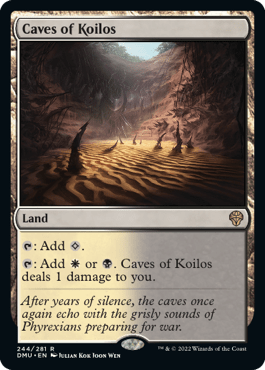
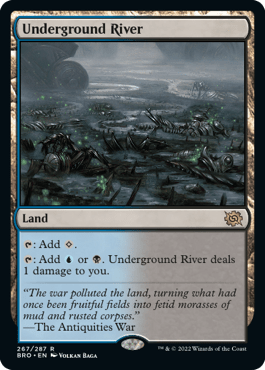
You've got a full suite of pain lands, which includes Adarkar Wastes, Caves of Koilos, and Underground River.
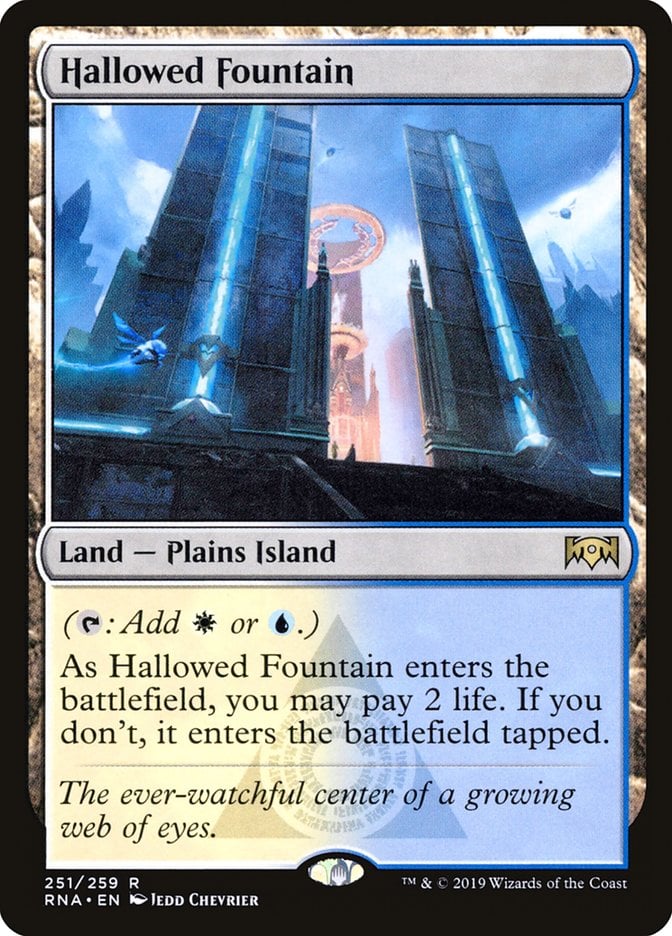
A single copy of Hallowed Fountain is here to support the extra blue and white pips.

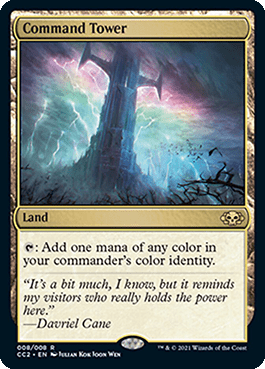
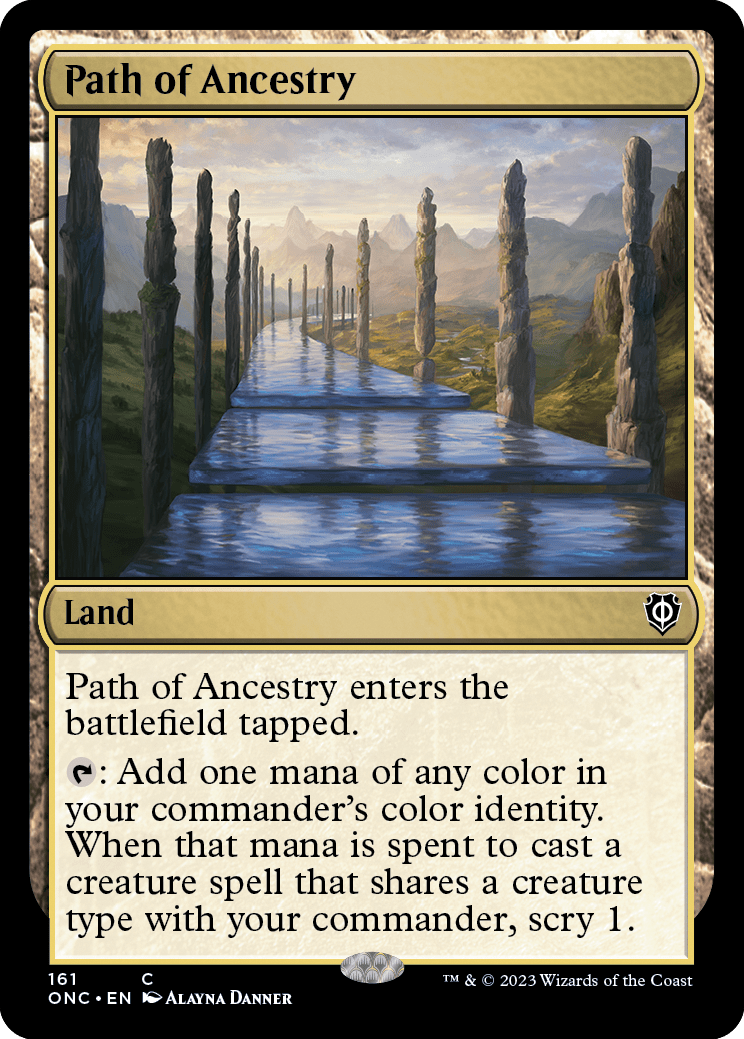

Arcane Sanctum, Command Tower, Path of Ancestry, and Fabled Passage all tap for any color.
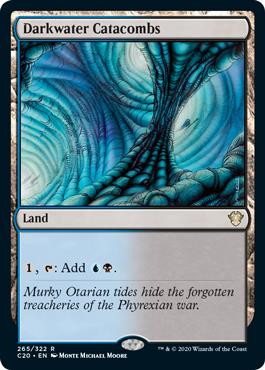
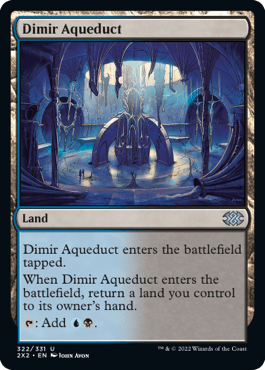
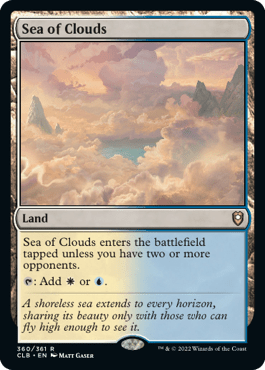
A plethora of other dual lands all carry relatively low price points, including Darkwater Catacombs, Dimir Aqueduct, and Sea of Clouds.
Utility Lands
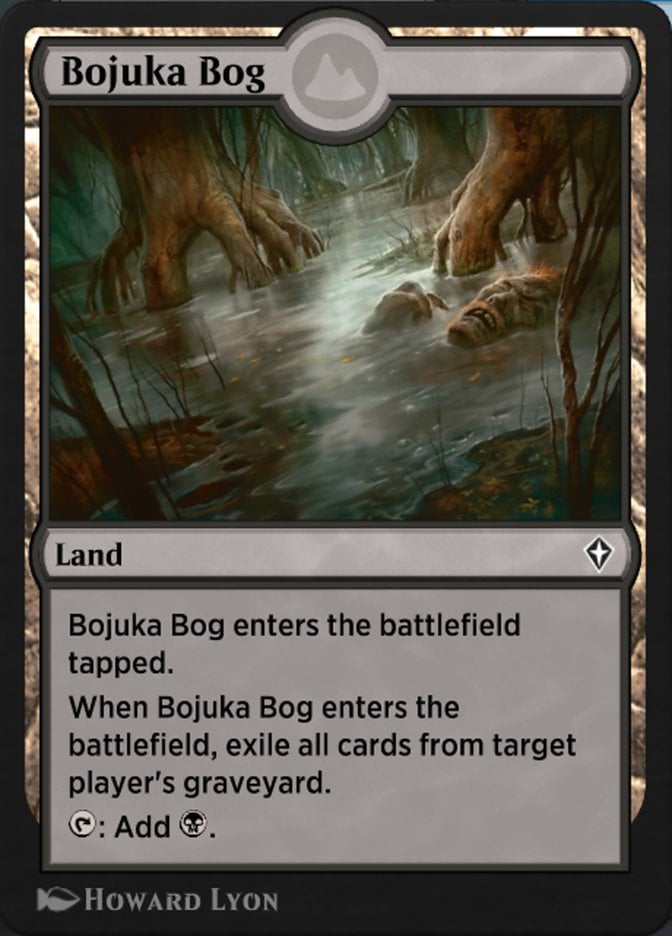
You sure don’t ever want to be on the receiving end of Bojuka Bog, but it has enough general applicability that you’re happy to play it and target other players' graveyards.

Reliquary Tower’s main benefit of having no maximum hand size is really useful. You have plenty of ways to draw cards, and if you’re abusing Teferi's Ageless Insight then you definitely don’t want to give any up.
The Strategy
Reanimator naturally has a very clear-cut and linear strategy. But don’t be mistaken; that doesn’t mean you won’t be faced with some tough decisions and have to know when to pivot in certain matchups. Your goal is always to reanimate big creatures, sure, but the choice of when and what to reanimate determines whether you pull through with a win or not.
There isn’t much to it in the early game. Unless you have an early (like turn 2 or 3) reanimation combo lined up, you’re going to want to get an early creature or two into play and then play Raffine, Scheming Seer on curve. That’s going to get you drawing through your deck, provide you with a stable board state against other creature decks, and give you an opportunity to discard reanimation targets if you’re missing an entomb effect.
The mid-game is much more straightforward. You want to be reanimating things, period. You’ve got a handful of 3- to 5-drops, but you’ll always prefer reanimating something bigger. If you’ve gotten this far then you’ve probably drawn what you need to reanimate something worthwhile, especially if you’ve managed to get Raffine in play and started swinging.
Other than that there’s really not much more general advice to give. A big factor of piloting this deck correctly is knowing your opponents’ capabilities when it comes to dealing with both your graveyard and your creatures in play. Hesitating to reanimate something in anticipation of a board wipe or reanimating something before anti-graveyard tech hits the field is also critical.
Combos and Interactions
Interesting Interactions

One of the most powerful and fun interactions in this deck is Teferi's Ageless Insight paired with Raffine, Scheming Seer. It totally circumvents the downside of connive by letting you draw twice as many cards while only having to discard the original connive amount.
Sheoldred, Whispering One and Sun Titan are both easy ways to get continuous reanimation effects out of one use. They each have the ability to totally turn games around.
Wizard Class works really well with your commander and connive in general.
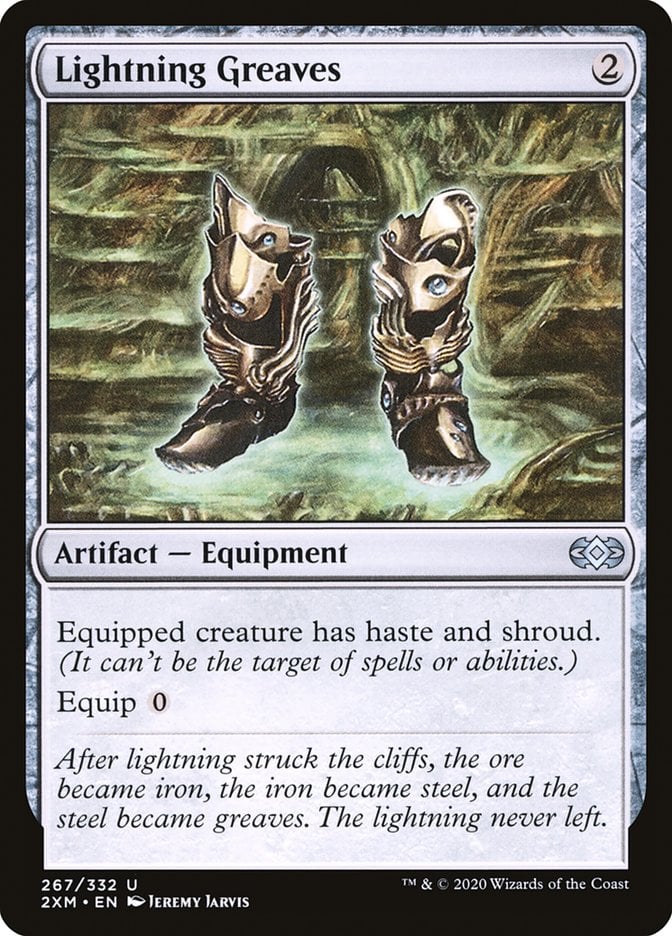
Lightning Greaves can be a sort of anti-combo with Raffine, Scheming Seer since you can't target it with its own connive trigger.
Jin-Gitaxias, Progress Tyrant doubles all your reanimation effects. But it won’t copy their ETBs since its triggered ability can only happen once each turn.
Rule 0 Violations Check
There are no infinite combos in this deck, at least to my knowledge when building and testing it. In terms of unfun cards that might get you untroubled, most of your reanimation targets are pretty punishing and seen as non-serious.
Other than that there really isn’t anything setting off red flags here. No dual lands, no free counterspells or overpowered mana rocks; this deck is all good.
Budget Options
The deck is relatively cheap thanks to the mana base and lack of money cards, but there are still some sort-of pricey inclusions that aren’t totally necessary.
Rhystic Study and Smothering Tithe are both huge portions of this deck’s overall cost. I’d end up cutting Rhystic first because it’s just too expensive and isn’t critical to the game plan.
Toxrill, the Corrosive, despite being one of the best reanimation targets, is also the most expensive at around $25. If you’ve got to make cuts somewhere, just replace this with whatever massive bomb creature you’ve already got.
Agadeem's Awakening is also quite expensive. It’s a powerful spell overall but also requires a lot of mana and is mostly the top-end reanimation spell. I’d replace this with whatever cheaper, less-efficient reanimation spell you’d like that you have access to.
Swan Song doesn’t have enough printings to be super affordable, so just replace it with some other cheap counterspell.
Other Builds
There are a few other builds you can take when running Raffine, Scheming Seer in Commander.
Stax seems to be a solid route. It provides a lot of early hatebear creatures that make for great attackers to trigger connive.
I’d also suggest a general control list that uses Raffine to generate card advantage and find the right answers to specific problems in each game.
Commanding Conclusion
Shadowgrange Archfiend | Illustration by Oleksandr Kozachenko
That wraps up my rundown of my Raffine, Scheming Seer list in Commander! I love Raffine and think it fits very well into the Esper shell. There’s just so many ways to use it and have some fun.
What do you think of Raffine, and my list overall? Are there any changes you’d make or different strategies you’ve had a lot of fun with? Let me know in the comments below or over on the official Draftsim Twitter.
Until next time, stay safe, and stay healthy!
Follow Draftsim for awesome articles and set updates:


Add Comment