
Super Combo | Illustration by Caroline Gariba
If you’ve ever played one of the old school Teenage Mutant Ninja Turtles beat-‘em-ups, you’re probably well aware of the connection between TMNT and c-c-c-combos! But we’re looking at a different type of combo today, the type you can slot into a Commander deck, or rogue Constructed deck, and feel pretty confident that you’re going to win the game when all the pieces come together.
Let’s explore some of the new options made available by TMNT cards! Sound off in the comments if you spot a cool interaction I don’t mention here.
What Are Combos in Teenage Mutant Ninja Turtles?
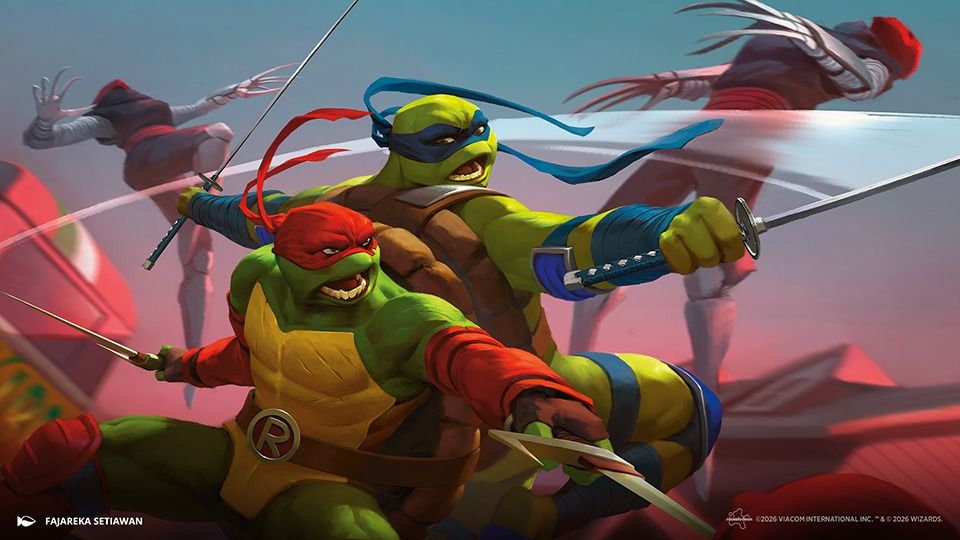
Raph & Leo, Sibling Rivals | Illustration by Fajareka Setiawan
The combos on this list involve two or more cards, including at least one new card from Teenage Mutant Turtles or one of the accompanying products. I’ll list infinite combos as well as merely powerful interactions that may not necessarily end the game on the spot, but that leave you in a winning position.
The numbering on this list is mostly arbitrary, and due to the design of TMNT, these combos are heavily weighted towards Commander.
#14. Basking Broodscale Combos with Everything, Pt. 500


Cards: Basking Broodscale, Mighty Mutanimals
Results: Infinite +1/+1 counters on Broodscale, infinite colorless mana, infinite ETBs, leaves the battlefield triggers, and death triggers.
Prerequisites: Broodscale in play with the mana to play Mutanimals, or both permanents in play with the ability to adapt Broodscale.
Variations: Broodscale combos with many other cards, notably Rosie Cotton of South Lane.
Execution: There are a couple ways to go about this combo. If you already control Basking Broodscale, you can simply play Mighty Mutanimals. It'll create a 2/2 token, which will trigger the alliance ability. Put a +1/+1 counter on Broodscale, which triggers the ability to make an Eldrazi Spawn. That Spawn entering will trigger Mutanimals once more, and you can loops from there to make infinite Spawns and grow Broodscale arbitrarily large.
If you draw Broodscale while Mutanimals is already in play, resolving Broodscale will trigger the alliance ability and start the loop from there. And if both creatures are in play and you need to start the chain, you can simply adapt Broodscale (if it doesn't already have a counter), or play any other creature to get the loop going.
#13. Turtle Ballista Soup
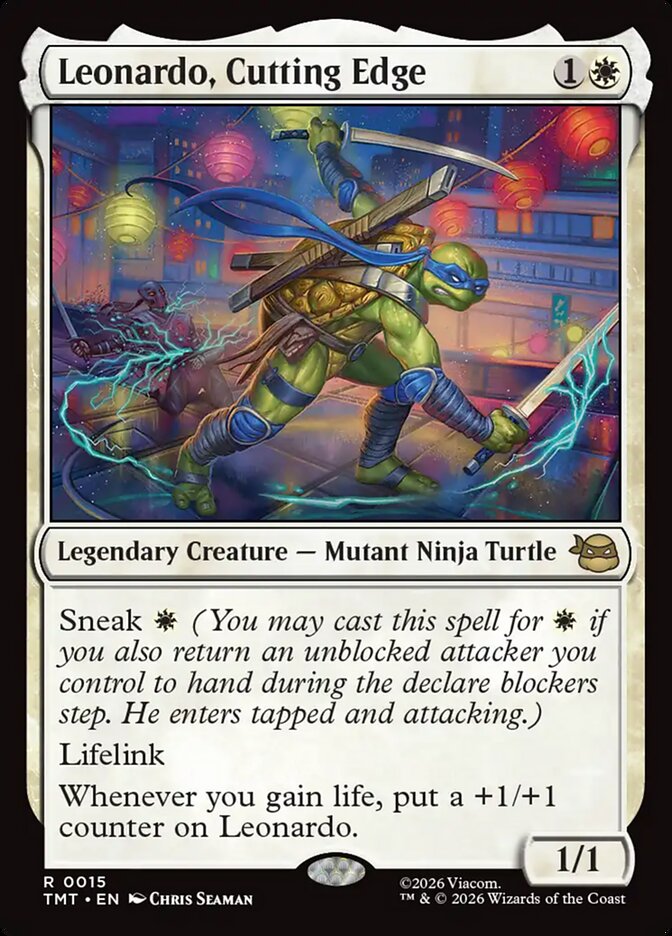
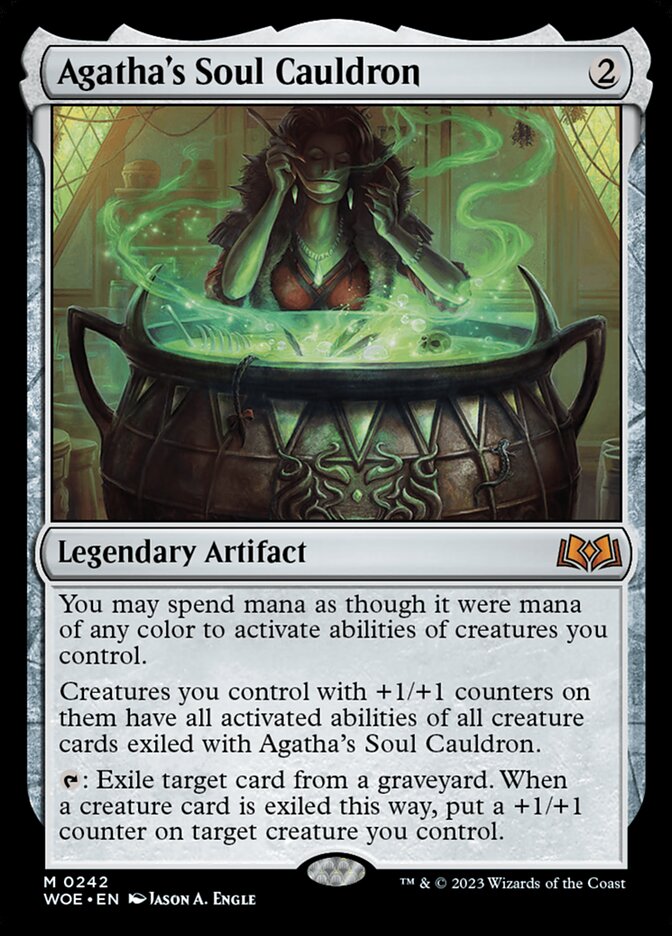
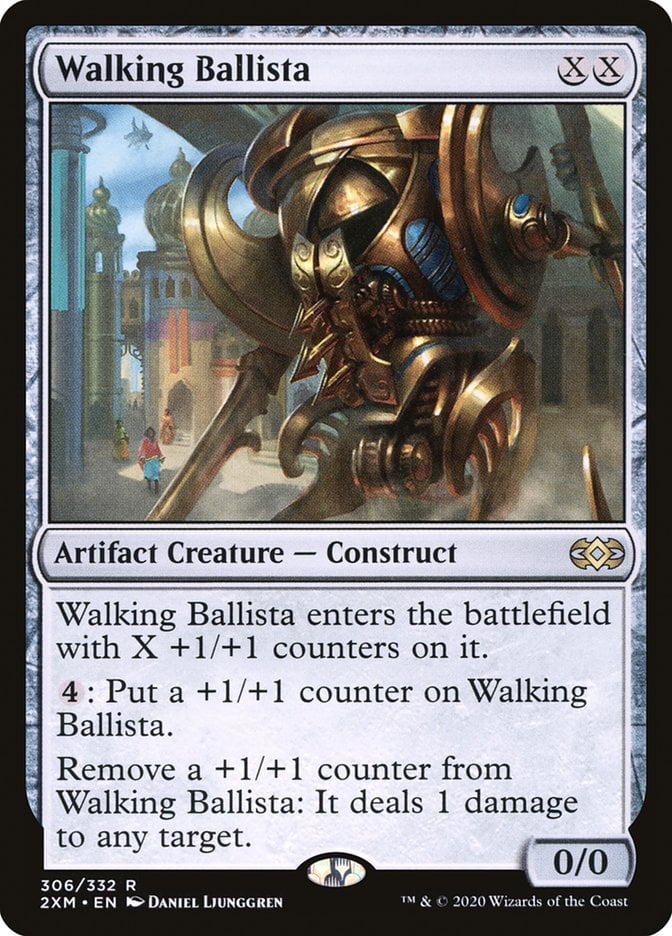
Cards: Leonardo, Cutting Edge, Agatha's Soul Cauldron, Walking Ballista
Results: Infinite damage, infinite lifegain
Prerequisites: Leonardo with at least one +1/+1 counter on it, Soul Cauldron in play.
Variations: Triskelion is a common replacement for Ballista.
Execution: You need to get Walking Ballista in the graveyard and exile it with Agatha's Soul Cauldron. Ballista can already be in the graveyard, or you can cast it for X=0 to put it there. If it’s already in play, just remove all its counters so it dies. Now you need to get a +1/+1 counter on Leonardo, Cutting Edge; the easiest way is to sneak it in and connect in combat to get the first counter, or target it with Soul Cauldron.
With this setup, Leonardo can now use Ballista’s ability to remove counters from itself and deal damage. Lifelink causes Leonardo to get another counter whenever it deals damage, and you can deal infinite damage 1 point at a time.
#12. Raph & Mikey, Infectmakers

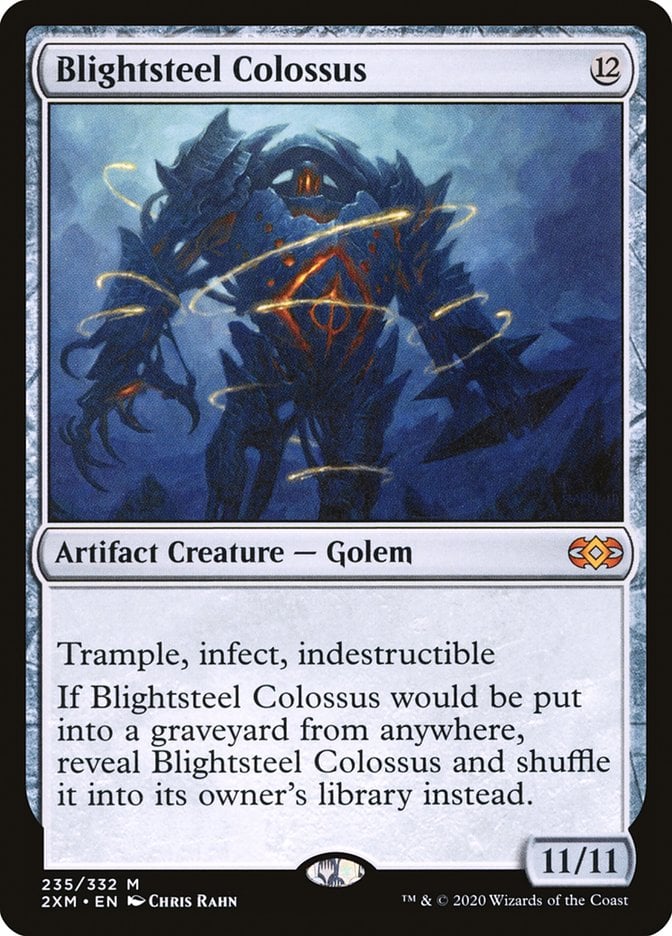
Cards: Raph & Mikey, Troublemakers, Blightsteel Colossus
Results: Huge hasty attack, and eliminate a player that’s unable to block.
Prerequisites: Blightsteel Colossus needs to be the only creature card in your deck.
Variations: You can replace Blightsteel with any creature you want to guarantee to hit with Raph & Mikey’s attack trigger.
Execution: Cast Raph & Mikey, Troublermakers and attack. If you only have one creature in your library, it’s guaranteed to hit that creature and put it into play tapped and attacking. Blightsteel Colossus guarantees a KO on someone who can’t block it, though you could theoretically build a deck around any single creature to guarantee you hit it.
#11. Raphael, Player Destroyer
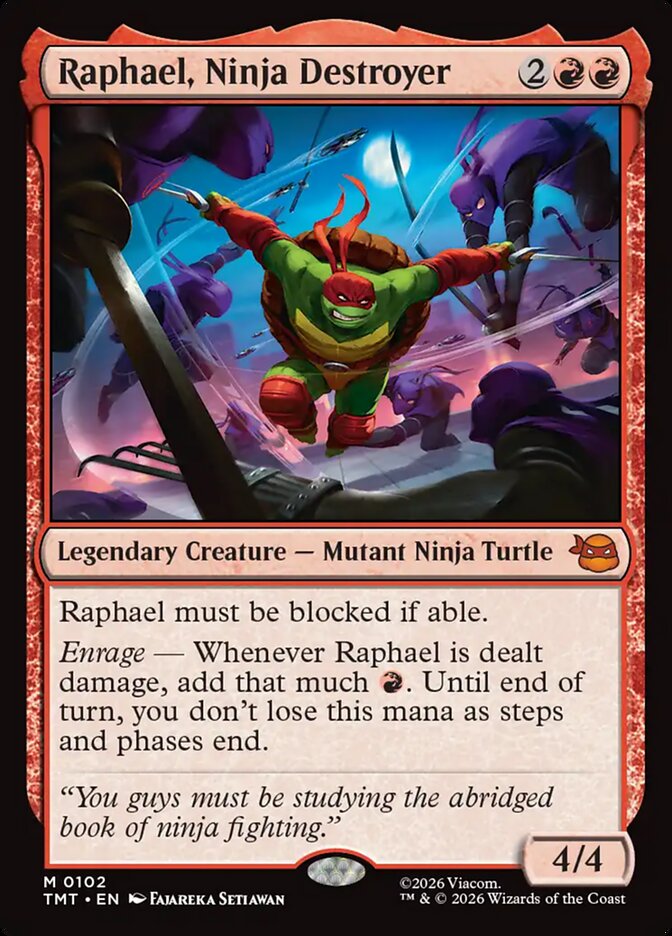
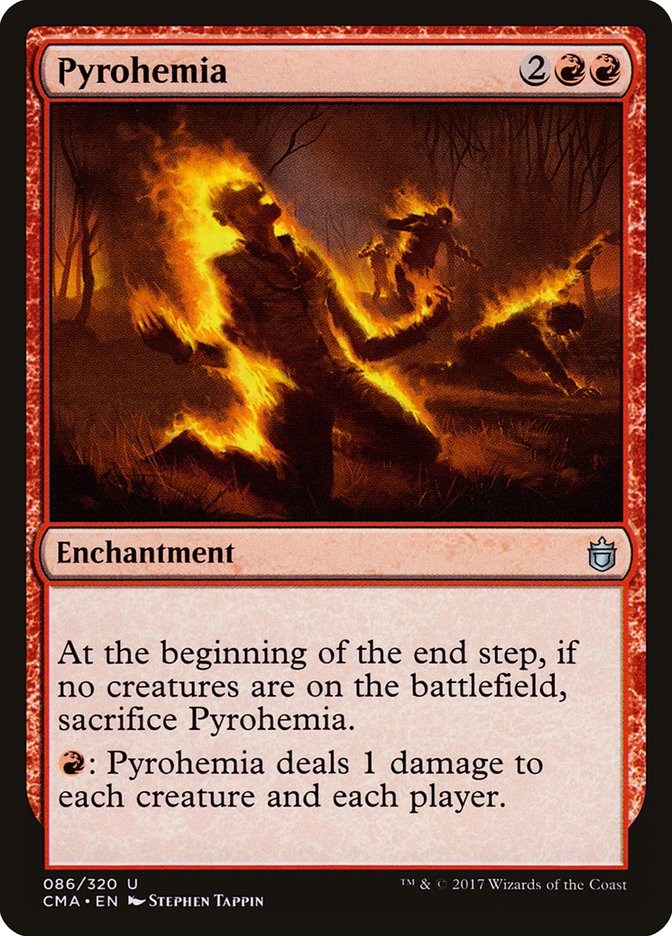
Cards: Raphael, Ninja Destroyer, Pyrohemia, and an indestructible enabler
Results: Eliminate every player with a lower life total than you.
Prerequisites: Both permanents in play and Raphael has gained indestructible.
Variations: None. Pestilence and Pyrohemia are often interchangeable, but not for this combo.
Execution: Activate Pyrohemia, dealing 1 damage to each creature and player. Raphael, Ninja Destroyer’s enrage ability will trigger to generate . This mana feeds into Pyrohemia and creates a loop. As long as Raphael stays alive (due to indestructible), you can repeat at will. To win with this, you’ll need to start at a higher life total than your opponents, since Pyrohemia damages you, too.
#10. Rocksteady Persist Combo
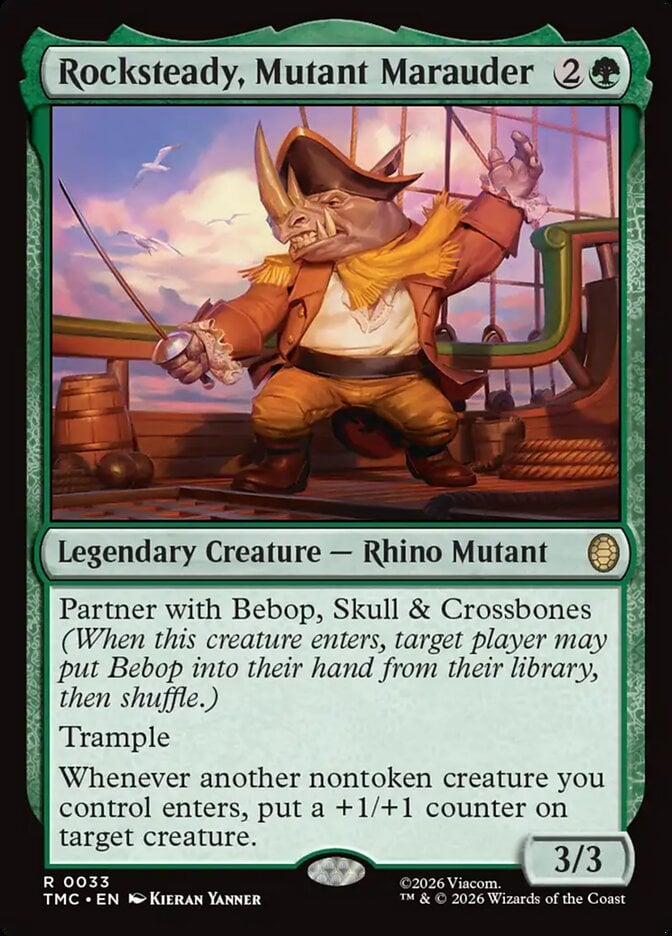
Cards: Rocksteady, Mutant Marauder, any persist creature, any free sac outlet.
Results: Infinite ETBs, LTBs, and death triggers.
Prerequisites: All three permanents in play. The persist creature can’t have a -1/-1 counter on it.
Variations: Good-Fortune Unicorn, Renata, Called to the Hunt, and Grumgully, the Generous are common replacements for Rocksteady’s effect.
Execution: With Rocksteady, Mutant Marauder in play, persist creatures have their -1/-1 counters canceled out by the +1/+1 counter that Rocksteady grants when they enter. With a free sacrifice effect in play, you can sac your persist creature infinitely. You’ll need to add in some fourth effect like Blood Artist to turn this into an actual win.
#9. Continue Combo
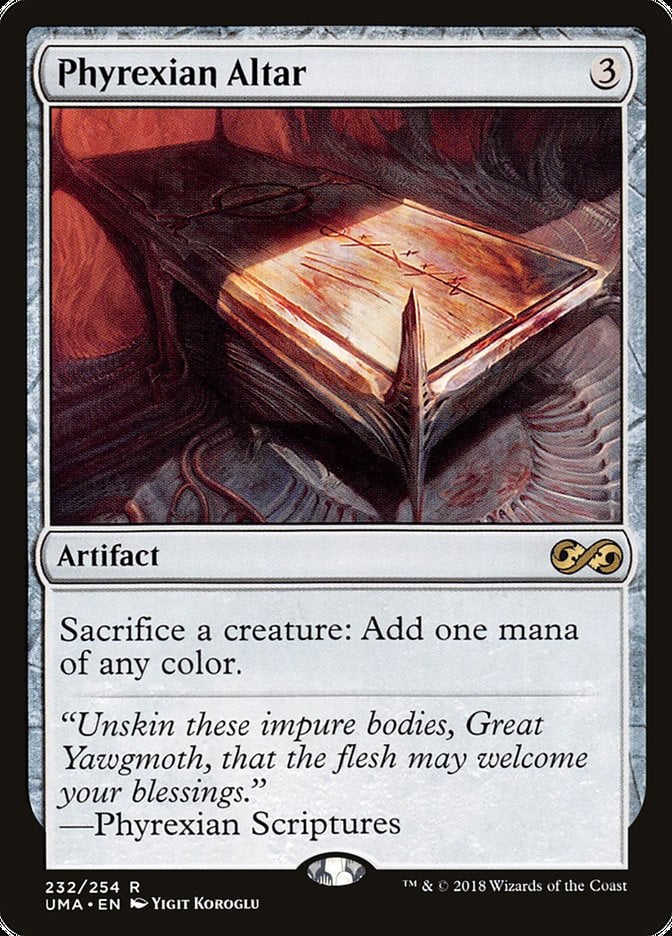
Cards: Continue?, Eternal Witness, Phyrexian Altar, any second creature.
Results: Infinite ETBs, LTBs, and death triggers.
Prerequisites: Phyrexian Altar in play, Eternal Witness in play or in hand, and Continue? in hand.
Variations: Brought Back can replace Continue? without increasing the number of creatures needed to combo. Eternal Witness can be subbed out for any creature that returns an instant to hand when it enters, like Archaeomancer or Mnemonic Wall.
Execution: Sacrifice Eternal Witness and your second creature to Phyrexian Altar for and of any color. Use that mana to cast Continue?, returning both creatures to play. Eternal Witness triggers and returns Continue? to hand. Repeat from there. With one additional creature, you can create infinite mana, and a Blood Artist or Impact Tremors results in infinite damage.
#8. Rat King Rat Party
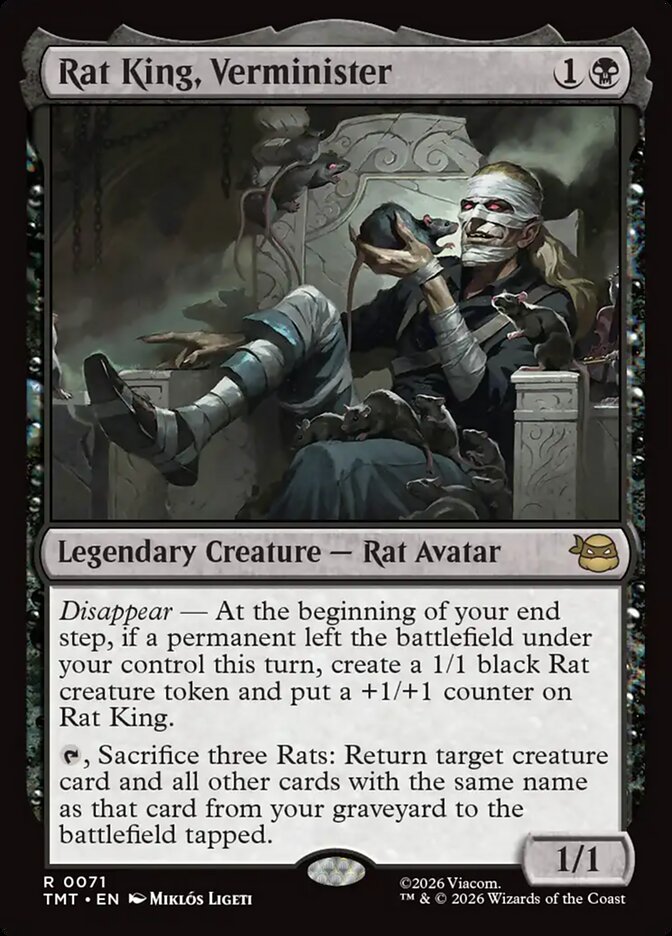
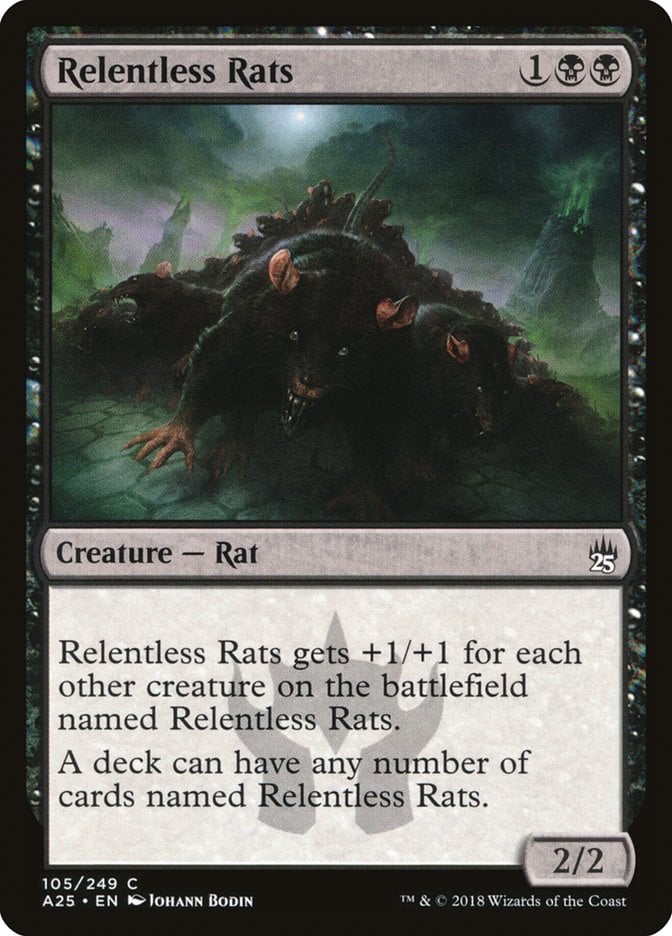

Cards: Rat King, Verminister, four or more copies of Relentless Rats or Rat Colony.
Results: Reanimate a bunch of rats!
Prerequisites: Rat King on board without summoning sickness, at least one copy of your catch ‘em all rat in the graveyard, and three rats in play.
Variations: Relentless Rats and Rat Colony are interchangeable, but stick to one or the other.
Execution: Activate Rat King, Verminister, targeting Relentless Rats/Rat Colony in your graveyard. Once the ability resolves, you’ll return all copies of that card to the battlefield, including any that you sacrificed to activate Rat King’s ability.
#7. Super Shredder Super Combo

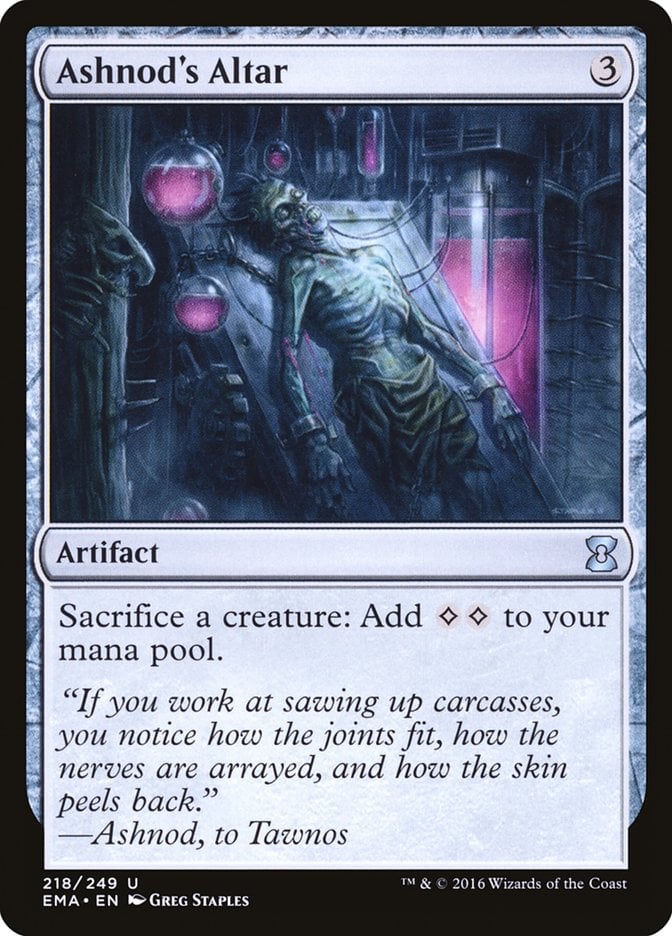
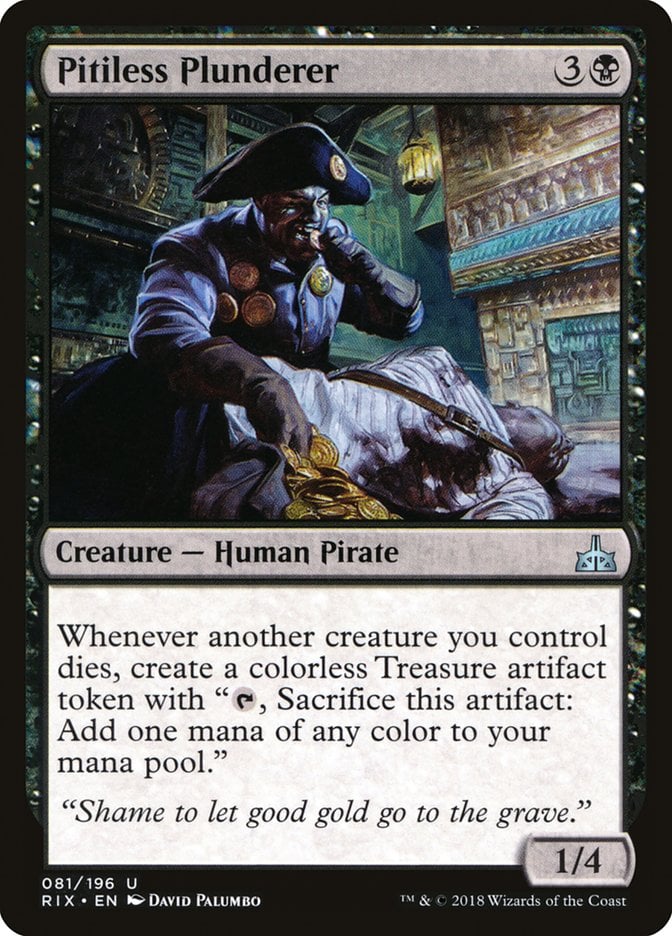
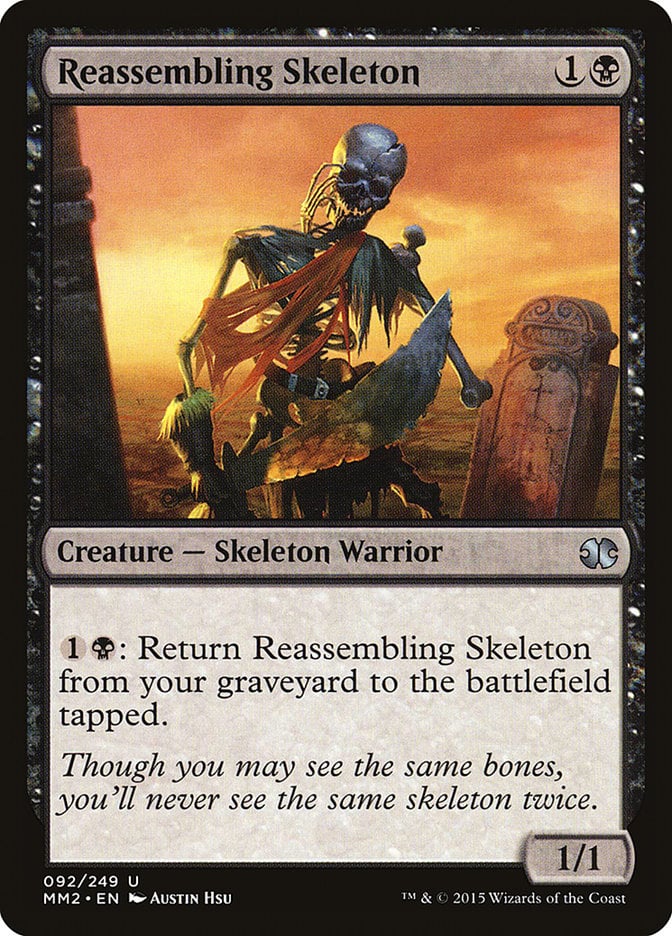
Cards: Super Shredder, Ashnod's Altar, Pitiless Plunderer, Reassembling Skeleton
Results: Infinite +1/+1 counters on Super Shredder, infinite colorless mana.
Prerequisites: All permanents in play, though Reassembling Skeleton can start in your graveyard if you have the mana to activate its ability.
Variations: The core of Altar + Plunderer + Skeleton is used in tons of infinite mana combos. Super Shredder can be replaced by a colorless mana sink like Walking Ballista or an aristocrat effect like Marionette Apprentice.
Execution: Sacrifice Reassembling Skeleton to Ashnod's Altar, generating 2 colorless mana and a Treasure from Pitiless Plunderer. Use the Treasure for and 1 colorless mana to return Skeleton to the battlefield. This leaves you where you started with 1 mana left floating. Repeat as much as you’d like, and Super Shredder will get a +1/+1 counter each time Skeleton or a Treasure leaves the battlefield.
#6. Lattice Takeover
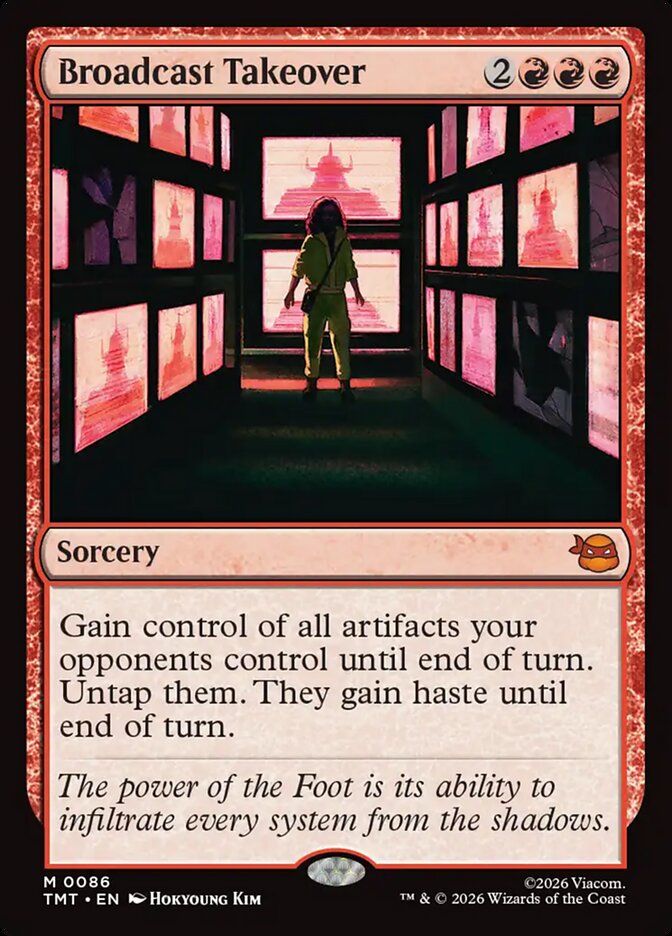
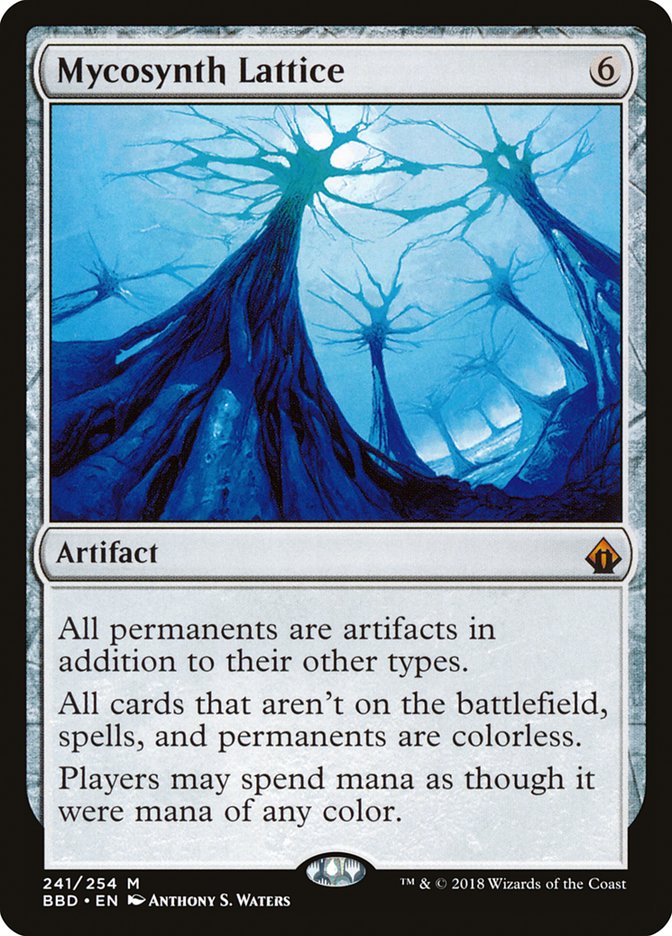
Cards: Broadcast Takeover, Mycosynth Lattice
Results: Take control of all permanents in play for a turn.
Prerequisites: Lattice in play, the mana to cast Takeover.
Variations: None
Execution: With Mycosynth Lattice on board, all permanents in play become artifacts. Casting Broadcast Takeover now steals everything on the board for the turn. If that alone isn’t enough to concoct a win, you can add in an artifact sac outlet to get rid of all your opponents’ permanents before you have to give them back.
#5. Not Another Instant Mill Combo!
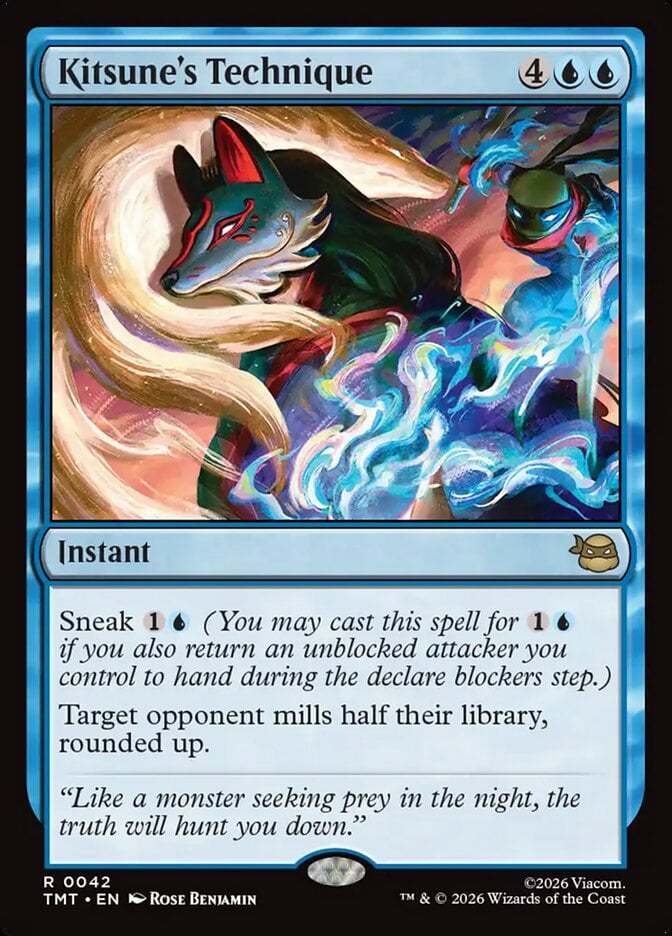
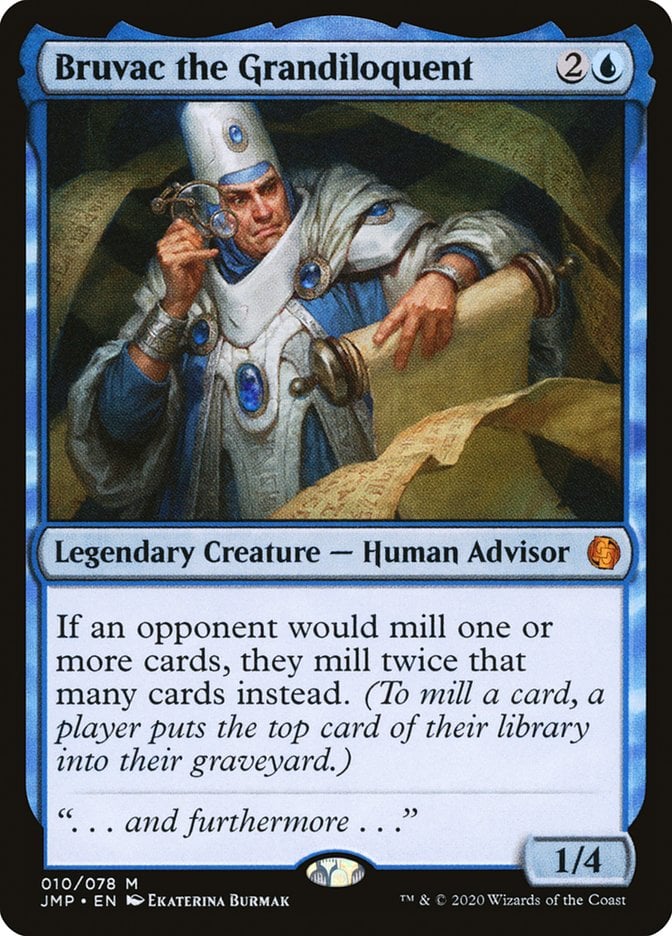
Cards: Kitsune's Technique + Bruvac the Grandiloquent
Results: Mill target player’s entire library.
Prerequisites: Bruvac in play, mana to cast Kitsune’s Technique, either with or without sneak.
Variations: Traumatize and Jidoor, Aristocratic Capital can sub in for Technique but might leave the opponent with one card left in their library. Maddening Cacophony affects all opponents, but you must kick it to make it a direct win.
Execution: Simply target someone with Kitsune's Technique while you control Bruvac the Grandiloquent. Technique mills that player’s library, rounded up, times two, which is their full library. Note that this won’t work if you sneak Bruvac back to your hand to cast the Technique for its cheaper cost.
#4. Tokka & Rahzar, Terrible Twos + Helm of Awakening
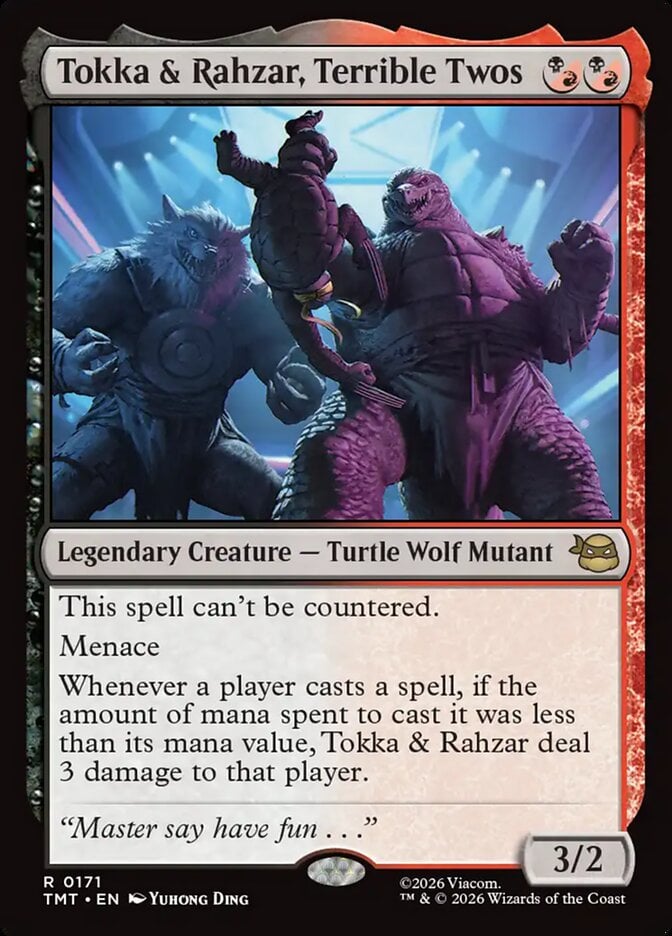
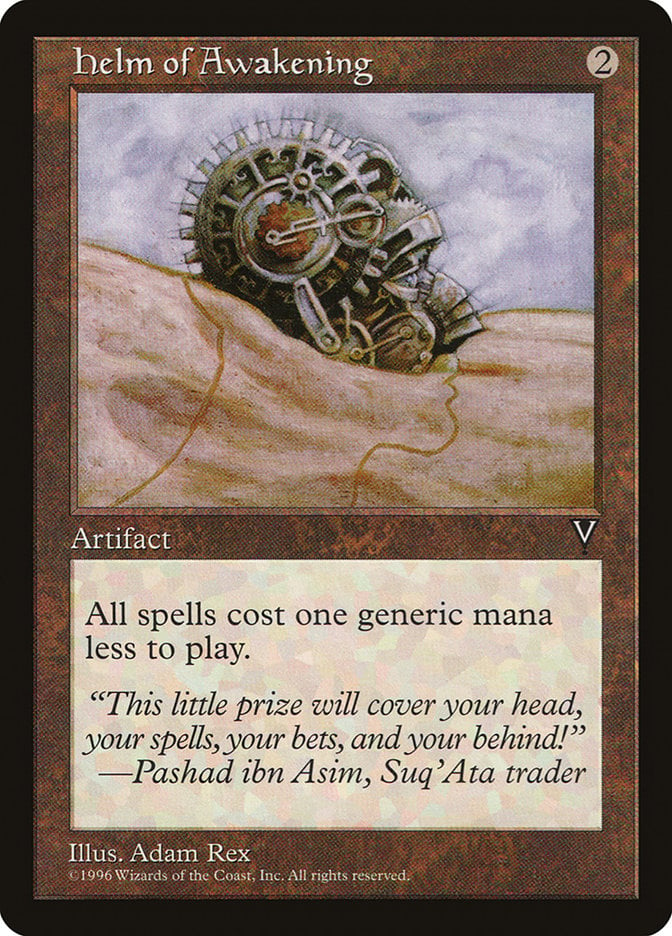
Cards: Tokka & Rahzar, Terrible Twos, Helm of Awakening
Results: 3 damage to a player whenever they cast a spell (including you!).
Prerequisites: Both permanents in play.
Variations: Anything that reduces the cost of everyone’s spells can replace Helm. Same goes for anything that causes players to cast spells without paying their mana costs, like Possibility Storm or Knowledge Pool.
Execution: With both permanents in play, Helm causes all spells to be cheaper, and Tokka punishes players for casting those spells at cheaper costs. This won’t affect anything that doesn’t have a generic mana cost (like Bedevil or Rakdos Charm).
#3. Casey Jones, Back Alley Brute + The Red Terror
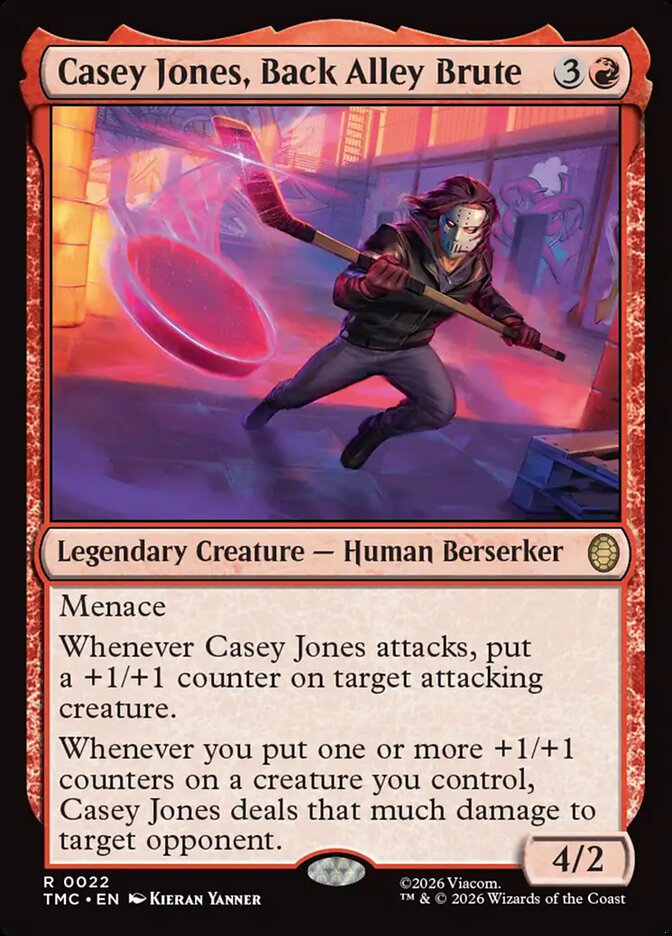
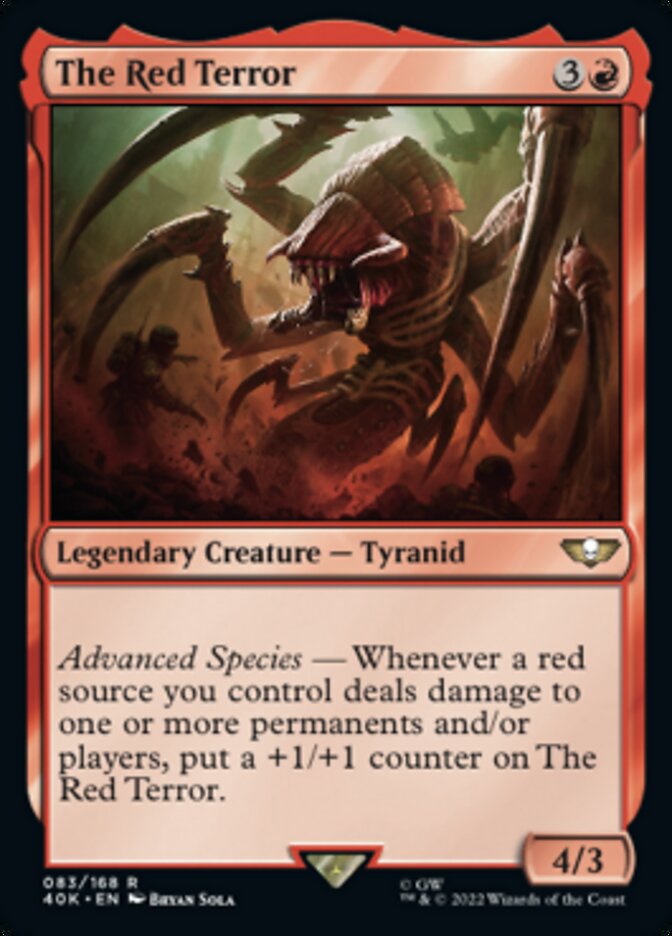
Cards: Casey Jones, Back Alley Brute, The Red Terror
Results: Infinite damage, infinite +1/+1 counters on The Red Terror.
Prerequisites: Both permanents in play, and a way to trigger either one.
Variations: All Will Be One can replace Casey Jones, or War Elemental can replace The Red Terror.
Execution: Get both permanents into play, then find a way to trigger either one’s ability. You can simply attack with Casey Jones, Back Alley Brute and the attack trigger will put a counter on itself, triggering Casey’s damage ability. Deal that damage to an opponent, triggering The Red Terror, who now gets a +1/+1 counter. That triggers Casey Jones again, looping damage to an opponent while growing The Red Terror. If you’re not in a position to attack, you can find a different way to put a +1/+1 counter on a creature or burn an opponent with a red spell to get the chain going.
#2. Cool but Rude + New Perspectives


Cards: Cool but Rude, New Perspectives, tons of cycling cards
Results: Large chunks of damage to each opponent.
Prerequisites: New Perspectives in play, at least seven cards in your hand, and the class enchantment on level 2 or higher.
Variations: Anything that deals damage when you discard can replace the class, like Brallin, Skyshark Rider or Glint-Horn Buccaneer.
Execution: New Perspectives allows you to cycle for while you have seven or more cards in hand. With a large number of cycling cards in your deck, you can usually keep cycling into additional cyclers to continue discarding. Each discard triggers level 2 of Cool but Rude, dealing 2 damage. The number of cards in your deck is a limiting factor, and you could eventually run out of cycling cards depending on the composition of your deck.
#1. The Neutrinos + Aurelia
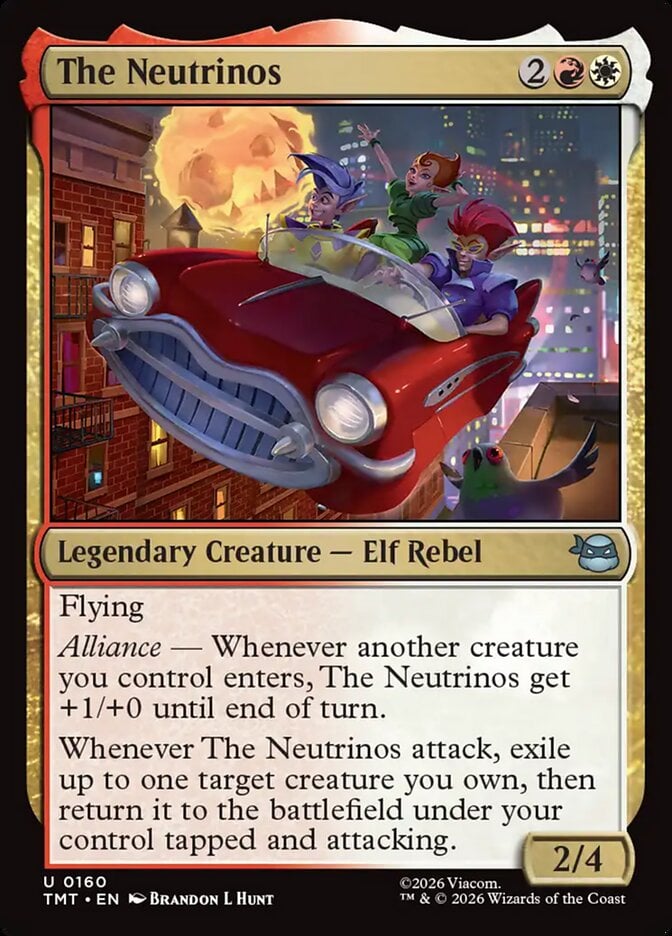
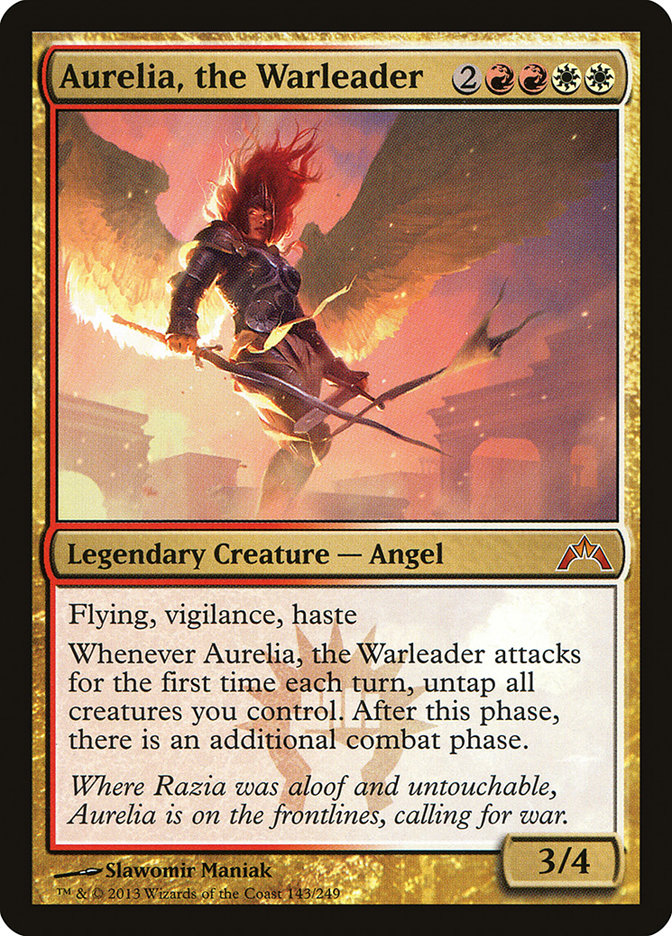
Cards: The Neutrinos, Aurelia, the Warleader
Results: Infinite combats.
Prerequisites: Both permanents in play, The Neutrinos doesn’t have summoning sickness.
Variations: Aurelia goes infinite with tons of other cards that can blink it after it declares its first attack each combat.
Execution: Attack with both creatures, triggering both their attack triggers. Stack Aurelia's trigger first, then The Neutrinos. The Neutrinos blinks Aurelia, which comes back in tapped and attacking, then the Aurelia trigger resolves and untaps your creatures. Finish combat, then go to your next combat step. Since Aurelia is treated like a new object again, it can “attack for the first time” once more and continue the loop. An infinite combat loop requires that neither creature dies in combat.
Super Combo
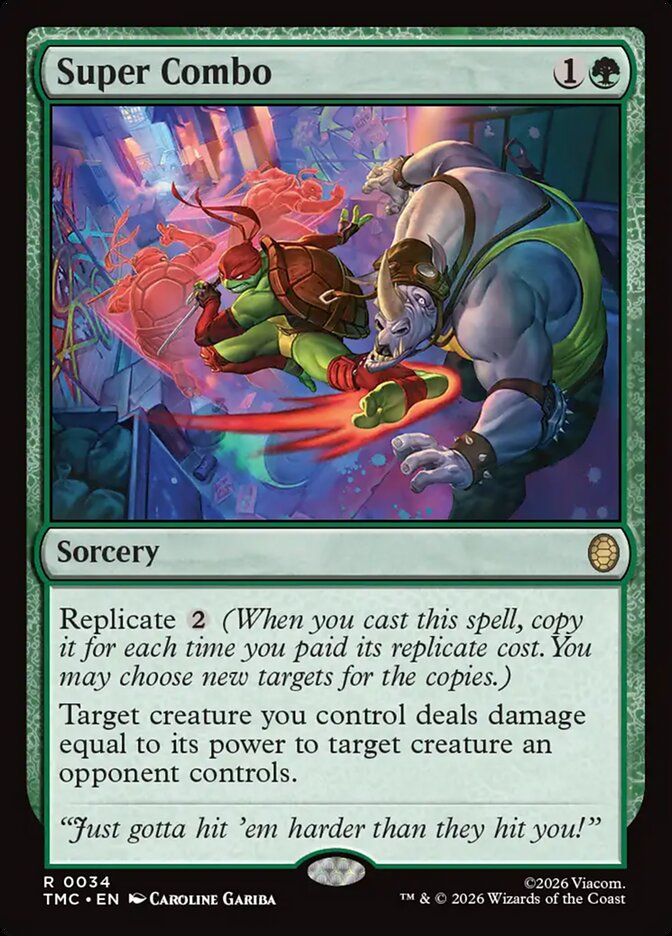
Can’t make a list of combos in TMNT without mentioning Super Combo, can we?
Wrap Up
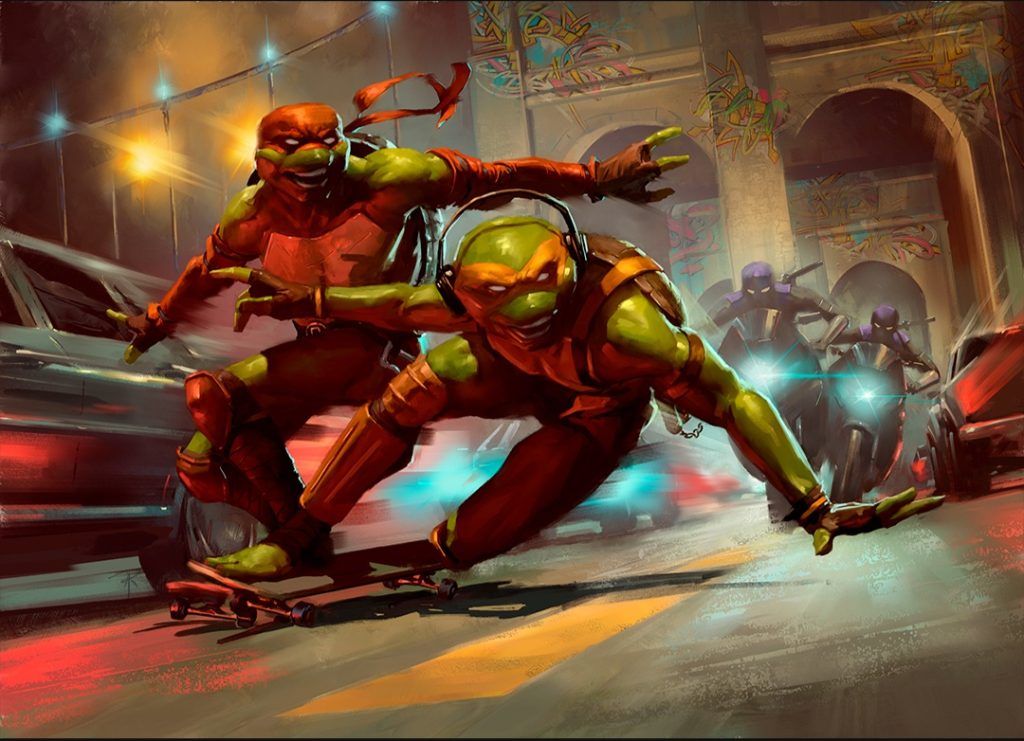
Raph & Mikey, Troublemakers | Illustration by Aaron J. Riley
Teenage Mutant Ninja Turtles managed to squeeze out a lot of interesting new combo cards for a set with around 100 fewer cards than average. Some of them tread familiar territory, while others sculpt some new space for decks interested in high power combos.
The mechanics of TMNT don’t lend themselves too well to combo decks, at least not in the way the bending mechanics from Avatar did, but there’s something here for many strategies and archetypes.
Have you spotted any must-know combos from TMNT? Are any of these going to make it into your decks? Let us know in the comments down below or in the Draftsim Discord, and check out our Newsletter to stay up to date on the latest MTG news.
Thanks for making Draftsim your #1 stop for all things Magic!
Follow Draftsim for awesome articles and set updates:


Add Comment