Last updated on December 21, 2025

Archaeomancer | Illustration Zoltan Boros
Have you ever wondered just how powerful Pauper can get, and whether there are real infinite combos that show up in competitive games? You might be in for a great surprise, because today we dive into the wild world of Pauper combos.
From mana engines to graveyard tricks, these strategies prove that you can pull off some truly game-breaking plays, even with only commons.
Intrigued? Let’s dive in!
What Are Pauper Combos in MTG?

First Day of Class | Illustration by Paul Scott Canavan
In Pauper, combos are card interactions that create powerful loops or game-ending effects using only commons. Unlike other formats, most of the truly broken storm or infinite combos are banned to keep the format fair. The combos that remain legal usually require more setup, and they’re balanced by slower pieces. They still feel explosive, but they play at a level that fits Pauper’s budget-friendly and competitive environment.
#13. Pauper Living End
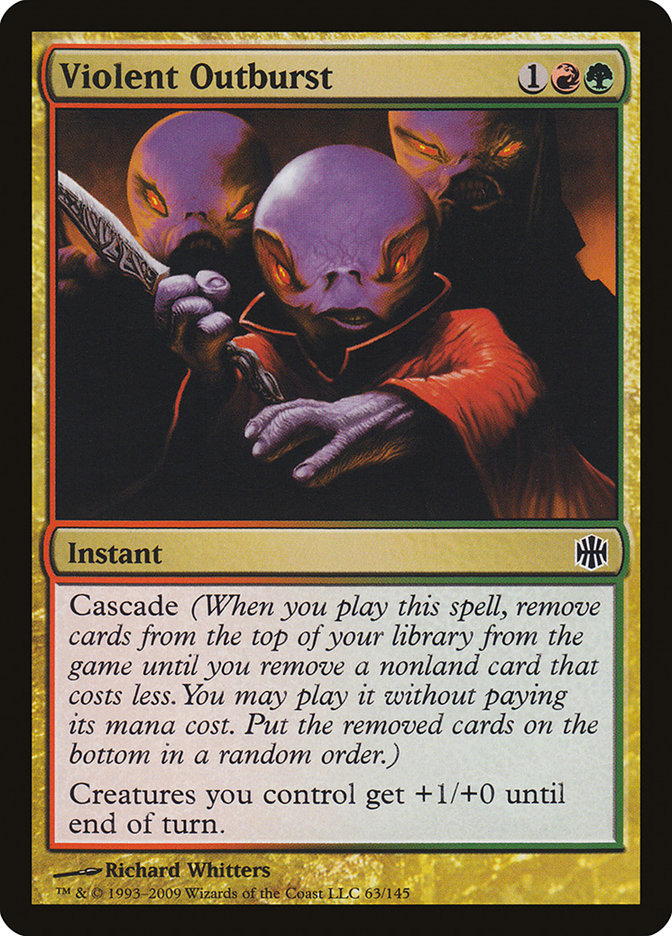
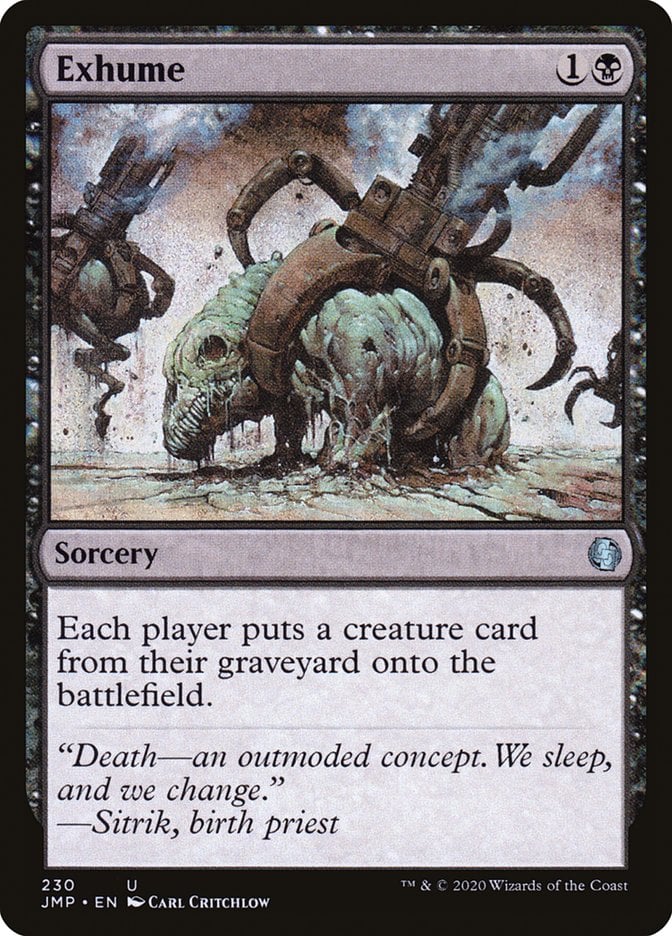
Cards – Violent Outburst + Exhume
Prerequisites – Your deck needs to be built so that Exhume is the only card with mana value 2 or less. That way, when you cascade off Violent Outburst, you’re guaranteed to hit it. You’ll also want some big cyclers like Troll of Khazad-dûm, Generous Ent, or Oliphaunt already in the graveyard.
Variations – Violent Outburst is the classic way to cascade into Exhume, but you can also run Demonic Dread as an alternate enabler. The main difference is that you can cast Outburst at instant speed on your opponent’s turn, while Dread requires a target, which makes it a little trickier to set up.
Result – The payoff is simple but very strong. You end up cheating a massive creature like Troll of Khazad-dûm or Oliphaunt onto the battlefield far earlier than it should arrive. Even just one of these creatures is usually enough to swing the game in your favor, since a turn-2 or turn-3 6/5 or 6/4 is hard for most Pauper decks to handle. The deck gets its nickname because it plays like the Modern “Living End” strategy, except instead of reviving a whole graveyard, you just bring back one giant body—which is still plenty to close things out.
Execution – The line is straightforward: Cycle your big creatures early to load the graveyard, then cast Violent Outburst at the end of your opponent’s turn. Cascade guarantees you hit Exhume, which then pulls your cycled threat straight onto the battlefield. On your next turn, you untap with a huge creature already in play, ready to pressure your opponent before they’ve had time to set up properly.
#12. Presence of Gond Infinite Creatures
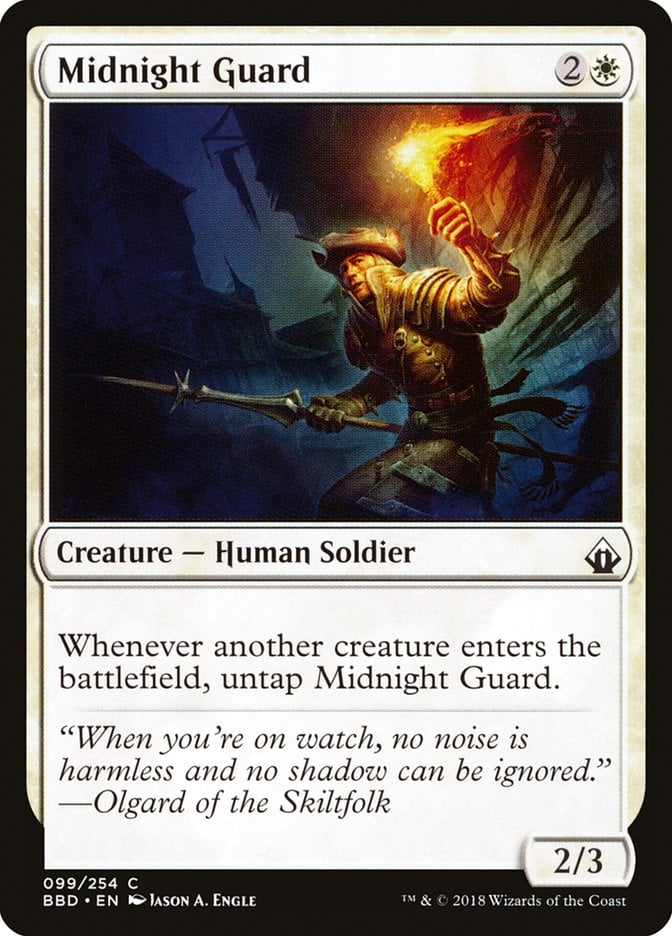
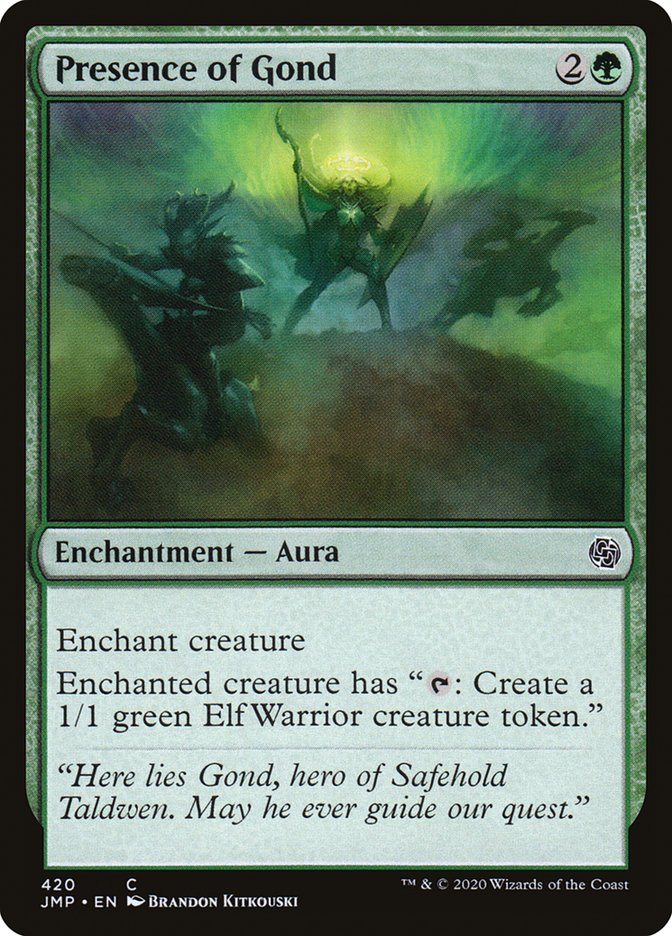
Cards – Midnight Guard + Presence of Gond
Prerequisites – Midnight Guard needs to be on the battlefield without summoning sickness, and Presence of Gond must enchant it.
Variations – While this combo is very straightforward, it becomes much stronger when you pair it with additional synergies. Adding Sigil of the Nayan Gods onto a creature that can attack prior to the combo gives you an infinitely large creature to push through, especially if you give it protection with the likes of Benevolent Bodyguard.
Result – The payoff is an infinite number of 1/1 Elf Warrior tokens.
Execution – Start by tapping Midnight Guard while it’s enchanted with Presence of Gond. This creates a 1/1 Elf Warrior token. As soon as the token enters the battlefield, Midnight Guard’s ability triggers and untaps it. Tap it again to make another creature token, which causes it to untap once more.
#11. Pili-Pala Combo


Cards – Pili-Pala + Careful Cultivation
Prerequisites – You need Pili-Pala on the battlefield enchanted with Careful Cultivation. This gives it the ability to tap for 2 green mana, which is what fuels the loop.
Variations – While Nyxborn Hydra is a flashy and straightforward payoff—dumping all that infinite mana into a creature that grows endlessly—you can use any mana sink as your win condition. Some builds like to funnel the mana into direct damage outlets like Bloodrite Invoker to win the game. The core engine of infinite mana doesn’t change, but the way you win can shift depending on what your deck is built to support.
Result – The combo gives you infinite mana of any color. Once the loop is active, you can generate as much mana as you want and funnel it into any payoff your deck runs.
Execution – Start by tapping Pili-Pala (enchanted with Careful Cultivation) to add 2 green mana. Then activate Pili-Pala’s own ability, spending the 2 mana to untap it and produce 1 mana of any color. Each cycle nets you 1 extra mana, and by repeating the loop, you quickly ramp into infinite resources.
#10. Llanowar Druid Infinite Damage
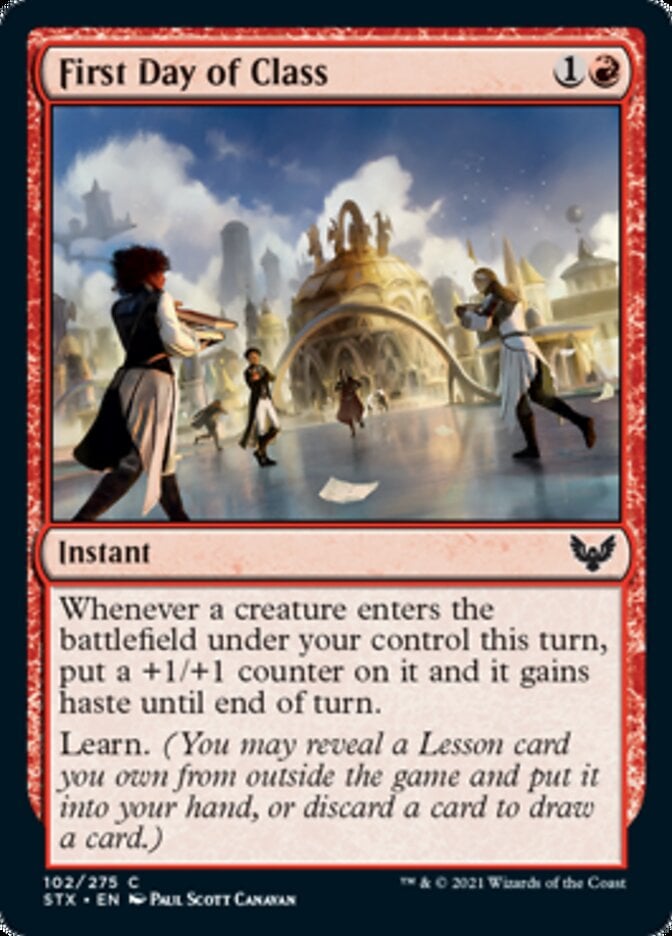
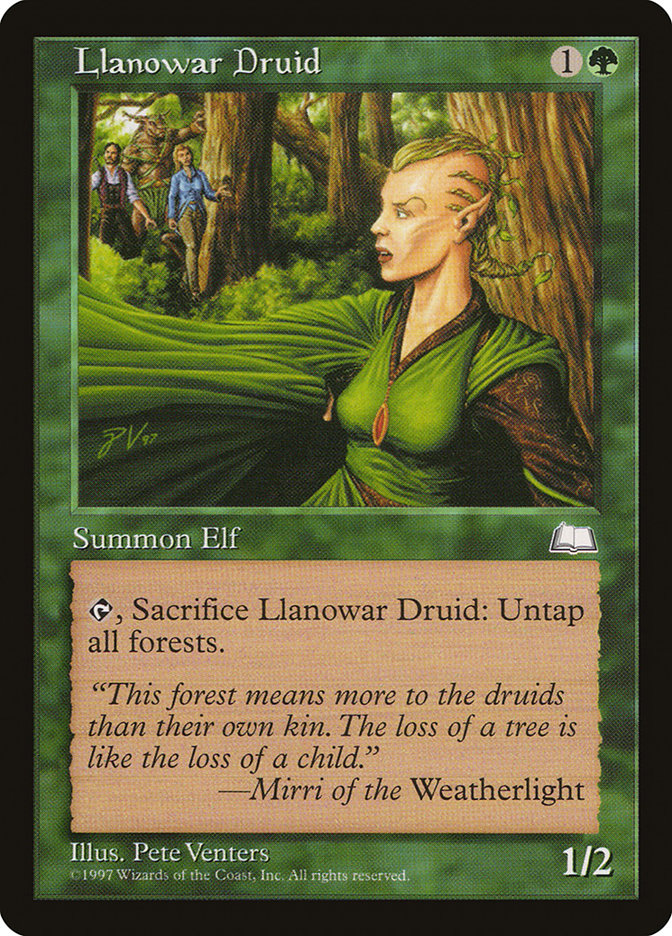

Cards – First Day of Class + Llanowar Druid + Grim Harvest
Prerequisites – You need Llanowar Druid on the battlefield, First Day of Class ready to cast, and Grim Harvest in hand. To keep the loop going, you’ll need access to enough lands—at least 8 mana's worth—either naturally or with ramp enchantments like Wild Growth enhancing your land base.
Variations – The cleanest finisher for this loop is Bloodrite Invoker, which turns infinite mana into guaranteed damage. You can also dig toward win conditions with card advantage engines like Mulldrifter or Yavimaya Elder. In fact, you can sacrifice both creatures to trigger Grim Harvest, which gives you pseudo-tutoring lines to find your Invoker or other finishers. The shell is flexible, and it allows you to mix in multiple ways to convert the mana into a win.
Result – The combo produces infinite mana. By looping Llanowar Druid with Grim Harvest under the effect of First Day of Class, you can keep sacrificing and recasting the Druid to untap all your lands over and over. Once it’s going, your mana never runs out, which gives you the resources to finish the game with whatever payoff your deck is built around.
Execution – Start by casting First Day of Class, then sacrifice Llanowar Druid to untap all your lands. When the Druid dies, Grim Harvest triggers, and you pay to recover it to your hand. Because of First Day of Class, the Druid gains haste each time you recast it, so you can immediately sacrifice it again. Repeat this loop endlessly to keep untapping your lands, which floods you with infinite mana.
#9. Denizen Combo Infinite Drain
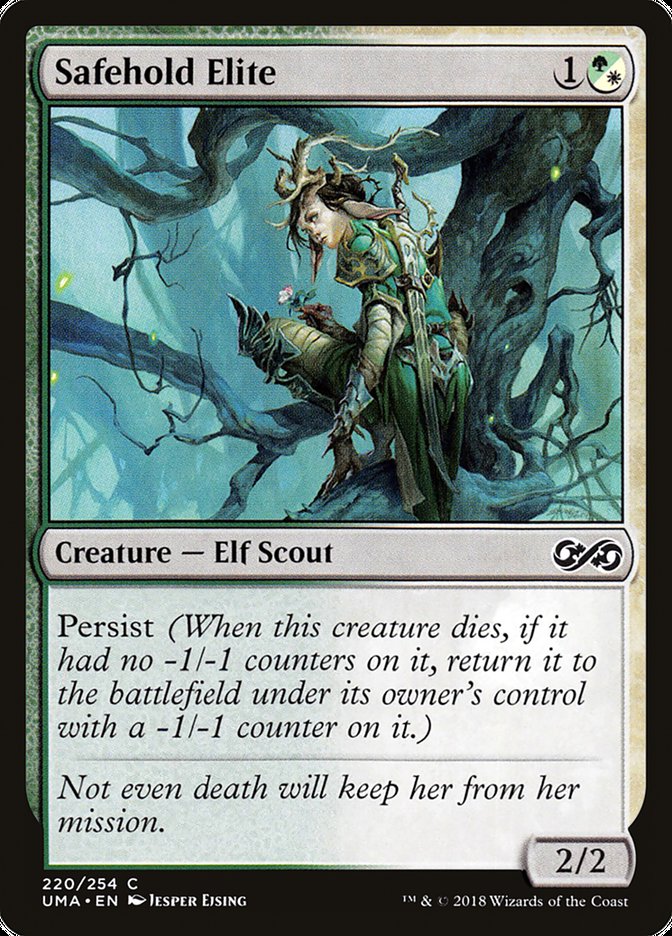
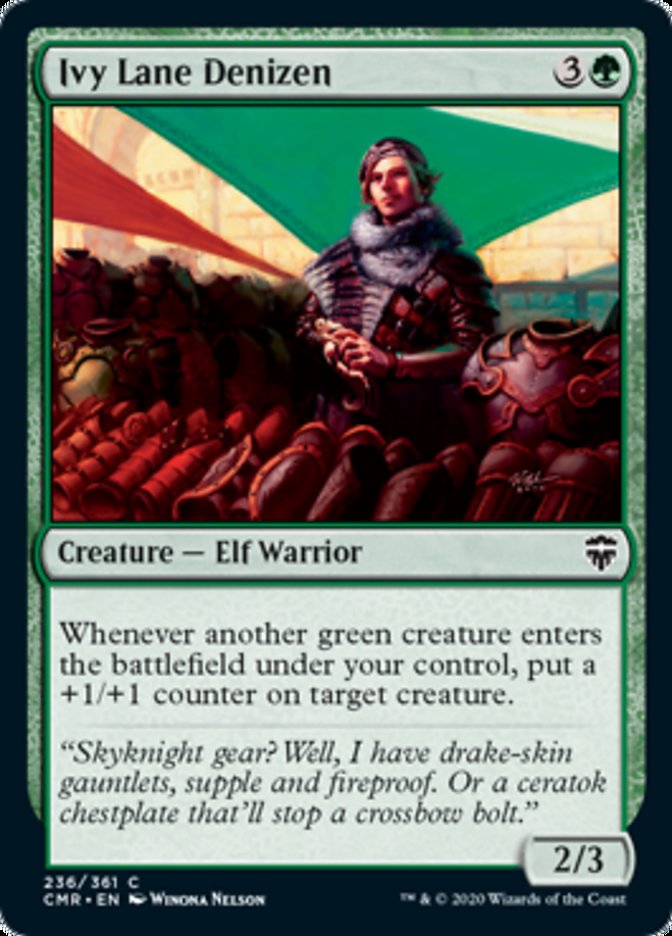
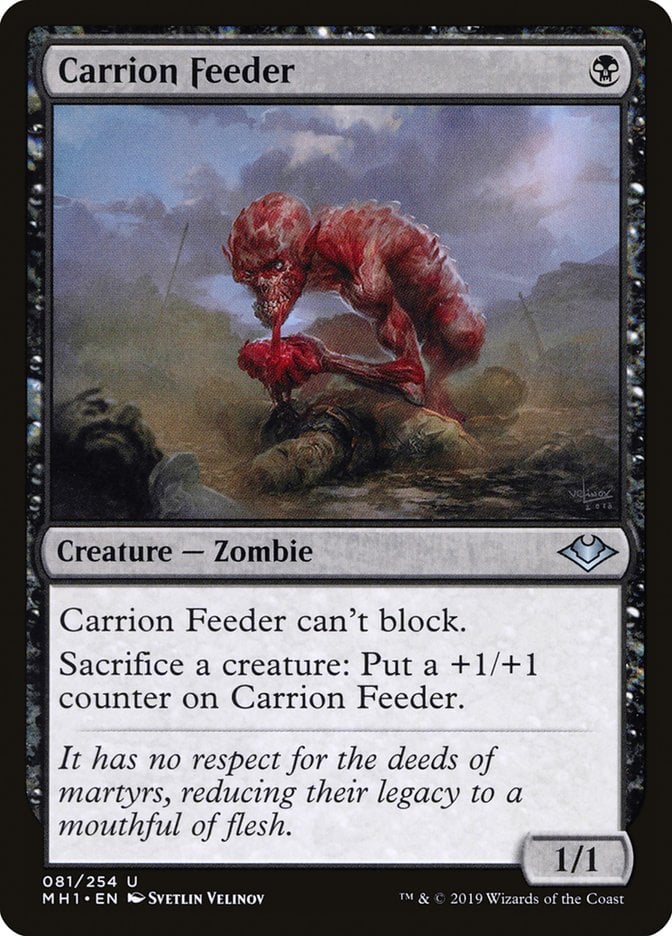
Cards – Safehold Elite + Ivy Lane Denizen + Carrion Feeder
Prerequisites – You need Safehold Elite and Ivy Lane Denizen on the battlefield, plus Carrion Feeder as your sacrifice outlet. The Elite must enter without a -1/-1 counter for the loop to work.
Variations – The green shell gives you lots of flexibility. Rendclaw Trow can replace Safehold Elite as the persist creature, and almost any sacrifice outlet works—Bloodthrone Vampire can fill the role just fine. If you’d rather turn the loop into damage instead of just growing a massive creature, you can slot in Falkenrath Noble to drain opponents every time a creature dies. And if you want to lean into mana generation, Ashnod's Altar turns the persist loop into infinite colorless mana on top of the infinite death and ETB triggers.
Result – The combo gives you multiple paths to victory. At its simplest, Carrion Feeder becomes infinitely large, which lets you win through combat damage. You also get infinite death and enters triggers.
Execution – Sacrifice Safehold Elite to Carrion Feeder. Persist brings it back with a -1/-1 counter, but Ivy Lane Denizen triggers, which puts a +1/+1 counter on it to cancel the negative one. That resets the Elite to its original state, ready to be sacrificed again. Each time you repeat the process, Carrion Feeder keeps growing, and the loop continues until you’ve reached your chosen payoff.
#8. Skybreak Combo Kill All Your Opponents

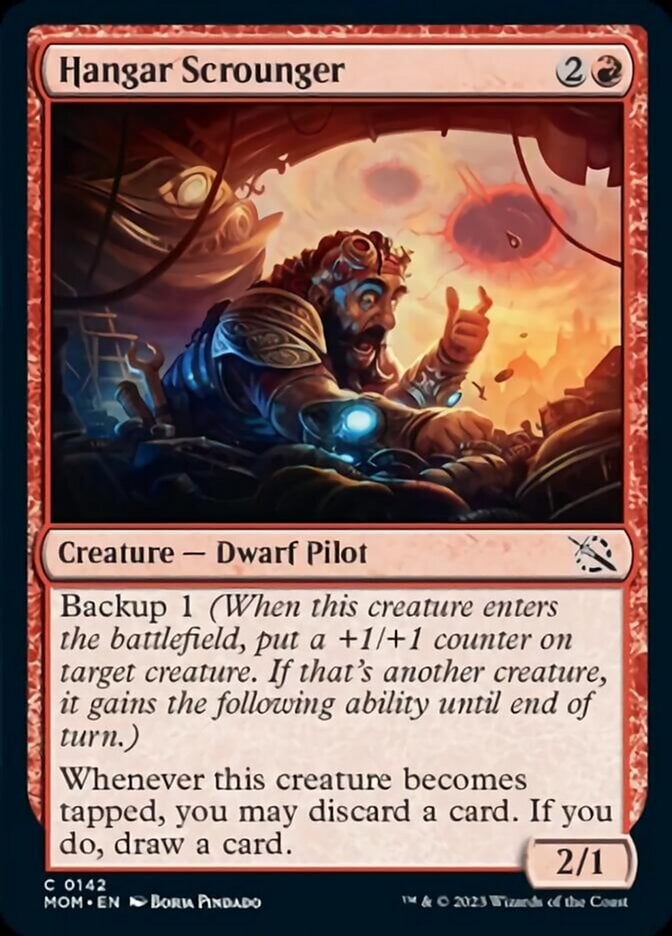
Cards – Seeker of Skybreak + Hangar Scrounger
Prerequisites – You need Seeker of Skybreak on the battlefield without summoning sickness, Hangar Scrounger in hand, at least one other card in your hand to rummage away, and available to cast the Scrounger.
Variations – The most reliable payoff is Magmakin Artillerist, which turns every discard into direct damage to each opponent and makes the infinite rummaging loop instantly lethal in Pauper EDH or casual builds. An alternate route is Fists of Flame, which rewards you for all the rummage triggers by drawing into a huge pile of cards and pumping a creature for a massive combat swing.
Result – The loop produces infinite rummage triggers. You can discard and draw as many times as you want to dig through your deck until you find whatever payoff you need. With Magmakin Artillerist on the battlefield, every discard also deals damage to each opponent, which quickly turns the loop into an instant win. And if you risk decking yourself, add Feldon's Cane to keep you safe by shuffling your graveyard back into your library.
Execution – When Hangar Scrounger enters, its backup ability gives Seeker of Skybreak the rummage effect. Because Seeker can target itself, you tap it to trigger rummage and then untap it, then let the ability resolve and discard a card before you draw a new one. Each time you do this, Seeker resets and is ready to be tapped again, which creates an infinite cycle of rummaging. With the right payoff on the field, this loop can end the game on the spot.
#7. Whale Combo Infinite Damage
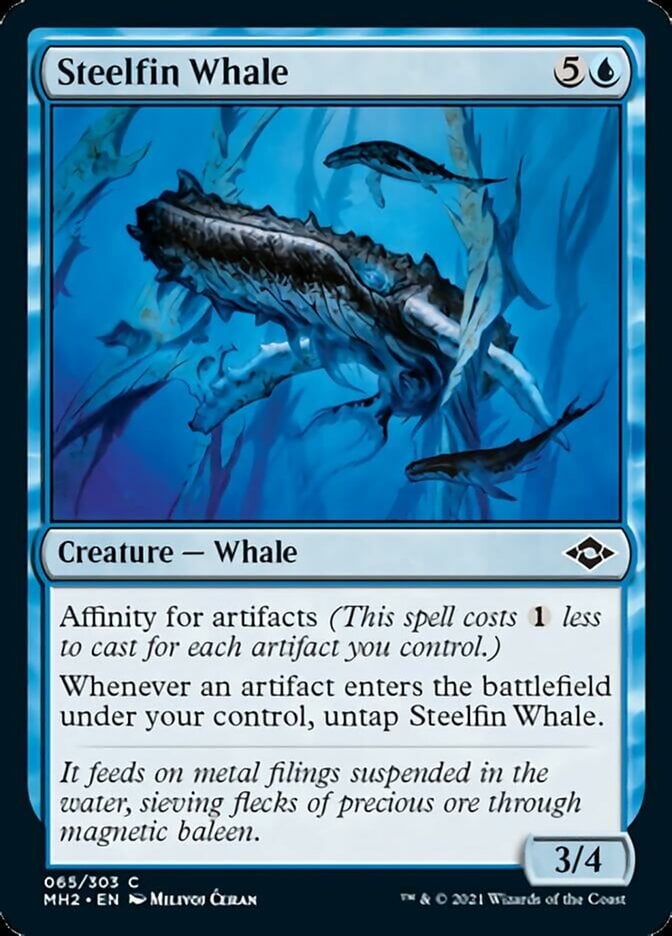


Cards – Steelfin Whale + Banishing Knack + any colorless affinity creature (most often Tooth of Chiss-Goria)
Prerequisites – Steelfin Whale is on the battlefield, Banishing Knack is in your hand. You also have a free-to-cast affinity artifact creature like Tooth of Chiss-Goria on the battlefield.
Variations – While Tooth of Chiss-Goria is the cleanest and most reliable option, there are plenty of ways to spin this combo. For example, add Etherium Spinner to create a completely different payoff: Instead of pumping a creature infinitely, you generate infinite Thopter tokens. To make that work, you need a 4-mana-or-greater affinity creature to replay for free—Frogmite is a common substitute that slides right into this shell. Depending on which piece you choose, the combo can either push combat damage through quickly or flood the board with tokens.
Result – The combo gives you either an infinitely large creature or an endless army of tokens.
Execution – Enchant Steelfin Whale with Banishing Knack. Then use the Whale’s tap ability to bounce Tooth of Chiss-Goria, then immediately replay the Tooth for 0 mana thanks to affinity. When it reenters, the Whale untaps, which lets you repeat the same action again.
#6. Familiars Infinite Storm Combo
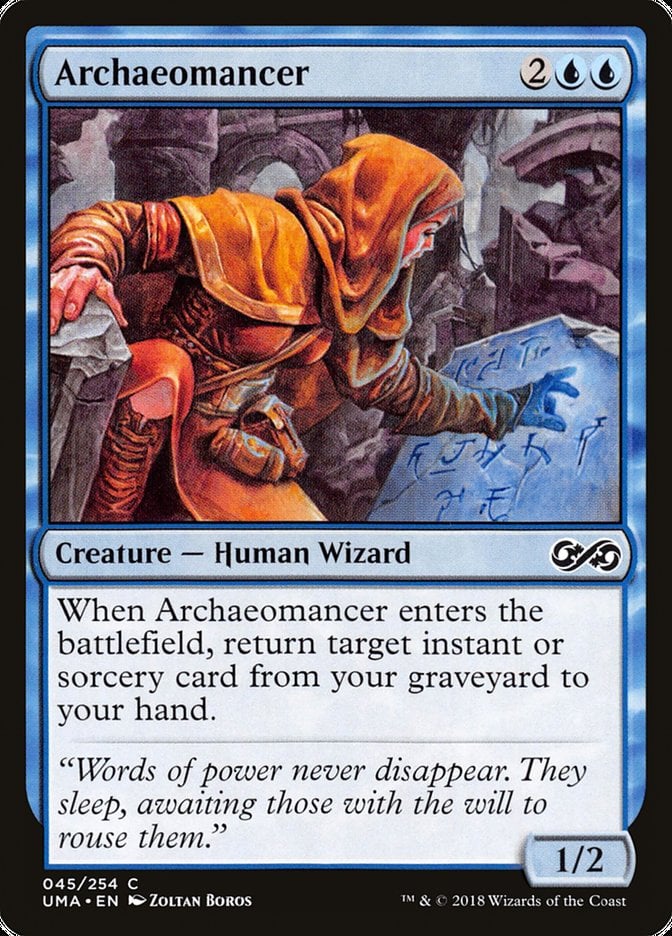
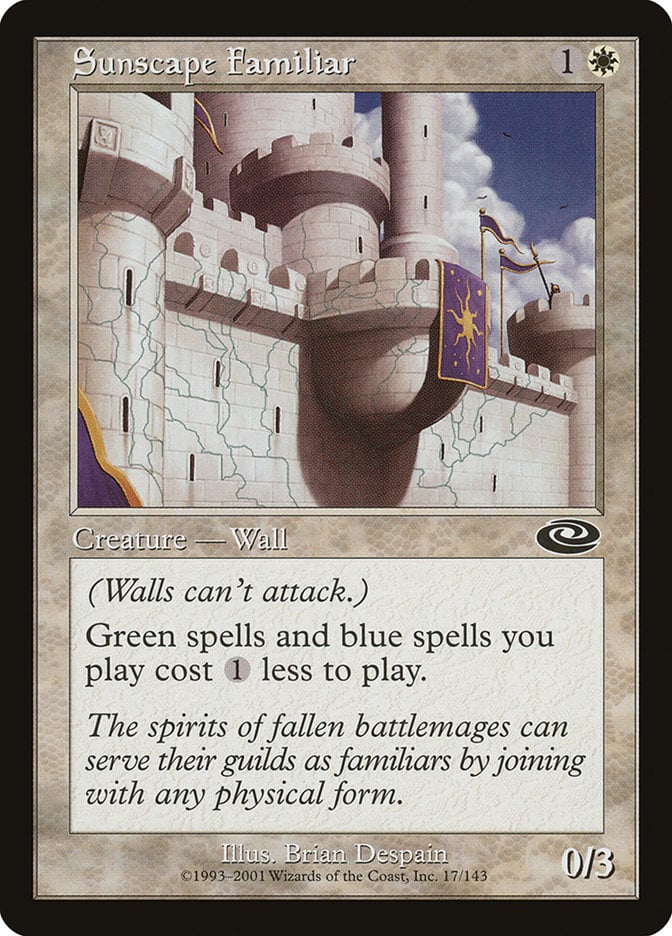
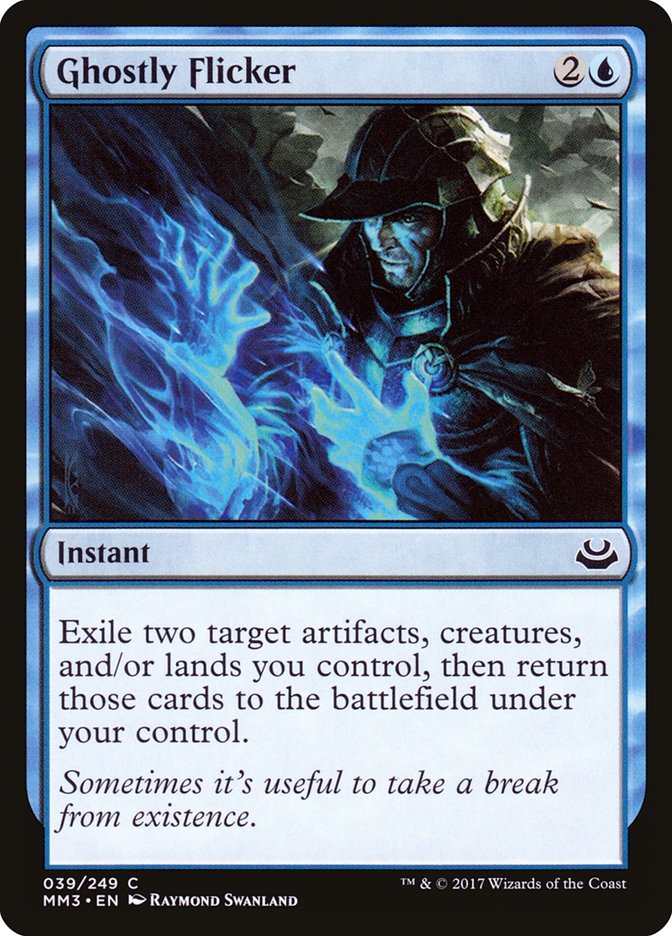
Cards – Archaeomancer + Sunscape Familiar (x2) + Ghostly Flicker
Prerequisites – Two Sunscape Familiars are on the battlefield to reduce the cost of Ghostly Flicker to . Then, with Archaeomancer on the field, you can set up the loop by targeting it with Ghostly Flicker.
Variations – This combo branches in a lot of directions depending on what support pieces you add. A second Archaeomancer (or similar effect) lets you return two spells instead of one, often looping Snap to untap lands and make infinite mana. With God-Pharaoh's Faithful alongside the loop, you gain infinite life from the repeated blue spell casts. Slot in Murmuring Mystic to turn every spell into token generation that gives you infinite 1/1 fliers. These variations make the archetype one of the most flexible and grindy combos in Pauper.
Result – The payoff is infinite storm count and infinite enters triggers. Every time you cast Ghostly Flicker, Archaeomancer reenters and brings the spell back to fuel the loop forever. You can then cash in that storm count with finishers like Grapeshot, or you can lean into other synergies depending on the support cards you run.
Execution – With two Sunscape Familiars in play, Ghostly Flicker costs just . You cast it targeting Archaeomancer and an Island to flicker them both. When Archaeomancer returns, it retrieves Ghostly Flicker from the graveyard. You then cast it again for and repeat the cycle endlessly. This creates an infinite loop of casting, entering the battlefield, and triggering storm.
#5. Tron Infinite Golem Combo
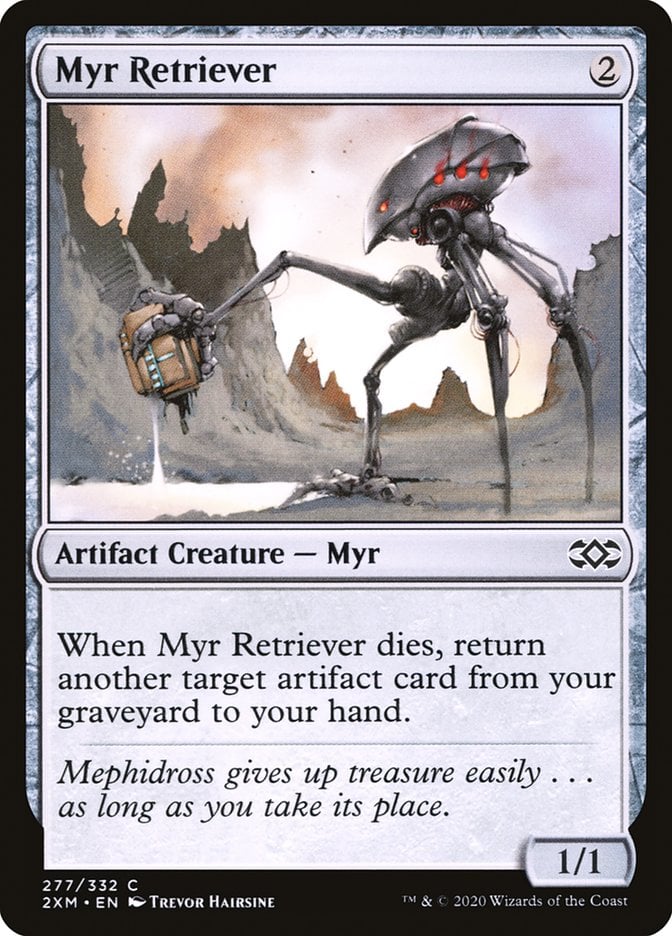
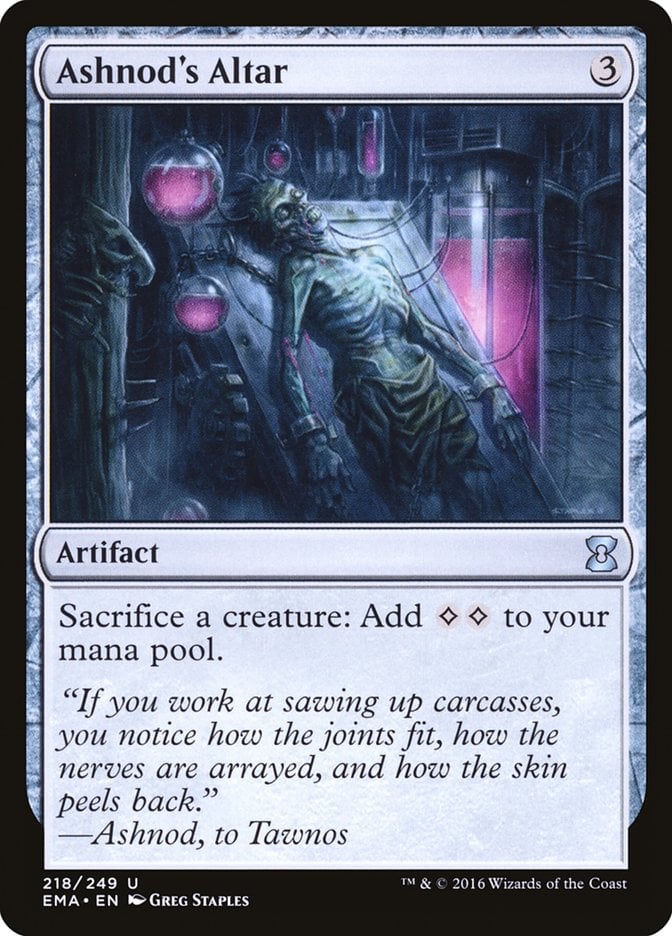
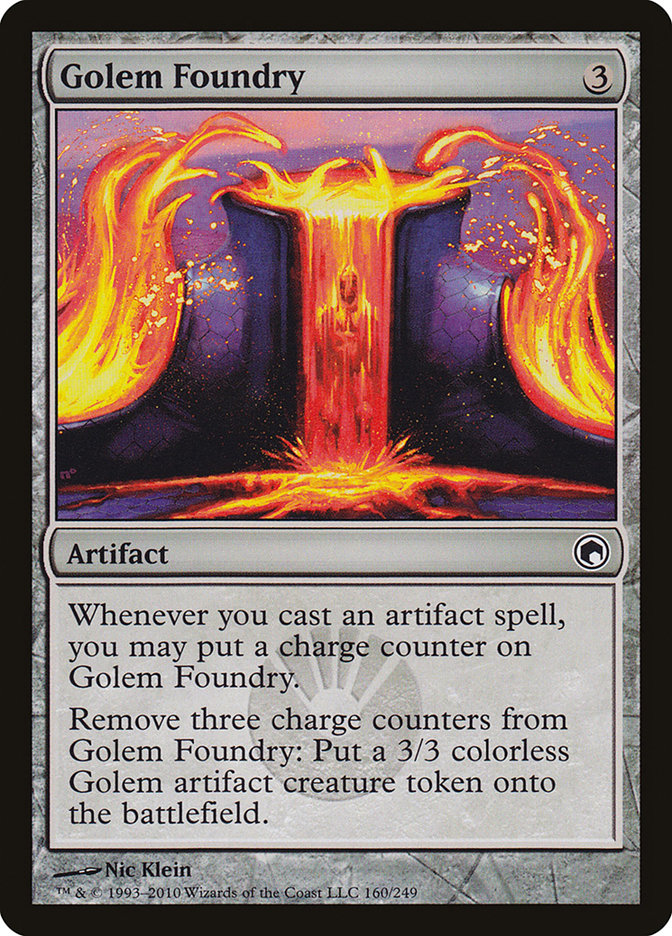
Cards – Myr Retriever (x2) + Ashnod's Altar + Golem Foundry
Prerequisites – You need both Myr Retrievers on the battlefield along with Ashnod's Altar and Golem Foundry.
Variations – While Golem Foundry provides the cleanest win by stacking infinite charge counters and converting them into 3/3 Golem tokens, there are alternative finishers. A strong option is Pactdoll Terror, which drains your opponents for 1 life each time a creature or artifact enters the battlefield. With the Retriever loop, that translates into an immediate table kill without the need to rely on combat.
Result – The payoff is either infinite tokens or infinite drain triggers.
Execution – The loop begins by sacrificing one Myr Retriever to Ashnod's Altar, which generates 2 colorless mana and returns an artifact from your graveyard to your hand. Next, sacrifice the second Myr Retriever, targeting the first Retriever in your graveyard to bring it back. You then recast it using the mana you’ve generated and repeat the cycle. Each time you go through the loop, Golem Foundry picks up another charge counter, which you can cash in for a 3/3 token.
#4. Moggwarts Infinite Damage
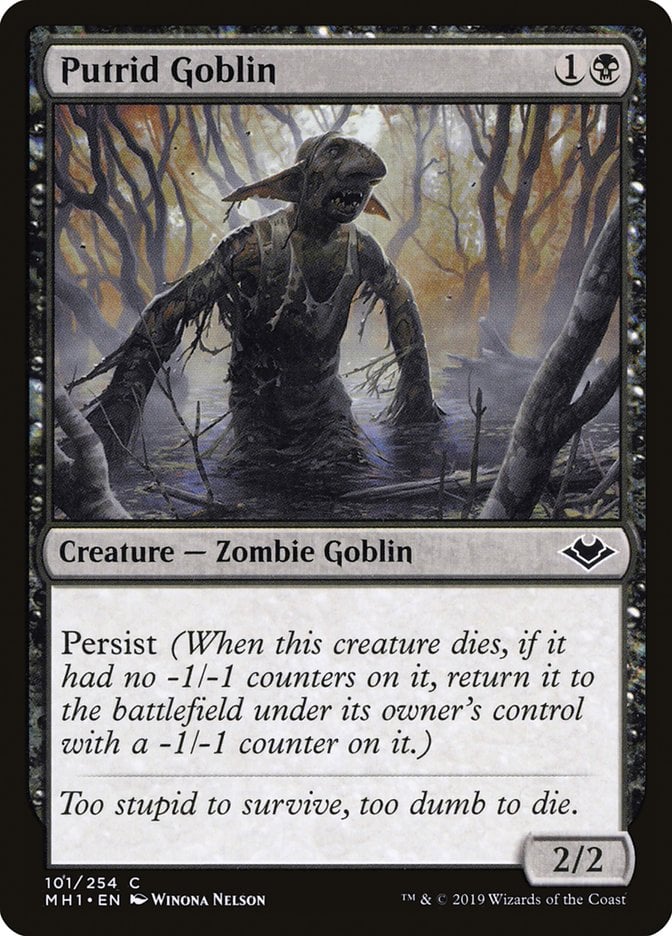
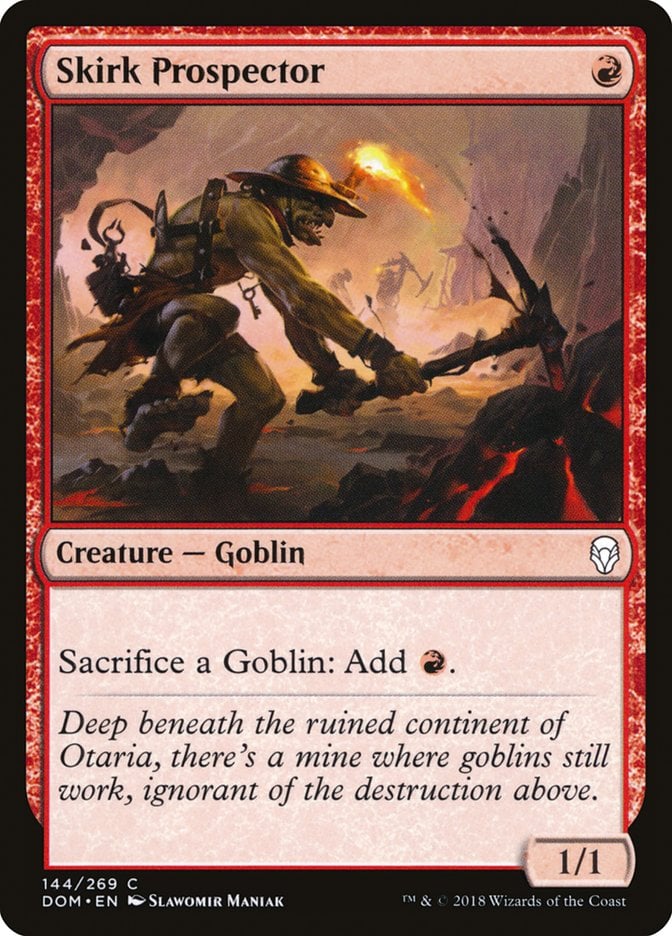
Cards – Putrid Goblin + Skirk Prospector + First Day of Class
Prerequisites – You need Putrid Goblin on the battlefield without any counters, Skirk Prospector in play, and First Day of Class ready to cast.
Variations – The most common finisher is Flamewave Invoker, which gives you a reliable outlet to convert infinite mana into damage. Some builds branch out with Goblin Sledder as a backup sac outlet, or Impact Tremors to make the infinite death and enters triggers lethal on their own. The beauty of the combo is that Goblin Matron can fetch almost all the pieces (except First Day of Class), which makes the combo both consistent and customizable depending on your win condition.
Result – The combo generates both infinite red mana and infinite death/ETB triggers. Once the loop is rolling, you can channel all of that mana into Flamewave Invoker for a clean kill.
Execution – Cast First Day of Class, then sacrifice Putrid Goblin to Skirk Prospector. Persist brings Putrid Goblin back with a -1/-1 counter, but First Day of Class gives it a +1/+1 counter to cancel the negative one. This fully resets Putrid Goblin, so you can sacrifice it again. Each time you go through the loop, you net 1 red mana and trigger both its death and return, which repeats infinitely. A neat trick here is that if you don’t already have the mana for First Day of Class, you can sacrifice Putrid Goblin, hold priority, and then use the Prospector’s red mana to cast it before persist resolves to kickstart the combo even from zero.
#3. Walls Infinite Venture
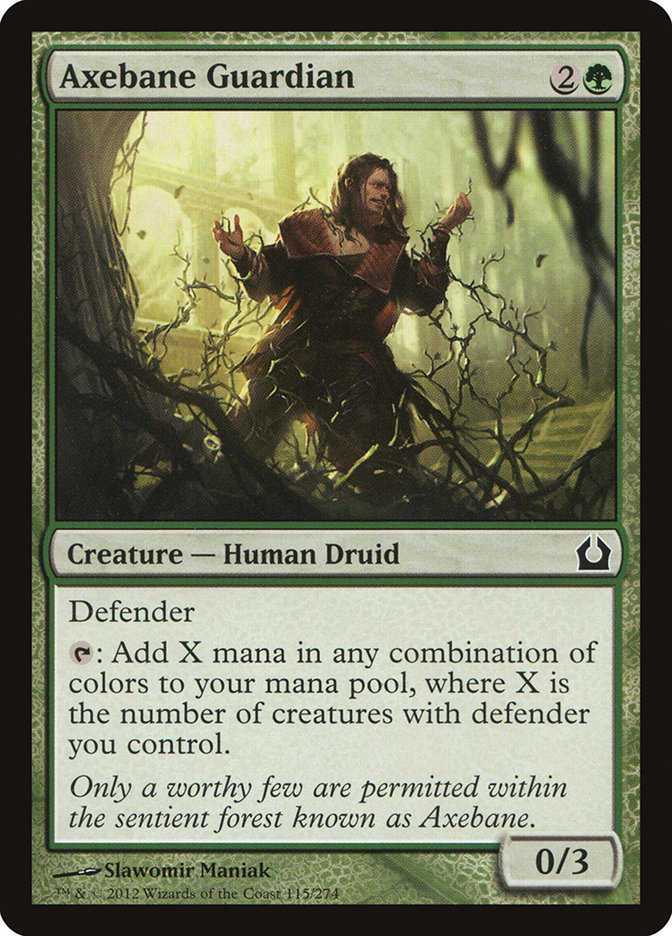
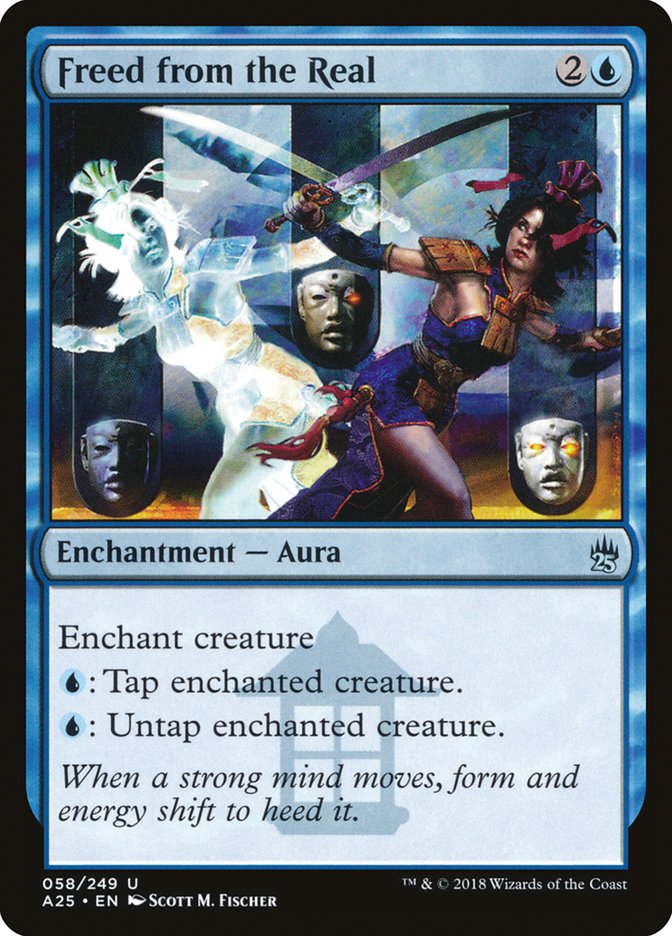
Cards – Axebane Guardian + Freed from the Real
Prerequisites – You’ll need Axebane Guardian enchanted with Freed from the Real, plus at least one other defender so the Guardian taps for 2 or more mana.
Variations – There are a few different ways to build this loop. Overgrown Battlement can take Axebane Guardian’s place, but since it only produces green, you’ll need a way to convert that into blue—Orochi Leafcaller is the most reliable filter. You can also swap out the win condition depending on what your deck is built to do. Secret Door is the traditional option to venture into the dungeon, but cards like Flamewave Invoker or other mana sinks that translate infinite mana into damage, tokens, or card advantage can close out games just as effectively. This flexibility means the core engine can slot into multiple shells.
Result – The payoff is infinite mana. Most builds use Secret Door to spend that mana venturing through dungeons endlessly—either they grind value from the Lost Mine of Phandelver or push opponents toward the Tomb of Annihilation for a faster kill.
Execution – The loop itself is straightforward. Tap Axebane Guardian for 2 mana, then spend 1 blue to untap it with Freed from the Real. Each time you repeat the process, you come out ahead by 1 mana. By cycling through this action over and over, you quickly reach infinite mana, ready for you to pour into your chosen win condition.
#2. 5-Land Spy One Turn Kill Combo
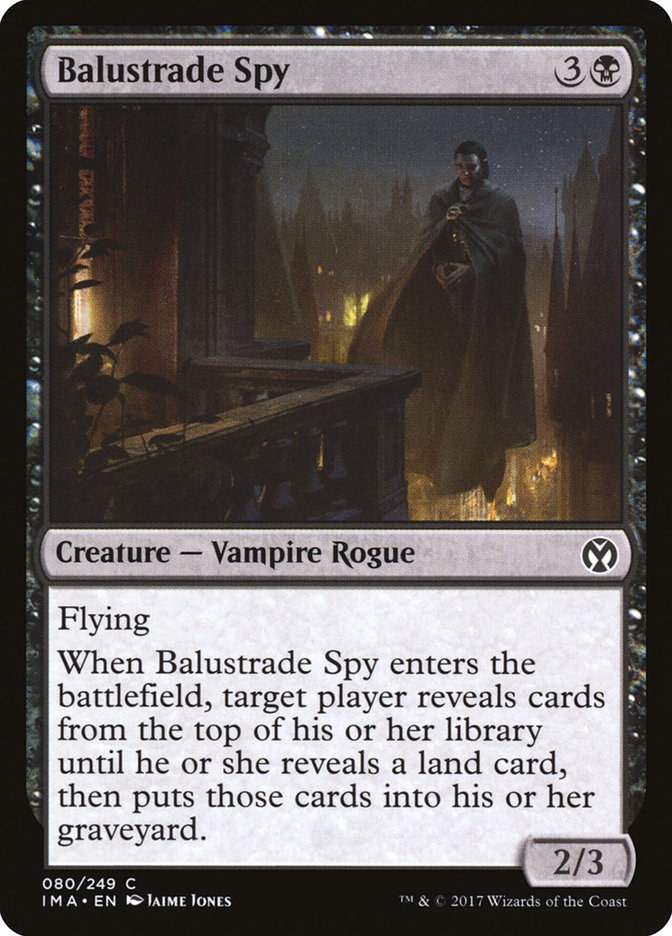
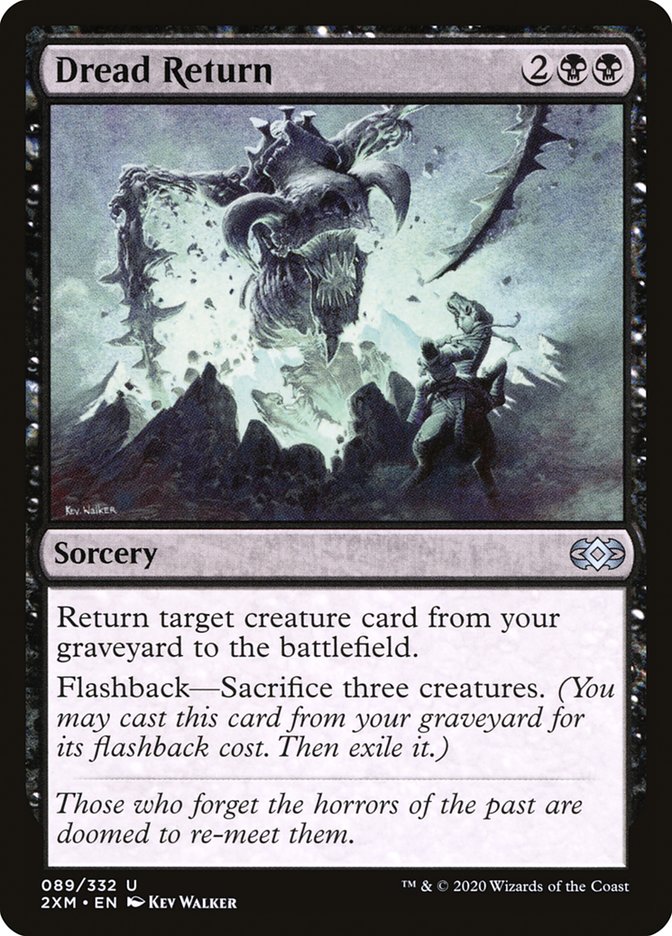
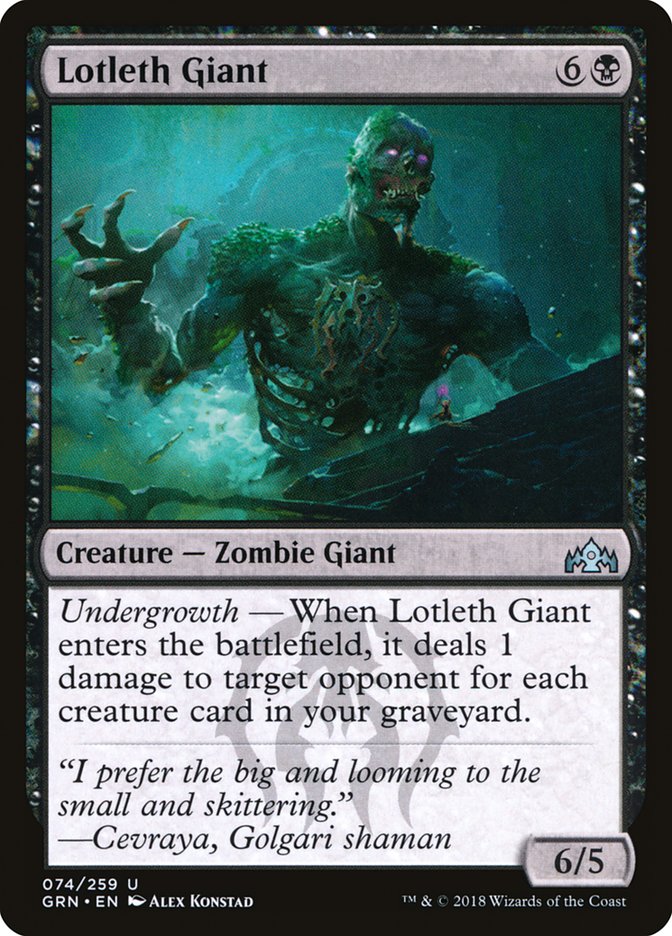
Cards – Balustrade Spy + Dread Return + Lotleth Giant
Prerequisites – The deck is built to only run a handful of lands—usually five total—that you can fetch or cycle away with cards like Generous Ent, Land Grant, and Troll of Khazad-dûm. By the time you’re ready to combo, your library is left with no lands in it. You’ll also need two other creatures in play to flash back Dread Return.
Variations – The most common kill is through Lotleth Giant, but some versions run Haunting Misery as an alternate win condition. Instead of reanimating a creature, you exile your entire graveyard of creatures to deal massive direct damage to the opponent. The advantage of this plan is that you don’t need to set up Dread Return, so it’s less fragile if your board is disrupted. Depending on your build, you can also lean into different creature packages, but the central engine of milling yourself out with Balustrade Spy stays the same.
Result – The payoff is a one-shot kill. Once everything resolves, Lotleth Giant hits your opponent equal to the number of creatures in your graveyard—often 30 or more—which is more than enough to end the game on the spot.
Execution – The combo fires when you cast Balustrade Spy. With no lands left in your library, its ability mills your entire deck into the graveyard at once. Then you flash back Dread Return by sacrificing three creatures, targeting Lotleth Giant. The giant enters the battlefield and immediately counts all those creatures in your graveyard, often dealing lethal damage.
#1. High Tide Combo
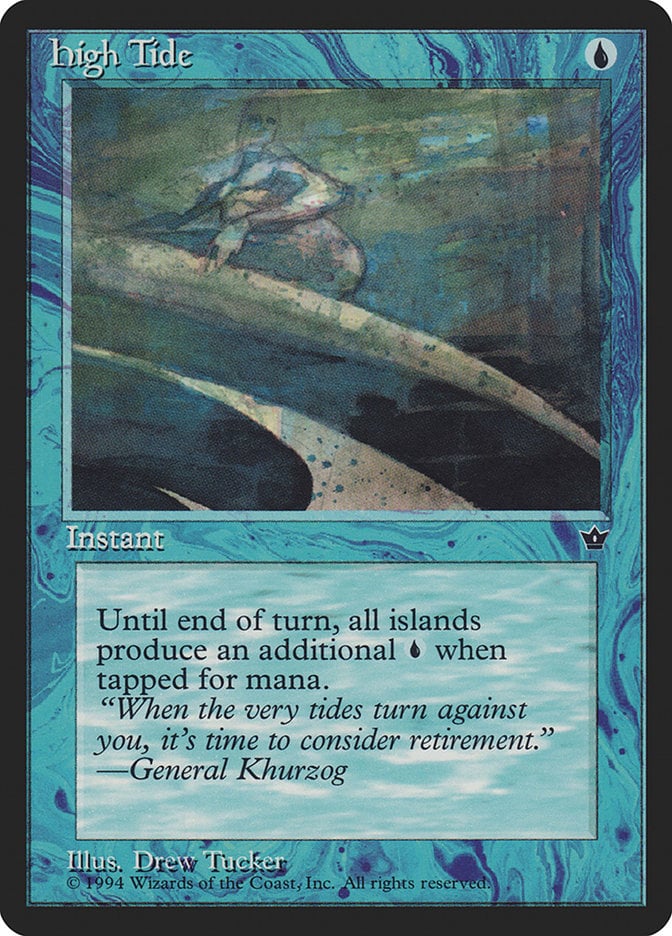
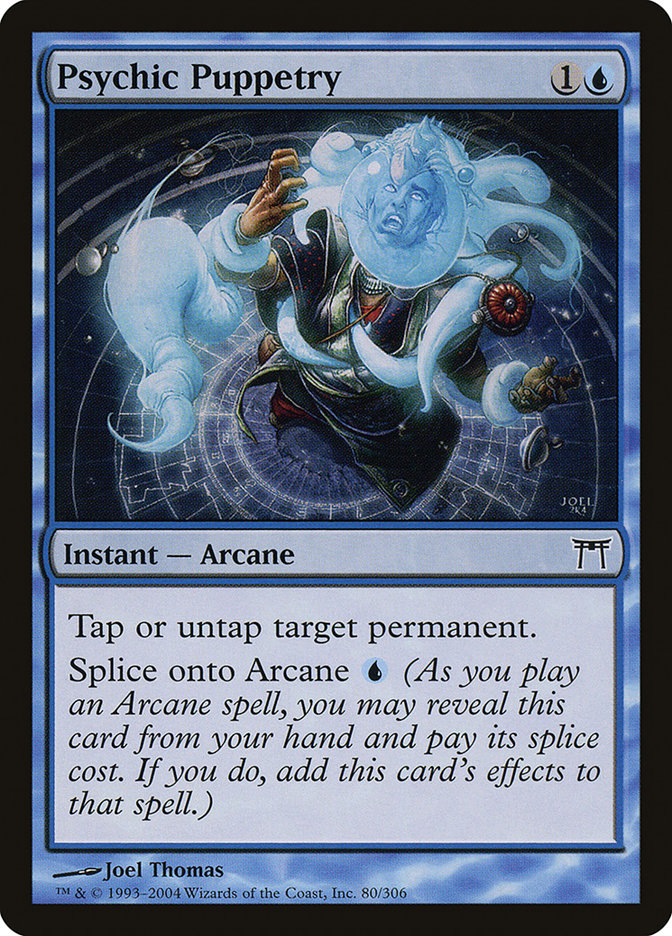
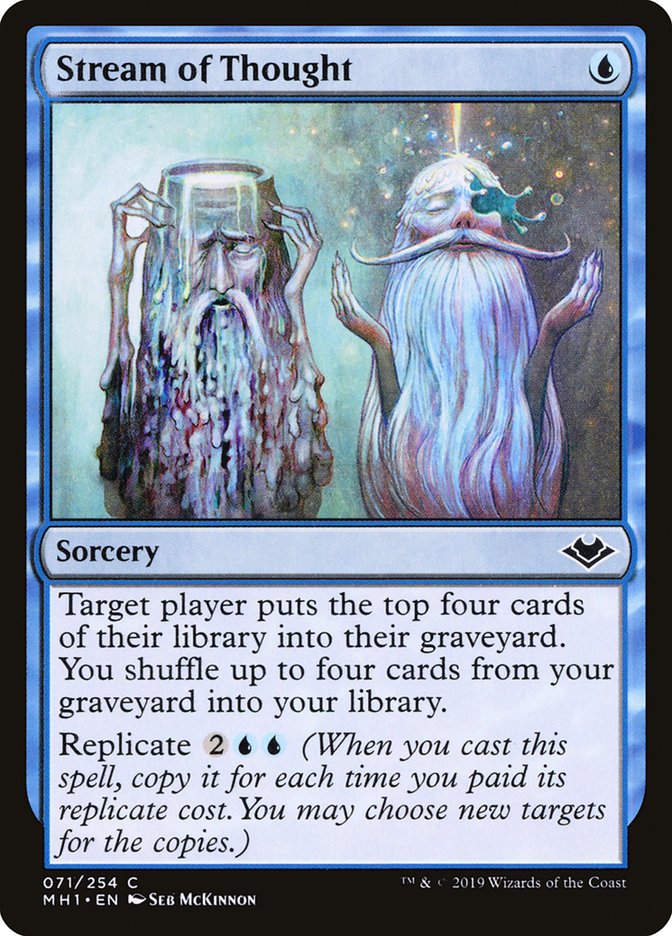
Cards – High Tide + Psychic Puppetry + arcane spells + Stream of Thought
Prerequisites – You need several Islands on the battlefield, at least one copy of High Tide in hand, and access to arcane spells to splice Psychic Puppetry onto.
Variations – Some experimental lists also toy with adding poison-based storm cards like Prologue to Phyresis, aiming to maximize proliferate synergies inside High Tide shells, though these approaches aren’t nearly as popular.
Result – The payoff is essentially infinite mana and the ability to empty your opponent’s library.
Execution – The sequence begins by casting High Tide to turn each Island into a land that taps for extra blue mana. You then cast arcane spells and splice Psychic Puppetry onto them, untapping your Islands each time to generate more mana than you spend. This loop snowballs as you cast more spells: Each spliced Puppetry untaps lands and gives you more resources to keep going. When you have enough mana, finish by casting Stream of Thought multiple times with replicate until your opponent’s library is gone.
What Are the Top Pauper Combo Decks?
Combo decks in Pauper have always been powerful, which is why many storm spells like Empty the Warrens, Grapeshot, and Chatterstorm are banned. The format tries to avoid super-fast, broken combos, but a few strategies have stood the test of time.
Right now, High Tide and 5 Land Spy are considered the top combo decks in Pauper. Close behind are Tron combo shells and the tricky Moggwarts deck, which some players argue might actually be the best option—though it has a steep skill curve to master.
Wrap Up

Ivy Lane Denizen | Illustration by Winona Nelson
Pauper has plenty of combos to explore, and believe it or not, there are still many more I didn’t even cover. If you’re curious and want to dive deeper, join the Draftsim Discord where we can chat about the hidden gems of the format together.
Thanks so much for reading, and I’ll catch you next time!
Follow Draftsim for awesome articles and set updates:


Add Comment