
Omnath, Locus of Rage | Illustration by Brad Rigney
If smashing face and going over the top is your style, then you’re going to love what Gruul has to offer. Between wild combat chains and mana-fueled engines, red and green team up to deliver some of the most explosive combos in Magic: The Gathering.
Today, we take a look at some of Gruul’s most powerful interactions—which cards you need, how the combos work, and the kind of chaos you can unleash on the table. Let’s take a walk on the wild side of the color pie and see just how far Gruul can push the limits.
What Are Gruul Combos in MTG?

Xenagos, God of Revels | Illustration by Jason Chan
Gruul combos in Magic: The Gathering are powerful interactions between red and green cards that often lead to explosive, game-ending effects. These combos typically focus on generating infinite combat steps, mana, or creature tokens, which perfectly fits Gruul’s aggressive and mana-rich playstyle.
Honorable mention to Dockside Extortionist, who was banned from Commander in 2024, and enabled a wide majority of combos in the format in all red color combinations.
#11. Grumgully, the Generous + Woodfall Primus + Ashnod’s Altar

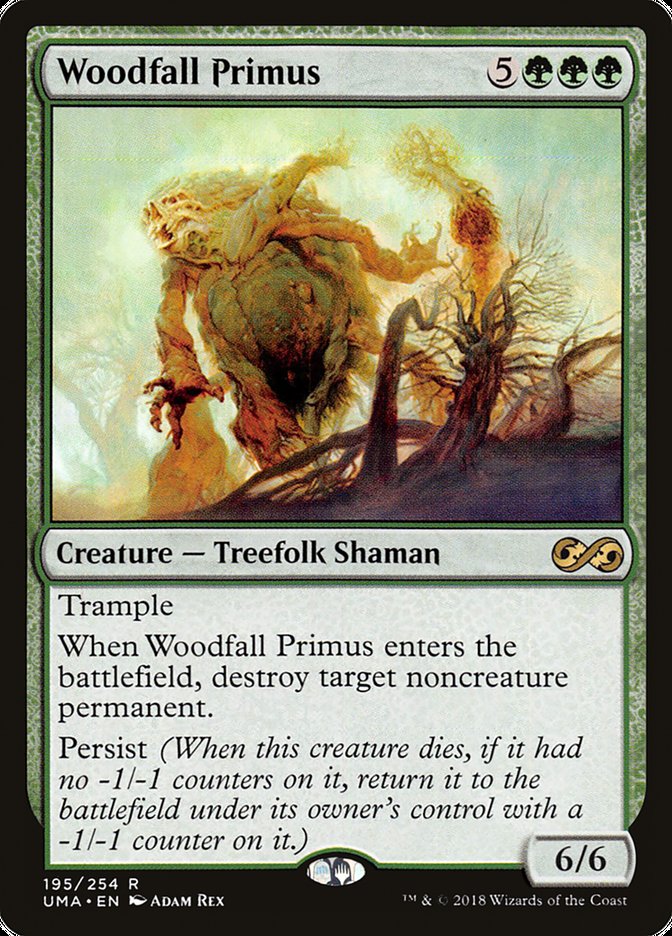
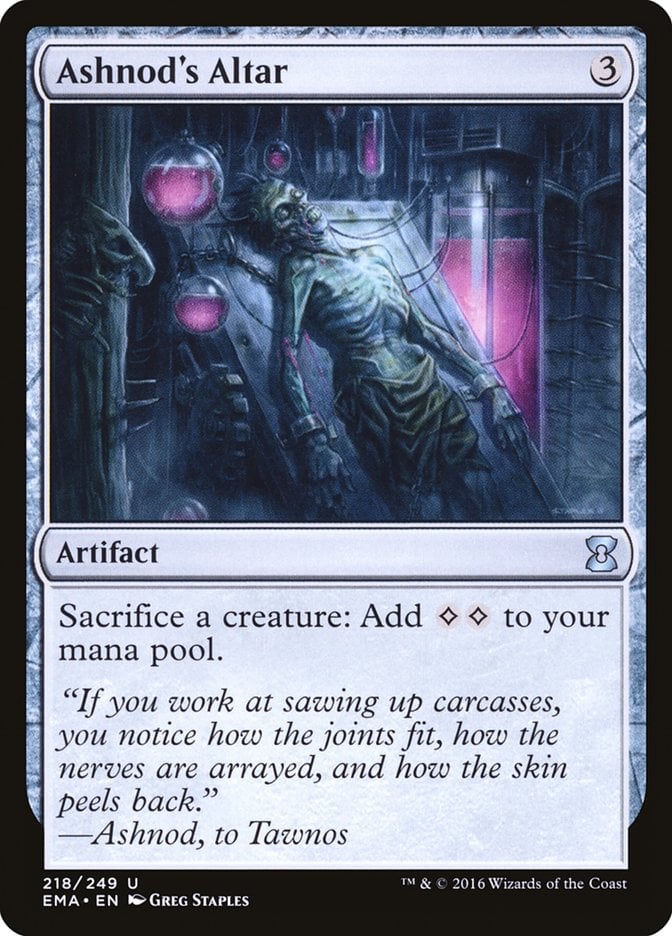
Cards – Grumgully, the Generous; Woodfall Primus; any free sacrifice outlet (e.g. Ashnod's Altar).
Prerequisites – Grumgully, the Generous is on the battlefield. Woodfall Primus is on the battlefield. You control a sacrifice outlet that lets you sacrifice creatures at any time for free.
Result – Infinite death triggers + infinite enters/leaves the battlefield triggers + destroy all opponents’ noncreature permanents (thanks to Woodfall Primus’s ETB effect); if using an Altar, also infinite mana.
Variations – Melira, Sylvok Outcast can take Grumgully, the Generous’s place here—Melira stops -1/-1 counters, which lets Woodfall Primus persist forever. Rhythm of the Wild can also set up the loop by giving persist creatures a +1/+1 counter on entry. You can replace Woodfall Primus with other persist creatures, like Thunderblust, for different effects—though most aren’t as impactful. Cards like Mikaeus, the Unhallowed can also enable this kind of combo, but they fall outside Gruul’s color identity. For Gruul, Grumgully, the Generous and Woodfall Primus are the go-to persist engine.
Execution – Grumgully, the Generous makes every other non-human, non-token creature enter the battlefield with a +1/+1 counter. The non-human Woodfall Primus gains a +1/+1 counter when it enters. You sacrifice Woodfall Primus to your outlet (like Ashnod's Altar) to generate value—if it’s the Altar, you get 2 colorless mana. Because it died with no -1/-1 counter, its persist ability triggers and it returns to the battlefield with a -1/-1 counter. But Grumgully, the Generous also gives it a +1/+1 counter. The +1/+1 and -1/-1 cancel out, so Woodfall Primus has no counters and is ready to be sacrificed again.
Each time it comes back, its ETB ability blows up a noncreature permanent, and if you're using something like Ashnod's Altar, you’re also getting infinite mana while doing it. You can repeat this loop forever to clear the board and eventually use that mana to win the game however you like.
#10. Xenagos, God of Revels + Malignus + Chandra’s Ignition
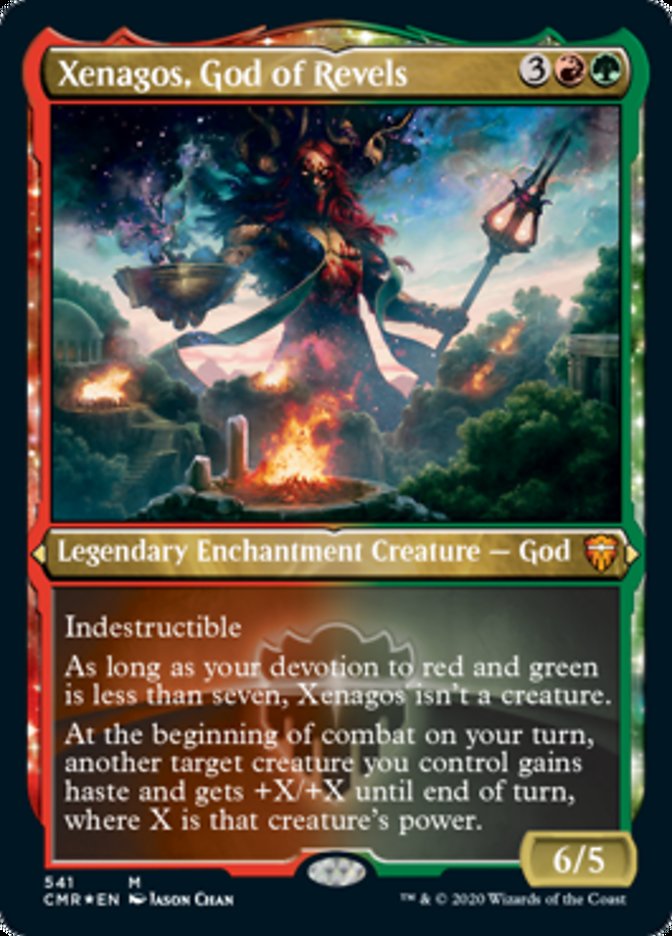
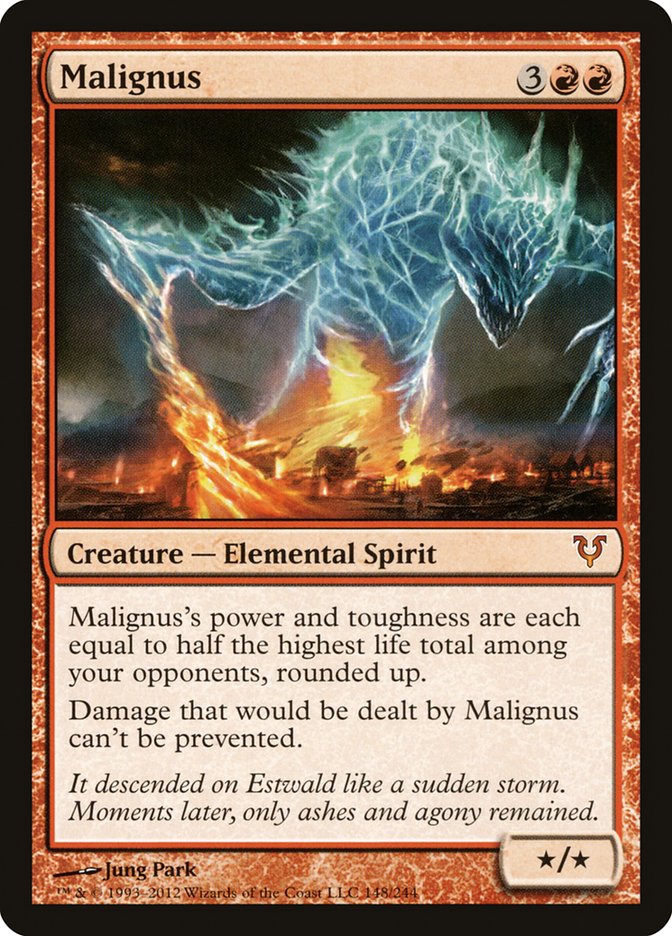
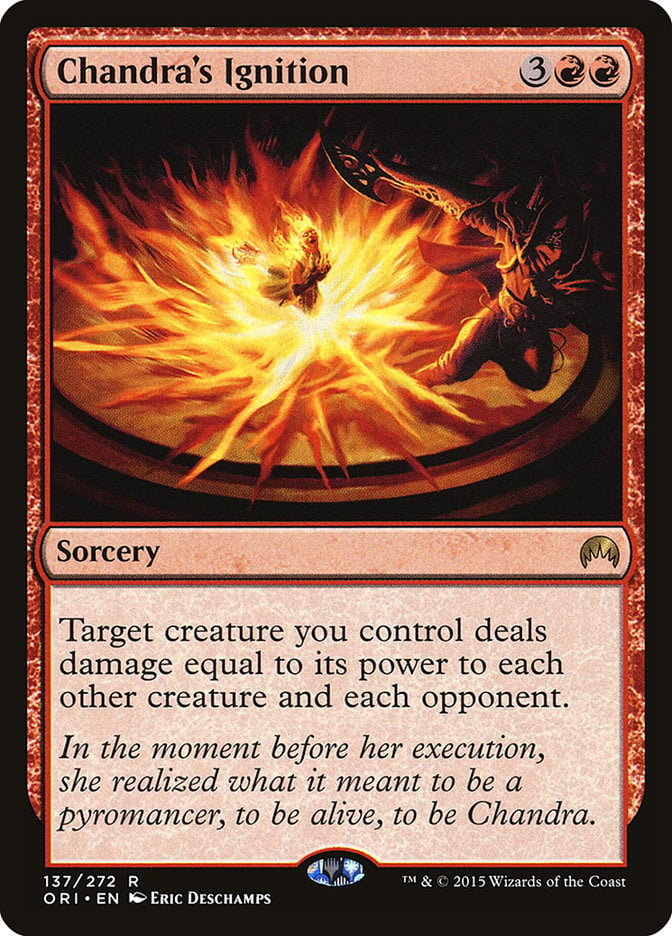
Cards – Xenagos, God of Revels; Malignus; Chandra's Ignition.
Prerequisites – Xenagos, God of Revels is on the battlefield. Malignus is on the field. You’ve got at least to cast Chandra's Ignition during your main phase.
Result – This combo dishes out enough damage to take out every opponent in one go. Malignus gets a massive power boost from Xenagos, God of Revels, usually matching the highest life total at the table. Then, when it deals that much damage to everyone, it’s lights out—one big swing and the game can end right there.
Variations – You can swap Malignus with Thromok the Insatiable, which can get just as huge by devouring a bunch of creatures. Chandra's Ignition is the real finisher here, turning any oversized creature into a board wipe and a win condition. In Gruul decks that love going tall, you’ll often see finishers like this that use creatures like Crash of Rhino Beetles. But the classic Xenagod + Malignus combo is a fan favorite, especially at casual tables where swinging for a ton is half the fun.
Execution – Xenagos, God of Revels gives Malignus haste and doubles its power—so if someone’s at 40 life, Malignus becomes a 40/40. Then you cast Chandra's Ignition, making it blast every other creature and player for 40 damage. It’s not a guaranteed win, but it's usually more than enough to wipe the board and end the game, especially since Malignus scales with whomever has the most life and its damage can’t be prevented.
#9. Perilous Forays + Omnath, Locus of Rage + Lotus Cobra
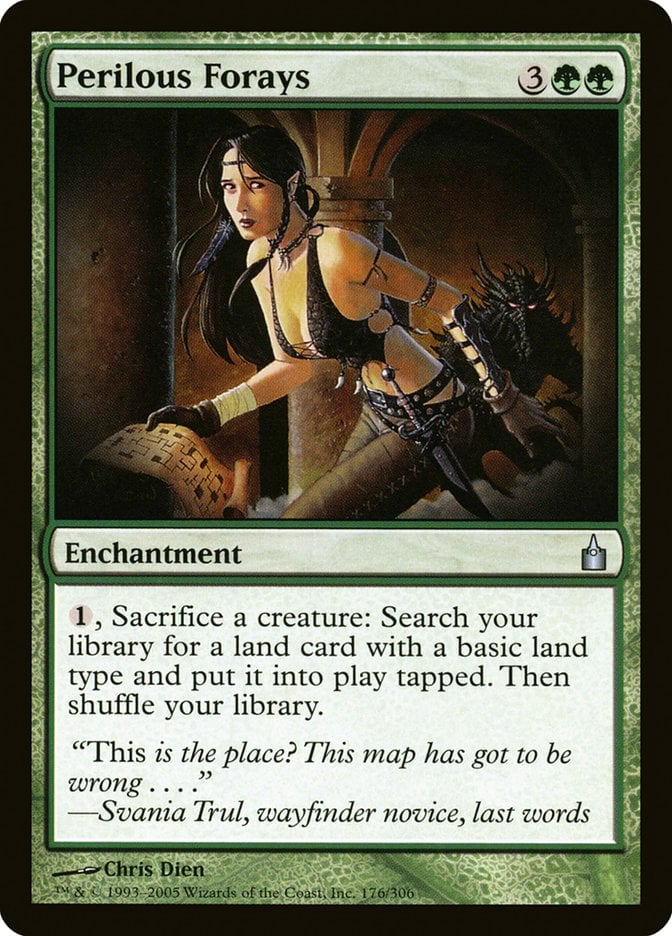
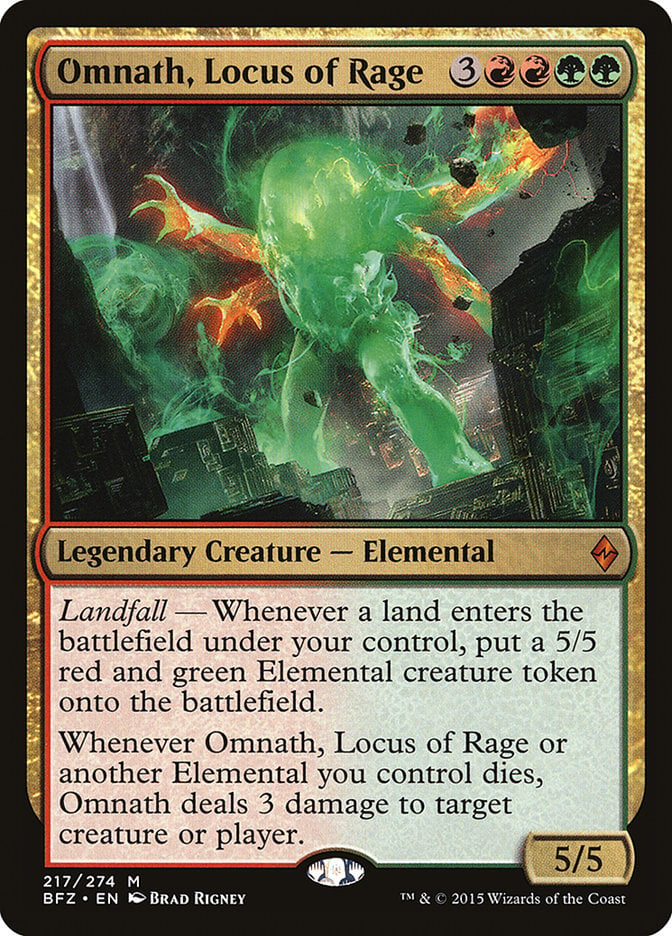
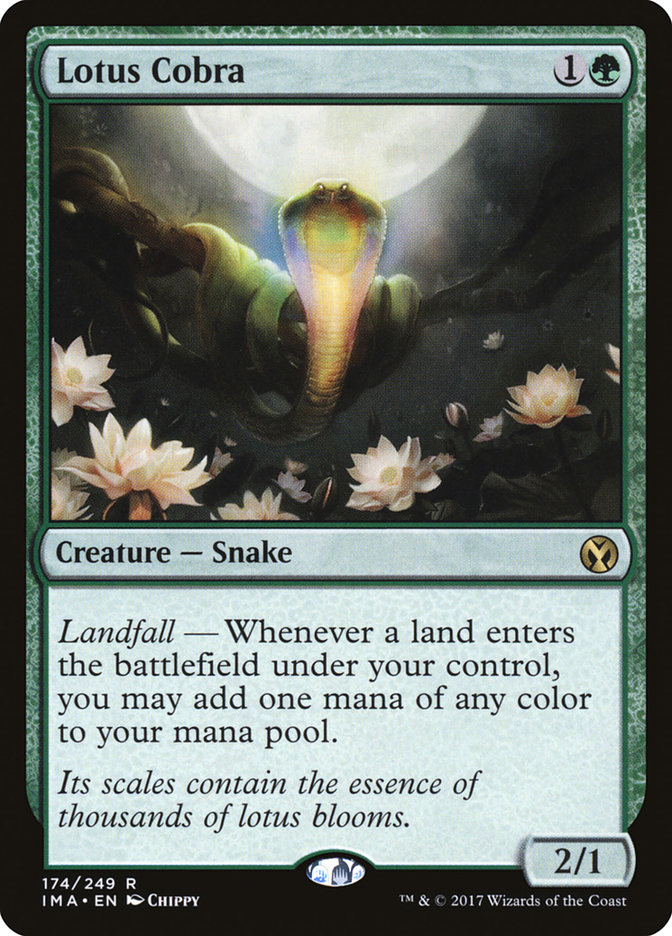
Cards – Perilous Forays; Omnath, Locus of Rage; Lotus Cobra.
Prerequisites – All three permanents are on the battlefield. You have at least one creature you can sacrifice. Your library still has basic lands you can search for.
Result – “Near-infinite” damage to opponents (from Omnath, Locus of Rage’s token death triggers) + all basic lands from your deck onto the battlefield tapped + near infinite landfall triggers.
Variations – Tireless Provisioner can stand in for Lotus Cobra. Instead of floating mana, the Provisioner makes Treasures, which can pay for Perilous Forays just as well. You can also swap Omnath, Locus of Rage for other landfall payoffs like Scute Swarm or Rampaging Baloths. If you still want damage, you could add something like Tunneling Geopede or Purphoros, God of the Forge. The Forays + Omnath core is especially loved in landfall-themed Commander decks, where setting up this engine often ends the game. It's too slow for most other formats.
Execution – Once you’ve got Omnath, Locus of Rage, Perilous Forays, and Lotus Cobra on the battlefield, the loop pretty much runs itself. Each land you play gives you a 5/5 elemental and 1 mana from Lotus Cobra. You pay that mana to sacrifice an elemental with Perilous Forays, which deals 3 damage thanks to Omnath and fetches another basic land. That land enters, making a new elemental and giving you another mana—and you just do it again.
You can keep going until you run out of basics. If you’ve got 10 basics left in your deck, that’s 10 elementals and 30 damage spread however you want. It’s not technically infinite, but it’s close enough to win the game most of the time.
#8. Cacophodon + Rite of Passage + Pyrohemia
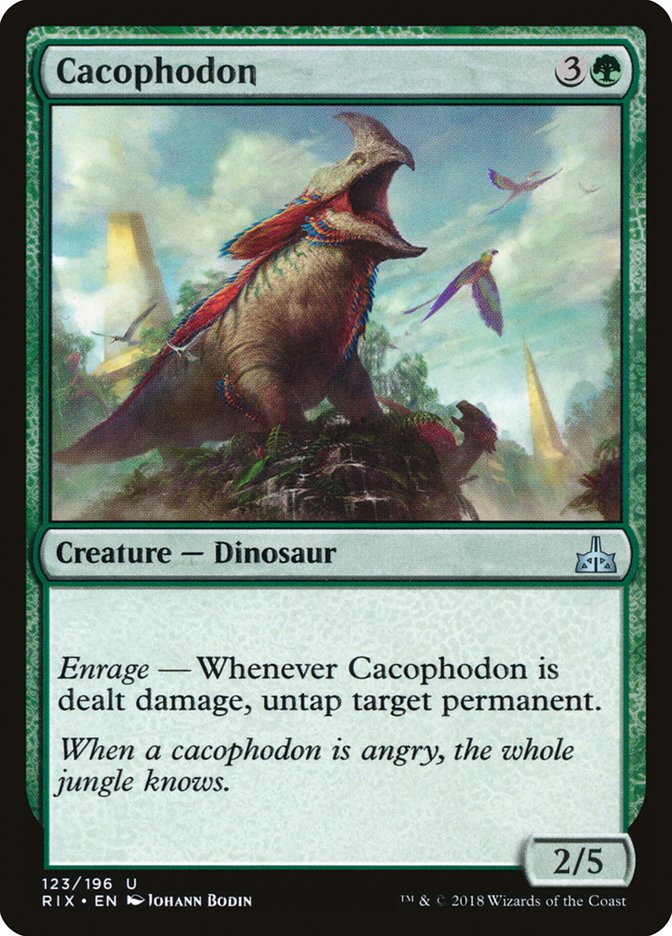
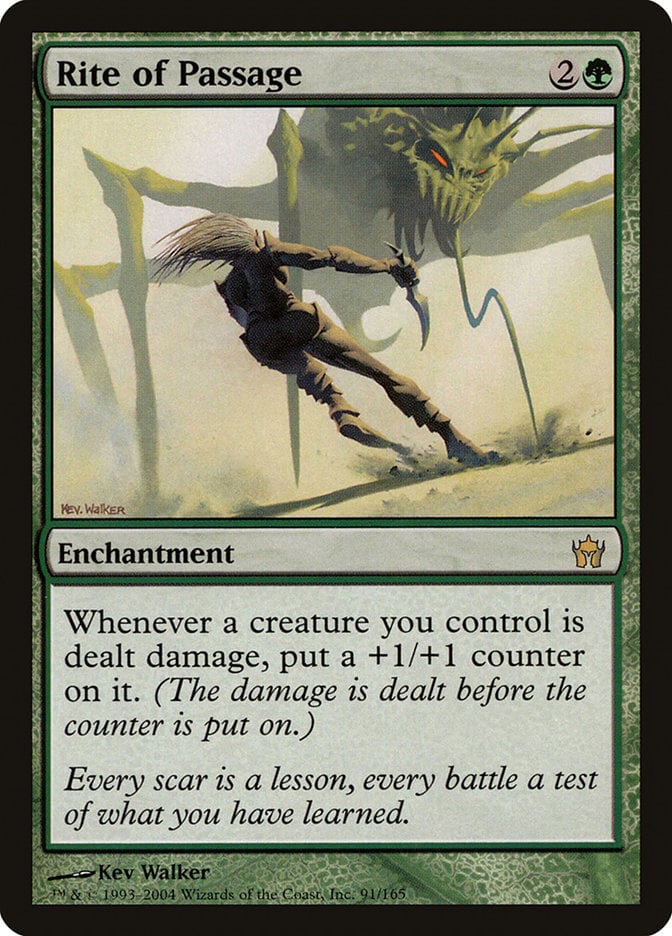
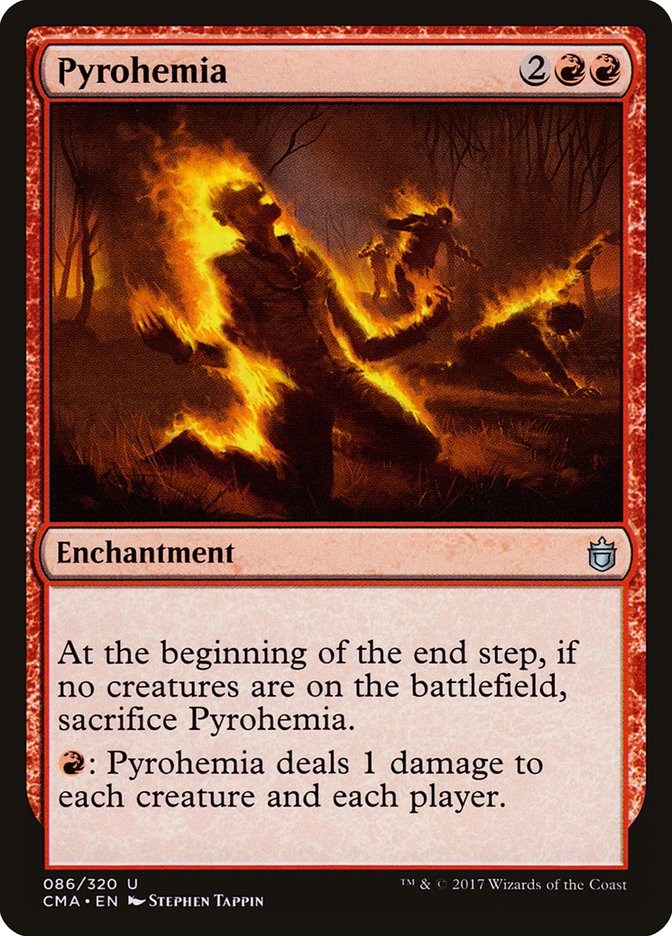
Cards – Cacophodon; Rite of Passage; Pyrohemia.
Prerequisites – You need all three cards on the battlefield and 1 red mana to start the chain.
Result – Infinite damage to all creatures and players + near-infinite +1/+1 counters on your creatures.
Variations – This combo works best as-is, but you can amplify it with effects that care about creatures getting +1/+1 counters, though it would be just a “win-more” scenario. In Jund () variants, you can swap Pyrohemia out for Pestilence and use black mana instead.
Execution – Once you have Cacophodon, Rite of Passage, and Pyrohemia on the field, activate Pyrohemia by paying 1 red mana to deal 1 damage to each creature and each player. This damage does a few key things at once. First, it triggers Rite of Passage for each of your creatures, including Cacophodon—each one gets a +1/+1 counter. Then, Cacophodon’s ability sees that it took damage and untaps a permanent—ideally, a land or mana rock that made the red mana to activate Pyrohemia.
Once that mana source is untapped, you do it again: Spend the red mana to ping the board, grow your team with counters, and untap the source to fuel another activation. Because Cacophodon keeps soaking the damage and untapping your red source, you get a self-sustaining loop of pinging the entire board over and over. Each repetition piles on +1/+1 counters to your creatures and keeps burning opponents down. Keep in mind that Pyrohemia hits all players too, so you gave to pay attention to your own life total.
#7. Polyraptor + Marauding Raptor
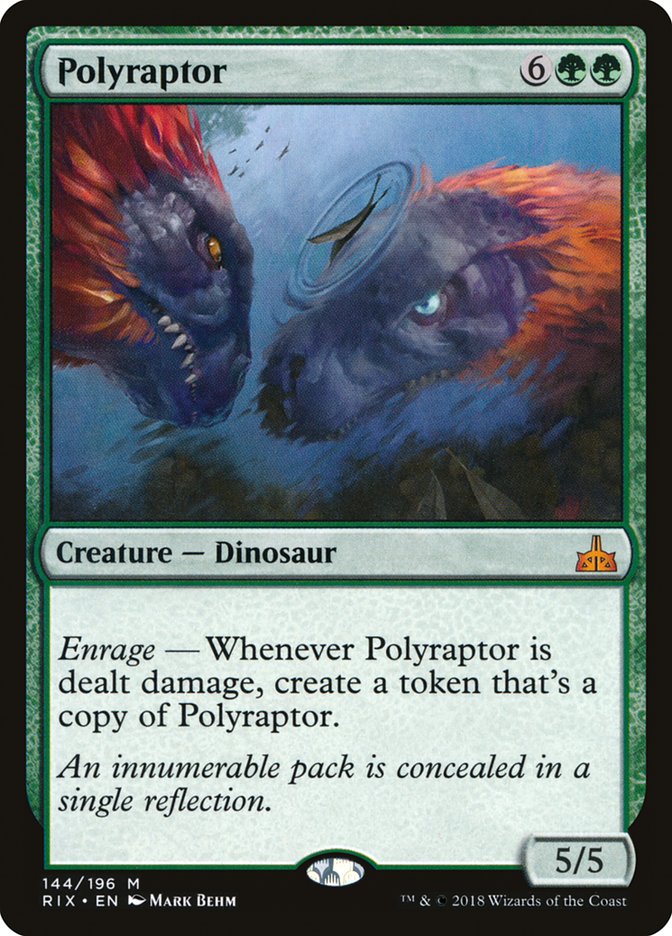
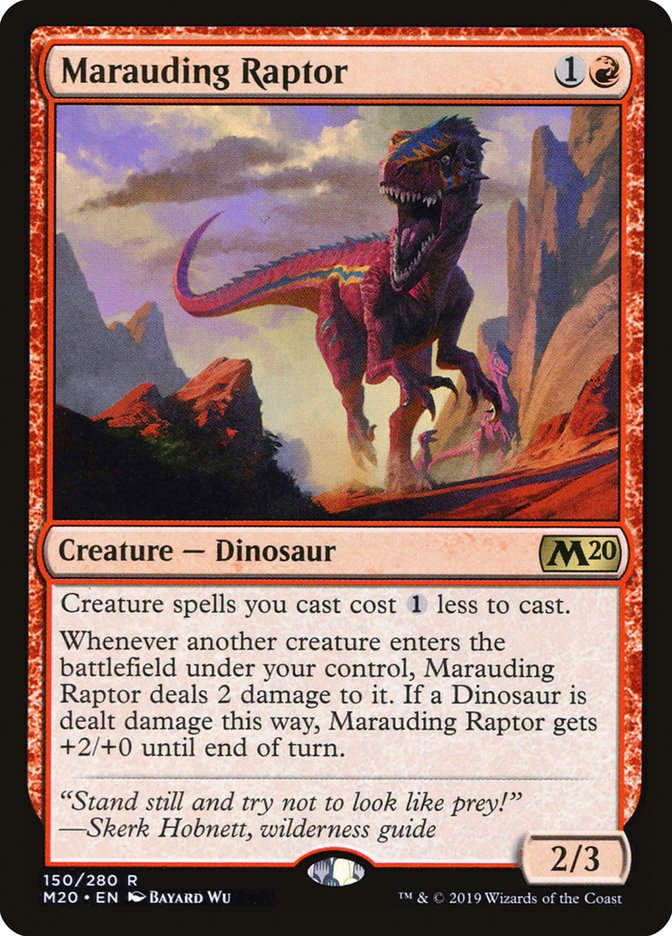
Cards – Polyraptor; Marauding Raptor.
Prerequisites – Marauding Raptor is on the battlefield. You can cast Polyraptor in hand.
Result – Infinite creature tokens + infinite ETB triggers + infinite LTB/death triggers + potentially a draw due to game state loops.
Variations – This combo can be controlled or weaponized in different ways. Cards like Warstorm Surge or Terror of the Peaks turn the endless Polyraptor token creation into infinite damage and prevent ending the game in a draw.
Execution – Cast Polyraptor while Marauding Raptor is on the battlefield. Marauding Raptor deals 2 damage to Polyraptor as it enters. Since Polyraptor is a 5/5, it survives and creates a token copy of itself. That token enters and also takes 2 damage from Marauding Raptor, triggering another token copy. This cycle continues indefinitely, creating as many Polyraptors as you want. The game ends in a draw without a way to break or end the loop, but with cards that benefit from ETB or creature deaths—or ways to cap the loop—it turns into a win condition.
#6. Bumi, Unleashed + Ashaya, Soul of the Wild

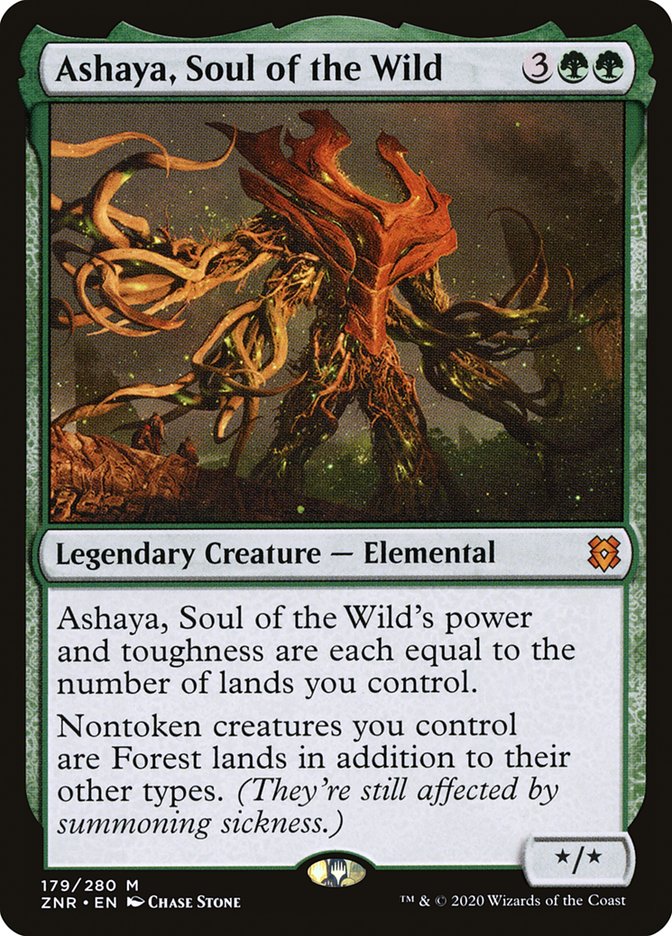
Cards – Bumi, Unleashed; Ashaya, Soul of the Wild.
Prerequisites – You need Bumi, Unleashed and Ashaya, Soul of the Wild on the battlefield, and Bumi must be able to survive combat and deal combat damage to an opponent.
Result – Infinite combat phases, infinite mana from your lands, infinite untaps of nontoken creatures and lands.
Variations – None known.
Execution – Send in Bumi, Unleashed and be sure it deals saboteur damage. Bumi, along with your lands and nontoken creatures all untap. Then as long as Bumi can continue to trigger its combat damage effect, you can run opponents into the ground.
#5. Kodama of the East Tree + Gruul Turf + Omnath, Locus of Rage
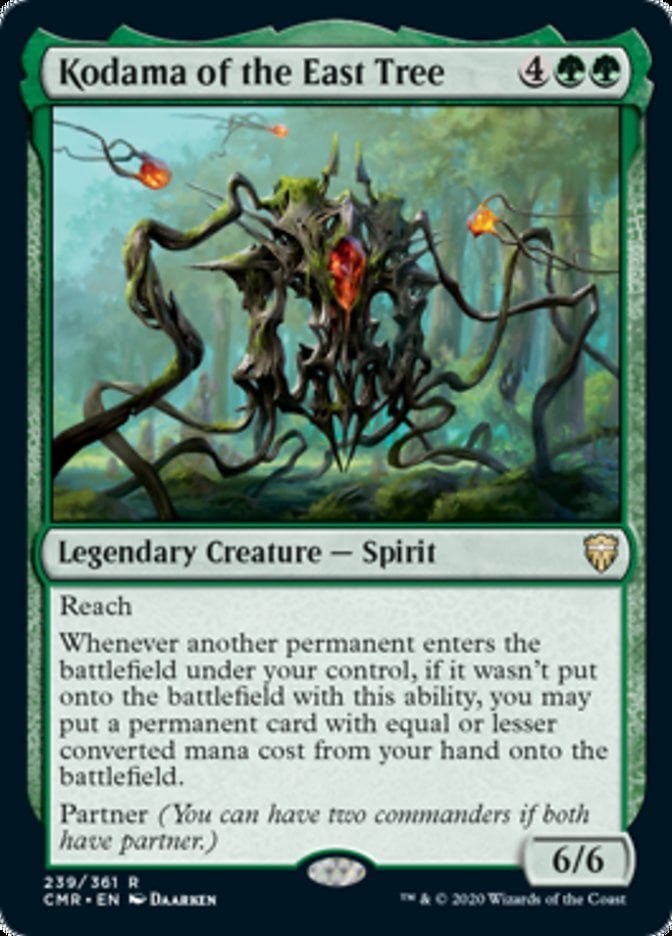
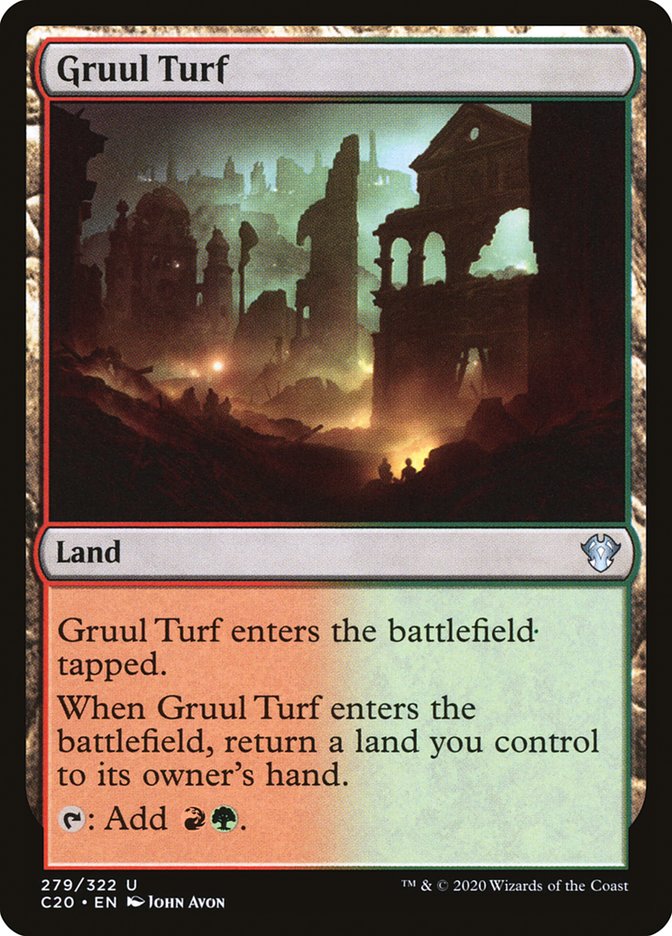
Cards – Kodama of the East Tree; Gruul Turf; Omnath, Locus of Rage.
Prerequisites – You need Kodama of the East Tree and Omnath, Locus of Rage on the battlefield, Gruul Turf in hand, and the ability to play a land this turn.
Result – Infinite creature tokens + infinite ETB triggers + infinite landfall triggers.
Variations – This combo relies specifically on these three cards, but you can scale its impact by adding pieces like Purphoros, God of the Forge to turn the token creation into direct damage. In reality, any bounce land would do, but regardless, this setup is a solid fit for landfall-focused Commander builds.
Execution – To kick things off, play Gruul Turf from your hand. When it enters the battlefield, it triggers a few things all at once: Gruul Turf asks you to return a land to your hand, Omnath, Locus of Rage gets excited about the landfall and prepares to create a 5/5 elemental, and Kodama of the East Tree sees the land enter and offers to let you put something else onto the battlefield for free.
First, let Kodama of the East Tree’s trigger resolve. You can ignore it this time—there’s nothing you want to put down yet. Next, resolve Gruul Turf’s trigger and bounce it back to your hand. Then Omnath, Locus of Rage gives you a fresh 5/5 elemental from the landfall trigger.
Now that a new creature has entered the battlefield, Kodama of the East Tree triggers again. This time, use its ability to put Gruul Turf back onto the battlefield. And just like that, you’re right back where you started. Gruul Turf re-enters, which triggers landfall again for another elemental and lets you bounce it to your hand once more. Each loop of this process creates a new 5/5 token and gives you the option to repeat it forever.
With every cycle, you’re generating landfall triggers, stacking up elementals, and flooding the board. If you’ve got a way to turn those ETBs into damage—say, with Terror of the Peaks—you can turn this infinite loop into an instant win. Otherwise, you’ll end the turn with an overwhelming board state and more elementals than your opponents can ever hope to block.
#4. Sanctum Weaver + Aggravated Assault
Cards – Sanctum Weaver; Aggravated Assault.
Prerequisites – Both cards are on the battlefield. You control at least five enchantments, and Sanctum Weaver isn’t summoning sick.
Result – Infinite colored mana (if you control at least six enchantments) + infinite combat phases + infinite creature untaps.
Variations – This combo is simple and elegant, but you can scale it by adding more enchantments or cards that care about extra combat steps. Any creature that has a tap ability like Thermo-Alchemist also benefits from the loop.
Execution – Start by tapping Sanctum Weaver, which gives you mana equal to the number of enchantments you control. With five enchantments, you’ll generate exactly the needed to activate Aggravated Assault. Doing so gives you an extra combat phase and untaps all your creatures, including Sanctum Weaver.
Move into the extra main phase granted by Aggravated Assault, then tap Sanctum Weaver again to generate another batch of mana. Spend that mana to activate Aggravated Assault once more. With this setup, you can repeat the process infinitely, giving you endless combat steps and all the colored mana you could want to cast spells, pump creatures, or close out the game with a massive board swing.
#3. Kiki-Jiki, Mirror Breaker + Hyrax Tower Scout
Cards – Kiki-Jiki, Mirror Breaker; Hyrax Tower Scout.
Prerequisites – Both creatures are on the battlefield, and Kiki-Jiki, Mirror Breaker isn’t summoning sick.
Result – Infinite creature tokens (with haste) + infinite death triggers + infinite ETB/LTB + infinite sacrifice triggers.
Variations – Any creature that untaps Kiki-Jiki, Mirror Breaker when it enters the battlefield can take the place of Hyrax Tower Scout. In Gruul colors, the best replacements are Great Oak Guardian, which untaps all your creatures, or Zealous Conscripts, which can target Kiki to untap it. Each of these creates the same endless army of tokens.
Execution – Tap Kiki-Jiki, Mirror Breaker to make a token copy of Hyrax Tower Scout. When the token enters, it untaps Kiki. Now that Kiki’s untapped, tap it again to make another Hyrax Tower Scout token. Just keep repeating that loop as many times as you want. You’ll end up with a massive swarm of hasty 3/3 scouts ready to swing.
#2. Hellkite Charger + Bear Umbra

Cards – Hellkite Charger; Bear Umbra.
Prerequisites – A creature (ideally Hellkite Charger itself) is able to attack and deal combat damage to a player. You control at least seven lands that can tap for mana. Hellkite Charger is on the battlefield, and Bear Umbra is enchanting a creature you’ll attack with.
Result – Infinite combat phases + infinite combat damage (your creatures can attack indefinitely).
Variations – Nature's Will or Sword of Feast and Famine can stand in for Bear Umbra, since they also untap your lands when you deal damage. Hellkite Charger can also combo with Old Gnawbone or Savage Ventmaw to make enough mana through Treasures or attack triggers. These kinds of loops are super popular in Gruul “extra combat” decks where they let you chain attack steps until the whole table’s gone.
Execution – Attack with the creature enchanted by Bear Umbra—most likely Hellkite Charger. When it attacks, Bear Umbra triggers and untaps all your lands and you get the option to pay to take an extra combat phase with Charger. Use the 7 mana your untapped lands just made to pay for it. In the next combat, it happens again—lands untap on attack, you pay for another combat step, and so on. You can loop this forever, swinging with hasty or buffed-up creatures until everyone’s life total hits 0.
#1. Squee, the Immortal + Food Chain
Cards – Squee, the Immortal; Food Chain.
Prerequisites – Squee, the Immortal is on the battlefield (or in exile) and Food Chain is in play.
Result – Infinite colored mana (usable only for creature spells) + infinite ETB + infinite LTB + infinite storm count.
Variations – You can replace Squee, the Immortal with Eternal Scourge for the same effect. Some Food Chain decks in Legacy use Misthollow Griffin, but that card’s blue color identity makes it illegal in Gruul Commander decks. This combo is a staple in competitive EDH (often with a payoff like Walking Ballista to win on the spot) and has even spawned Legacy decks built around Food Chain loops.
Execution – Exile Squee, the Immortal with Food Chain to add mana (one more than Squee’s cost) of any one color that can only be used on creature spells. Since you can cast Squee, the Immortal from exile, use 3 of that mana to bring it back. Then exile Squee again to repeat the loop. Each cycle gives you 1 extra mana, so you end up with infinite creature-cast mana and infinite enter/leave-the-battlefield triggers. Use all that mana to drop a big creature finisher or set up a winning combo.
Bonus: Pauper Skybreak Combo


Cards – Seeker of Skybreak, Hangar Scrounger, Magmakin Artillerist.
Prerequisites – Seeker of Skybreak on the battlefield without summoning sickness along with Magmakin Artillerist. You have at least one card in hand to start the loop.
Result – Near-infinite damage to each opponent, near-infinite rummages, and near-infinite discard triggers.
Variations – While this combo is especially hyped in Pauper, it can be adapted for Commander if you use other discard payoffs like Glint-Horn Buccaneer or Containment Construct for value loops. However, Magmakin Artillerist offers a clean and deadly kill condition using only commons.
Execution – After Hangar Scrounger enters the battlefield, Seeker of Skybreak gains a rummage ability that triggers whenever it becomes tapped. Tap Seeker of Skybreak to untap itself and trigger its backup ability. Discard a card and draw a card. Each time you discard, Magmakin Artillerist deals 1 damage to each opponent. Since you can reuse Seeker indefinitely and each loop draws you another card, you can repeat the process as long as you have cards in your library, dealing damage every time. I often add Feldon's Cane as a safety measure to reshuffle my graveyard to my library.
Wrap Up

Grumgully, the Generous | Illustration by Milivoj Ceran
Gruul may be known for brute strength, but it’s also got some serious combo potential if left unchecked.
Which combo did you like the most? Was there a new interaction you didn’t know about until today? Let us know in the comments or on the Draftsim Discord!
I hope you found this rundown helpful, and if you want to keep up with all things MTG related, don’t forget to follow us on social media or join our newsletter for more content.
As always, take care, and I’ll catch you in the next one!
Follow Draftsim for awesome articles and set updates:


2 Comments
+1/+1 and -1/-1 counters only cancel out when one of the two counters is > than, not >= the other. With (1) of each they both exist and the #10 combo does not work as described. Otherwise great article!
Hey Blake!
I recommend reading into the rules a bit more on this, +1/+1 and -1/-1 counters cannot co-exist on the same card, and they’ll cancel each other out 1-to-1 any time state-based actions are checked. This happens even if there’s only one of each, not if there’s a greater number of one or the other. The persist combo is correct as written.
Thanks for the feedback~
Add Comment