
Tayam, Luminous Enigma | Illustration by Sam Burley
Some players like the casual aspect of EDH, as people are not pressed to win at any cost. Meanwhile, some players like the more competitive aspect, many times venturing into cEDH. Regardless of how you see the game, some combos speed up the process of winning or steal a game from under everyone’s noses.
Today, I’ll take a look at the best combos you can pull of in Abzan . Many of these take advantage of your commander as the main aspect of it, so it’s up to you to join the necessary combo pieces and win from there. Let’s dive in!
What Are Abzan Combos in MTG?
Ghave, Guru of Spores | Illustration by James Paick
Abzan combos in MTG are combos that involve cards of the Abzan color identity , which means they use black, green, white, or gold cards including those colors. We can also have colorless cards and lands. Many of these Abzan combos rely on a specific 3-color cards, typically a legendary creature. Also, Abzan is very fond of sacrificing creatures. Considering that we’re lacking blue and red, which are most often related to spell-based combos, most of these combos have a more grindy/aristocrats feel.
#16. Melira Persist
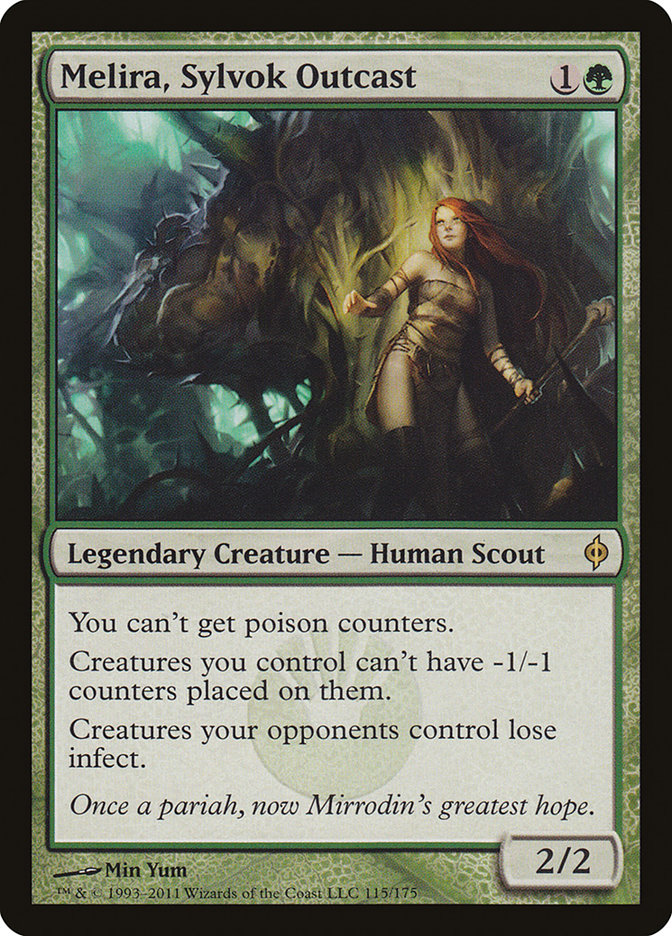
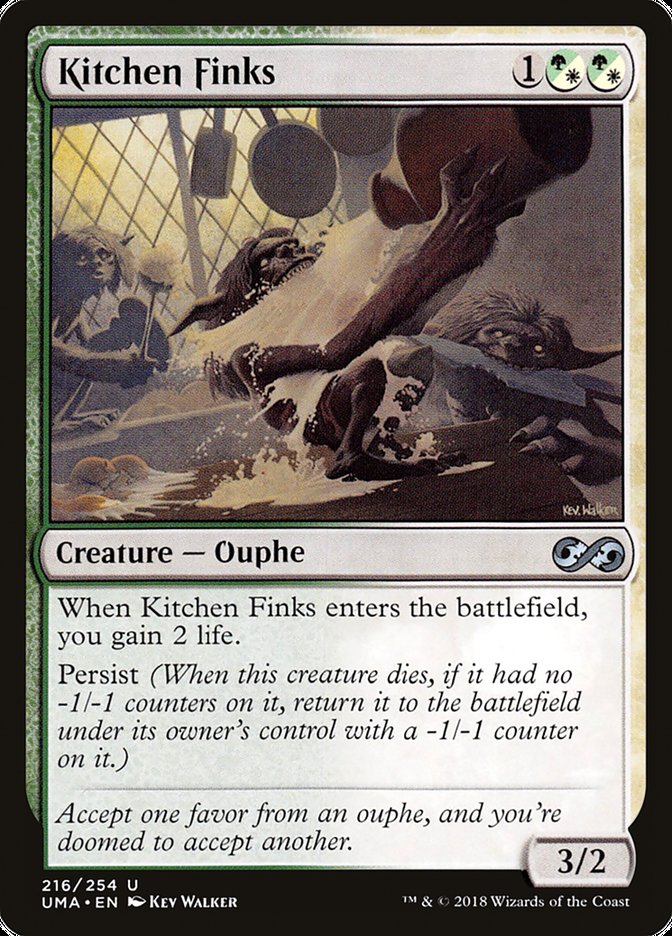
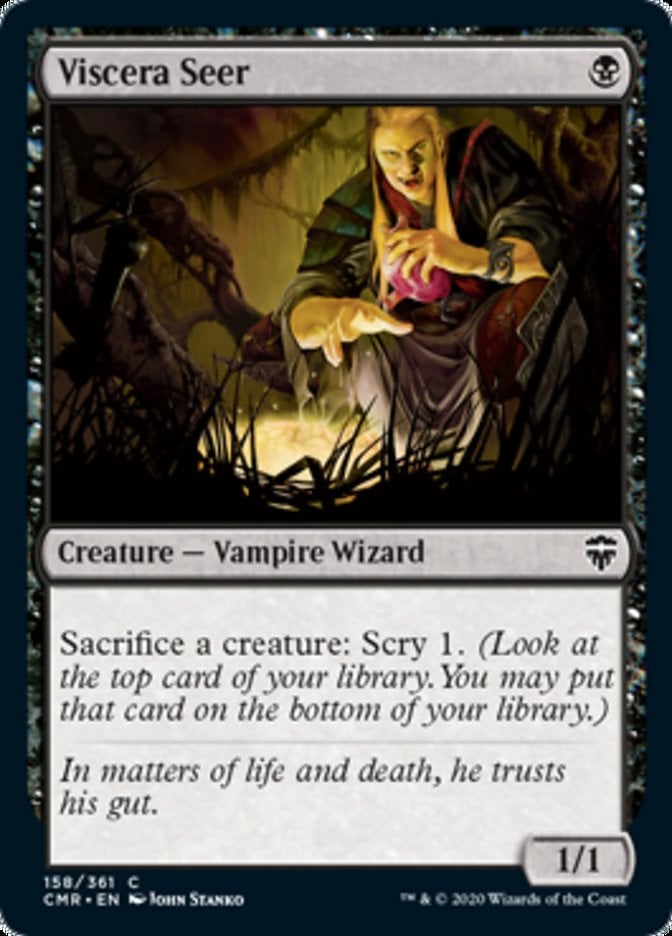
Cards: Melira, Sylvok Outcast, Kitchen Finks, Viscera Seer.
Prerequisites: All permanents are on the battlefield.
Result: Infinite life, infinite enter triggers, infinite dying triggers.
Variations: If you’re not restricted by Commander color identity, a card like Murderous Redcap deals infinite damage. You can any persist creature instead of Kitchen Finks, and any free sacrifice outlet for Viscera Seer.
This is a classic combo that used to be a solid part of the Modern format. When you have a creature like Melira, Sylvok Outcast in play, you can sacrifice persist creatures at will, because they won’t get -1/-1 counters when they return to the battlefield.
So, you can sacrifice a creature like Kitchen Finks as many times as you want. As to what you’ll do with that much life, cards like Bilbo, Birthday Celebrant or Sanguine Bond can be used as win conditions.
#15. Hazel’s Brewmaster + Pippin, Warden of Isengard + Sam, Loyal Attendant

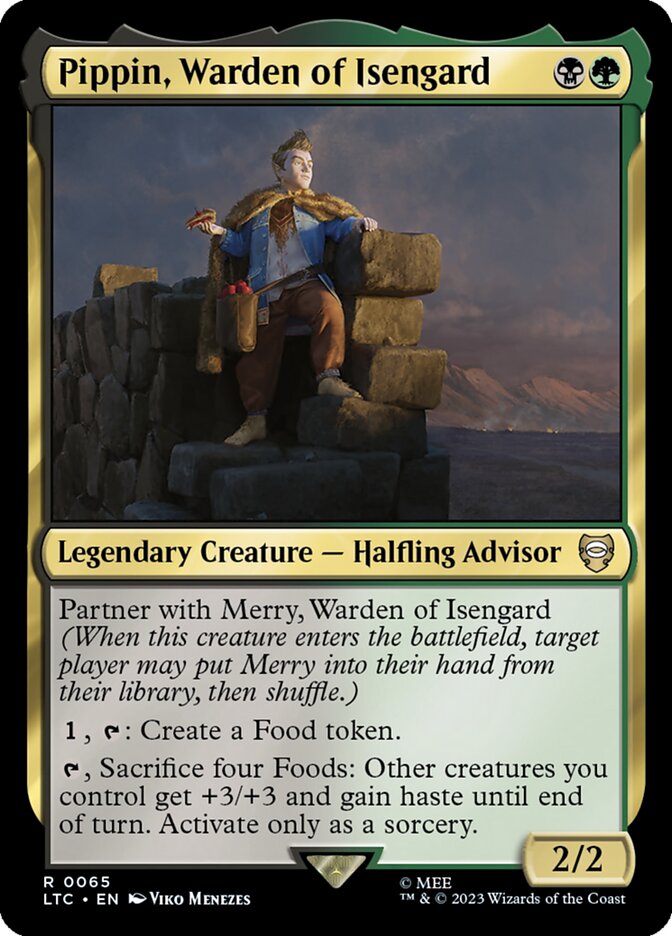
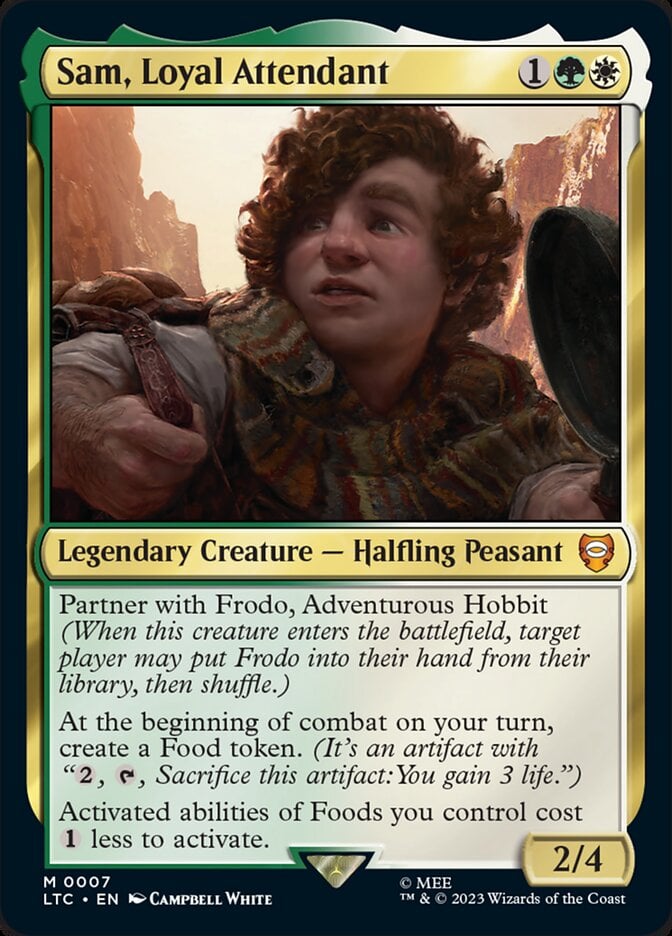
Cards: Hazel's Brewmaster, Pippin, Warden of Isengard, Sam, Loyal Attendant.
Prerequisites: Pippin, Warden of Isengard must be exiled from your graveyard with Hazel's Brewmaster, and you control Sam, Loyal Attendant.
Result: Infinite tapped Food tokens.
Variations: None.
This is a weird combo, but let’s talk about it. You need to have Pippin, Warden of Isengard in your graveyard, and exile it with Hazel's Brewmaster. After that, each food will have the “, tap: Create a Food token.” This cost will be reduced to 0 thanks to Sam, Loyal Attendant, and at that point, each Food can tap to create one more Food, resulting in infinite Food tokens. From there, you should win via cards that care about artifacts, or with Pippin’s overrun ability. Or just gain a bunch of life.
#14. Devoted Tayam
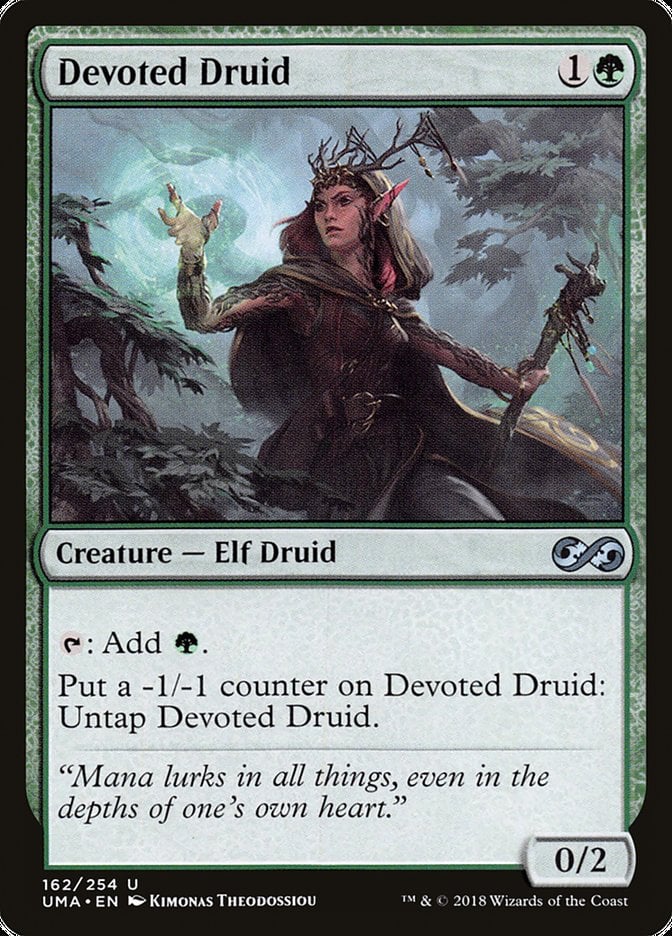
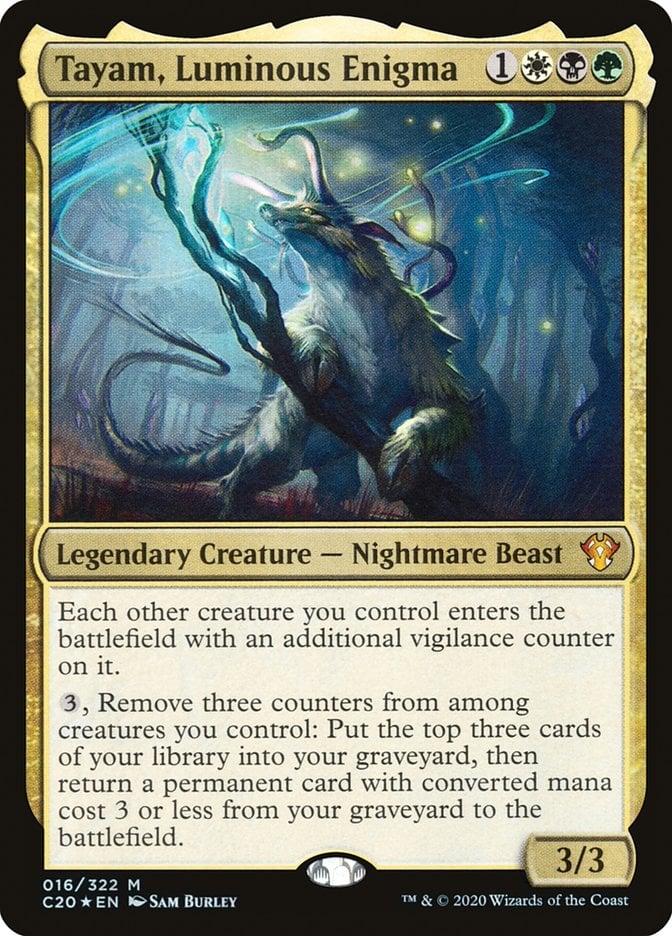
Cards: Devoted Druid, Tayam, Luminous Enigma.
Prerequisites: Devoted Druid must have a +2/+2 buff.
Result: Infinite self-mill, all your permanents with mana value 3 on the battlefield.
Variations: None.
Tayam, Luminous Enigma requires three counters on creatures to do its thing. As such, if Devoted Druid is a 2/4 instead of a 0/2, you can tap it for mana three times, turning it into a -1/1 creature. At this point, Tayam uses the 3 mana Devoted Druid generated to remove three counters from the druid, mill three cards, and return a permanent from your graveyard to the battlefield, allowing you to tap Devoted Druid again three times. You’ll have enough mana to repeat this as much as you want.
#13. Tayam Bunrei

Cards: Tayam, Luminous Enigma, Promise of Bunrei.
Prerequisites: Tayam, Luminous Enigma and Promise of Bunrei are in play with another creature, and you have a way to make a creature die, preferably a sacrifice outlet.
Result: Infinite self-mill, all your 3MV permanents on the battlefield, infinite enter effects.
Variations: We can also use Hallowed Spiritkeeper, provided there are some creature cards in our graveyard.
When a creature you control dies, you sacrifice Promise of Bunrei and create four tokens. They all enter with a vigilance counter, which feeds Tayam, Luminous Enigma’s ability. You also need 3 mana for Tayam, so you can either sacrifice two of the four tokens you’ve created to Ashnod's Altar, or you can have a free sacrifice outlet + Pitiless Plunderer. Warren Soultrader works if you have a bunch of life to spare. After generating the necessary mana, just return Promise of Bunrei to the battlefield with Tayam’s ability and repeat.
#12. Doubling Mice
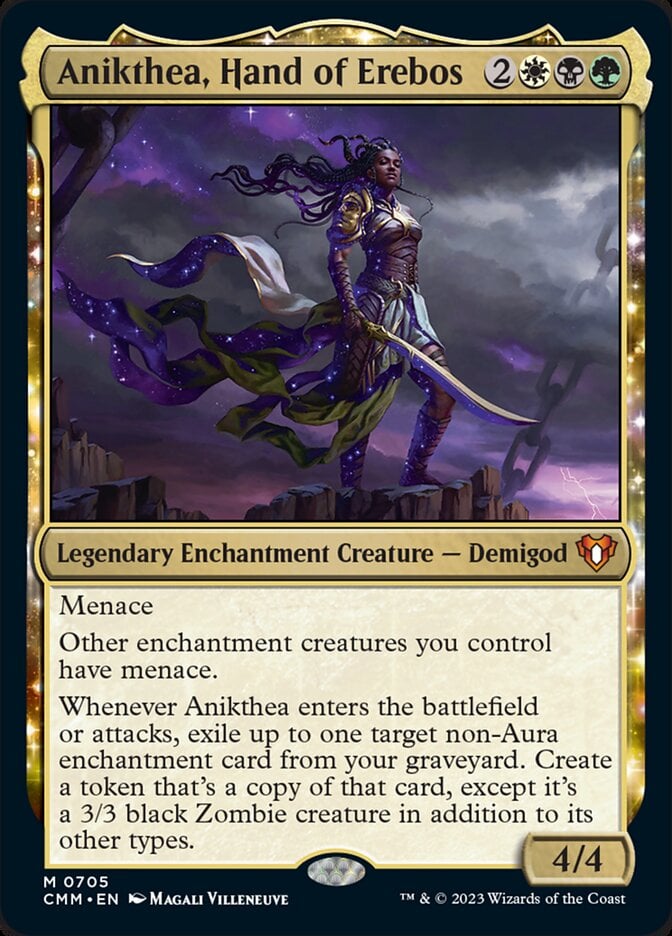
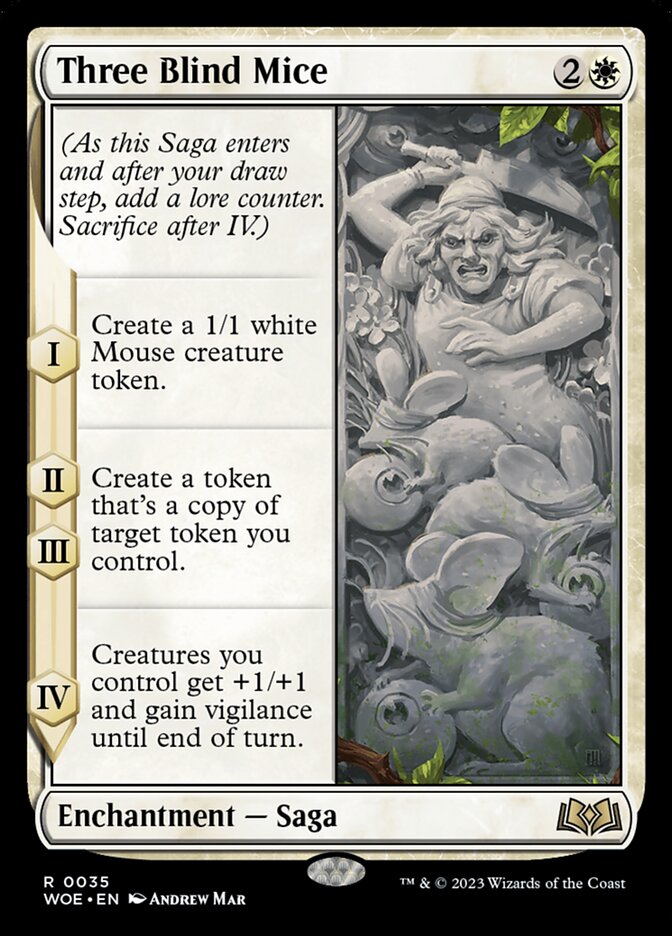

Cards: Anikthea, Hand of Erebos, Three Blind Mice, Doubling Season.
Prerequisites: Three Blind Mice is in your graveyard and Doubling Season is on the battlefield, and you can cast or attack with Anikthea, Hand of Erebos.
Result: Infinite zombies, infinite tokens, infinite enchantments and constellation triggers.
Variations: Calix, Guided by Fate and anything else that can copy Three Blind Mice can replace Anikthea, Hand of Erebos.
When Anikthea, Hand of Erebos enters or attacks, they will create a token that’s a 3/3 zombie copy of Three Blind Mice. Because Doubling Season is on the battlefield, the saga enters with two counters instead of one. You can use the ability to target itself, creating another token copy of Three Blind Mice. The copy enters on chapter II as well, creating another copy, and so on.
#11. Protean Hulk (Abzan Hulk)
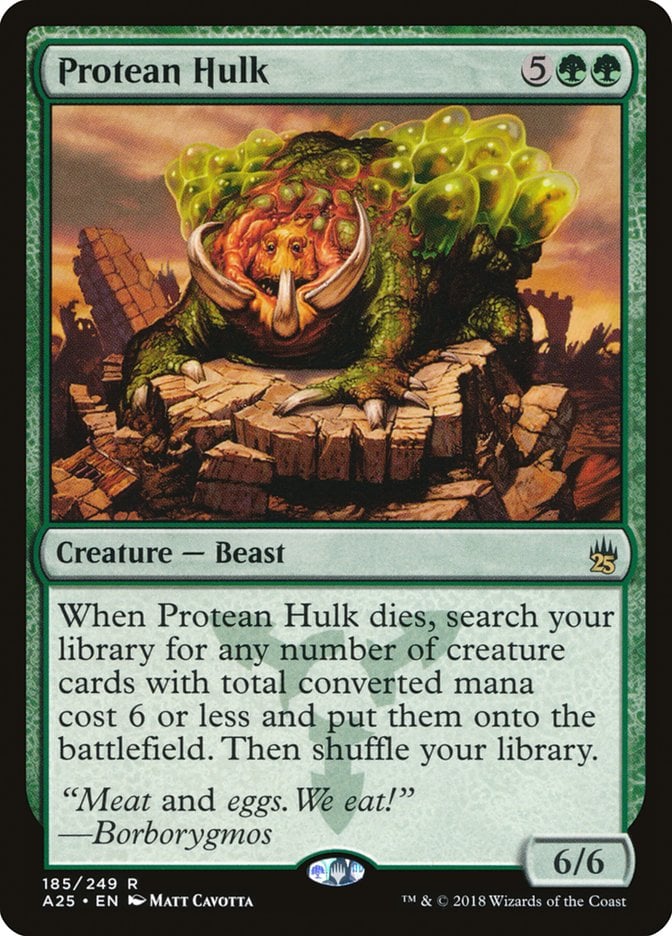
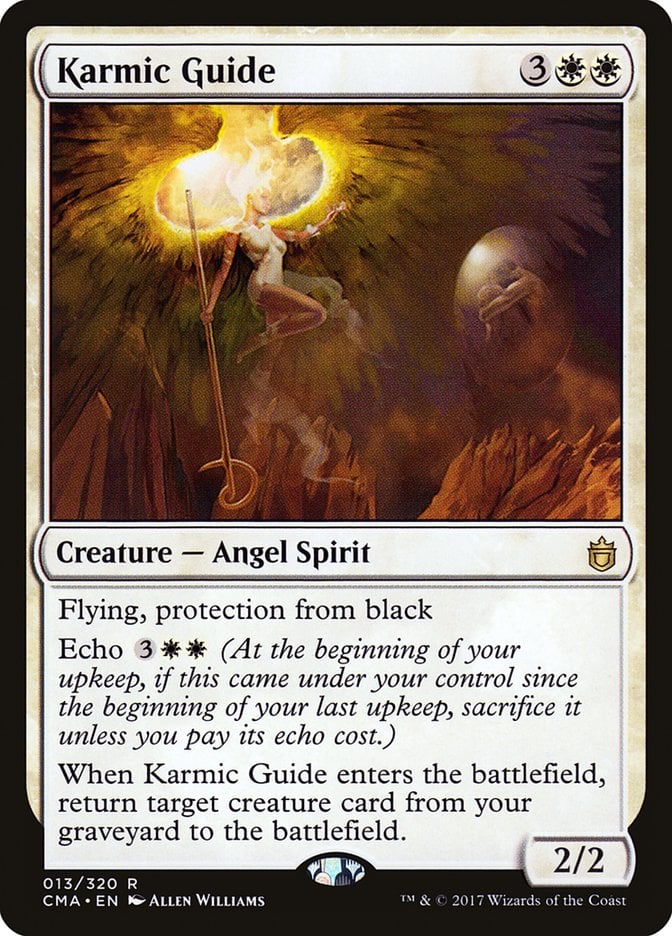
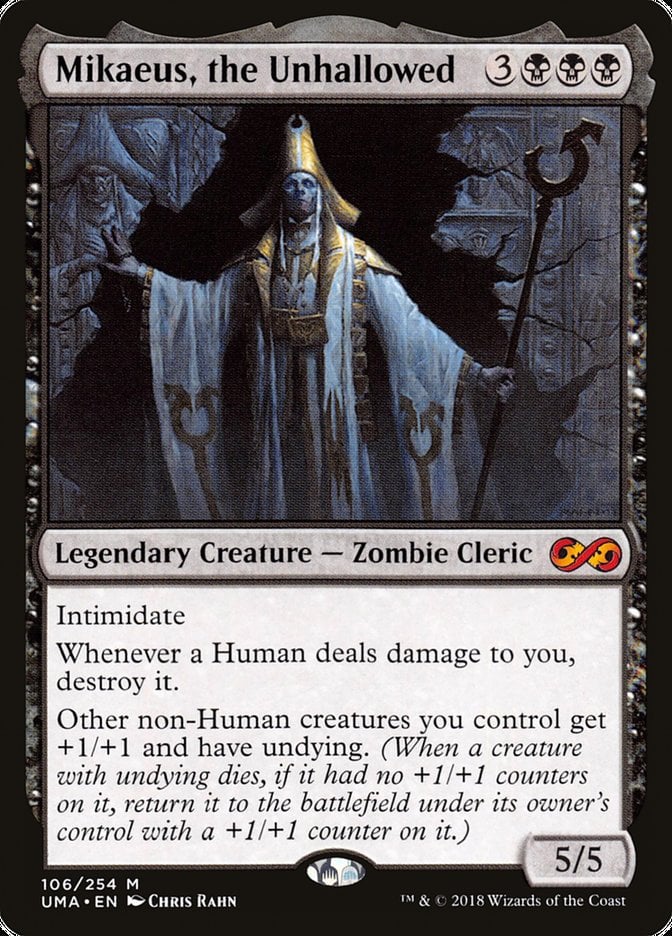
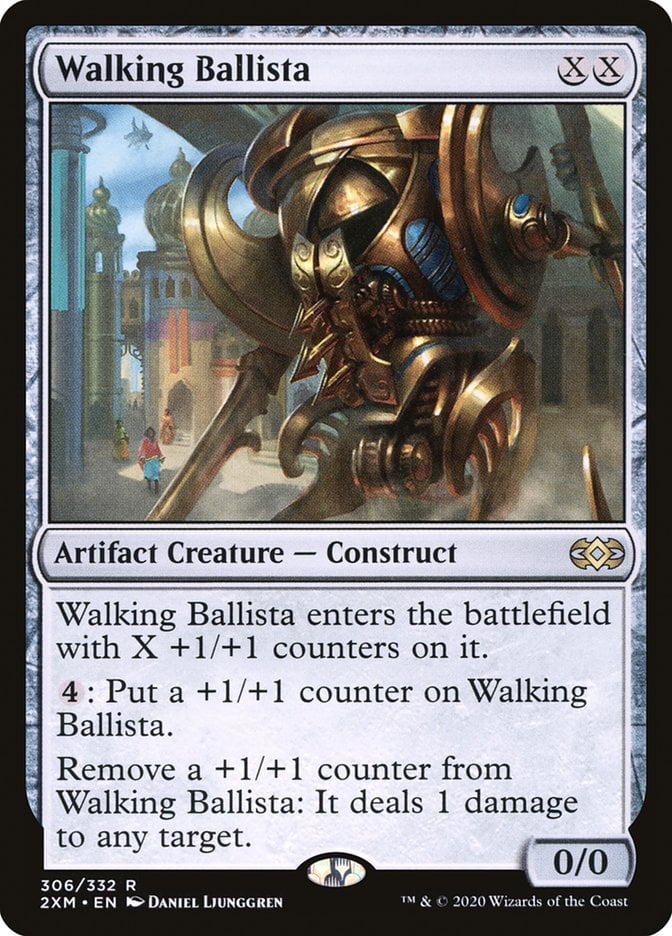
Cards: Protean Hulk, Karmic Guide, Viscera Seer, Mikaeus, the Unhallowed, Walking Ballista
Prerequisites: Have Protean Hulk in play, and the necessary cards in your library: Karmic Guide, Viscera Seer, Mikaeus the Unhallowed, Walking Ballista.
Result: Infinite damage, infinite death triggers.
Variations: There are some variations on the card choices, like Phyrexian Delver instead of Karmic Guide.
This combo starts when Protean Hulk dies, so you have to put it into play first. You can tutor for up to 6 mana's worth of creatures, so get Karmic Guide (5 mana) and Viscera Seer (1 mana). Sacrifice Karmic Guide to the Seer, returning Protean Hulk to play. The second time you sacrifice Protean Hulk, you’ll get Mikaeus, the Unhallowed (6 mana) and Walking Ballista (0 mana). After that, you’ll have a Walking Ballista with permanent undying, so each time it dies, it returns with a +1/+1 counter, which you can remove and deal 1 damage to any target. Rinse and repeat.
#10. Undying Tayam
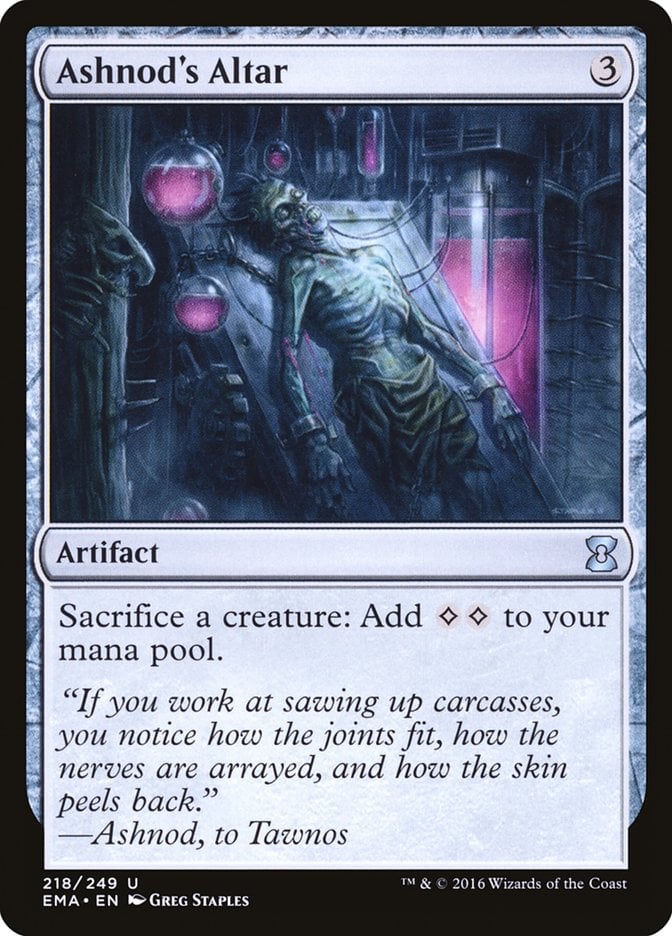
Cards: Tayam, Luminous Enigma, Ashnod's Altar
Prerequisites: Tayam, Luminous Enigma and Ashnod's Altar are in play, and you control two creatures with undying.
Result: Infinite self-mill, all your 3MV permanents on the battlefield, infinite enter effects.
Variations: The undying creatures are all interchangeable.
This combo requires sacrificing two undying creatures, like Young Wolf and Butcher Ghoul, using Ashnod's Altar to generate 4 mana. Each undying creature enters with a +1/+1 counter and a vigilance counter, thanks to Tayam, Luminous Enigma. Tayam then takes off the +1/+1 counters and one vigilance counter to active its ability, using the mana produced by Ashnod's Altar, effectively resetting the undying creatures, so they can be sacrificed once more.
#9. Myrkul, Lord of Bones + Ondu Spiritdancer + Eidolon of Blossoms
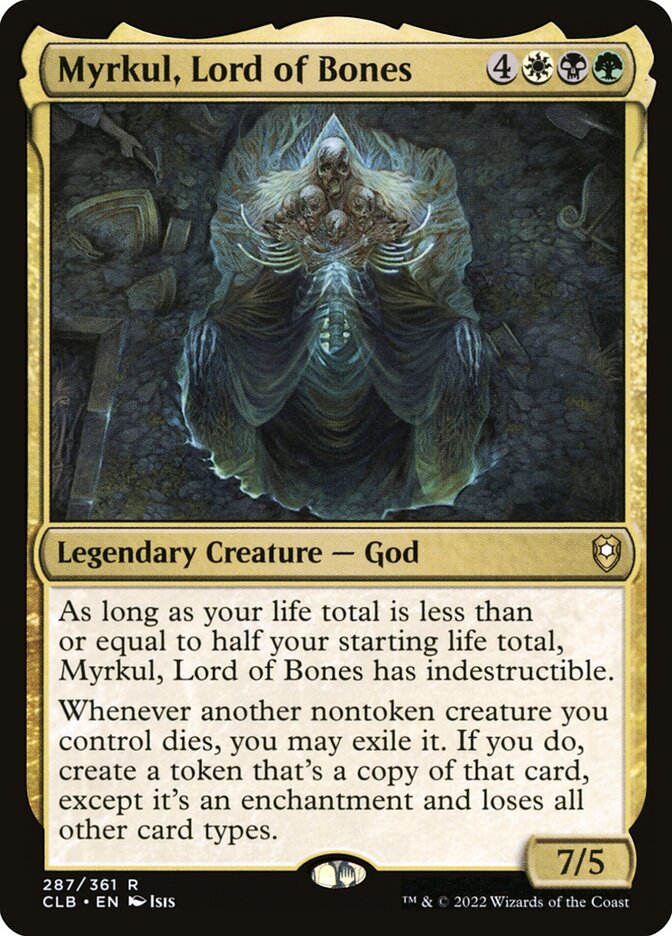
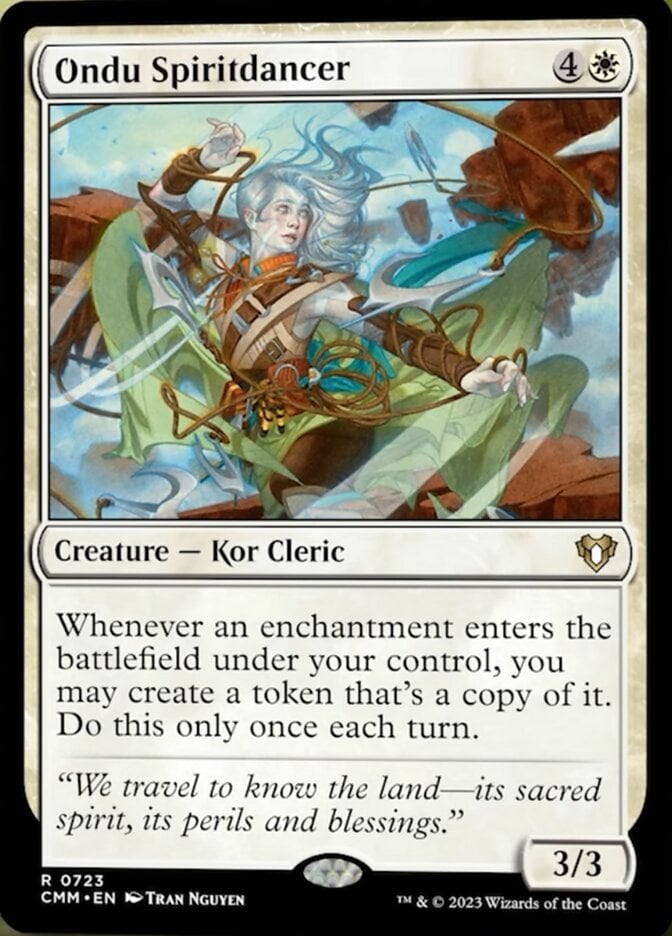
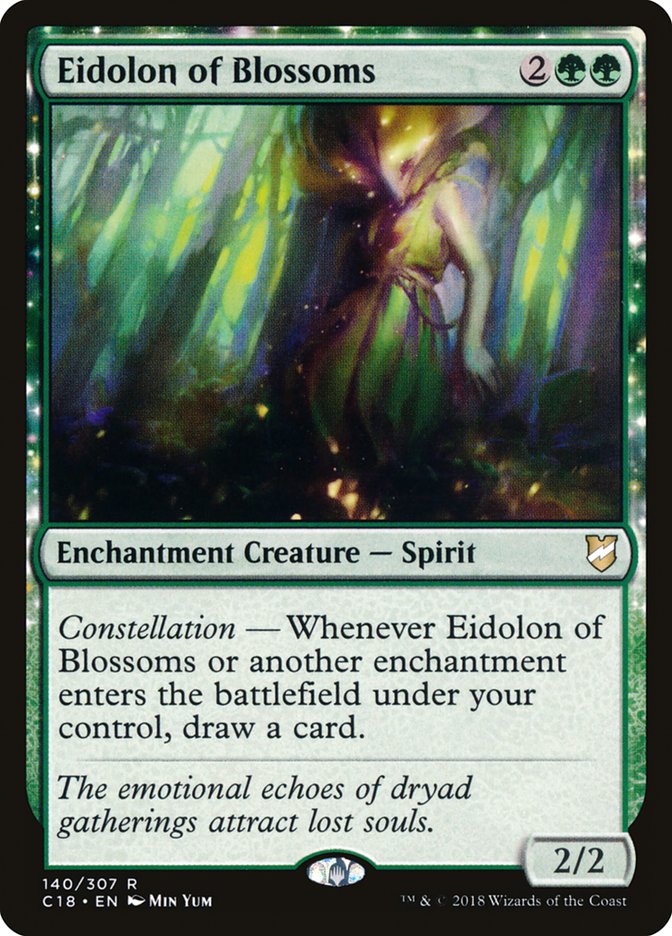
Cards: Myrkul, Lord of Bones, Ondu Spiritdancer, Eidolon of Blossoms.
Prerequisites: These three permanents are on the battlefield, and Ondu Spiritdancer dies.
Result: Infinite constellation triggers, infinite card draw.
Variations: Instead of Eidolon of Blossoms, use Setessan Champion, Grim Guardian, or Archon of Sun's Grace.
If Ondu Spiritdancer dies with Myrkul, Lord of Bones and Eidolon of Blossoms in play, you make an enchantment copy of it, which triggers Eidolon of Blossoms, drawing you a card, and triggers itself, making another enchantment copy of Ondu Spiritdancer, repeating the loop. This draws a bunch of cards—or infinite cards if you want to. Ondu Spiritdancer’s ability is a may, so you won't deck yourself.
#8. Saffi Eriksdotter + Reveillark + Carrion Feeder
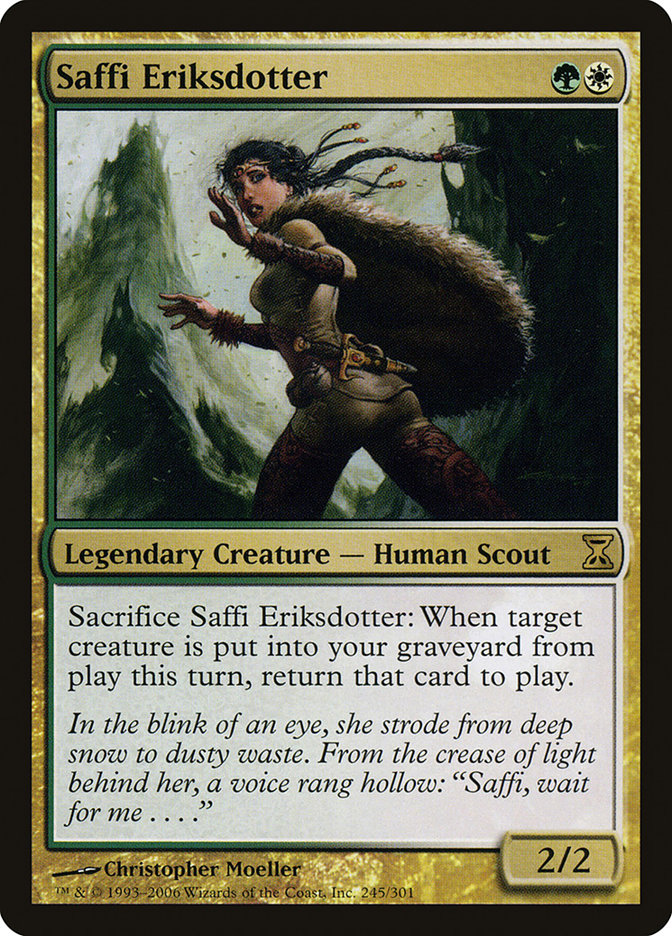
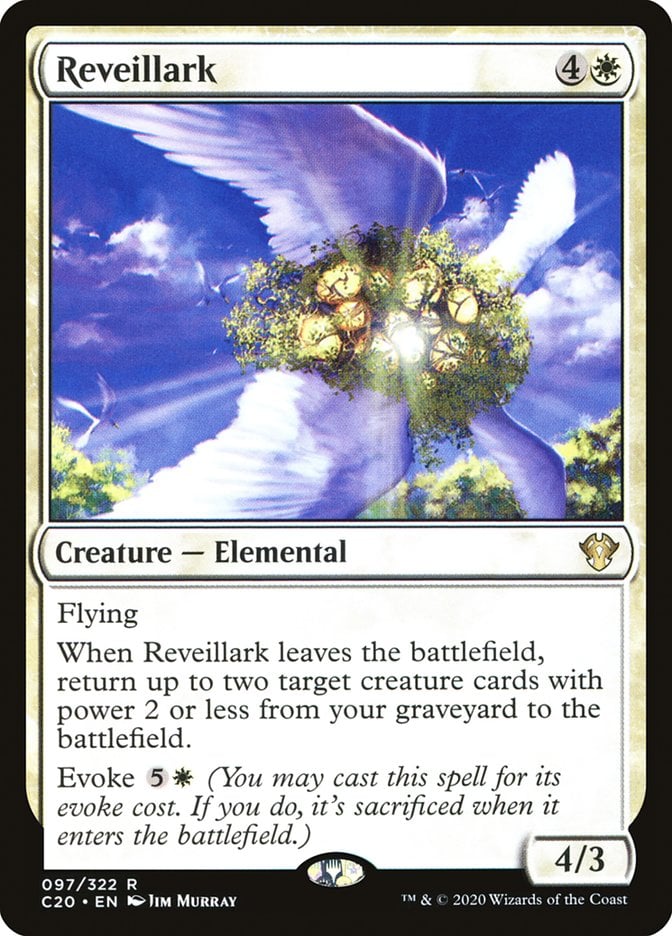
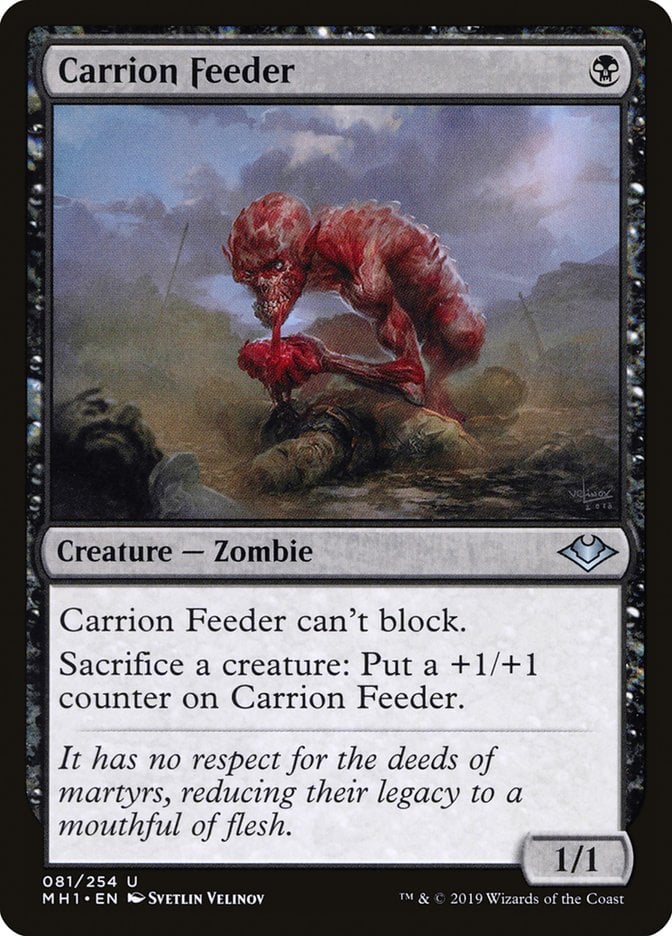
Cards: Saffi Eriksdotter, Reveillark, Carrion Feeder.
Prerequisites: These three permanents are on the battlefield.
Result: Infinite sacrifice triggers, infinite enter triggers, a humongous Carrion Feeder.
Variations: Any free sacrifice outlet can be used, like Viscera Seer, which yields infinite scrying in this case.
This combo starts by sacrificing Saffi Eriksdotter to target Reveillark, which you then sacrifice to Viscera Seer. When Reveillark dies, it returns to the battlefield thanks to Saffi Eriksdotter’s ability. Reveillark returns Saffi Eriksdotter to the battlefield thanks to its own “leaves the battlefield” ability. You can then repeat the loop infinitely since it doesn’t cost mana or life.
#7. Kodama of the East Tree + Felidar Retreat + Golgari Rot Farm
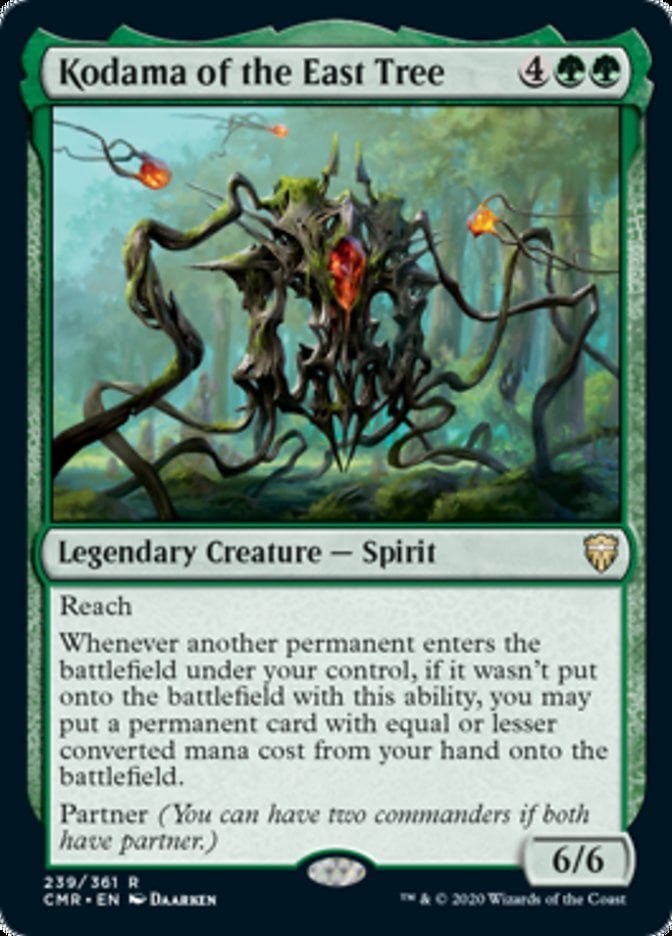
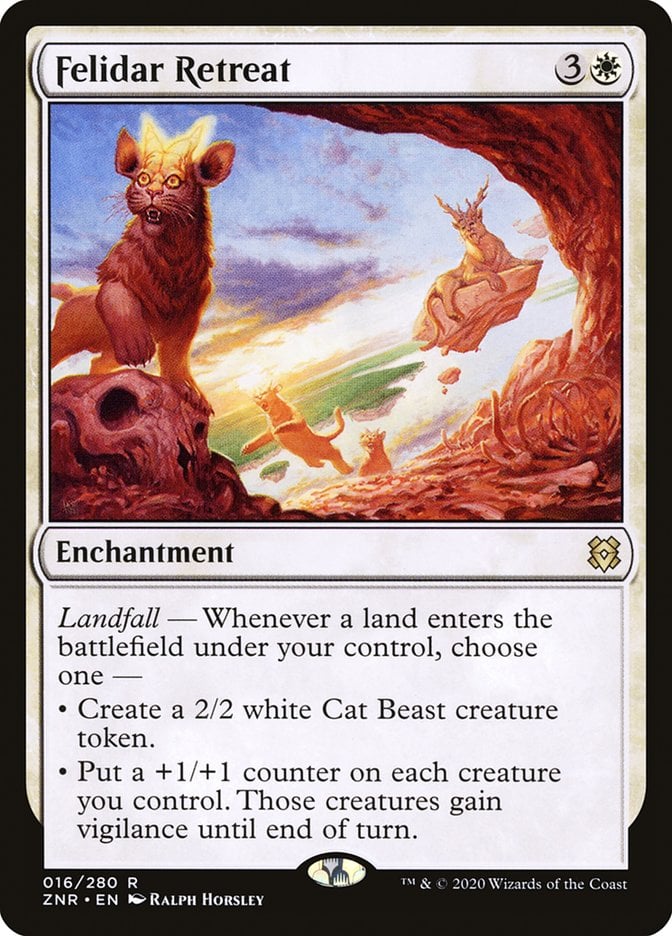
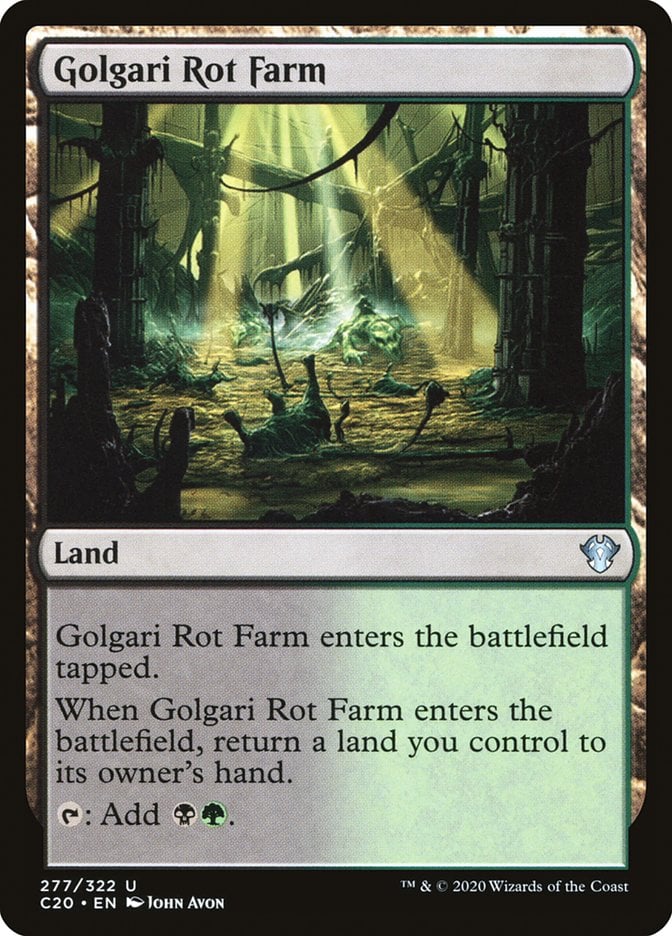
Cards: Kodama of the East Tree, Felidar Retreat, any Ravnica bounce land.
Prerequisites: Kodama of the East Tree, Felidar Retreat, you play a bounce land.
Result: Infinite land drops, infinite creature tokens and +1/+1 counters on all creatures you control.
Variations: Orzhov Basilica, Golgari Rot Farm, and Selesnya Sanctuary all fill the same role.
When you play a bounce land while controlling Kodama of the East Tree, you can return it to your hand and put it into play again, because Kodama allows you to drop a card with mana value 0 or less. This way, you can put the same land into play over and over again, getting infinite landfall triggers.
#6. Pitiless Ghave
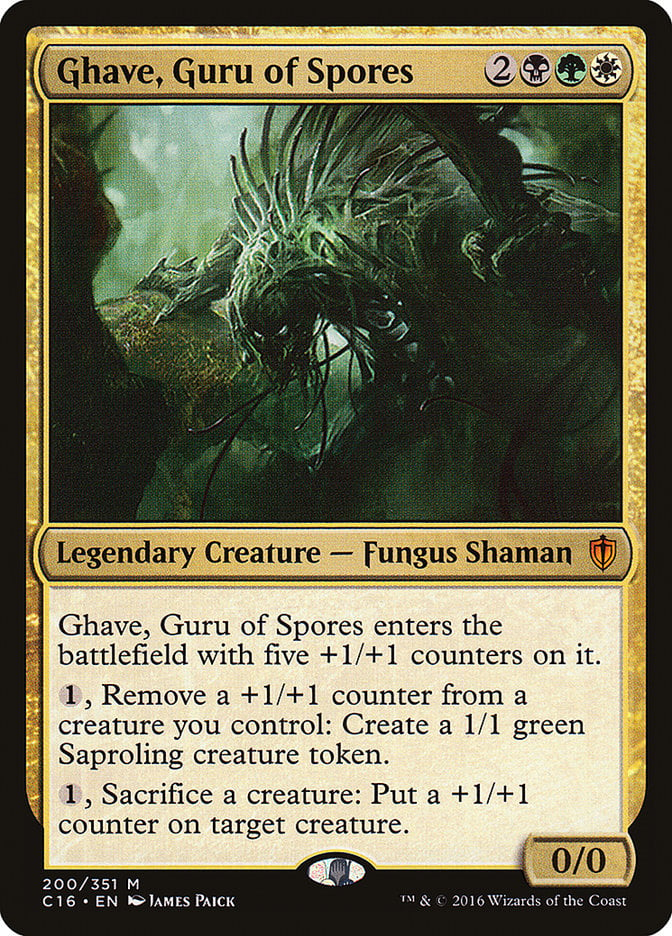
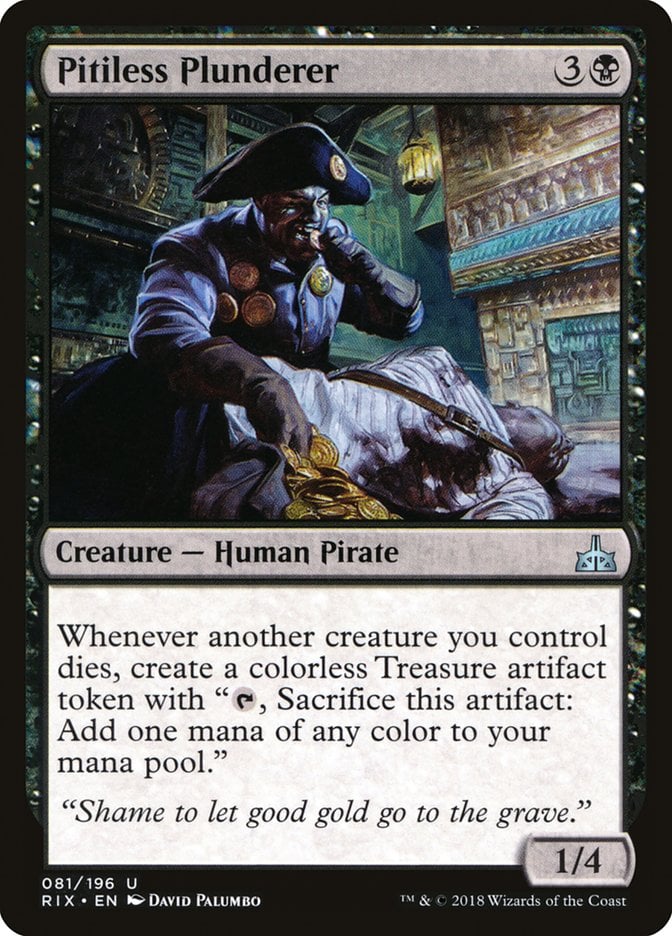
Cards: Ghave, Guru of Spores, Pitiless Plunderer.
Prerequisites: Ghave, Guru of Spores and Pitiless Plunderer are in play, and you have a way to double the amount of tokens produced.
Result: Infinite death triggers, infinite enter triggers, infinite Treasure sacrificed, infinite tokens.
Variations: We can use cards like Doubling Season, Parallel Lives, Anointed Procession, or Elspeth, Storm Slayer.
When we sacrifice a token using Ghave, Guru of Spores’s ability, Pitiless Plunderer produces two Treasure if we have a card like Anointed Procession in play. That means we have 2 mana to use for Ghave’s abilities on each combo loop. In this case, Pitiless Plunderer replaces Ashnod's Altar as a way to change the combo a little bit.
#5. Devoted Myrkul
Cards: Myrkul, Lord of Bones and Devoted Druid.
Prerequisites: Both permanents are on the battlefield.
Result: Infinite green mana.
Variations: Barrenton Medic can be used to prevent all damage that would be dealt to you or creatures you control, but that’s easier to interact with.
As long as you control Myrkul, you can kill Devoted Druid with its untap ability and create a token, non-creature enchantment copy. The copy isn't a creature, so it can’t die from -1/-1 counters. You can keep untapping it and using its mana ability until you have infinite mana.
#4. Azban Samwise
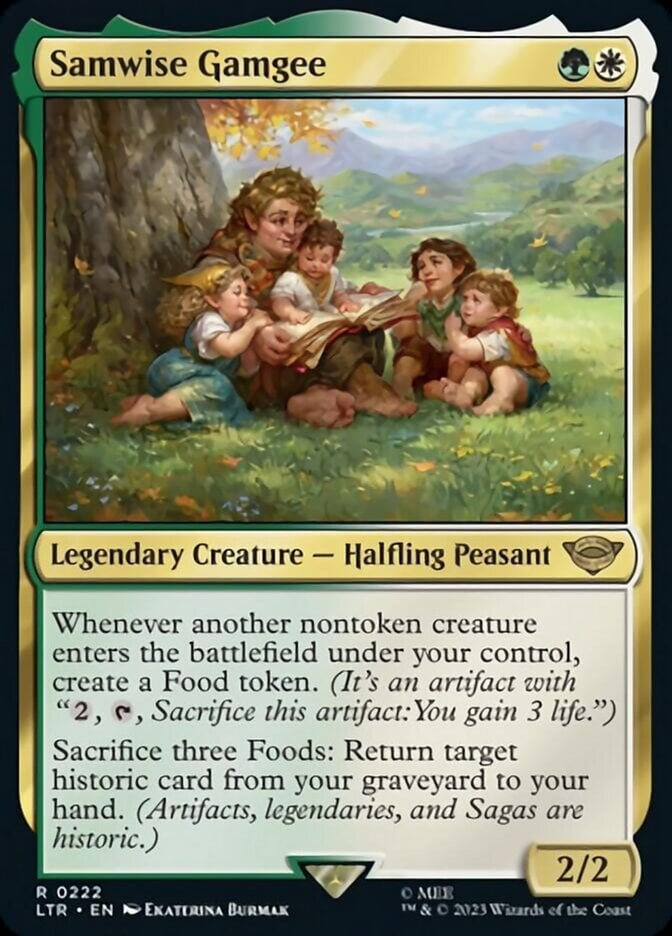
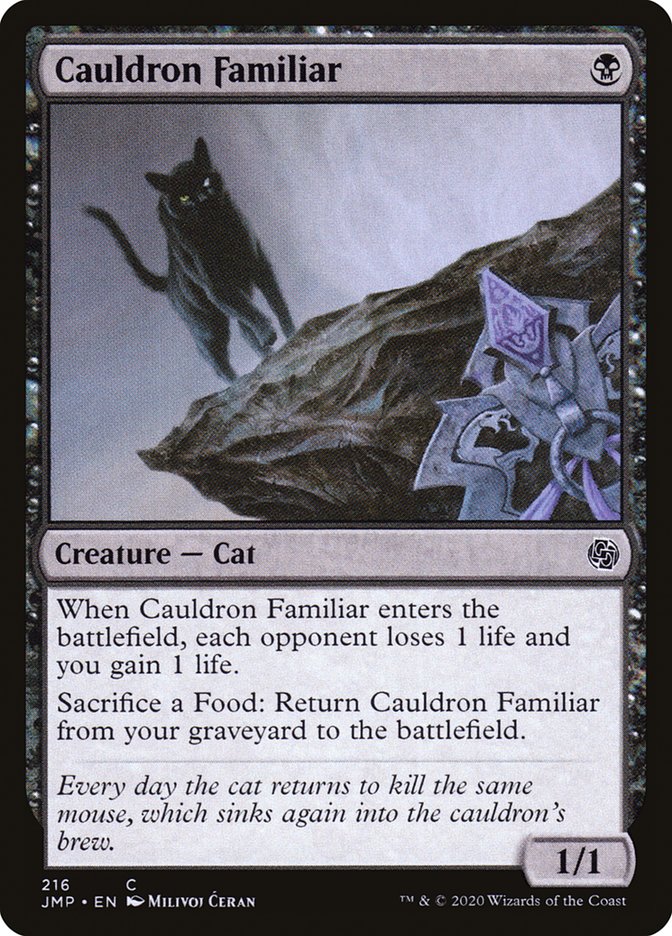
Cards: Samwise Gamgee, Cauldron Familiar, a free sacrifice outlet.
Prerequisites: Samwise Gamgee and a free sacrifice outlet (Ashnod's Altar, Viscera Seer) are on the battlefield, Cauldron Familiar enters.
Result: Infinite life drain, infinite enter triggers and death triggers.
Variations: These creature cards can be tutored by sacrificing Protean Hulk, or found via Collected Company.
This is a very simple combo. Cauldron Familiar enters, and Samwise Gamgee creates a Food. You sacrifice the Familiar, and while the cat is in the graveyard, you sacrifice the Food produced to bring the Familiar back. Each time you do this, you gain 1 life, and each opponent loses 1 life.
Cauldron Familiar can already be in your graveyard, and in this case, you need to play Samwise Gamgee plus another creature to make the first Food token. You can see this combo in Modern and cEDH.
#3. Glacial Thalia and the Gitrog Monster
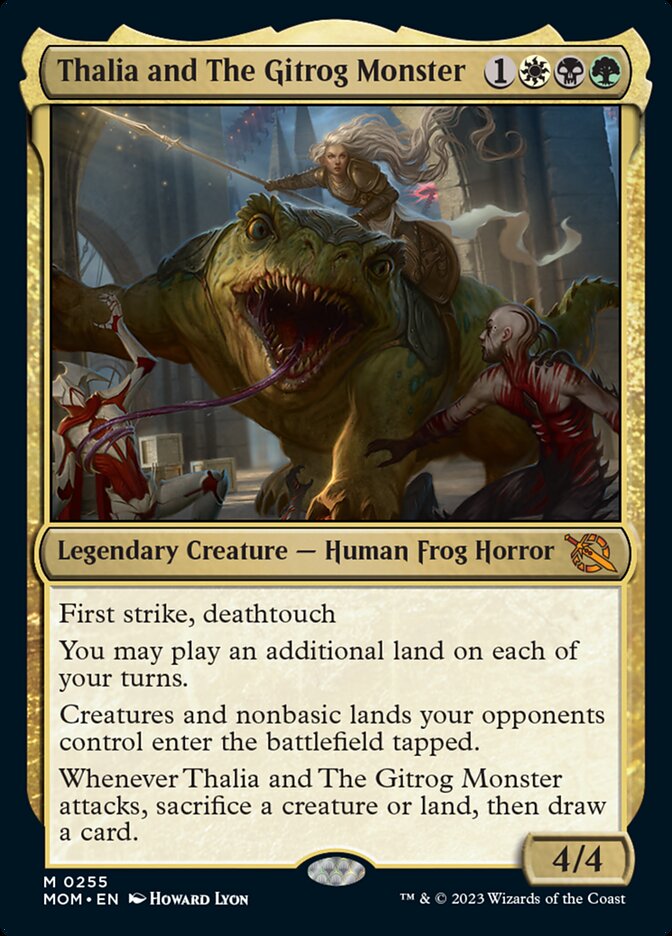
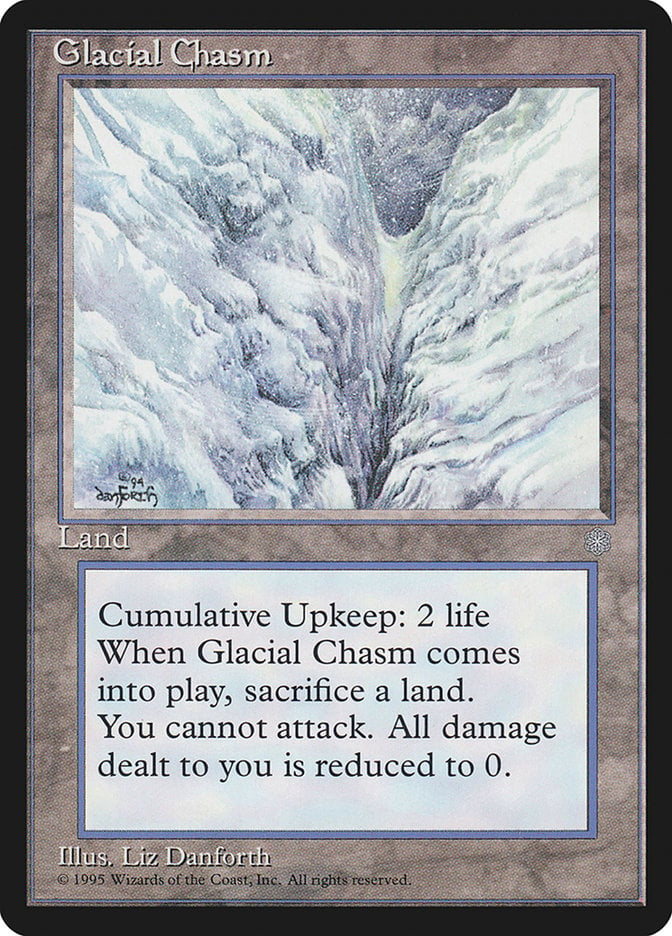
Cards: Thalia and The Gitrog Monster, Glacial Chasm.
Prerequisites: You have Thalia and The Gitrog Monster and a way to play lands from your graveyard, then you play Glacial Chasm.
Result: You can’t lose life.
Variations: There are plenty of ways to play lands from your graveyard, including Crucible of Worlds, Conduit of Worlds, and Ramunap Excavator.
This combo utilizes Thalia and The Gitrog Monster as a way to play more than one land a turn. You also need a card like Crucible of Worlds to keep playing Glacial Chasm from your graveyard. The idea is pretty simple: When you play Glacial Chasm, you have to sacrifice another land, which you can play from your graveyard on the same turn thanks to Thalia. On the following turns, you sacrifice the Chasm to its cumulative upkeep ability, then play it and another land from your graveyard since you can play two lands a turn. This way, you maintain the lock while also making your land drops.
#2. Gitrog Necrobloom

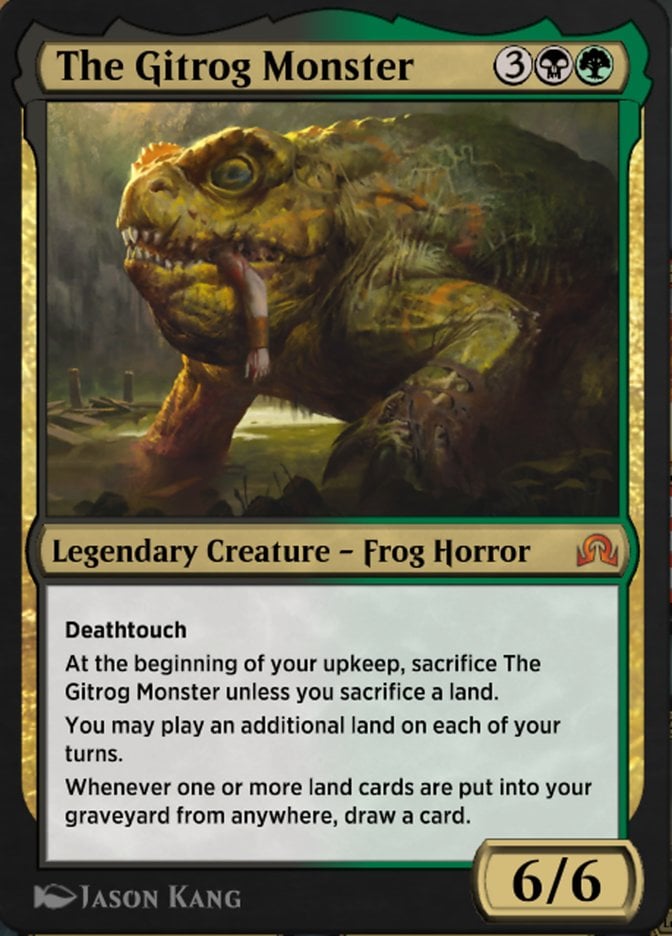
Cards: The Necrobloom and The Gitrog Monster.
Prerequisites: You control both cards, and you have 8+ cards in your hand in your cleanup step.
Result: Infinite self-mill.
Variations:
The Necrobloom allows us to dredge a land from our graveyard. The Gitrog Monster draws a card whenever a land hits the graveyard, which we’ll use to dredge any land in our graveyard. This combo becomes infinite if we have 8+ cards in hand at the end of our turn. You discard a land to hand size, immediately dredge it, and do it again. This can be used as an infinite self-mill combo.
#1. Ashnod Ghave
Cards: Ghave, Guru of Spores, Ashnod's Altar.
Prerequisites: Ghave, Guru of Spores and Ashnod's Altar are in play, and you have a way to put +1/+1 counters on creatures that enter the battlefield.
Result: Infinite death triggers, infinite enter triggers.
Variations: We can use cards like Doubling Season, Cathars' Crusade, Mazirek, Kraul Death Priest, or Good-Fortune Unicorn to keep the +1/+1 counter or token chain going.
Ghave, Guru of Spores and Ashnod's Altar were made for each other. You need 2 mana to activate Ghave’s abilities twice, which is what Ashnod's Altar provides when you sacrifice a token to it. You then sacrifice the token to create mana and put +1/+1 counters on Ghave, and remove the +1/+1 counter to create another token. Repeat that as many times as you want for infinite death triggers. With a way to double the amount of tokens created, you’ll also have infinite creature tokens.
Wrap Up
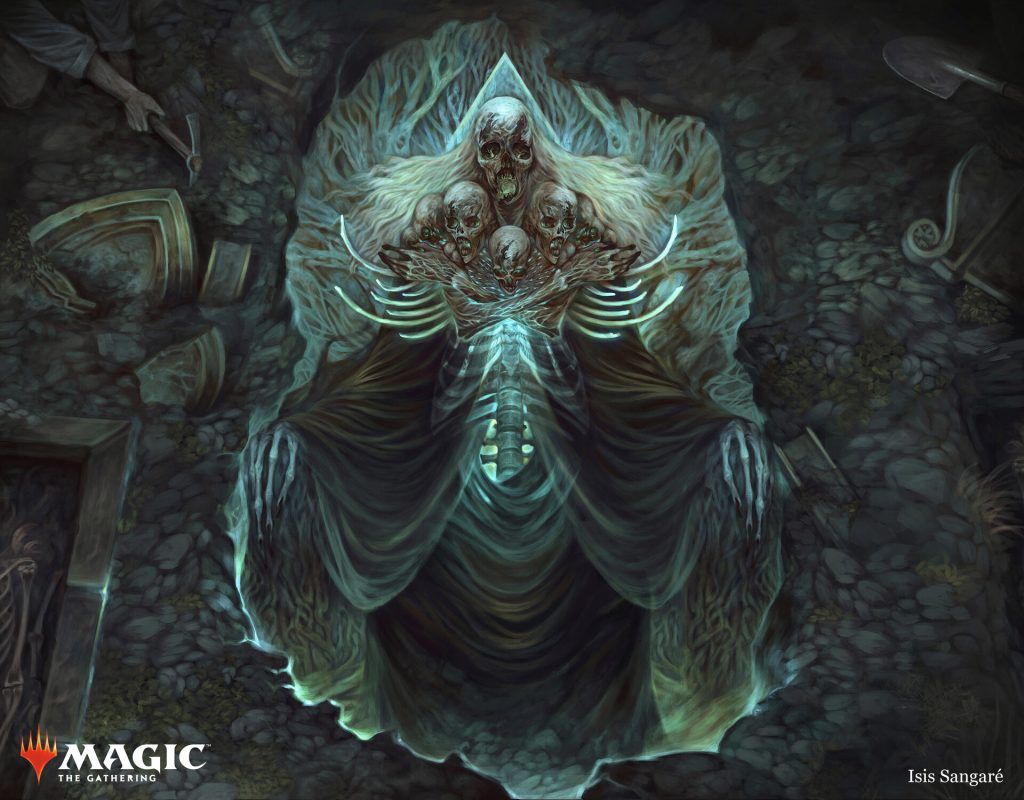
Myrkul, Lord of Bones | Illustration by Isis
And that’s about it folks. We’ve covered the most common Abzan combos that are played in competitive situations, and many of these are reasons to play Abzan colors in formats like cEDH. As we can see, if an Abzan player is resorting to combos, there’s going to be plenty of sacrificing involved.
What’s your favorite Abzan combo? Which ones do you regularly play? Let me know in the comments section below, or let’s discuss it over Draftsim Discord.
Thanks for reading, and stay safe out there!
Follow Draftsim for awesome articles and set updates:


Add Comment