Last updated on September 4, 2024

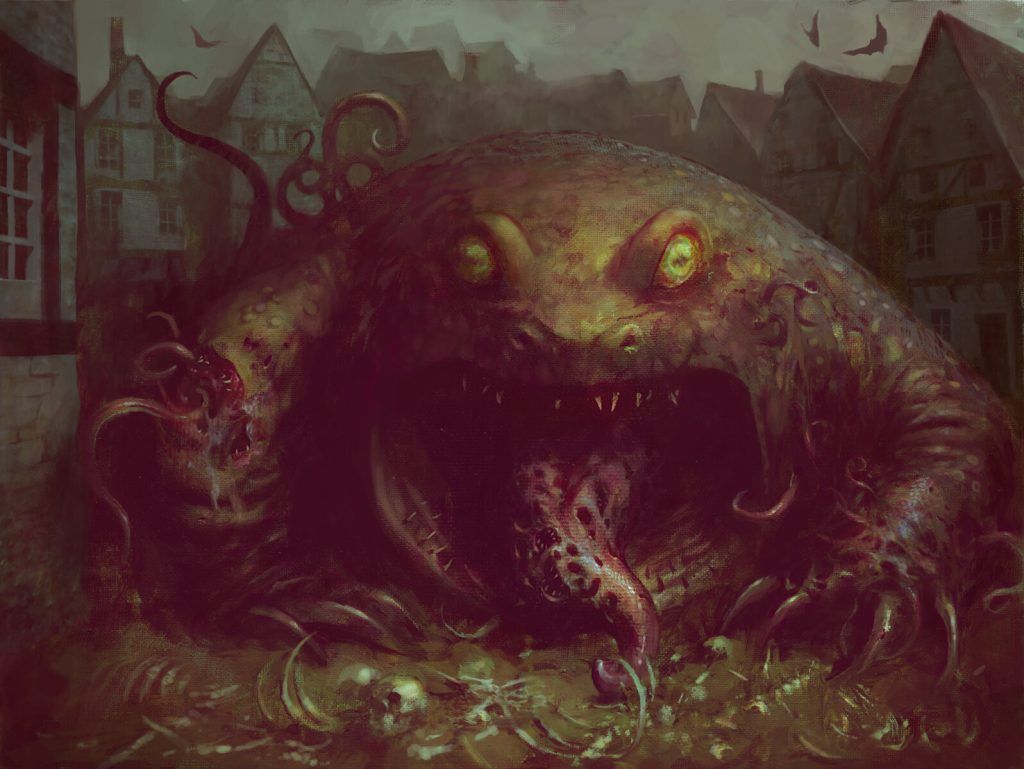
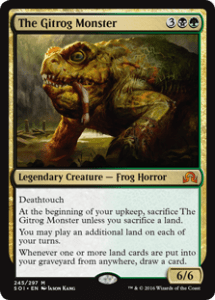
The Gitrog Monster | Illustration by Jason Kang
There are few things more enthralling than frogs. They’re delightful little creatures that come in an incredible array of colors and sizes. Of course, frogs aren’t everybody’s thing, especially when they grow too large. And this deck tech looks at a pretty big frog commander.
The Gitrog Monster is a giant frog horror from the depths of Innistrad, a monster preying on villagers who stray too near. It’s a fantastic draw engine that offers plenty of shenanigans with your graveyard and lands. It leads to a powerful combo-midrange deck looking to grind hard, draw a bunch of cards, then go for lethal with a handful of combo kills.
The Deck
The Gitrog Monster (Judge) | Illustration by Nils Hamm
Commander (1)
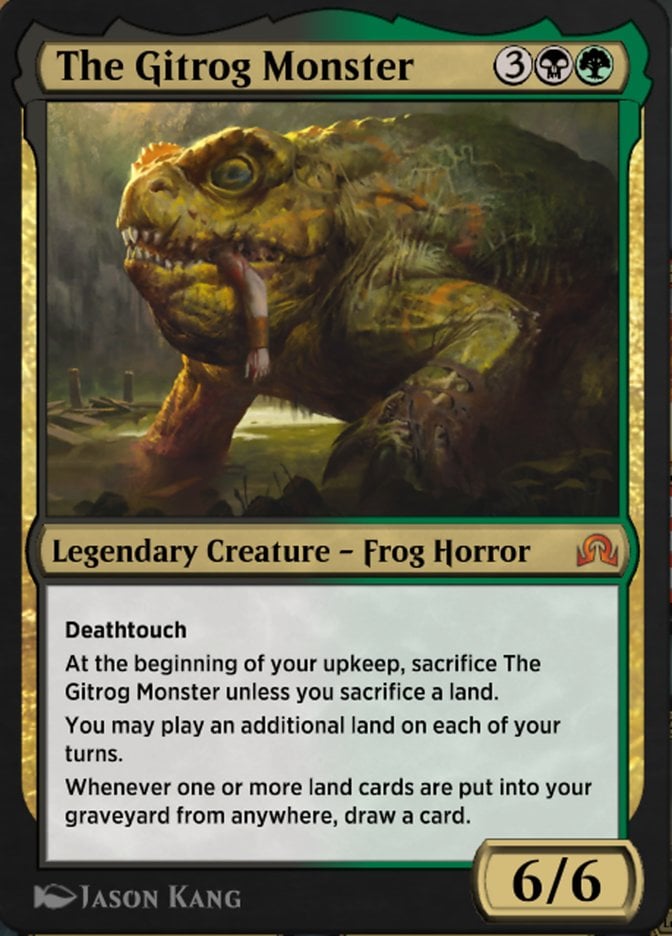
Planeswalkers (4)
Grist, the Hunger Tide
Liliana of the Veil
Vraska, Golgari Queen
Liliana, Death's Majesty
Creatures (23)
Birds of Paradise
Deathrite Shaman
Elves of Deep Shadow
Elvish Mystic
Elvish Reclaimer
Llanowar Elves
Sylvan Safekeeper
Collector Ouphe
Lotus Cobra
Noose Constrictor
Wild Mongrel
Azusa, Lost but Seeking
Braids, Arisen Nightmare
Eternal Witness
Scute Swarm
Springbloom Druid
Titania, Voice of Gaea
Bone Miser
Skirge Familiar
Titania, Protector of Argoth
Greenwarden of Murasa
Kodama of the East Tree
Rampaging Baloths
Instants (12)
Crop Rotation
Cut Down
Malakir Rebirth
Nature's Claim
Abrupt Decay
Assassin's Trophy
Go for the Throat
Grisly Salvage
Tear Asunder
Harrow
Roiling Regrowth
Hagra Mauling
Sorceries (10)
Green Sun's Zenith
Edge of Autumn
Feed the Swarm
Life from the Loam
Nature's Lore
Three Visits
Bala Ged Recovery
Dark Deal
Culling Ritual
Splendid Reclamation
Enchantments (4)
Tortured Existence
Oblivion Crown
Squandered Resources
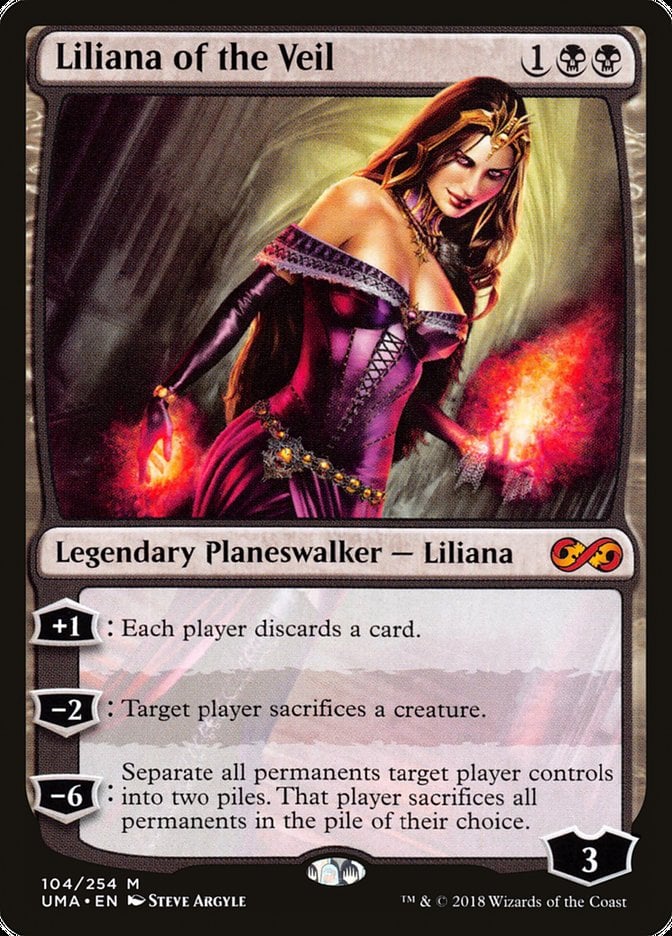
Necrogen Mists
Artifacts (6)
Zuran Orb
Expedition Map
Sol Ring
Talisman of Resilience
Crucible of Worlds
Conduit of Worlds
Lands (40)
Argoth, Sanctum of Nature
Ash Barrens
Barren Moor
Blast Zone
Bojuka Bog
Boseiju, Who Endures
Command Beacon
Command Tower
Crystal Vein
Dakmor Salvage
Dark Depths
Darkbore Pathway
Drownyard Temple
Dryad Arbor
Emergence Zone
Fabled Passage
Field of the Dead
Forest x2
Ghost Quarter
Glacial Chasm
Golgari Rot Farm
Guildless Commons
Llanowar Wastes
Overgrown Tomb
Prismatic Vista
Scavenger Grounds
Snow-Covered Forest
Snow-Covered Swamp
Strip Mine
Swamp
Tainted Wood
Takenuma, Abandoned Mire
Temple of Malady
Terramorphic Expanse
Thespian's Stage
Twilight Mire
Undergrowth Stadium
Verdant Catacombs
Woodland Cemetery
This deck just looks to draw endless cards and bury the opponents in card advantage. You’re looking to play a longer game with this deck, giving you time to find your win conditions.
Winning through combos helps this deck close the game in a way most Golgari () decks can struggle with. Sometimes combat damage isn’t a realistic way to close things out when you’re facing three opponents starting at 40 life. The combos give this deck the inevitability it needs to be a contender at the table.
That said, you're perfectly capable of winning through fair means. You can get quite a few strong creatures out, and you’ve got a couple planeswalkers that can help you close out the game. Of course, The Gitrog Monster is just a big beater.
The Commander
The Gitrog Monster is an incredibly strong and unique commander. The most powerful thing it does is work as a draw engine. Some of the best commanders are those that draw you cards, and this friendly frog horror is no exception. You can draw a card whenever a land enters your graveyard, regardless of how it got there. This is going to be foundational to how this deck finds its wincons.
The Gitrog Monster also fuels itself by making you sacrifice a land on your upkeep, meaning you’re drawing at least two cards every turn. The ability to play extra lands helps mitigate the weakness of forcing you to sacrifice so you can stay on curve instead of falling behind.
This is a perfect commander for this deck because of the card advantage, but also because it fits into a pretty niche role. You can do plenty of interesting interactions with lands in Magic that range from the neat to the infinite.
The Gitrog Monster enables all of those strategies as a lands-forward commander. Interacting with lands is perfect for green, and black certainly loves to fill up the graveyard, making this an incredibly powerful card to lead this deck to victory.
Discard Outlets
One of the best ways to get these lands into your graveyard is by discarding them, and you’ve got a pretty nice combination of cards to do just that.
Liliana of the Veil is a familiar card to anybody who’s played Modern or Standard. It's an incredibly powerful planeswalker under normal conditions, but even more so with Gitrog. You’ll stay neutral on cards while eating away at your opponents’ resources since you can discard lands that replace themselves.
Necrogen Mists occupies a similar role in this deck, denying your opponents’ resources while leaving you neutral with Gitrog in play. This is especially strong against opponents trying to hold up a bunch of counterspells.
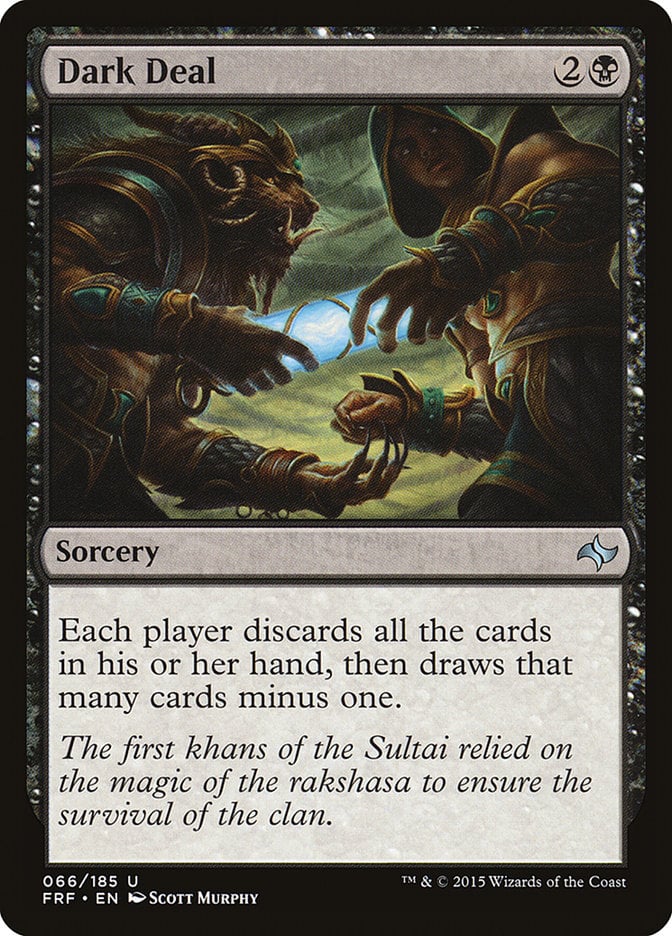
The last card to eat away at your opponents’ hands while letting you discard is Dark Deal. This wheel effect inherently puts all players down cards, but you can minimize your losses by discarding lands, leaving you ahead in the end.
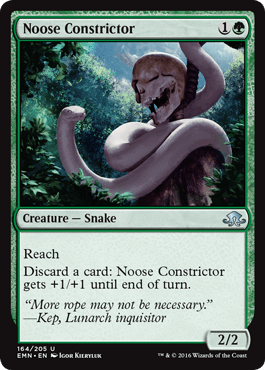
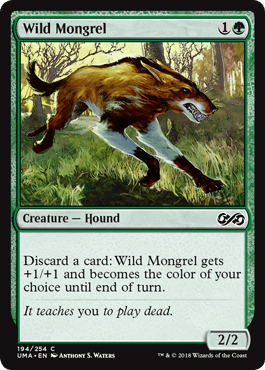
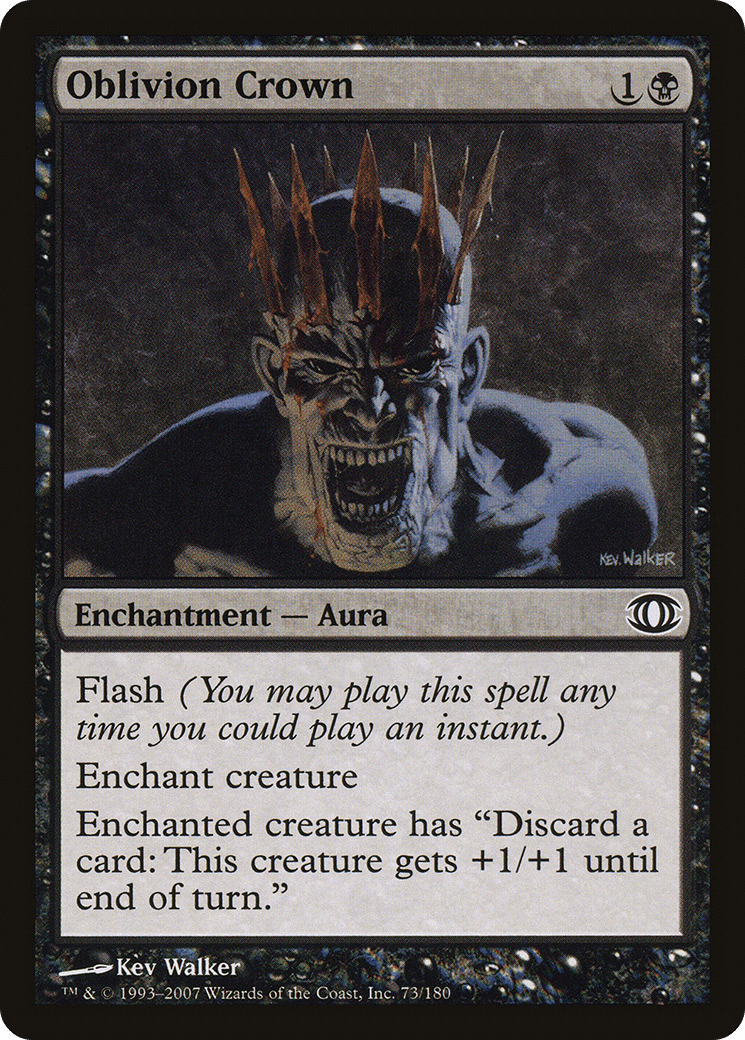
Noose Constrictor, Wild Mongrel, and Oblivion Crown all occupy the same role: infinite discard. You can activate these abilities as many times as you’d like in a turn to filter away tons of lands into new cards.
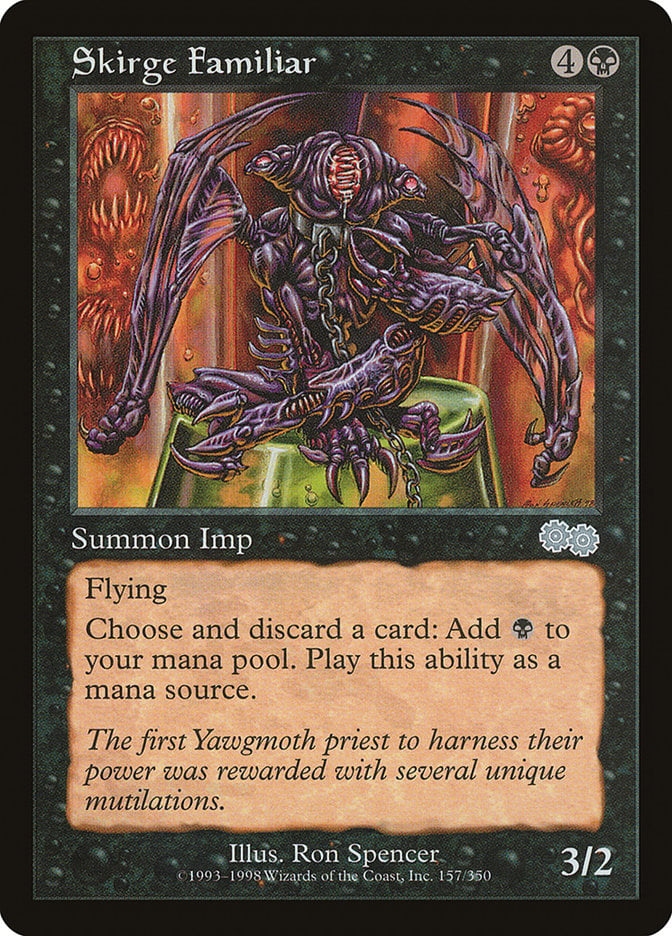
Skirge Familiar is another discard outlet that filters through tons of lands, but it does so with the added twist of generating mana.
Sacrificing Lands
You can also get lands into the graveyard from the battlefield by sacrificing them. The Gitrog Monster obviously does this on its own, but there are a few other cards that can help.
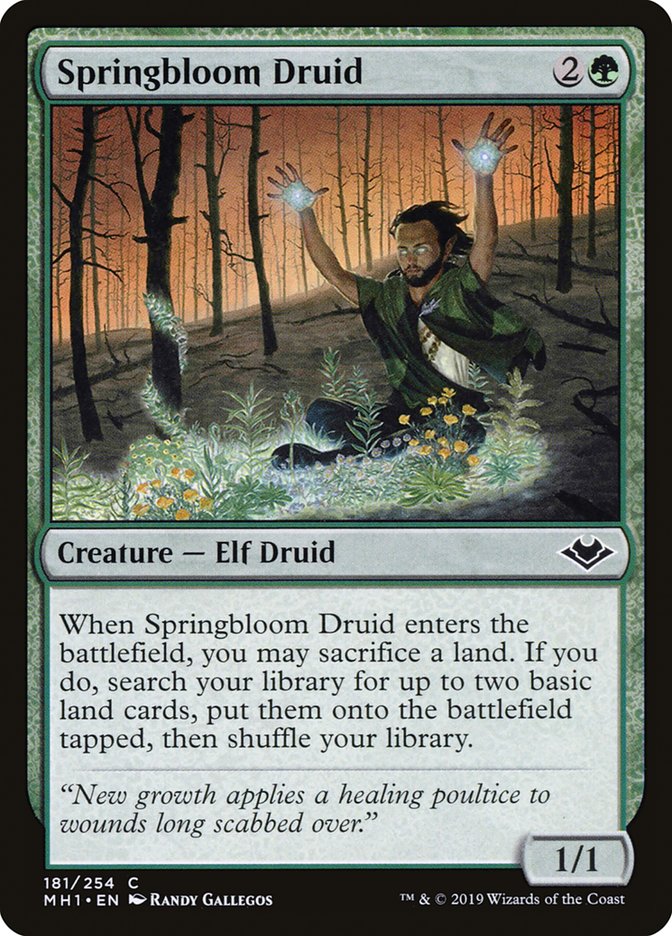
Springbloom Druid is an unassuming card that lets you ramp while pitching a land to the graveyard for some card draw.
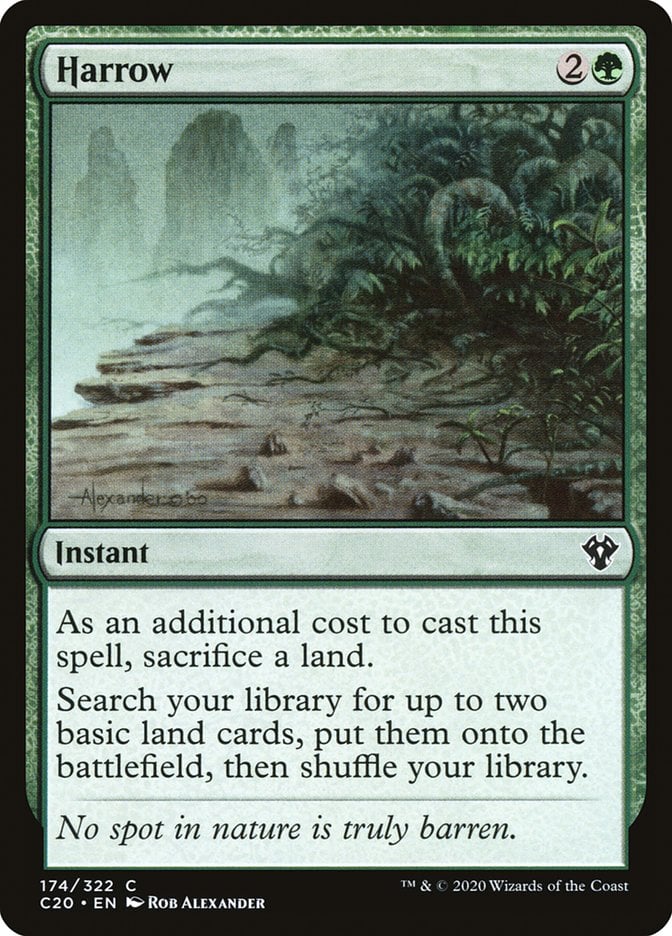
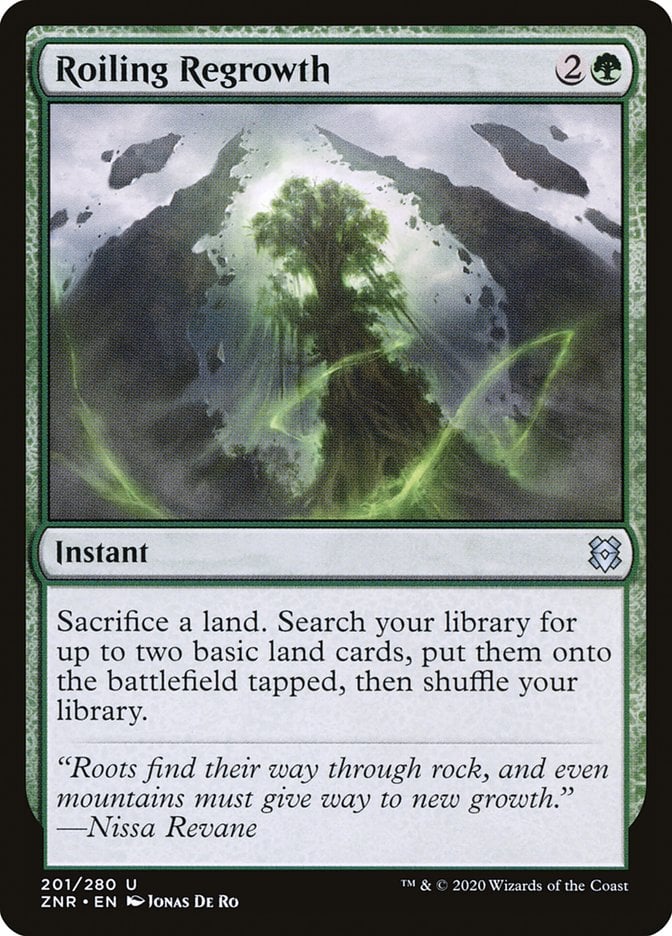
Harrow and Roiling Regrowth provide a similar ramp effect but are stapled to instants so you can hold your mana open.
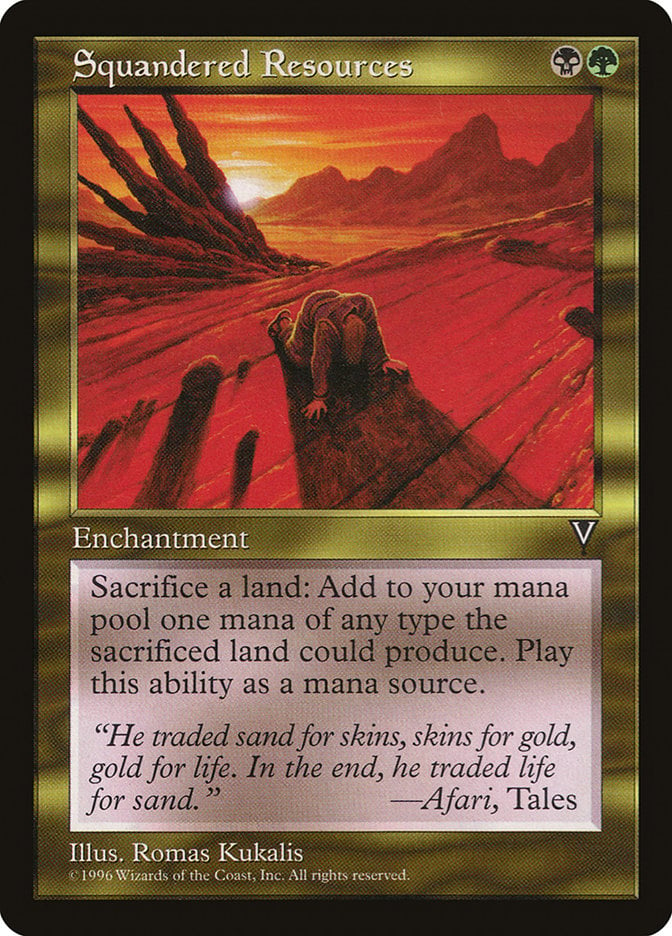
Squandered Resources is one of the more powerful cards in the deck. It provides a massive burst of mana and card advantage. It’s a great tool to close out a game and can be a Hail Mary if you’re on the cusp of losing, turning all of your lands into a ton of cards in hand.
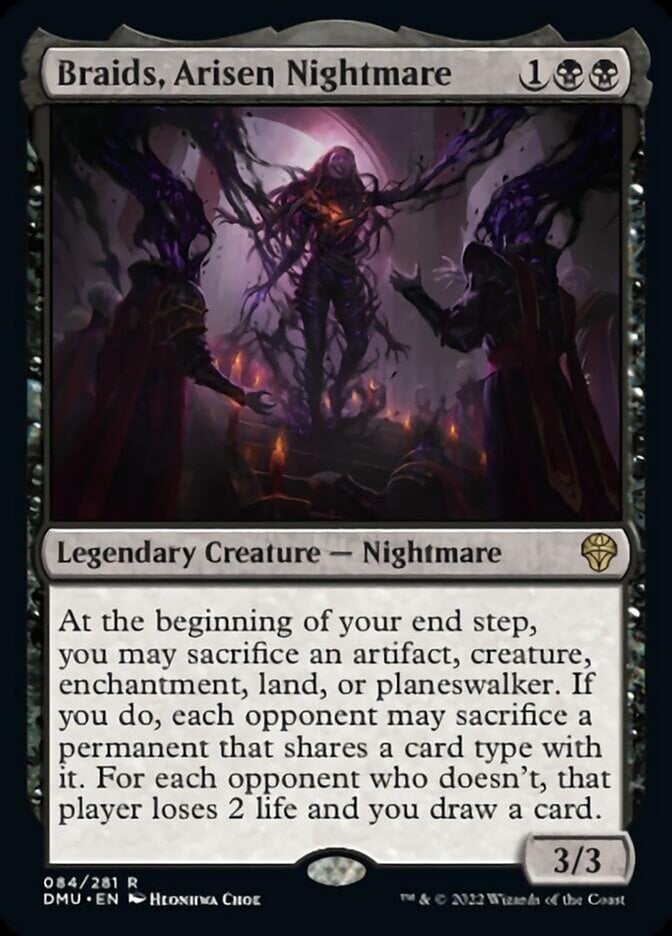
Braids, Arisen Nightmare is a powerful sac outlet that sends your lands to the graveyard while taxing your opponents. If they don’t want to sacrifice their mana base, they’ll give you even more cards.

Sylvan Safekeeper fills an important role in the deck by protecting The Gitrog Monster while providing card advantage. The threat of activation is more than enough to make most players point their removal elsewhere.
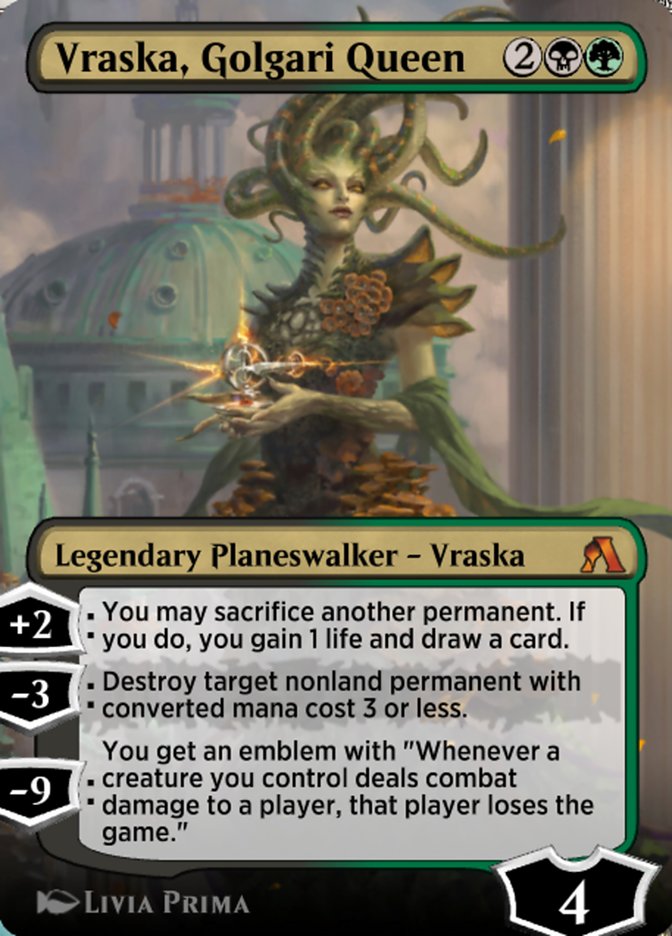
Vraska, Golgari Queen offers a lot of value by sacrificing lands to draw cards with its ability and Gitrog’s, as well as acting as a removal spell and even threatening a lethal board state with its ultimate.
Tutors
Sometimes you need the right card for the right situation, so you’ve got a handful of tutors. They’re primarily land-focused, helping you find what you need when you need it.
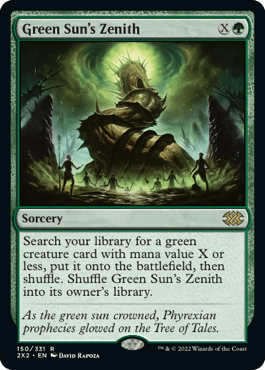
Green Sun's Zenith is the only tutor that doesn’t find lands, unless you’re going for the turn 1 Dryad Arbor. But it’s super versatile and hits several combo pieces which makes it invaluable.
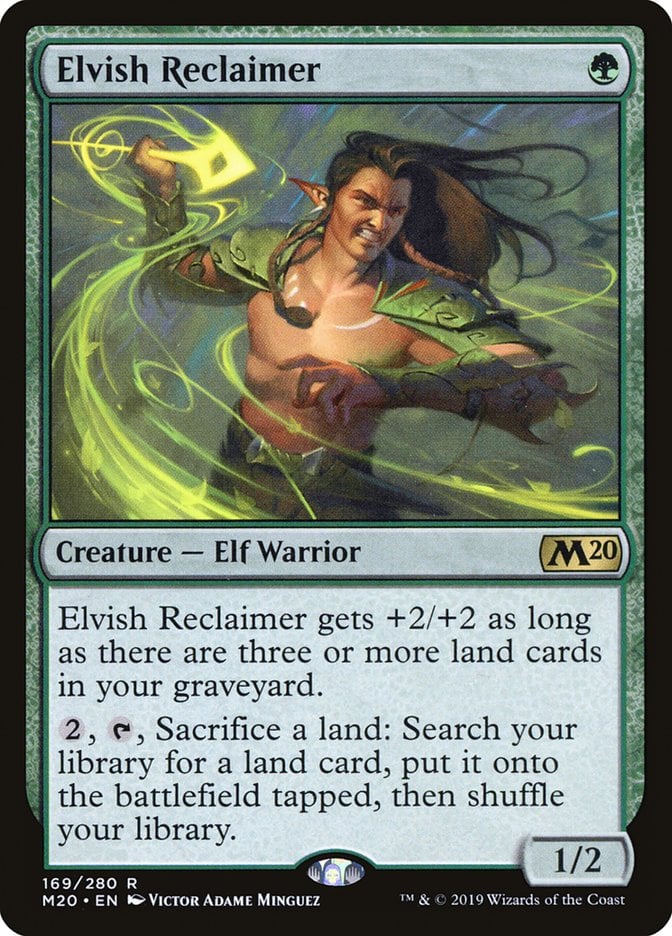
Elvish Reclaimer pulls double duty in this deck, sacrificing lands to draw cards while finding the land you need and even becoming a sizable creature later in the game.
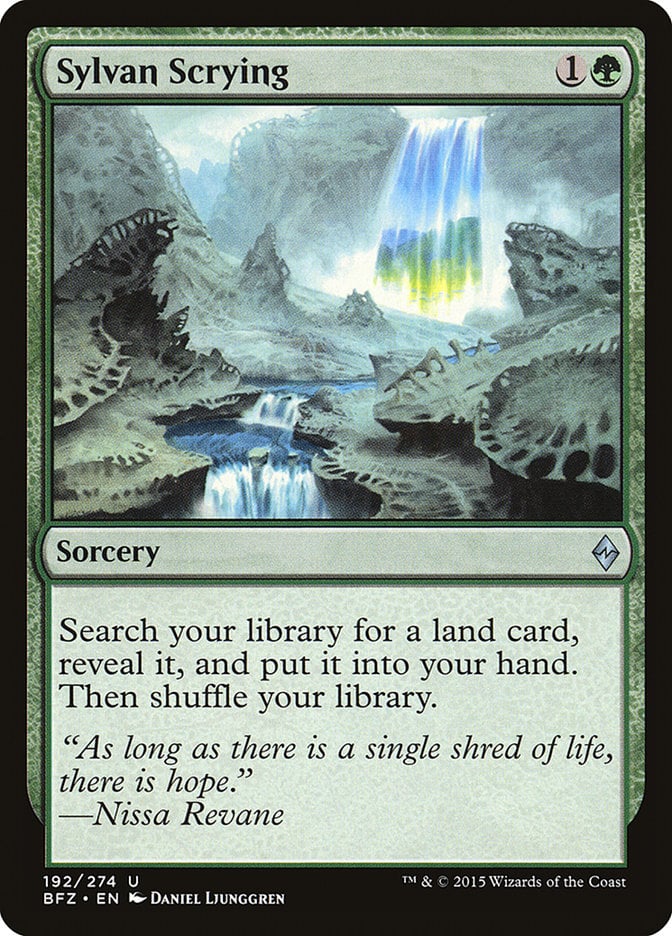
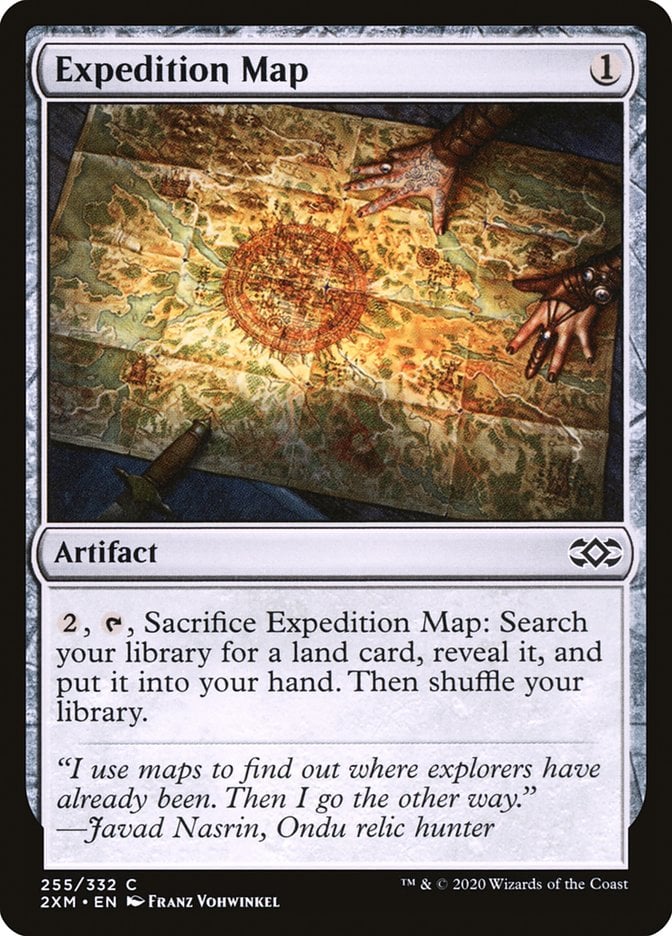
Sylvan Scrying and Expedition Map both tutor up the land you need for a little bit of mana.
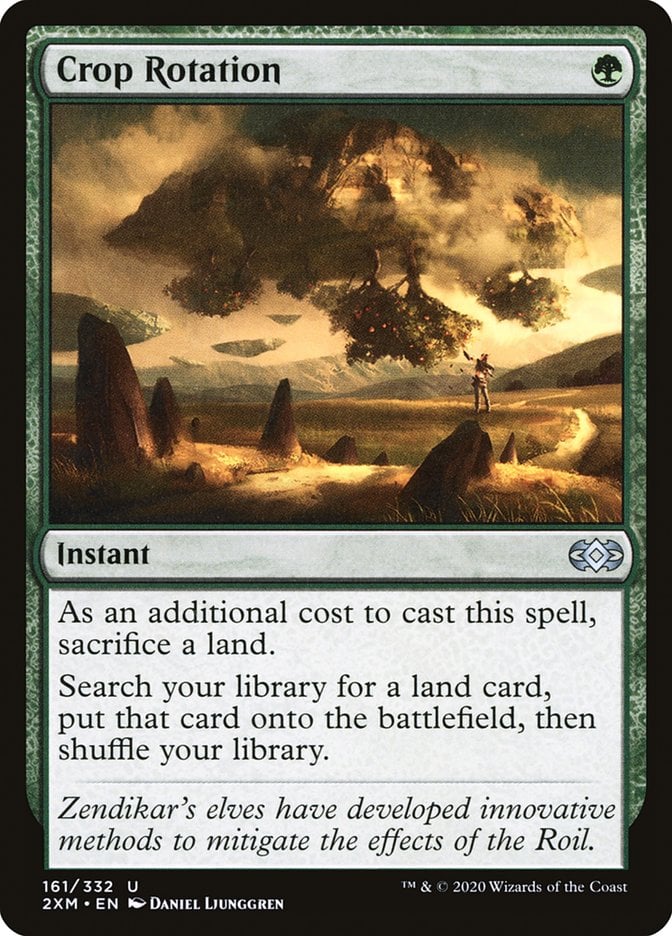
Crop Rotation is secretly one of the best cards in the deck. It always finds you the land you need, including plenty of combo pieces, value cards, and silver bullets. And it does all of it at instant speed!
Lands From Beyond the Grave
Pitching your lands to the graveyard is well and good, but you'll need ways to get them back.
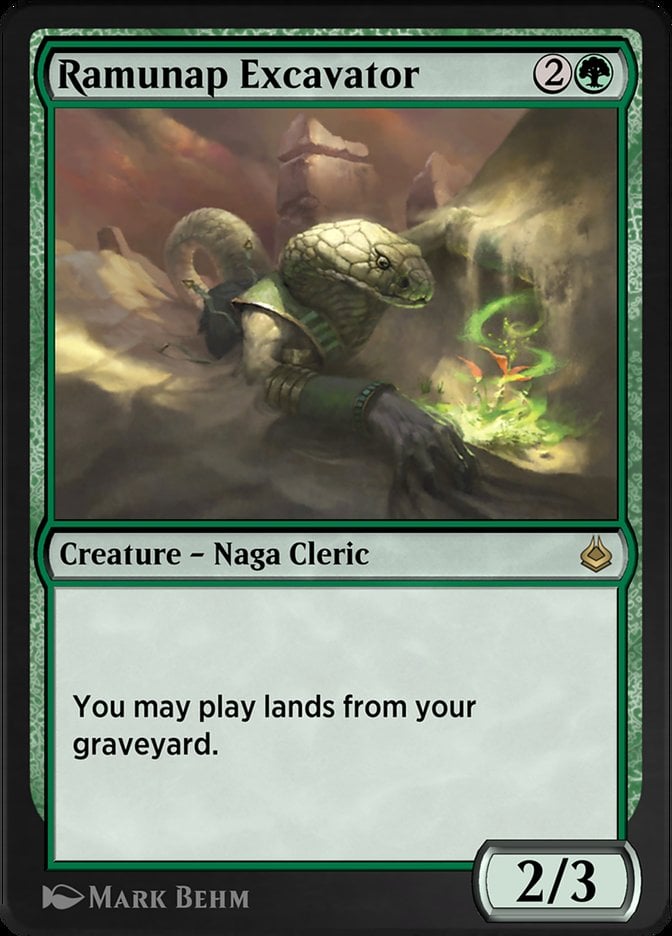
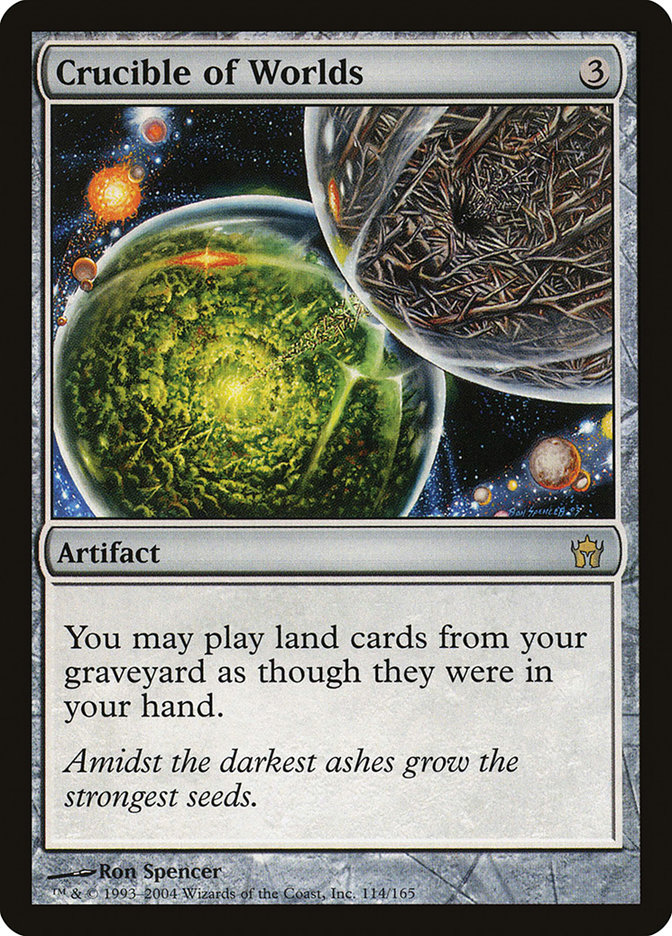
Ramunap Excavator and Crucible of Worlds give you the effect simply, letting you play lands straight from the graveyard.
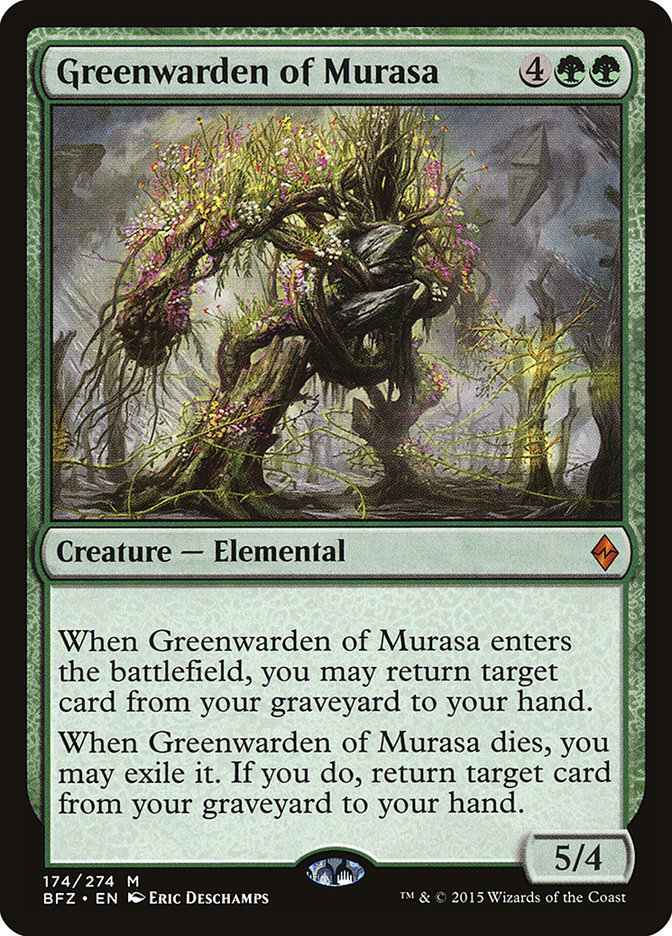
Greenwarden of Murasa takes this a bit further but lets you double any landfall abilities on top of playing lands from the graveyard.
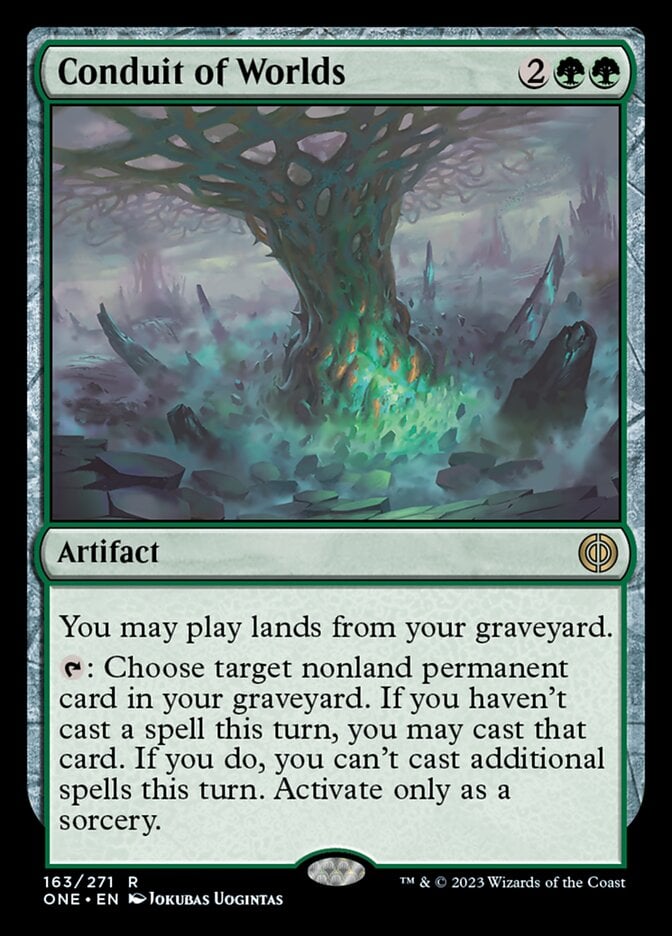
You’ve also got a brand-new card from All Will Be One in Conduit of Worlds. It lets you play your lands back and can provide extra value by letting you play permanent spells from the graveyard, which is especially useful to buy back combo pieces somebody might have destroyed earlier.
Clearing The Path
You definitely need removal to live long enough to see your plans come to fruition.
Cut Down, Go for the Throat, and Feed the Swarm give you several ways to cheaply interact with creatures.

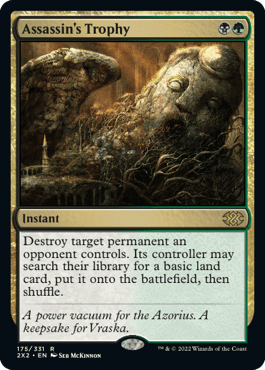
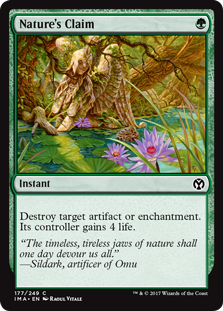
Tear Asunder, Abrupt Decay, and Assassin's Trophy broaden your removal horizons by letting you nab noncreature permanents as well, and Nature's Claim is the most efficient way to deal with artifacts and enchantments.
The Mana Base
This deck’s got a lot going on in its mana base. It puts a heavy emphasis on finding value lands since it’s so land-focused, but it’s also got some robust ramp options.
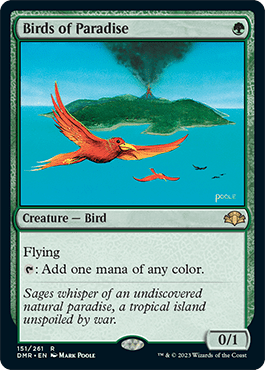
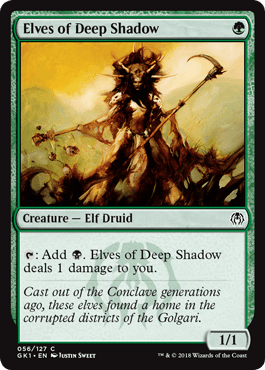
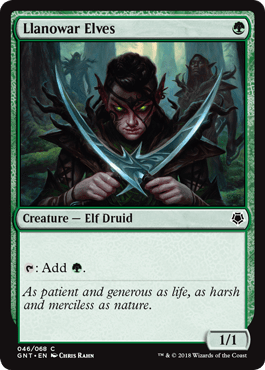
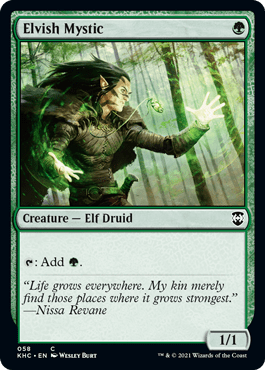
You’ve got the usual suspects when it comes to mana dorks: Birds of Paradise, Elves of Deep Shadow, Llanowar Elves, and Elvish Mystic let you hit the ground running from turn 1.
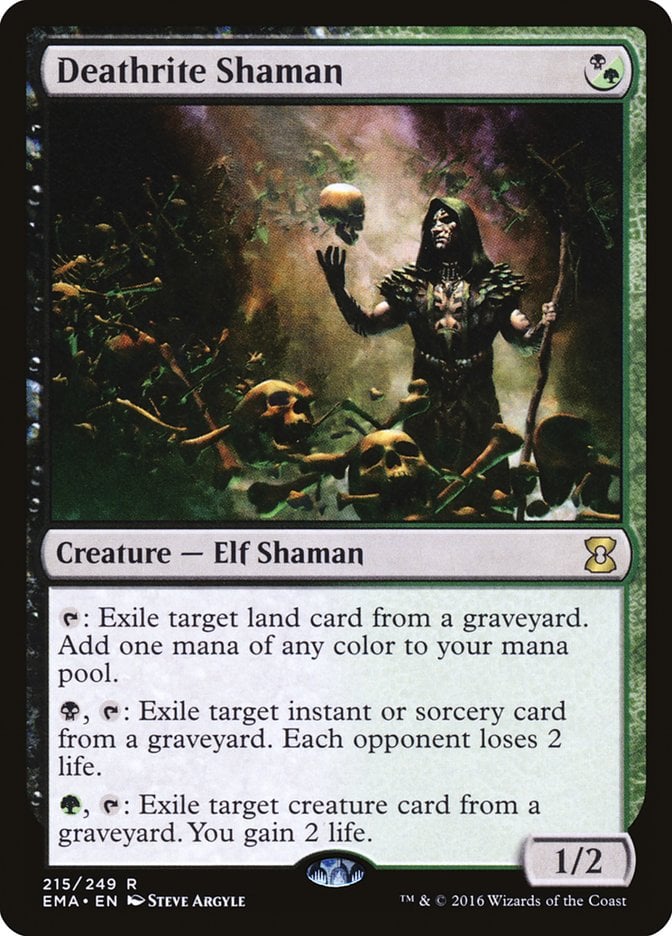
You’ve also got Deathrite Shaman, which works as a mana dork as well as potent graveyard interaction.
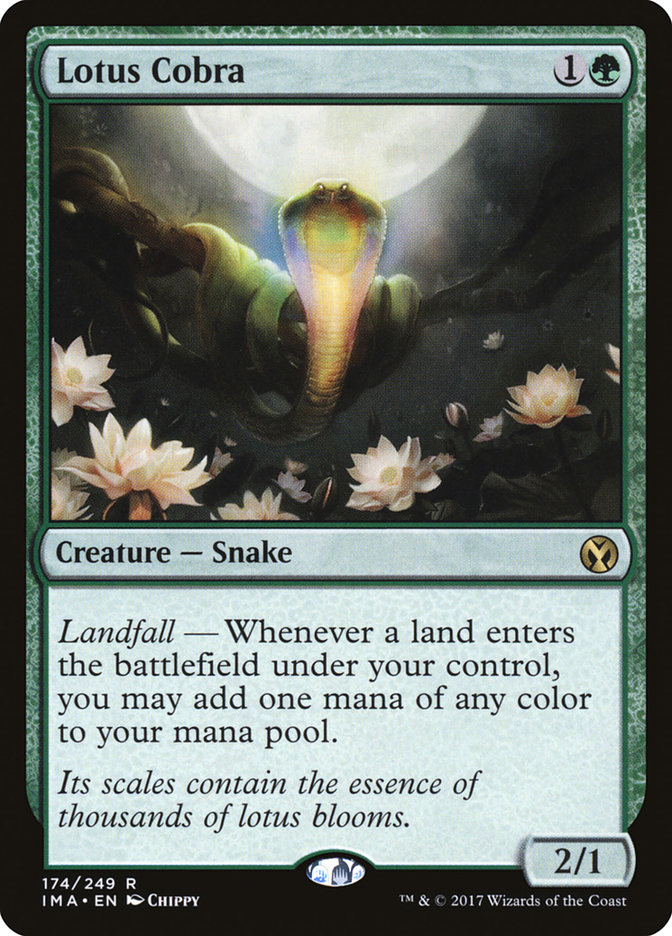
Lotus Cobra is an absurdly silly card that pairs incredibly well with effects like The Gitrog Monster that let you play multiple lands, and it works with all your cards that put lands into play.
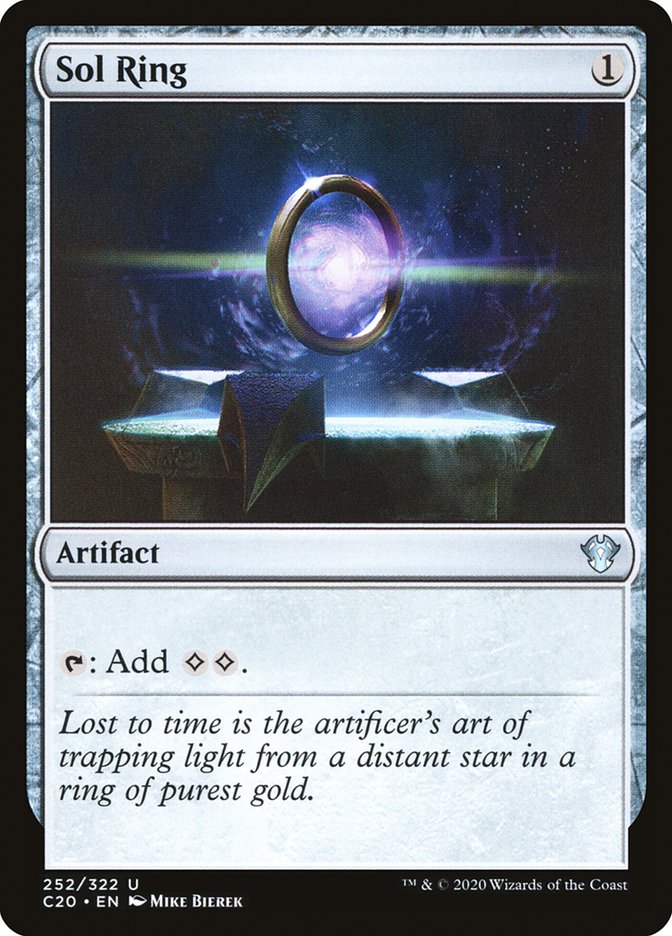
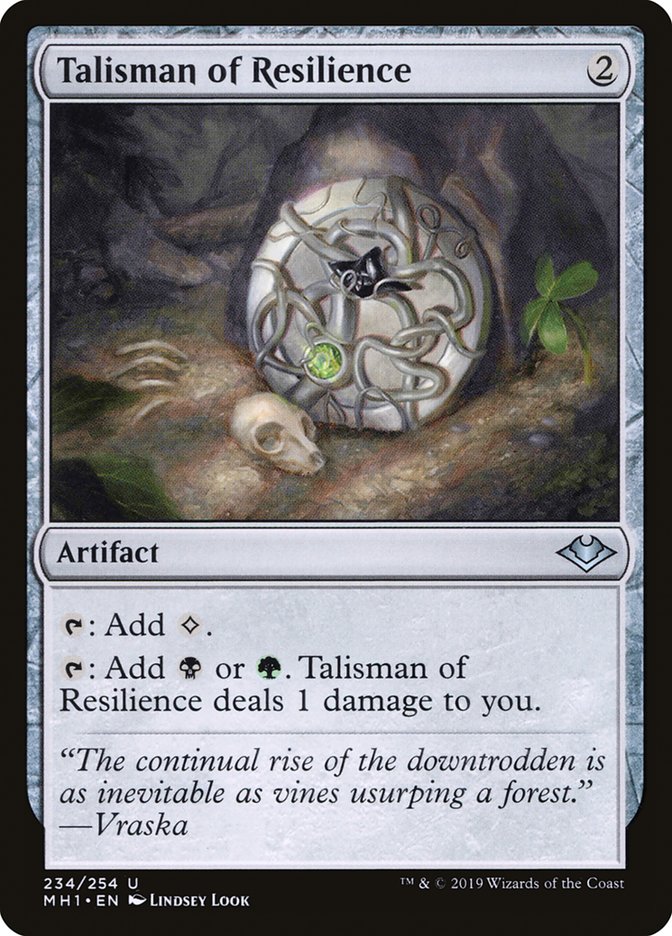
This deck doesn’t play much in the way of artifact ramp, with just a Sol Ring and Talisman of Resilience. Fewer artifact ramp spells make your board less venerable to opposing artifact destruction and your own Collector Ouphe.
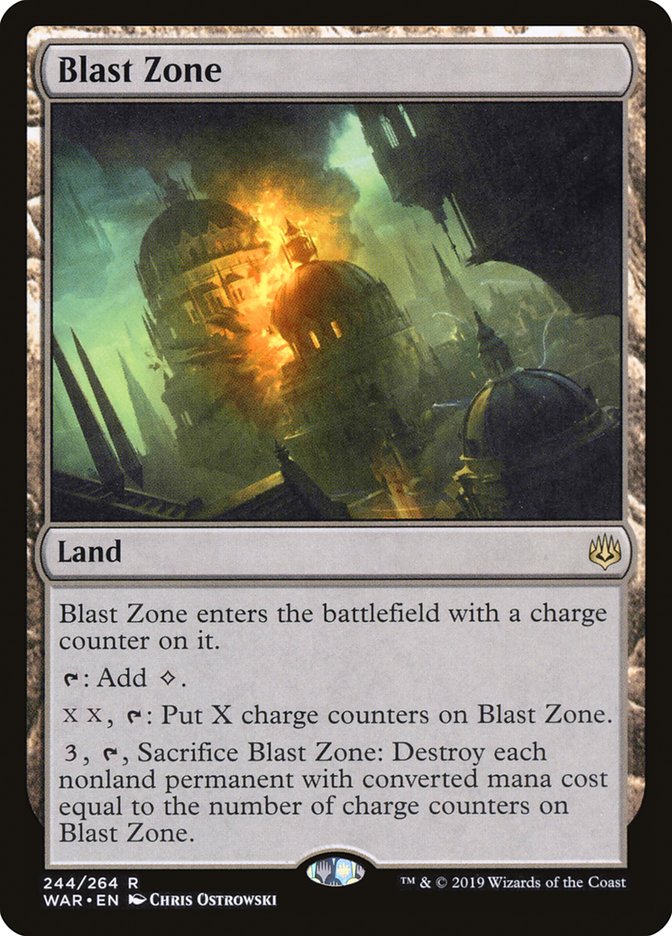
Blast Zone is an effective board wipe that can pinpoint the most problematic permanents and sweep them away as long as they cost more than one mana, plus it’s tutorable and recurable!
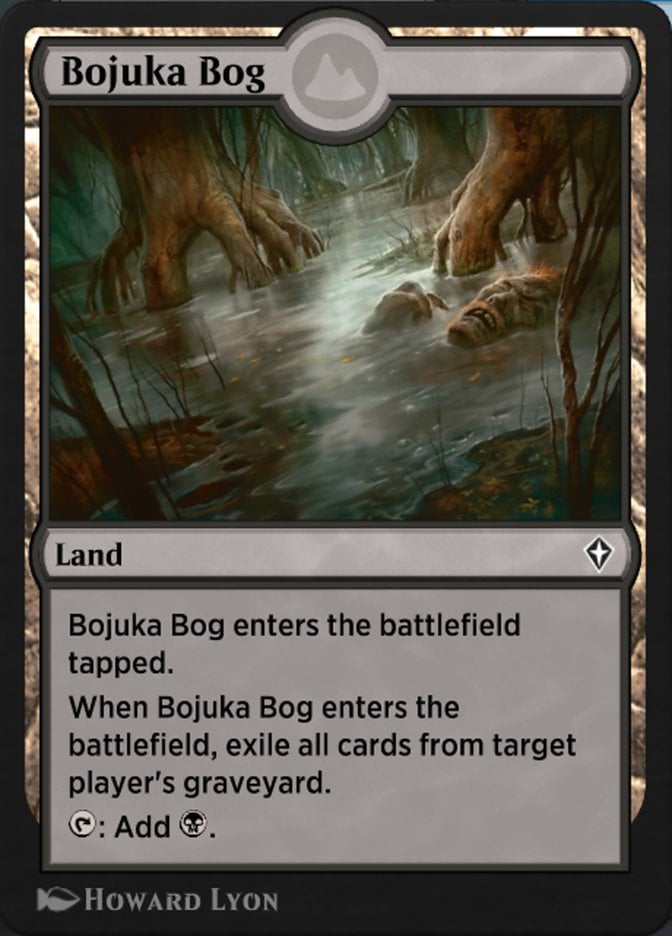
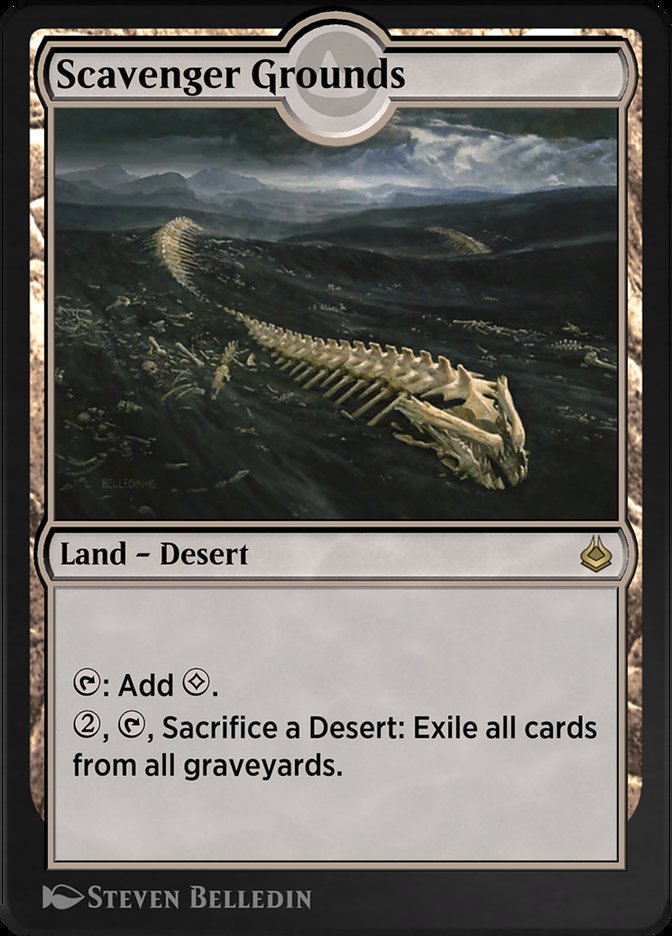
Bojuka Bog and Scavenger Grounds both provide graveyard interaction through the mana base.
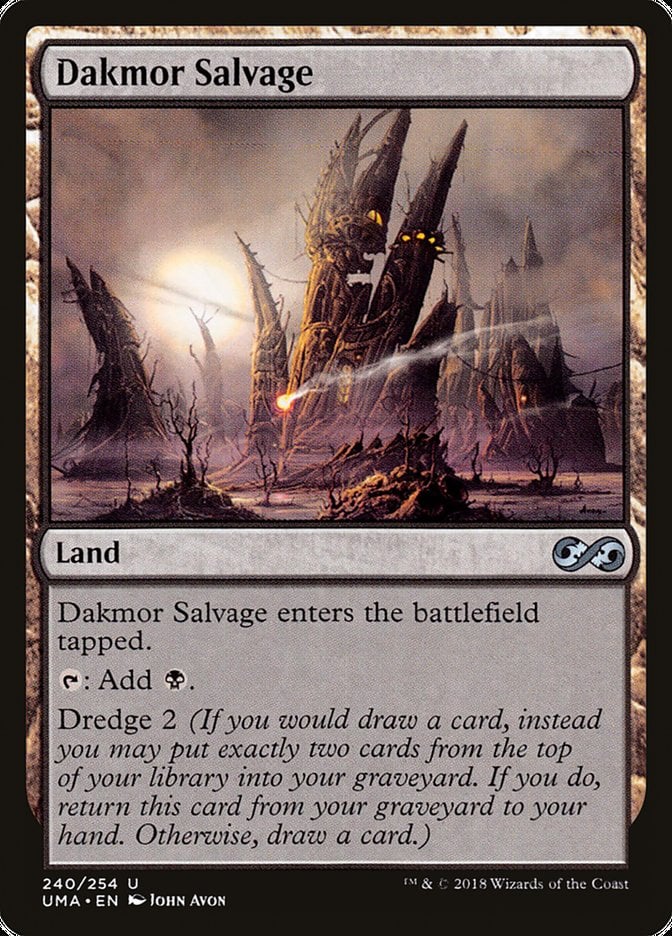
Dakmor Salvage is an incredibly powerful piece in the deck that I'll look at in closer depth later.
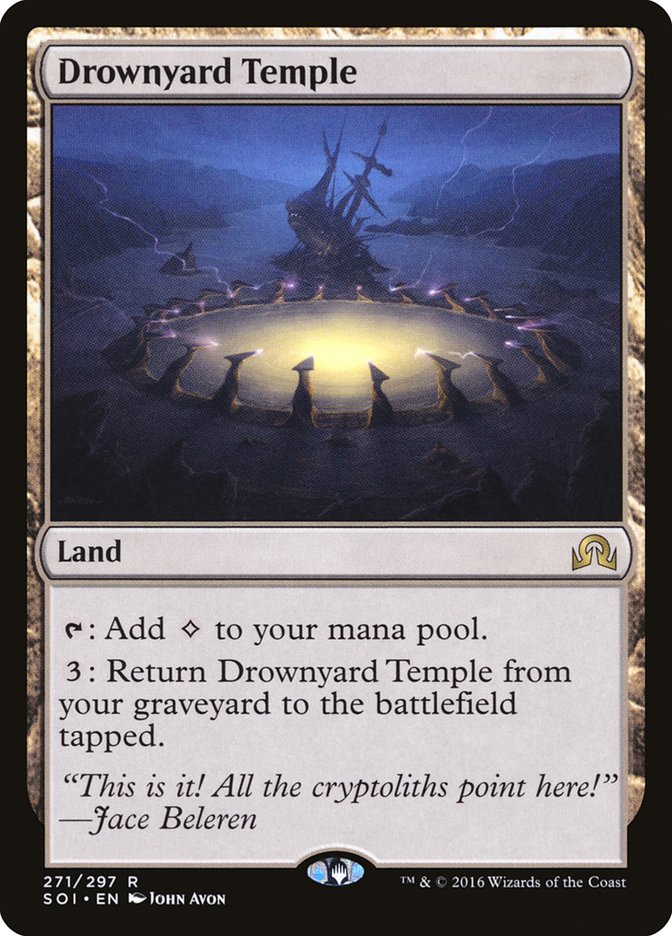
Drownyard Temple comes back from the graveyard, letting you sacrifice it again and again to some of your other outlets, or just helping you make land drops if you’re missing them.
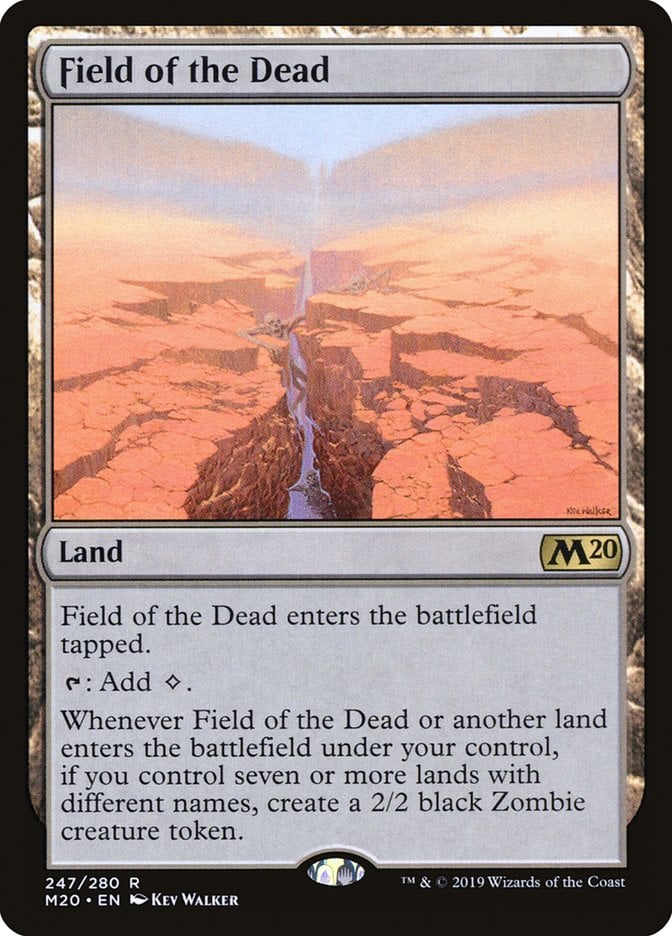
Field of the Dead provides a powerful win condition for the deck and another source of inevitability.
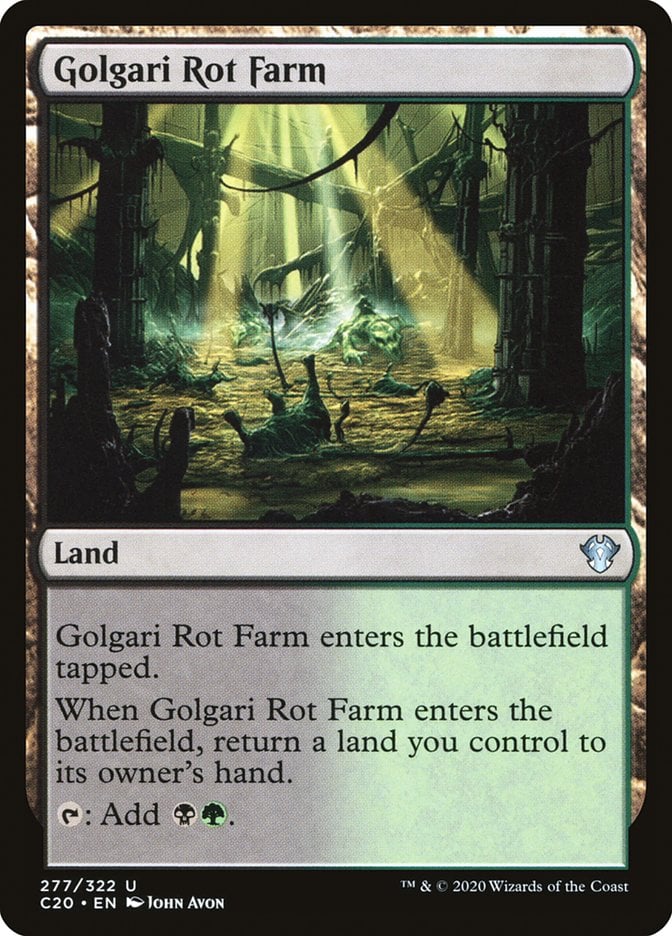
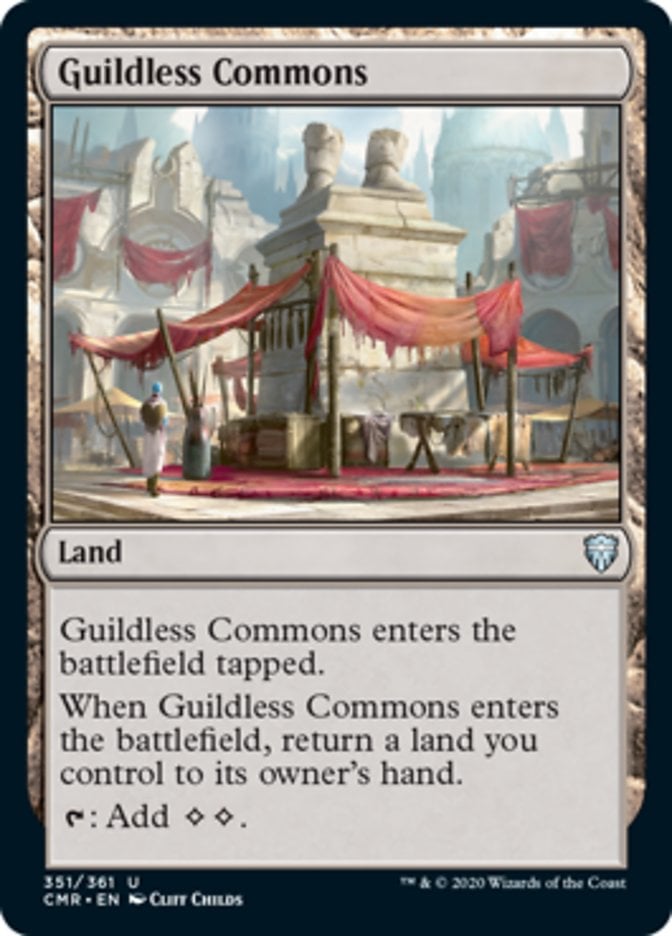
Golgari Rot Farm and Guildless Commons are both great pieces in this deck, letting you get cards like Bojuka Bog back to hand to trigger them again, or buying back your modal double-faced cards.

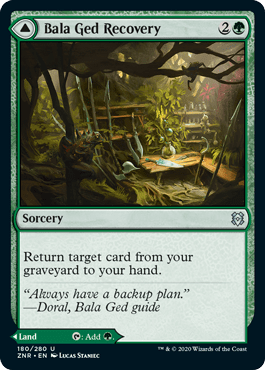
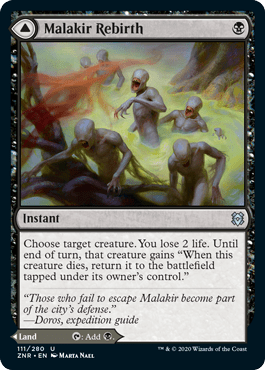
You’ve got three MDFCs to help this deck run lots of lands and spells at once. Hagra Mauling is a fine interactive spell. Bala Ged Recovery will help you grind out longer, interaction-heavy matches. Malakir Rebirth might just be the strongest of the MDFCs, letting you save any of your creatures for next to nothing.
Beyond these lands you mostly just have a bunch of dual lands to fix your mana. The deck notably has a split between regular Swamps and Forests and the Snow-Covered varieties to increase the number of unique lands in the deck for Field of the Dead.
The Strategy
You’re looking to draw some cards and assemble some combos. This deck just wants to grind, grind, and grind some more. You wanna play a longer game that allows you to find our infinite combos and unleash them on your opponents.
Something that’s hard for you to beat is really quick decks. You’ve got a suite of cheap removal specifically to try and halt those aggressive strategies in their tracks. Something to keep in mind is that your life total is a resource. This deck doesn’t lose much life while using its effects despite being in black. You can take a few blows to the chin to give yourself time to assemble something lethal.
You also have to be aware of graveyard hate, especially hate that generally exiles cards from graveyards. A lot of the time this takes the form of enchantments like Leyline of the Void and Rest in Peace, which is why you work with so much noncreature removal. At least one of these should be held to deal with this specific threat.
The best pods to play this deck in will be ones with players who are also looking for a longer game and might not pressure you early, as well as those with a deck geared towards interacting with more spell-focused strategies. You mostly care about lands, which are hard to interact with, and most of your combos revolve around activating and triggering various abilities. Opponents trying to combo with things like storm and other spell-centric decks will struggle to keep this monster down.
Combos and Interactions
Before I get into the details of the combos I want to take a moment to speak about our brilliant friend Crop Rotation. This really is one of the best cards in the deck, and it has several lines to keep in mind:
Rotation can fetch Bojuka Bog or Scavenger Grounds at instant speed to disrupt graveyard nonsense while your opponent tries to go off.
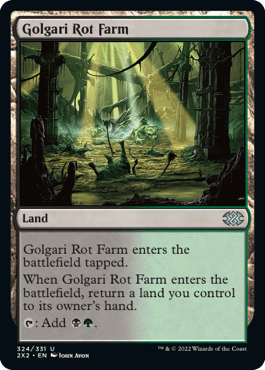
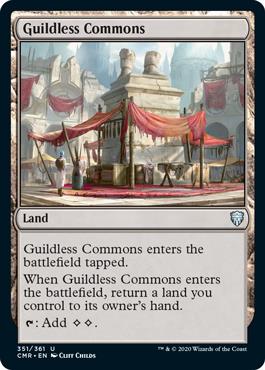
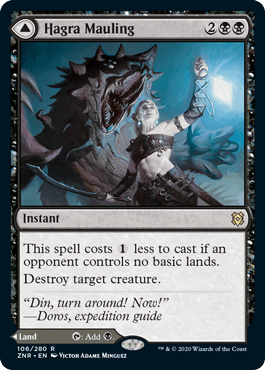
It can also find your Karoo lands in Golgari Rot Farm and Guildless Commons to kick off some of your combos or buy back an MDFC. Malakir Rebirth and Hagra Mauling are both instants, so you can really catch an opponent off guard by fetching a bounce land, bouncing one of them, and casting it during their turn.
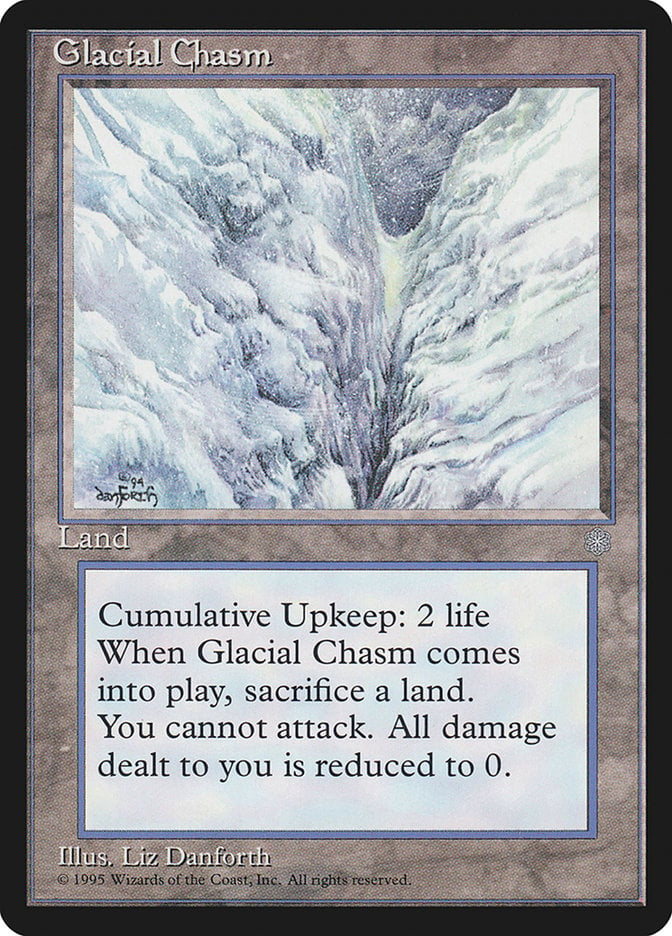
You can also snag Glacial Chasm to turn what could have looked like a great attack into a dismal failure.
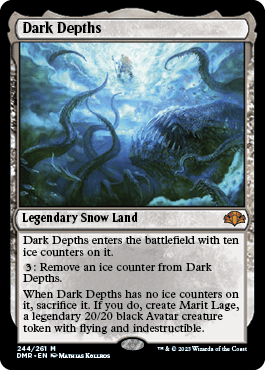
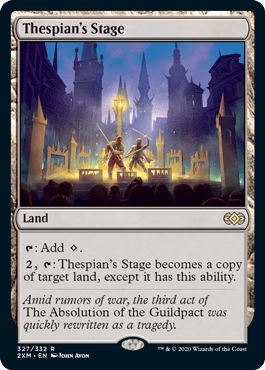
You’ve got a classic land-based combo with Dark Depths and Thespian's Stage. All you need is both cards in play and a few mana. Activate Thespian's Stage’s ability to make it a copy of Dark Depths. You have to choose which of the two legendary permanents you want to keep; select the Stage copy. The original goes to the graveyard.
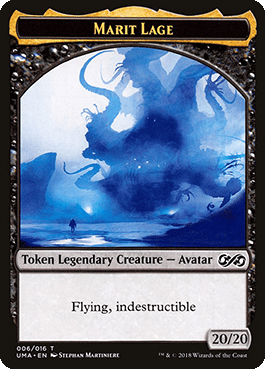
Now, since Thespian's Stage copied Depths, it didn’t come into play with any ice counters on it so the last ability instantly triggers, allowing you to sacrifice the copied Dark Depths to unleash the horror that is Marit Lage on your dear friends.
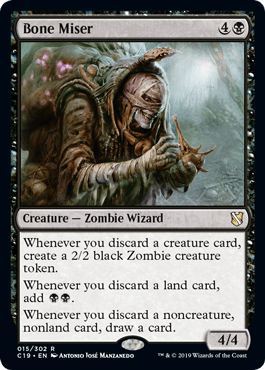
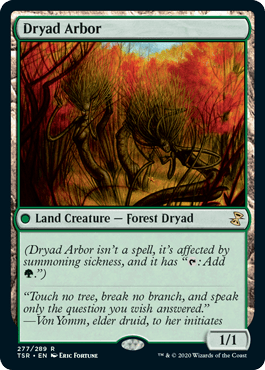
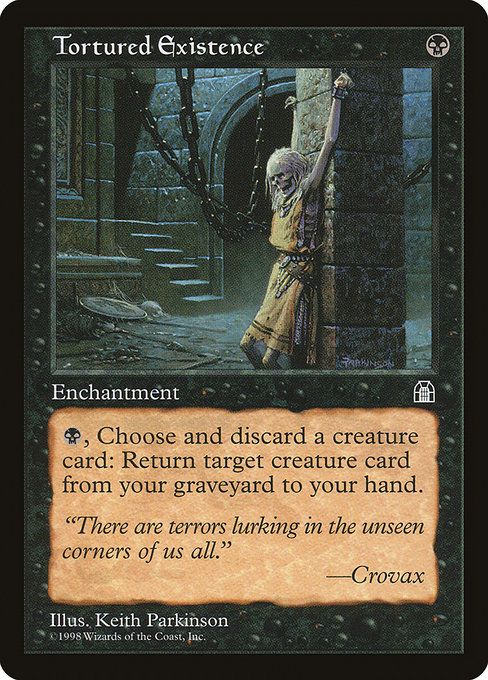
You also have a few ways to make infinite tokens. The first combo requires three pieces: Bone Miser, Dryad Arbor, Tortured Existence, and any other creature card. You need Mister and Existence in play. Dryad Arbor needs to be either in your hand or your graveyard, and the other creature has to be in the other zone. Let’s say Arbor is in your graveyard for the example.
Activate Tortured Existence, discarding your extra creature card to return Dryad Arbor to your hand. This triggers Miser, making a Zombie. Then activate Existence again, this time discarding Dryad Arbor.
This triggers Miser to create another Zombie, but Miser also creates two black mana since Arbor is a land and a creature. You can use this mana to discard the extra creature, getting back Dryad Arbor, and then discard the Arbor for another two mana and two tokens.
This loop doesn’t net you any mana but it does make a lot of tokens. Just make sure not to accidentally deck yourself; if The Gitrog Monster is in play then you'll draw a card for each of these loops.
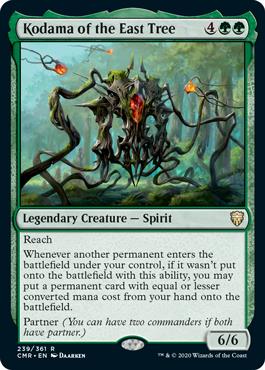
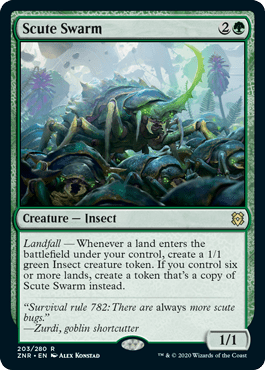
The next combo requires a few pieces: Kodama of the East Tree, Scute Swarm, and Golgari Rot Farm or Guildless Commons. You need the bounce land in hand and the two creatures in play.
This one’s simple: play the Rot Farm, which triggers Kodama, Scute Swarm, and the Rot Farm. Stack the triggers so that Golgari Rot Farm resolves first, and then return it to your hand with its own ability. Then let the Swarm’s trigger resolve, creating a 1/1.
The 1/1 triggers Kodama again. Use its ability to put Rot Farm back into play, triggering the Swarm again. You can keep looping the Rot Farm by bouncing it with its own ability and putting it back into play with the Swarm’s token until you have enough tokens to win.
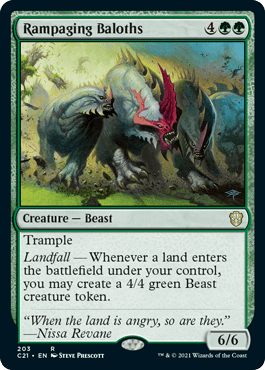

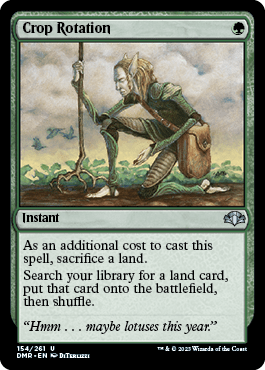
You can also perform this loop using Rampaging Baloths or Field of the Dead in place of Scute Swarm. It can also go off at instant speed using Crop Rotation to grab the bounce land with both creatures in play, letting you use it to make surprise blockers or just on the end step of the turn before yours to give pseudo-haste to your team.
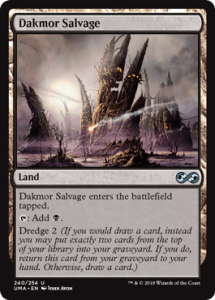
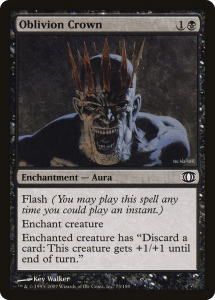
You can also make some infinitely large creatures. This loop needs The Gitrog Monster, Dakmor Salvage, and a discard outlet like Oblivion Crown attached to Gitrog.
Discard the Dakmor Salvage to Oblivion Crown, giving Gitrog +1/+1 and generating a draw trigger. Instead of drawing, you'll dredge the Salvage and can repeat until Gitrog is infinitely big, or just a 21/21 since that's plenty of commander damage.
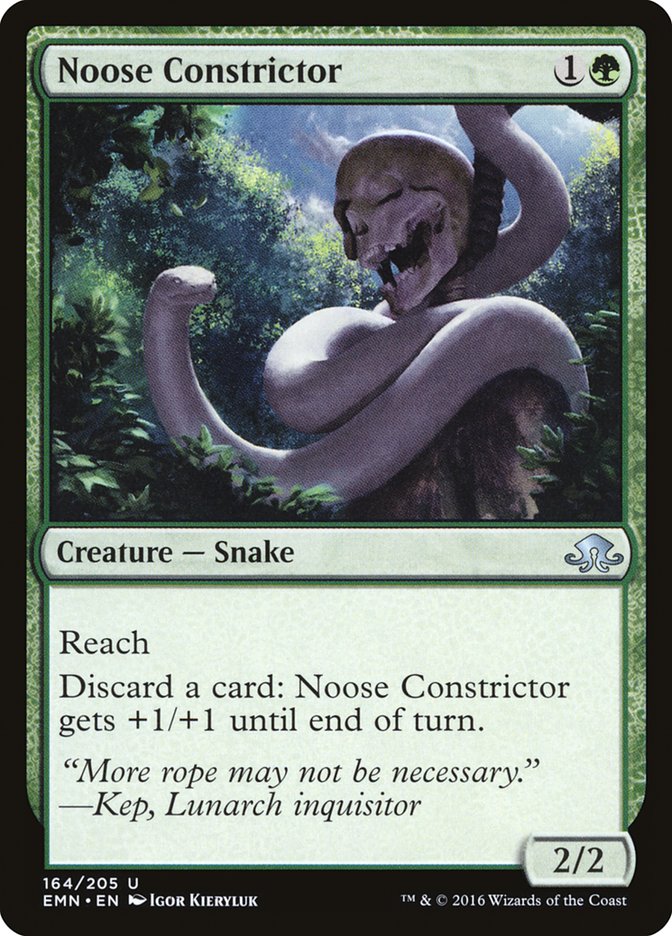
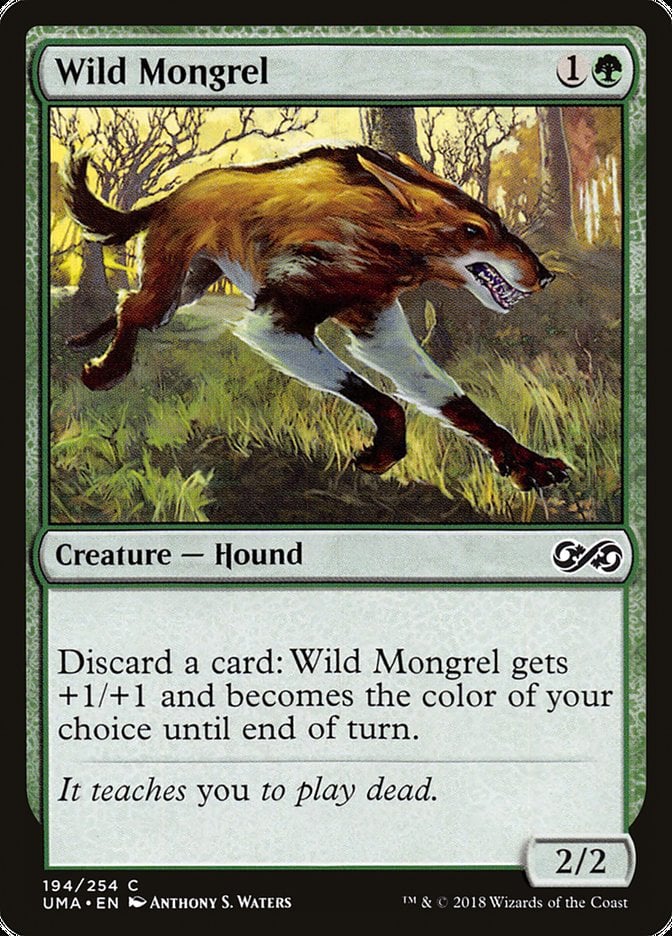
This also works with Noose Constrictor and Wild Mongrel.
Rule 0 Violations Check
The main thing some players might find salty about this deck is its reliance on infinite combos to close out the game. It can win with a fairer strategy, but it’s probably going to win by dropping a bunch of tokens from nowhere. This isn’t to every group’s liking so you might want to mention that in the opening conversation.
Beyond that the deck doesn’t really have many pieces that will make other players salty. Some might not be a fan of Collector Ouphe or some of the resource denial cards like Necrogen Mists and Dark Deal, so you could also mention those.
Budget Options
This deck’s kind of pricy, so there are a few cards you could cut to make it a bit cheaper.
Field of the Dead is obviously a powerful win condition, but you can do away with it to save a chunk of change. You can get rid of the Snow-Covered basics in favor of the regular cheaper versions if you cut the Field.
Boseiju, Who Endures is incredibly powerful, with a price tag to match. You could run another piece of enchantment and artifact hate like Natural State.
Dark Depths is another card you could do away with. The combo is powerful, but it’s not strictly necessary and saves a bit of money. Thespian's Stage has enough other utility to keep even if you do cut the Depths.
Strip Mine is a super effective piece of land hate that could be replaced by something like Demolition Field.
Squandered Resources isn’t really a replaceable effect, but it also isn’t strictly necessary for the deck to function and could be cut for another utility card like Fortitude.
You could cut Green Sun's Zenith in favor of a cheaper tutor like Chord of Calling.
Liliana of the Veil is another strong piece that could be removed for something of similar utility like Cunning Lethemancer.
Other Builds
You could take this in another direction by leaning away from the combos and towards an even more grindy midrange-style deck. There are plenty of powerful self-mill cards like Grim Flayer and Mulch that could form the foundation for a strong deck. Combo pieces could be swapped for more efficient threats like Elder Gargaroth and Questing Beast to focus on ending the game through fairer means.
It's also worth noting that you can go way harder into combos. There’s a fairly well-known combo that involves using The Gitrog Monster, one of your discard outlets like Oblivion Crown, and a shuffler effect like Ulamog, the Infinite Gyre to loop through your deck and manipulate it to draw your entire deck or sculpt the perfect hand. I left it out because it felt a little too much like cEDH for this deck, but it’s certainly an option one could make use of with minimal changes.
Commanding Conclusion
Kodama of the East Tree | Illustration by Daarken
The Gitrog Monster gives us a lot of really interesting lines as a commander. It's an incredibly strong piece to have at the forefront of a deck so you can see as many cards as possible as a card advantage engine. But because its card advantage is tied to a niche mechanic like getting lands into the graveyard, it forces you to make interesting decisions about how you make the most of that advantage.
Like many focused commanders The Gitrog Monster is all about how you execute it, and this list wants to execute with infinite combos. What do you think of the list? How would you have built it? Let me know in the comments below or over in the Draftsim Discord.
That's all from me for now. Stay safe, stay healthy, and wash your hands!
Follow Draftsim for awesome articles and set updates:


Add Comment