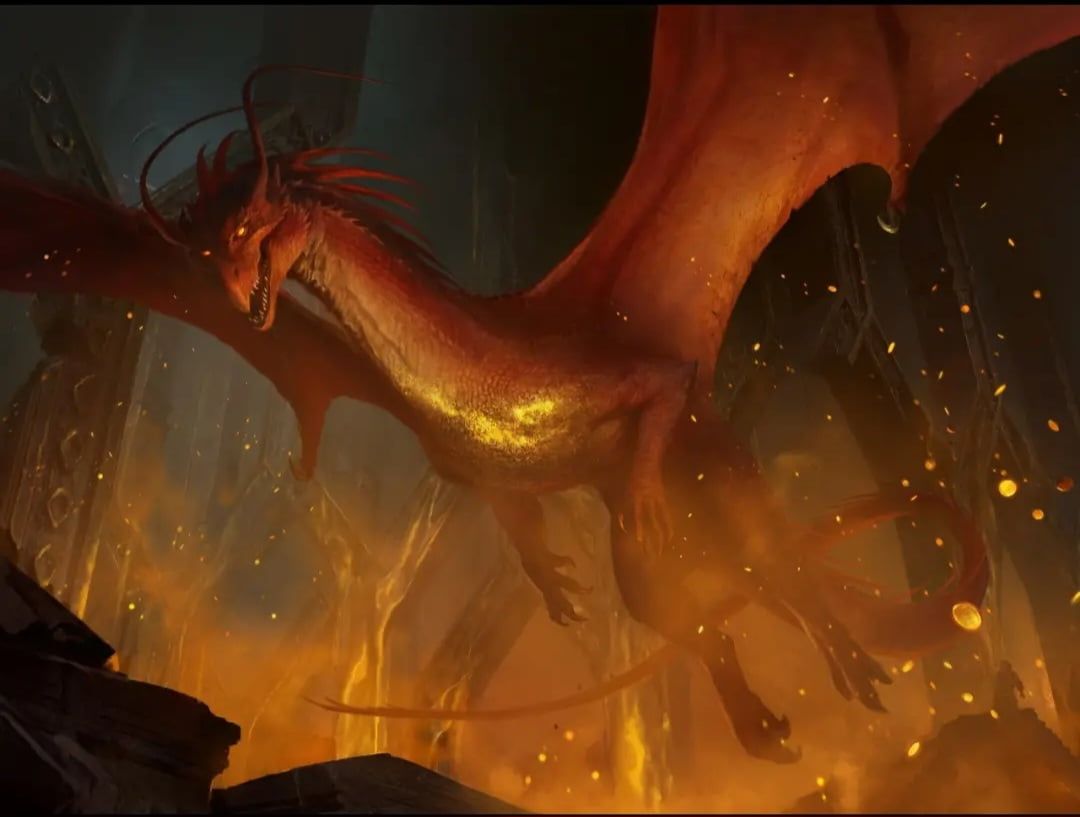
Smaug the Magnificent | Illustration by John Tedrick
Marvel Super Heroes may finally be on store shelves and in our collections, but I’ve already got my eye on the next set. Kinda have to in this line of work.
Now that we’ve had our first batch of Hobbit spoilers, we also have our first commanders from the set. One of them has taken off in advance of release, and it’s of course the story’s Big Bad, Smaug the Magnificent.
Mono-red burn may not be at its best in a format with 40 starting life, but what about when you add some Treasure synergies to the mix? Join me on this adventure, and I’ll show you how you can slay as the dragon.
The Deck
Smaug the Magnificent | Illustration by Francisco Miyara
Commander (1)
Creature (22)
Academy Manufactor
Atsushi, the Blazing Sky
Captain Lannery Storm
Cavern-Hoard Dragon
Crime Novelist
Gadrak, the Crown-Scourge
Generous Plunderer
Glóin, Dwarf Emissary
Goldlust Triad
Goldspan Dragon
Hellkite Tyrant
Ingenious Artillerist
Knuckles the Echidna
Magda, Brazen Outlaw
Magda, the Hoardmaster
Professional Face-Breaker
Reckless Fireweaver
Storm-Kiln Artist
Swashbuckler Extraordinaire
Torbran, Thane of Red Fell
Twinflame Tyrant
Xorn
Instant (10)
Big Score
Bolt Bend
Bottle-Cap Blast
Chaos Warp
Great Train Heist
Kazuul's Fury / Kazuul's Cliffs
Redirect Lightning
Unexpected Windfall
Untimely Malfunction
Valakut Awakening / Valakut Stoneforge
Sorcery (10)
Blasphemous Act
Brass's Bounty
Hell to Pay
Hit the Mother Lode
Pirate's Pillage
Seize the Spoils
Seize the Spotlight
Strike It Rich
Sundering Eruption / Volcanic Fissure
Vandalblast
Enchantment (10)
Alchemist's Talent
Descent into Avernus
Fiery Emancipation
Firebender Ascension
Guild Artisan
Rain of Riches
Shiny Impetus
Spiteful Banditry
Sticky Fingers
There and Back Again
Artifact (12)
Arcane Signet
Coin of Mastery
Diamond Pick-Axe
Goldvein Pick
Idol of Oblivion
Lightning Greaves
Ruby Medallion
Sol Ring
Swiftfoot Boots
Sword of Wealth and Power
The Fire Crystal
The Reaver Cleaver
Land (35)
Arena of Glory
Great Furnace
Mines of Moria
Mountain x28
Rogue's Passage
Treasure Vault
Valakut, the Molten Pinnacle
War Room
This is a Bracket 3 mono-red deck that uses Treasure and burn as its win conditions. I’ve left out some more expensive Commander staples like Deflecting Swat or The One Ring to keep the budget somewhat reasonable, especially since the commander itself is over a month from release.
The deck should be fairly playable, though the curve is somewhat high. The Treasure should help, but you can’t afford to spend it at the same rate you make it because that cuts into your win conditions.
The Commander: Smaug the Magnificent
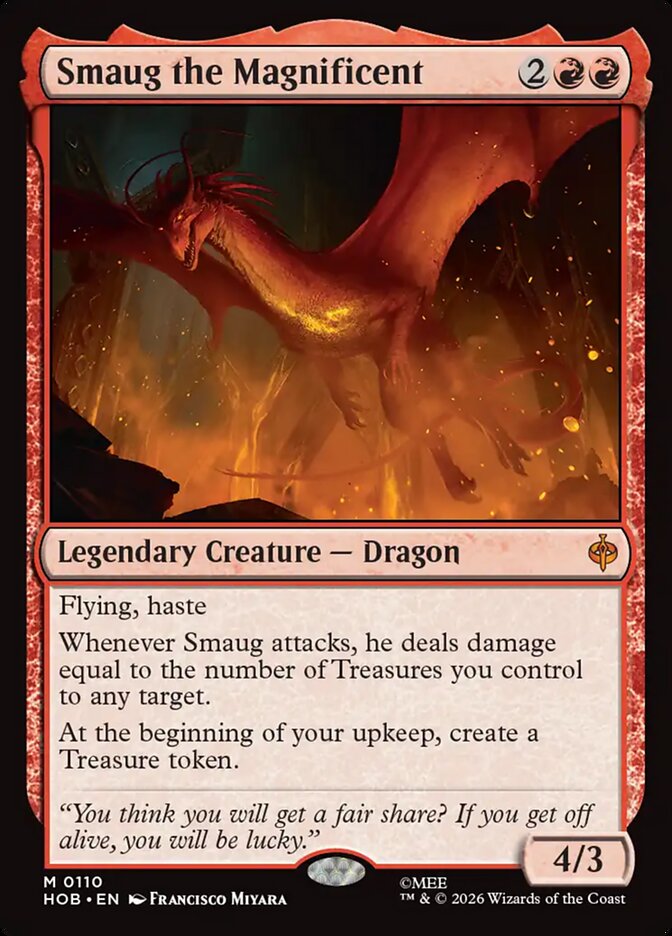
Is it any surprise that a card to represent a dragon that’s known for sitting on a massive haul of riches would be a Treasure commander? Smaug the Magnificent is rather simple: It burns a target of your choice as it attacks, and its upkeep trigger gives you fuel for that fire.
Flying and haste help it to get into combat early and often, and that burn ability fits nicely as a midgame on the way to a win with Hellkite Tyrant or Knuckles the Echidna.
Note that the damage Smaug deals with its attack trigger doesn’t count towards a commander damage win condition, which specifically cares about combat damage.
Dragons and Dwarves
All of these cards might be flavor fouls. Smaug wasn’t known to associate with other dragons, and the whole point of The Hobbit was 12 dwarves and a halfling against a dragon. But mechanically, these cards all do stuff we like here.
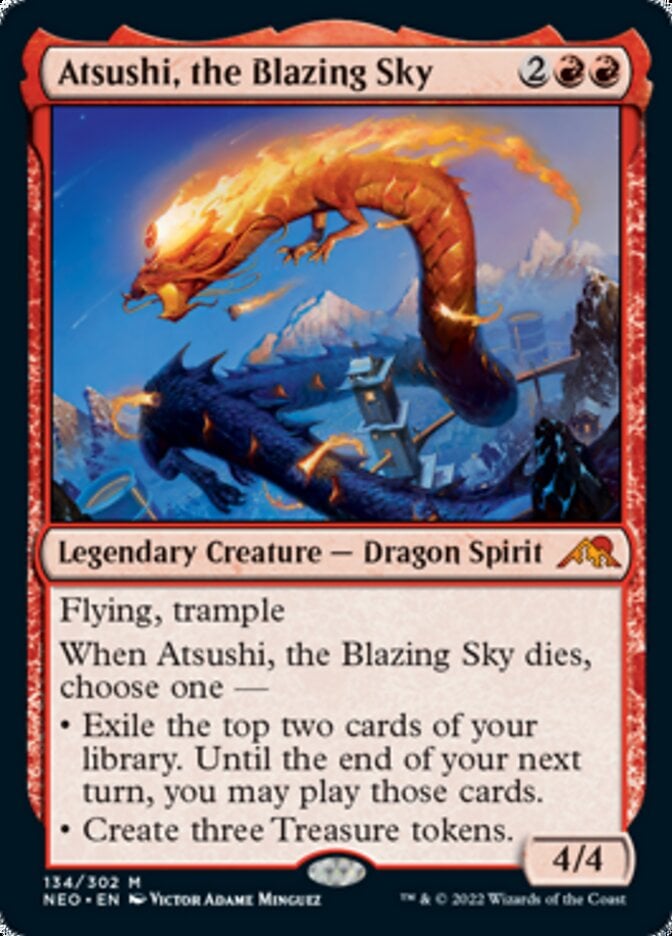
Atsushi, the Blazing Sky offers you a modal death trigger with either more Treasure or a 2-card impulse draw.

Cavern-Hoard Dragon is a flampler that can come down and attack for as little as 2 mana, depending on the number of artifacts your opponents control. If you can track it down, I’d recommend a Lord of the Rings Commander printing for this deck.
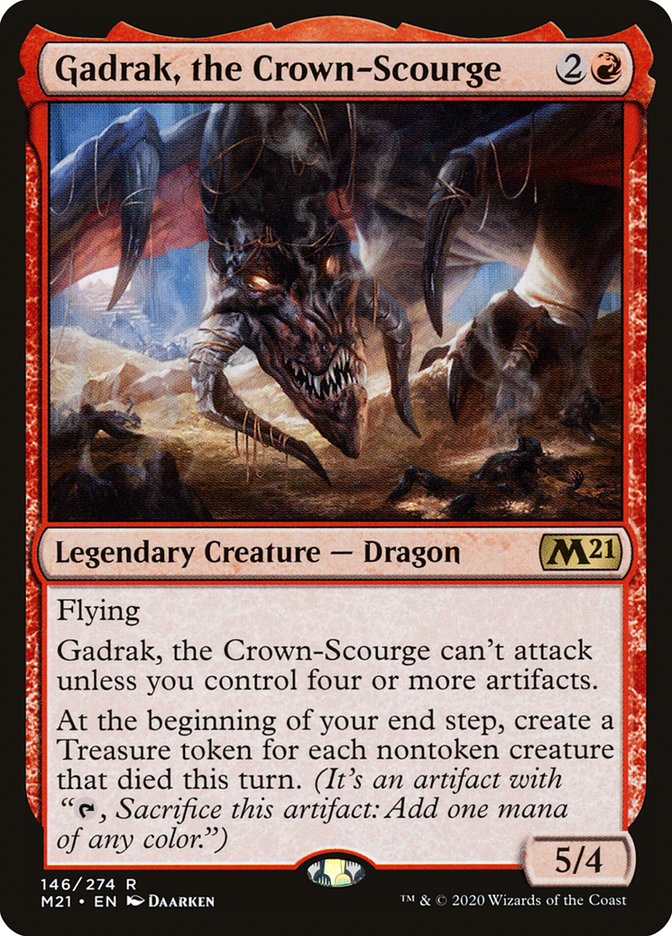
Gadrak, the Crown-Scourge’s potential for Treasure generation is linked to the number of nontoken creatures that die. It doesn’t need to see those creatures die, though, so you can cast it after your Blasphemous Act for a large burst of Treasure.

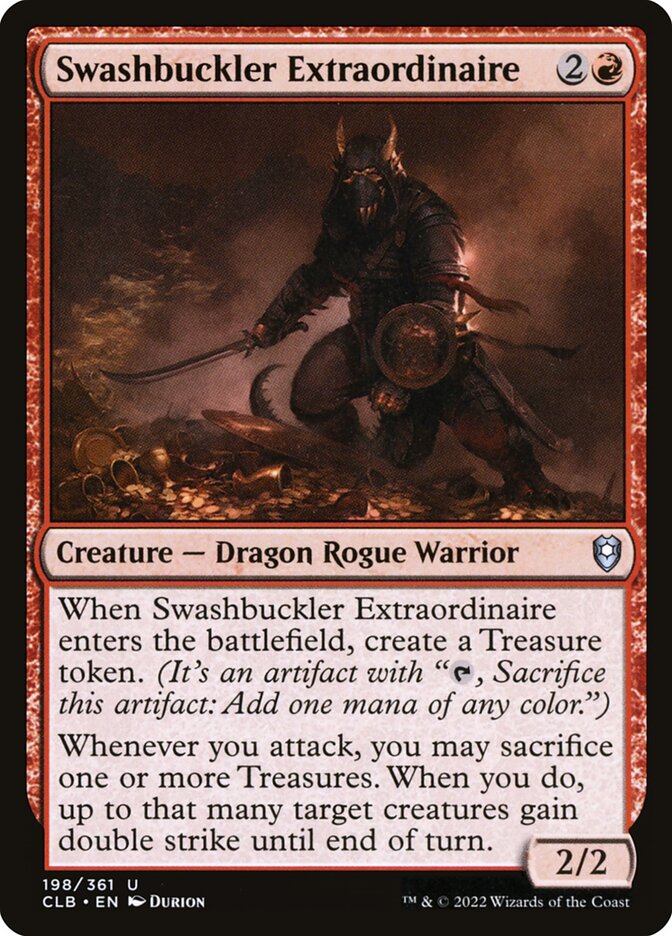
Goldlust Triad’s combat damage trigger and myriad make another threat you want to attack with often. Swashbuckler Extraordinaire allows you to trade in a Treasure to give a dragon double strike, which means more damage and more combat damage triggers.
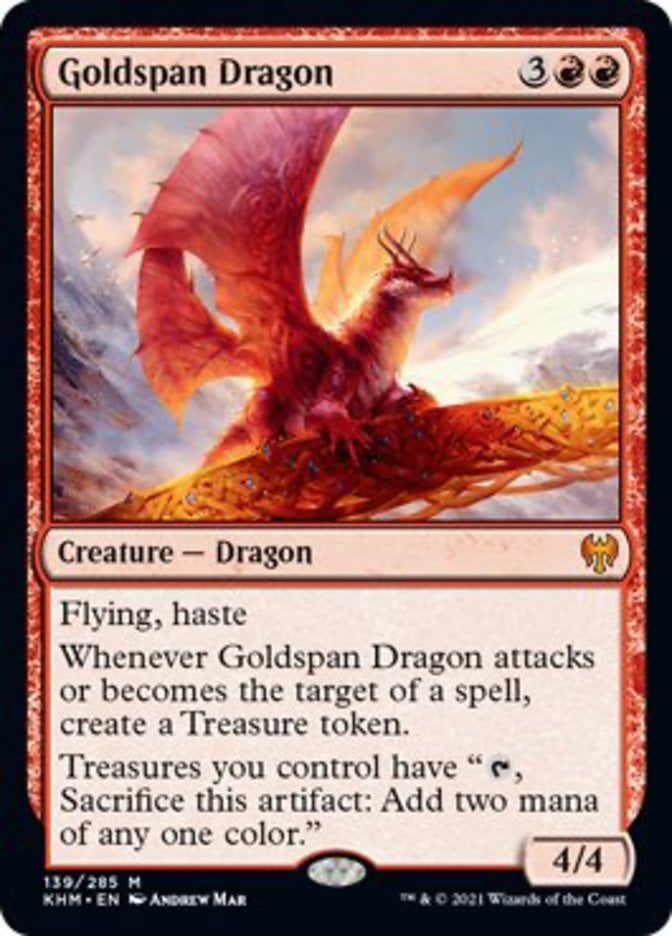
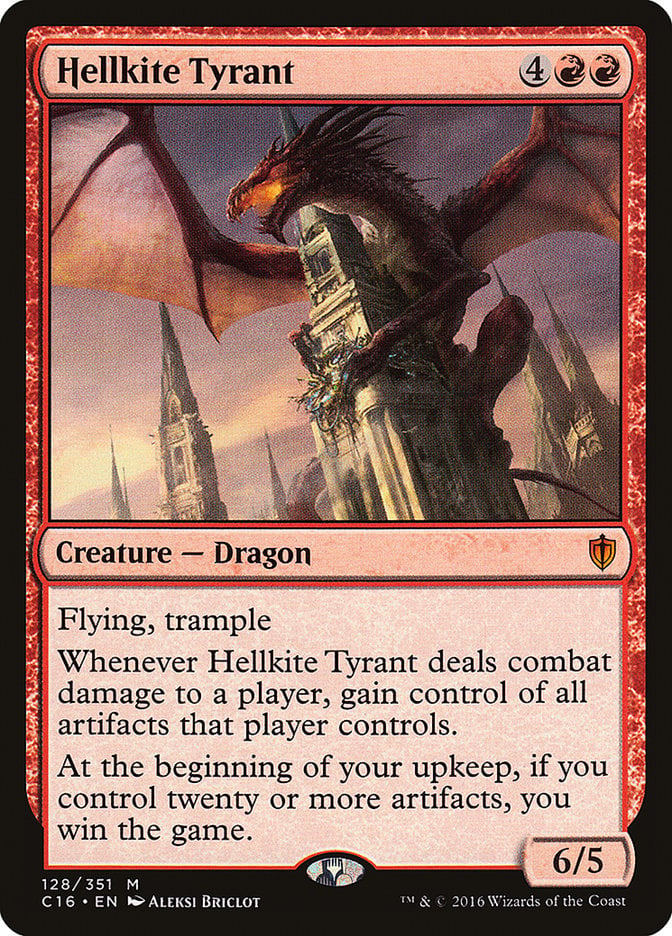

Goldspan Dragon is key to any Treasure strategy by doubling their mana output, as is Hellkite Tyrant as an alternate win condition. Twinflame Tyrant’s damage amplification turns Smaug’s attack trigger into a game-ender.
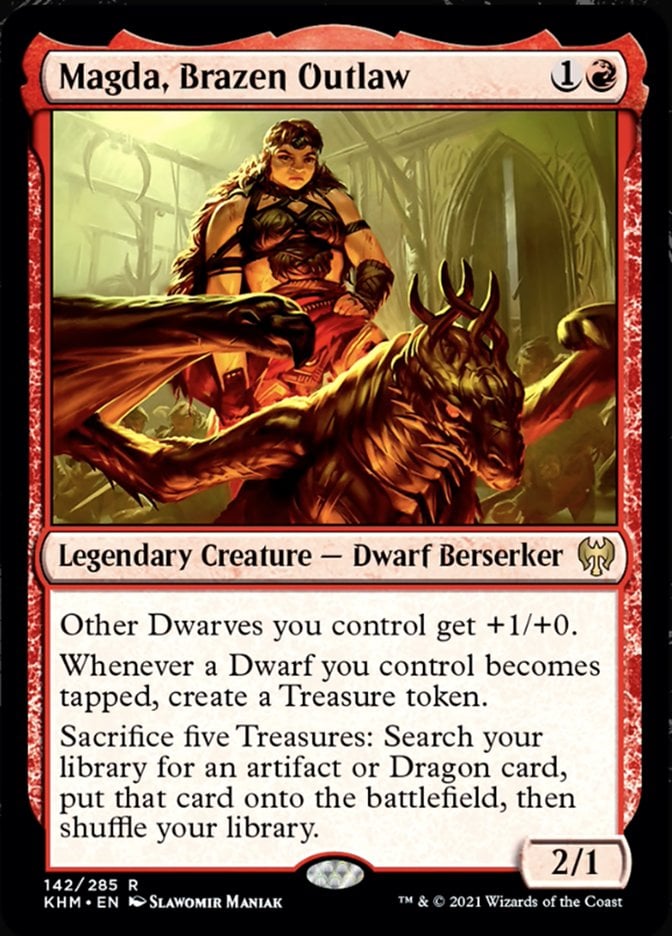
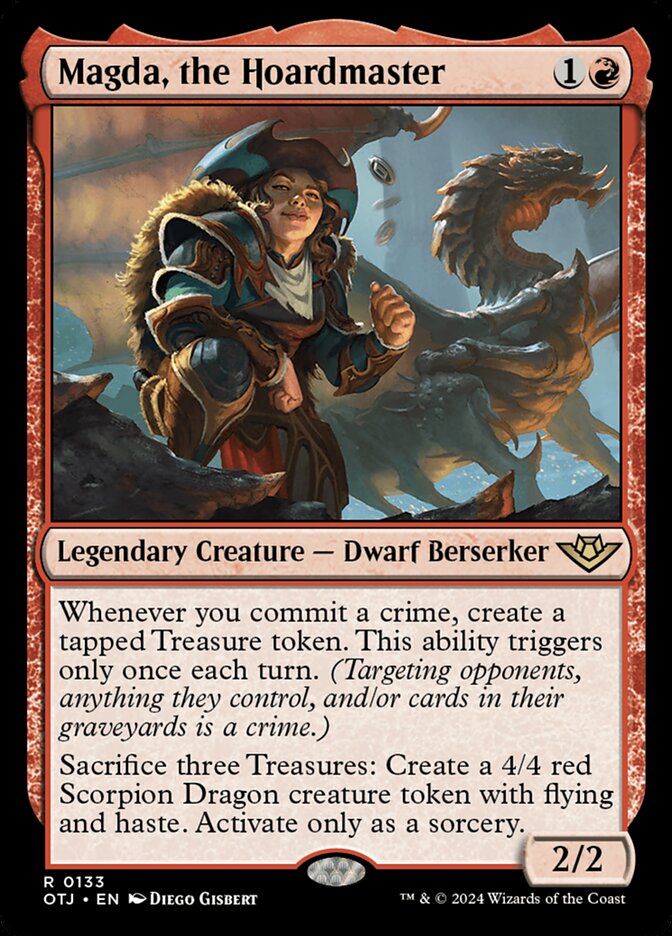
The main dwarves in this deck are the two Magdas, Magda, Brazen Outlaw and Magda, the Hoardmaster. The former lets you trade it part of your Treasure hoard to get an artifact or dragon out of your deck, while the latter lets you trade them for hasty Scorpion Dragon tokens.
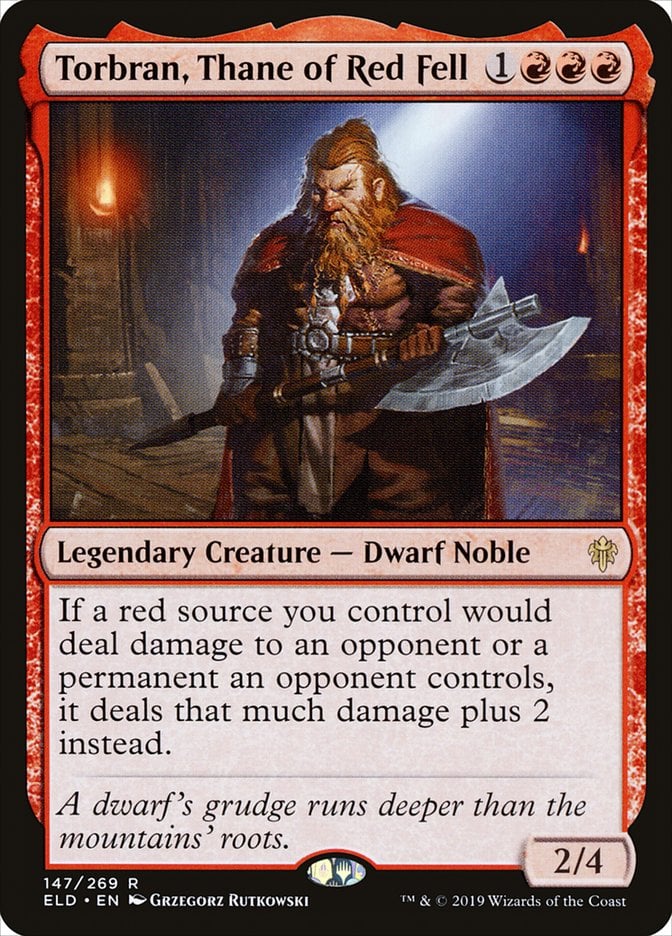
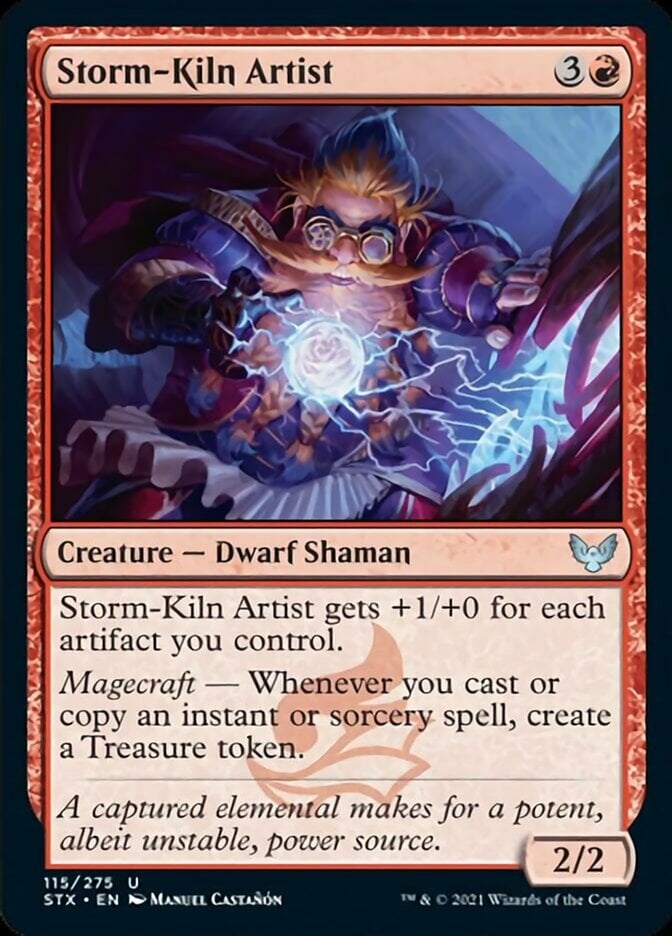
Torbran, Thane of Red Fell adds additional burn damage from your commander and the likes of Reckless Fireweaver. Storm-Kiln Artist isn’t as much of a source of Treasure here as in a spellslinger deck, but you can cast it onto a developed board for a buffed-up threat.
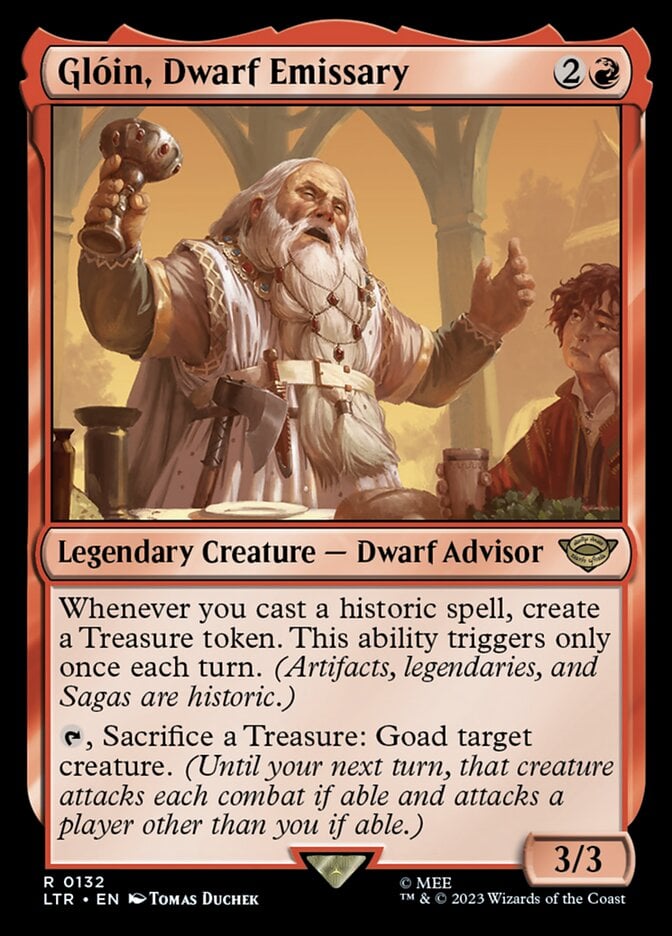
Glóin, Dwarf Emissary pumps out some Treasure, but its utility here is goading your opponents’ creatures. If you care about lore accuracy, this is hands-down the worst inclusion.
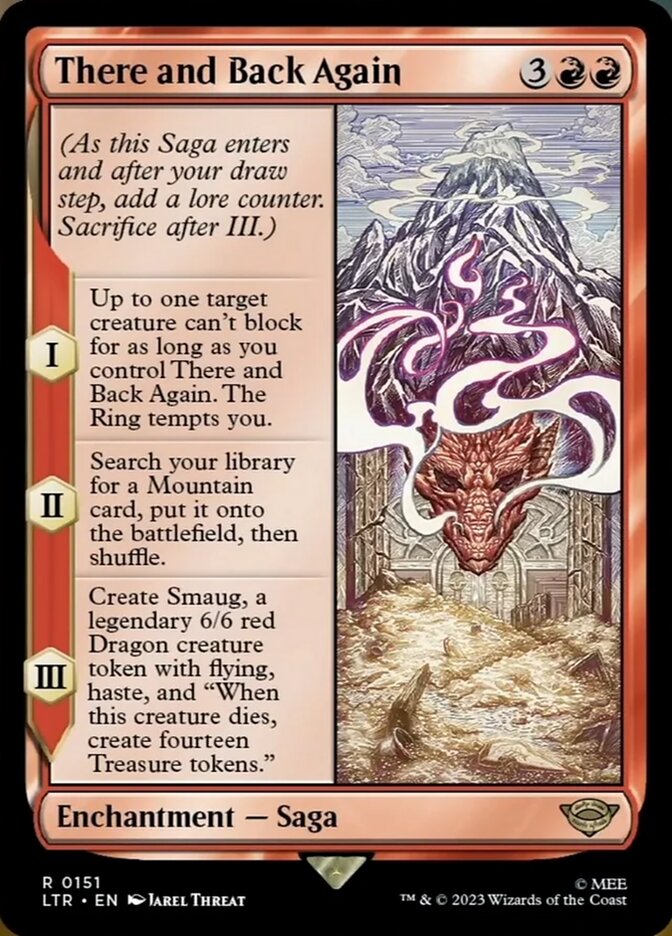

There and Back Again is good flavor, though, and that Smaug token gives you so, so much value. If it dies while Reckless Fireweaver is on the battlefield, that’s 13 damage to every opponent’s face. Then remember you’ve got damage amplifiers, Academy Manufactor, and Ingenious Artillerist, and things get ugly fast.
Other Treasure Generators and Payoffs
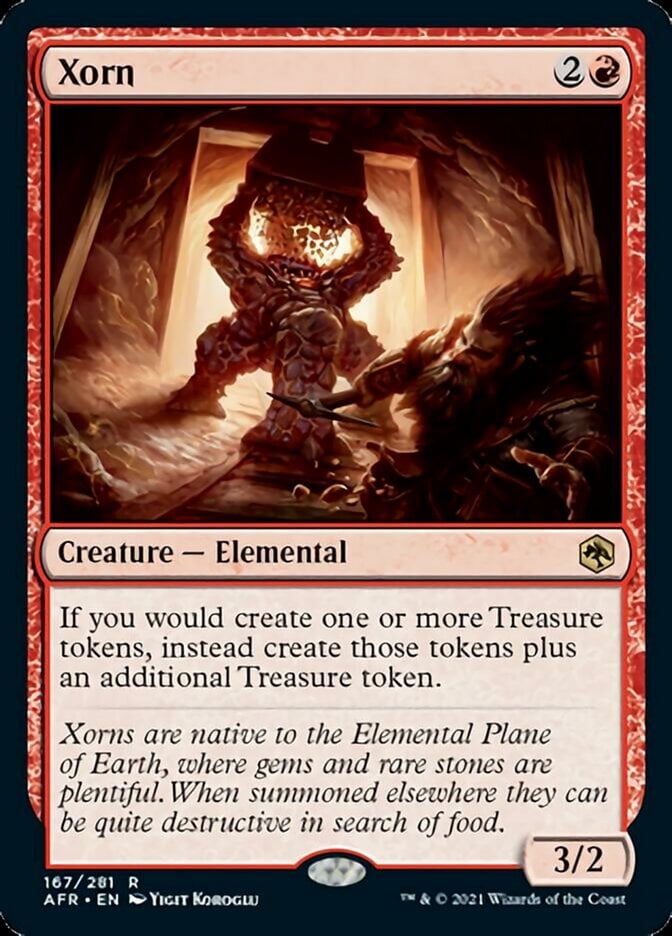
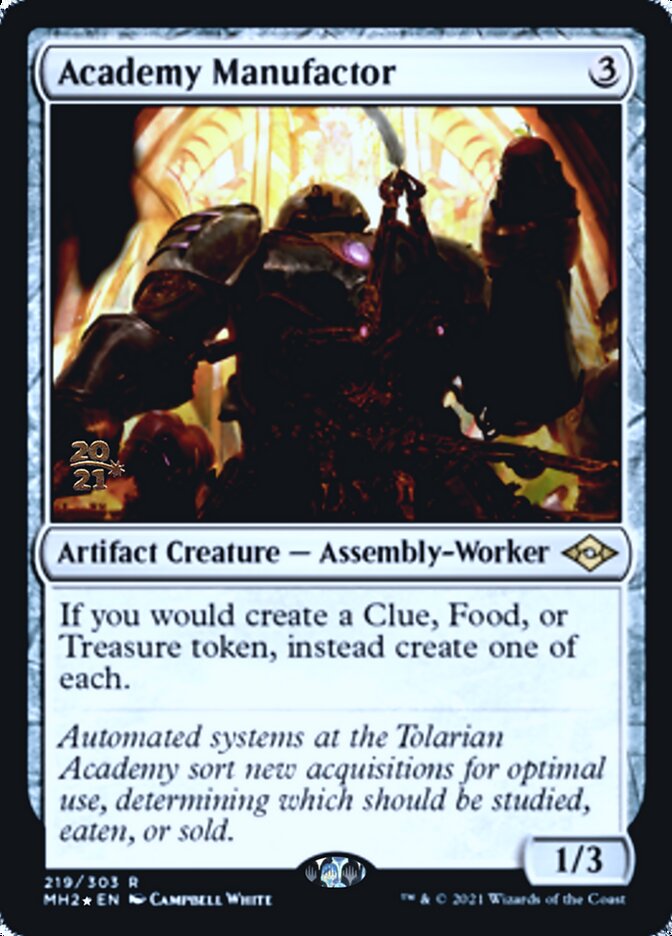
Xorn is the mandatory Treasure doubler, while Academy Manufactor adds two more utility artifact tokens every time you make Treasure.
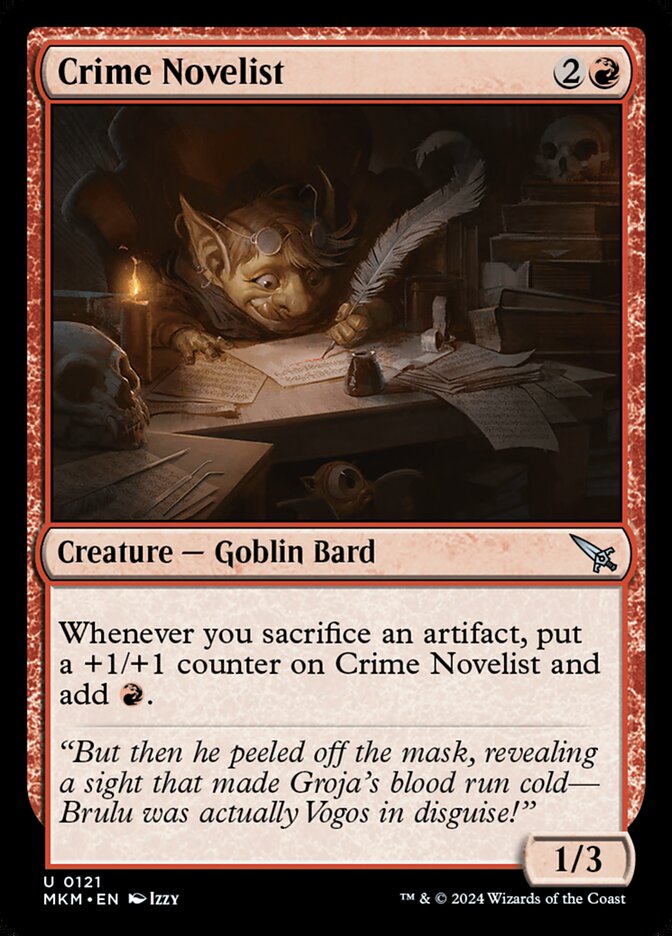
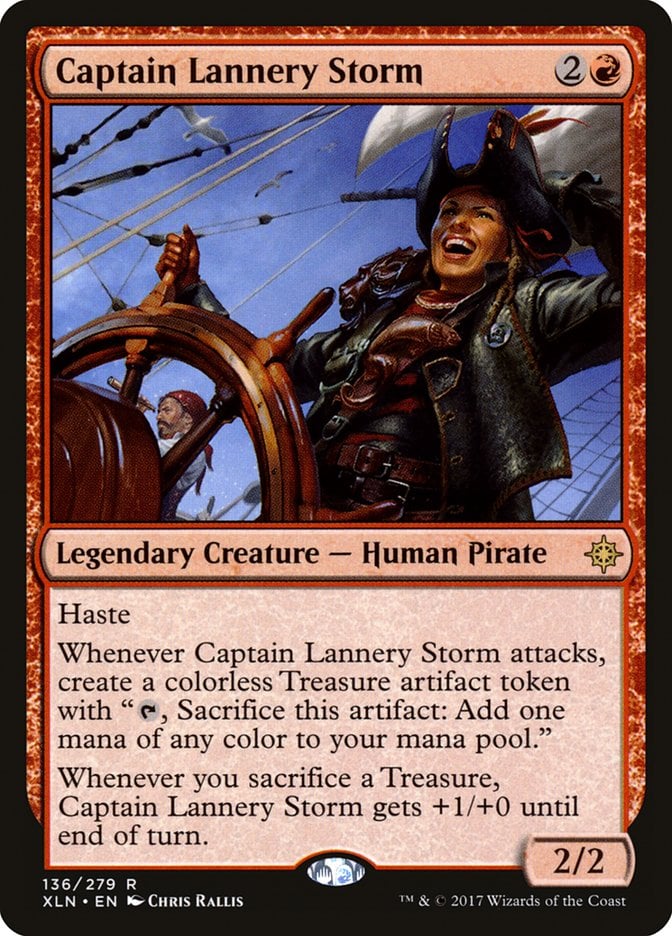
Crime Novelist essentially doubles the mana generation from your Treasure tokens, and grows rather large if left unchecked. Captain Lannery Storm also grows as you use your Treasure, albeit temporarily.
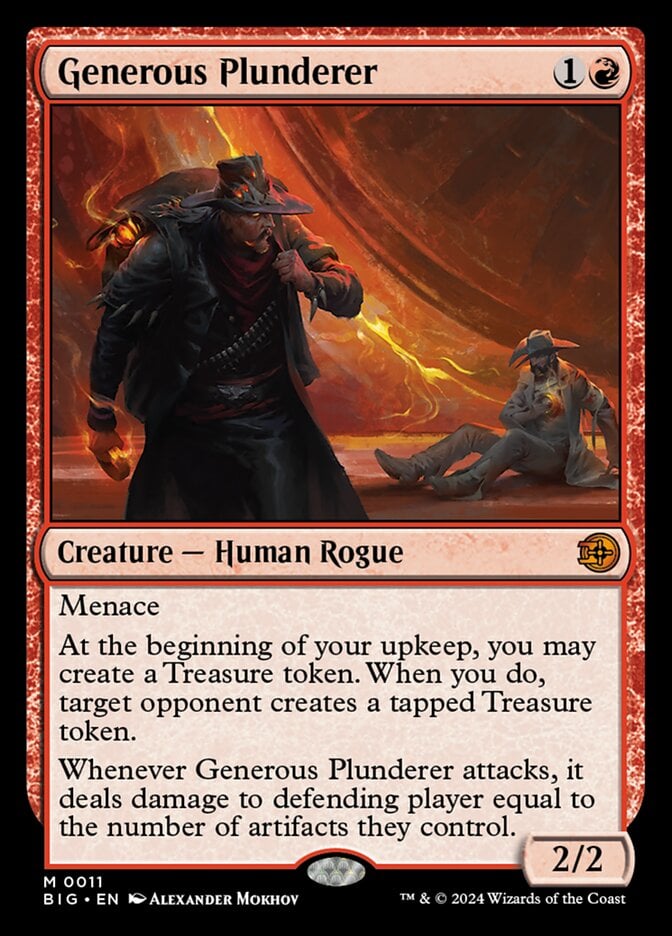
Generous Plunderer is incredibly similar to your commander; it has an upkeep trigger that gives you Treasure too, but an opponent also gets one. Plunderer’s attack trigger can only burn the player it attacks and cares about their artifacts, so the ceiling relies more on your opponent.
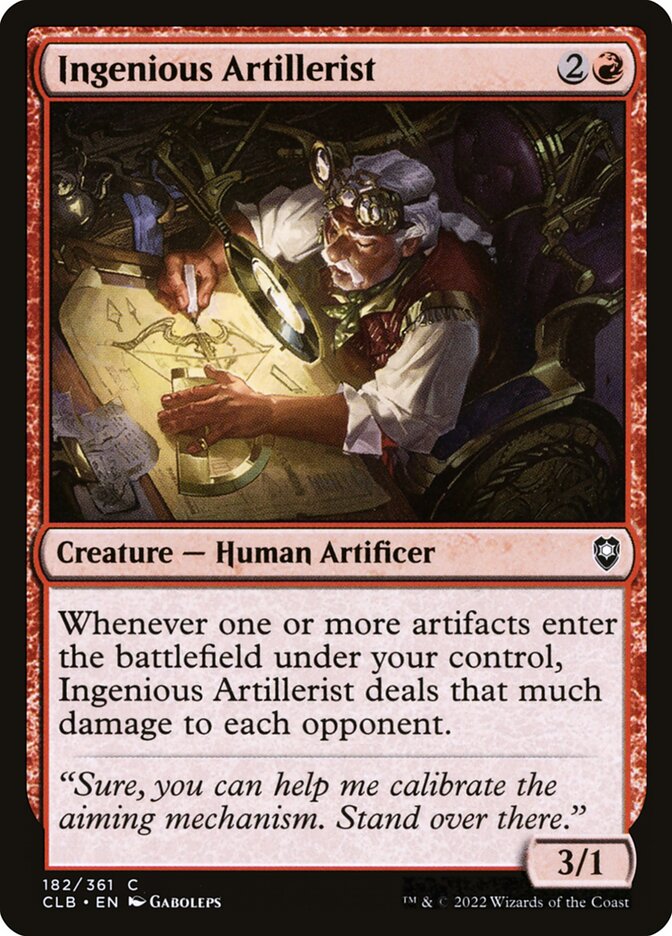
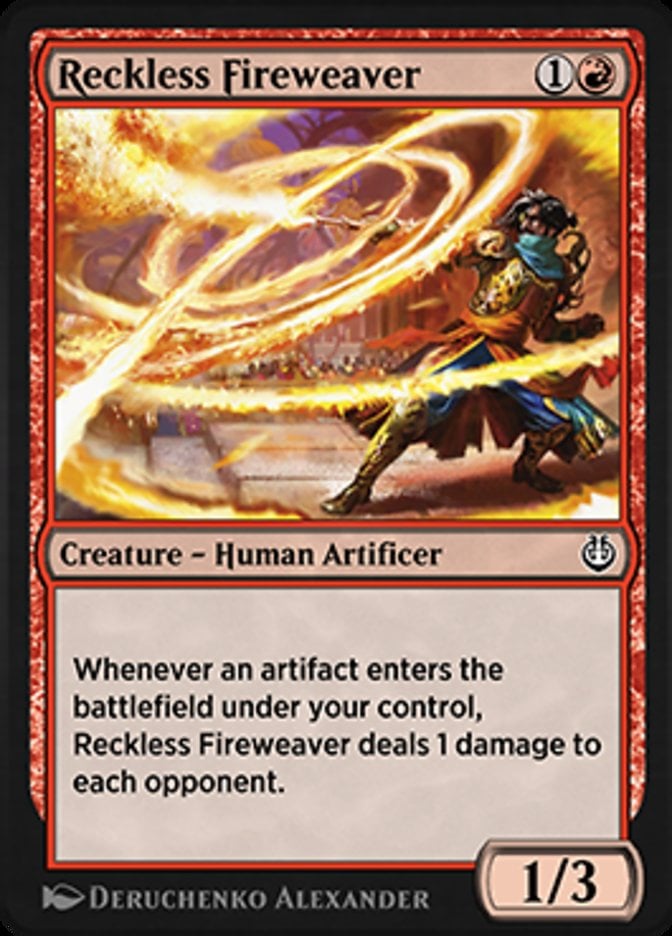
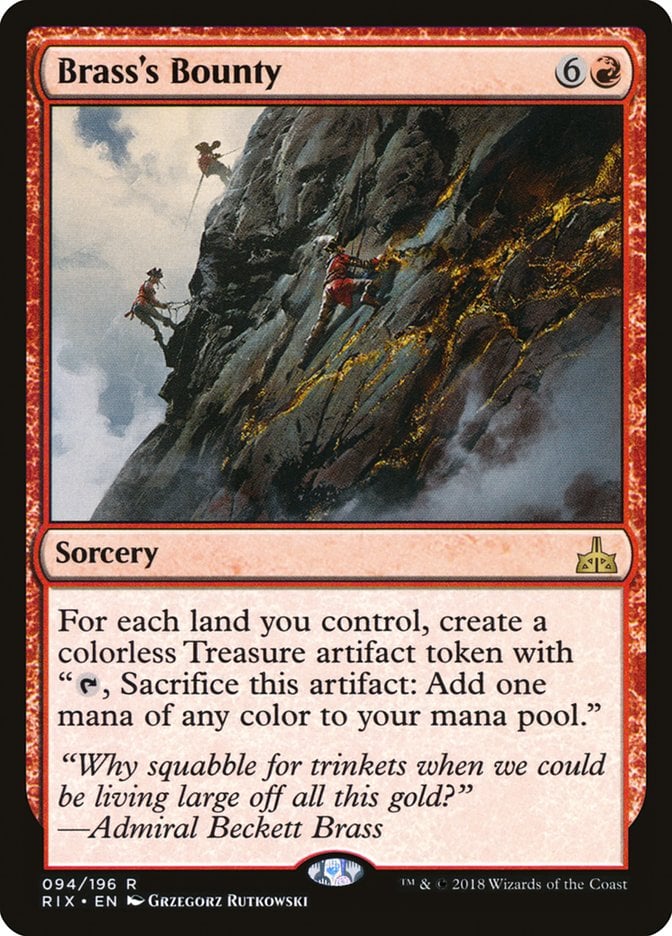
Ingenious Artillerist and Reckless Fireweaver burn your opponents as you create artifact tokens. They’ll contribute chip damage over the course of a longer game, but you can combine them with Brass's Bounty and other mass Treasure generation to deal a lot of damage at once.
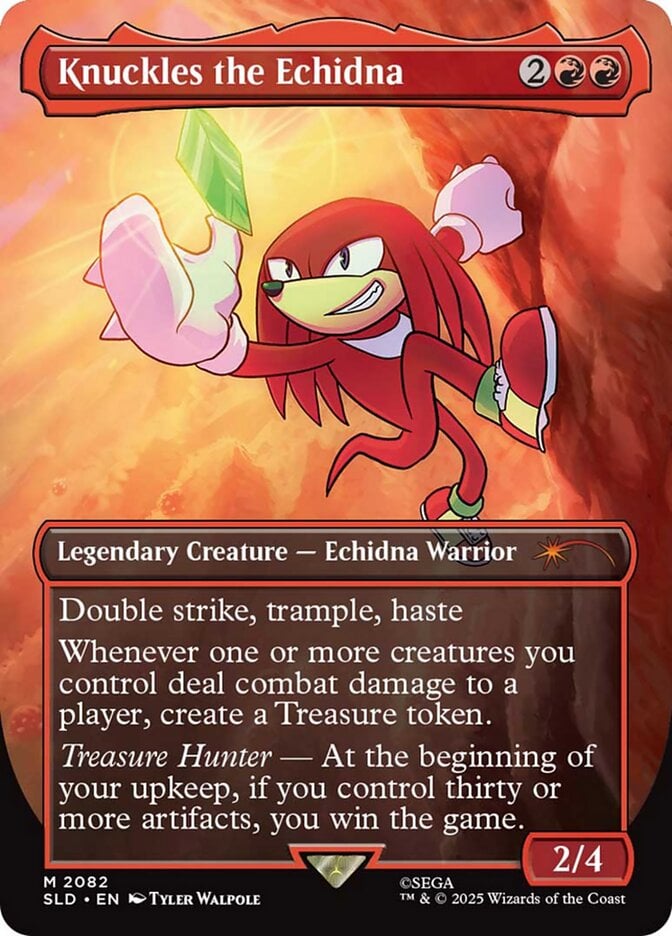
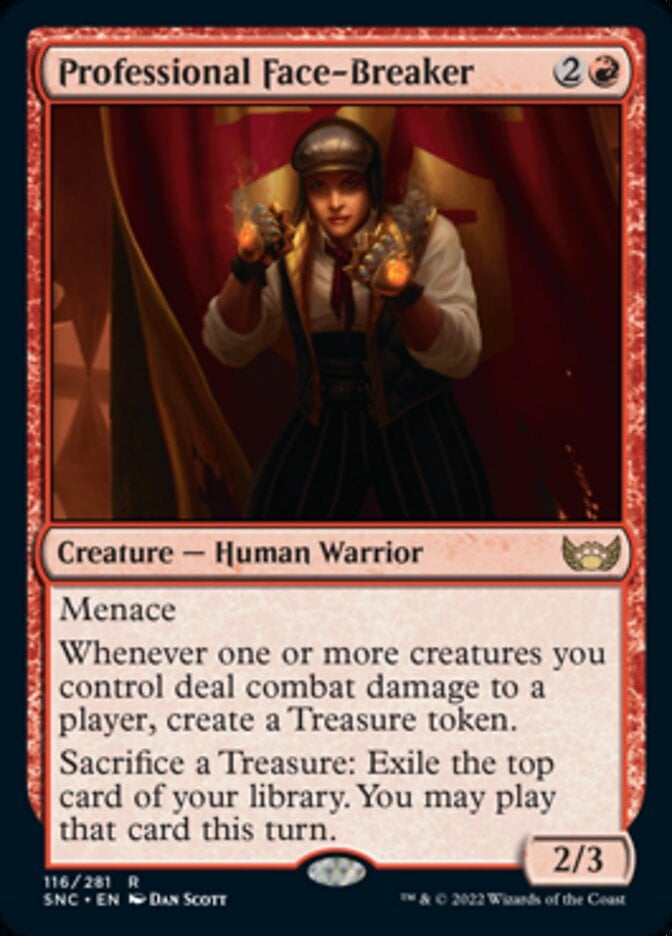
Some of your creatures give you Treasure when they attack or deal combat damage to a player, but Knuckles the Echidna and Professional Face-Breaker spread that power across all your creatures. Knuckles’s alt wincon also backs up Hellkite Tyrant, while the Face-Breaker lets you trade a Treasure for impulse draw.
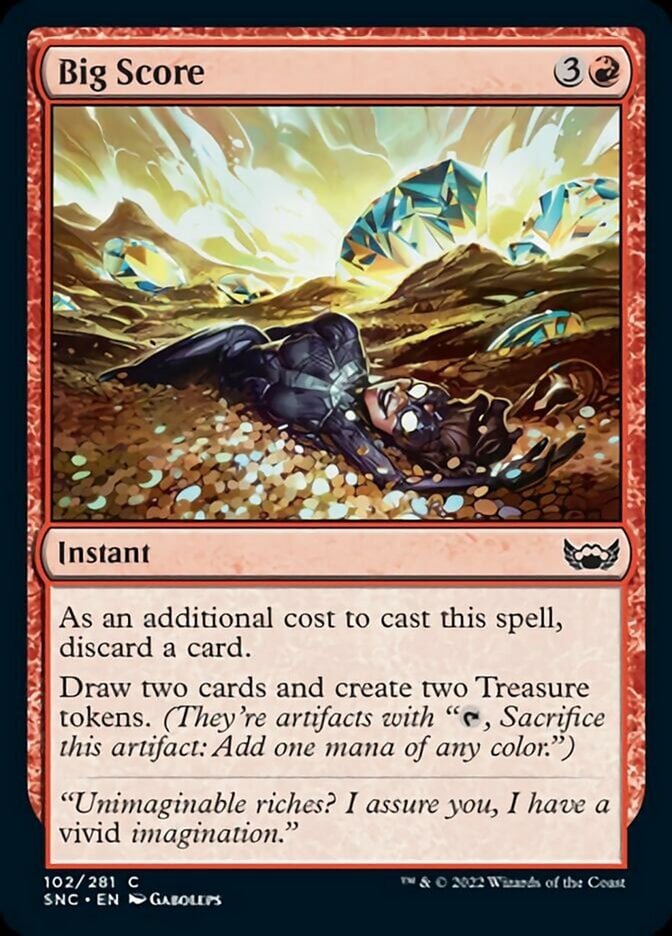
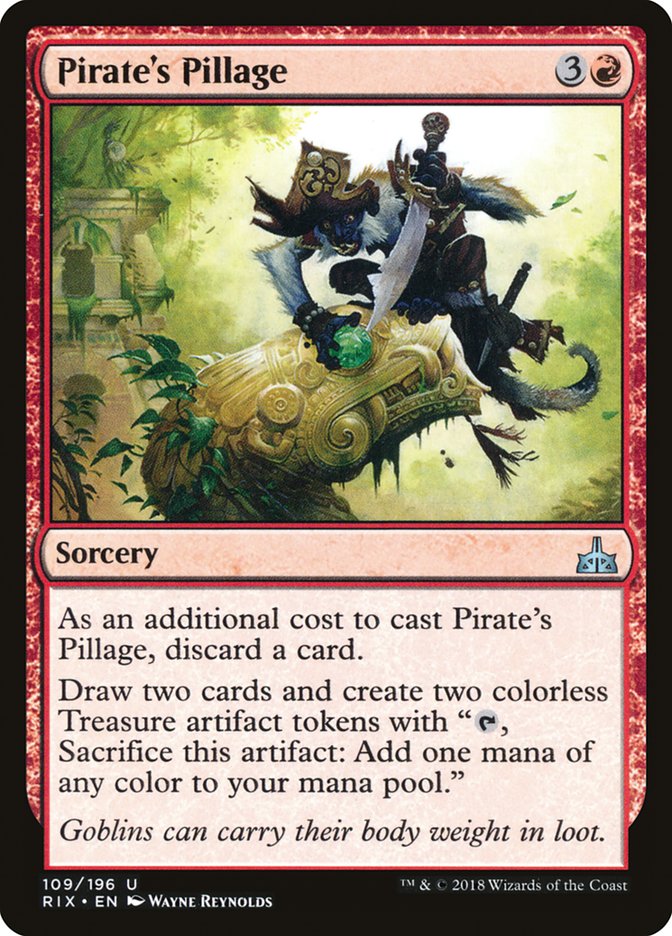
Treasure cards play secondary roles, like card draw in the form of Big Score, Pirate's Pillage, and friends.
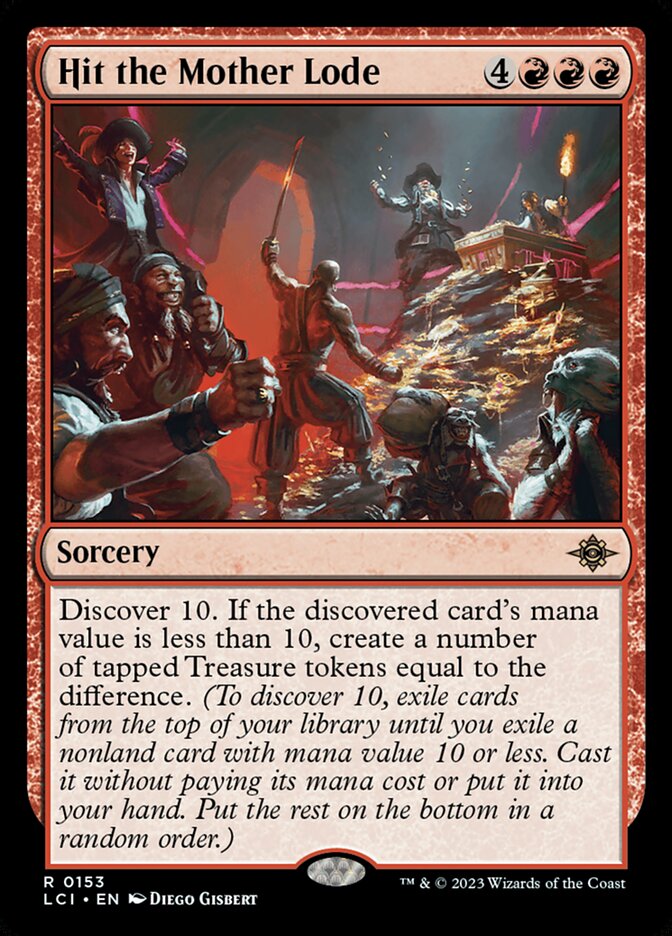
You don’t have top-deck manipulation, so you just have to hope that Hit the Mother Lode works out. But as with all cards that pump out a bunch of Treasure at once, it can steal the game under the right conditions.

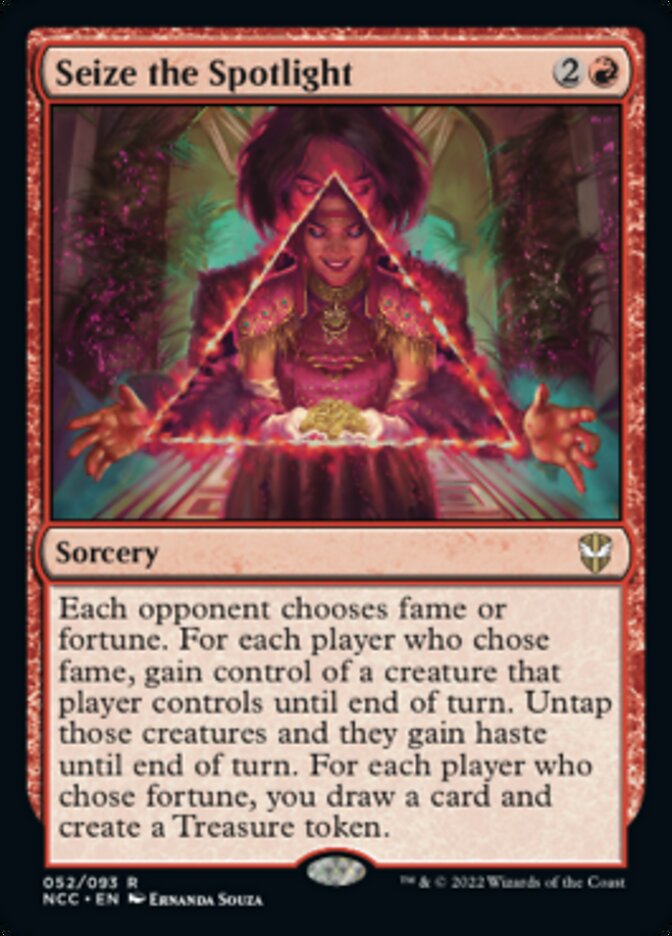
Great Train Heist has optionality, but the extra combat can take a win next turn into a win this turn. Seize the Spotlight doesn’t always get you closer to victory, but sometimes it’s fun to choose chaos.
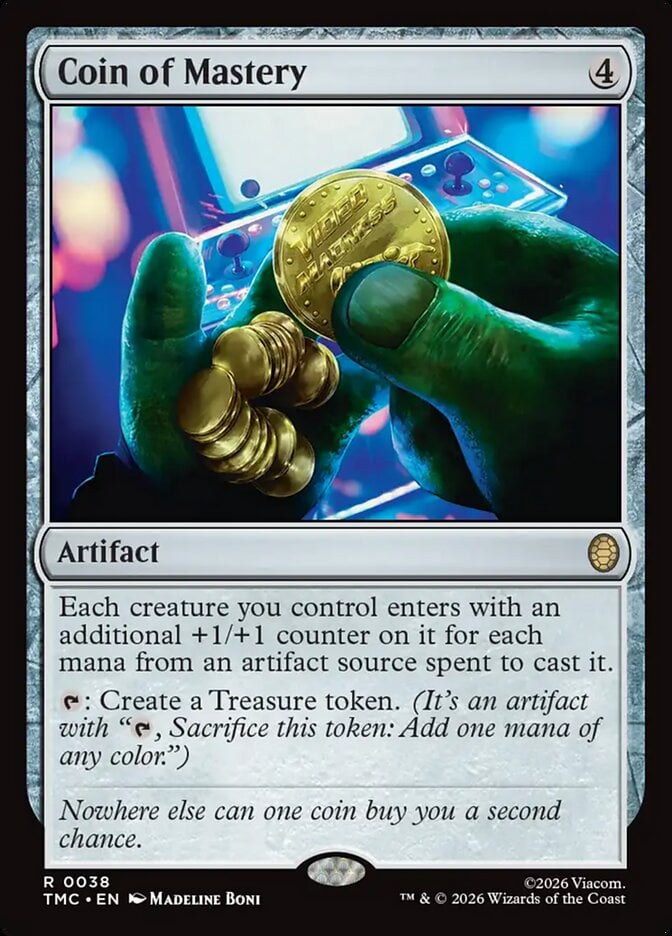
Coin of Mastery taps to give you Treasure, but the counters are a neat bit of synergy. The ability counts your mana rocks and artifact lands, too!


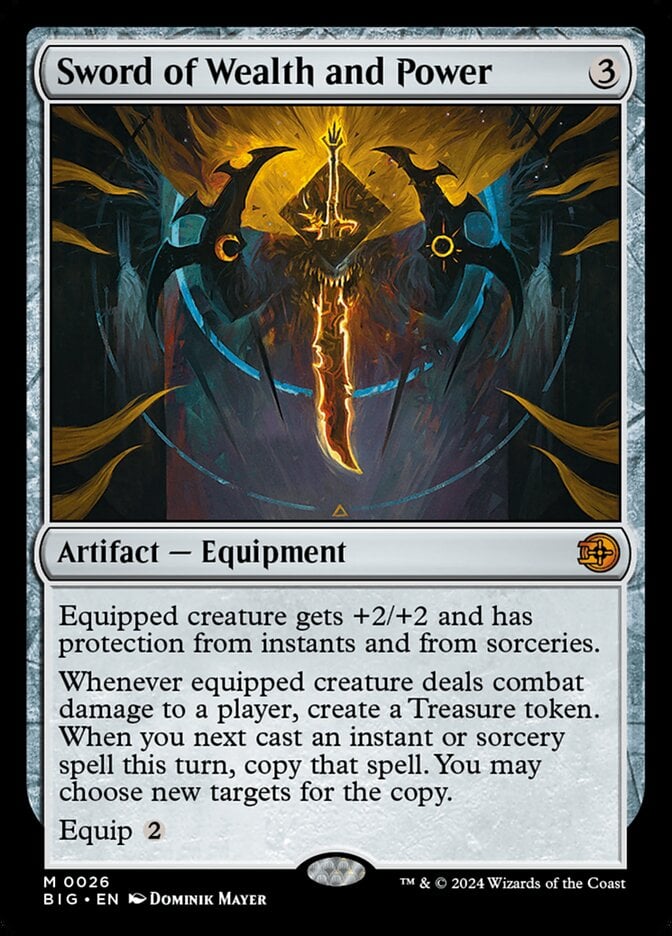
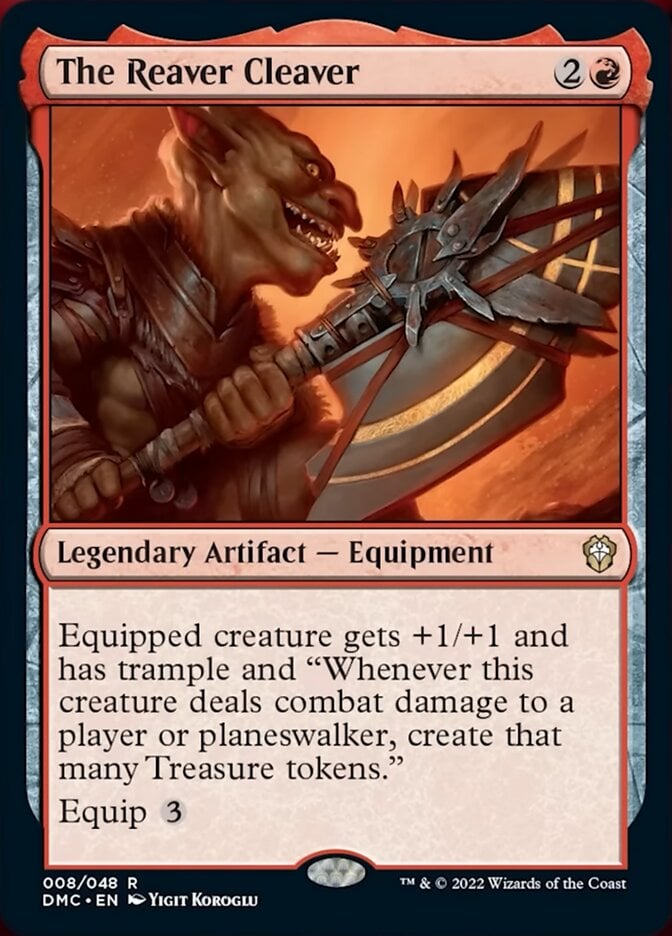
Diamond Pick-Axe and Goldvein Pick are cheap equipment that give you Treasure, while Sword of Wealth and Power and The Reaver Cleaver each give the creature you equip with them a saboteur trigger that gives you more Treasure.

Alchemist's Talent’s value really starts at Level 2 as an understudy to Goldspan Dragon, but the additional burn damage you get at Level 3 cranks up the heat on your opponents.

Descent into Avernus puts the entire table on the clock, especially if you have your pingers and damage amplifiers out. As long as you’re dealing more damage than you take, it’s a war of attrition until you win or something removes the enchantment.
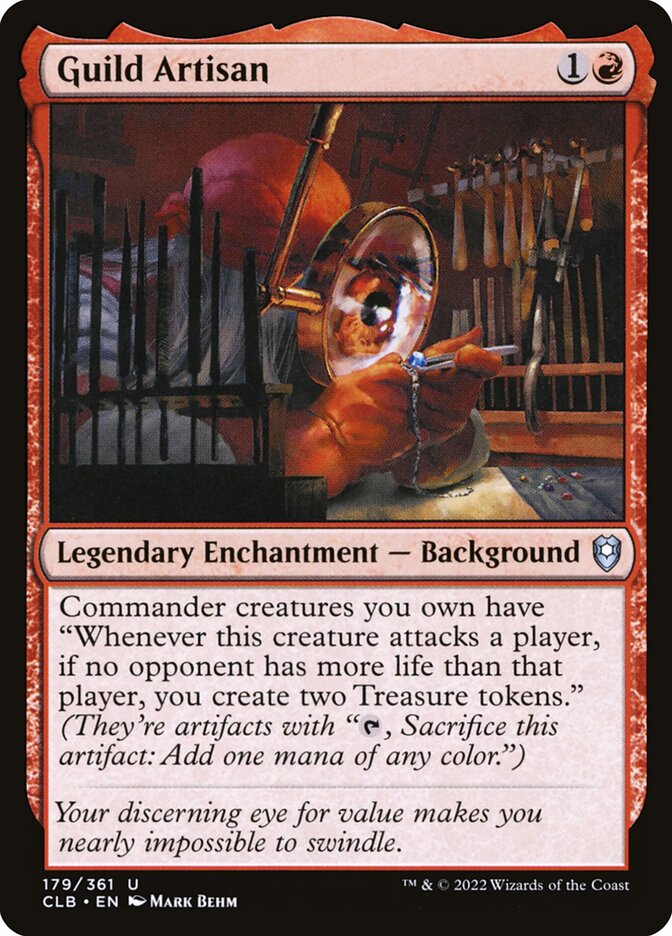

Guild Artisan grants Smaug an extra attack trigger that pumps out two Treasures, while Rain of Riches gives cascade to the first spell you cast with Treasure each turn. You should easily cascade from a 4- or 5-mana spell into a 2- or 3-mana one consistently with this deck’s curve.
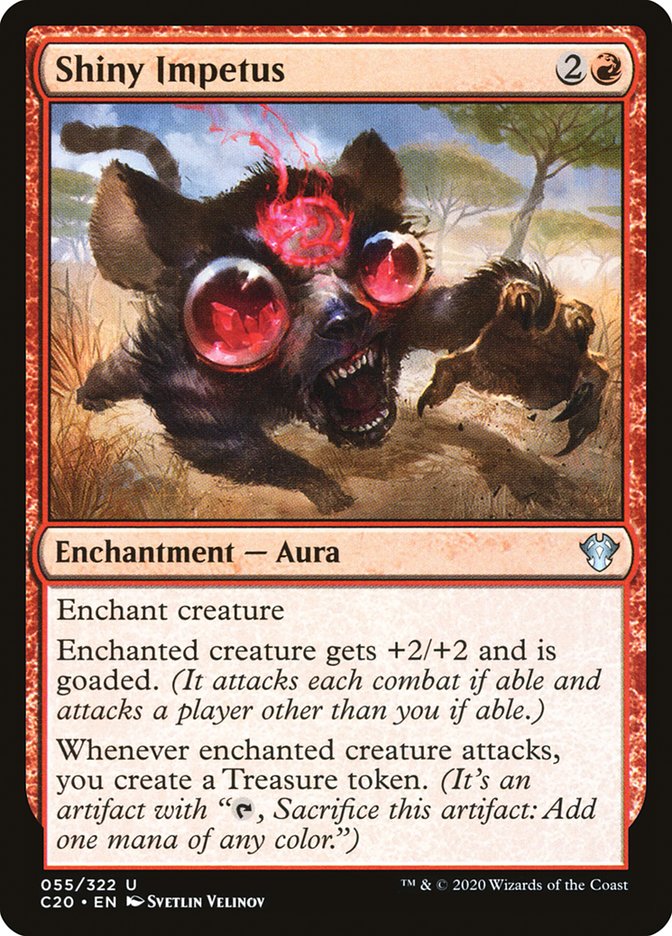
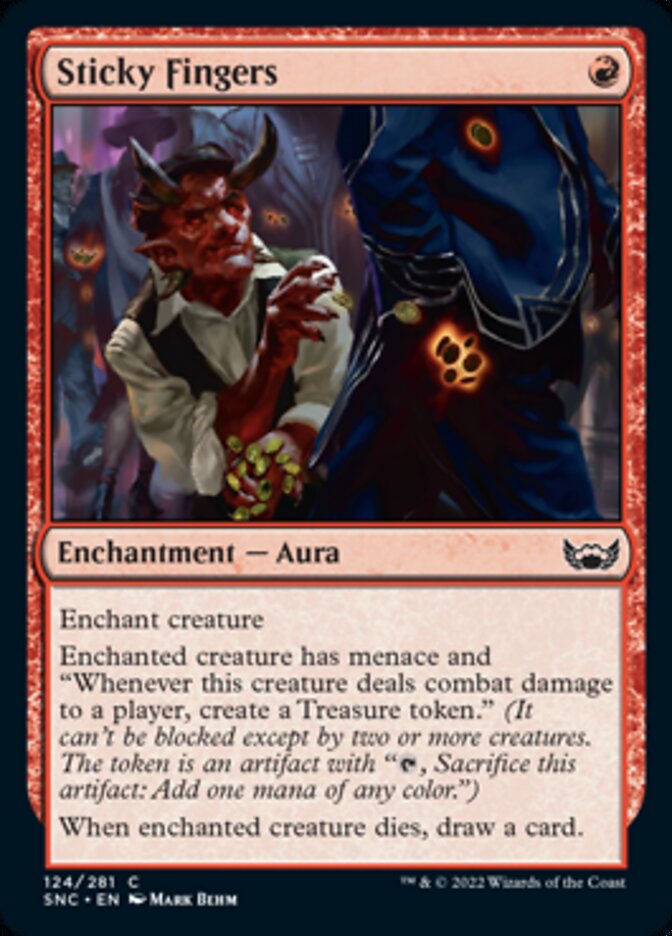
Shiny Impetus and Sticky Fingers are similar combat-focused auras that steadily add to your Treasure count; Shiny Impetus’s goad makes it good to waylay an opposing threat.

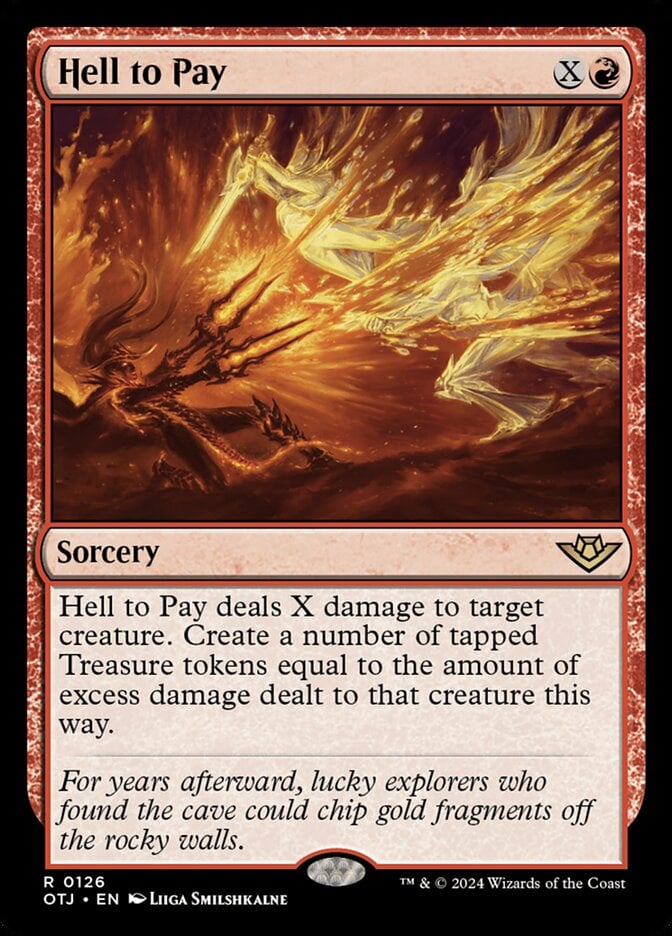
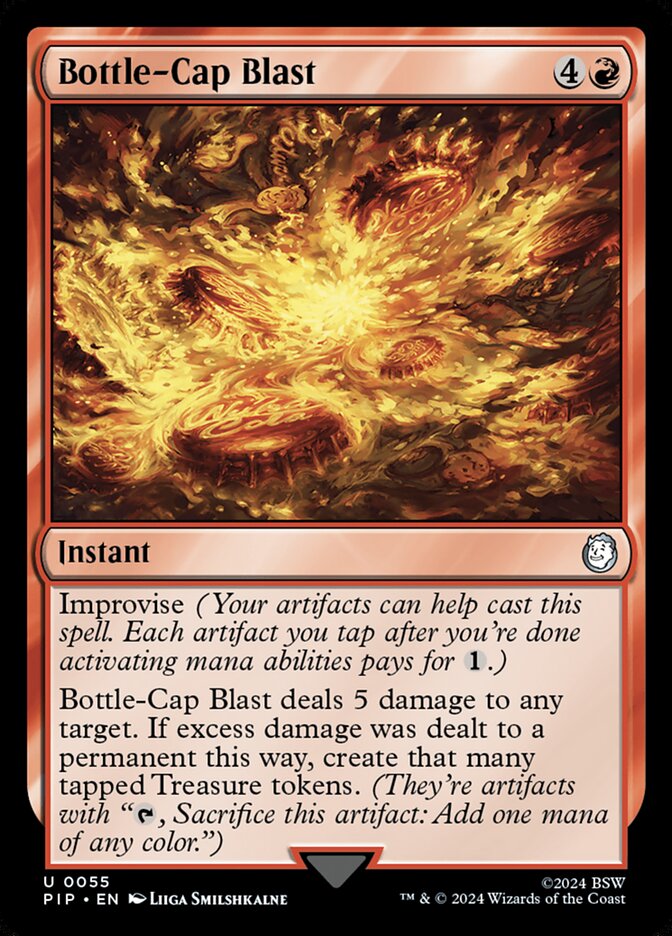
Spiteful Banditry starts as a sweeper and then pays you in Treasure over the rest of the game. The fact that it’s a Lord of the Rings card is just the cherry on top. Hell to Pay and Bottle-Cap Blast are single-target versions.
Assorted Trinkets
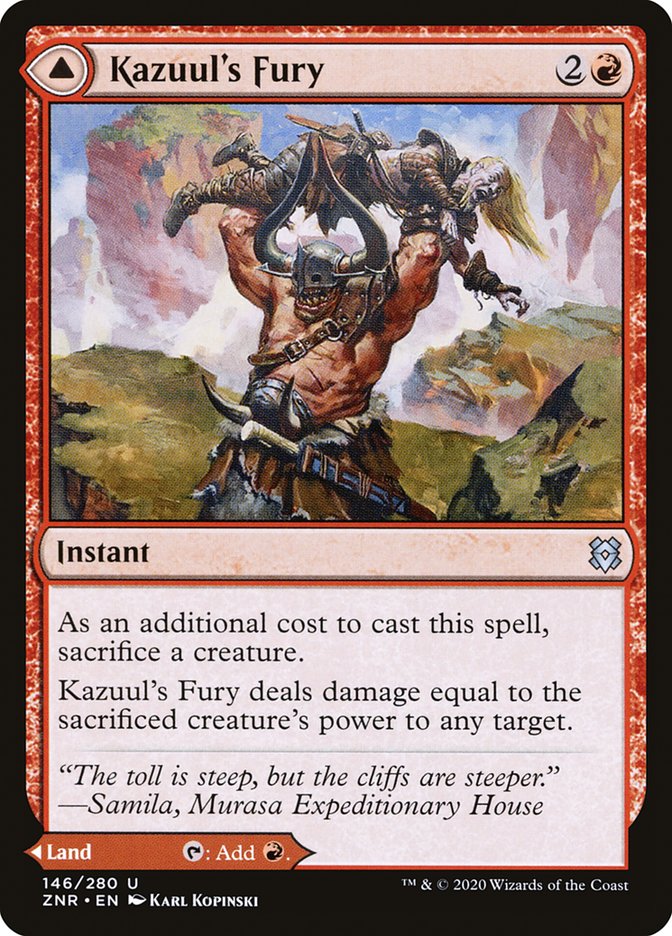
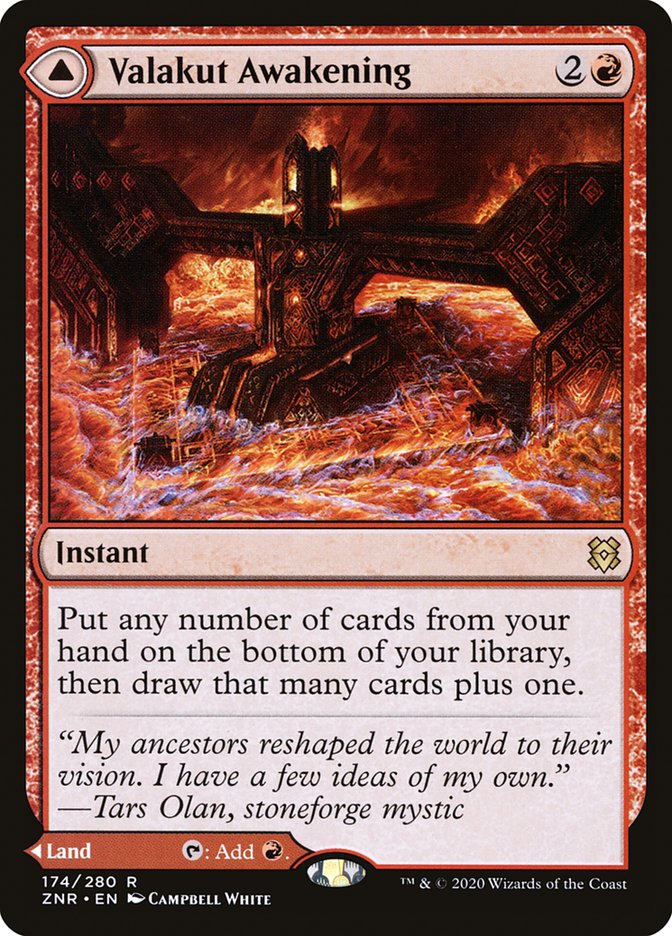

I’ve slotted in three MDFC lands for some additional flexibility. I really like Kazuul's Fury in this build; you don’t have many creatures to sacrifice except the Magda, the Hoardmaster’s Scorpion Dragon tokens, but the upside of flinging a pumped up Storm-Kiln Artist or something is too sweet to pass up. Valakut Awakening can reset a bad hand in a pinch, while Sundering Eruption handles a problematic land.

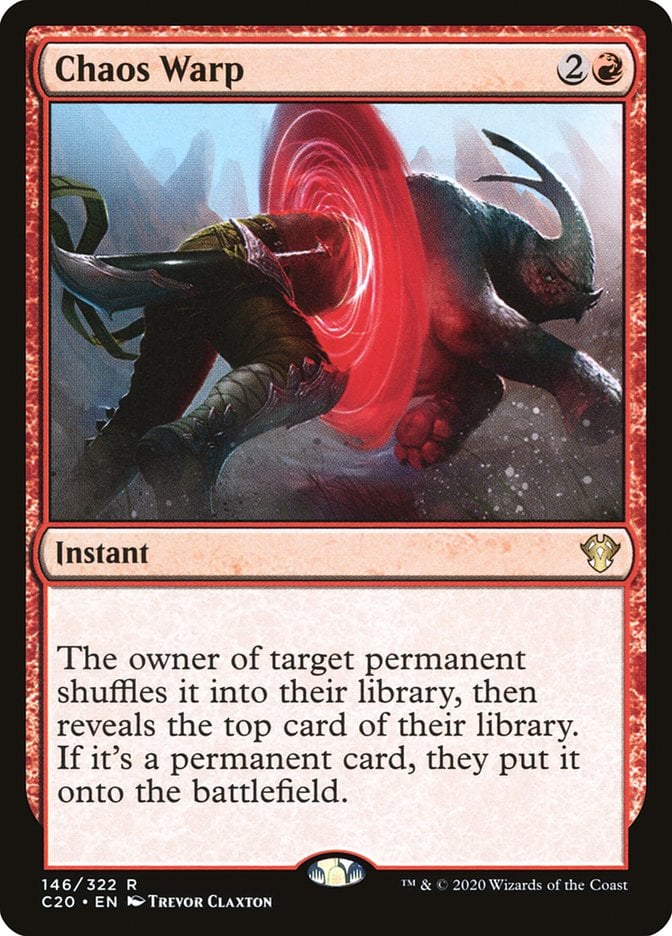

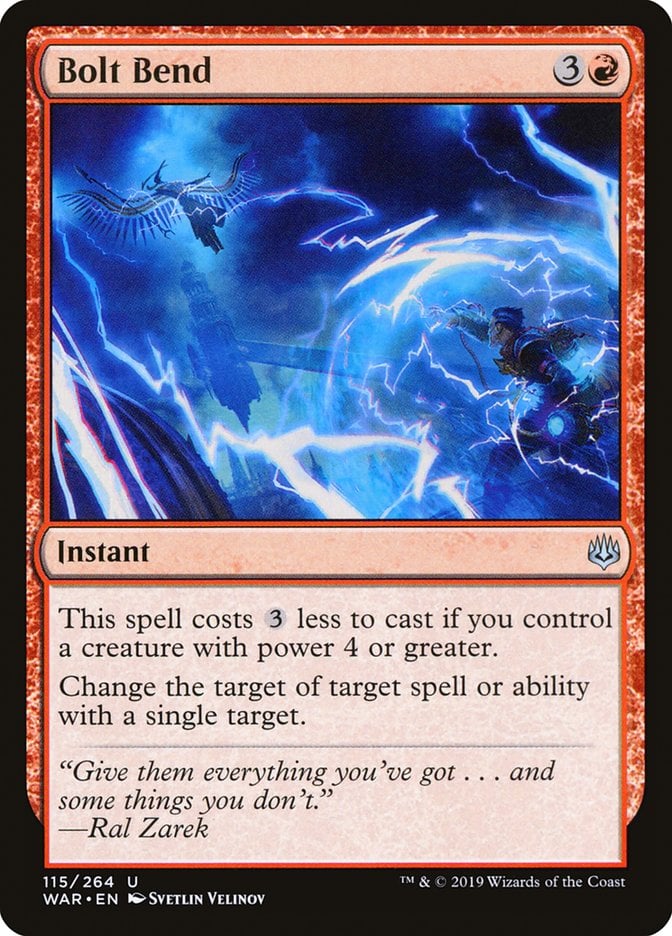
Every deck needs removal, so I’ve got the likes of Untimely Malfunction and Chaos Warp, while Redirect Lightning and Bolt Bend represent redirection.

Idol of Oblivion supplies some much needed cheap, repeatable card draw. Most of the deck’s card draw deck comes from expensive red instants and sorceries that generate Treasure, so you need options lower on the curve.
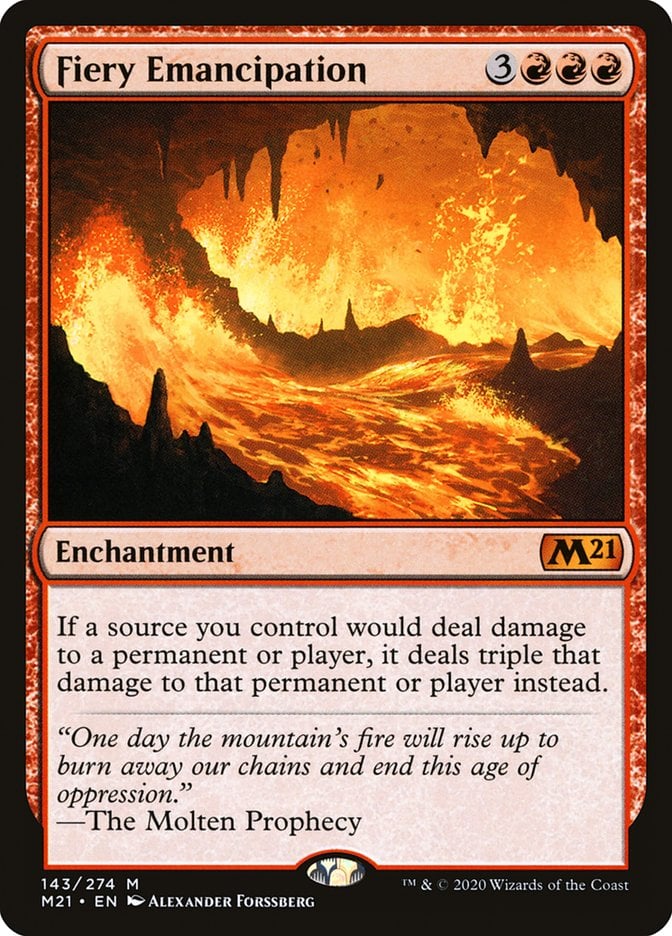

Fiery Emancipation triples your damage output and is your most potent damage amplifier. Firebender Ascension doesn’t have a lot of attack triggers to earn quest counters, but once you hit four, it doubles them for some extra kick.
The Mana Base
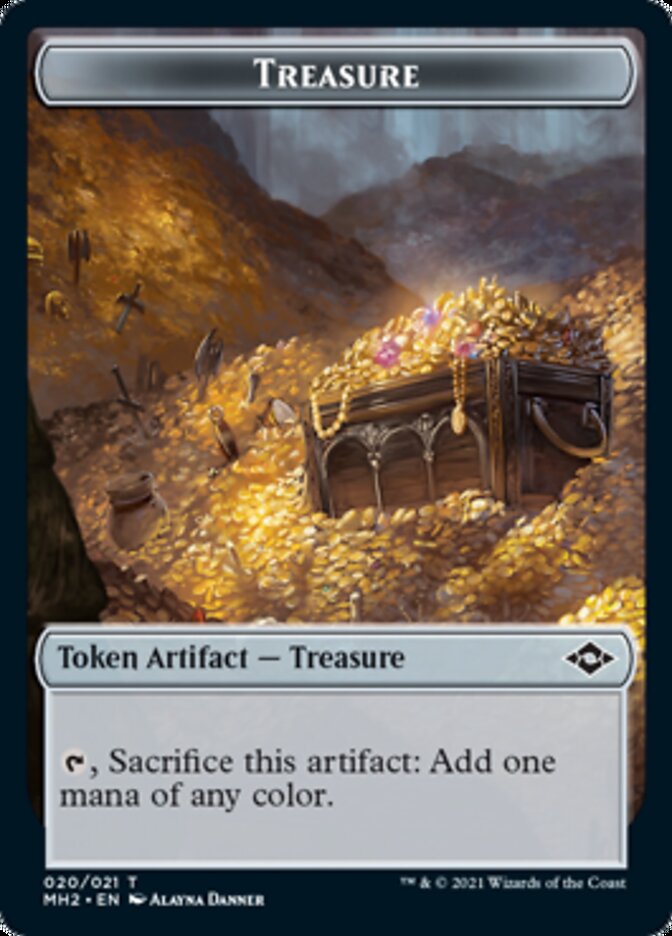
Mountains and Treasure are the backbone of the mana base, though you’ll want to be frugal with your Treasure as much as possible.
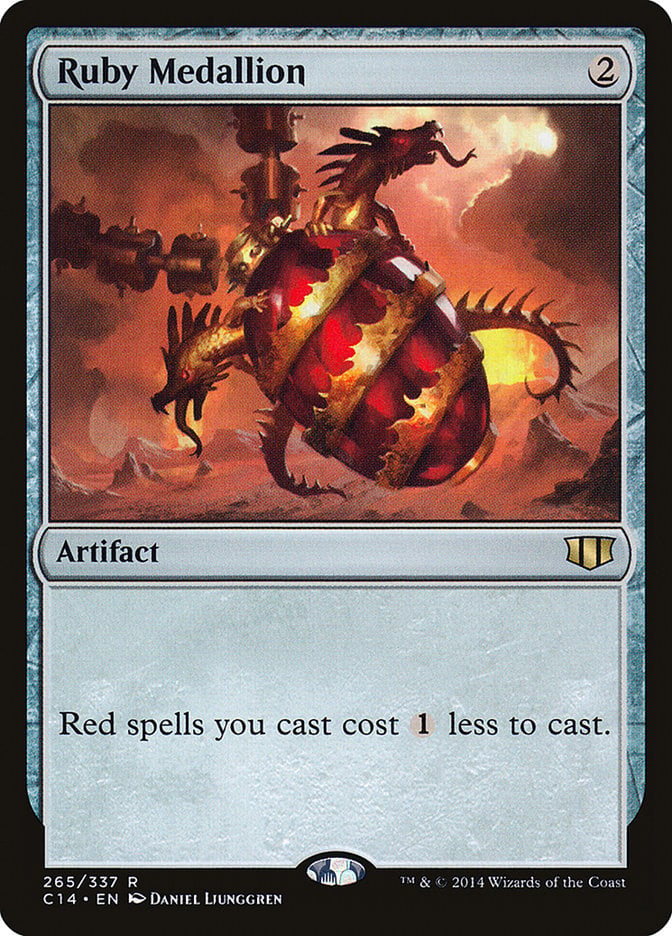

Ruby Medallion and The Fire Crystal are primarily cost reducers, though The Fire Crystal is also a haste enabler, and its activated ability has some good targets between Atsushi and your nonlegendary creatures.
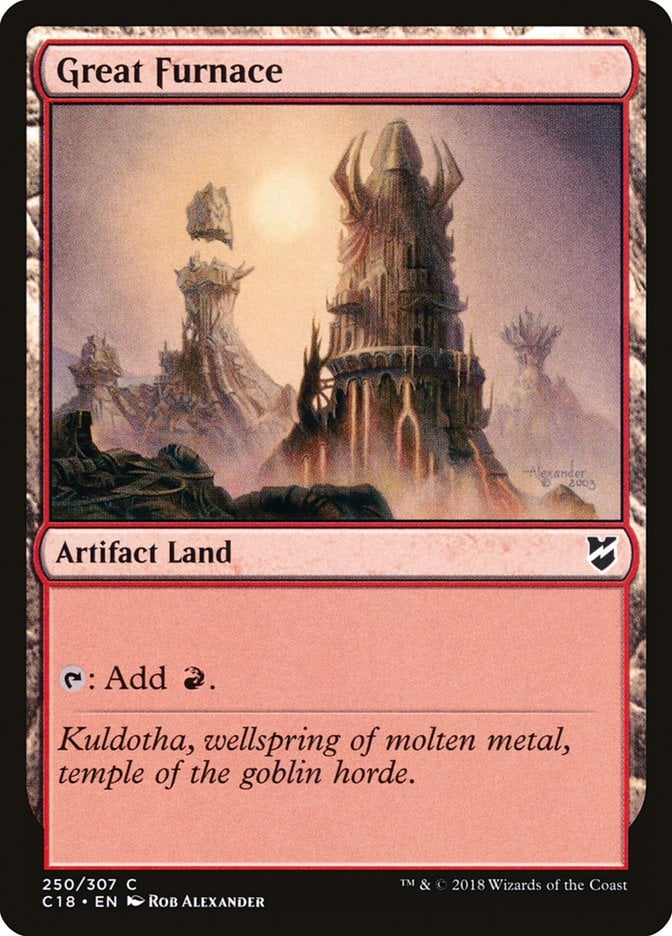
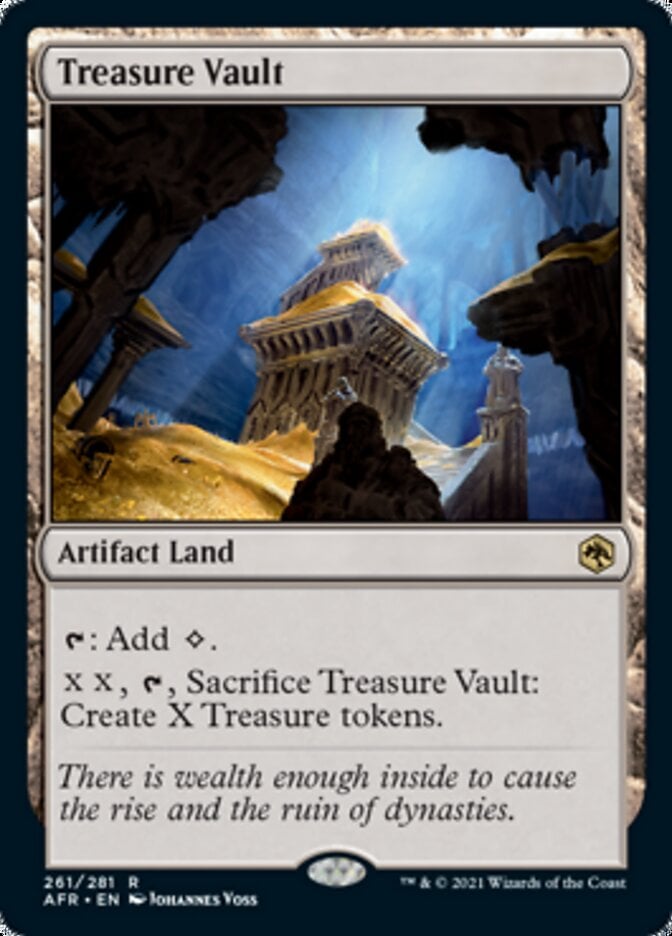
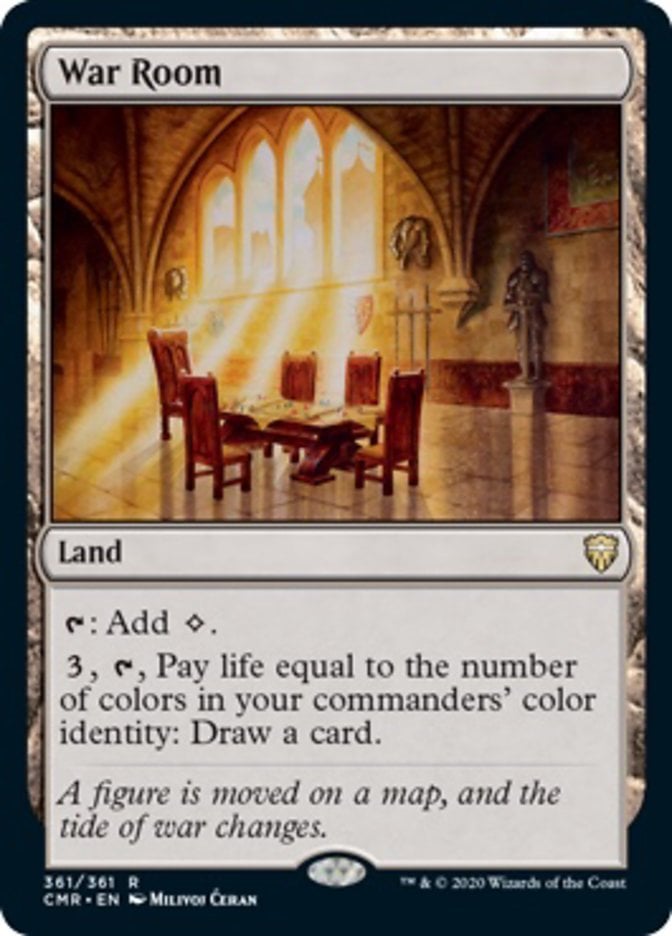

Great Furnace and Treasure Vault trigger your artifact payoffs, and War Room is additional card draw. Rogue's Passage ensures your commander survives combat or that one of your saboteurs connects.

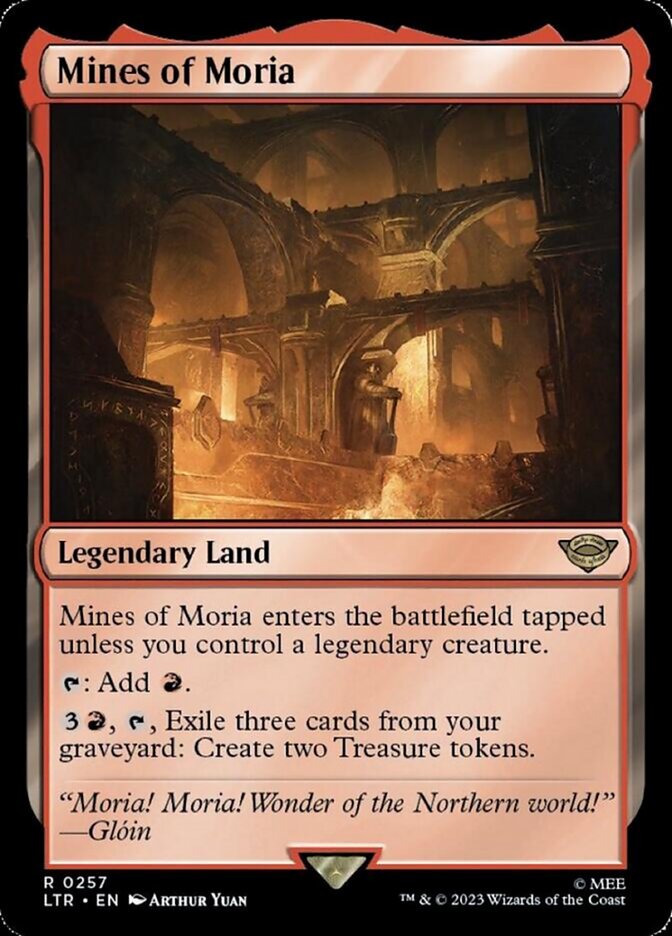
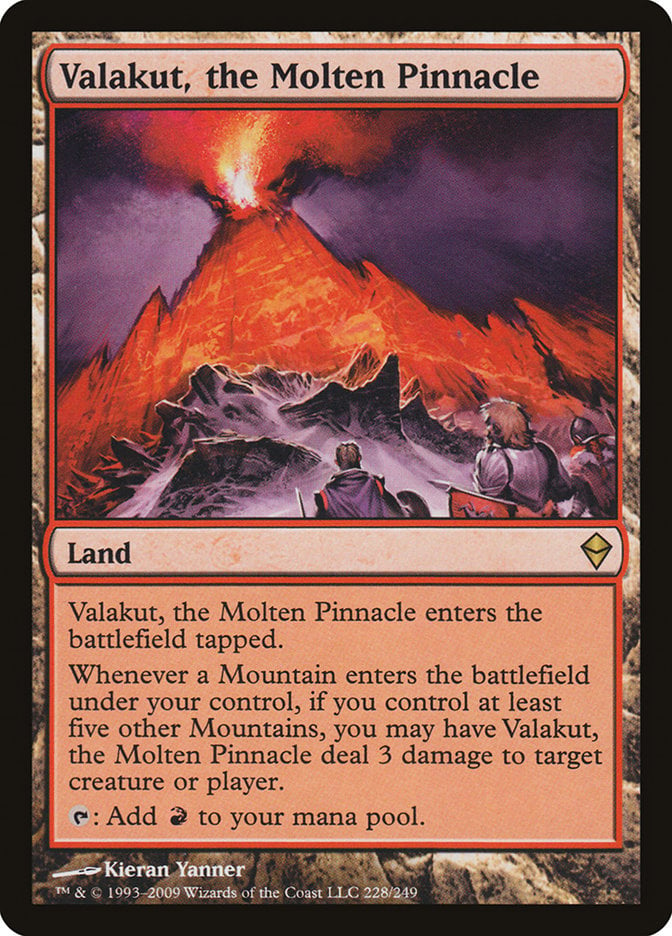
Arena of Glory lets you exert it to give the creature you cast with its mana haste. You don’t have ways to reuse anything that its your graveyard, except Mines of Moria’s ability to turn cards into Treasure. Deep enough in the game, Valakut, the Molten Pinnacle burns the board and your opponents when you make most of your land drops.
The Strategy
As a deck that uses burn and Treasure generation to win, you don’t have time to dawdle. You want an opening hand with enough lands to get you started, and hopefully some repeatable Treasure generation, a damage amplifier, or one of your artifactfall pingers.
You’ll have to judge how quickly you can afford to cast Smaug the Magnificent depending on your table and metagame. Your commander is likely to be a target for counterspells and removal, but it’s also key to your main strategy. If things go according to plan, your Treasure production may outpace the commander tax.
You have multiple ways to win with this deck. There’s a pair of alternate win condition cards (Knuckles the Echidna and Hellkite Tyrant), you have a commander with an attack trigger that you can amplify, and you have ways to generate a dragon’s hoard of Treasure to burn your opponents through Reckless Fireweaver. You have a few creatures that grow into sizable threats on their own, and an MDFC that flings one of them to finish off an opponent.
Combos & Interactions
Because you can activate Magda, Brazen Outlaw at instant speed, you can tutor for Hellkite Tyrant just before your turn begins to win with its upkeep trigger. You’ll need 20 artifacts total after you’ve sacrificed the five Treasures to tutor for the dragon.
Be sure to read abilities carefully to ensure you know which ones stack and which ones don’t. Goldspan Dragon and a Level 2 Alchemist's Talent both replace your Treasures’ mana ability with a doubly powerful one, but because they both are worded to grant an ability, your Treasures just have the same activated ability twice. Your Treasures won’t generate 4 mana if you have both of these cards out on the battlefield.
If you have multiple damage amplifiers on the field at once, remember that it's the player or controller of the object being burned that chooses how to order the replacement effects. With Torbran and Fiery Emancipation in play, they should typically triple damage first, then add 2 from Torbran. You don't have control over how to order these.
Rule 0 Violations Check
This deck should pass most Rule 0 conversations. Everything it does is fair, with perhaps the exception of Magda’s ability to tutor for Hellkite Tyrant at instant speed, but neither of those cards are new or unbeatable.
Budget Options
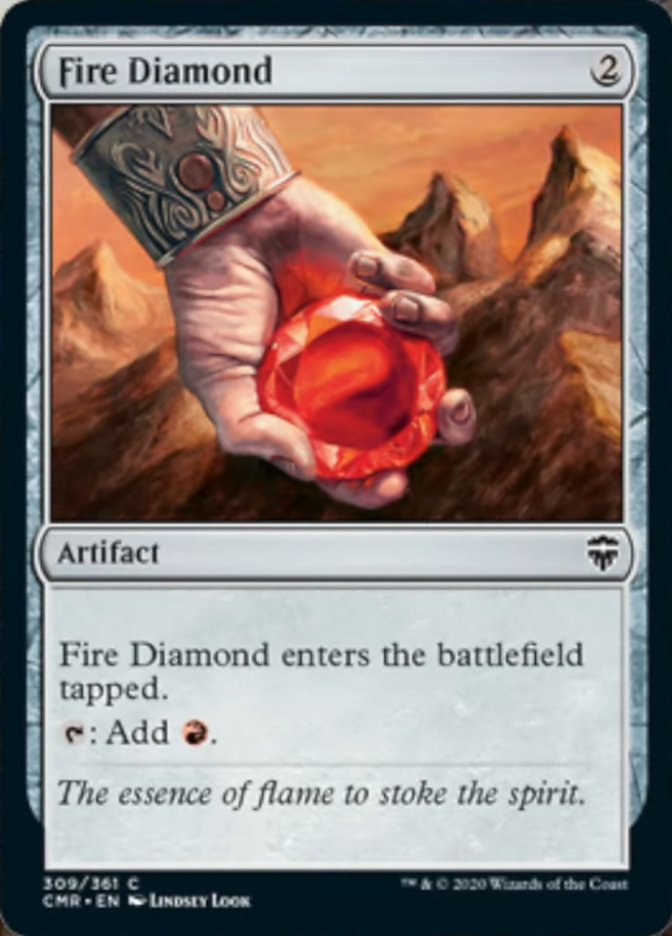
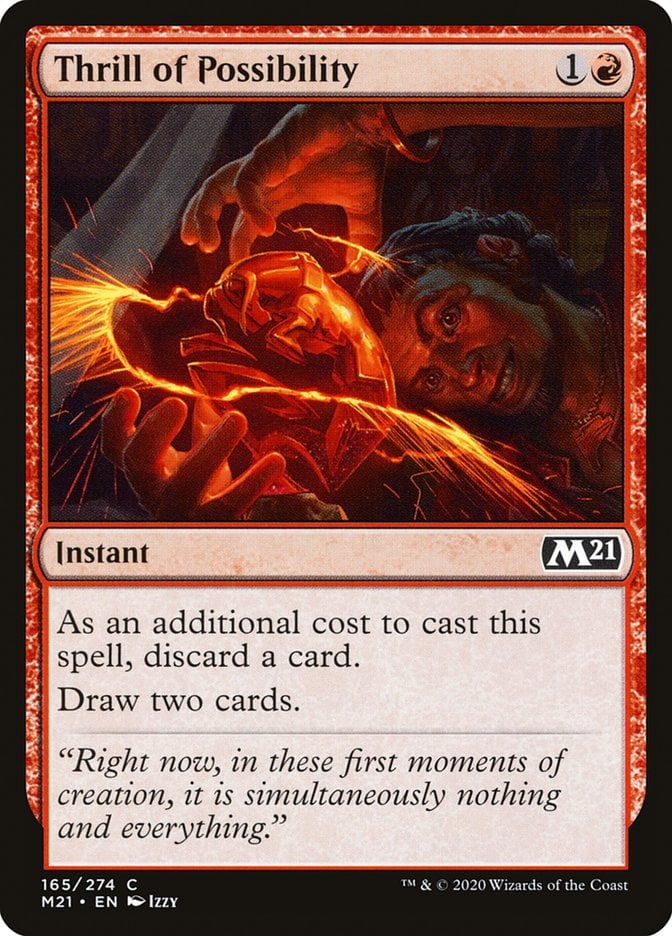
Starting in the mana base, swap out Ruby Medallion for a Fire Diamond. Arena of Glory is less necessary because your commander has haste. The damage loss if you cut Valakut, the Molten Pinnacle isn’t the worst, either. Valakut Awakening’s pseudo-wheel is a good reset button, but you could go for a Mountain or one of the many Thrill of Possibility clones instead.
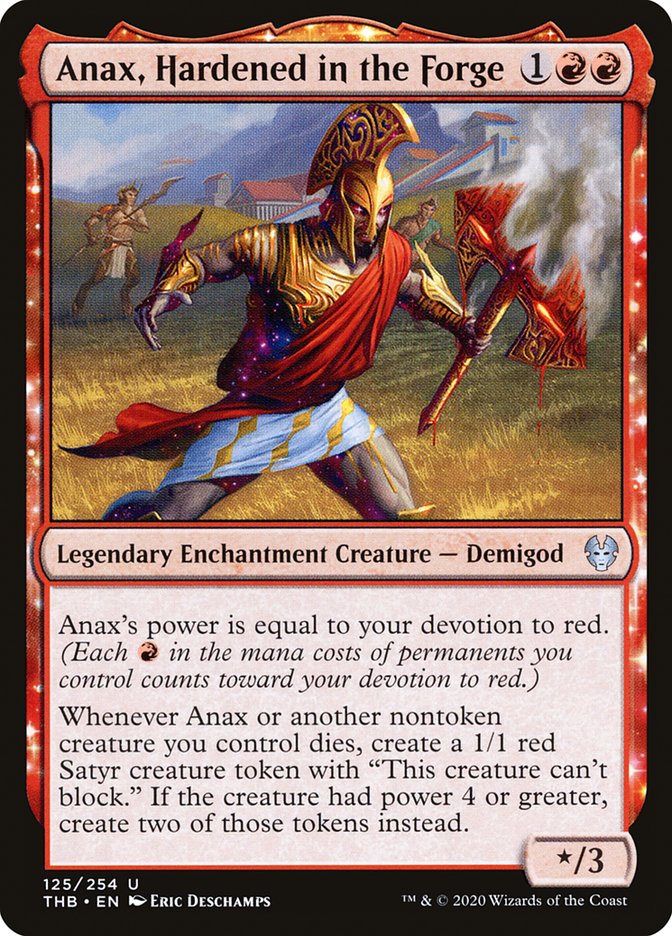
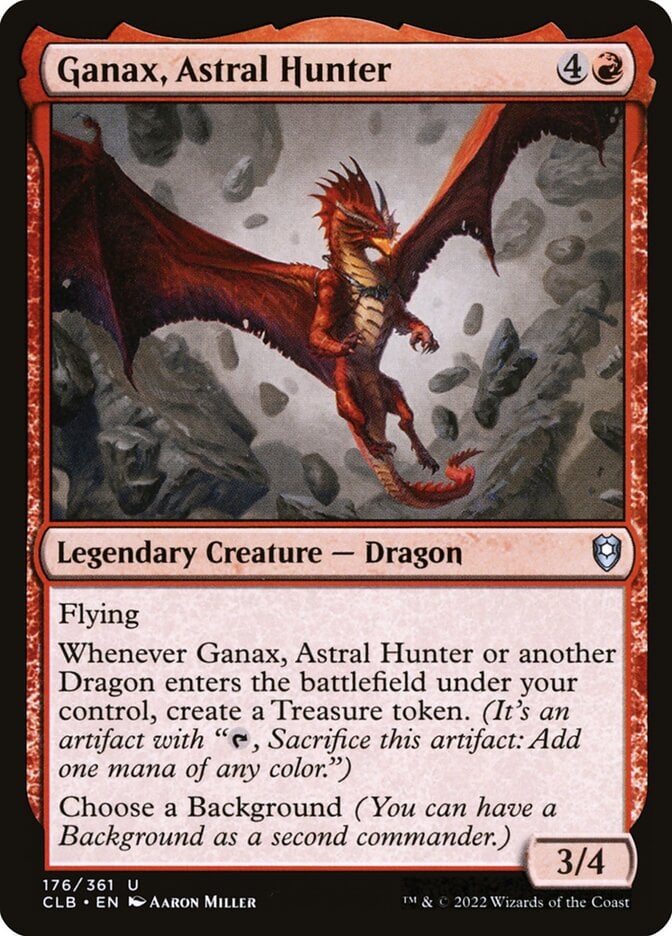
Among creatures, the worst offenders are Cavern-Hoard Dragon, Generous Plunderer, Knuckles the Echidna, and Twinflame Tyrant. Each cut hurts for different reasons, especially the last two, but you can find subthemes to add or enhance, or other Treasure cards. Anax, Hardened in the Forge’s devotion-based power can make it a potent budget threat. Ganax, Astral Hunter is a good fit as another dragon that produces Treasure.
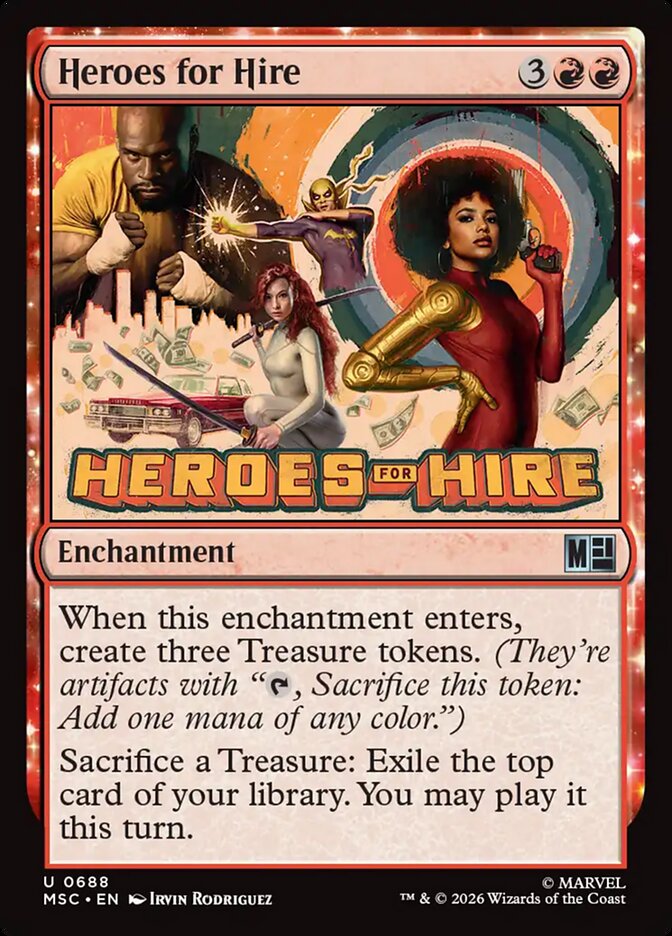
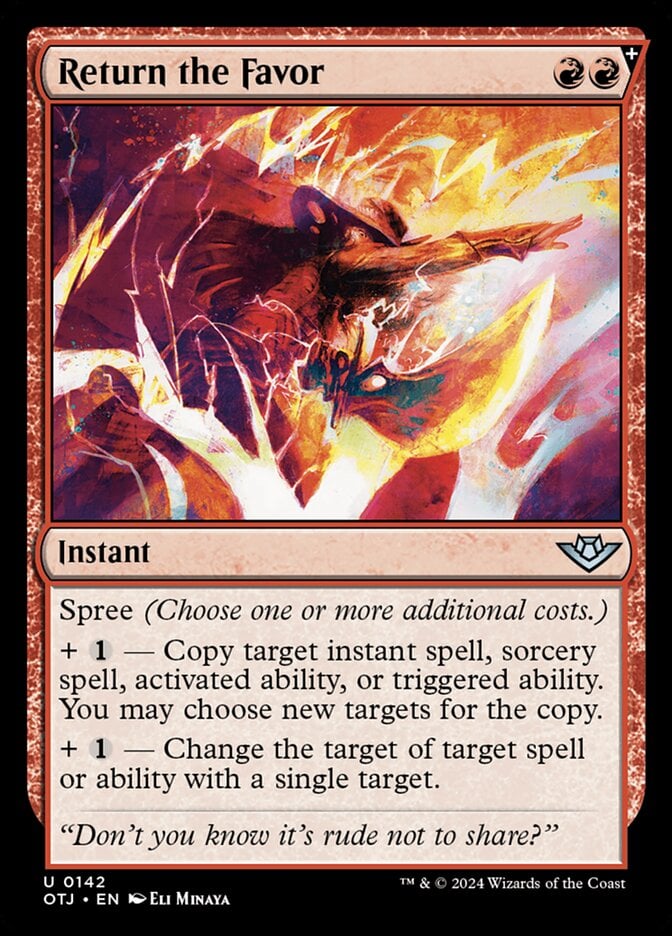
Seize the Spotlight doesn’t have an exact replacement, but Heroes for Hire doubles up on Professional Face-Breaker’s impulse draw. Redirect Lightning can become a copy of Return the Favor instead.
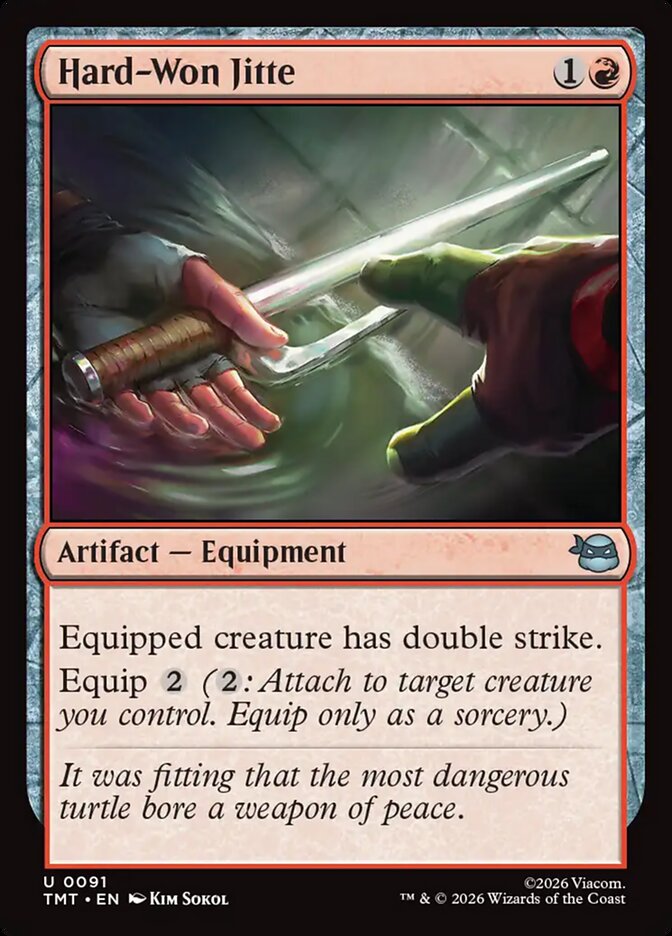
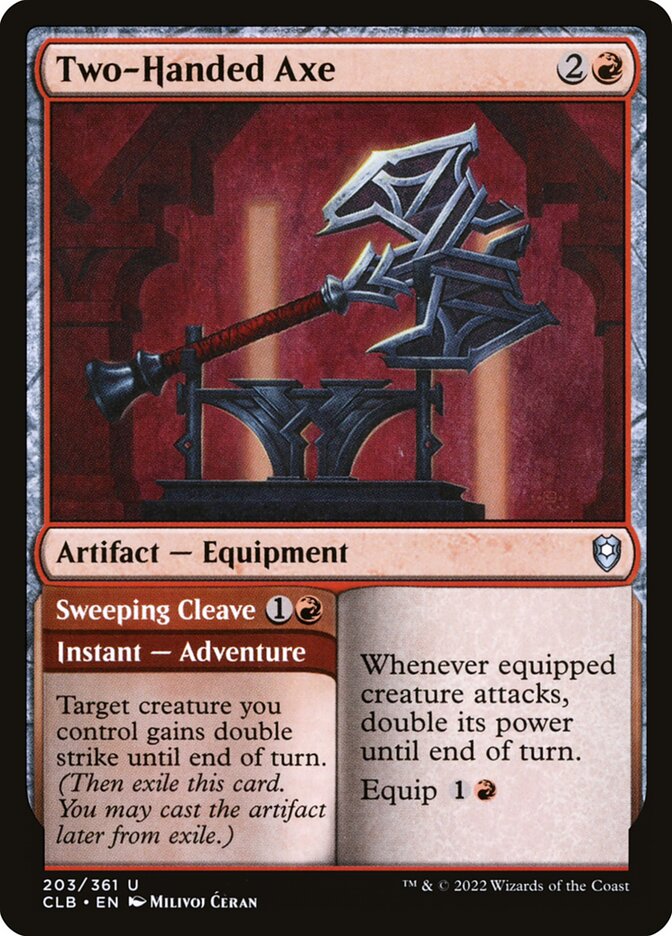
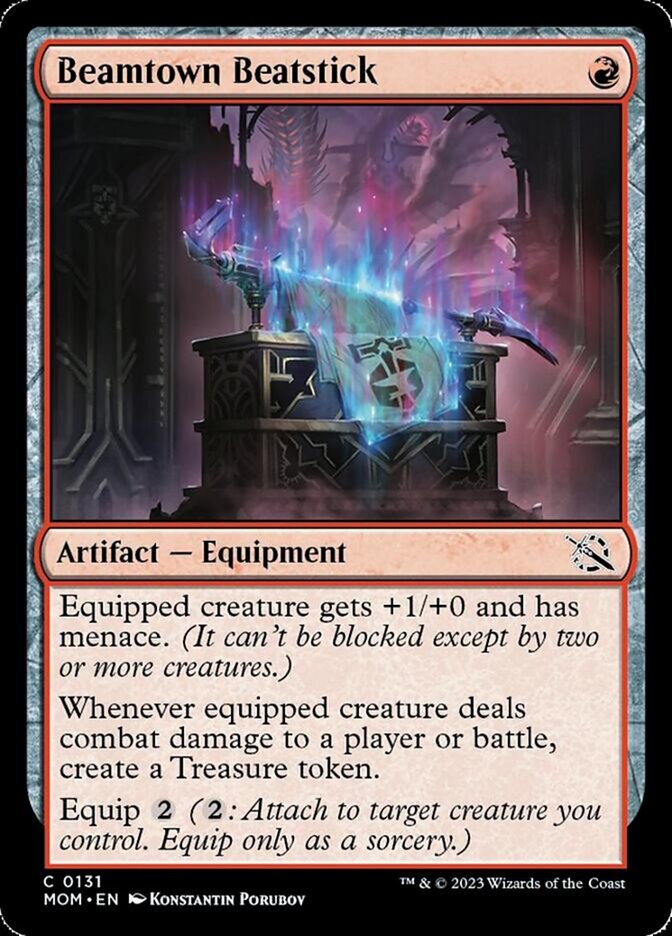
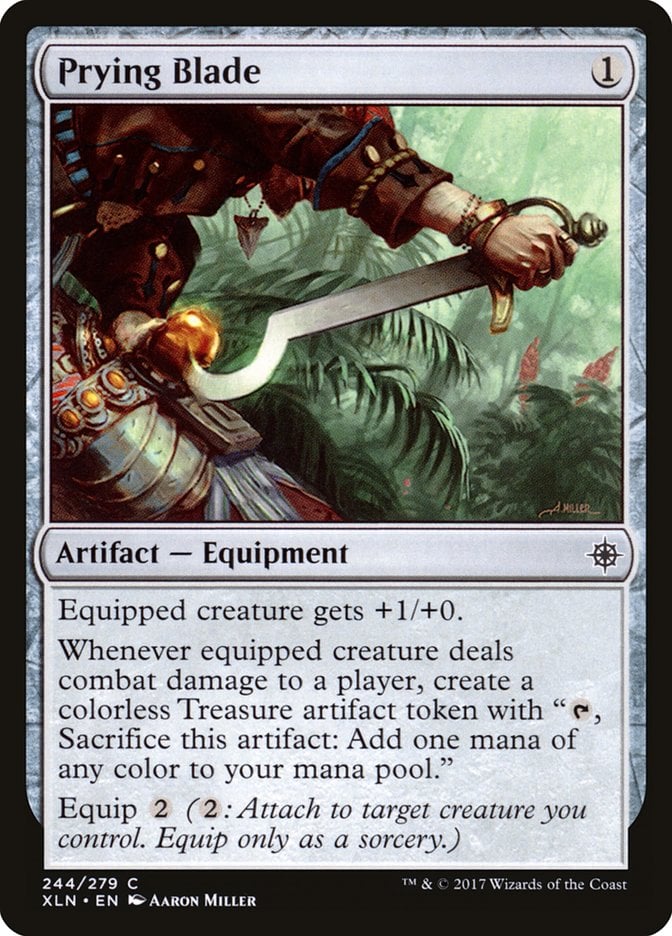
Sword of Wealth and Power and The Reaver Cleaver are excellent pieces of equipment that are here for their Treasure tokens. Double strike enabling equipment are potential budget swaps here (Hard-Won Jitte, Two-Handed Axe), or you can add Beamtown Beatstick or Prying Blade.
Other Builds
You could lean more into damage amplifiers, in which case you may also want the likes of Brash Taunter and Stuffy Doll to add an extra layer of damage. Excess damage payoffs can also be helpful in those builds. Mjölnir, Hammer of Thor almost made it into my deck, but it fits this build, too.
Mono-red dragons is another possible Smaug build. Roaming Throne can double your various dragons’ triggered abilities, and you have more reasons to run the likes of Dragonspeaker Shaman for cost reduction.
There’s a convoluted infinite combo you can create with Smaug. Aggravated Assault. Fire Nation Palace, Diamond Pick-Axe, and a mana storage ability. Aggravated Assault goes infinite with The Reaver Cleaver or Cavern-Hoard Dragon, too, so you can add it to this deck as-is if you want those combos.
There and Back Again

Smaug | Illustration by Jarel Threat
Smaug the Magnificent is a fun commander that captures the spirit of an avaricious dragon. It’s more powerful the more Treasure you have, and the recurring attack trigger makes me think of a dragon circling high above, swooping down to burn with its breath as a prelude to the destruction it causes with its size and strength, its claws and tail.
How do you plan to build your Smaug deck? How would you tune this specific list up or down? Let me know in the comments below or over on the Draftsim Discord. For more from Draftsim, whether it’s about The Hobbit or any other Magic release, subscribe to our newsletter, The Daily Upkeep.
Until next time, it’s time for me to take a well-earned nap. Who needs a weighted blanket when I’ve got all this Treasure?
Follow Draftsim for awesome articles and set updates:


Add Comment