Last updated on September 22, 2025
Mystic Confluence | Illustration by Kieran Yanner
One of the most challenging parts of Magic: The Gathering is finding the right deck composition. Have you ever wondered why you always get stuck on lands or why you can’t cast your spells smoothly?
There might be an underlying issue in your deck, specifically your mana curve, so let’s talk about it and why you should consider it when building any deck in any given format.
Without further ado, let's dive right in.
What Is a Mana Curve?

Mana Leak | Illustration by Howard Lyon
As you may know, MTG cards have a casting cost or mana value that determines the amount of mana a spell needs to be put on the stack. A mana curve represents how your deck looks based on the overall mana value of the spells in your deck, ranging from low-cost spells to high-cost ones.
A well-balanced mana curve is critical for a deck's consistency and performance. Too many high-cost spells lead to slow starts, while too many low-cost spells and you run out of steam in the late game or flood if you run more lands than the deck realistically needs.
You often want to aim for a smooth mana curve that allows you to play spells consistently throughout the game.
To get an idea of how your mana curve looks, you must first count the number of total cards in your deck to organize them by mana value.
More often than not, this visual representation represents in a “curve” shaped figure of your cards lying on the table or program you use to build your deck.
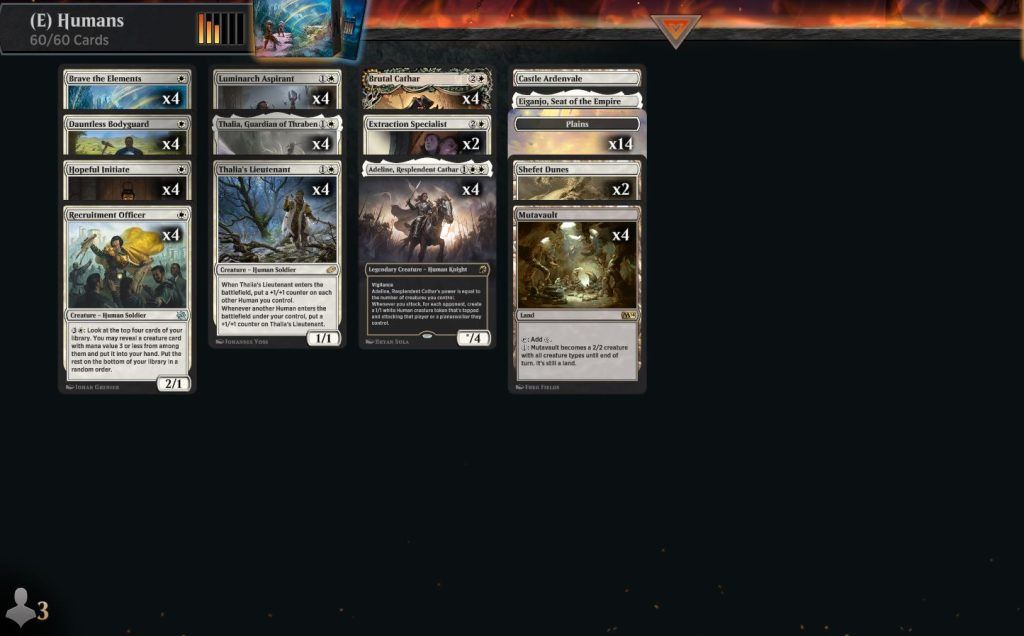
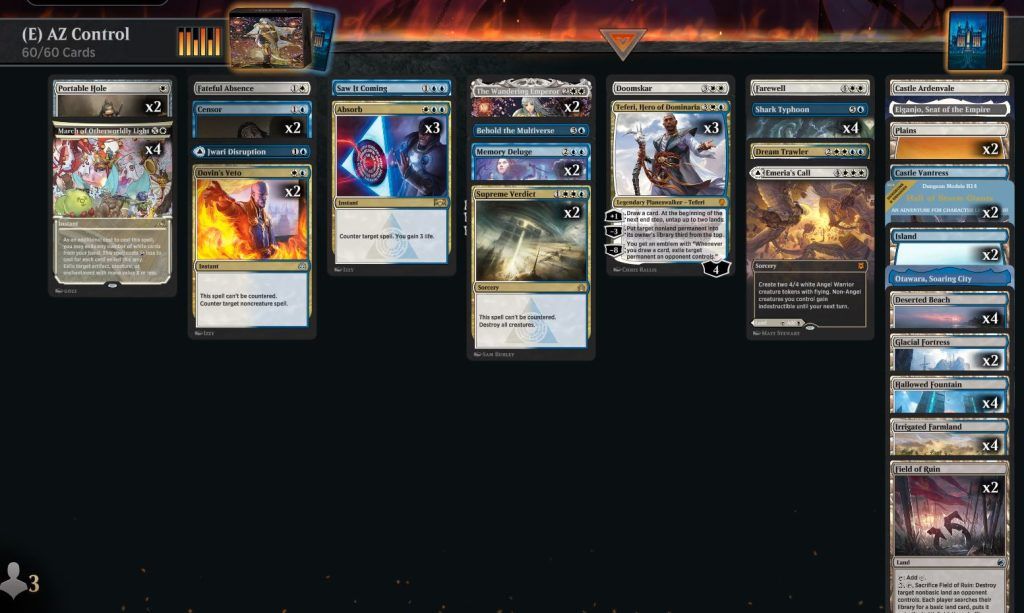
You can also use Arena Tutor to see how your decks look based on the cards you have.
With it, it's easier to pinpoint a few takeaways that your deck may need:
- Number of lands
- Adding or subtracting cards
- Replacing card types for cheaper versions that fit better in the curve
This may be confusing initially, but so let’s go in depth on how to calculate a mana curve that fits your deck needs.
Mana Curves in Different Formats
Mana Cannons | Illustration by Sidharth Chaturvedi
While there’s no strict rule, your overall game plan and your deck's archetype highly influences the composition of your deck's mana curve. For instance, an aggressive deck typically features numerous 1-drops and 2-drop cards, resulting in a ladder-like curve.
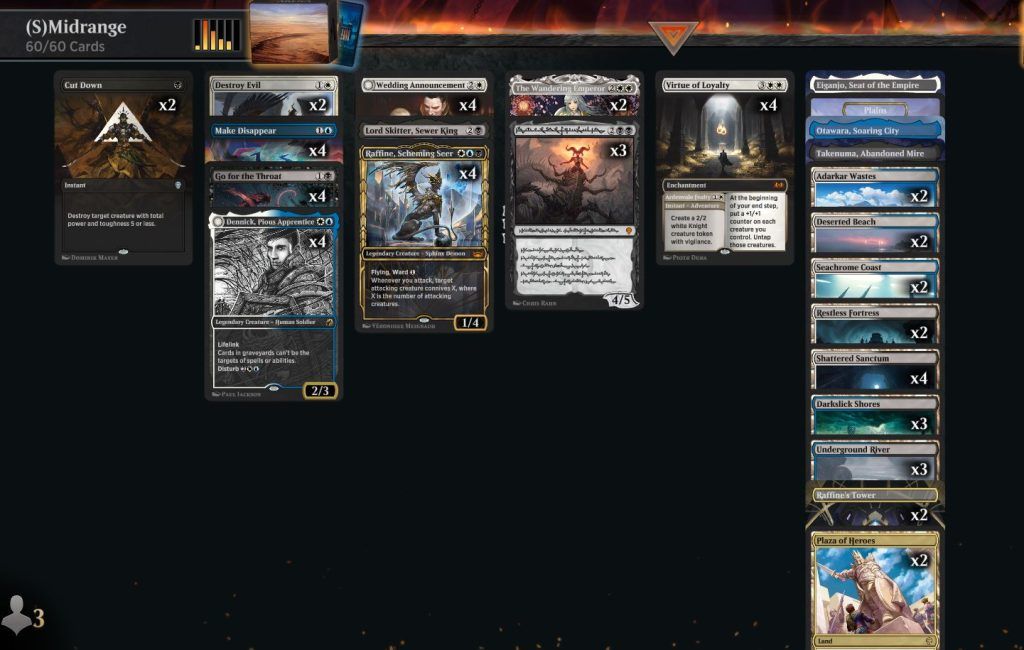
In contrast, a midrange deck's curve might form a triangle, reflecting a more balanced distribution across various mana costs.
Control decks, on the other hand, tend to exhibit a curve contrasting with that of aggro decks, prioritizing higher-cost spells and presenting a peak towards the later stages of the game.
While it may be the tip of the mana curve iceberg, it's the core idea behind them based on archetypes.
Of course, there are others like ramp or combo decks, whose curves may look slightly different. However, the core idea can be extrapolated to different formats.
40-Card Decks (Limited)
In Limited formats, it's common for decks to include a total of 17 lands, with the mana curve being heavily influenced by the pace of the specific MTG set.
Typically, aggressive decks consist of approximately 6 to 9 creatures costing less than 3 mana, 5 to 10 creatures falling between 3 and 4 mana, and only 2 to 3 cards with a mana cost exceeding 4. Conversely, midrange and control decks feature fewer low-cost spells and a greater number of cards in the 3 to 4 mana range.
Additionally, they may incorporate a slightly higher number of cards costing 5 or more mana compared to aggressive decks.
It's important to note that these patterns can vary based on the speed of the set. For instance, in fast-paced environments like Adventures in the Forgotten Realms, establishing board presence early or having means to address early threats becomes paramount to avoid falling behind.
More aggressive decks can tend to go from 15 to 16 lands to avoid flooding, while midrange decks never go down from 17. On rare occasions, more controlling decks care about running an 18th land.
60-Card Decks (Constructed)
Constructed decks need a higher mana consistency as they need to adapt to the meta based on the archetype they play without any dead turns.
Mana curve is a determining factor for this, as you can play 5- or 6-drops on your aggro deck or a 1-mana creature in your control deck.
One thing that I’ve avoided mentioning is that the casting cost of spells can usually make a card playable in certain archetypes despite having a greater mana value for the archetype.
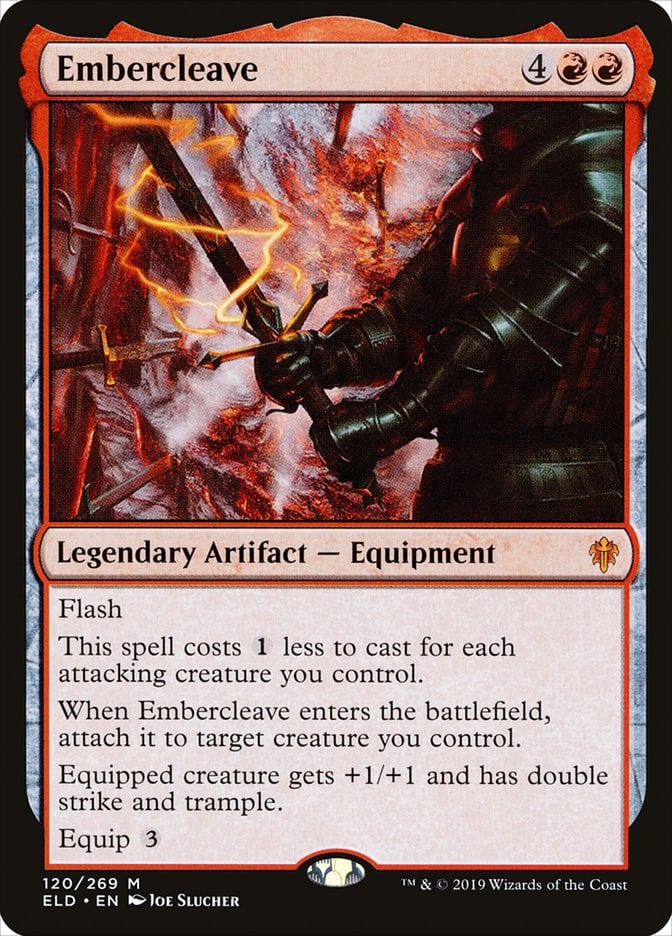
For example, while Embercleave is a 6-mana value card that usually doesn’t see play outside of aggressive decks, its cost reduction based on the number of attacking creatures makes it the perfect card for the archetype.

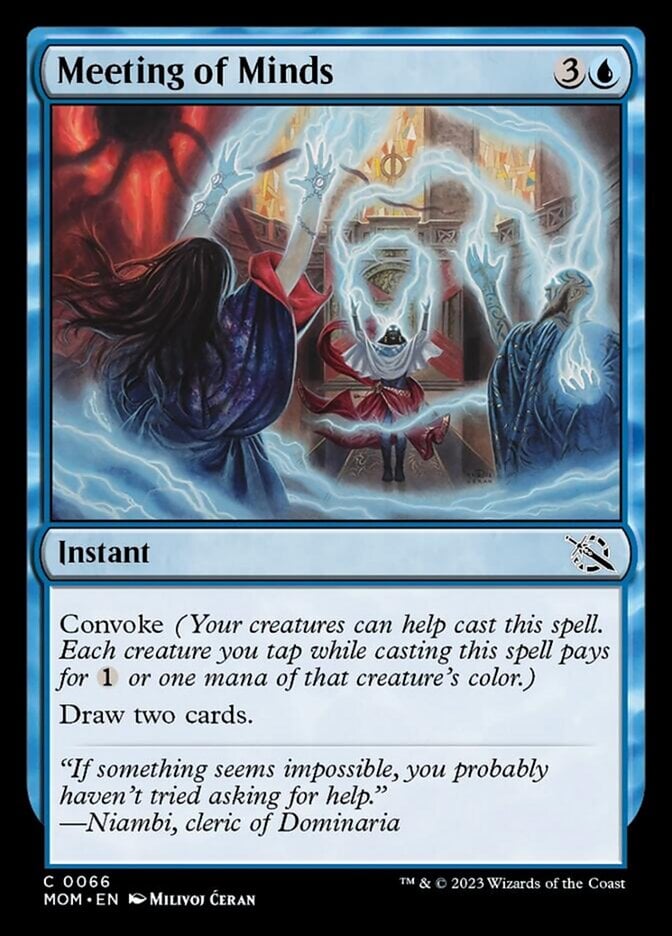
In contrast, cards like Treasure Cruise or Meeting of Minds require a different build approach as the Cruise likes to have a high density of cheap instant and sorceries, while the Meeting cares about the number of creatures you control since they help cast the spell with convoke.
The important tip to remember for making these higher mana costs cards playable is to manipulate your deck composition and synergies in Constructed formats.
For lands in 60-card decks, you aim to run from 20 to 23 in aggressive decks, 24 to 25 in midrange ones, and 26 to 27 in control archetypes.
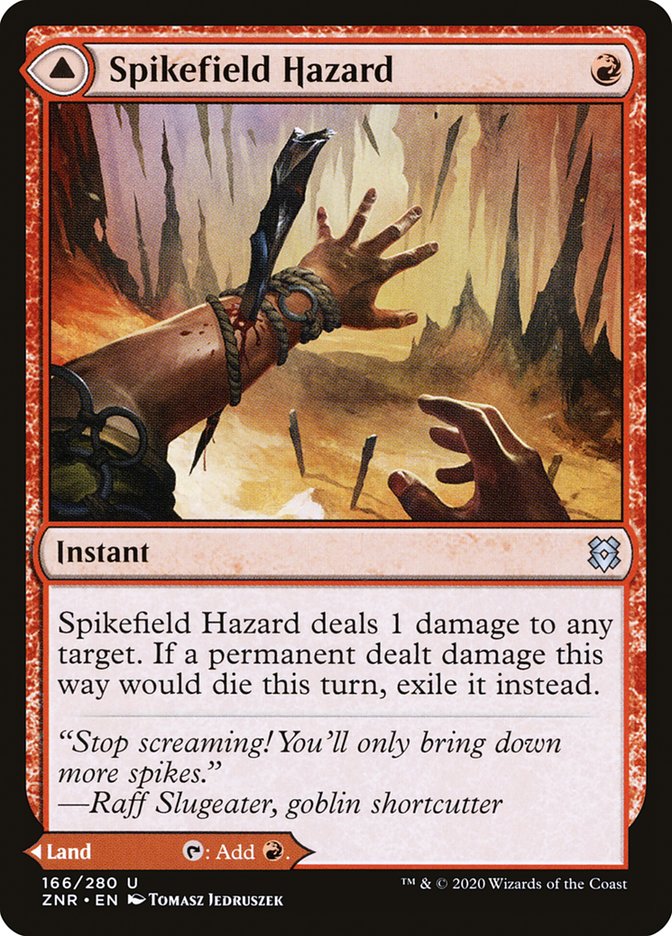

Of course, there are MDFC lands like Spikefield Hazard and some types of cards that count as both a spell or a land. In this case, fitting them on a mana curve is odd. However, as Frank Karsten would say, I like to count these as a third of the land, and from there, it's just a matter of fitting them in the right archetype.
100-Card Decks (Commander)
Commander or EDH decks follow the same rules as other decks. The main difference is the number of mana rocks like Sol Ring in the deck, as the format is known for using them a lot.
Even with that taken into account, Commander decks usually tend to go from 38 to 40 lands, and the mana curve follows the same principle as the core archetypes we discussed earlier.
How Should I Account for My Commander's Cost on the Mana Curve?
Your Commander absolutely affects your mana curve since you can rely on that card being available. Often you want to ramp to the mana value of your commander. Thus a 4-mana commander like Krenko, Mob Boss really loves a 2-mana rock on turn 2 so that on turn 3, you add a land and get off to the races.
Since Commander tends to be a 4-person format, games drag longer, so the presence of 3- and 4-drops is higher than in other formats, with minimal influence on the 2-drops unless they’re ramp spells, interaction, or similar.
While there are multiple formats across the game, the main principle remains mostly the same. Realistically, the only thing that changes is the number of lands you may run in each.
Ramp in a Mana Curve

Live Fast | Illustration by Ryan Yee
The type and style of ramp you use can affect your mana curve. In Limited formats, if you're only using ramp spells to fix your mana, it's unlikely you'll cut lands from your deck. The same goes for Constructed formats.
In Constructed decks, it's generally a good idea to include more lands to consistently reach the mana values you're aiming for with your ramp spells. This can result in a curve that looks upside-down, with ramp spells typically costing 1- to 3-mana and the spells you're trying to ramp into costing 5 or more mana. This can create a shape resembling an oval in the middle of your deck.
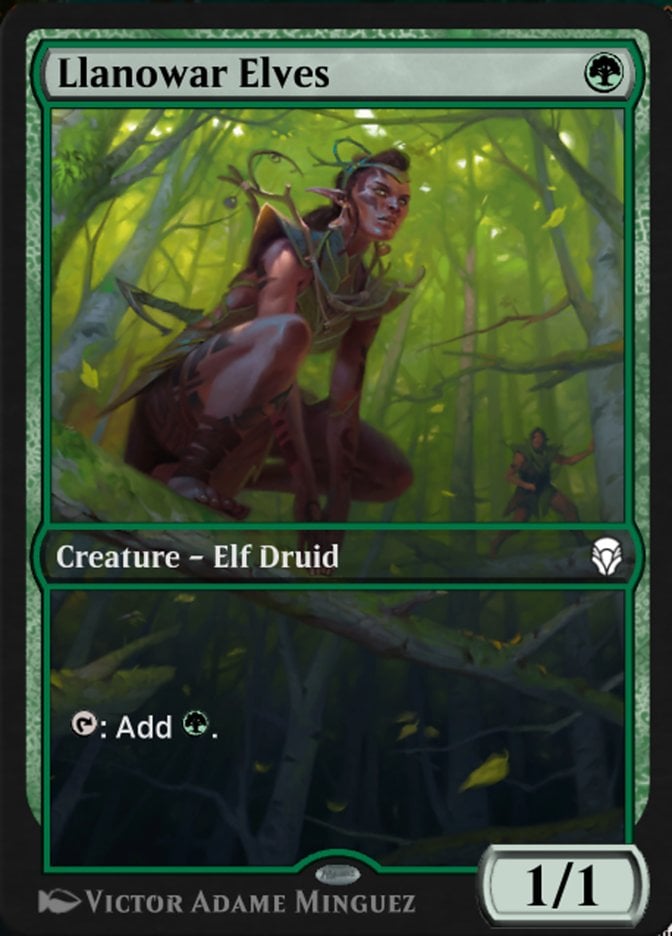
However, the specifics depend on what you try to ramp into. For example, if you focus on casting 3-drop spells on turn 2, you'll want a high number of mana dorks like Llanowar Elves, usually around 8 to 10 of them. Conversely, if you aim to cast a 5- or 6-drop spell on turn 4, you can focus on ramp spells that cost 2 or 3 mana.
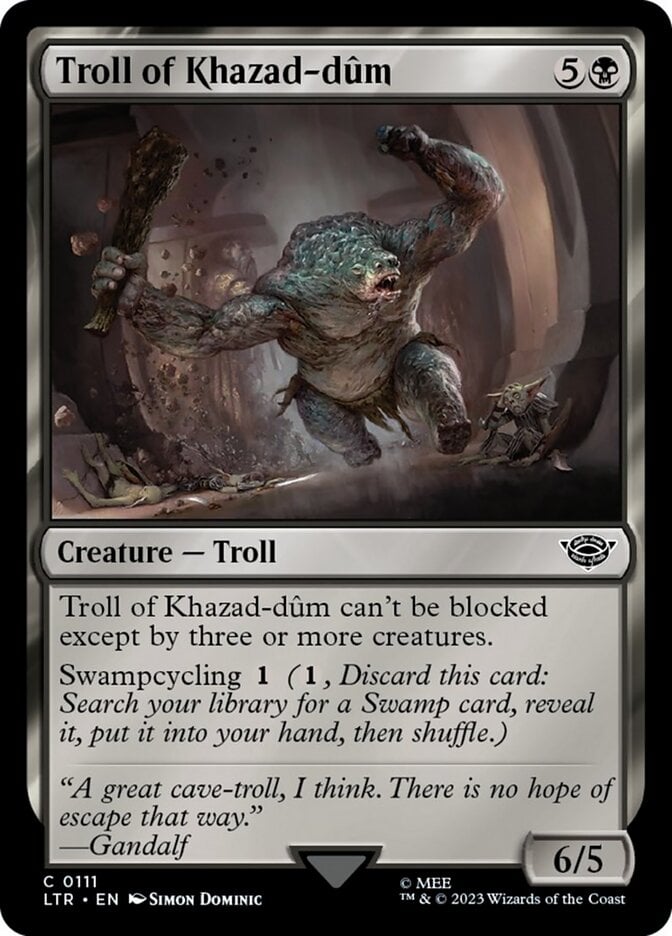
It's important to note that using mana dorks often means you play fewer lands since they effectively act as additional lands. This applies to cards like Troll of Khazad-dûm, which can be land-cycled to fetch for a land. Although it doesn't directly ramp you, it essentially acts as a land for just 1 mana. The benefit is having a higher mana pool in case you draw too many lands.
Other traditional ramp spells can increase your curve, potentially requiring even more lands if you don't draw these ramp spells early on.
Does a Mana Curve Include Lands?
While many factors can influence the number of lands you should play in your deck, the mana curve is the main guideline that tells you how many lands you need for a deck to run smoothly.
If you take the above into account, you could say that the mana curve includes lands. However, they don’t impact your actual mana curve, as they don’t add any cost to the spells you have in your deck.
Furthermore, you may think that scry lands, or lands that enter the battlefield tapped, impact the mana curve. At the end of the day, they don’t, as throughout Magic: The Gathering history, there have been many lands printed across sets where you can choose the one you need according to what your deck wants. For example, you can rely on pain lands or fast lands if your deck needs fast fixing. Meanwhile, surveil lands may over-perform in graveyard strategies or control archetypes.
If anything, lands depend on archetype rather than on mana curve.
Do Mana Rocks Factor Into My Mana Curve?
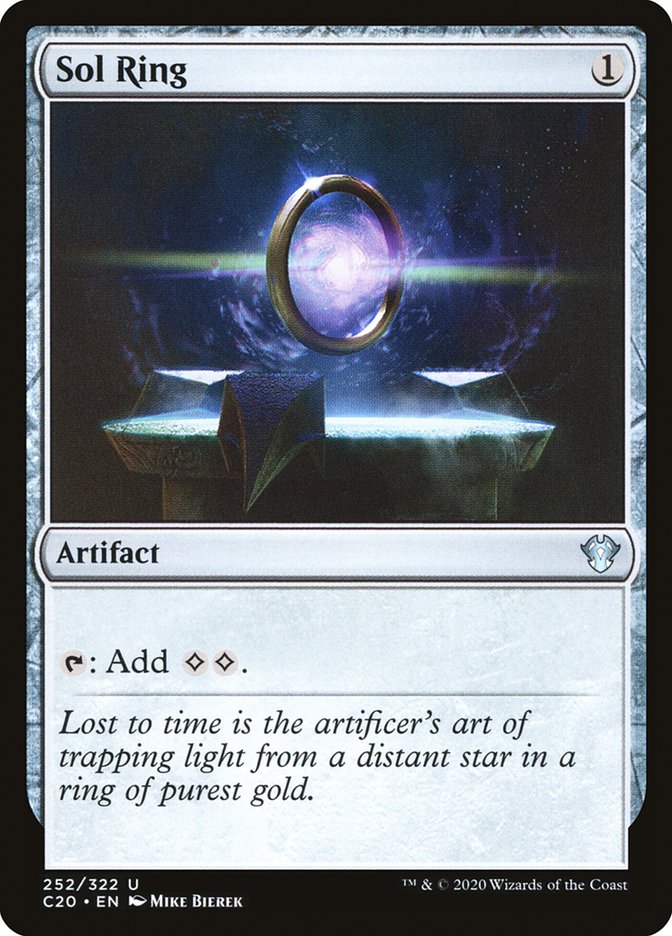


Your mana rocks can be dependable parts of your mana curve that ramp into the next levels. You generally play less early creatures if your deck would rather cast Sol Ring, Arcane Signet, or Commander's Sphere to reach a higher cost card. Of course if you have a key 2-mana play, do you ever expect to ramp on turn 2, and do you need ramp after that? So yes, mana rocks play into your curve the biggest question is when do you want to play them?
Creature Curve vs. Spell Curve
The number of creatures you include in your deck compared to other spells can make a significant difference. For instance, in an aggro deck in Limited formats, aiming for at least 15 creatures is advisable. In a 40-card deck with 16 to 17 lands, this means you'd want around 8 to 9 other spells.
These additional spells could consist of removal, equipment, combat tricks, or cards that fulfill specific needs in your deck. However, depending on your deck's goal and type, the curve of your spells might differ from that of your creatures.
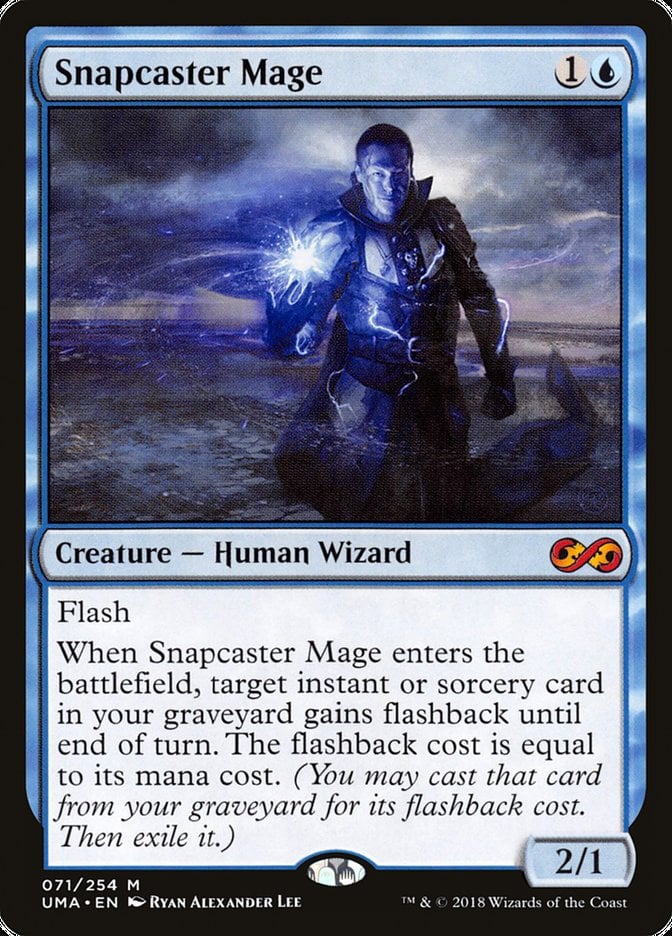
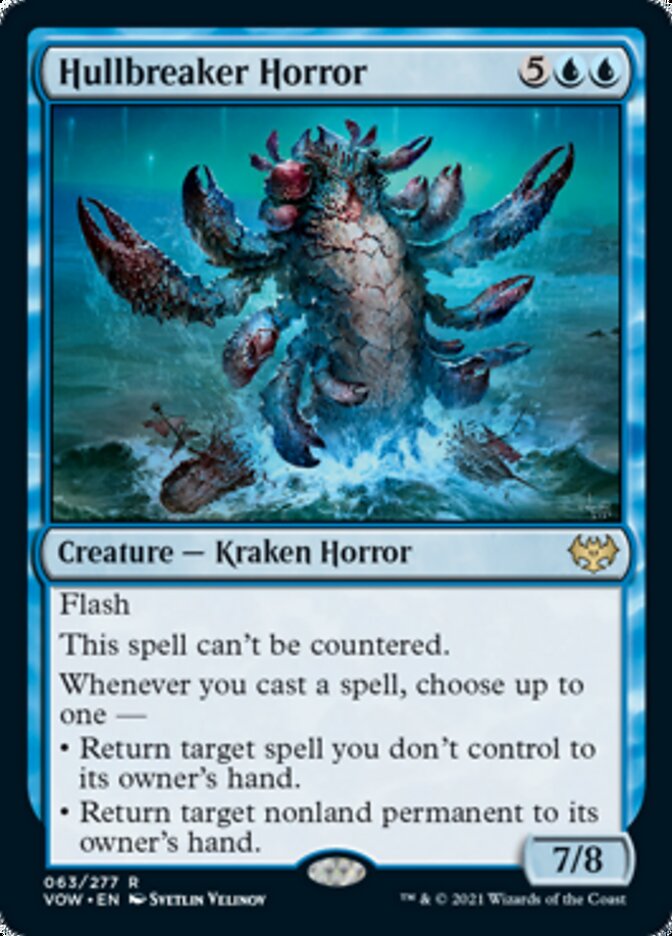
In the case of an aggro deck, combat tricks and removals are typically most effective when they're cheap, ideally costing 1 or 2 mana. However, this can vary in a control deck where creature spells are minimal, possibly only including a few, if any. These creatures could range from inexpensive options like Snapcaster Mage to high-cost, game-winning threats like Hullbreaker Horror.
Nevertheless, it's crucial to consider the mana curve as a whole, as you'll still need to cast your spells regardless of the deck archetype. The difference lies in the timing of when you deploy creatures versus casting other spells. Aggro decks often prioritize establishing board presence first before casting spells to push through damage, while midrange decks may adopt a more controlling approach initially before transitioning into a setup phase.
Best Curve Calculator for MTG Arena
While there are many ways to look at your curve, including stacking your deck the hard way, Arena Tutor offers a clean way to visualize it so you don’t have to do all the work.
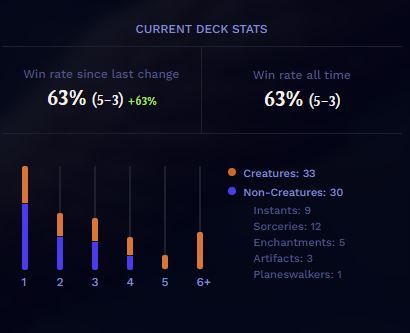
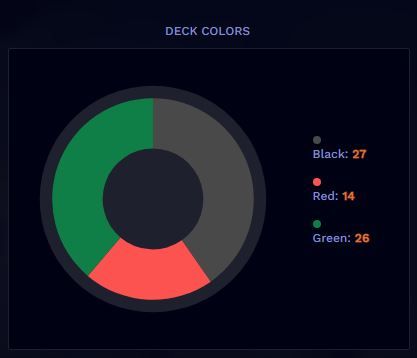
With it, you can have an idea of what changes your deck may need, and on top of that, it also shows a color distribution that comes in handy from time to time when looking at your mana base.
Wrap Up
Mana Drain | Illustration by Raymond Swanland
While minimal, the mana curve is one of the most basic yet essential things when it comes to deck building, and I hope that this guide and the tools I provided give you a better understanding of how to build your deck based on the game plan you want to achieve.
Thank you so much for reading. As always, if you like the article and would like to see more MTG-related discussions, consider following us on X/Twitter or join the Draftsim Discord to never miss a thing.
Take care, and see you next time!
Follow Draftsim for awesome articles and set updates:


Add Comment