Last updated on November 30, 2023
Zimone and Dina | Illustration by Lie Setiawan
I’ve written a few of these Commander deck guides by now. But I’ve always written about decks I already owned. This time, I’ve taken a commander and built this decklist from scratch.
Zimone and Dina is a really cool combination with a lot of different effects going on at once. Let’s see if we can put something together!
The Deck
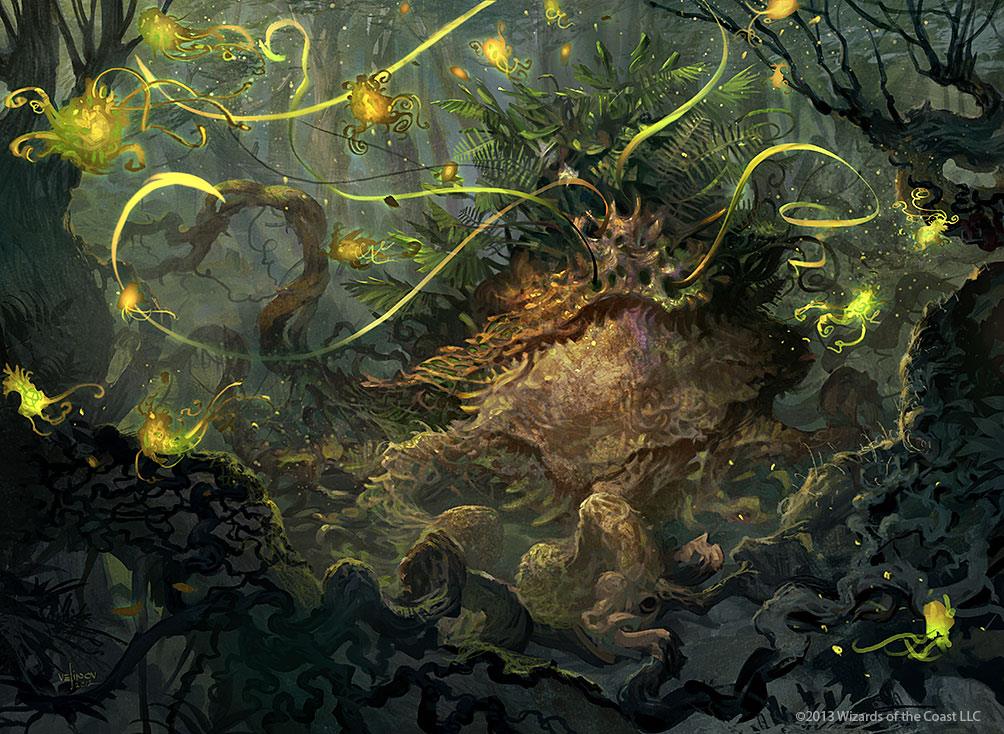
Sporemound | Illustration by Svetlin Velinov
Commander (1)
Battle (1)
Planeswalker (1)
Creatures (27)
Birds of Paradise
Quirion Ranger
Bloodghast
Coiling Oracle
Lotus Cobra
Sakura-Tribe Elder
Scryb Ranger
Zimone, Quandrix Prodigy
Dryad of the Illysian Grove
Nissa, Resurgent Animist
Scute Swarm
Springbloom Druid
Tireless Provisioner
Uro, Titan of Nature's Wrath
Wood Elves
Seedborn Muse
Solemn Simulacrum
Greensleeves, Maro-Sorcerer
Ob Nixilis, the Fallen
Sporemound
Tatyova, Benthic Druid
Ancient Greenwarden
Muldrotha, the Gravetide
Rampaging Baloths
Avenger of Zendikar
Cultivator Colossus
Craterhoof Behemoth
Instants (2)
Sorceries (10)
Nature's Lore
Three Visits
Cultivate
Decree of Pain
In Garruk's Wake
Pest Infestation
Exsanguinate
Finale of Devastation
Torment of Hailfire
Villainous Wealth
Artifacts (10)
Amulet of Vigor
Skullclamp
Sol Ring
Arcane Signet
Lightning Greaves
Illusionist's Bracers
Swiftfoot Boots
Thornbite Staff
Phyrexian Altar
Thousand-Year Elixir
Enchantments: (6)
Awakening Zone
Intruder Alarm
Abundance
Retreat to Coralhelm
Seed the Land
Zendikar's Roil
Lands (42)
Command Tower
Exotic Orchard
Opulent Palace
Zagoth Triome
Evolving Wilds
Fabled Passage
Prismatic Vista
Terramorphic Expanse
Bad River
Misty Rainforest
Verdant Catacombs
Polluted Delta
Breeding Pool
Overgrown Tomb
Watery Grave
Simic Growth Chamber
Golgari Rot Farm
Dimir Aqueduct
Guildless Commons
Rejuvenating Springs
Undergrowth Stadium
Morphic Pool
Dreamroot Cascade
Deathcap Glade
Shipwreck Marsh
Yavimaya Coast
Llanowar Wastes
Hinterland Harbor
Woodland Cemetery
Boseiju, Who Endures
Yavimaya, Cradle of Growth
Minamo, School at Water's Edge
Otawara, Soaring City
Blighted Woodland
Field of the Dead
Khalni Garden
Reliquary Tower
Snow-Covered Forest
Snow-Covered Swamp
Forest
Swamp
Island
The Commander
Zimone and Dina really packs a punch. There’s lots to care about here: it’s a creature sacrifice outlet, it draws cards, it drains life, and it puts lands into play. There’s so much you could do. For example, you could build a deck entirely around the “draw your second card” mechanic, though that seems a bit under-supported for my liking.
Instead, the deck I’ve decided to make is one that focuses more on the sacrifice ability, with plenty of landfall triggers to pay you off for the lands you put into play, as well as enough disposable creatures for you to make sure that Zimone and Dina has plenty of fuel to keep going. It turns out there are quite a few nice combos that you can assemble to make this deck really pop off.
This deck focuses on Zimone and Dina’s sacrifice ability, and there are a few key effects for that strategy. You need to have plenty of creatures to feed it. If you have some ways of untapping them, you can reuse their ability for even more value. It’s possible to generate some nearly infinite loops that let you put all the lands in your deck onto the battlefield with the right combination of cards.
Even with only some of those cards you should be able to generate a lot of extra card advantage with just a couple of activations. You can turn that mana advantage in your favor with a few big, powerful spells once you have enough lands out.
The Sacrifice Fodder
The first thing you need is plenty of disposable creatures to feed the activation cost of Zimone and Dina’s ability.
Coiling Oracle, Wood Elves, and Springbloom Druid advance your gameplan and are easy to sacrifice once they’re done. They only give you one use of the ability, though. Ideally you’d like to have a constant stream of throwaway creatures to keep feeding the ability over and over.
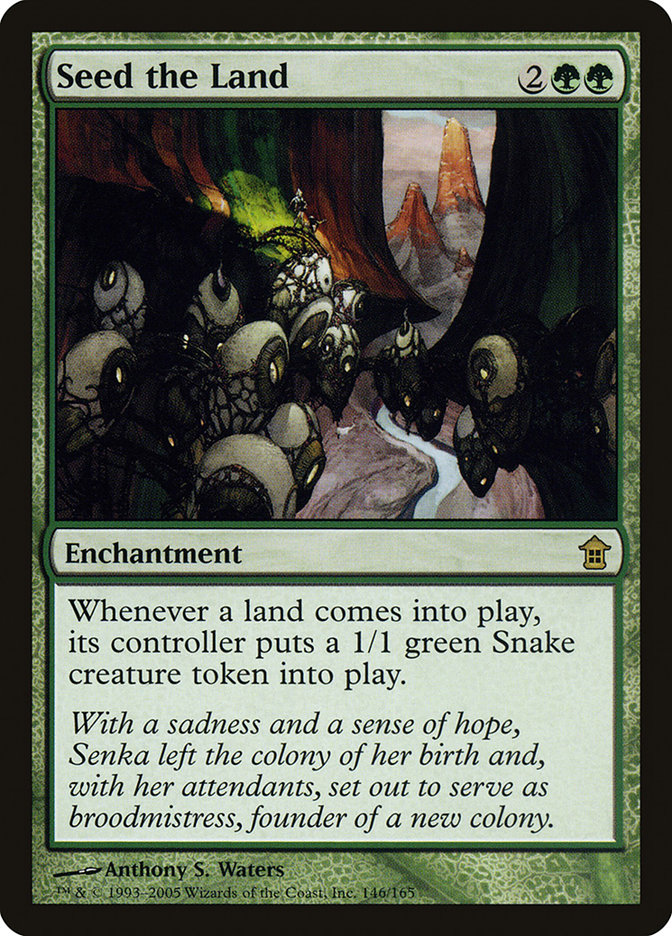
The answer to this issue lies in the fact that each activation of this ability lets you put an extra land onto the battlefield. You can use the many cards in the game that create a creature token on landfall. Sporemound, Zendikar's Roil, and Seed the Land are all great options to do this.
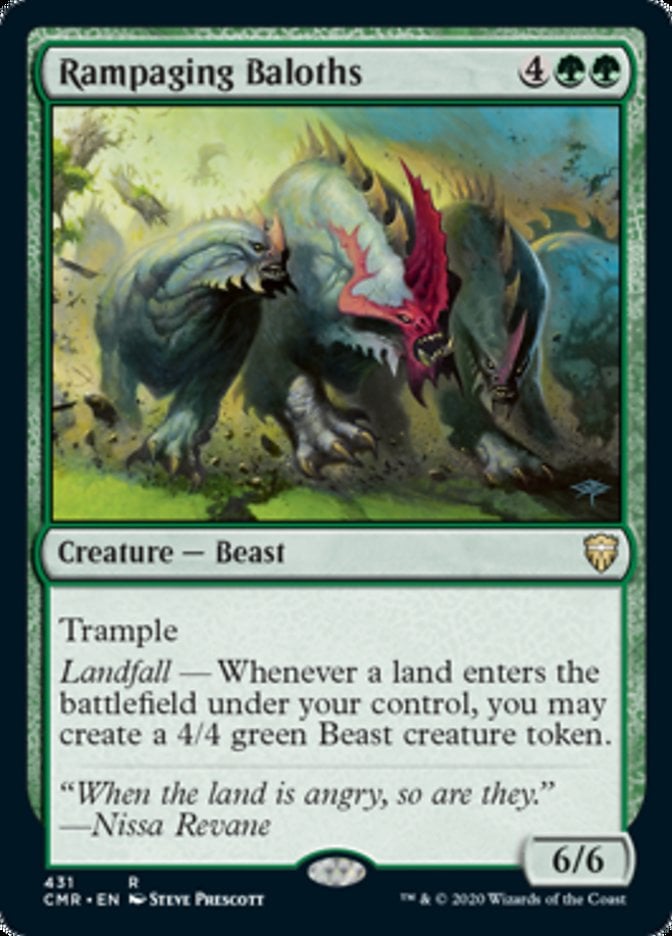
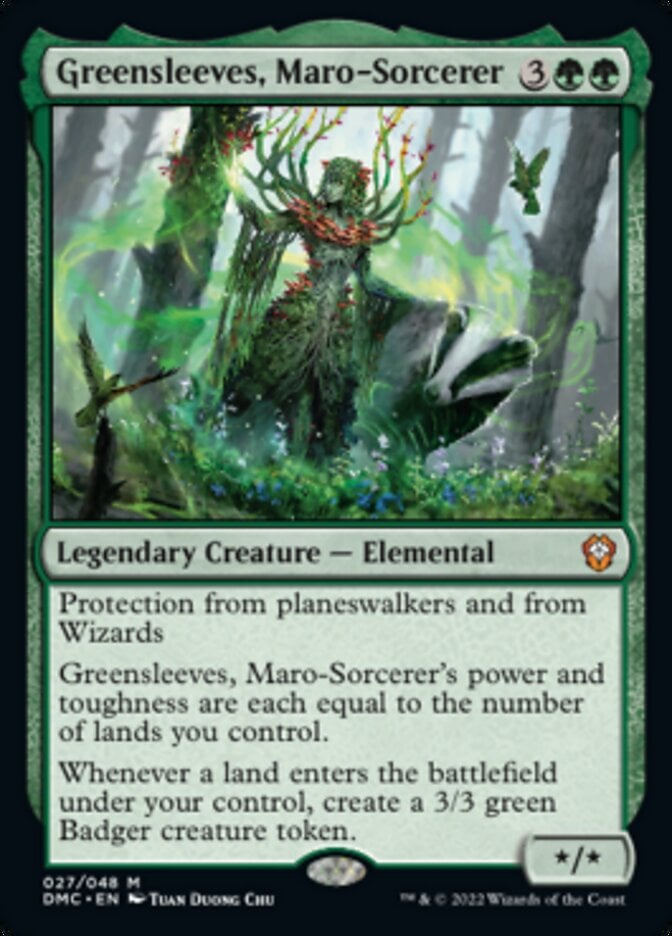
For some bigger options you have Rampaging Baloths and Greensleeves, Maro-Sorcerer.
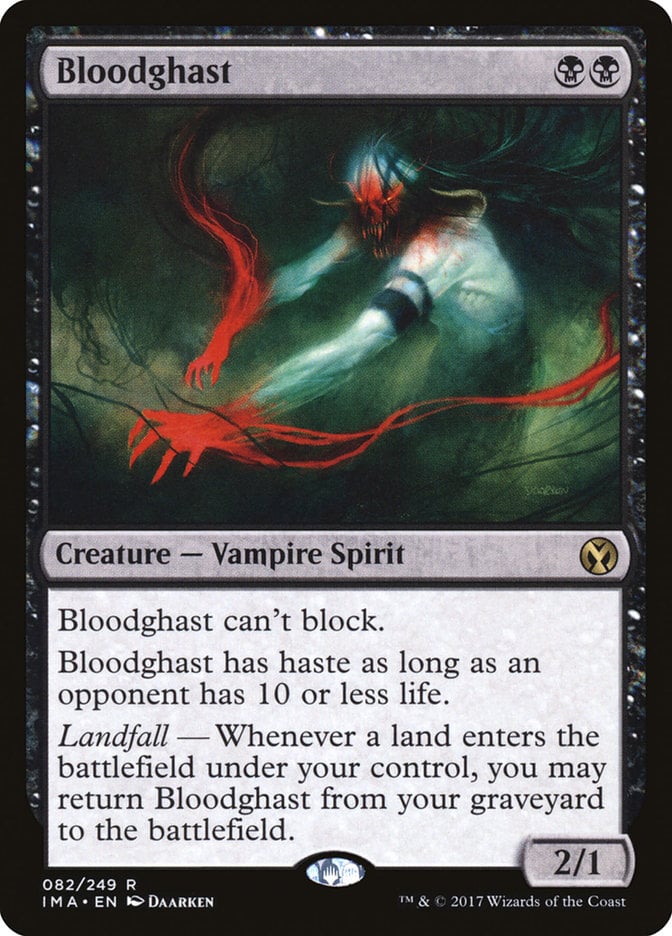
Landfall decks don’t tend to be black, but since this one is you get access to Bloodghast, a fantastic option that also satisfies this purpose.
Skullclamp is a great fit since you have so many cards that give you dispensable creature tokens.
Granting Haste
If Zimone and Dina is given haste, it can activate its ability right away. Most haste enablers are red, so they’re not available to this deck.
You have format staples Lightning Greaves and Swiftfoot Boots, which grant haste and some good protection.
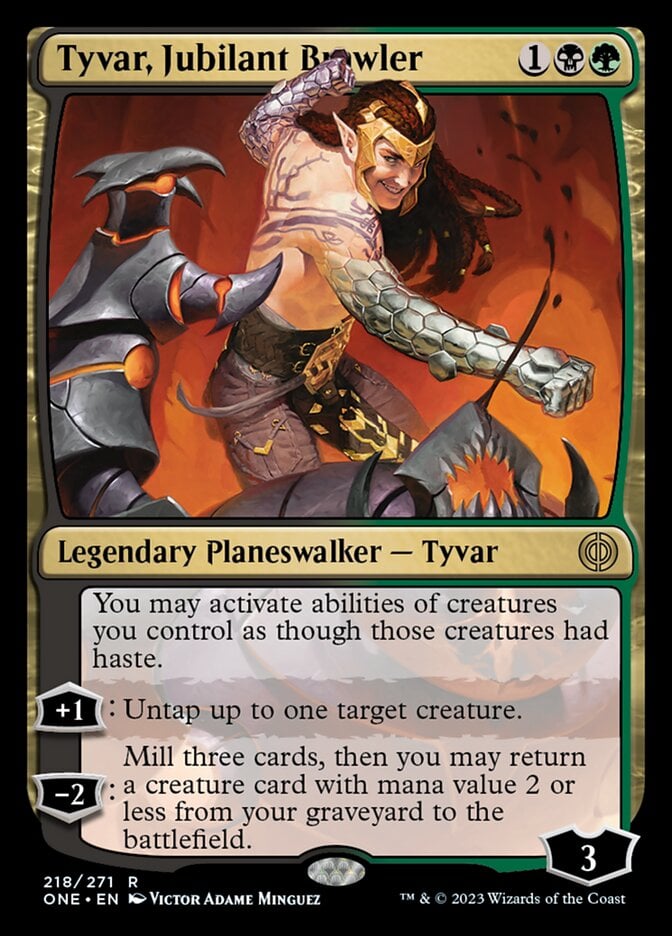
Thousand-Year Elixir and Tyvar, Jubilant Brawler are also great for you since you don’t care about attacking, as well as being a way for you to untap for another go around.
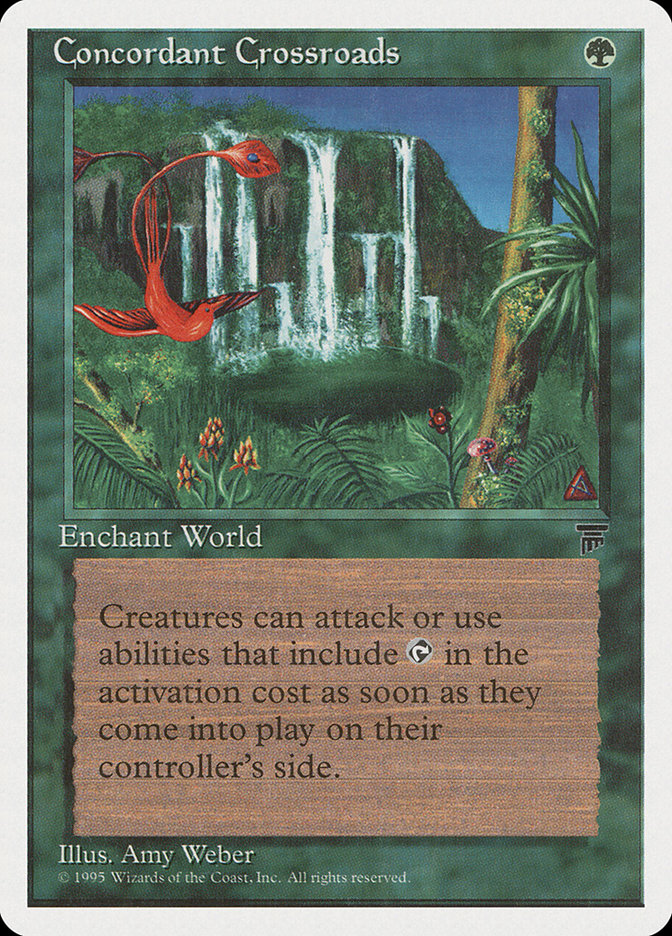
There are a few more cards that you could use, like Concordant Crossroads, but you don’t want too many of this kind of effect. Stick to the stronger ones.
Untapping Zimone and Dina
Untapping your commander gives you extra activations, so you should make sure to include a few ways to do that.
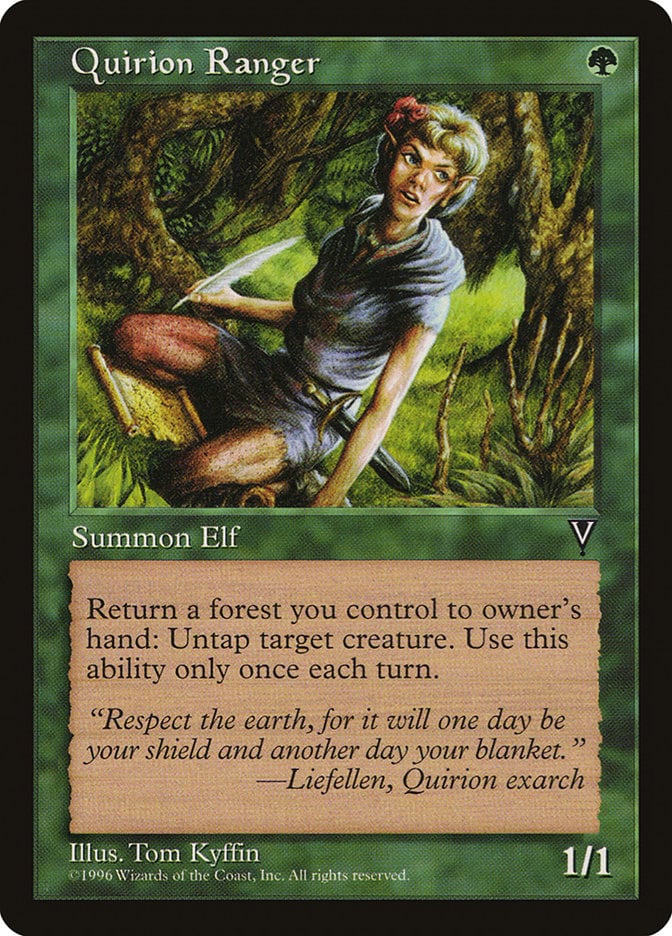
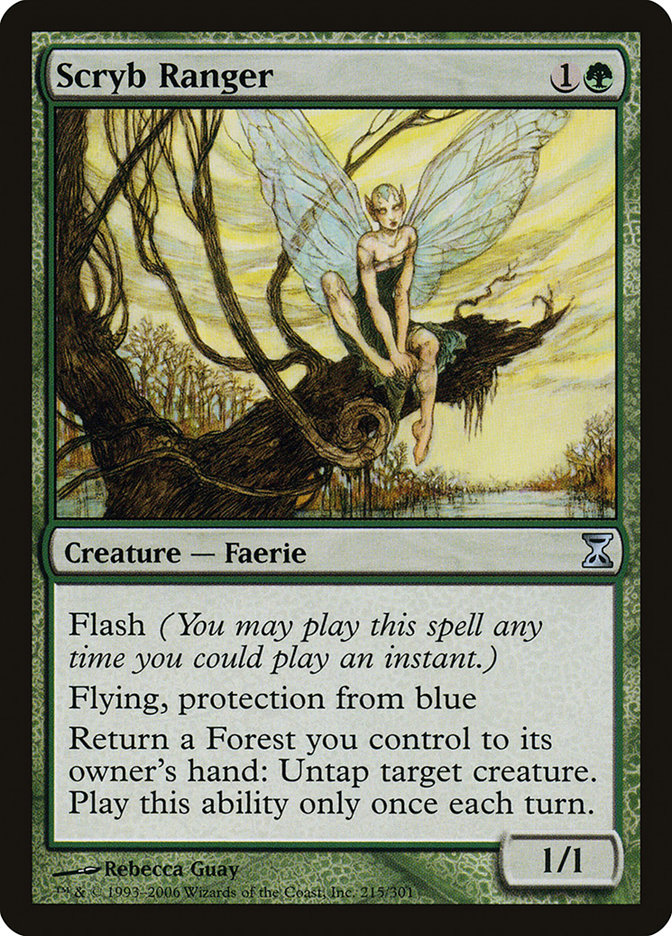
Quirion Ranger and Scryb Ranger are nice ways to do that, and returning a Forest to your hand is hardly a downside when the activation lets you put it back down. Better yet, if you have some kinds of repeatable untap effects, you can combine those with some of the above cards to create some infinite loops.
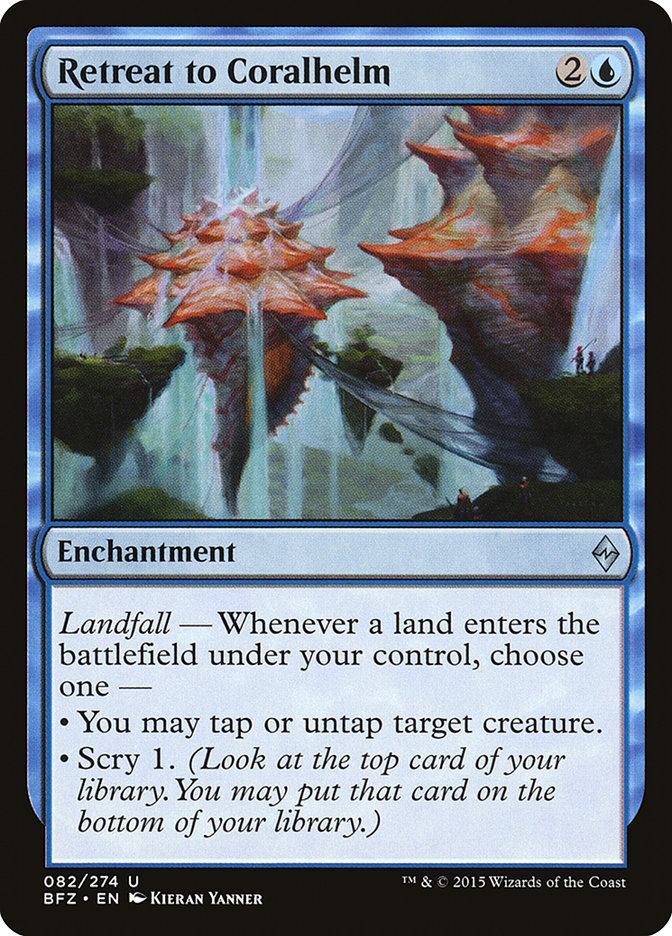
Retreat to Coralhelm is the best of these, letting you untap Zimone and Dina as a landfall trigger, something that should always happen when you activate it.
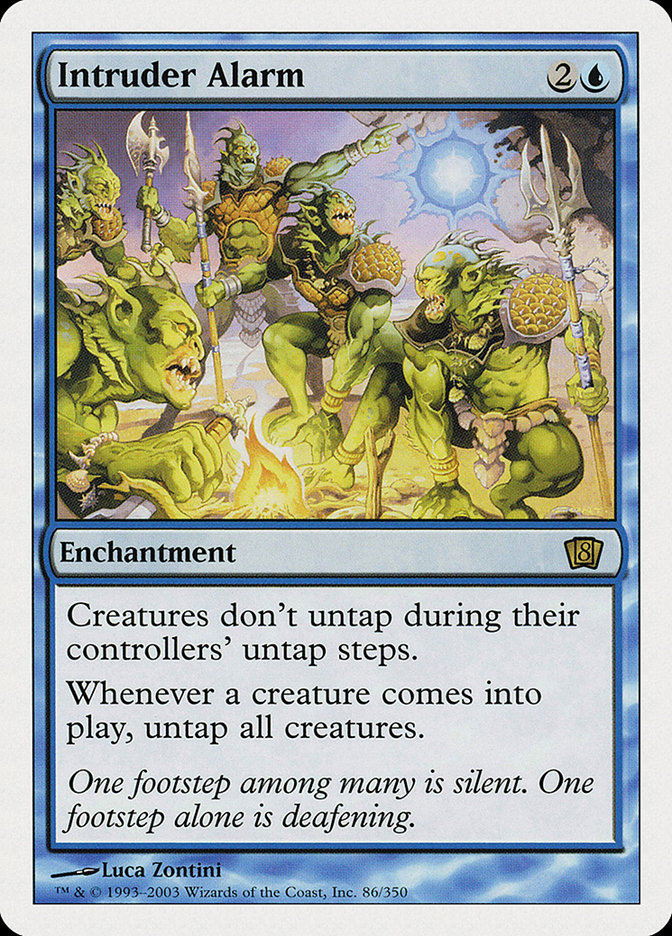
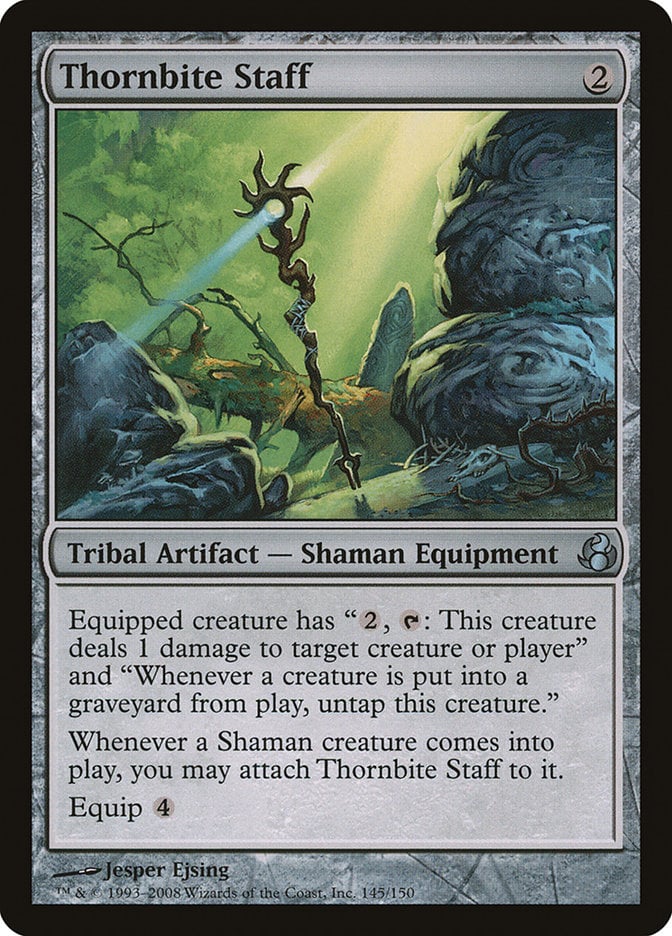
Intruder Alarm and Thornbite Staff give you other ways to keep untapping your token generators if you have one.
Win Conditions
You don’t need much to actually win the game once you get infinite mana and draw your entire deck (see below). But it would be nice to have a few ways of closing it out. While you could use something like Laboratory Maniac or Thassa's Oracle, I’m not really a fan of that kind of card. I’d rather my win conditions actually be functional outside of outright winning.
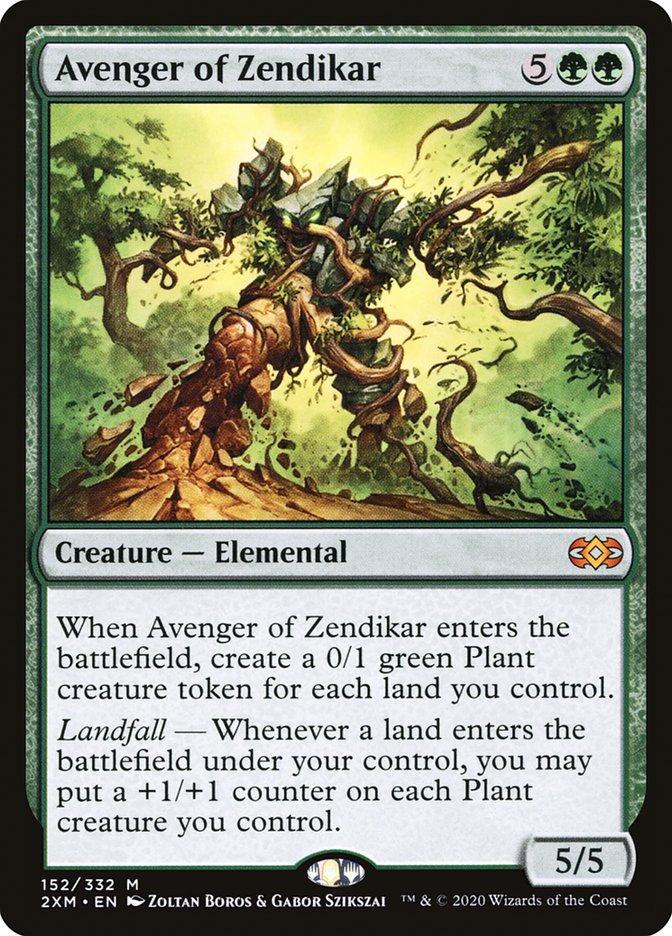
I’ve gone with a classic of Avenger of Zendikar and Craterhoof Behemoth, which should clear out a lot of games.
Some X spells should also do the trick since you have infinite mana, so you have Exsanguinate, Torment of Hailfire, and a personal favorite in Villainous Wealth. These cards all work when you cast them without having made an infinite loop, while also closing out a game if you’ve done it.
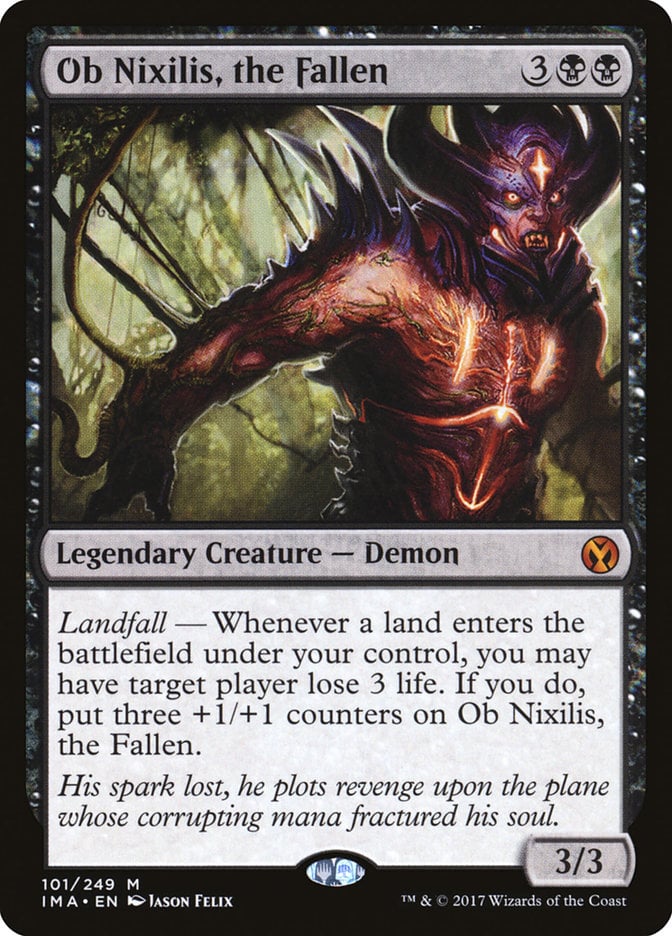
A final cool one is Ob Nixilis, the Fallen, which turns infinite landfall triggers into an instant win.
Interactive Spells
All Commander builds need some ways to interact with opposing decks.
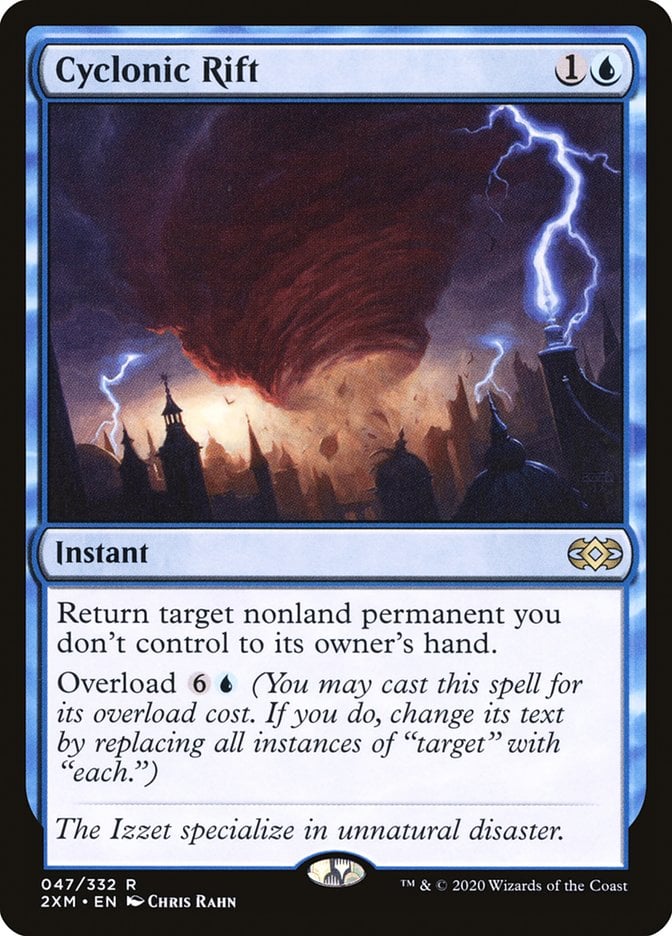
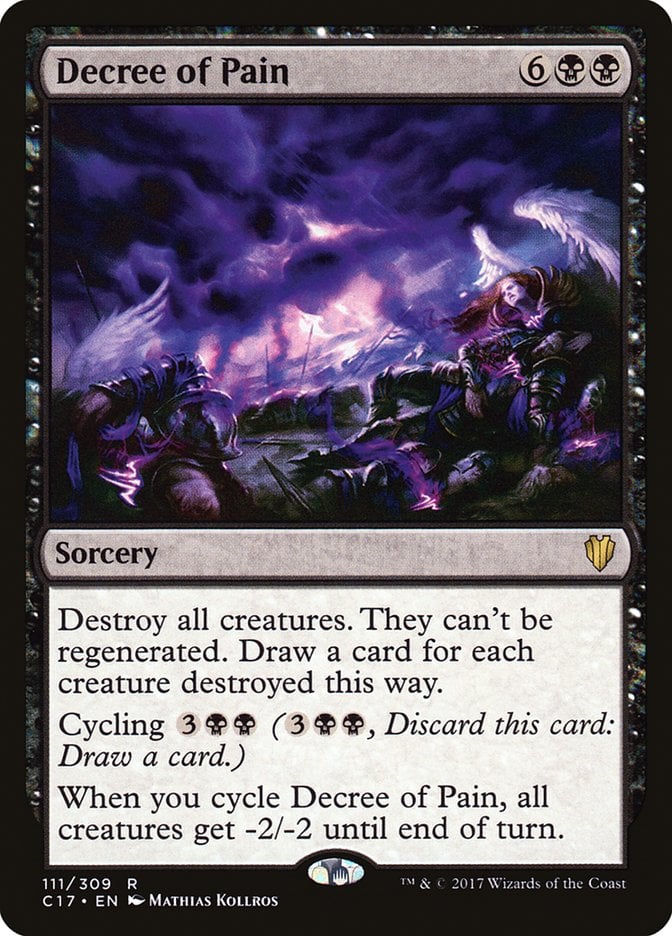
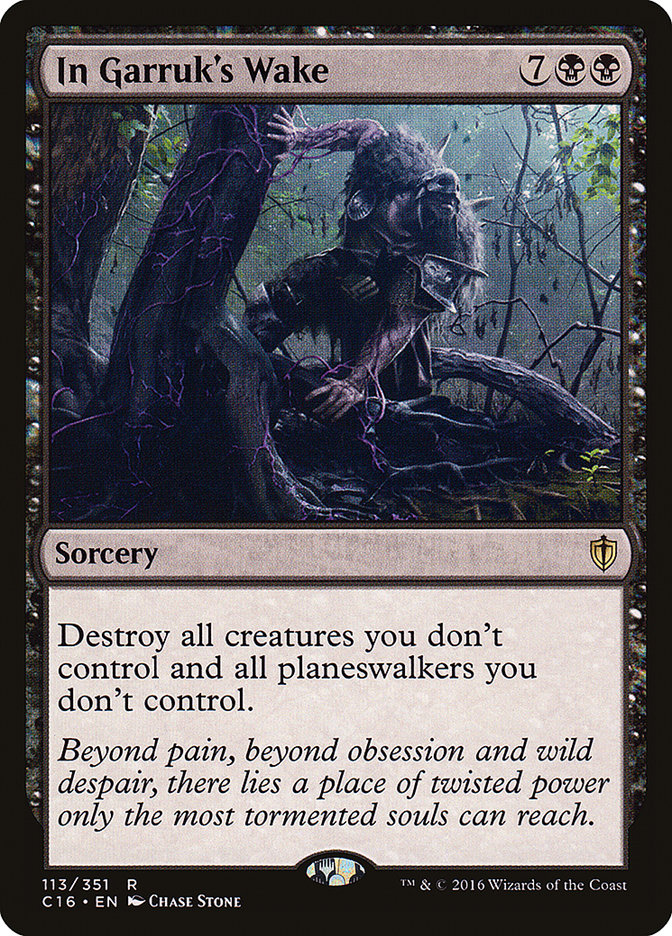
There are a couple sweepers in Cyclonic Rift, Decree of Pain, and In Garruk's Wake. You can afford to go for the bigger and splashier effects for this category since you have a bunch of mana acceleration.
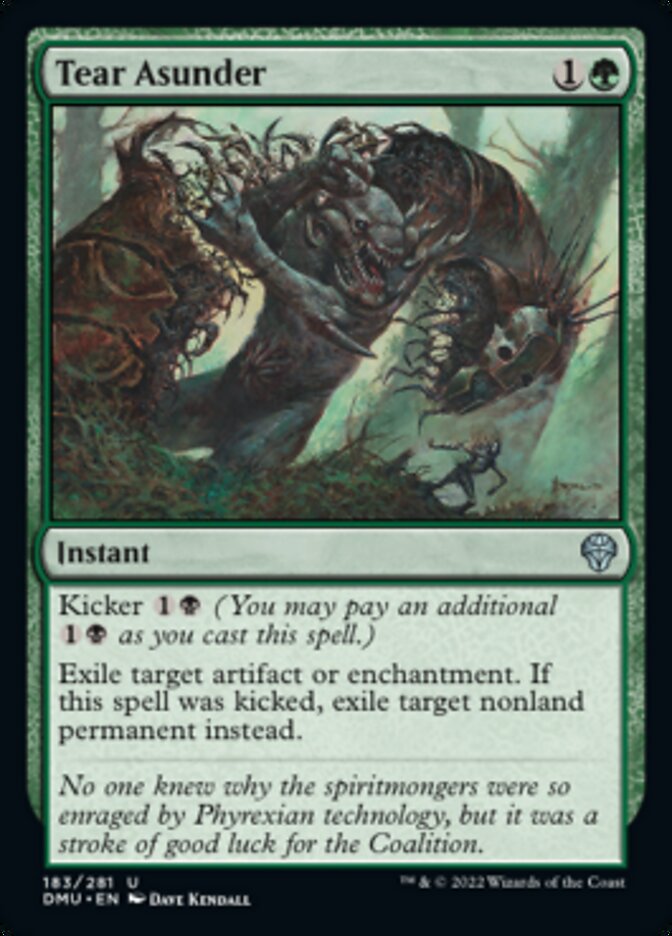

For some spot removal you have some flexible cards in Tear Asunder and Pest Infestation. You don’t want a lot of interaction, but at least you have some options.
The Mana Base
Triple color mana bases can be tricky in Commander, and you can often do little more than just play full sets of dual land cycles.
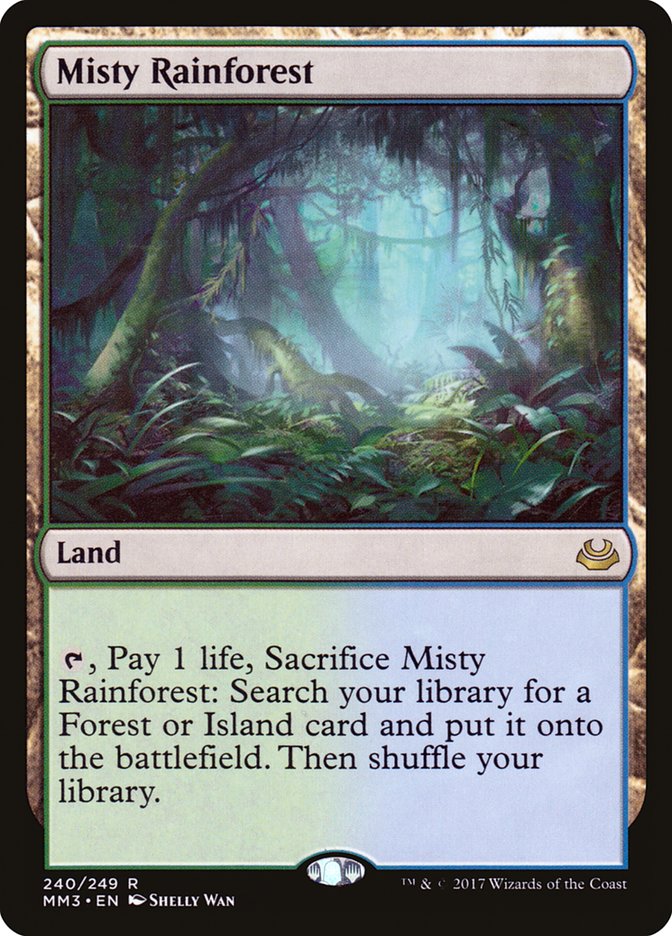
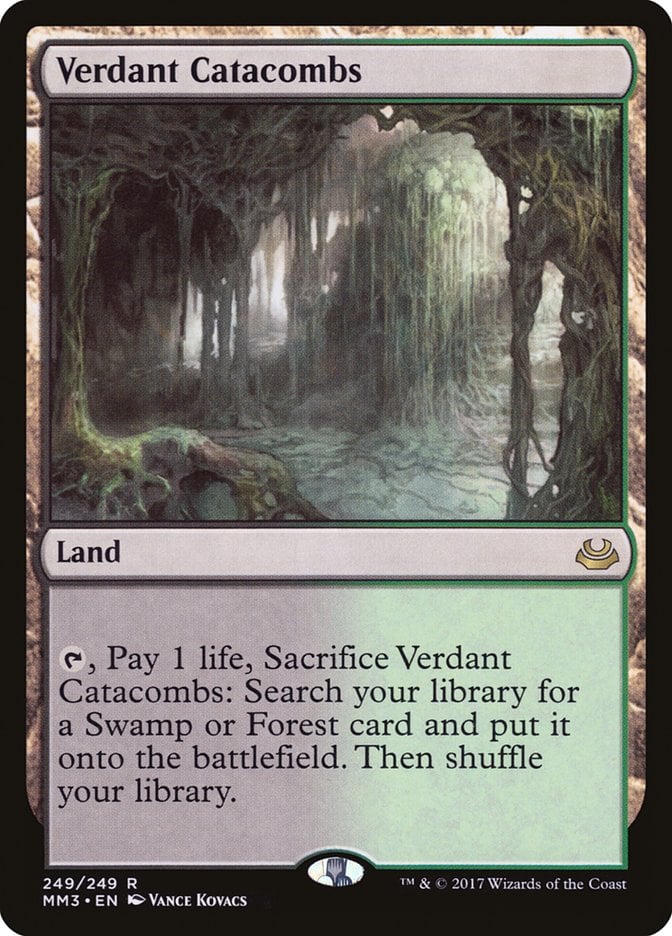
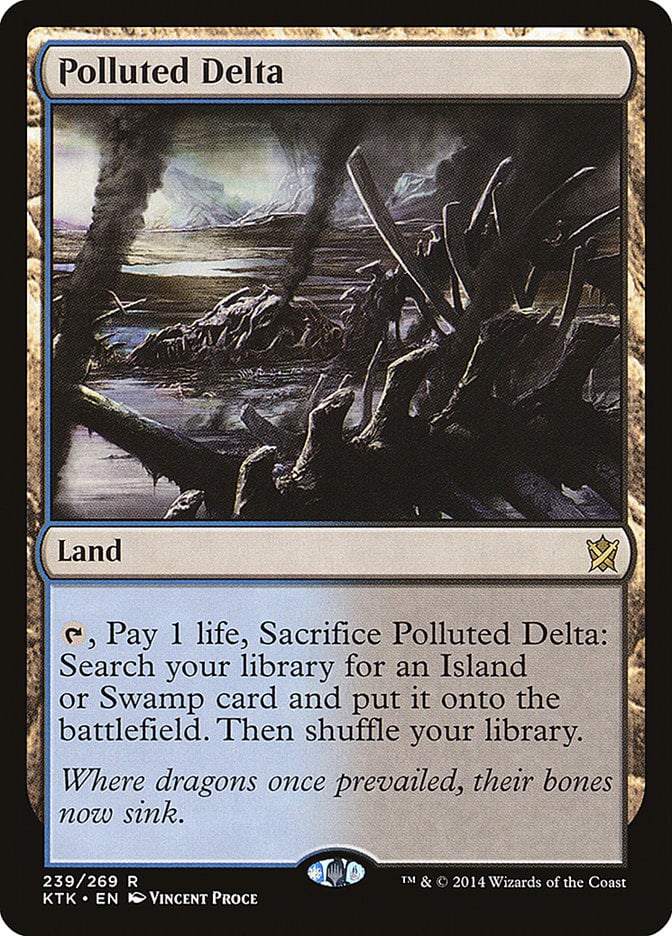
The fetch lands, Misty Rainforest, Verdant Catacombs, and Polluted Delta, are all fantastic here because they let you double up on your many landfall triggers.
The fetches are so good that I’ve also included Bad River, Evolving Wilds, Terramorphic Expanse, Fabled Passage, and Prismatic Vista, all of which serve the same function.
There are only five basic lands to fetch for, but at least the good fetches can grab your Zagoth Triome or one of the shock lands. You could use more of the fetch lands, basically any of them other than Arid Mesa, but it’s not necessary, so I like to stick to the ones that are entirely in your color identity.
You also have some cycles of dual lands, including the Battlebond lands and the Innistrad slow lands.
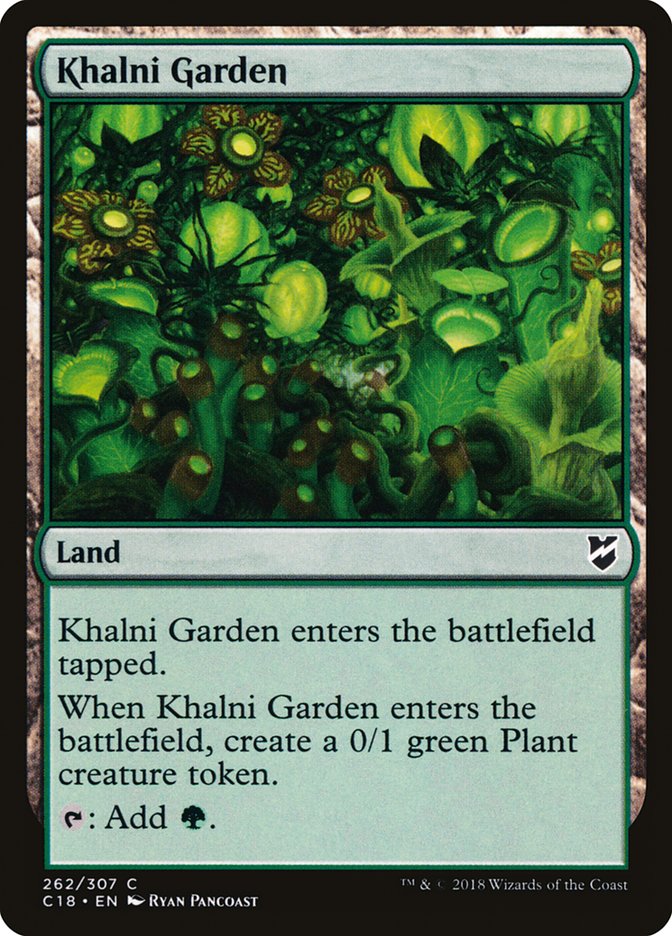
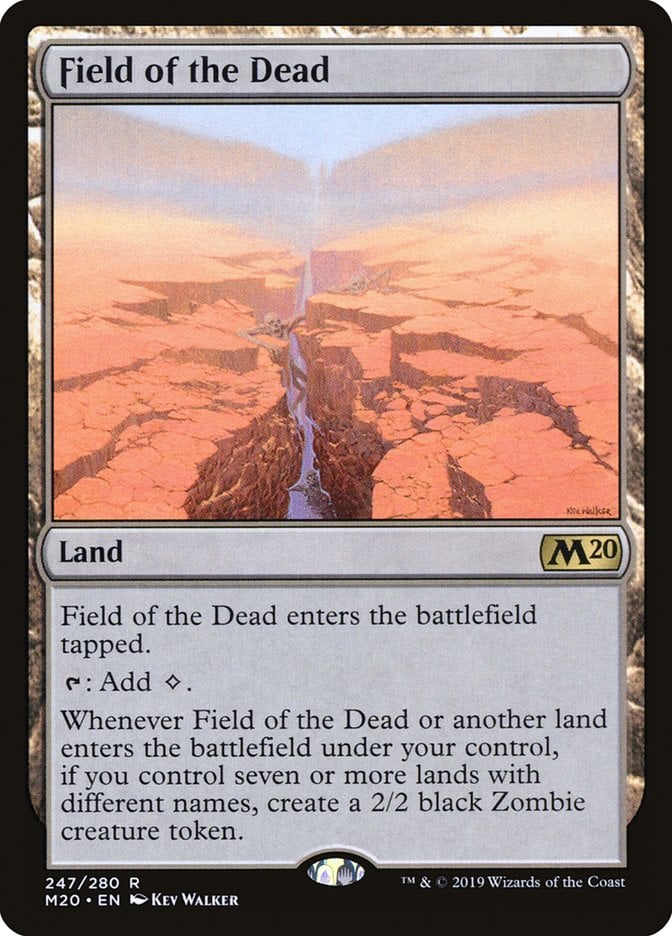
There are some extremely handy utility lands too, most notably Khalni Garden and Field of the Dead, which each make creature tokens for you as a landfall trigger. Field of the Dead is one of the most powerful lands ever printed, and it’s a big bonus here. You have an incentive not to run too many basic lands because of the way it works.
Thanks to the snow basics, you can still run up to two copies of each basic land and split them between the regular version and the snow version yet still have all uniquely named lands. If you decide to run this but need to play more basics, be sure to split them between regular and snow.
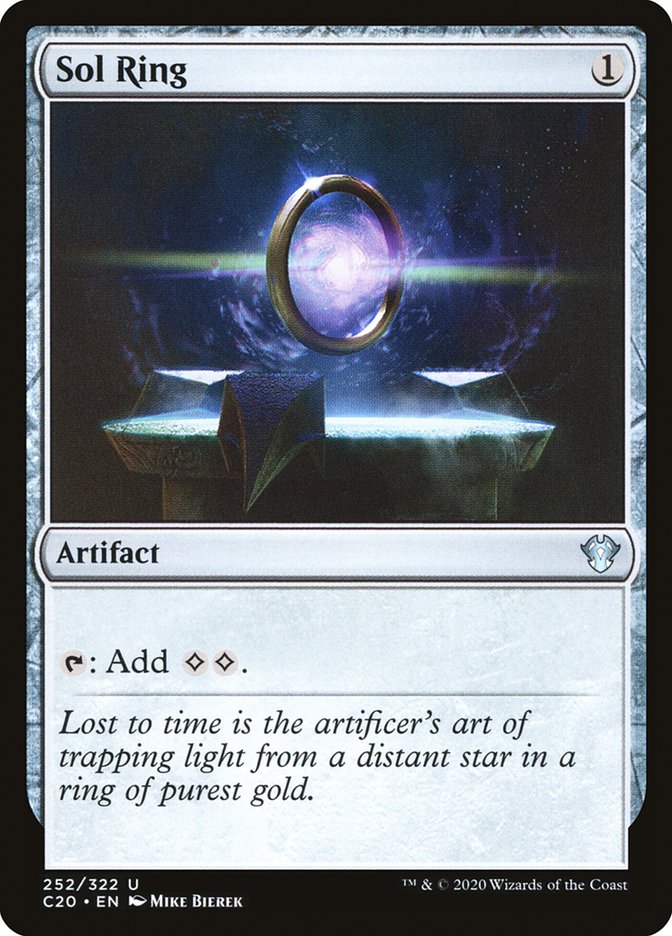

You also need a variety of mana acceleration. Of course the usual Sol Ring and Arcane Signet get the nod.
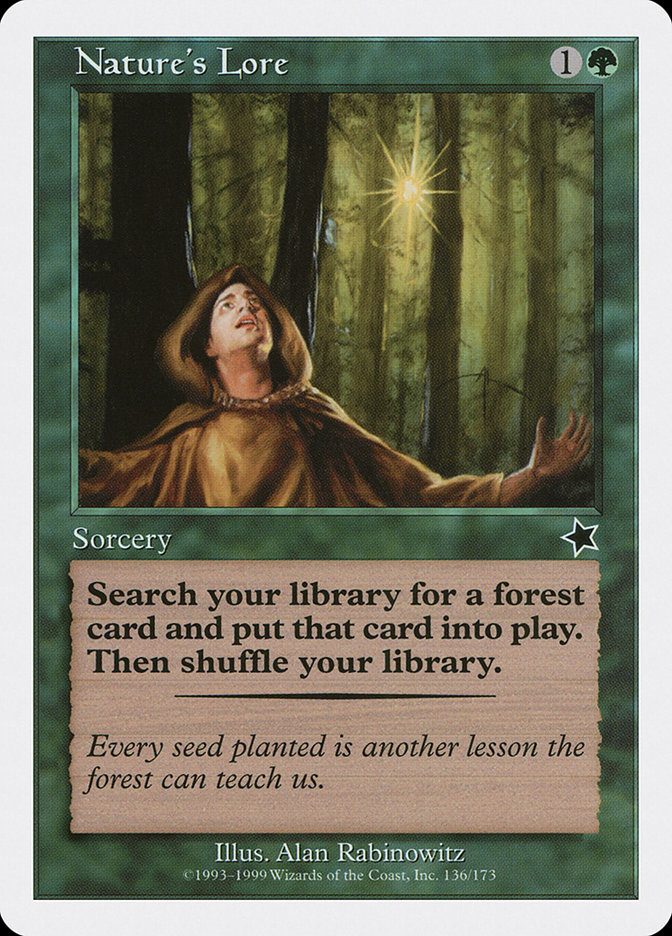
But it’s important that the deck runs cards like Nature's Lore and Cultivate instead of mana rocks or Signets because of landfall.
The same goes for your creatures, where Wood Elves and Solemn Simulacrum are perfect fits for the deck.
You also have three different landfall accelerators: Nissa, Resurgent Animist, Tireless Provisioner, and the original Lotus Cobra, each of which should help to make the deck really explosive.
The Strategy
This deck is built entirely in theory.
I imagine you start by setting up your board, accelerating your mana, and getting some cheap creatures out. You have a lot of big plays to make after that between the X spells, board sweepers, and big creatures. Each should play well to the board.
Your objective is to assemble part or all the infinite loops. Each piece has lots of redundancy, which should make them much easier to put together.
Combos and Interactions
You can go infinite if you combine cards from each of these categories.
For example, Zimone and Dina, Bloodghast, and Retreat to Coralhelm lets you activate Zimone and Dina, sacrificing Bloodghast to draw a card and put a land onto the battlefield. This triggers Retreat to Coralhelm to untap them and also triggers Bloodghast, returning it to the battlefield.
You can keep repeating this loop as long as you have lands to keep putting into play, so it’s not actually “infinite” yet. But you can fix that.

This color combination gives you access to four different “bounce” lands: Simic Growth Chamber, Golgari Rot Farm, Dimir Aqueduct, and Guildless Commons. Each of these can be put onto the battlefield in this loop and then return themselves with their own trigger, so you always have a land to repeat the loop. Now it’s infinite, at least for as long as you have cards in your deck.
But you aren’t going to be in danger of decking out any time soon. You’ll keep drawing cards and eventually draw every card in your deck if you assemble this loop. At this point there are two cards to help you continue the loop without issue.
Abundance allows to replace your draws with something that isn’t a draw. Even with an empty library you won’t actually lose since you won’t be drawing any more cards. You can also use it to make sure you draw all the lands from your deck if you draw it earlier in the loop.
Amulet of Vigor allows you to untap your bounce lands before returning them, which lets you tap them for mana each time you do the loop. This combination gives you infinite mana and draws your entire deck. You just need something to do with it once you have it.
Rule 0 Violations Check
The obvious thing to point out here is that you’re trying to assemble an infinite combo. That can be off-putting for many players, so it’s worth pointing this out to your group before playing.
Let’s also have a quick chat about what’s not in this deck. I’ve chosen to exclude several “staples” of the Commander format, including Mana Vault, Mana Crypt, Demonic Tutor, Vampiric Tutor, and more. These cards are normally perfect in the deck and likely to improve its consistency. You’re already playing a deck that’s trying to assemble an infinite combo, so making it too consistent isn’t something I personally like to do.
I’ve included a couple of tutor cards in the deck, but only ones that are limited to searching for creatures. If you’d like to build a similar deck and don’t mind this kind of power level, by all means throw some of these into the mix.
Budget Options
I’ve already made a few budget concessions when putting this deck together, because naturally the original dual lands and Gaea's Cradle would be huge upgrades.
That said, I notice several $20+ cards throughout the list. The good thing is that none of these are actually necessary to the deck. As long as you stick to the main combo pieces in the deck, much of the rest is pretty expendable.
Other Builds
There are presumably plenty of other ways you could build around this commander. After all, there are several landfall commanders, and maybe you don’t want to have another one.
You could build a version that focuses around the fact that Zimone and Dina is a sacrifice outlet. Focusing on those death triggers can be a way to go, with cards like Blood Artist, Zulaport Cutthroat, and Dictate of Erebos.
You can also build a “draw two cards” tribal deck, combining the various cards that care about drawing a second card each turn including Alandra, Sky Dreamer and Minn, Wily Illusionist. There aren’t many of those, but you can bolster them with several cards that simply care about you drawing a card, like Nadir Kraken and Chasm Skulker.
Commanding Conclusion
Bloodghast | Illustration by Daarken
That's all for this Zimone and Dina deck. I hope you enjoyed this theoretical build, and hopefully it offers you some fun and satisfying wins.
How would you build around this commander? Do you prefer its landfall angle, or is sac more your thing? Maybe you lean more towards “draw two cards” tribal? Let me know in the comments below, or join the discussion over in the Draftsim Discord.
Until next time, take care of yourselves!
Follow Draftsim for awesome articles and set updates:


Add Comment