Last updated on July 23, 2026

Storm-Kiln Artist | Illustration by Manuel Castañón
If you’re looking for the best mono-red combos in Magic: The Gathering, you’re in the right place. From infinite combat loops to explosive mana engines, mono-red has some of the most chaotic and game-ending combos in the game, and I’ve rounded up some of the wildest and most powerful ones.
Curious how far red’s firepower can take you? Let’s find out.
What Are Mono-Red Combos in MTG?
Dualcaster Mage | Illustration by Matt Stewart
Mono-red combos in Magic: The Gathering are two- or three-card interactions that let red decks win the game quickly or generate infinite value using only red cards and colorless support. These combos often focus on explosive mana generation, repeated combat steps, or burn-based finishes. For this list, I tried to go through combos that are different so you don't see 10 different versions of adding infinite mana, though some may still seem similar to one another.
#15. Devastating Onslaught + Mana Geyser + Zealous Lorecaster

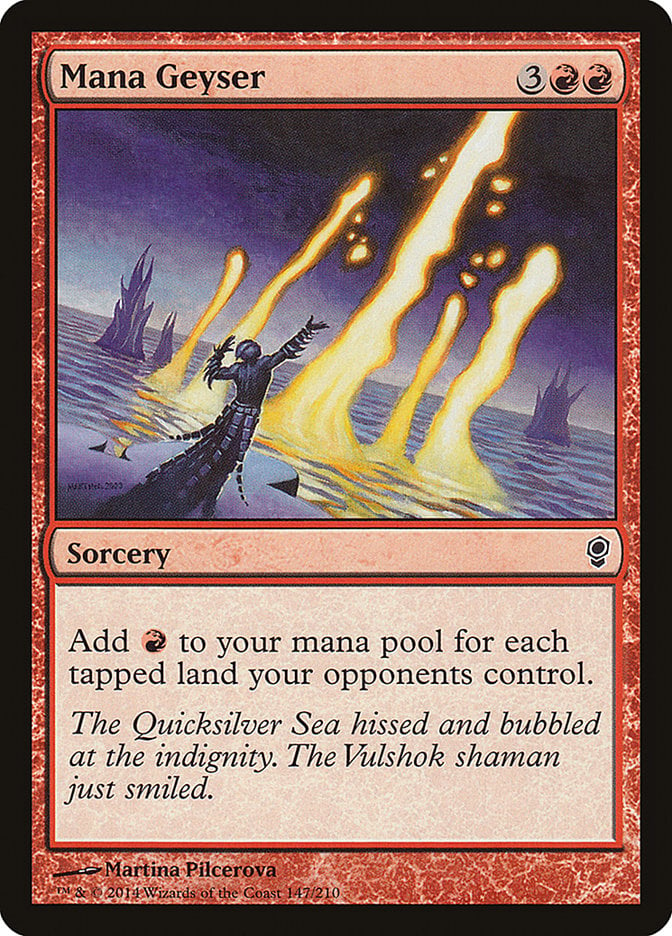

Cards: Devastating Onslaught + Mana Geyser + Zealous Lorecaster
Prerequisites: You must control Zealous Lorecaster, have , Devastating Onslaught and Mana Geyser in hand while your opponents have at least 10 tapped lands.
Result: Infinite ETBs, creature tokens with haste, red mana, sacrifice triggers, magecraft triggers.
Variations: Plenty of cards can stand in for the Lorecaster like Ardent Elementalist, Revolutionist, or Pinnacle Monk, and even more outside of red's identity.
Start by casting Mana Geyser, pay to cast Devastating Onslaught and make two token copies of Zealous Lorecaster. When those tokens enter, use their trigger to return the Geyser and Onslaught back to your hand and go back to “Start” with the remaining five red mana.
#14. Goblin Sharpshooter + Basilisk Collar
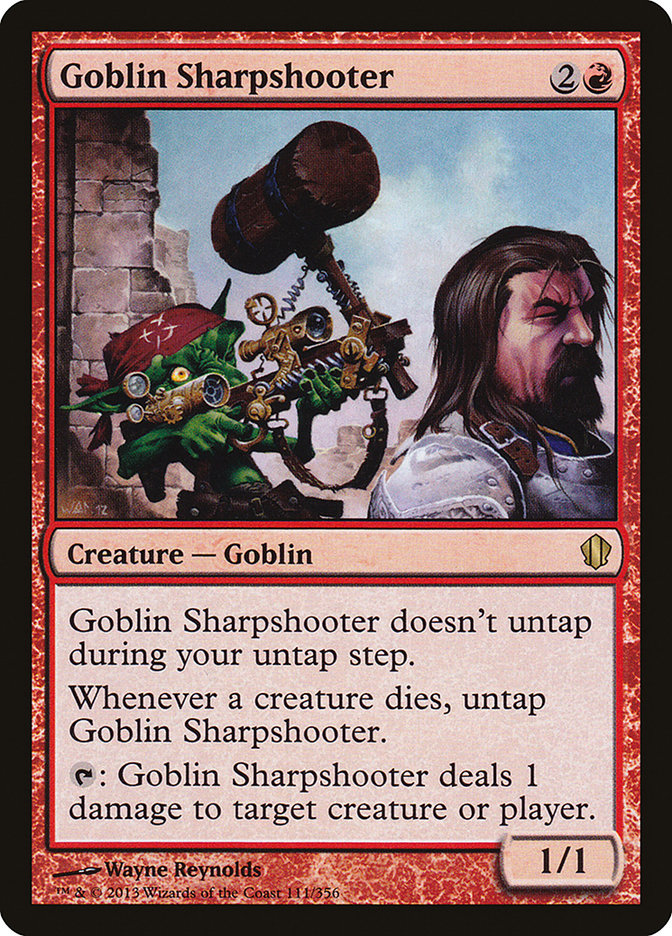
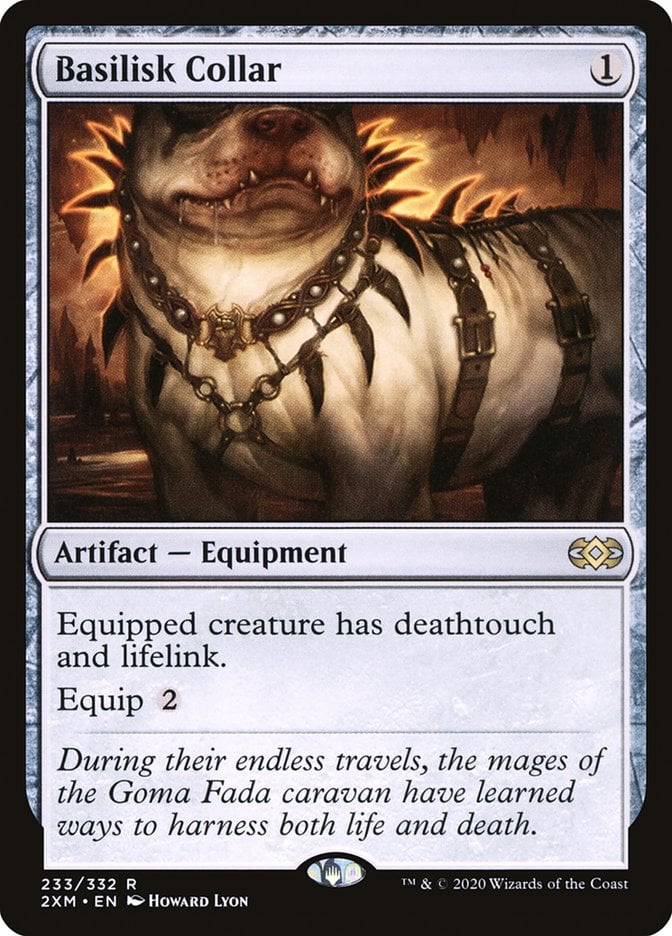
Cards: Goblin Sharpshooter, Basilisk Collar
Prerequisites: Goblin Sharpshooter must be on the battlefield and equipped with Basilisk Collar. Sharpshooter needs to be untapped and can’t have summoning sickness. There also needs to be at least one creature on the battlefield that can be killed.
Result: Sharpshooter becomes a one-goblin army, capable of wiping out every creature on the battlefield one by one. With deathtouch, 1 damage is enough to kill anything that isn’t indestructible. Each time something dies, Sharpshooter untaps, ready to shoot again. Once all creatures are gone, it creates a soft lock: Any new creature that enters the battlefield can be shot on sight. As a bonus, you gain 1 life per kill, which adds up fast.
Variations: Any equipment that gives deathtouch will do—Gorgon's Head, Quietus Spike, etc. Spikeshot Elder also works with deathtouch gear, though it costs mana to activate. Sharpshooter is unique because it untaps every time a creature dies, enabling the chain reaction.
Execution: Equip Basilisk Collar to Goblin Sharpshooter, giving it deathtouch and lifelink. Tap Sharpshooter to deal 1 damage to any creature—because of deathtouch, that creature dies. When it does, Sharpshooter untaps. Continue until there are no opposing creatures left on the battlefield. You’ll have cleared the board and gained a pile of life. It’s not an auto-win combo, but it is a soft lock against any creature-based deck and often leads to a win within a turn or two.
#13. Mycosynth Lattice + Vandalblast
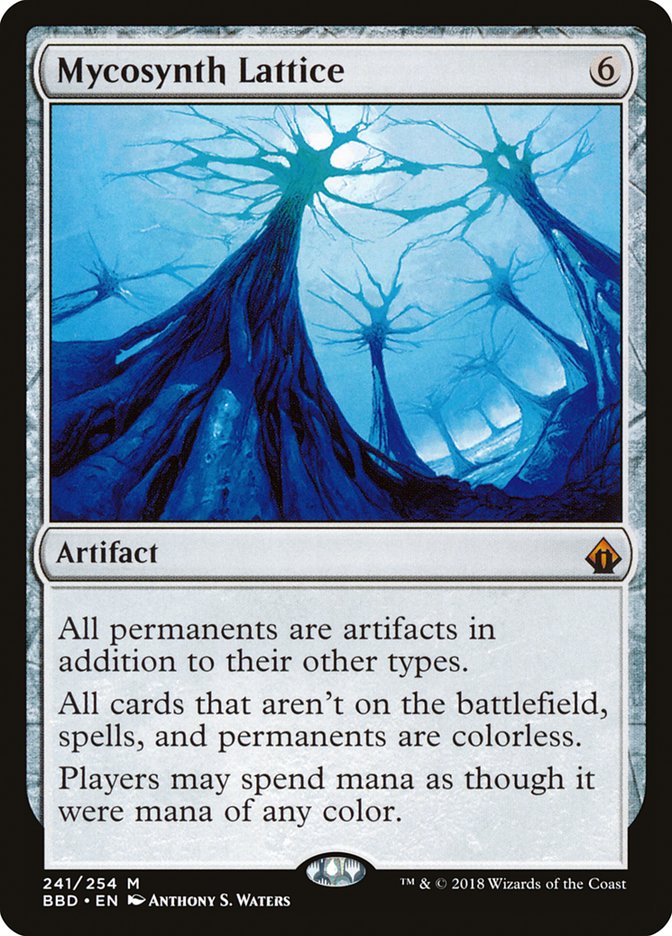
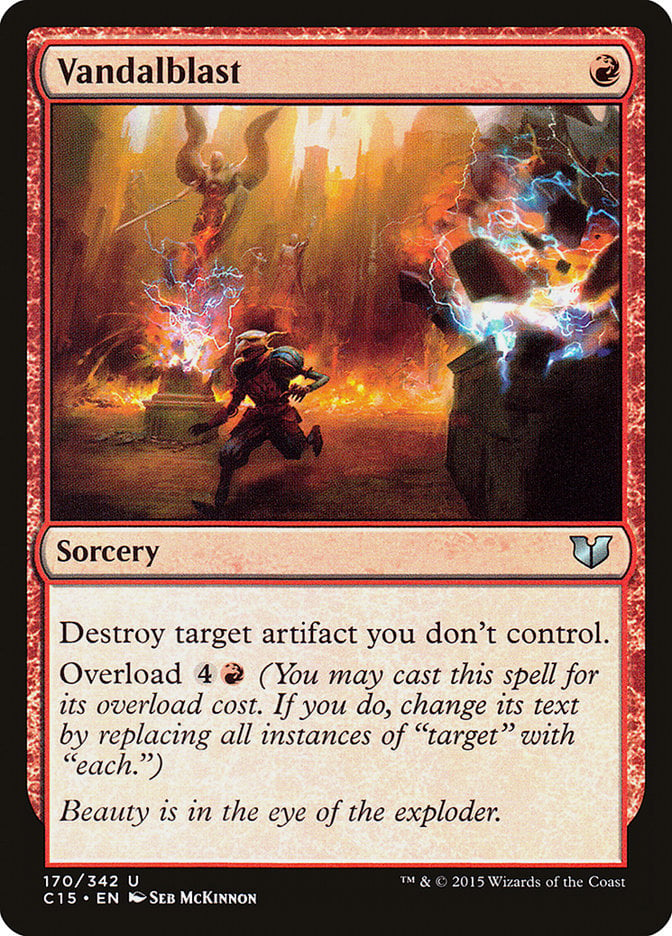
Cards: Mycosynth Lattice, Vandalblast
Prerequisites: You need Mycosynth Lattice on the battlefield and Vandalblast in hand. You must have at least 5 mana available to cast Vandalblast using its overload cost.
Result: All of your opponents' permanents are destroyed. Since Lattice makes everything an artifact, and Vandalblast destroys all artifacts you don’t control when overloaded, this becomes a one-sided board wipe.
Variations: Liquimetal Coating or Liquimetal Torque can help you turn specific targets into artifacts if you don’t have Lattice. If you want to lock players out completely, pair Lattice with Karn, the Great Creator. Another spicy follow-up is Hellkite Tyrant—if everything’s an artifact, it steals entire boards in one swing.
Execution: Resolve Mycosynth Lattice to turn every permanent into an artifact. Then overload Vandalblast by paying . It destroys every artifact you don’t control, which now includes lands, creatures, enchantments—everything your opponents have. You’re left untouched while they’re left with nothing. It’s not infinite, but it’s often game-ending.
#12. Fall of Cair Andros + Blasphemous Act

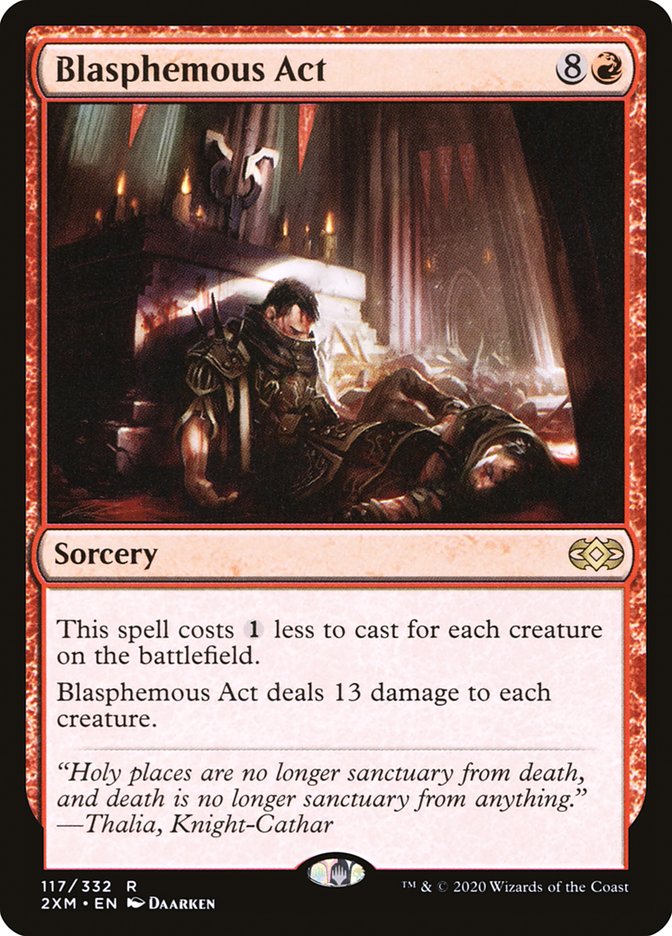
Cards: Fall of Cair Andros, Blasphemous Act
Prerequisites: Have Fall of Cair Andros on the battlefield and Blasphemous Act in hand. Opponents need creatures with toughness less than 13.
Result: You amass a huge Orc Army token stacked with +1/+1 counters—one for each point of excess damage dealt to dying creatures.
Variations: None.
Execution: Cast Blasphemous Act while Fall of Cair Andros is out. Everything takes 13 damage. Creatures that die from it feed Fall of Cair Andros, building one massive token with all the leftover damage as counters. You’ll likely end up with a clear board and a giant beater ready to finish things.
#11. Blasphemous Act + Repercussion

Cards: Blasphemous Act, Repercussion
Prerequisites: You need Repercussion on the battlefield and Blasphemous Act in hand. Your opponents ideally control multiple creatures.
Result: Blasphemous Act deals 13 damage to every creature, and Repercussion turns that into 13 damage per creature to their controllers. With enough targets, this combo easily wipes out all opponents in one blast (be careful: It hits you too).
Variations: No real variations, but you can get similar results with the likes of Star of Extinction and Brash Taunter for a similar outcome.
Execution: Timing matters! Cast Blasphemous Act while Repercussion is already in play. Each creature takes 13 damage, and that damage reflects back at the controller. Your own creatures will reflect damage back at you too, so stack your triggers smartly.
#10. Dualcaster Mage + Twinflame
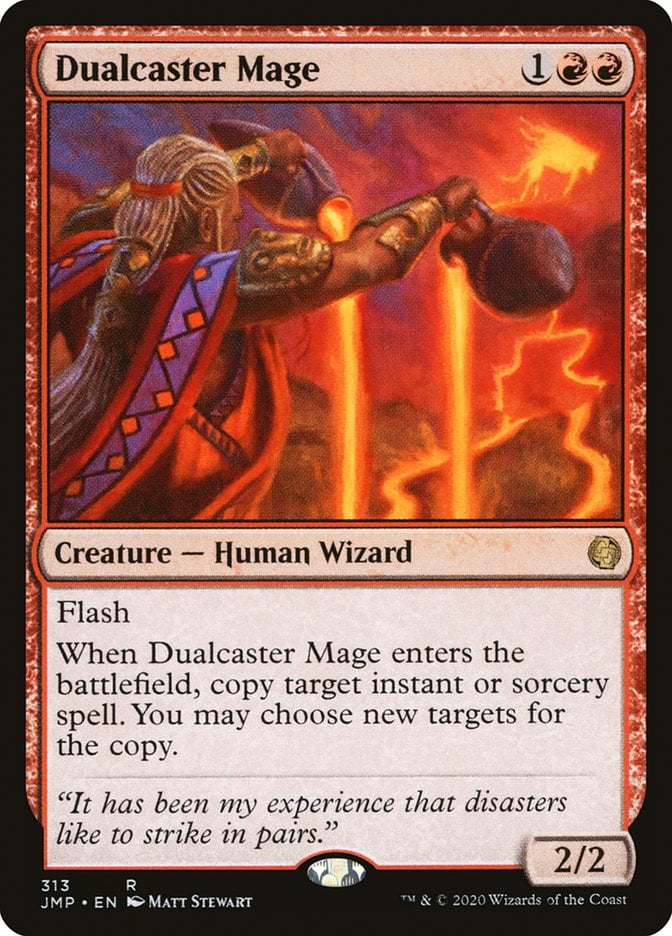
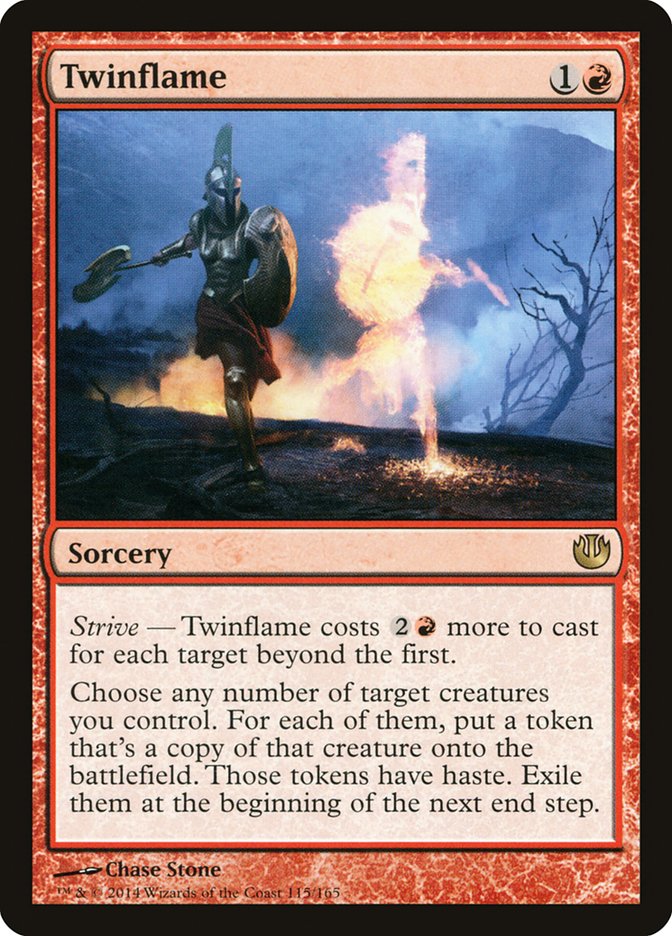
Cards: Dualcaster Mage, Twinflame
Prerequisites: You need Dualcaster Mage ready to be flashed in, and Twinflame in hand. You also need at least one other creature to target and enough mana to cast both spells.
Result: This makes infinite hasty Dualcaster Mage tokens. That means you also generate infinite ETBs, leaves the battlefield triggers, and spellcast/magecraft triggers. If you have payoff cards like Impact Tremors or Warstorm Surge, it’s lights out for everyone else.
Variations: You can easily sub in Heat Shimmer or Molten Duplication instead of Twinflame. If you want to turn those tokens into direct damage, add Purphoros, God of the Forge or something similar. Any card that benefits from creatures entering, dying, or spells being copies goes infinite too.
Execution: Cast Twinflame, targeting any creature. In response, flash in Dualcaster Mage. It copies Twinflame, which targets the Mage itself and makes a token. That new token enters, copying Twinflame again. You keep the loop going until you’re ready to stop and unleash the hasty horde or milk the triggers for value.
#9. Underworld Breach + Lion’s Eye Diamond + Wheel of Fortune
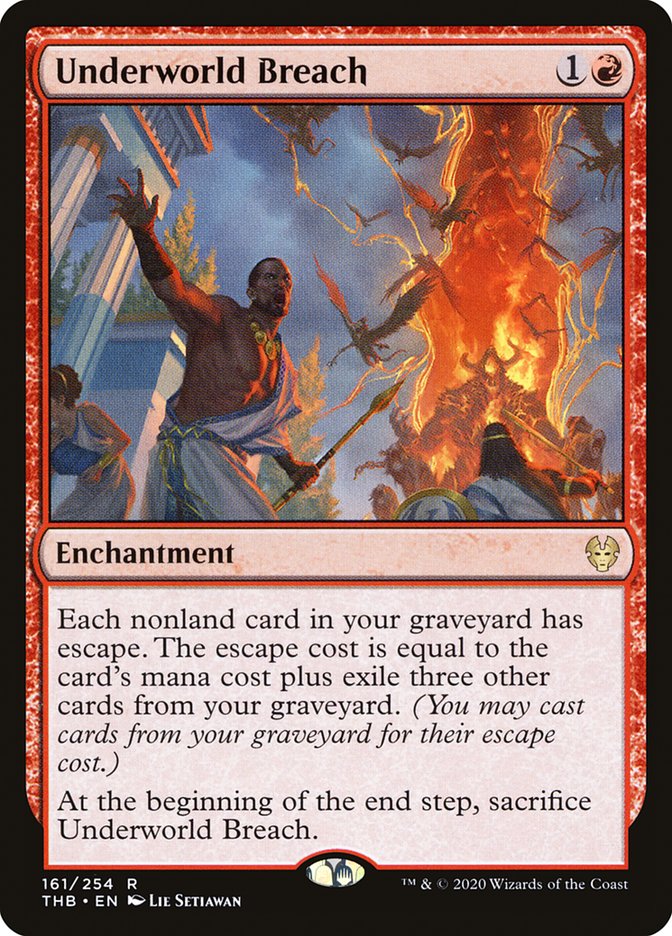
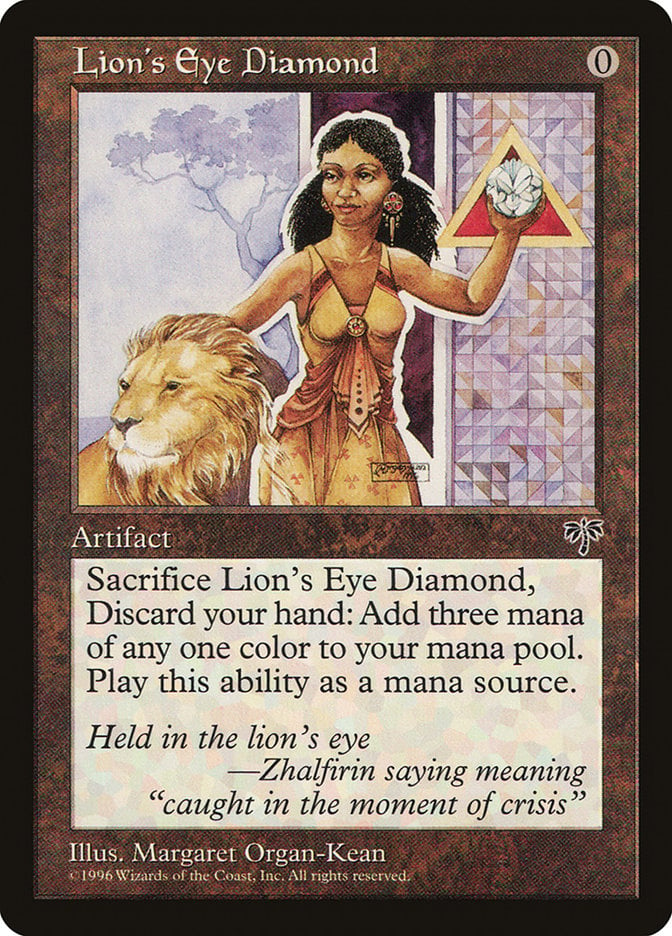
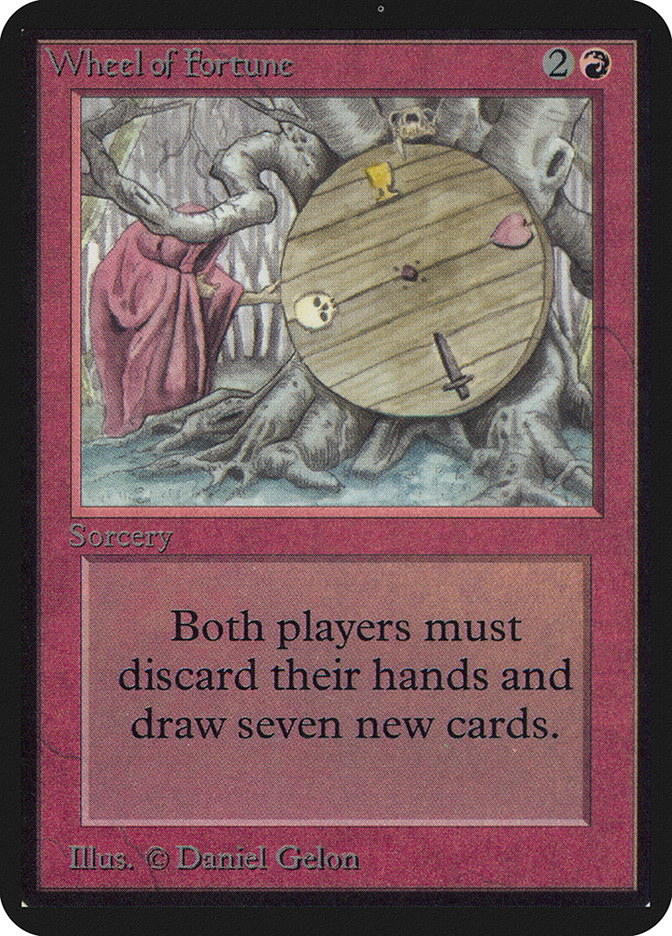
Cards: Underworld Breach, Lion's Eye Diamond, Wheel of Fortune
Prerequisites: Have Underworld Breach on the battlefield, Wheel of Fortune in your graveyard, and Lion's Eye Diamond in hand or in play. You also need at least six other cards in the graveyard to fuel the escape costs.
Result: This loops Wheel of Fortune endlessly, forcing every player to keep discarding and drawing seven. That draws your whole deck, fills your graveyard, and racks up a large storm count. Your opponents eventually deck out or fall to your finisher.
Variations: Jeska's Will can stand in for LED, generating red mana while exiling Wheel of Fortune for repeat casts. If Wheel isn’t available, Reforge the Soul does the job too. And for finishers, Grapeshot or Aetherflux Reservoir seal the deal once you've drawn your deck and built up storm.
Execution: With Underworld Breach out, crack Lion's Eye Diamond for red mana by discarding your hand. Then escape Wheel of Fortune, exiling three other cards. Everyone discards and draws seven—your graveyard refills, and your hand gets reloaded. Recast LED or another ritual and repeat the loop. You eventually win with storm spells, decking, or just overwhelming value, depending on which other colors you throw into the mix.
#8. Jeska’s Will + Reiterate
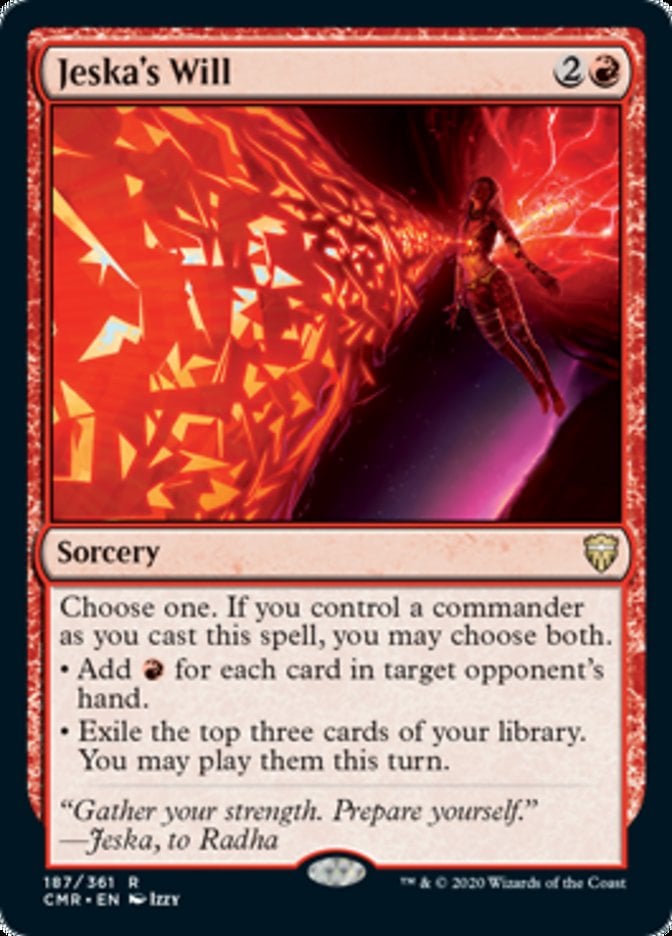
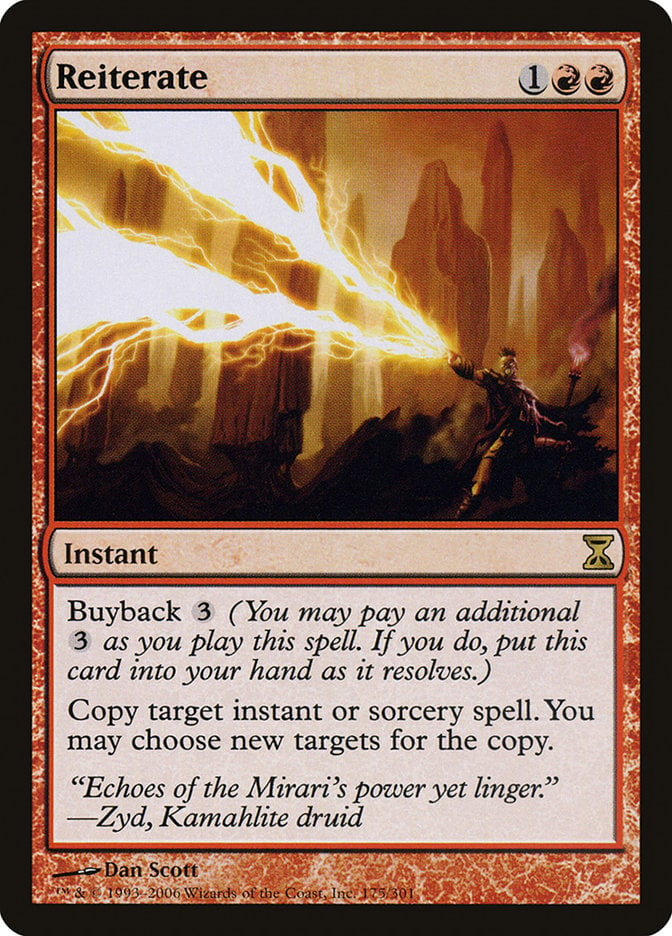
Cards: Jeska's Will, Reiterate
Prerequisites: You need Jeska's Will and Reiterate in hand, and your opponent must have seven or more cards so that Will generates seven mana. You need 9 mana total to start the loop: 3 for Jeska's Will and 6 for Reiterate with buyback.
Result: You make infinite red mana, pile up a huge storm count, and trigger magecraft abilities forever. From there, it’s easy to win by casting a huge Comet Storm or triggering something like Guttersnipe a million times.
Variations: You can pull off the loop with Mana Geyser instead of Jeska’s Will if your opponents have enough tapped lands. Seething Song can also go infinite with help from cards like Birgi, God of Storytelling or Storm-Kiln Artist to rebate mana. To actually win, just plug in a storm card like Grapeshot or Fall of the Titans.
Execution: Cast Jeska's Will, choosing the mana mode and targeting an opponent with seven or more cards. In response, cast Reiterate with buyback, targeting the Will. Let Reiterate resolve, copying Jeska’s Will and returning Reiterate to your hand. The copy adds at least seven red mana, more than enough to recast Reiterate with buyback and target the original Will again. Every loop nets , and you can repeat forever. Once you have infinite red, let the original Will resolve (if you haven’t already) and win however you like.
#7. Solphim, Mayhem Dominus + Heartless Hidetsugu
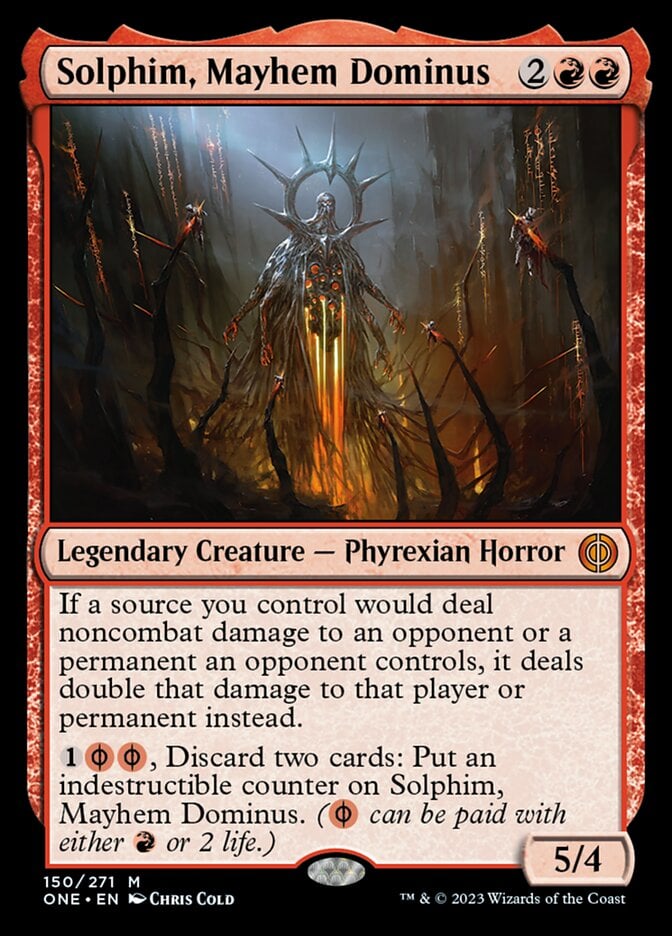
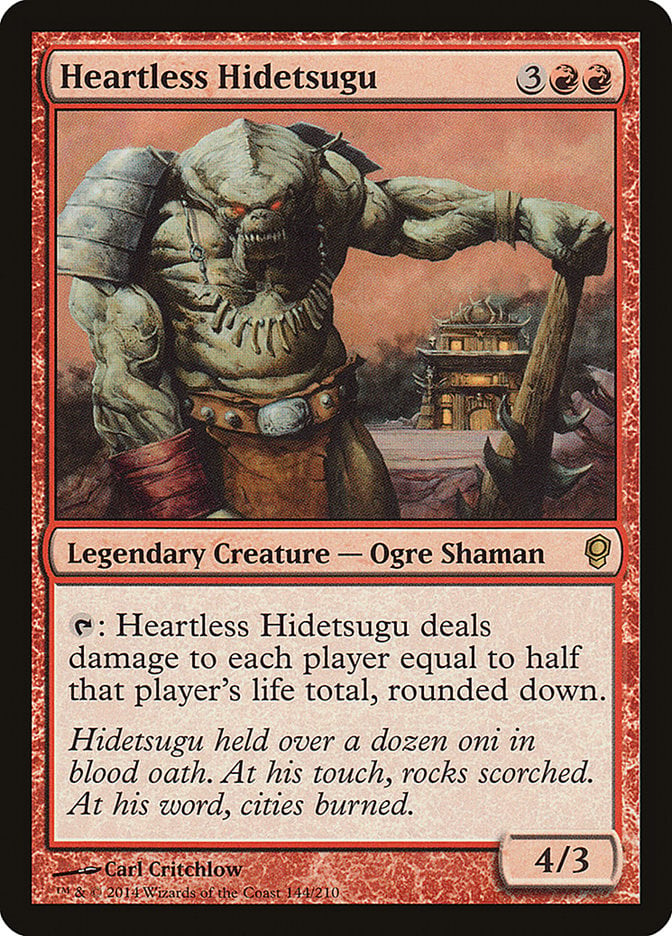
Cards: Solphim, Mayhem Dominus, Heartless Hidetsugu
Prerequisites: You need both creatures on the battlefield, and Heartless Hidetsugu must be untapped, without summoning sickness. Each opponent should ideally have an even life total.
Result: The moment you tap Hidetsugu, each opponent with an even life total immediately dies. That’s because its ability deals half their life total as damage, and Solphim doubles it, making it lethal. You take damage too, but it’s not doubled.
Variations: You can swap in Angrath's Marauders or Fiendish Duo if you don’t have Solphim—they also double damage to opponents. Just be cautious with global doublers like Furnace of Rath or Dictate of the Twin Gods, since those double damage to yourself. Want to go over the top? Slap a Basilisk Collar on Hidetsugu—now you gain all the life you just stripped from the table.
Execution: With Solphim out, tap Hidetsugu. This normall deals half each player’s life total as damage (rounded down), but Solphim doubles the damage to opponents only. So an opponent at 40 takes 40 and drops to 0. Someone at 41 takes 40 and lives at 1—but they won’t last long. You’ll also take half your life in damage, but that’s manageable if you’ve planned for it. This combo is a straight-up table wipe, and if anyone survives, they’re likely one poke away from being finished off.
#6. Storm-Kiln Artist + Haze of Rage
Cards: Storm-Kiln Artist, Haze of Rage
Prerequisites: You need Storm-Kiln Artist on the battlefield and Haze of Rage in hand. You need at least 4 mana to start the loop (Haze costs 2, plus 2 for buyback). You also must have cast at least three spells before casting HoR.
Result: You generate infinite Treasures, infinite storm count, and creatures you control get bigger and bigger each time you loop Haze. Storm-Kiln’s magecraft makes a Treasure for each cast or copy, which gives you the mana to cast Haze again with buyback—and it just keeps scaling.
Variations: Birgi, God of Storytelling is another option for rebating mana, though they can’t solo the loop like Storm-Kiln can. Other red spells with buyback are rare, but Bonus Round can escalate a storm turn with the right pieces.
Execution: Cast Haze of Rage with buyback, triggering Storm-Kiln to make a Treasure. If this is the first spell, nothing copies yet—but when you cast it again, storm makes a copy. Each copy also triggers magecraft, so now you get two Treasures. Keep recasting with buyback, and each time you’re building a bigger storm count and more Treasures. Eventually, you have infinite mana and an outrageously pumped board.
#5. Underworld Breach + Grinding Station + Mox Opal

Cards: Underworld Breach, Grinding Station, Mox Opal
Prerequisites: You need Breach and Station on the field, and Mox Opal either in hand or graveyard. You need at least three artifacts in play to enable metalcraft for Opal, and at least three cards in the grave to fuel your first escape. You also need an artifact or creature to sacrifice to Grinding Station on the first go-around.
Result: You mill your entire deck, generate infinite red mana (or other colors depending on your legendaries), and get an enormous storm count. With everything in your graveyard and unlimited mana, you can escape-cast whatever wincon you want.
Variations: Mox Amber can substitute for Opal if your commander is a legendary creature. It doesn’t need metalcraft but does require a legendary in play. This combo is commonly seen in cEDH, sometimes with Lion's Eye Diamond and Brain Freeze for the kill. For mono-red, pair this with Grapeshot.
Execution: With Breach and Station out, cast Mox Opal. Tap it for red, then sacrifice it to Station to mill yourself three cards. Opal goes to the graveyard, and you now have three more cards to exile. Use Breach to escape Opal, triggering Station to untap. Repeat: Tap Opal, sac it to Station, mill three, escape it again. This loop mills your deck and generates a mana for every three cards milled. Once the graveyard has your wincon, cast it and finish the game.
#4. Sword of Feast and Famine + Aggravated Assault
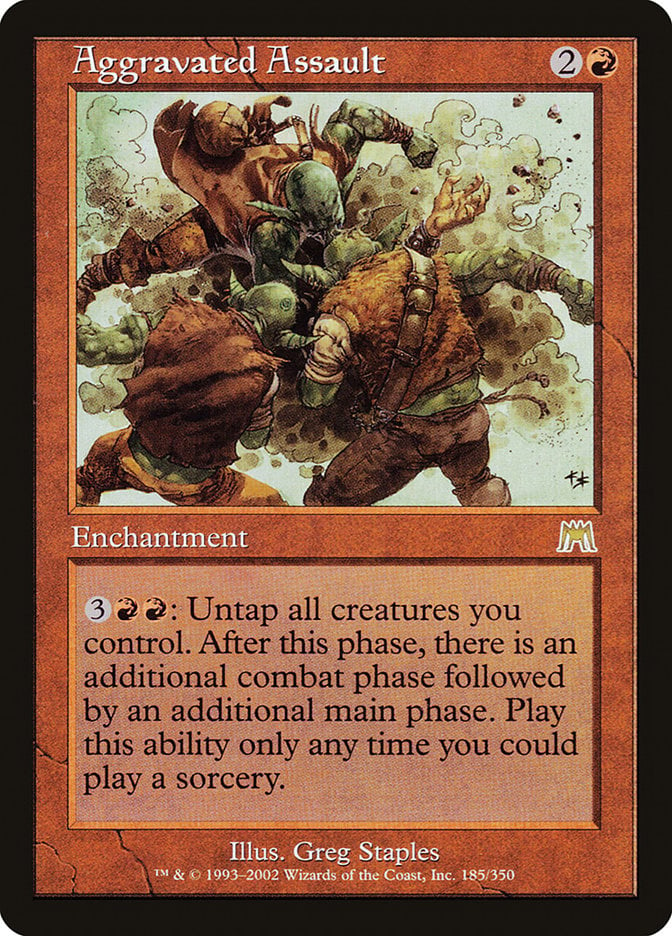
Cards: Sword of Feast and Famine, Aggravated Assault
Prerequisites: You need Aggravated Assault on the battlefield and a creature equipped with Sword of Feast and Famine. You must be able to successfully connect in combat, so ideally, your creature has evasion or an opponent has no blockers. To sustain the loop, you need enough lands to produce 5 mana after they untap from Sword’s trigger.
Result: You get infinite combat steps, infinite land untaps, and your opponents discard a card during every iteration. Eventually, they’ll run out of hands and blockers while you build up lethal damage over and over.
Variations: A close relative to this combo is The Reaver Cleaver + Aggravated Assault, which uses Treasure tokens instead of lands. Other options like Hellkite Charger and Neheb, the Eternal can enable infinite combats too, especially when paired with Sword. But in mono-red, the Sword is one of the few colorless tools for untapping lands. Adding equipment like Whispersilk Cloak or using Sword’s protection can ensure your creature connects each turn.
Execution: Equip your creature with Sword of Feast and Famine, and attack a player that can’t block it. When the Sword hits, it makes that player discard a card and untaps all your lands. After combat, activate Aggravated Assault by tapping those lands to pay 5 mana. This gives you an additional combat and main phase. Each time, your lands reset and you get another round. If no one can Fog or interrupt you, this loop keeps going until your opponents are out of cards and life. It’s a clean, elegant 2-card win combo as long as your creature connects.
#3. Kiki-Jiki, Mirror Breaker + Zealous Conscripts
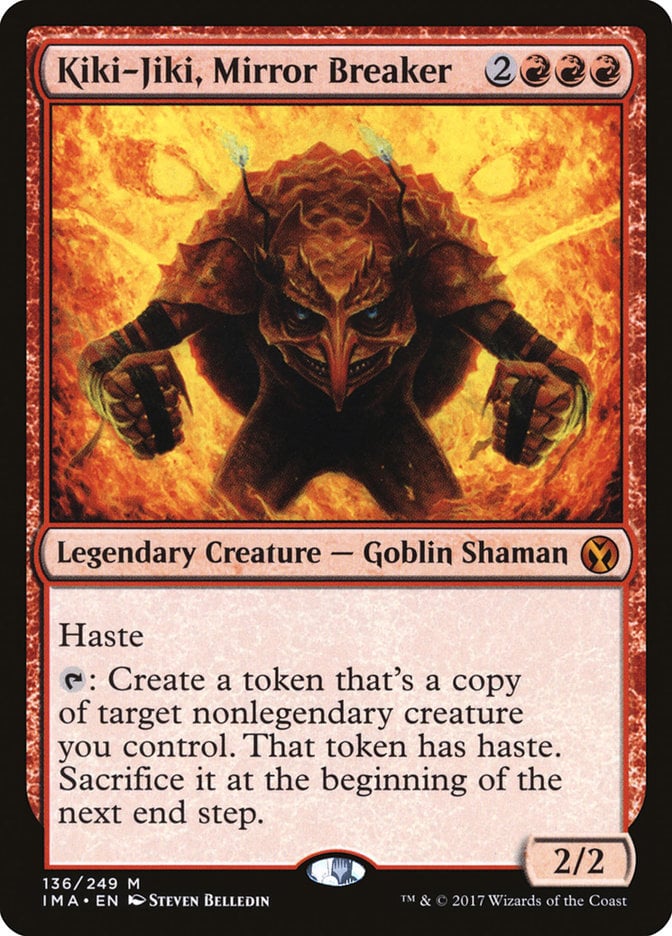
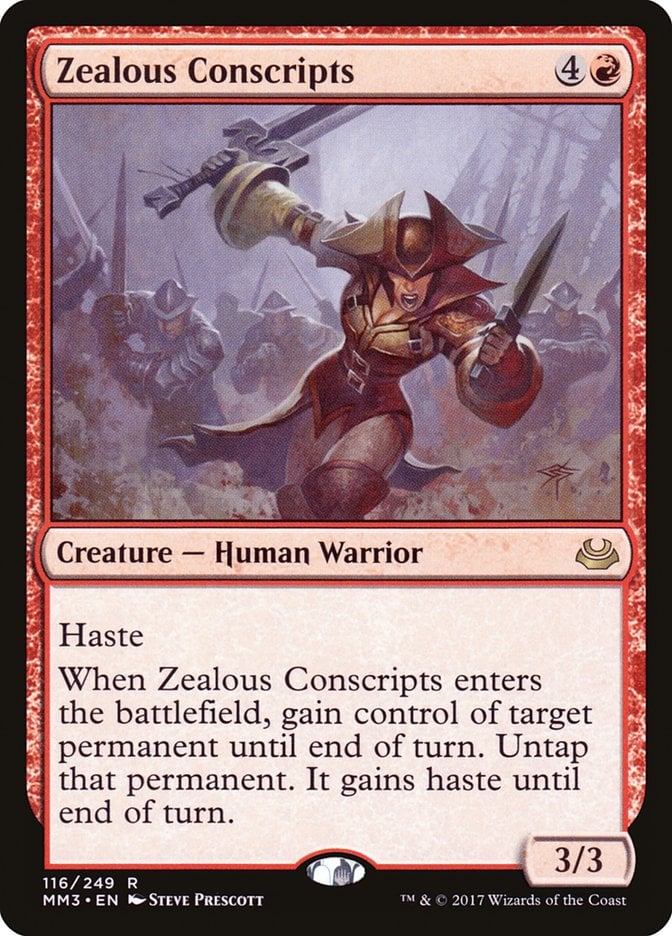
Cards: Kiki-Jiki, Mirror Breaker, Zealous Conscripts
Prerequisites: You need Kiki-Jiki untapped on the battlefield, along with Zealous Conscripts in play.
Result: This gives you infinite hasty Zealous Conscripts tokens, which means infinite ETB triggers, infinite death triggers (they’re sacrificed at end of turn), and a lethal board presence.
Variations: If you don’t have Kiki-Jiki, you can use Splinter Twin on Conscripts instead.
Execution: Tap Kiki-Jiki to copy Zealous Conscripts. The token enters, untaps Kiki with its ETB, and you do it again. You can keep making tokens until you’re ready to swing with an infinite army. If you're unable to attack, just plug in something like Impact Tremors or Purphoros, God of the Forge.
#2. Kiki-Jiki, Mirror Breaker + Combat Celebrant
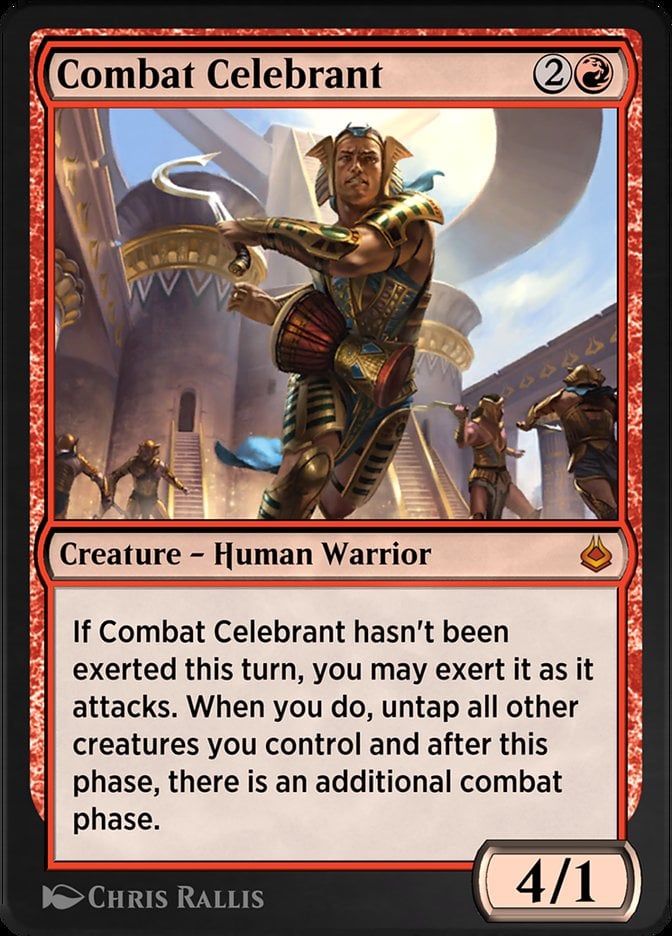
Cards: Kiki-Jiki, Mirror Breaker, Combat Celebrant
Prerequisites: You need Kiki-Jiki untapped and Combat Celebrant on the battlefield. No summoning sickness, no extra mana required.
Result: Infinite combat phases. Each Combat Celebrant token grants another combat and untaps all your creatures, so you keep attacking over and over.
Variations: You can swap in Splinter Twin or Helm of the Host on Celebrant for similar infinite combat results. Rionya, Fire Dancer plus Combat Celebrant also works. Toss in creatures like Etali, Primal Storm or Drakuseth, Maw of Flames, and you’ll trigger those on every combat step too.
Execution: Use Kiki-Jiki to copy Combat Celebrant. The token attacks and exerts, giving you an extra combat and untapping everything—including Kiki. In your next combat phase, do it again: Make another token, exert, untap. Repeat this loop until you’ve taken all the combats you could ever want, clearing the board with infinite swings or triggers.
#1. Godo, Bandit Warlord + Helm of the Host
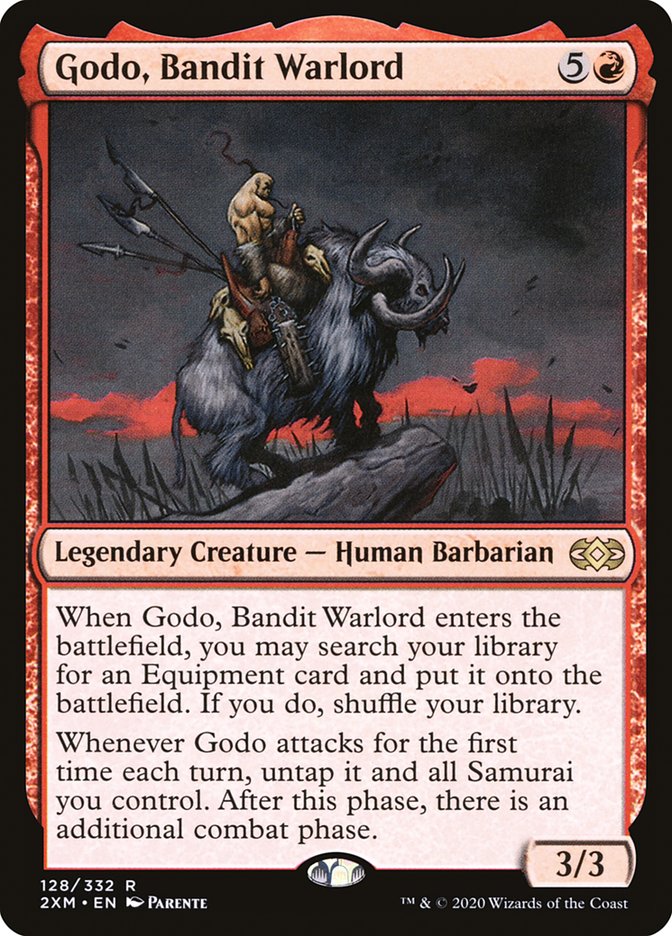
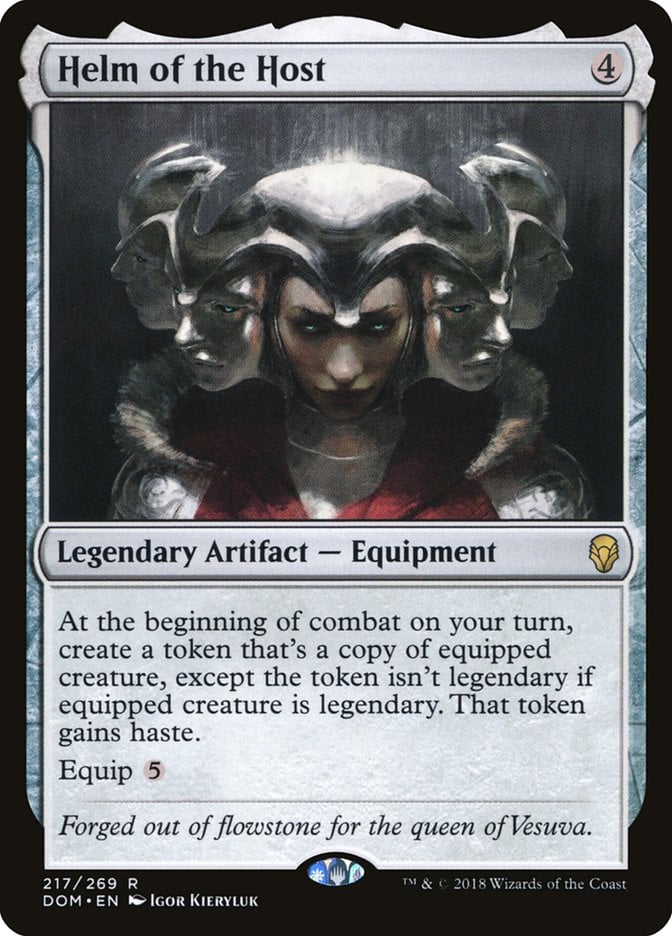
Cards: Godo, Bandit Warlord, Helm of the Host
Prerequisites: Godo needs to be on the battlefield, equipped with Helm of the Host.
Result: Infinite combat steps and infinite Godo triggers. Each Godo token gives you another combat and grabs an equipment from your deck. Eventually, you’ll fetch every equipment and flatten your opponents with a swarm of hasty Godos.
Variations: This combo is unique in mono-red for its simplicity and self-contained power, as you just need to play Godo and tutor for the Helm.
Execution: Play Godo, tutor up Helm of the Host with its ETB, and equip Godo with the Helm. At the start of combat, Helm makes a nonlegendary Godo token with haste. That token triggers, fetching another equipment and granting an extra combat. After combat, move to your next combat step—Helm triggers again, making another Godo. The cycle continues: new Godo, new equipment, new combat. Rinse and repeat until all your opponents are defeated and your battlefield is full of swords, axes, and samurai.
Wrap Up
Underworld Breach | Illustration by Lie Setiawan
As you can see, there are many different combos to burn your opponents in mono-red, whether that's infinite damage through combat phases or just direct damage.
Thanks for reading! If you want to keep up to date with the latest MTG-related news, remember your trigger at The Daily Upkeep and join our newsletter to never miss a thing.
Take care, and we will meet again in my next article!
Follow Draftsim for awesome articles and set updates:


Add Comment