
Ob Nixilis, Captive Kingpin | Illustration by Zezhou Chen
In Magic: The Gathering, Rakdos () is widely known for using sacrifice payoffs and synergies to win the game, and here we’ll go over the best combos this color pair can offer and how you can use them to win your next event.
Intrigued by what these combos may be? Let’s dive into them!
What Are Rakdos Combos in MTG?

Bladewing the Risen | Illustration by Seb McKinnon
Rakdos combos are powerful interactions between black and red cards that often focus on sacrifice, recursion, and explosive damage. These combos usually involve a small number of synergistic pieces that, when assembled, can generate infinite damage, mana, or card draw—or even win the game outright. Thanks to red's aggressive spells and black's access to reanimation and life manipulation, Rakdos excels at fast, ruthless combos that can end a game before opponents see it coming.
#15. Prosper, Tome-Bound + Harnfel, Horn of Bounty + Sensei’s Divining Top
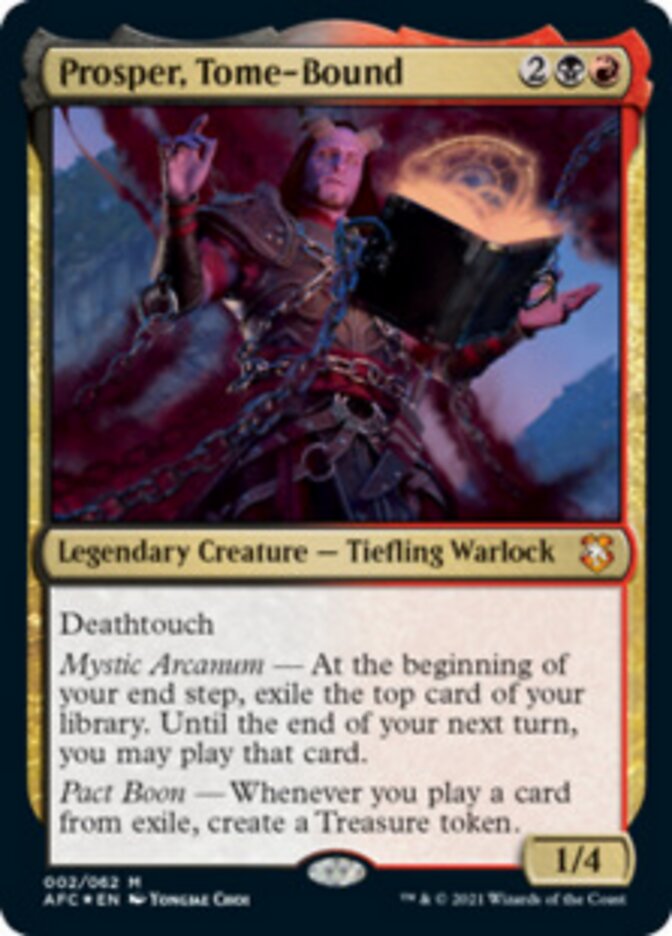
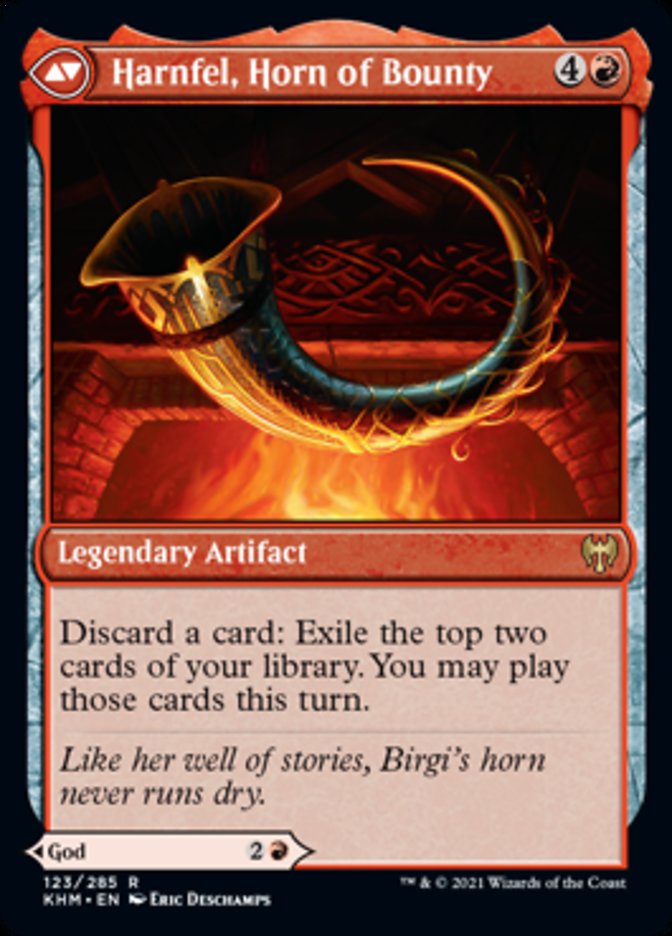
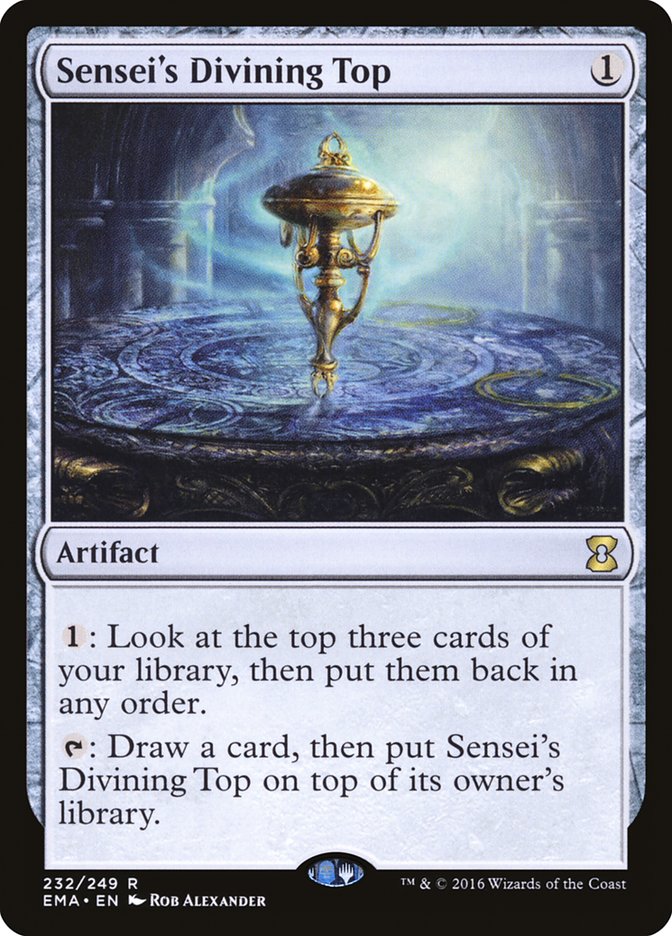
Cards – Prosper, Tome-Bound, Harnfel, Horn of Bounty, Sensei's Divining Top
Prerequisites – Prosper, Tome-Bound and Harnfel, Horn of Bounty are on the battlefield. You also control Sensei's Divining Top and have at least 1 mana available to activate it.
Result – Near-infinite card draw, infinite Treasure generation, and potentially infinite damage if paired with a payoff like Mayhem Devil or Reckless Fireweaver.
Variations – This is the Rakdos version of the classic Sensei’s Top engine. You can replace Birgi, God of Storytelling with Ob Nixilis, Captive Kingpin and Mayhem Devil.
Execution – Activate Sensei's Divining Top to draw a card, then put the artifact on top of your library. Then, use Harnfel, Horn of Bounty to discard a card and exile the top two, one of which is the Top. Cast Top from exile using mana from a Treasure (thanks to Prosper, Tome-Bound) or from Harnfel, Horn of Bounty. Casting it from exile nets you another Treasure via Prosper, which lets you repeat the loop.
Each cycle gives you a card draw, a Treasure, and another card to play. Add Mayhem Devil, and every Treasure you sac deals damage to turn this engine into a game-ending combo. Even without it, you’ll quickly draw your deck and bury opponents in value.
#14. Rowan, Scion of War + Wall of Blood + Exsanguinate
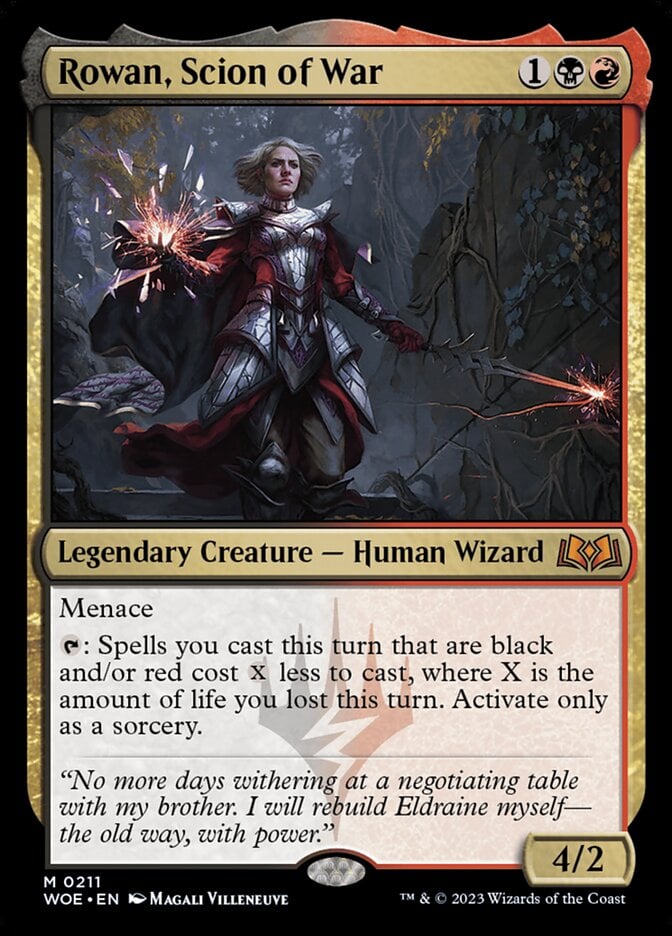
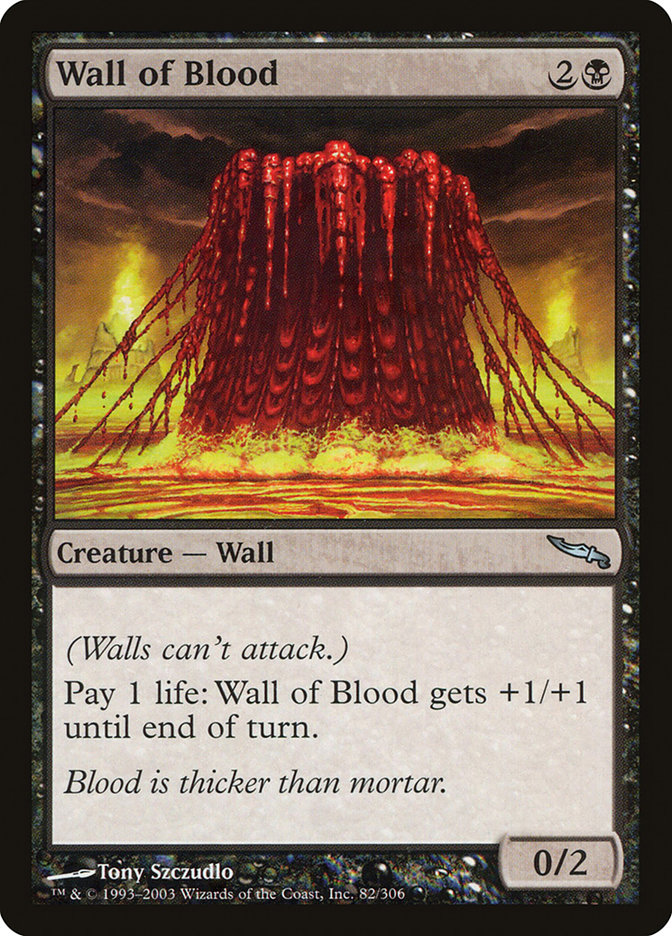
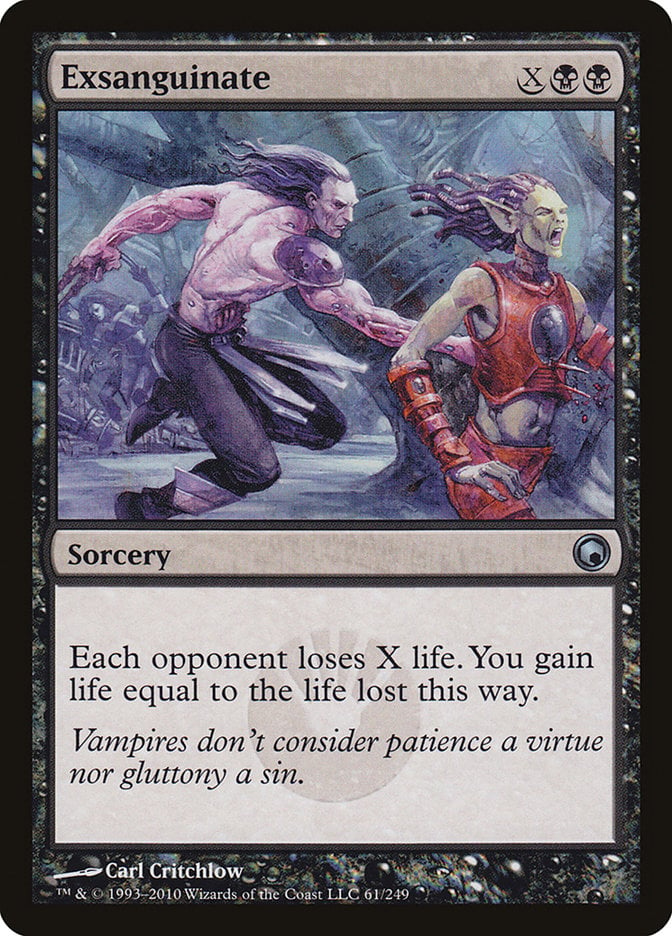
Cards – Rowan, Scion of War, Wall of Blood, Exsanguinate
Prerequisites – Rowan, Scion of War is on the battlefield and can tap. You control Wall of Blood and have Exsanguinate in hand. You must have the highest life total and at least available to cast Exsanguinate after discounts.
Result – Large amounts of life loss for each opponent. You gain a massive amount of life.
Variations – Necropotence can replace Wall of Blood by paying life to exile cards instead. You can also use any Fireball for a similar lethal effect.
Execution – Use Wall of Blood to pay a bunch of life, ideally matching the opponent with the highest life total. That life loss fuels Rowan, Scion of War, which lets you tap it to make your next red or black spell nearly free. Now cast Exsanguinate for X equal to what you just paid. It only costs , but it drains the whole table and shoots your life total through the roof. Instant win, big style.
#13. Mikaeus, the Unhallowed + Murderous Redcap + Ashnod’s Altar
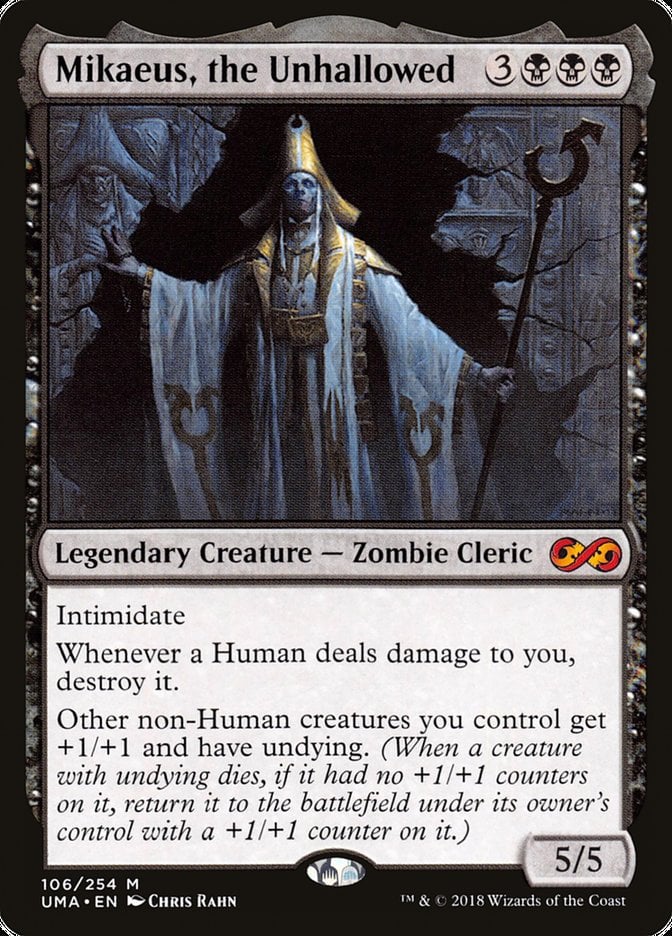
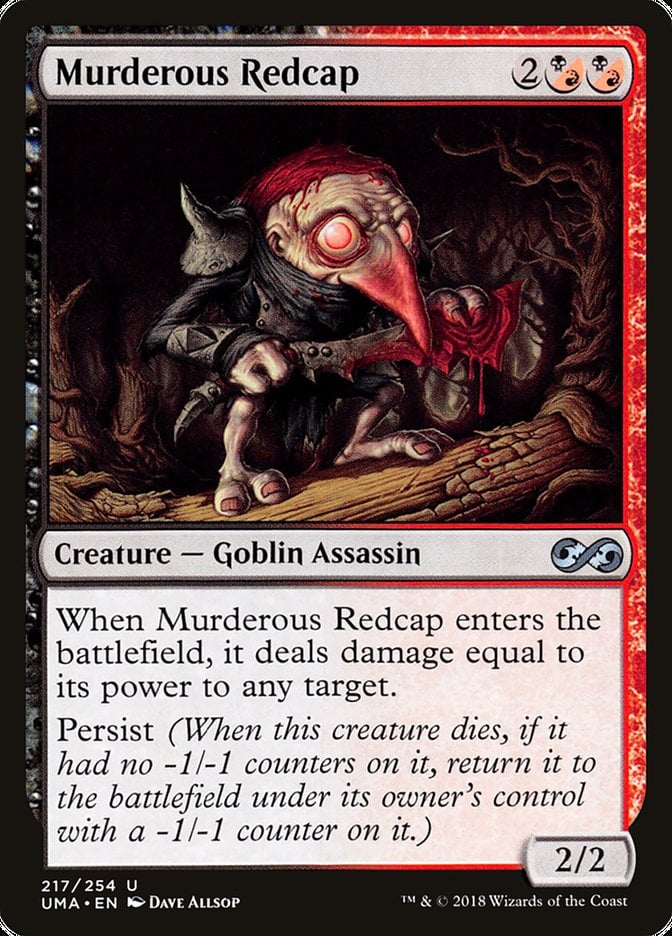
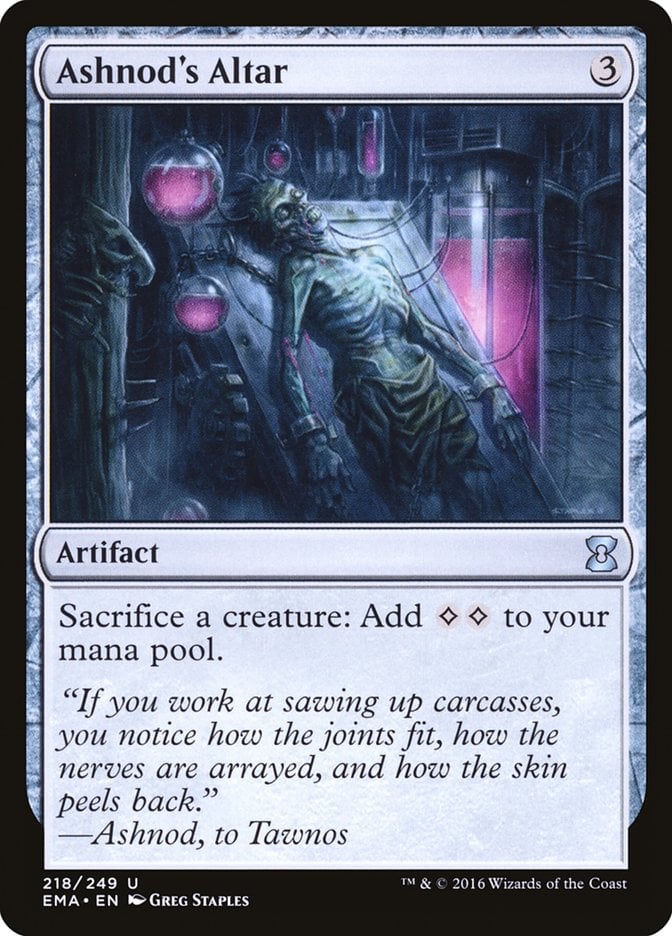
Cards – Mikaeus, the Unhallowed, Murderous Redcap, Ashnod's Altar
Prerequisites – All three cards are on the battlefield. Murderous Redcap has no +1/+1 counter on it. Ashnod's Altar is used to sacrifice creatures for colorless mana.
Result – Infinite colorless mana, infinite damage to any targets, and infinite ETB/death triggers.
Variations – Walking Ballista + Mikaeus, the Unhallowed is a classic alternative for infinite damage. Thran Vigil + Murderous Redcap + any free sac outlet also goes infinite using persist. The Ashnod's Altar version has the added benefit of producing infinite mana alongside damage.
Execution – Sacrifice Murderous Redcap to Ashnod's Altar for 2 colorless mana. Since it had no counter, undying and persist trigger at the same time. Choose to resolve undying first, bringing it back with a +1/+1 counter and dealing 3 damage. Sacrifice it again; this time its persist ability brings it back with a -1/-1 counter. It enters again and deals 1 damage this time. Repeat the loop: undying and persist keep trading off, Redcap keeps coming back, you keep dealing damage and making mana. That’s infinite colorless mana and infinite ping damage, enough to wipe the table.
#12. Conspicuous Snoop + Boggart Harbinger + Kiki-Jiki, Mirror Breaker
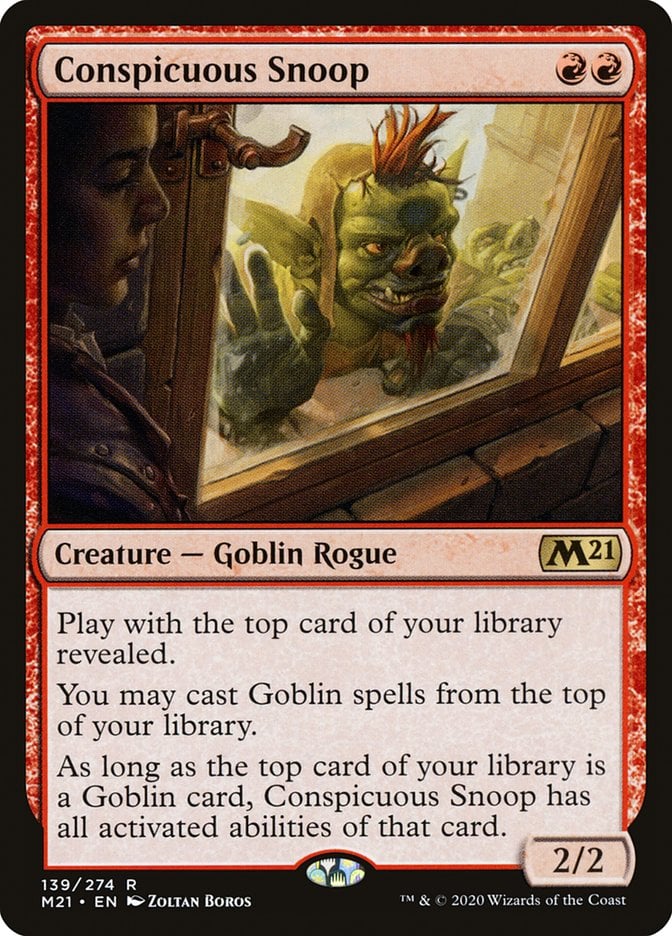
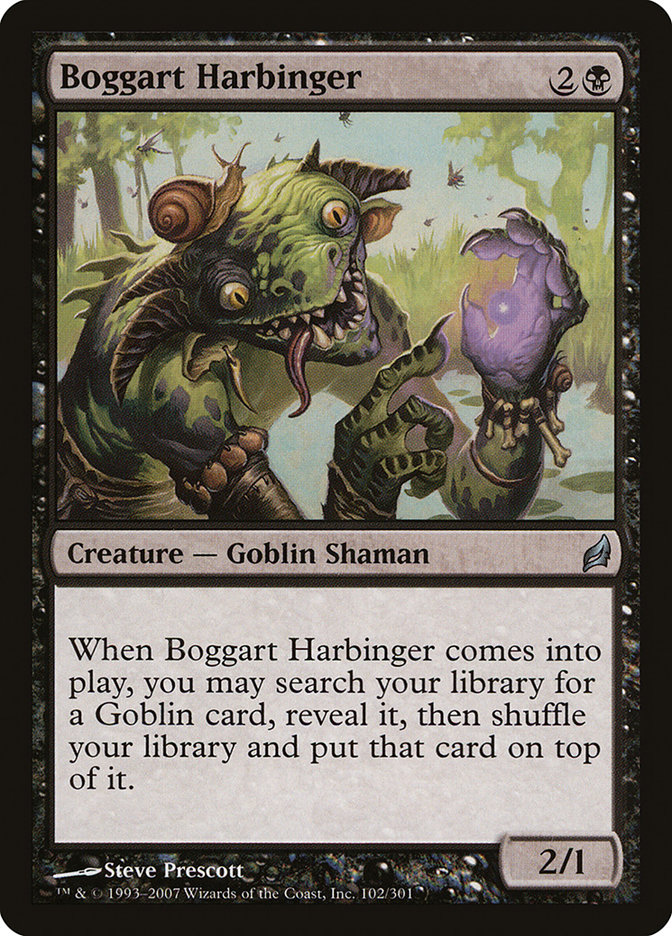
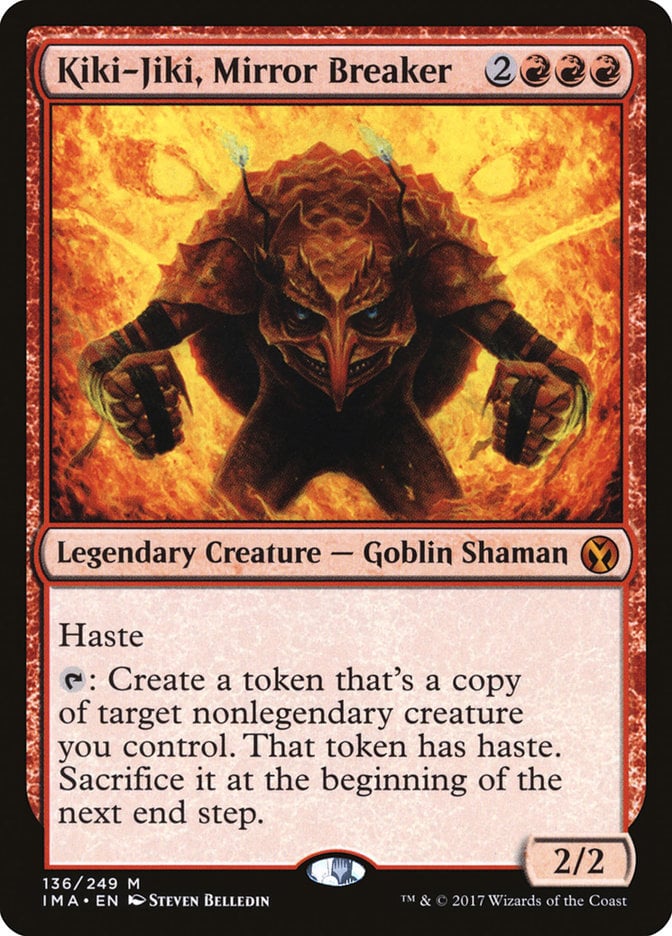
Cards – Conspicuous Snoop, Boggart Harbinger, Kiki-Jiki, Mirror Breaker
Prerequisites – Conspicuous Snoop on the battlefield. Boggart Harbinger ready to cast or already in play. Kiki-Jiki, Mirror Breaker is in your library. Ideally, 3 mana available to cast the Harbinger.
Result – Infinite hasty goblin tokens, infinite ETB and death triggers, and either lethal combat damage or infinite direct damage via goblin tutoring.
Variations – Goblin Recruiter is another way to put Kiki-Jiki, Mirror Breaker at the top of your library.
Execution – With Conspicuous Snoop on the field, cast Boggart Harbinger and stack your deck by tutoring Kiki-Jiki, Mirror Breaker to the top. Now Snoop gains Kiki’s ability and can tap to make a copy of itself. That token has haste and the same ability, so you just rinse and repeat to make as many hasty Snoop tokens as you want.
From there, you can copy Harbinger with one token and tutor Mogg Fanatic to the top. Now every Snoop can ping for 1, giving you infinite direct damage. Simple, deadly, and efficient.
#11. The Scorpion God + Blowfly Infestation + Nest of Scarabs
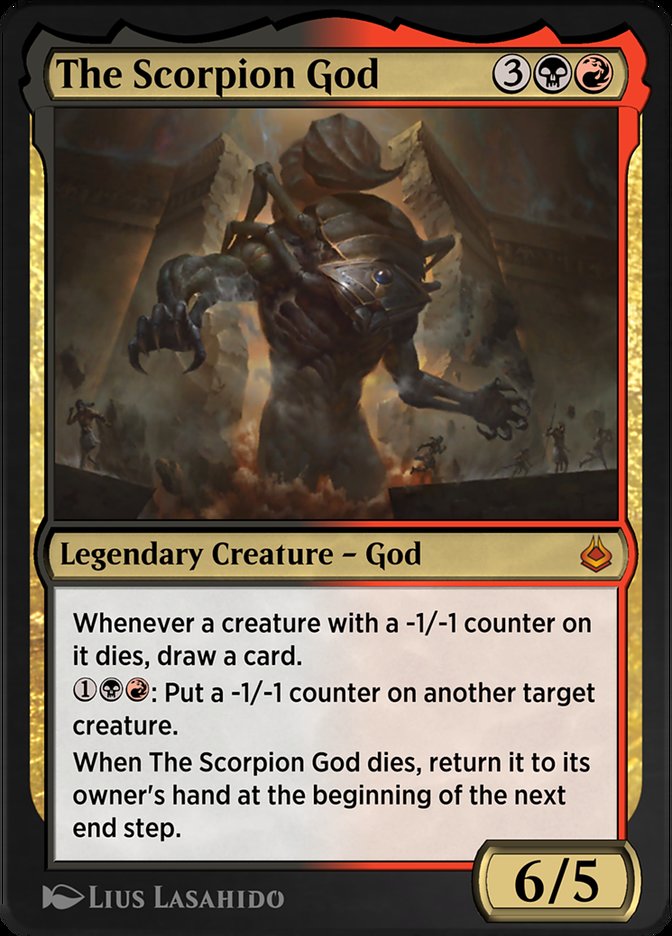
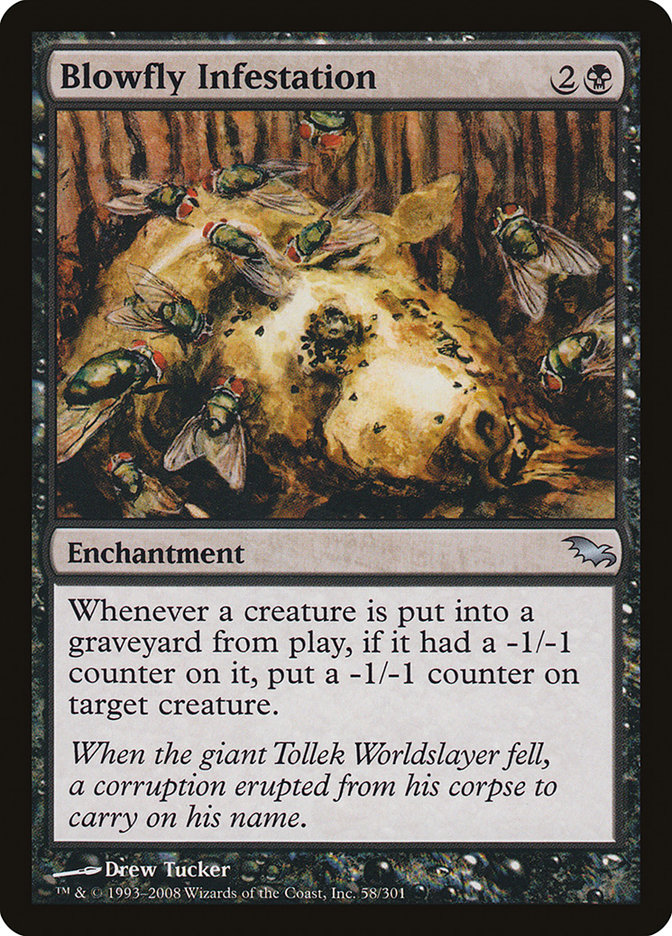
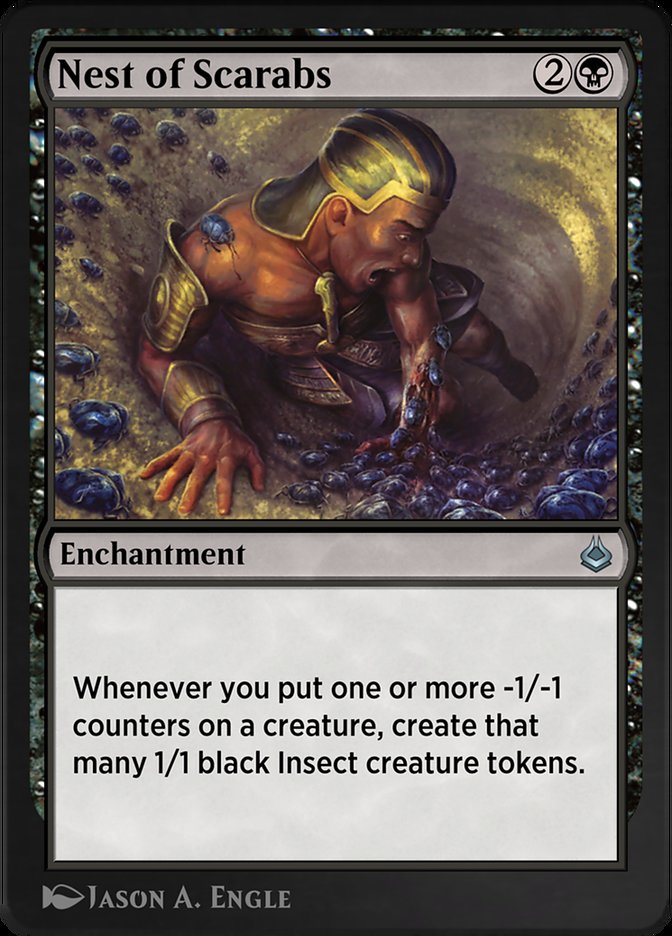
Cards – The Scorpion God, Blowfly Infestation, Nest of Scarabs
Prerequisites – All three permanents on the battlefield. At least one creature on the battlefield to start the chain (yours or an opponent’s).
Result – Infinite card draw, infinite death triggers, and total board control. Opponents’ creatures are all wiped, and your deck is effectively in your hand.
Variations – You can swap Nest of Scarabs with Hapatra, Vizier of Poisons for infinite snake tokens instead of insects. With a death payoff like Blood Artist, this becomes infinite life loss to opponents, too.
Execution – Put a -1/-1 counter on a creature using The Scorpion God’s ability. When that creature dies, Blowfly Infestation triggers and puts a -1/-1 counter on another creature. That counter also triggers Nest of Scarabs to make a 1/1 insect. You can now target the insect with Blowfly and kill it. That insect’s death triggers The Scorpion God for a card draw and repeats the loop: Blowfly puts a counter on the next insect, which dies, drawing another card, and so on. You draw through your deck and generate a death trigger every time. If you have a life drain outlet, the game ends right there.
#10. Academy Manufactor + Mirkwood Bats + There and Back Again
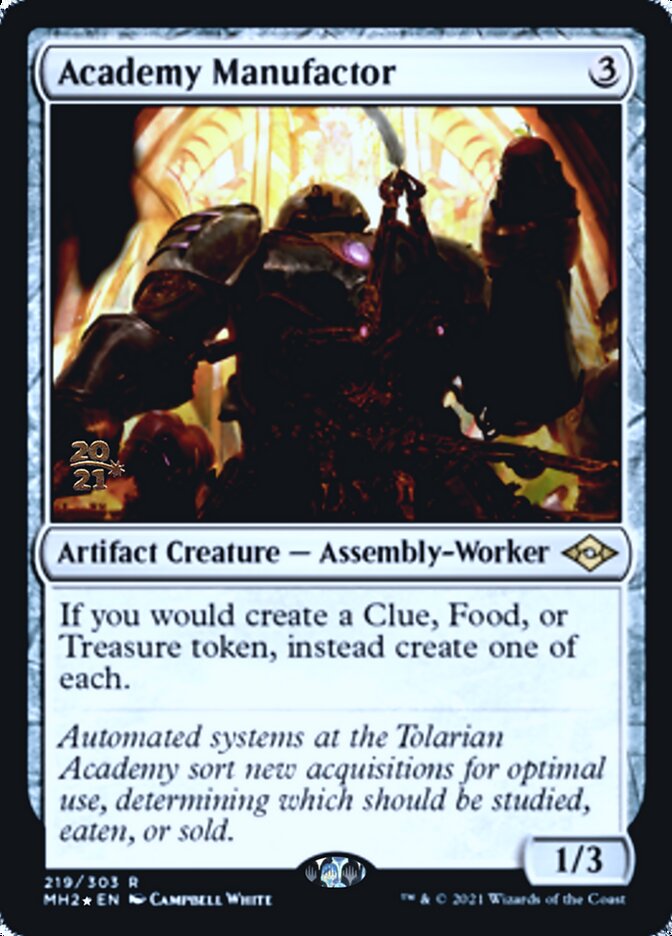
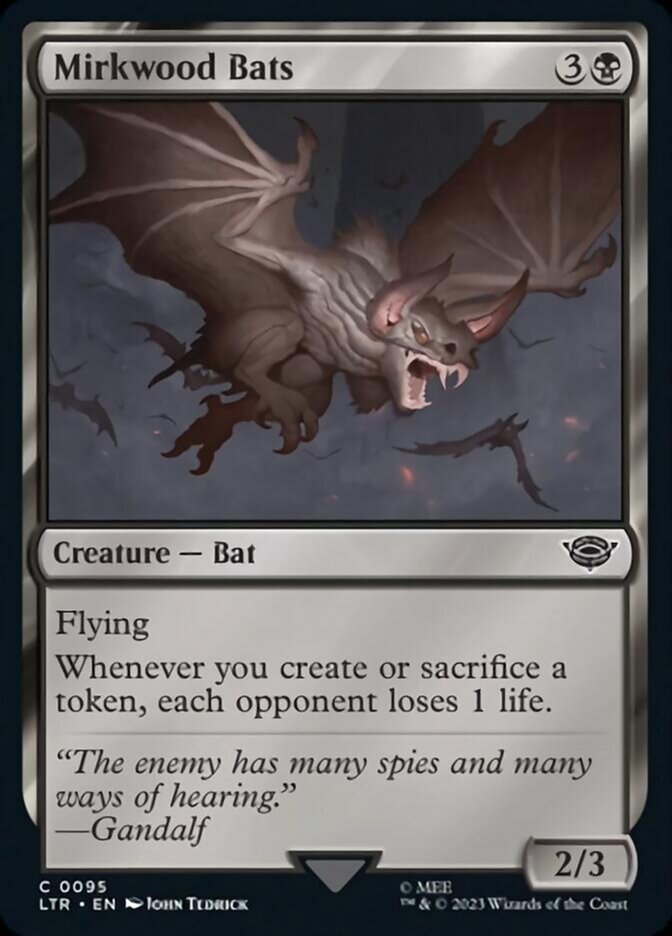
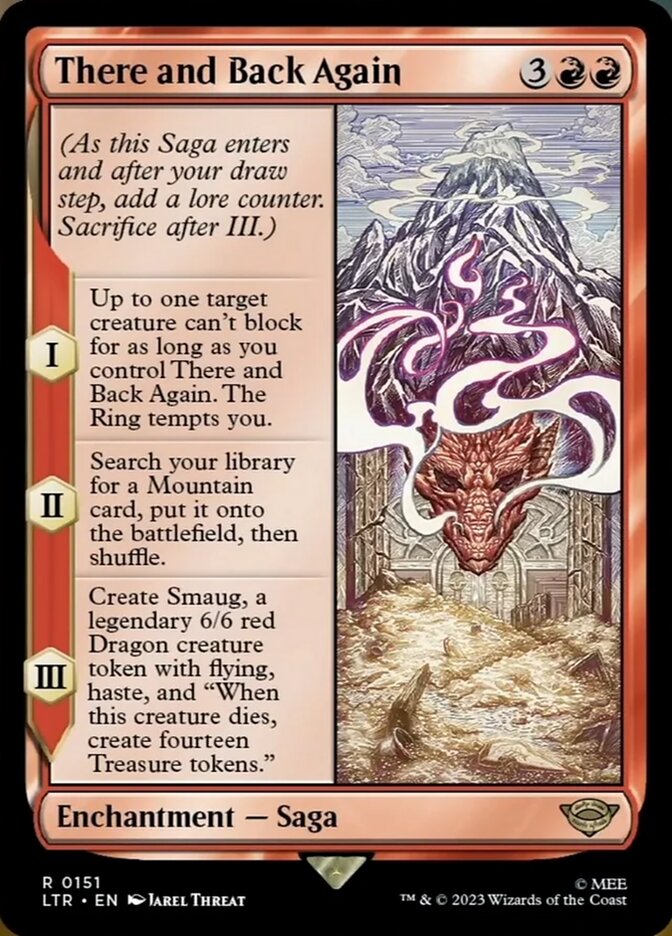
Cards – Academy Manufactor, Mirkwood Bats, There and Back Again
Prerequisites – All three permanents are on the battlefield. There and Back Again is on its second lore counter (about to trigger chapter III). You have a way to kill the Smaug token after it enters (such as a sacrifice outlet or a removal spell).
Result – 42 life loss to each opponent (from token creation), plus up to 14 more life loss per opponent (if you sacrifice the Treasures), totaling up to 56 life lost per opponent.
Variations – This combo works with any card that punishes opponents when artifacts enter or leave the battlefield. Revel in Riches can act as an alternate win condition, and Nadier's Nightblade offers a similar drain effect. You can also sub in Marionette Master if you want to convert the Treasure death triggers into damage.
Execution – On your first main phase, There and Back Again reaches its final chapter. It triggers and create a legendary 6/6 Smaug token and then sacrifices itself. Now, destroy or sacrifice Smaug. When Smaug dies, its death trigger creates 14 Treasure tokens. Thanks to Academy Manufactor, each of those becomes a Treasure, Clue, and Food, and you get 14 of each. That’s 42 artifacts that enter, which triggers Mirkwood Bats 42 times and hits each opponent for 42 life. If you then sacrifice all 14 Treasures for mana, that’s 14 more tokens leaving the battlefield, which causes each opponent to lose another 14 life. Total potential drain: 56 per opponent.
#9. Molten Echoes + Bladewing the Risen
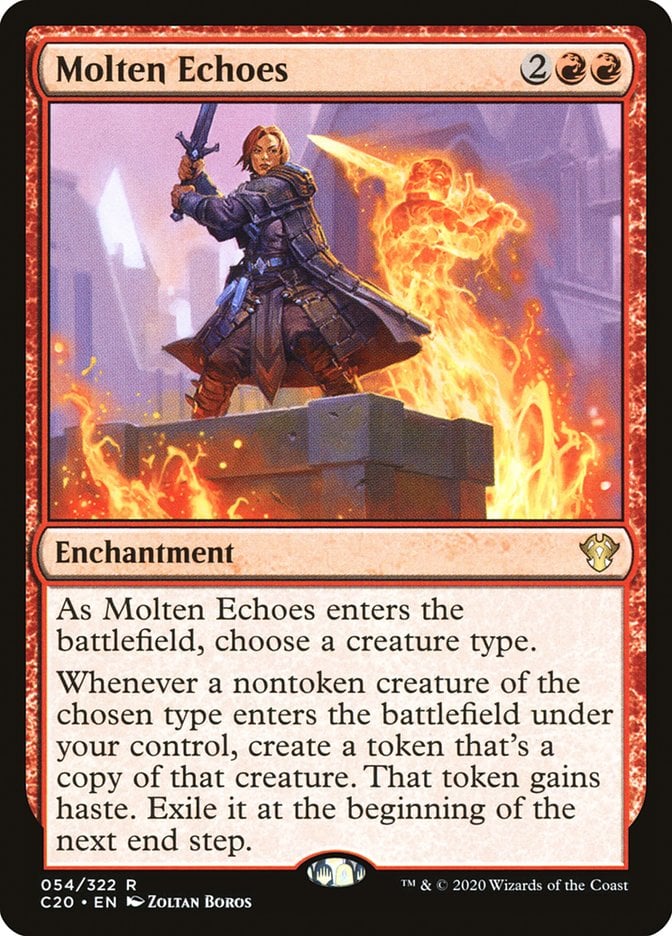
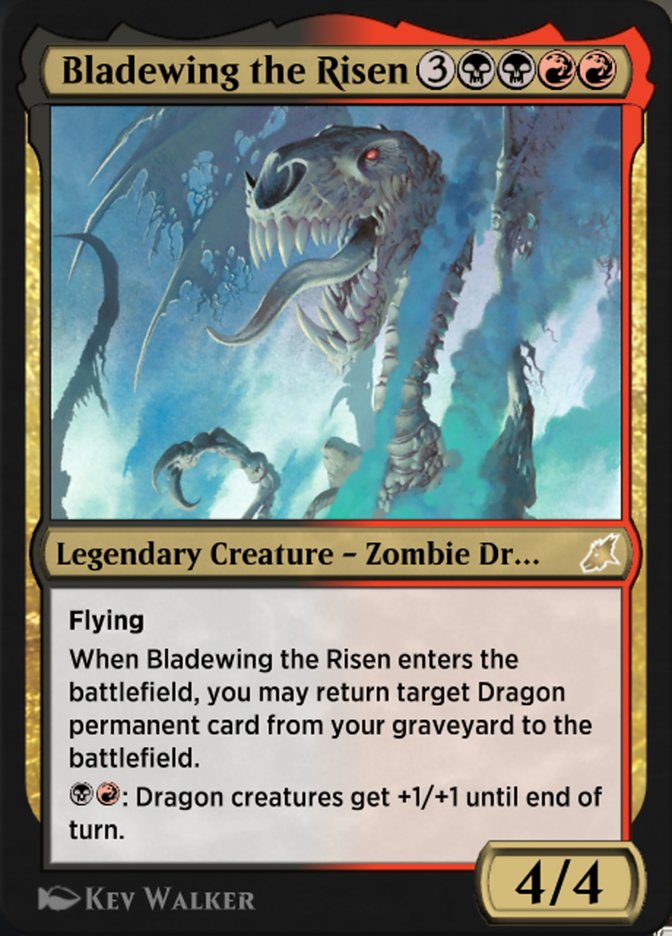
Cards – Molten Echoes, Bladewing the Risen
Prerequisites – Molten Echoes is on the battlefield with “dragon” or “zombie” chosen. You can cast Bladewing the Risen from your hand or the command zone.
Result – Infinite enters-the-battlefield (ETB) and leaves-the-battlefield (LTB) triggers. Infinite death triggers. All dragons in your graveyard return to the battlefield.
Variations – Any card that cares about creatures dying or entering the battlefield goes infinite here. Pair this with Blood Artist, Purphoros, God of the Forge, or Zulaport Cutthroat for a win. Terror of the Peaks speeds up the process by a lot.
Execution – Cast Bladewing the Risen. Its ETB trigger and Molten Echoes both go on the stack. First, let Bladewing’s own trigger resolve and choose not to return anything (optional). Then resolve the Molten Echoes trigger to create a token copy of Bladewing. The legend rule forces you to put one in the graveyard, so choose the original, which goes to your graveyard. The token Bladewing then sees the original in the graveyard, so its ETB brings it back. Now the legend rule applies again. Put Bladewing back, while triggering Molten Echoes again. You’re in an endless loop of Bladewing dying and re-entering, which gives you infinite death and ETB triggers. If other dragons are in your graveyard, each iteration lets you return one until all are back on the battlefield.
#8. Brass’s Bounty + Revel in Riches
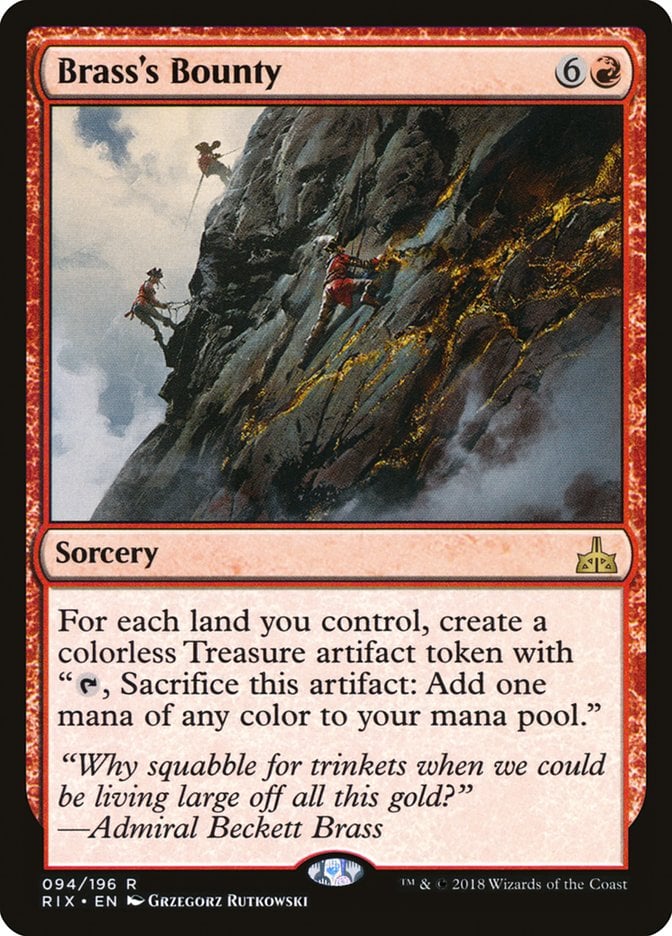
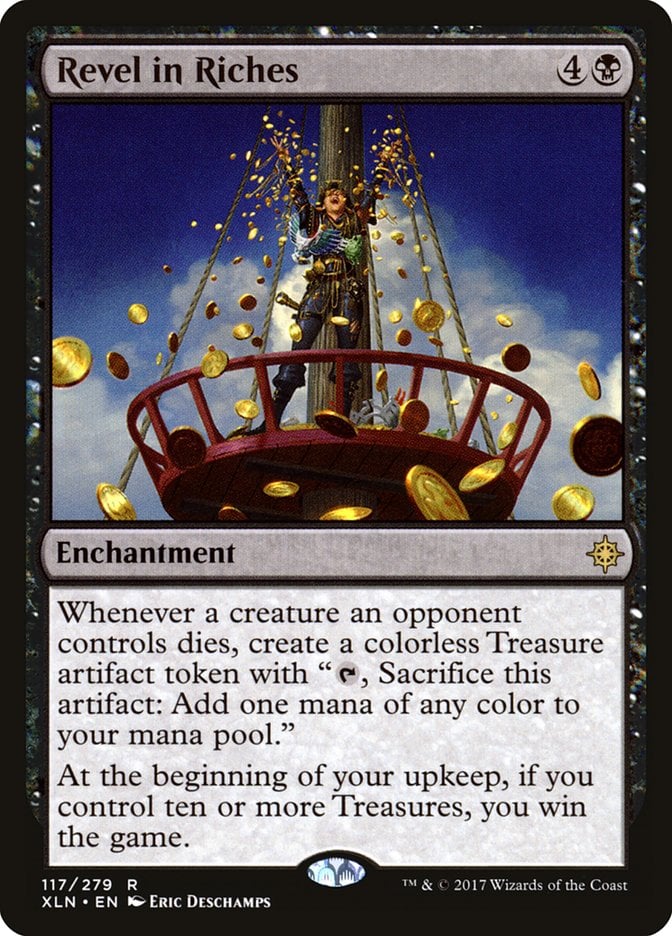
Cards – Brass's Bounty, Revel in Riches
Prerequisites – Revel in Riches is on the battlefield. You have enough lands so that casting Brass's Bounty leaves you with 10 or more Treasures total.
Result – You win the game at your next upkeep, as Revel in Riches‘ triggered ability checks for 10 or more Treasures.
Variations – Other options like Pitiless Plunderer or Mahadi, Emporium Master + a sacrifice outlet can feed Treasure loops, and Hellkite Tyrant offers a similar win condition in artifact-heavy metas.
Execution – With Revel in Riches already in play, cast Brass's Bounty. It creates one Treasure for each land you control. If this brings your Treasure total to 10 or more, simply pass the turn. On your next upkeep, Revel in Riches triggers and win you the game.
#7. Heartless Hidetsugu + Wound Reflection
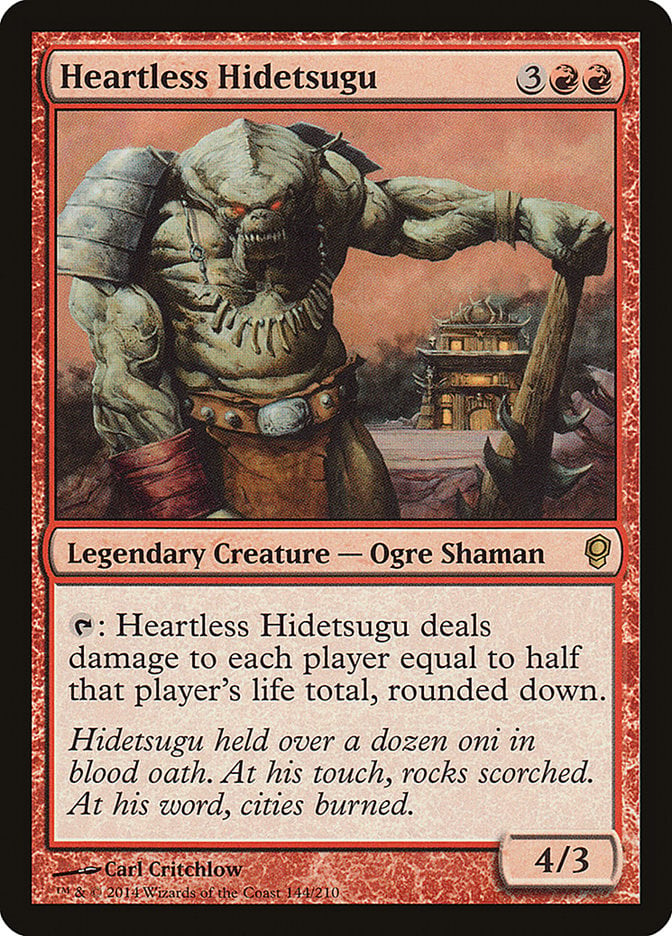
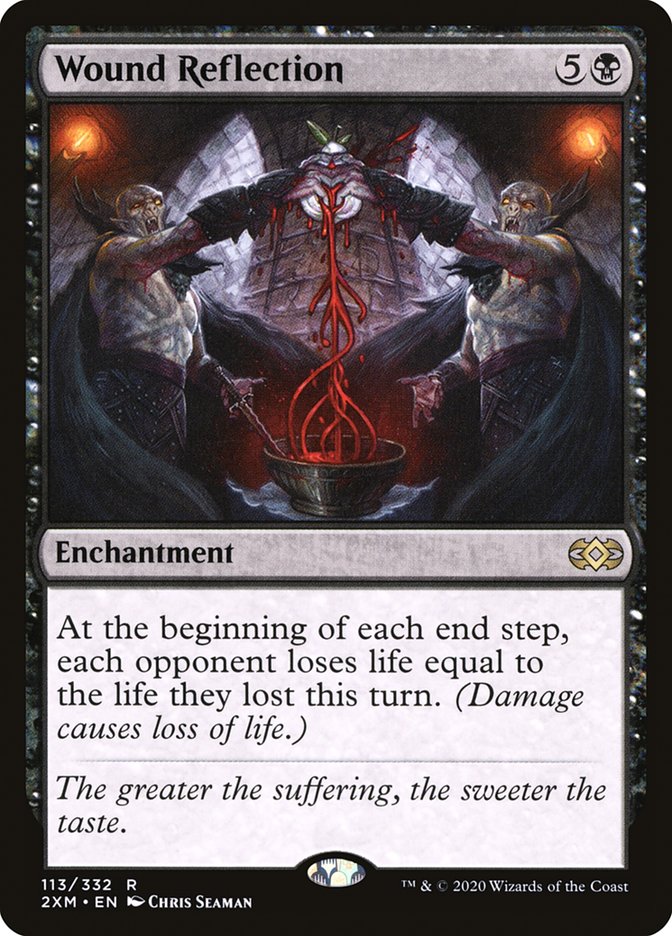
Cards – Heartless Hidetsugu, Wound Reflection
Prerequisites – Both permanents are on the battlefield. Heartless Hidetsugu must be untapped and able to activate. Ideally, you have a higher life total than your opponents, or at least an odd-numbered advantage to survive the combo.
Result – All opponents lose the game at end of turn. You’re left alive (often at a very low life total).
Variations – Archfiend of Despair works like Wound Reflection but only affects opponents, so it’s safer. Havoc Festival + Wound Reflection is another lethal variant that triggers on each opponent’s upkeep. Fiendish Duo can also combo with Heartless Hidetsugu by doubling damage to opponents.
Execution – Tap Heartless Hidetsugu and everyone takes half their life total in damage; if they’re at 40, they drop to 20. At the end of the turn, Wound Reflection kicks in and hits them again for the same amount they lost, another 20. That drops them to 0, and you’re the last one standing. It’s a brutal, table-clearing combo that leaves only you alive. Opponents who started at an odd life total will remain at 1 life this way.
#6. Storm-Kiln Artist + Chain of Smog
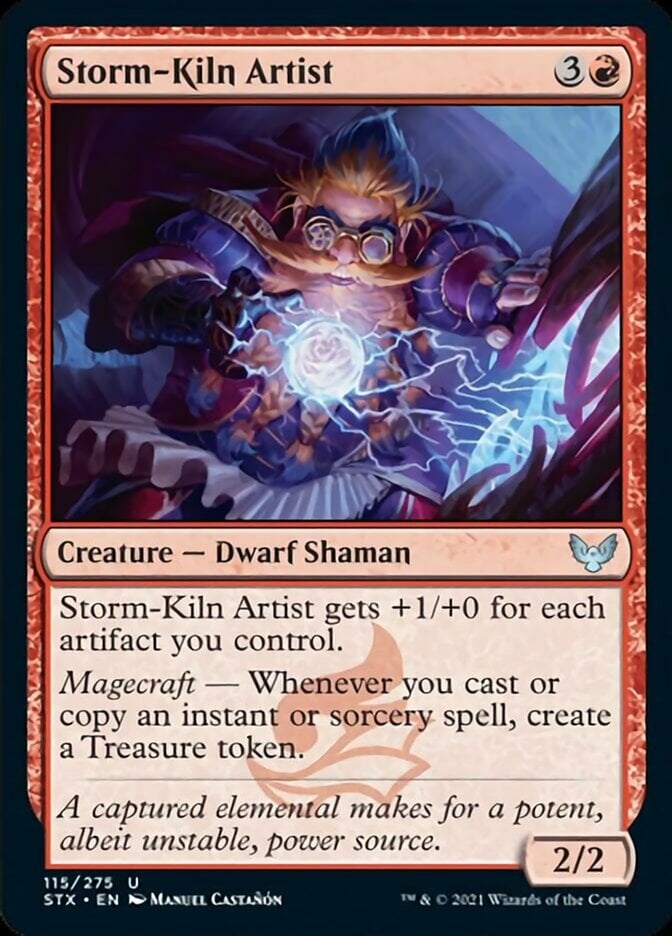
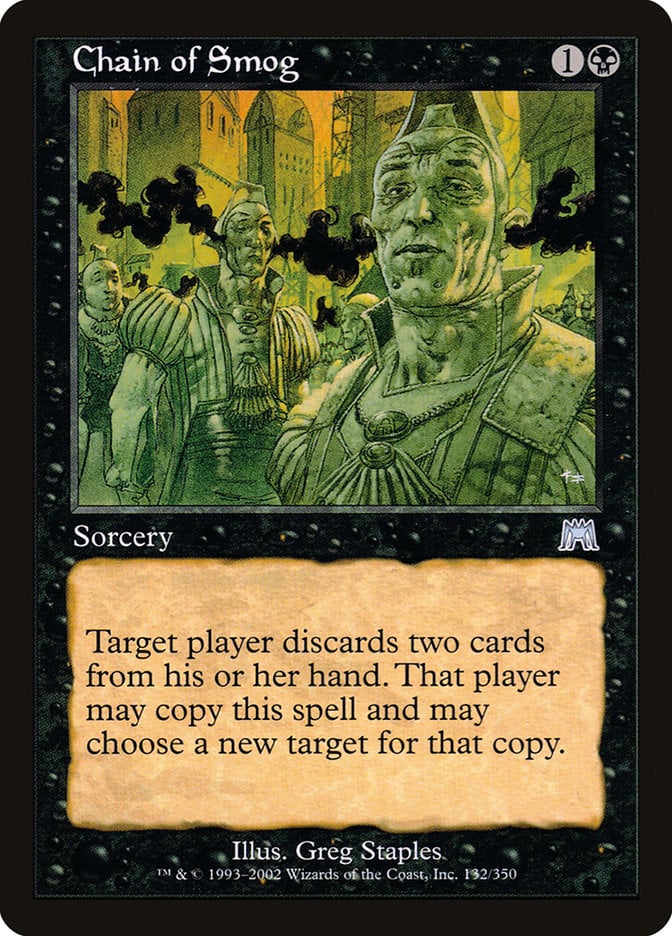
Cards – Storm-Kiln Artist, Chain of Smog
Prerequisites – Storm-Kiln Artist on the battlefield. Chain of Smog in hand. No mana needed after casting Chain of Smog.
Result – Effectively infinite Treasure tokens (so infinite mana of any color) and a massively buffed Storm-Kiln Artist that can often swing for lethal.
Variations – While Golgari decks () prefer combos like Witherbloom Apprentice + Chain of Smog, this Rakdos version trades life drain for raw mana and combat power. You can use the Treasures to copy a huge flashback spell like Past in Flames (since you'll likely be empty-handed). Sedgemoor Witch is another synergy piece that makes a Pest token each time you cast or copy Chain.
Execution – Cast Chain of Smog and target yourself. It doesn't matter how many cards you have in hand. Choose to copy it and target yourself again. Repeat this process as many times as you'd like. Each cast or copy triggers Storm-Kiln Artist’s magecraft and makes a Treasure. Each Treasure also boosts the Artist’s power by +1. You can stop the loop when you've made as much Treasure as you need. Then either crack the Treasures for mana to cast a finisher or simply swing in with Storm-Kiln Artist, who’s now as large as you need it to be.
#5. Demonic Pact + Harmless Offering
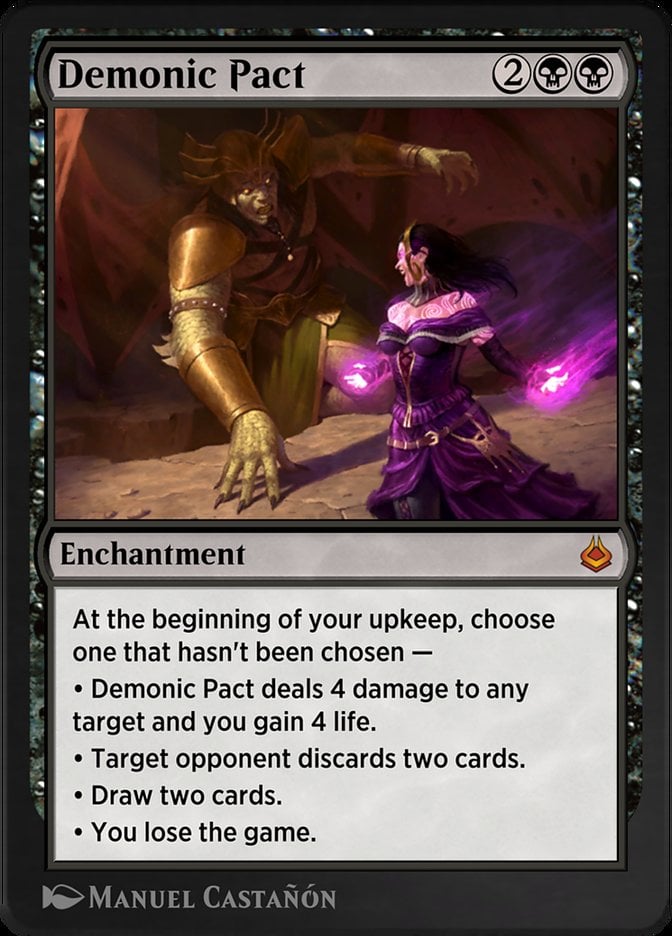
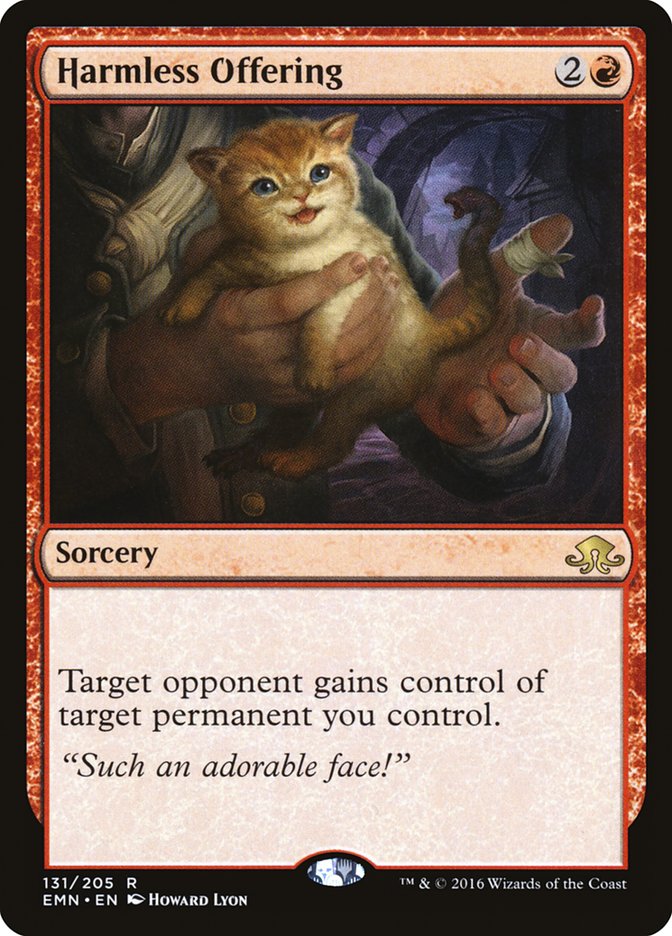
Cards – Demonic Pact, Harmless Offering
Prerequisites – Demonic Pact is on your battlefield and has already used three of its four modes (only “You lose the game” remains). Harmless Offering is in hand with available to cast it.
Result – Target opponent loses the game on their next upkeep.
Variations – Blim, Comedic Genius can also donate Demonic Pact to an opponent if you attack and trigger its ability. Outside of Rakdos, Donate (in blue) is a classic alternative for giving away dangerous permanents.
Execution – Once you’ve used the first three modes of Demonic Pact, the only one left is “You lose the game.” Instead of taking the fall yourself, cast Harmless Offering and hand the Pact over to an opponent. On their next upkeep, they’re stuck with the last mode, and boom, they lose instead of you. It’s a sneaky way to turn a deadly drawback into a surprise victory.
#4. Ob Nixilis, Captive Kingpin + All Will Be One
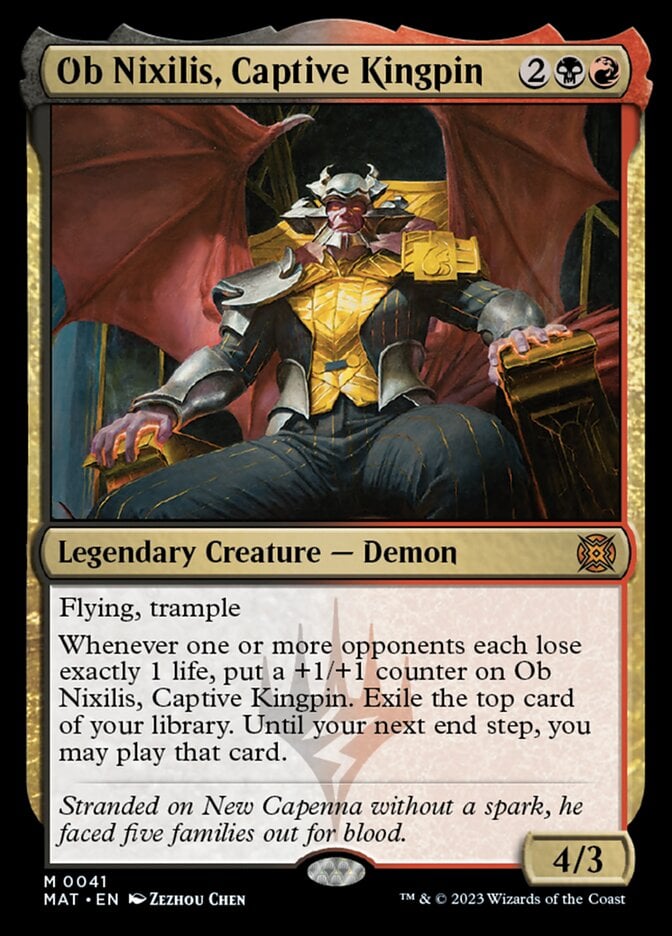

Cards – Ob Nixilis, Captive Kingpin, All Will Be One
Prerequisites – Both permanents are on the battlefield. You just need any way to make an opponent lose 1 life to start the loop (like a burn spell or combat damage).
Result – Infinite damage to all opponents, Iinfinite +1/+1 counters on Ob Nixilis, and effectively exile most of your deck.
Variations – Any 1-point damage effect can start the loop, including Mayhem Devil triggers or an opponent that cracks a fetch land. You can build similar loops using Agatha's Soul Cauldron along with Walking Ballista.
Execution – Cause an opponent to lose 1 life. Ob Nixilis, Captive Kingpin puts a +1/+1 counter on itself and exiles the top card of your library. All Will Be One then deals 1 damage due to the counter, which triggers Ob again. This loop repeats infinitely, dealing one damage per cycle to any target. Since Ob Nixilis exiles instead of drawing, you can repeat endlessly without decking out.
#3. Razorkin Needlehead + Peer into the Abyss

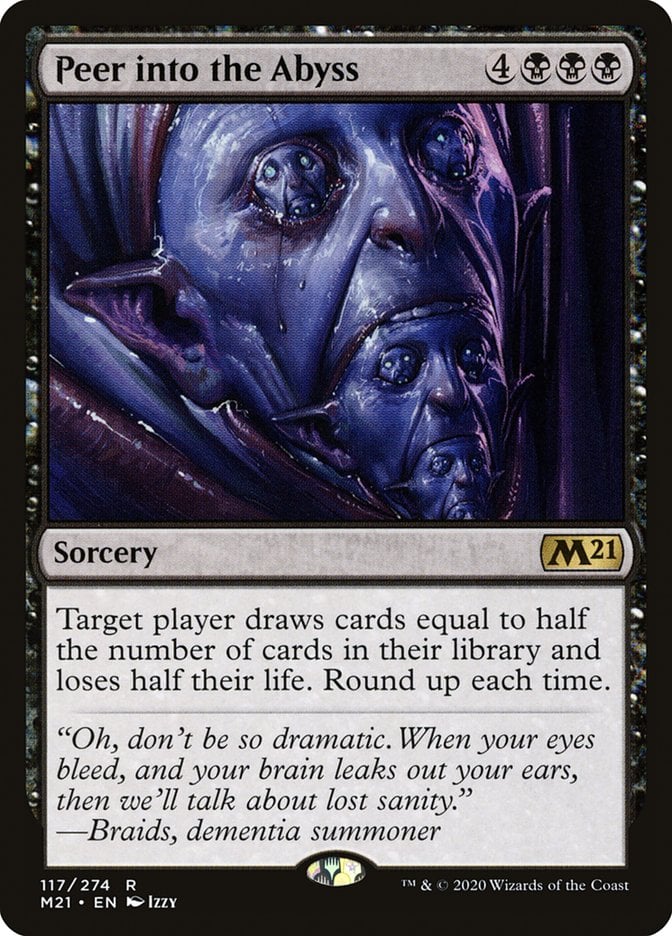
Cards – Razorkin Needlehead, Peer into the Abyss
Prerequisites – Razorkin Needlehead on the battlefield. Peer into the Abyss in hand to cast. Opponent's life total must be equal to or less than the number of cards in their library.
Result – Targeted player instantly loses the game.
Variations – While this combo specifically uses Peer into the Abyss, you can use Sheoldred, the Apocalypse instead of Razorkin Needlehead for a similar result.
Execution – Cast Peer into the Abyss, targeting an opponent. That opponent draws cards equal to half their library (rounded up), and loses that much life.. For each card drawn this way, Razorkin Needlehead triggers and deals 1 damage.
#2. Dualcaster Mage + Saw in Half
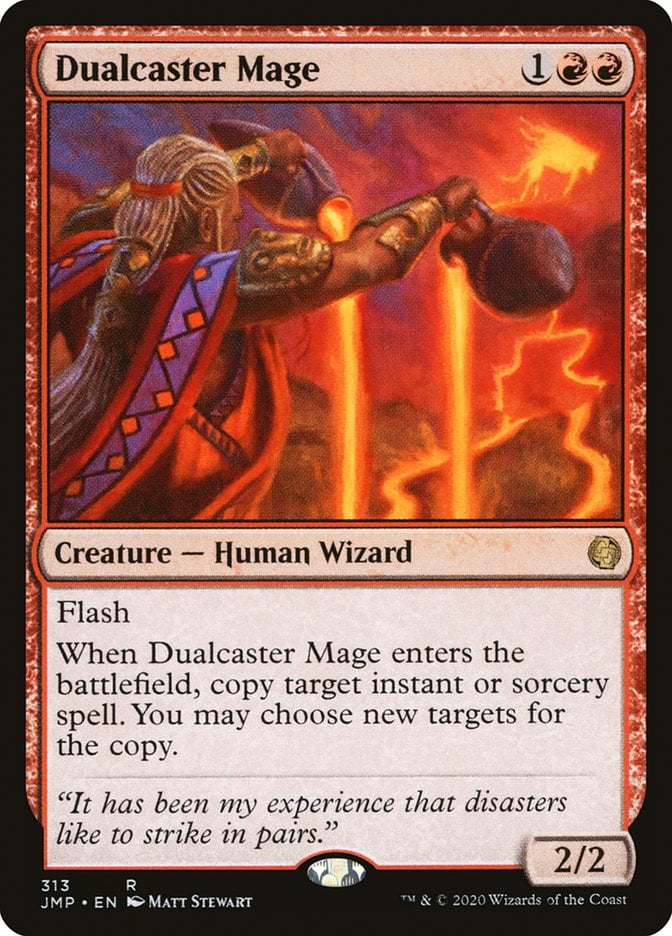
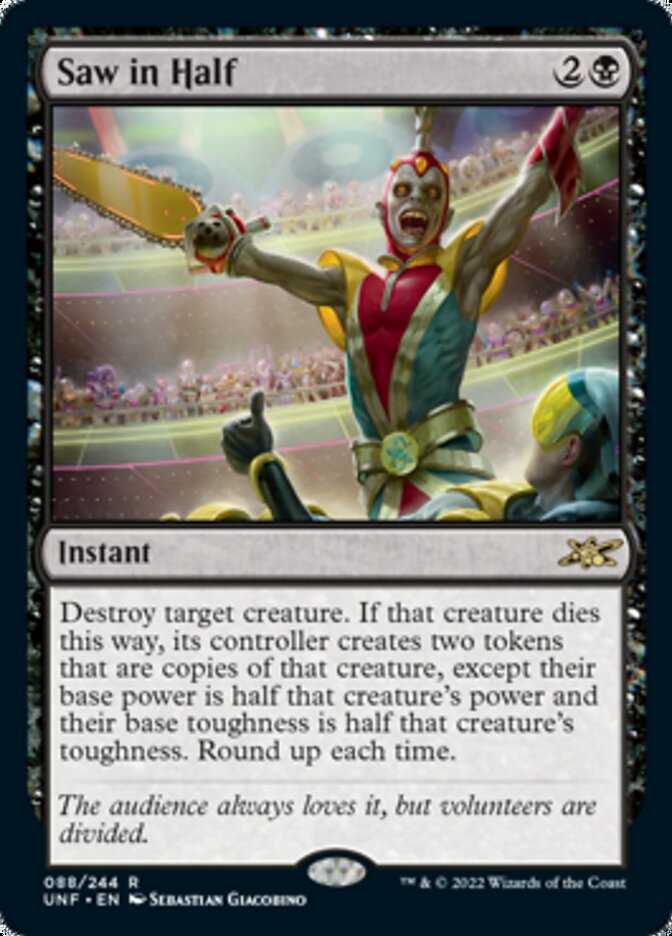
Cards – Dualcaster Mage, Saw in Half
Prerequisites – Both cards in hand. You have at least 3 mana available ( for Saw in Half) and a creature on the battlefield (ideally one you control).
Result – Infinite Dualcaster Mage tokens, infinite ETB and death triggers, infinite spell copies, and infinite magecraft triggers.
Variations – This combo is a twist on the classic Twinflame or Heat Shimmer plus Dualcaster Mage combo, which creates hasty tokens that you exile at end step. In contrast, Saw in Half generates permanent tokens (at half stats) and adds death triggers to the mix, so it’s stronger in decks with aristocrats or magecraft synergies.
Execution – Cast Saw in Half targeting any creature, then respond by flashing in Dualcaster Mage. Dualcaster copies Saw in Half, aiming it at itself. The copy resolves first and cuts Dualcaster in half to make two tokens. Each new token copies Saw in Half again, repeating the process endlessly. You end up with infinite Dualcasters, infinite spell copies, and all the ETB or death triggers you could ever want, perfect for a game-winning payoff.
#1. Animate Dead + Worldgorger Dragon
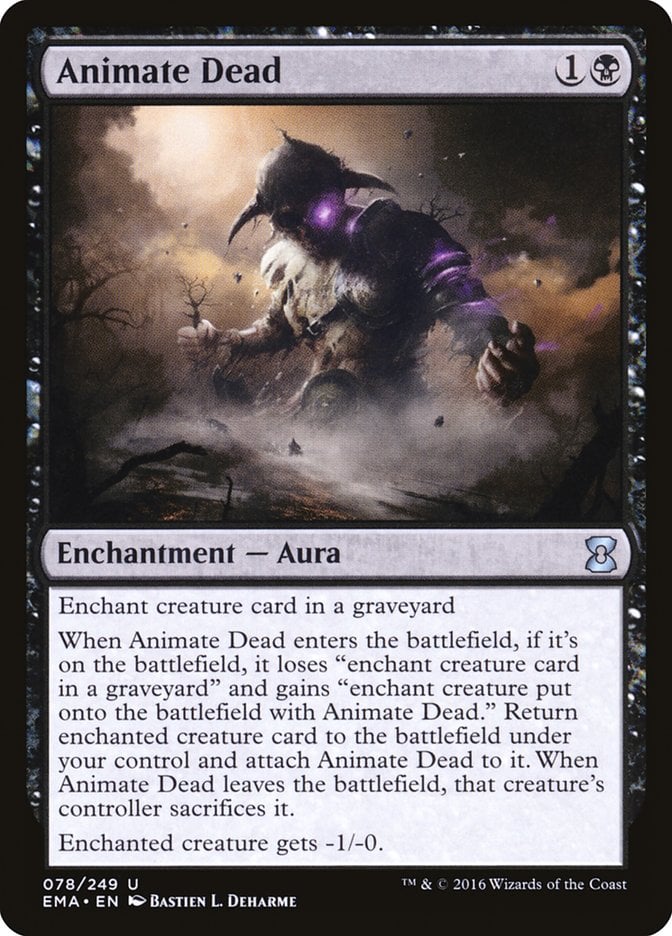
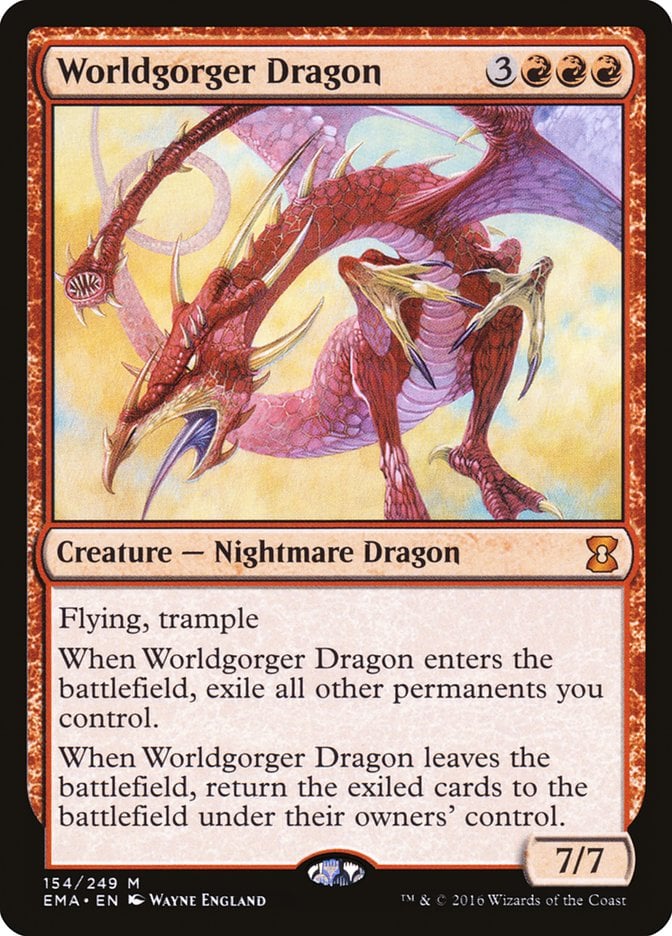
Cards – Animate Dead, Worldgorger Dragon
Prerequisites – Worldgorger Dragon is in your graveyard. You have Animate Dead in hand and at least available to cast it. It’s strongly recommended there be another creature in someone's graveyard to break the loop safely.
Result – Infinite mana of all colors, infinite ETB/LTB triggers, and infinite sacrifice triggers. Typically ends with a win using cards like Exsanguinate, Walking Ballista, or Thassa's Oracle.
Variations – Any aura that reanimates a creature from the graveyard and sticks to it like Dance of the Dead or Necromancy works the same way.
Execution – Cast Animate Dead targeting Worldgorger Dragon. When Worldgorger enters, it exiles all your other permanents including Animate Dead, which causes the Worldgorger to die and everything to come back. Animate Dead returns, so you reanimate Worldgorger again, and the loop repeats. Each time, tap your lands before they vanish to float mana. Do this as many times as you want to generate infinite mana. To break the loop, just reanimate a different creature, then use your infinite mana to win however you like.
Wrap Up
Rowan, Scion of War | Illustration by Magali Villeneuve
While Rakdos is best known for using sacrifice to fuel its combos, that’s far from its only trick. Infinite Treasure generation, direct life drain, and damage loops are all part of this color pair’s brutal toolkit. Whether you’re grinding value or going straight for the throat, Rakdos has no shortage of explosive ways to close out a game.
What do you think? Was there any highly known Rakdos combo we may have missed? Let us know in the comments or on the Draftsim Discord!
Thanks for reading up until now, and if you liked the list, remember to follow us on social media to never miss any update!
Take care, and see you next time.
Follow Draftsim for awesome articles and set updates:


Add Comment