Last updated on September 26, 2024

Nettlecyst | Illustration by Vincent Proce
Greetings! Our time is short, as unfortunately Modern Horizons 2 will be gone from MTGO on July 8. So it’s vital that I quickly impart all of my hard-fought knowledge to you, as there isn’t much time left for you to use it. Well, unless you’re lucky enough to be able to draft the set in person!
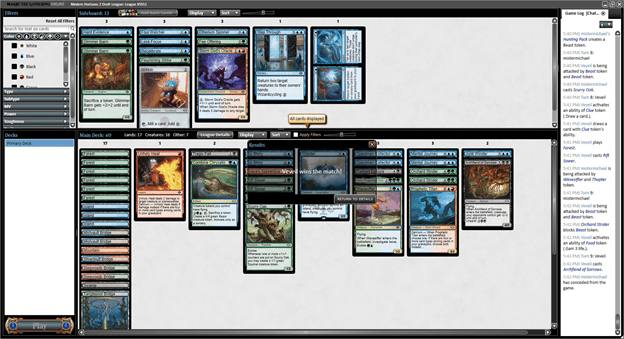
I’m not sure if you know this, but I’m pretty decent at Limited Magic! I started grinding MH2 the day it came out, and here are my results so far:
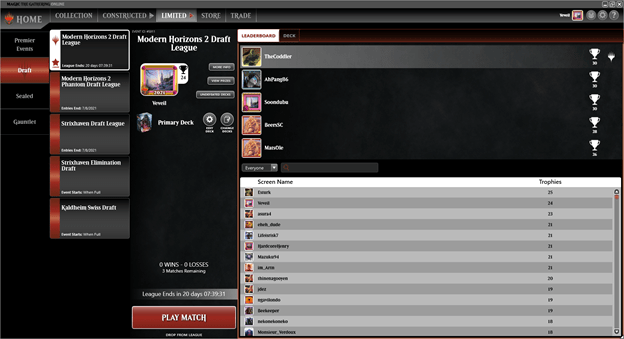
7th place! Sadly, I may as well be unranked.
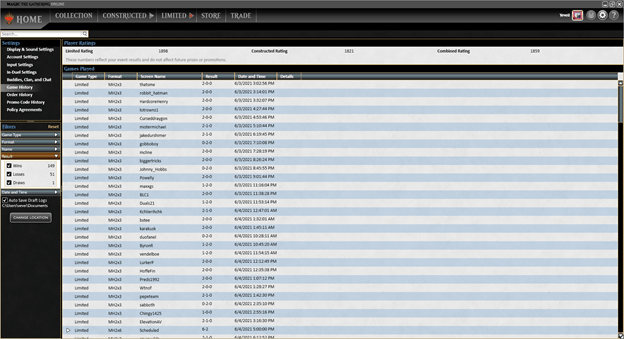
I’ve got a rating of 1898 in Limited at the moment, and my peak in MH2 was around 1970ish. My win rate is roughly 73.9%. I don’t know what colors or archetypes have contributed to this the most as I’ve only been tracking which decks trophy, not archetype records.
With all that said, though, let’s get into it!
Format Architecture
MH2 is a complicated Limited format with a lot going on.
There are ten 2-color archetypes that WotC has directly supported. If you follow me on Twitter, you might have seen the thread I made at the beginning of June going over these. More on each archetype later.
These archetypes overlap well with many adjacent archetypes. Far better than in most Limited formats, at least. For example, Rakdos madness has strong overlap with Dimir discard, as discarding madness cards will still trigger Dimir’s rewards for discarding like with Lazotep Chancellor and Feast of Sanity.
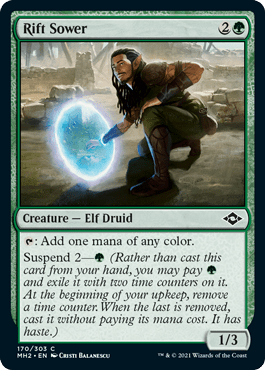
There’s a ton of decent color fixing in this set! There’s a common cycle of artifact ETB tapped dual lands, a common cycle of over-costed spells with “1C: basic land cycling,” two good 5-color mana dorks at common (Ornithopter of Paradise and Rift Sower), plus lots of commons and uncommons that make Treasure tokens.
Complementing the excellent mana fixing is a bevy of overpowered multicolor cards spread out across the set. Prophetic Titan is a great example of a potential 3-for-1 on legs that’s only a single blue or red to splash! There’s also a very strong cycle of converge uncommons, which provide yet another reward for splashing.
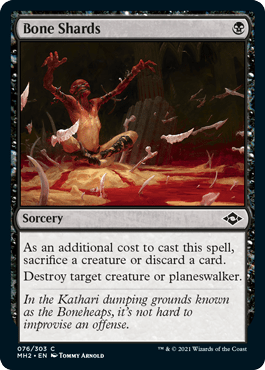
Most of the common removal in this set is pretty efficient, with the standouts to me being Unholy Heat, Mine Collapse, Bone Shards, and Tragic Fall.
This is higher stakes Magic than your normal Limited format. It’s 25 tickets a pop to enter on MTGO and might be around $35 (my LGS’ price) to enter in person. There’s also a lot of rares worth more than the price of entry like Ragavan, the fetches, etc. if you’re lucky enough to open them.
Dimir Discard Matters
Dimir discard is a controlling archetype that looks to leverage various cards that reward you for discarding from your hand. Many of these effects are repeatable and scale well into long games, particularly because excess lands can be pitched as discard fodder. It’s the best archetype for durdly enchantments such as Feast of Sanity, Mystic Redaction, and Scuttletide.
Best Payoffs
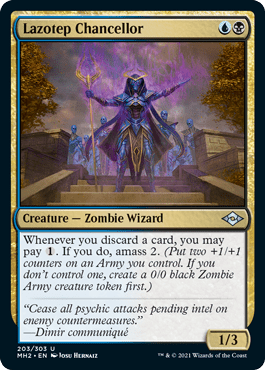
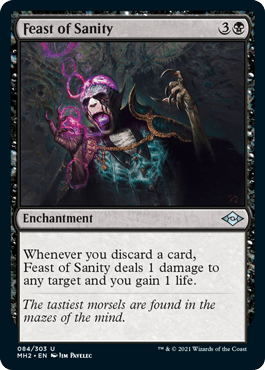
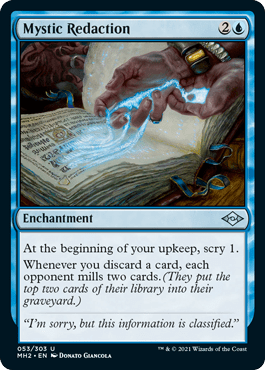
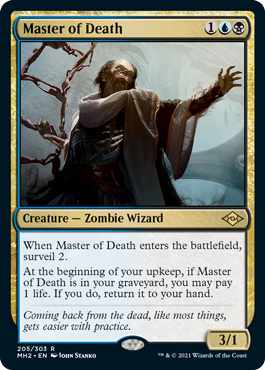
The best payoffs for Dimir are Lazotep Chancellor, Feast of Sanity, and Mystic Redaction. Stacking effects like this plus discard enablers are Dimir’s bread and butter, and you should consider moving in on this archetype when these cards go late in a draft. Finally, if you’re lucky enough to open a Master of Death, keep in mind that one copy of Master can be discarded every single turn to fuel these effects!
Key Commons
There are three classes of commons Dimir cares about: removal, discard outlets, and madness cards.
Removal
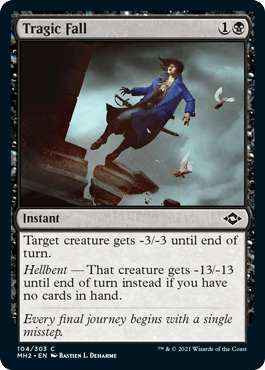
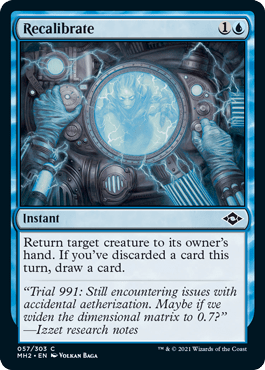
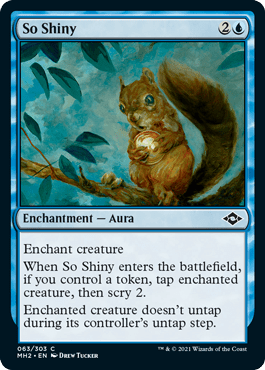
Tragic Fall, Bone Shards, and Recalibrate are all very good in the average Dimir deck. I wouldn’t recommend grabbing So Shiny here as this archetype doesn’t makes a lot of tokens.
Discard Outlets
Discard outlets are obviously vital for triggering uncommon payoffs. Rough list of effectiveness:
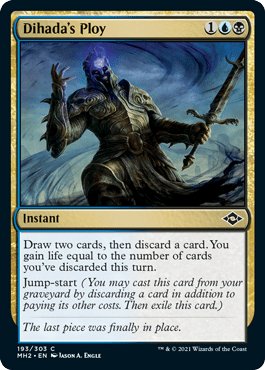
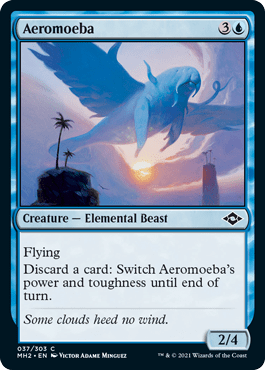
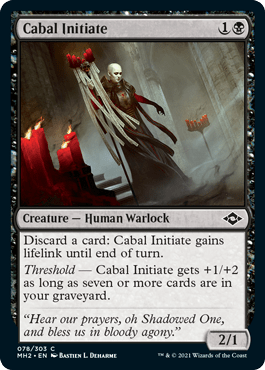
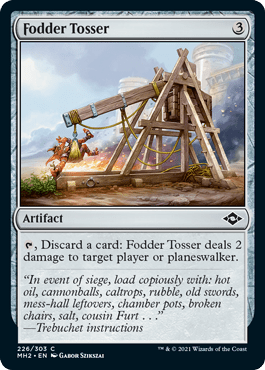
Dihada's Ploy > Bone Shards > Hell Mongrel > Aeromoeba > Cabal Initiate >>> Fodder Tosser.
With the sole exception of the Tosser, which is more of a Rakdos card, I like all of the enablers well enough. Ploy is the best one as it maintains card parity, has jumpstart, and the life gain is relevant.
Madness Cards
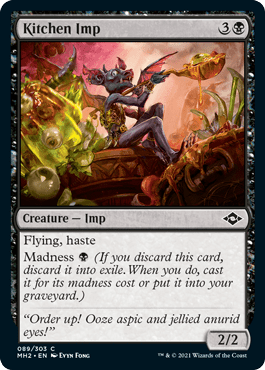
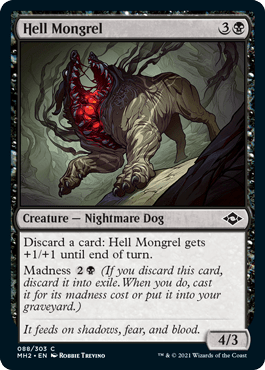
There are only two common madness cards in Dimir. Hell Mongrel is top notch as it’s a well-sized creature that’s both a discard outlet and payoff for discarding. Kitchen Imp looked lame to me at first, but it’s a decent card if you have enough discard outlets.
Archetype Overlap and Splashes
Dimir has excellent overlap with Rakdos madness, as Dimir is a great home for Revolutionist and Terminal Agony. I frequently splash these in this archetype. Prophetic Titan is a common splash as well. Splashing can be accomplished with Ornithopters, artifact duals, and basic land cyclers.
Tips and Tricks
- Lazotep Chancellor and similar effects trigger off of all discard effects, not just cards that say “discard.” This means that you can use Mental Journey, Step Through, and other cyclers to get additional value from your uncommons!
- Playing out lands late game can give you more mana to pay for multiple spell turns but can also cost you raw resources that could’ve been discarded. Try to plan your turns out ahead of time to mitigate this risk and hold one land in your hand to be safe.
- Even dorky madness cards like Kitchen Imp are valuable in Dimir since they allow you to trigger discard-matters effects without losing card parity.
- Gilt-Blade Prowler is a very decent common for this archetype. It provides both an early blocker and a way to stay stocked up on discard fodder.
- Expect to play 17 lands most of the time, even if you have enough cyclers and dorks to manage 16. You can discard excess lands if you need to.
Playing Against It
Killing Dimir’s discard enablers tends to hurt the deck quite a bit. Feast of Sanity is also less scary when your creatures are very large, though it tears through squirrels and Thopter tokens like nothing. Aggro decks should go under it, while most green piles can overpower Dimir late game, especially if you can keep their best payoffs off the table.
Trophy Decklist
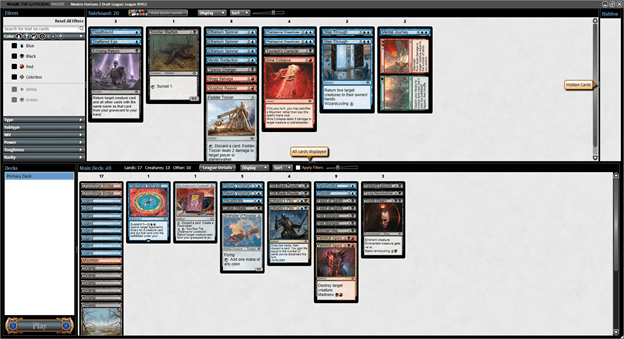
Boros Modular
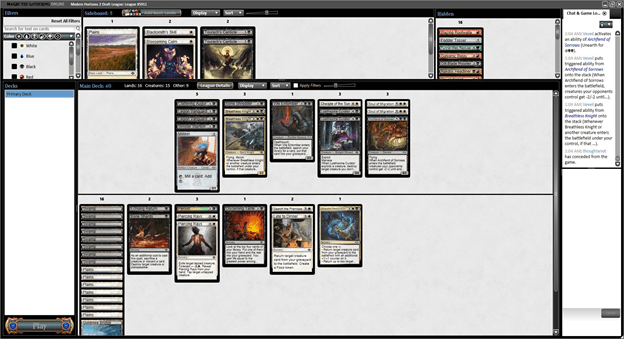
Boros modular is one of the most aggressive decks in the format, but it’s also surprisingly resilient and able to steal longer games thanks to the power of modular. The basics of Boros’ game plan are simple (play artifact creatures, play Arcbound Shikari, bash, move counters if needed), but there’s more nuance to cover.
Best Payoffs
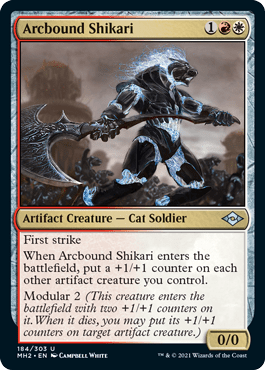
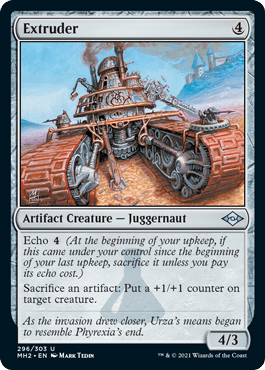
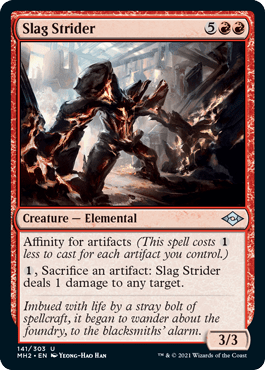

Arcbound Shikari is an obvious one, but some less obvious cards that excel in Boros are Extruder, Slag Strider, and Goblin Bombardment. As anyone who’s played against the Ravager could tell you, sacrifice plus modular is incredibly powerful.
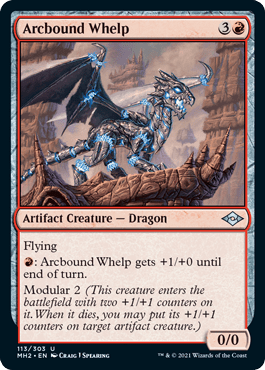
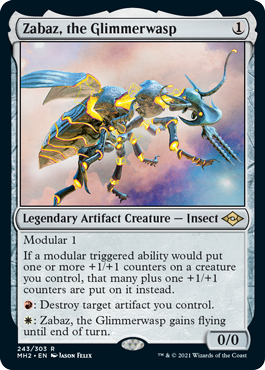
Just having the threat of activation makes combat nightmarish for your opponent. This is also the best home for Arcbound Whelp, which is efficient but mostly unloved in other red archetypes. Finally, Zabaz, the Glimmerwasp is just the metal bee’s knees in Boros modular, and a great reason to force the archetype if you’re passed one.
Key Commons
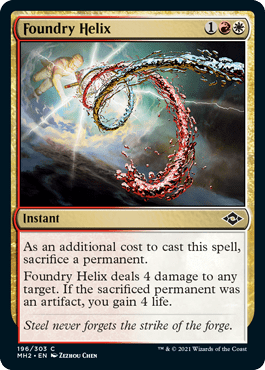
Creature density is everything for Boros (20 creatures and 16 lands sounds good to me), and having a fast mana curve is important. The main exception to this is Foundry Helix, which is a combat trick, win condition, and hyper efficient removal spell all rolled up into one. Rough priority order for common modular creatures:
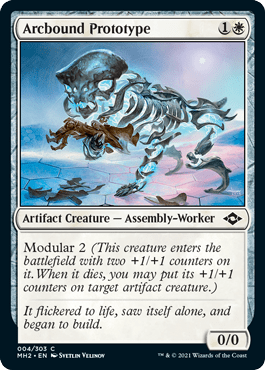
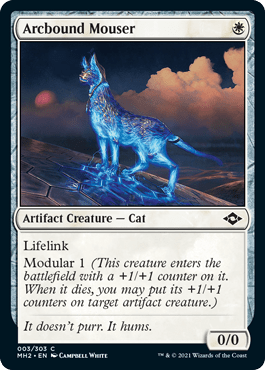
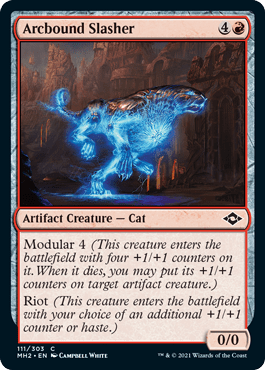
Arcbound Prototype > Arcbound Tracker > Arcbound Mouser > Arcbound Slasher
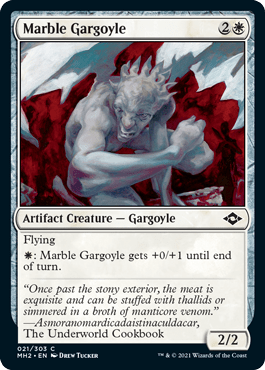
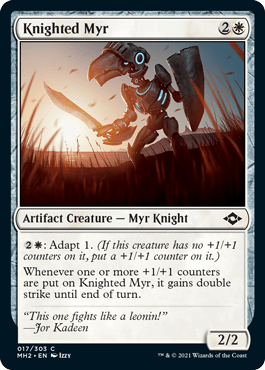
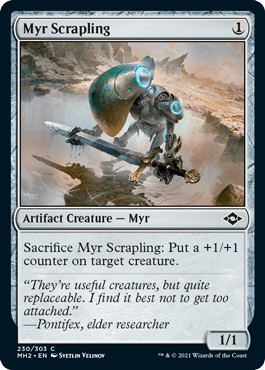
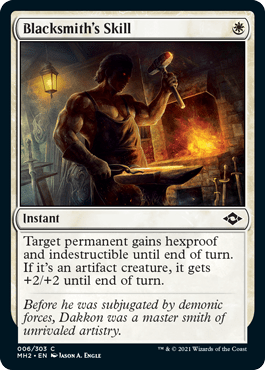
Past these, feel free to pick and play random artifact filler like Marble Gargoyle, Knighted Myr, and Myr Scrapling. Modular creatures are much better if you can get them, but you likely won’t have a deck of 100% modular creatures (though that would be highly desirable). Blacksmith's Skill is also strong in this archetype and well worth a copy or two to protect your stacked up modular creatures.
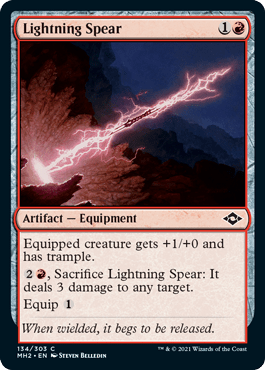
Another card I like in Boros is Lightning Spear. It’s a slightly underpowered equipment and removal spell in a vacuum, but in Boros it’s an artifact, a source of chip damage, and (most importantly) a source of evasion for giant modular creatures.
Archetype Overlap and Splashes
Boros modular’s main overlap is with Azorius affinity, as both decks have enough artifacts to support affinity cards. Tapped lands can be a bit of a bummer in an aggro deck, but Boros has enough synergy with them (Foundry Helix life gain, Extruder sac, affinity cards) to be worth playing. So if you have the right artifact lands, don’t be afraid to splash excellent cards in other colors, even if they’re off theme.
Boros also overlaps a small bit with Selesnya counters as it’s the only other archetype likely to want to play Unbounded Potential.
Tips and Tricks
- More than any other archetype in the format, Boros rewards good combat math and skilled assessment of the current board state.
- Expect your opponent to try and kill your creatures that receive modular counters. The counterplay to this is usually to have a Blacksmith's Skill waiting to blow them out!
- Boros can be incredibly aggressive with a sacrifice outlet in play, as any artifact creature you have can be X/X sizing, where X is the amount of modular junk you have on board plus its base power and toughness.
- Arcbound Mouser and Thopter tokens make for excellent cards to hold modular tokens.
- Try to commit multiple creatures to the board as soon as you can. You’re trying to outpace the number of removal spells your opponent has to make modular insurmountable for them. This is one reason why a high creature density is vital!
Playing Against It
Shatter effects, sweepers, well-timed removal, free removal (Mine Collapse, Seal of Cleansing, Seal of Removal), and more are good ways to fight massive modular board states. Most Boros decks also have little direct card advantage and will lose late game to many other decks. Other aggro decks can also try to go wide against Boros, as sometimes you can just outnumber them and chump their one large modular creature over and over.
Trophy Decklist

This comes from Slatorade as I actually haven’t drafted Boros much. Creature density here is a bit lower than I’d like, but the deck is otherwise very solid!
Izzet Delirium
Izzet Delirium falls somewhere between midrange and control most of the time. It’s generally a grindy deck looking to fill its graveyard over the first few turns and then take over mid-game with powerful effects.
Best Payoffs

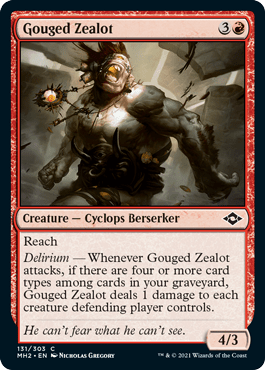

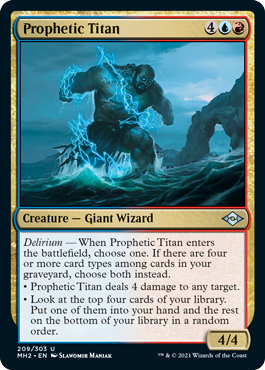
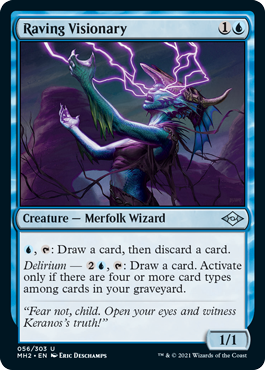
Prophetic Titan is #1, as it’s a 3-for-1 on legs. Sadly, most other drafters know this by now and it’ll be taken and splashed even if Izzet is open. Lucid Dreams, Raving Visionary, and Gouged Zealot, on the other hand, are cards that will pay off nicely for delirium and won’t be instantly splashed by other players.
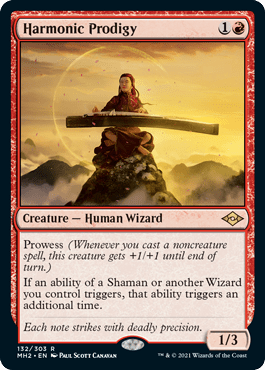
One other interesting aspect of Izzet is that it’s the best home for Harmonic Prodigy, a powerful rare that asks you to play wizards and shamans. Storm God's Oracle is a common shaman that’s already great in Izzet, and there are lots of excellent uncommon wizards and shamans to choose from!
Key Commons
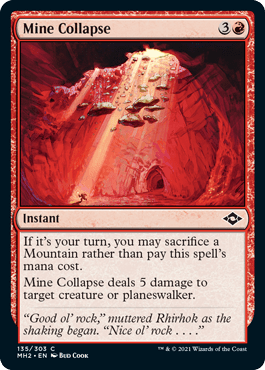

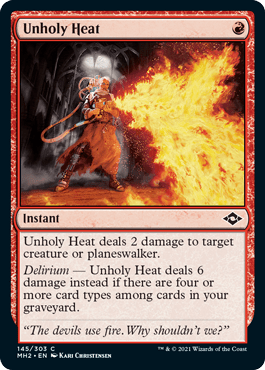
Storm God's Oracle is exceptional as it’s a decent attacker, strong defensive creature, and great source of two card types that’s capable of binning itself if needed. The next best commons are Unholy Heat (premium removal that this deck can realistically achieve) and Mine Collapse (decent removal that can help achieve delirium by sac-ing a Mountain).
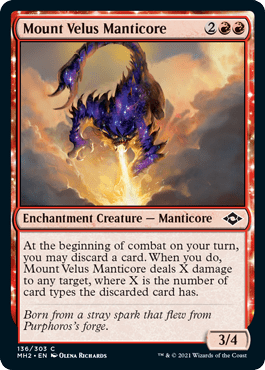
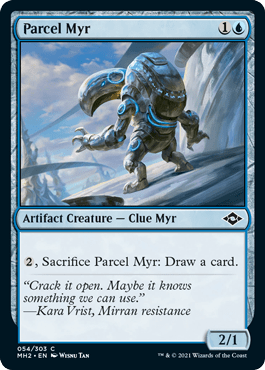
Mount Velus Manticore is also good. It’s an enchantment creature, source of discard to complete delirium, and a decent blocker. After that, Izzet delirium has no real set pick order and can tap into mediocre cards like Lightning Spear, Parcel Myr, Battle Plan, and more to help bin less common card types.
Archetype Overlap and Splashes
Izzet delirium has exceptional overlap with a number of archetypes since its core theme isn’t all that demanding and its best card is so frequently splashed by others. Black has one of the best delirium enablers in the set (Discerning Taste) at common, and green provides a good stuff base to splash titan. White artifacts is the main archetype that doesn’t much overlap with Izzet delirium, although Chrome Courier is actually excellent to achieve delirium.
Tips and Tricks
- Pure Izzet is rare and is probably best built as more of a tempo deck than pure control. This is the best home for Foul Watcher, which I’ve otherwise been unimpressed with as it’s too aggressive and low value for most Izzet piles.
- The easiest way to set up delirium is to play a strong mix of card types alongside self-mill effects and a bit of discard. Artifacts and enchantments that bin themselves like Seal of Removal, Battle Plan, Parcel Myr, etc. are particularly good.
- Artifact lands can be useful in hitting delirium as well, so long as you have some way to discard or mill them.
- Tabling Storm God's Oracle is a good sign that you might want to move in on UR, as the card is very good!
- If you’re using discard to set up delirium, consider playing a few madness cards as well, particularly Revolutionist.
Playing Against It
Graveyard hate can cut off delirium if needed, though most delirium cards are passable without it. The best way to beat Izzet is usually to try to line your cards up well against theirs, which can take a number of forms. Not letting Storm God's Oracle 2-for-1 you, trying not to tap for x/4s before a titan is played if you can, killing Gouged Zealot before it sweeps your squirrels/Thopters, etc.
Trophy Decklist
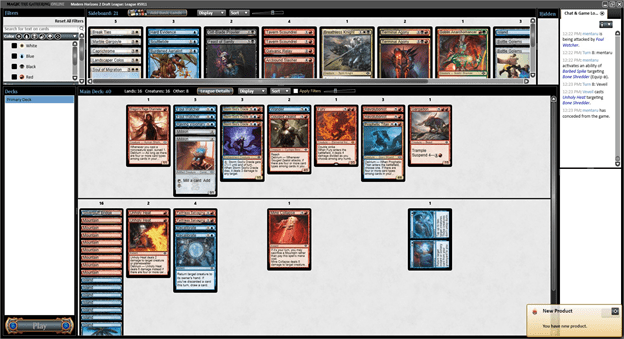
This was a pure Izzet deck I drafted. I was quite happy with this deck as it was very delirium focused. Millikin was an all-star here as a cheap artifact that helped set up delirium and accelerate to our 6-drops.
Rakdos Madness
Rakdos madness is an aggressive deck looking to pull off explosive turns with the madness mechanic. Rakdos can be built as either a hyper aggro deck or a bit more midrange-y with cards like Revolutionist.
Best Payoffs
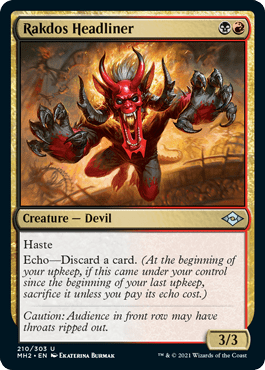
With enough madness cards, Rakdos Headliner is a 2-mana 3/3 haste with upside, which is completely absurd! Headliner is definitely the head attraction for aggressive Rakdos builds, since a lot of what makes the rest of the deck tick is just having a good curve, strong removal, and the right density of madness commons and discard outlets.
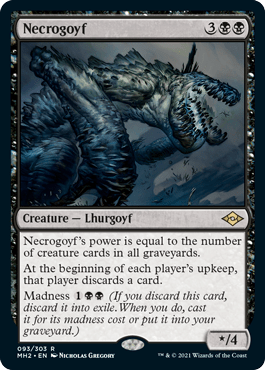
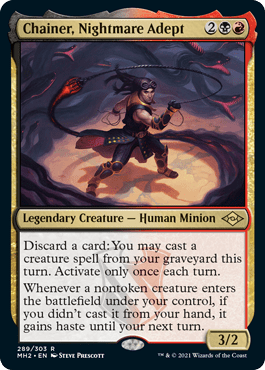
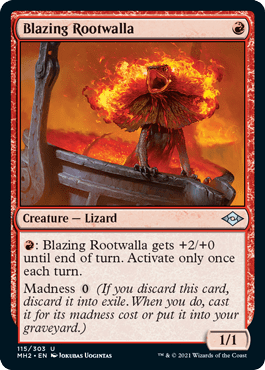
Necrogoyf and Chainer, Nightmare Adept are both amazing rares for this archetype, but neither are necessary to have a good Rakdos deck. Blazing Rootwalla is also worth a mention as a free madness creature with a decent pump ability, though it brawls poorly with Squirrel tokens and Thopters.
Key Commons
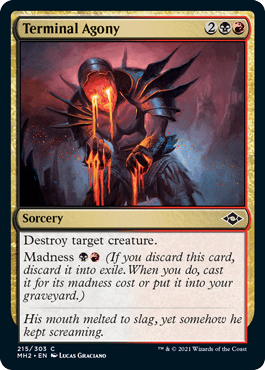
Terminal Agony is arguably the most important common in Rakdos. It’s very often Terminate in this deck and is essential for pushing tempo and removing blockers. Hell Mongrel is easily the #2 common as it’s a strong aggressive card, a discard outlet, and even has madness.
Madness Commons
Rough order for picking madness commons:
Terminal Agony > Hell Mongrel > Kitchen Imp > Skophos Reaver / Revolutionist
Enabler Commons
As far as enablers go, a rough order for picking those:
Hell Mongrel > Bone Shards > Viashino Lashclaw > Cabal Initiate > Mount Velus Manticore > Fodder Tosser
Viashino Lashclaw is a common with little use outside of aggressive Rakdos decks, but it’s quite solid here and a key enabler for the most busted openers. Having a curved mix of all of these (two Mongrels, one Bone Shards, one Lashclaw, one Initiate, and one Tosser) is generally better than having just a lot of one slot (five Mongrels).
Archetype Overlap and Splashing
As I mentioned already, Rakdos has strong overlap with Dimir and will frequently splash Prophetic Titan. Its best commons are also in high demand from Dimir, so draft your copies highly!
Tips and Tricks
- Madness doesn’t obey sorcery timing restrictions, which is a key reason why Terminal Agony is so good.
- To expand on this above point, you can use discard outlets to “flash in” Hell Mongrel as a blocker or add extra surprise attackers during your opponent’s end step.
- Viashino Lashclaw plays counter to the above patterns, and you’d do well to get in free haste damage when you can.
- As with Dimir, holding excess lands is a decent idea to power up cards like Fodder Tosser, Hell Mongrel, and the like.
- Your exact Rakdos build may vary a bit as Revolutionist is strong in bigger builds and so-so in creature-dense builds.
Playing Against It
Killing madness enablers slows this deck down quite a bit, and a slow Rakdos opener is generally not going to go over the top of most other archetypes in this format. Cheap spot removal like Tragic Fall, Unholy Heat, and the like are your best defenses against this deck. Try to leave multiple blockers if you can because Rakdos has access to a ton of cheap, high-quality removal.
Trophy Decklist
This was a bigger, honestly slightly underpowered build of Rakdos madness, mostly due to a high curve and low number of discard outlets. I played 18 lands to compensate for how many 6-drops I had. Most builds should be leaner and more aggressive than this deck was, though I trophied regardless.
Simic Junk
Simic junk is a fun, grindy archetype looking to make a bunch of small artifacts and tokens (usually Food, Clues, and Treasure) and get extra value from them in a variety of ways. It’s flexible and very often splashes for other colors to play powerful cards and advance its synergies since it has access to both base green fixing with Rift Sower and Treasure tokens.
Best Payoffs
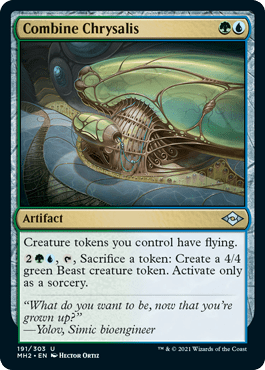
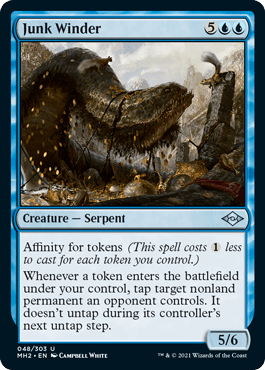
Combine Chrysalis and Junk Winder are the biggest non-rare payoffs for amassing a lot of token junk in play. The Chrysalis lets you upgrade Treasures, Foods, or Crabs into 4/4 flying beasts, while the Winder is an under-costed beater that goes wild with token generators to repeatedly tap your opponent’s creatures.
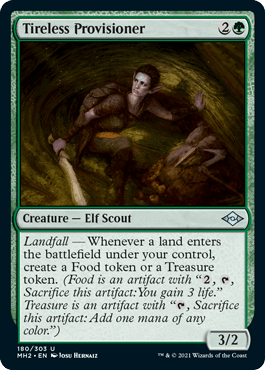
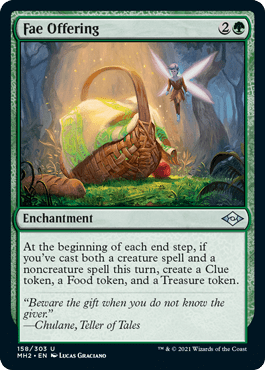
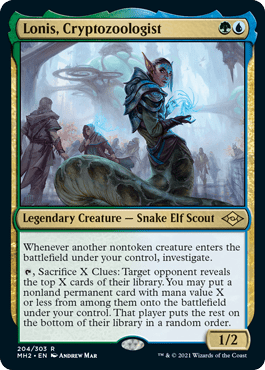
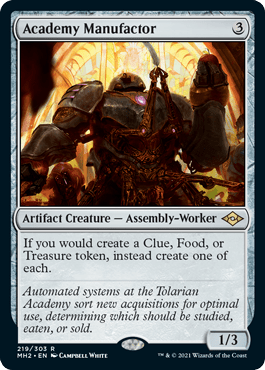
The best uncommons for making lots of fodder for other cards are Tireless Provisioner and Fae Offering. If you’re lucky enough to get either of them, both Lonis, Cryptozoologist and Academy Manufactor have incredible potential in this archetype.
Key Commons
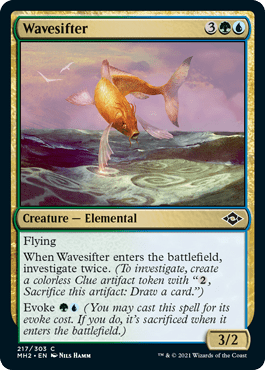
Wavesifter is one of the best commons in the set in general, but it’s especially good in Simic decks where the Clues have extra value. Outside of Wavesifter, here’s a rough ranking of some of the best commons that make tokens:
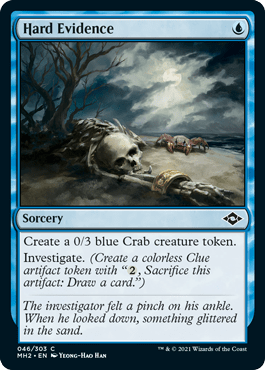
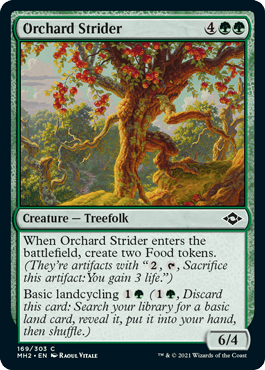
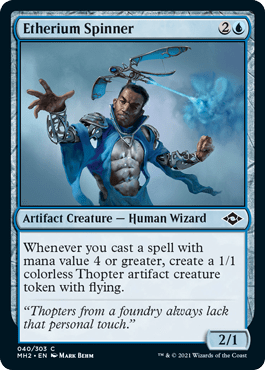
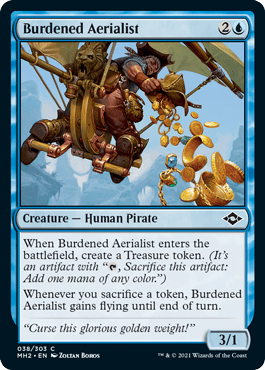
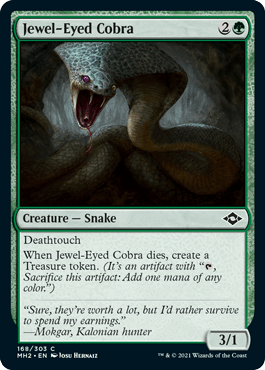
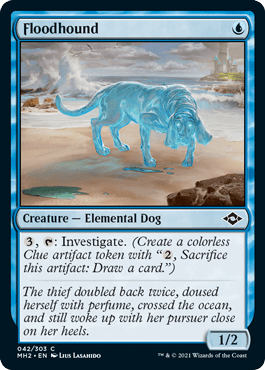
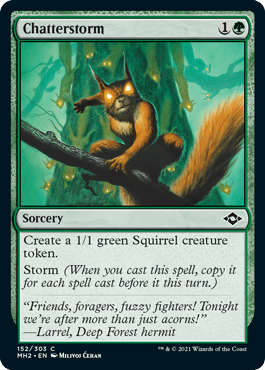
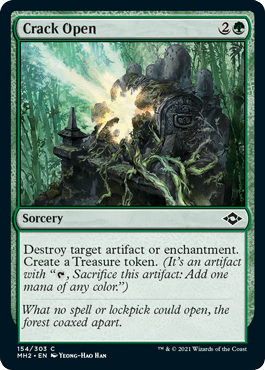
Hard Evidence > Orchard Strider > Etherium Spinner > Burdened Aerialist > Jewel-Eyed Cobra > Floodhound > Chatterstorm/ Crack Open
A mix of these is nice, though Hard Evidence is really the best as its two tokens for one mana and a fine spell on its own. Orchard Strider is a solid late game card (two tokens plus decent body) that also increases your deck’s ability to splash and its consistency for free. The 3-drops are somewhat interchangeable, but the Spinner is my favorite. Floodhound is cute and potentially worth playing with enough payoffs, though cracking Clues is a mana sink itself, so it can be difficult to find time to activate it. Especially against aggressive decks.
Simic has weak removal in color. Smell Fear is lackluster at best in most Simic decks because of poor creature sizing and a lack of +1/+1 counter synergy. The sole exception to this is So Shiny, which plays well in this archetype. Expect to splash removal from other colors often in this archetype.
Archetype Overlap and Splashing
Simic is among the most likely decks to splash in this format. Its base theme overlaps well with Azorius affinity (artifact tokens make hitting affinity easy) and Golgari squirrels (easy access to more tokens). It also has some overlap with Gruul storm thanks to them both enjoying cards like Fae Offering and Tireless Provisioner. Pure Simic decks are certainly going to be rarer than shells.
Tips and Tricks
- Correctly managing your tokens is key to success, as chumping too early with Crabs/Squirrels gimps payoffs like Junk Winder and Combine Chrysalis.
- Clue tokens can be used for effects like Combine Chrysalis if needed but are often best cracked as drawing cards can lead to more fodder through other payoff cards.
- Etherium Spinner is a great common for this archetype, as an Evoked Wavesifter will still produce Thopter tokens.
- Simic decks tend to have above average late games and are often slow to start. Plan to spend your first few turns protecting your life total and setting up for later turns (Hard Evidence does both).
- If you want to know if this archetype is open in draft, be on the lookout for late Junk Winders!
Playing Against It
Gorilla Shaman is a pretty decent hate card for this archetype. It’s very efficient at sniping tokens at one mana each. Killing Junk Winder is important as well, so try to save any removal you have that could kill it until it shows up. Most archetypes will want to go under Simic, particularly if it has a slow start.
Trophy Decklist
I trophied early on in the format with this build of Simic with two splashes. Hard Evidence should definitely not have been in my sideboard, as it’s excellent with Junk Winder/ Combine Chrysalis. I would’ve likely played Fae Offering as well if I rebuilt the deck now.
Orzhov Reanimator
Orzhov reanimator is a versatile archetype in this format. It has both the potential to do broken things (turn 4 Archon of Cruelty) and a solid midrange game plan if that fails. Most Orzhov decks feature a mix of reanimate fatties, ways to bin cards, Breathless Knights, and removal spells/curve filler.
Best Payoffs
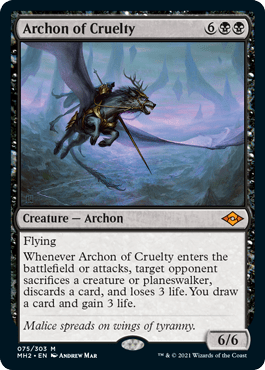
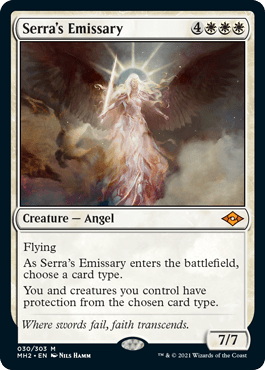
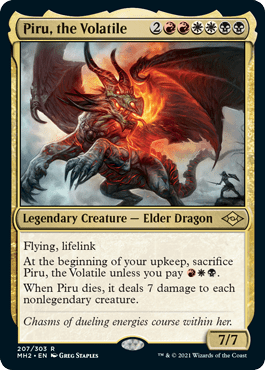

The best thing Orzhov can do is giant fatty plus reanimation, so the best payoffs are the most busted creatures and the most efficient reanimation spells. The best targets to bring back reanimator are giant, unbeatable rares, namely Archon of Cruelty, Serra's Emissary, and Piru, the Volatile.
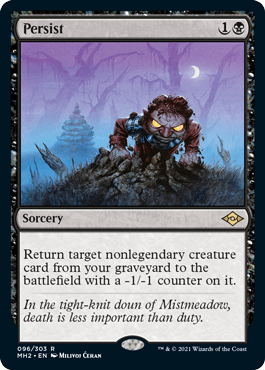
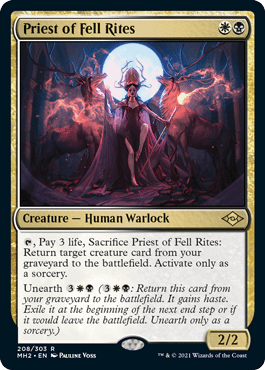
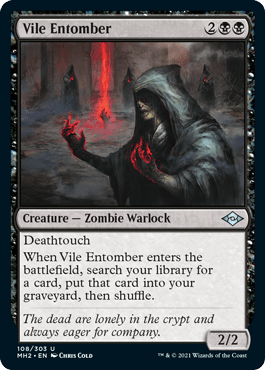
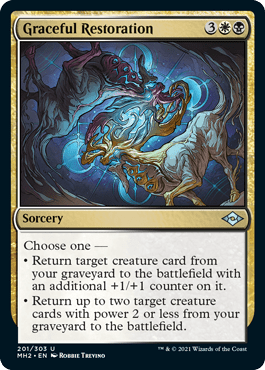
The best reanimation spells in the set are two rares, Persist and Priest of Fell Rites. Outside of rares (which Orzhov definitely craves more than some other archetypes), Vile Entomber, Young Necromancer, and Graceful Restoration are the best uncommons for Orzhov. Restoration is particularly efficient as many of this archetype’s key commons have two power.
Key Commons

Breathless Knight is a nice reward for reanimation and a strong incentive to base Orzhov. 2/2 flying lifelink is pretty fine on its own for 1BW, but the Knight can spiral out of control with cards like Graceful Restoration.
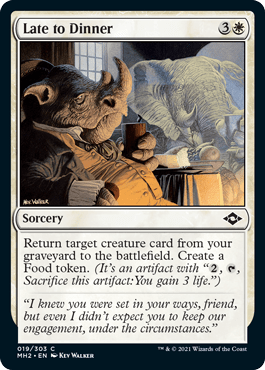
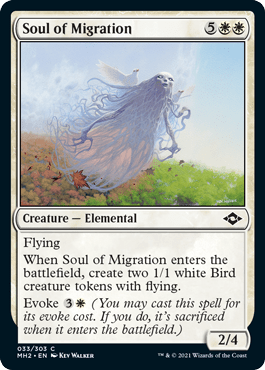
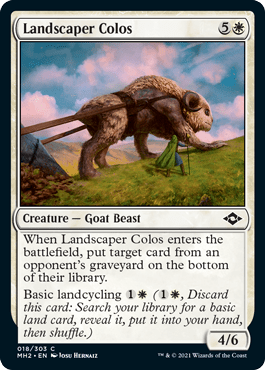
Late to Dinner is the next most important common since it’s the only common reanimation spell and is quite efficient. Two other commons of particular value to most Orzhov reanimator are Soul of Migration and Landscaper Colos, both of which are at their best in Orzhov. Both Colos and Soul can bin themselves for Late to Dinner without needing any other cards.
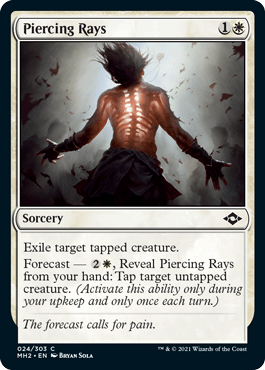
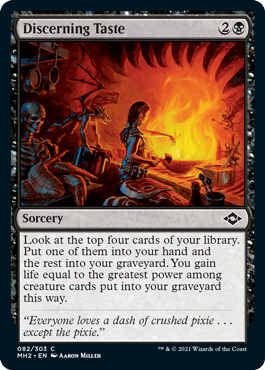
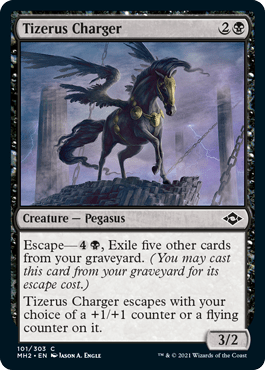
Beyond those cards, you’ll want a mix of efficient removal (Tragic Fall > Bone Shards > Piercing Rays), a mix of graveyard enablers (Discerning Taste > Hell Mongrel > Cabal Initiate), and some filler. Tizerus Charger is usually worth a copy or two in Orzhov, particularly if you have Breathless Knight or Discerning Taste.
Archetype Overlap and Splashing
Orzhov already wants Landscaper Colos, which makes light splashes of another color a solid fit. As far as archetype overlap goes, this archetype overlaps a bit with Dimir discard and Rakdos madness as discard effects are already somewhat desirable to bin fatties), while having very little overlap with Golgari squirrels and Azorius affinity.
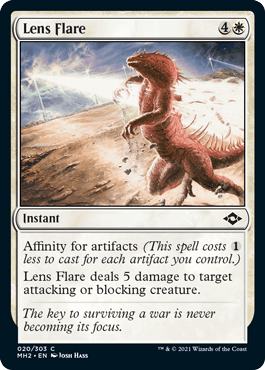
Most Orzhov decks won’t have a very strong artifact theme, and avoiding cards like Lens Flare, Ethersworn Sphinx, and Sojourner's Companion is generally wise.
Tips and Tricks
- Having a variety of graveyard enablers is important. Discerning Taste plus a few discard outlets will help you find your Piru, the Volatile and also let you bin it if you happen to draw it early.
- Breathless Knight is an all-star in Orzhov and is even a worthy reanimation target on its own thanks to how its ability is worded. If you bring back two Knights with Graceful Restoration, you’ll have two 4/4 flying lifelink-ers for 3BW!
- Be aware of the small amount of graveyard hate that exists in this format. At instant speed, Break Ties, Verdant Command, Blessed Respite, and Endurance can fizzle your reanimation spells.
- Unless you’re combo-ing your opponent out with an early fatty, Orzhov plays like a pretty standard midrange deck. Expect to play control against aggro and play the beatdown against decks like Simic junk.
- Try not to trade Breathless Knight away against aggro if you can, as lifelink beats can do a lot of work in keeping you alive. The exception to this rule is if you’re trying to set up a 2-for-1 with Graceful Return or need to use a Late to Dinner rotting in your hand.
Playing Against It
Graveyard hate is at its best against Orzhov, particularly if your opponent shows you any of the truly busted reanimator payoffs like Archon of Cruelty or Piru. This is the matchup to board in your Tormod's Cryptkeeper if you have it. Flourishing Strike is also solid here as Orzhov decks tend to have a lot of fliers. If you can kill their Knights and stop their most broken draws, they’ll often find themselves getting out-grinded late game.
Trophy Decklist
This was a decent Orzhov deck with a nice mix of removal, enablers, and some fatties to reanimate. I was lacking any of the sexy rares for this archetype but still pulled off a solid 3-0.
Selesnya Counters
Selesnya counters is another dedicated aggro deck and competes with Boros for the spot of the format’s most aggressive archetype. This archetype has explosive draws, massive creature sizing, and even a bit of late game hope thanks to cards like Bannerhide Krushok.
Best Payoffs
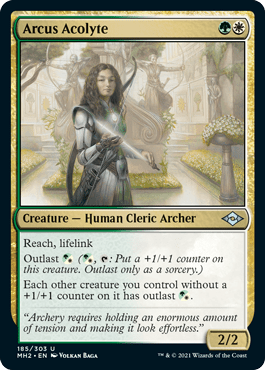
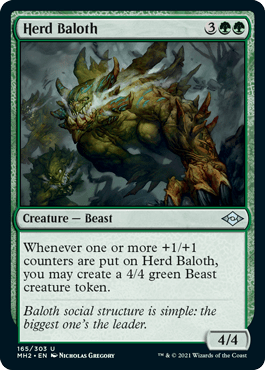

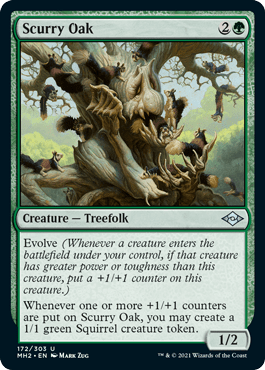
Arcus Acolyte is one of the best reasons to be Selesnya. It’s a hyper efficient creature that lets all of your other creatures outlast at least once. Herd Baloth, Monoskelion, and Scurry Oak are other uncommons that play very well in this archetype. They each provide unique benefits for stacking them up with +1/+1 counters.
On the whole, though, Selesnya counters is a deck that can be effectively built without needing many higher rarity cards.
Key Commons
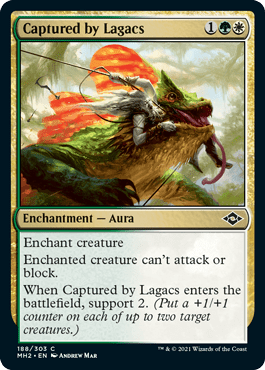
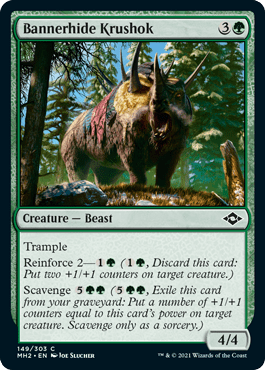
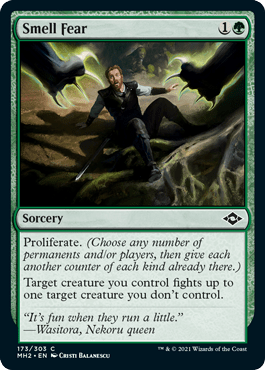

Captured by Lagacs is unbelievably good, and a sure sign you should consider drafting Selesnya if you get one late. Outside of Captured, which Selesnya would play basically infinite copies of if it could, Bannerhide Krushok is definitely the #2 common because of its mix of power, flexibility, and efficiency. Smell Fear is also much better in Selesnya than in other decks as the archetype has large creatures plus it wants the proliferate.
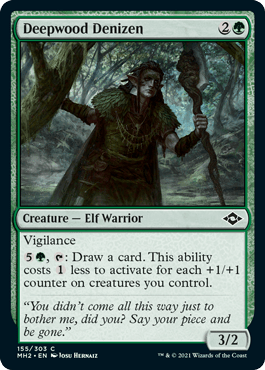
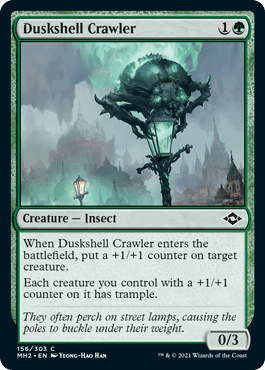
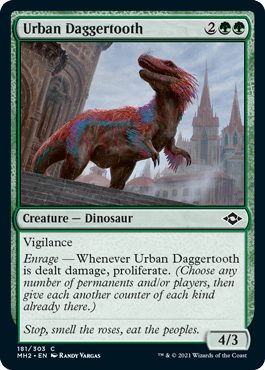
Other cards that are particularly effective in Selesnya are Deepwood Denizen (efficient card draw is rare in aggro decks), Unbounded Potential (excellent combat trick here), Duskshell Crawler, and Urban Daggertooth. Basically, just look to build an efficient curve with 17+ creatures, a few good pump spells, some captured, and 16 lands.
Archetype Overlap and Splashing
The most aggressive Selesnya decks shouldn’t splash as it costs tempo in the form of tapped lands or cycling for basic lands with Orchard Strider or Landscaper Colos. But some decks are more midrange-y, in which case splashing is fine. Arcus Acolyte is a good enough card to play in less aggressive decks.
A key decision with Selesnya is whether to mostly eschew artifacts or try to lean into modular synergies. Modular gives you a base of +1/+1 counter friendly creatures to proliferate, but many of the best Selesnya payoffs like Arcus Acolyte and Herd Baloth aren’t artifact creatures themselves. Finding the right balance for your deck is important.
Tips and Tricks
- Bannerhide Krushok is a 4/4 trampler for four mana, an efficient 2-mana combat trick, and a 7-mana aura late game if you use the trick or it dies. It’s unbelievably good, and its 7-mana mode often comes right before your opponent can stabilize.
- Try to save cards like Unbounded Potential and Captured by Lagacs until you can maximize the number of +1/+1 counters they put on your creatures, particularly if you’re trying to set up a Herd Baloth.
- Don’t be afraid to mulligan do-nothing hands with this deck. A smooth and synergistic six is much better than a clunky seven in Selesnya.
- Urban Daggertooth plus Smell Fear equals two proliferates.
- Deepwood Denizen can actually let Selesnya play the control deck in certain matchups. Consider boarding in removal like Soul Snare, Crack Open, Piercing Rays, or Foundation Breaker against Boros modular and taking a more defensive posture, especially on the draw.
Playing Against It
Winning against Selesnya is all about not playing too hard into combat tricks or Captured by Lagacs. If you can afford to, try to leave back blockers so you can double block +2/+2 or still have blocks after Lagacs plus support two. Losing life early will reduce your options against Selesnya later. Boros modular can take advantage of Captured with Foundry Helix and is usually the aggressor in this matchup.
Trophy Decklist

This was a mediocre deck, but I trophied thanks to a good curve and Vectis Gloves. 17 lands was unusual but played fine as Mishra's Factory is more of a “spell” anyways. I would’ve cut Orchard Strider for Jade Avenger were I to rebuild this deck.
Azorius Affinity
Azorius is another artifact heavy archetype, though it’s usually less aggressive than Boros. This archetype wants to stack up affinity with Thopter tokens, spells, and artifact lands and then plop down under-costed beaters and take over the board.
Best Payoffs
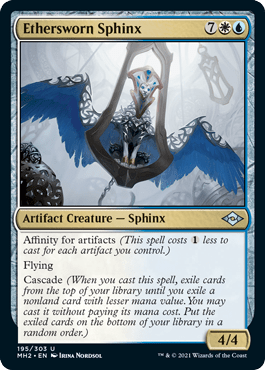
Ethersworn Sphinx is phenomenal, though it’s sadly so good that other drafters will often take or splash it. Aside from the sphinx, Barbed Spike and Filigree Attendant are really nice in this style of deck. Nettlecyst gets an honorable mention as an absurdly busted rare for blue artifacts, though you’ll rarely be passed one.
Key Commons

Sojourner's Companion, Chrome Courier, and Etherium Spinner are the best three commons for this archetype. You should probably pick Companion first as it’s good in any deck with enough artifacts. Spinner is particularly valuable in Azorius because of how well it plays with affinity by generating cost-reducing Thopters and it rewards you for playing big cards on the cheap.
Artifact lands should be taken very highly in this archetype, as they make all of your affinity cards better and enable free splashes. Efficient removal like Lens Flare and Piercing Rays are important too, though I’d generally take them below artifact lands if I don’t already have a couple.
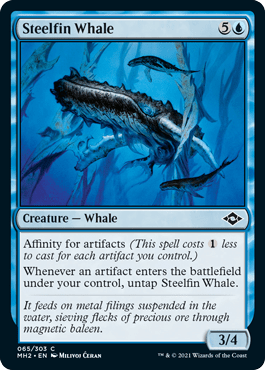
The rest of the deck can be filled out with passable quality artifact creatures like Knighted Myr, Marble Gargoyle, and Arcbound Prototype. Steelfin Whale also gets a nod as a solid inclusion in this archetype, though I’d never prioritize it over the top three commons.
Archetype Overlap and Splashing
Azorius has excellent overlap with Boros modular and often splashes Foundry Helix or Shikari. It doesn’t overlap much with any other archetypes but can easily splash their best cards thanks to off-color artifact lands plus Sojourner's Companion, both of which it should already be prioritizing. Azorius is also an excellent home for Sweep the Skies.
Tips and Tricks
- Always keep a close eye on your artifact count. You’ll want to plan your plays out several turns in advance for the best Sojourner's Companion/ Steelfin Whale turns.
- It’s generally better to cast affinity cards for as cheap as you can manage unless you’re very flooded with lands and have nothing else to do.
- Try not to cycle Sojourner's Companion unless you know you need to for land drops or a splash card on curve, as a 0-mana 4/4 is a sad thing to waste.
- Azorius can play a tempo game or a value game, depending on your build and the game state. Some decks play out like scrappy skies decks, and others are just looking to bridge artifacts/fixing into busted late game plays.
- Disciple of the Sun isn’t an artifact creature, but it’s still very solid in any Azorius deck with multiple Chrome Couriers.
Playing Against It
Every single Crack Open, Seal of Cleansing, Foundation Breaker, and the like should be coming in for game 2 or game 3 if you have them. Early blockers are less important against Azorius as they tend to win with either medium sized creatures or Thopter beats. Other than that, it’s a pretty versatile archetype, so try to adjust to whatever removal spells and bombs you’ve seen from your opponent. And try not to get blown out by 1-mana Lens Flares.
Trophy Decklist
Not my trophy, but this was a nice Azorius artifact deck drafted by Slatorade. The red splash is just for Foundry Helix, though the red lands are still useful for casting Sojourner's Companion and Ethersworn Sphinx ahead of schedule. Extruder is very scary here, as every single creature in this deck is an artifact plus it can sacrifice artifact lands.
Golgari Sacrifice/Squirrels
Squirrels! They may look a bit meme-y at first, but Golgari squirrels can be surprisingly powerful in MH2. This archetype has a few flavors ranging from squirrel tribal, synergistic sacrifice with squirrels as fodder, midrange with lots of splashes and little synergy, or a mix of everything.
Best Payoffs
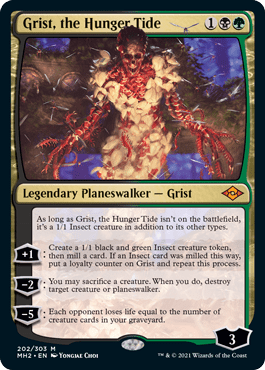
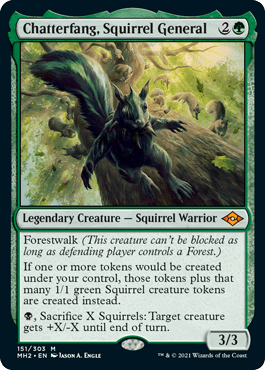
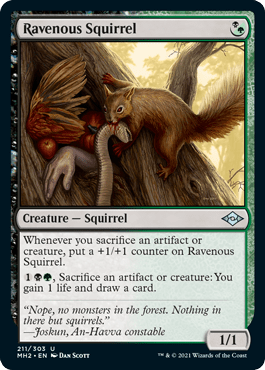
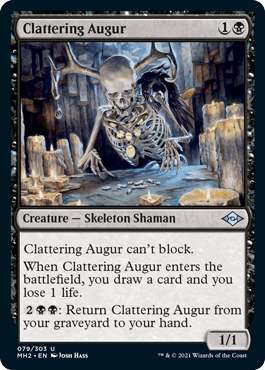
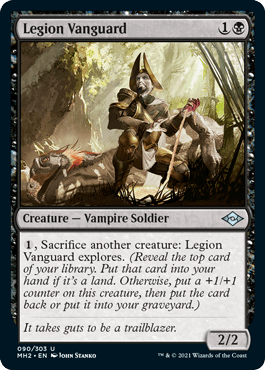
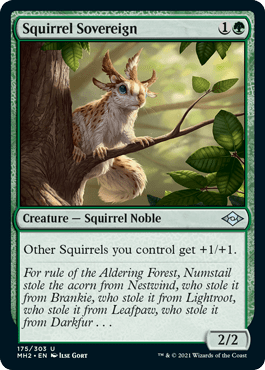
Grist, the Hunger Tide and Chatterfang, Squirrel General are mega-bomb mythics that provide strong incentives to build Golgari squirrels/sac style decks. Aside from the rares, some of the best uncommons for this archetype are Ravenous Squirrel, Scurry Oak, Clattering Augur (endlessly recur-able fodder), and Legion Vanguard. If you’re going heavy on the squirrel theme, Squirrel Sovereign is also a priority, though it’ll underperform in builds light on squirrels.
Key Commons
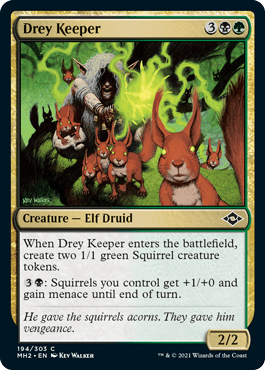
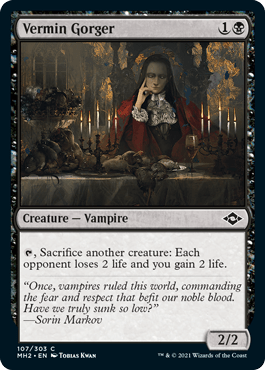
Drey Keeper is strong and a good signal for Golgari being open if it goes late enough. Other than the Keeper, this archetype wants to prioritize removal (Tragic Fall > Bone Shards >>> the rest), Vermin Gorger (only common sac outlet), and solid cards for the curve.
Be careful not to end up with too many 5-drops as you’ll want to limit yourself to three to four of them at most. Most of my Golgari decks are happy to play one Tizerus Charger as well, though you don’t need to prioritize it.
Archetype Overlap and Splashing
Golgari is flexible and very capable of splashing. It’s a grindy deck with access to lots of potential mana fixing. It overlaps somewhat with Simic junk (sacrificing artifact tokens pumps Ravenous Squirrel) and Orzhov reanimator (Graceful Restoration can bring back multiples of Drey Keeper, Legion Vanguard, Vermin Gorger, etc.). Expect to splash Wavesifter a lot.
Tips and Tricks
- Knowing when to play squirrel synergy cards and when not to is important for building optimal Golgari decks. Avoid playing cards like Squirrel Sanctuary or Squirrel Sovereign if you only have minimal incentives to do so.
- Threat of activation on Vermin Gorger and Legion Vanguard is powerful, so you should generally always be activating them on your opponent’s turn, usually accompanying a chump block.
- If you fear that a sweeper is coming, play out creatures that will survive it or just start activating your Drey Keepers and pushing for damage.
- Good sideboarding is important for success in this archetype. You can upgrade curve filler into sideboard cards in many matchups. Board Tourach's Canticle against durdly decks, Crack Open against artifact decks, and Flourishing Strike against decks with fliers.
Playing Against It
Golgari is generally weak to fliers and sweeper effects like Archfiend of Sorrows and Fast // Furious, though it definitely has tools to handle fliers if needed with removal, Flourishing Strike, or Funnel-Web Recluse. Golgari can also be a bit slow to set up as many of its cards are small and underwhelming at blocking for their cost.
Trophy Decklist
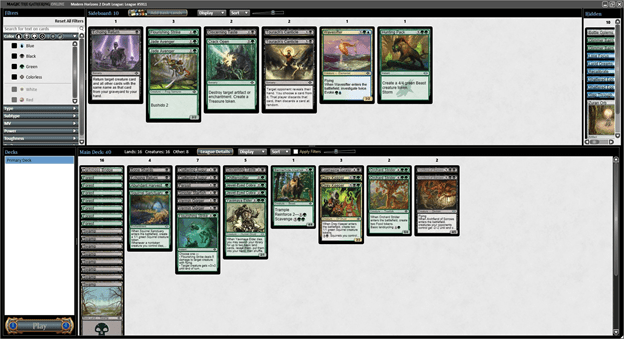
This was a solid Golgari deck with a sacrifice theme, some Drey Keepers, and two Archfiends. In retrospect, I would’ve splashed Wavesifter since I had enough fixing.
Gruul Storm
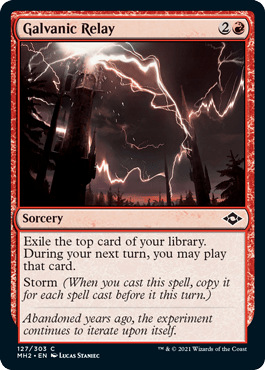
Gruul storm is a thing in this set, though it may not play out quite how you expect it to. Instead of fixating on ending the game in one giant turn, this archetype is looking to combine cost reduction with effects like Galvanic Relay to pull ahead in cards/tempo and ride incremental advantages to victory.
Best Payoffs
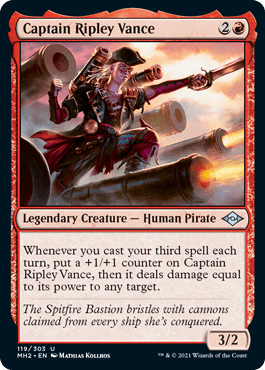
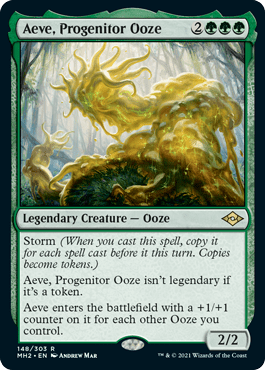
Captain Ripley Vance and Fae Offering are two of the best payoffs for this archetype. They play well together and with most of the commons this deck wants. Aeve, Progenitor Ooze is a proper rare for this archetype with an exciting payoff for casting lots of spells in one turn, though triple green is annoying.
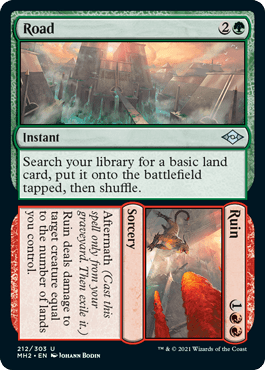
Road // Ruin is absurdly good and worth picking over any of the above cards, but that has less to do with storm and more to do with how good it is on its own. Having ramp to Ruin later is admittedly nice for setting up a big storm turn.
Key Commons
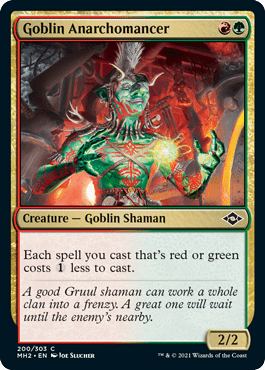
Goblin Anarchomancer is the most important card for this archetype and you should basically never be in Gruul storm without at least one copy. Look for late Anarchomancers as a sign to move in on this archetype.
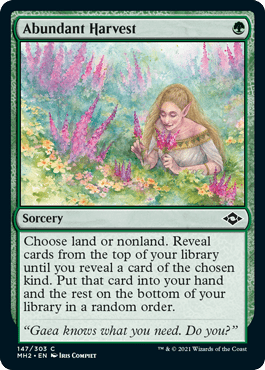
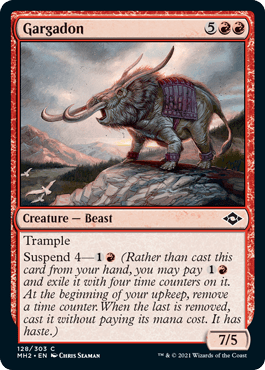
The most important cards other than that are Mine Collapse (decent removal that is also a free spell for storm if needed), Unholy Heat, Abundant Harvest (high-quality spell), Rift Sower, Gargadon, and Galvanic Relay. Rift Sower and Gargadon are particularly valuable since Suspend provides a way to get 0-mana spells for your storm turn. The Relay is very powerful with Anarchomancer and is the best common payoff for storm, though you try to table it if you can as no one else really wants it.
Lastly, don’t play Chatterstorm! From my experience, step one to succeeding with Gruul storm is avoiding that awful card. By the time you can pull off an impressive Chatterstorm turn, the 1/1 squirrels will already be facing down several creatures more than they’re capable of blocking.
Archetype Overlap and Splashing
Storm has good access to fixing and needs card advantage. It’s important to stay stocked up on resources for big turns later. Wavesifter is a high priority to pick up and splash, and it’s a very gassy card that also costs less with Anarchomancer out. Outside of splashing Wavesifters, bombs, and converge cards, Golgari is mostly insulated and has little overlap with other archetypes.
Tips and Tricks
- The key to storm in this set is to use Suspend, rebound, and cheap spells like Abundant Harvest to pad your storm count without sacrificing too much card quality.
- It can’t be stated enough how good Anarchomancer is in Gruul, particularly alongside payoffs like Fae Offering and Captain Ripley Vance.
- You can sometimes count on your opponent to pad your storm count for you by one. Try to bait out a removal spell in combat if your opponent has mana up, and then play your creature plus Galvanic Relay on the second main phase.
- Plan out your turns well in advance. The best time to play that Aeve you’ve been holding is after your Gargadon comes off Suspend. Gargadon is even better than it looks because it tends to force instant removal on your combat as well, furthering your storm count.
- Gruul’s backup plan is to either beatdown in decks with a great curve/few splashes or play the control role for other builds. Don’t despair if you can’t set up a big storm turn and don’t be afraid to cash in your Galvanic Relays for two or three cards early on.
Playing Against It
Kill their Anarchomancers if you can. The archetype is much slower without them and often plays like a humble control deck if they can’t keep an Anarchomancer on the table. Past that, try not to play spells while your opponent is setting up a potential storm turn. Giving them free cards from Galvanic Relay is a bummer. Control decks can generally go over the top of Gruul if Anarchomancer isn’t around, and most aggro decks can easily go under it.
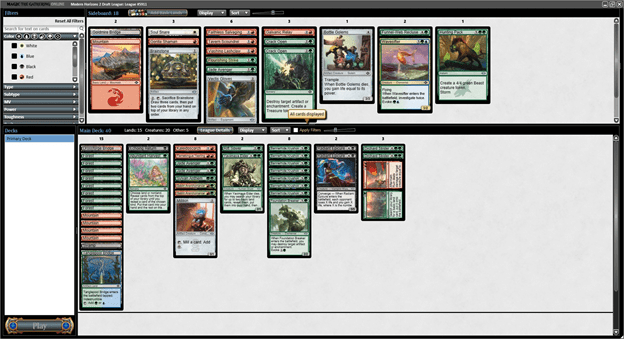
Trophy Decklist
Two examples this time as I’m biased. This is my favorite archetype!
The first is Gruul beatdown with a minimal storm theme, though Anarchomancer was still fantastic as a 2/2 for two that ramped into one of my seven(!) Bannerhide Krushoks.
The second build is the better storm deck with three Anarchomancers, four storm payoffs (two Offerings, Vance, and Relay), and high-quality removal and splashes.
Wrap Up
There’s plenty more I could write about as we’ve only scratched the surface of this set. Many decks in this format are very greedy and mix and match synergies from different archetypes rather than marrying themselves to one big thing. Others are a bit more conventional, though splashes still tend to be common as I’ve stressed many times above. Regardless, you should definitely draft this set while you can, as it’s fantastic fun!
If you have any further questions about this set, feel free to pop down into the comments below or head over to our Discord if that’s more your style. But that’s all I’ve got for today. Have a good one, and stay safe!
Follow Draftsim for awesome articles and set updates:


5 Comments
Very appreciated. Now everything is Arena and this kind of analysis are missing. Keep on!
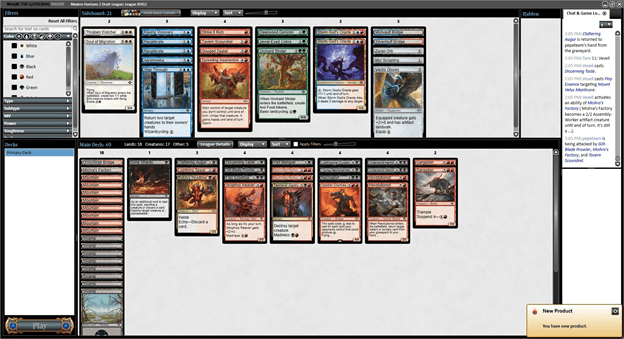
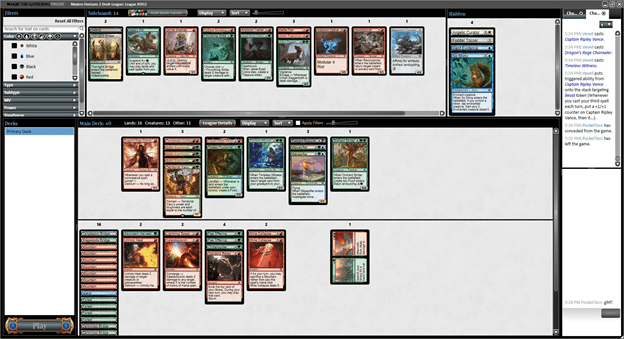
Are there way to enlarge your trophy screen shot. I try to zoom in but it is blurry and hard to see the name.
Sorry about this, I think this is possibly an issue with our content management system.
“Lazotep Chancellor and similar effects trigger off of all discard effects, not just cards that say “discard.” This means that you can use Memory’s Journey, Step Through, and other cyclers to get additional value from your uncommons!” – Can you please clarify how Memory’s Journey would work in this archetype, maybe with an example? Thanks in advance!
This should have been Mental Journey instead. The typo has been corrected. When you activate the cycling ability on a card, it is discarded.
Add Comment