Last updated on February 27, 2026
Vraska, Golgari Queen | Illustration by Livia Prima
When new players begin building Commander decks, players often offer them a range of ratios to work with. You want about 40 lands, 10 card draw effects, 10 ramp spells, etc. Ramp and card advantage always pop up in these lists for a simple reason: The two best game actions you can take in Magic are drawing cards and making land drops.
Card draw is especially important in Commander's long, multiplayer games. Running out of gas while your opponents churn through their decks is one of the easiest ways to lose an extended game. Each color and color pair approaches card advantage differently. Today, I look at how Golgari decks draw cards, and the best Golgari card draw spells!
What Is Golgari Card Draw in MTG?
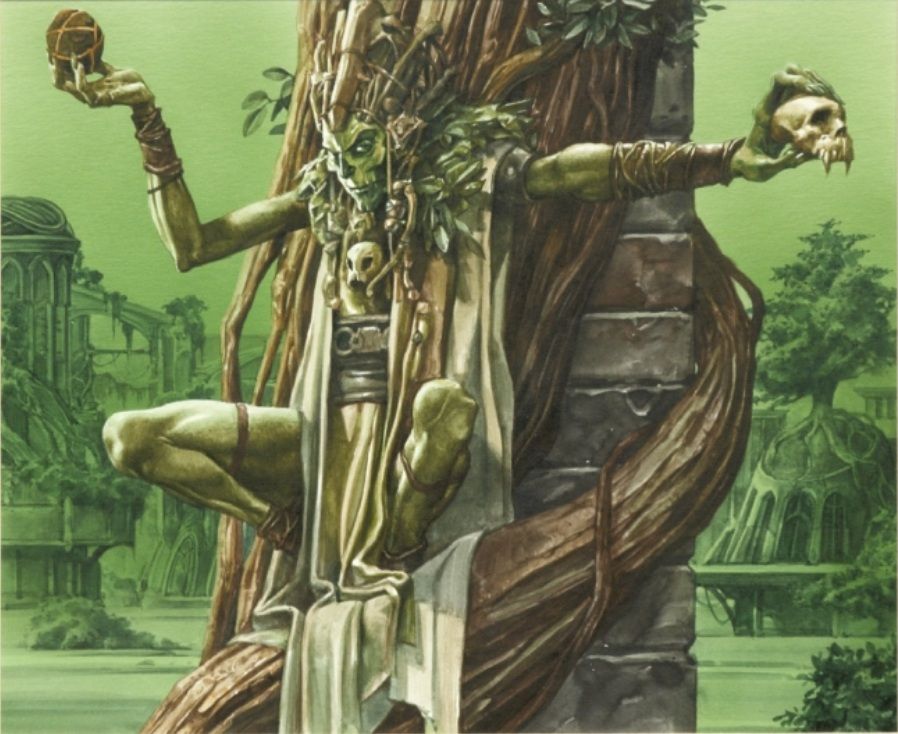
Golgari Guildmage | Illustration by Zoltan Boros & Gabor Szikszai
The graveyard is a resource, and no color pair understands that better than Golgari. Much of its card advantage is connected to the graveyard, either sending cards there or getting them back. When evaluating card draw spells, it’s important to remember not all of them literally say “draw a card.” Red’s impulse draws, like Wrenn's Resolve and Valakut Exploration, are great examples of this principle.
Many of Golgari's card advantage engines don't involve drawing cards from your deck but getting creatures back from your graveyard. Depending on how much your deck utilizes the graveyard, you could even consider self-mill cards as card advantage—though I’m not going that deep.
Golgari card draw can be sorted into three broad categories:
- Effects that draw spells when a creature dies
- Creature sacrifice outlets to draw cards
- Gravedigger effects that pull cards back to your hand from the graveyard
These are all potent sources of card advantage. They also have a lot to teach us about how Golgari decks want to play: send creatures to and from the graveyard.
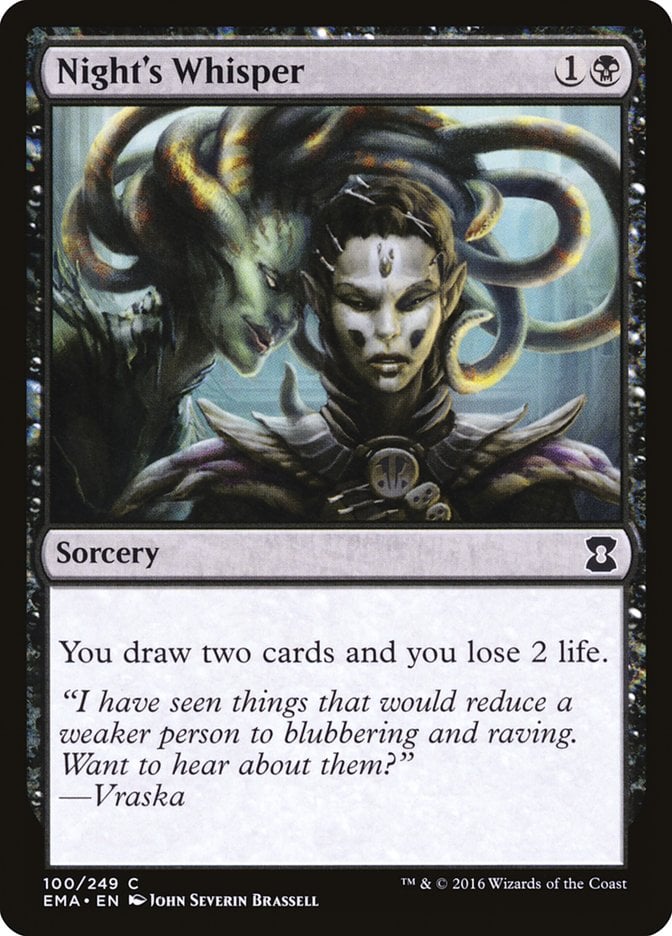

When you evaluate the best card advantage sources, consider a couple of things: How accessible are they? Are they repeatable? Are they efficient? Do they work within what the color pair wants? The best card draw spells are either cheap, one-time effects that get you a burst of card advantage or card advantage engines that produce card advantage over time—think Night's Whisper versus Up the Beanstalk.
#38. Grave-Shell Scarab
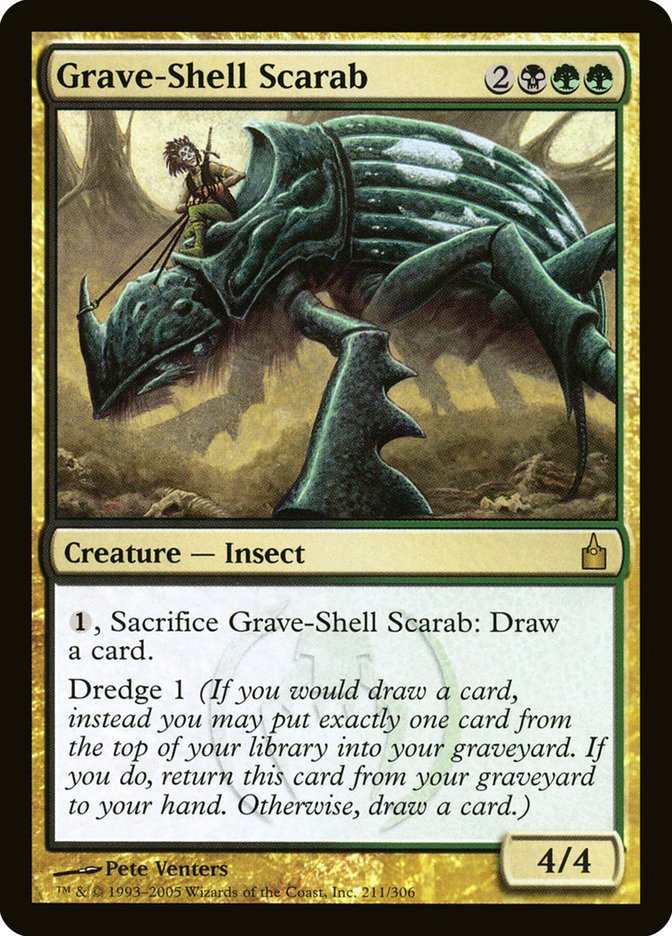
Grave-Shell Scarab offers an interesting source of card advantage. Since sacrificing it is part of the cost, you can dredge one and get it back for another round, making it a self-recursive engine, or draw organically. The main issue is that the mana investment for either opportunity is incredibly high.
#37. Bortuk Bonerattle
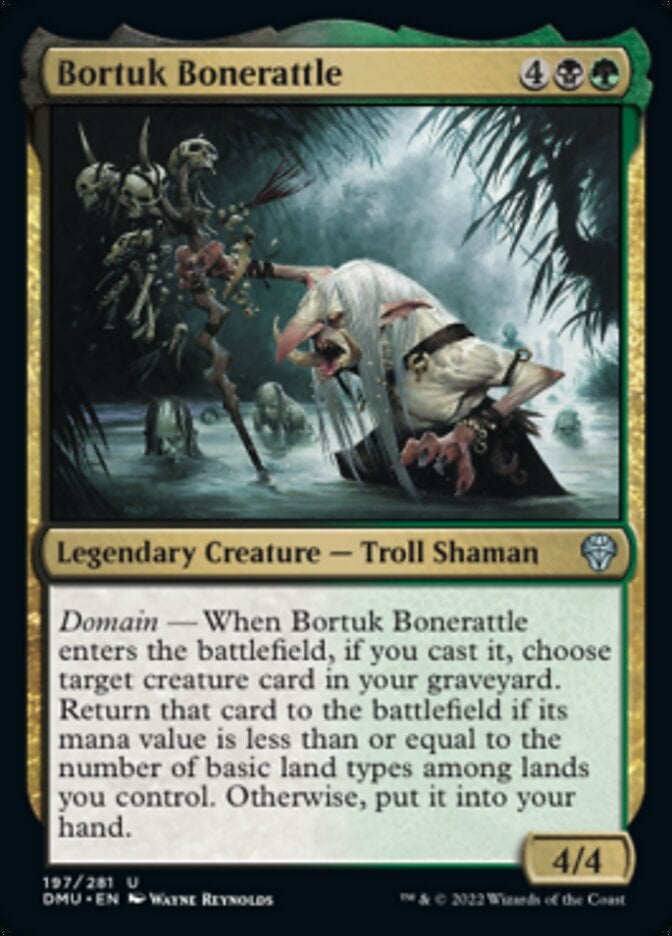
Bortuk Bonerattle is basically an expensive Gravedigger with a bit of upside. It’s perfectly acceptable in a Golgari deck, especially one interested in looping multiple cards with gravedigger effects, but still on the expensive side.
#36. Daemogoth Woe-Eater
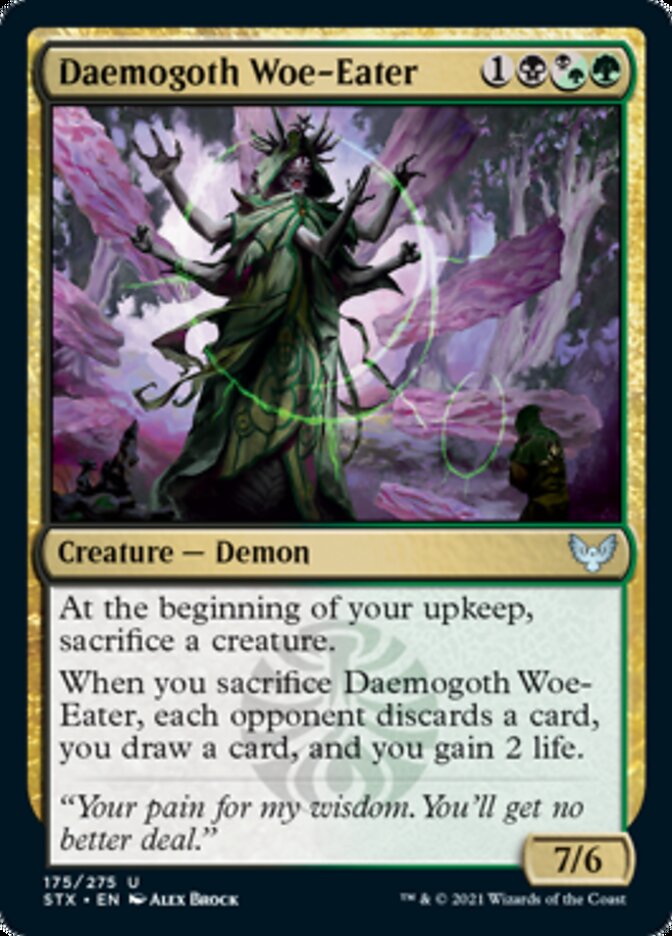
Daemogoth Woe-Eater offers surprising utility. Golgari decks can capitalize on a free sacrifice ability, even in the upkeep. Sacrificing this puts you up on cards and your opponent down for a three-card swing, and a 4-mana 7/6 is a heck of a body.
#35. Golgari Guildmage
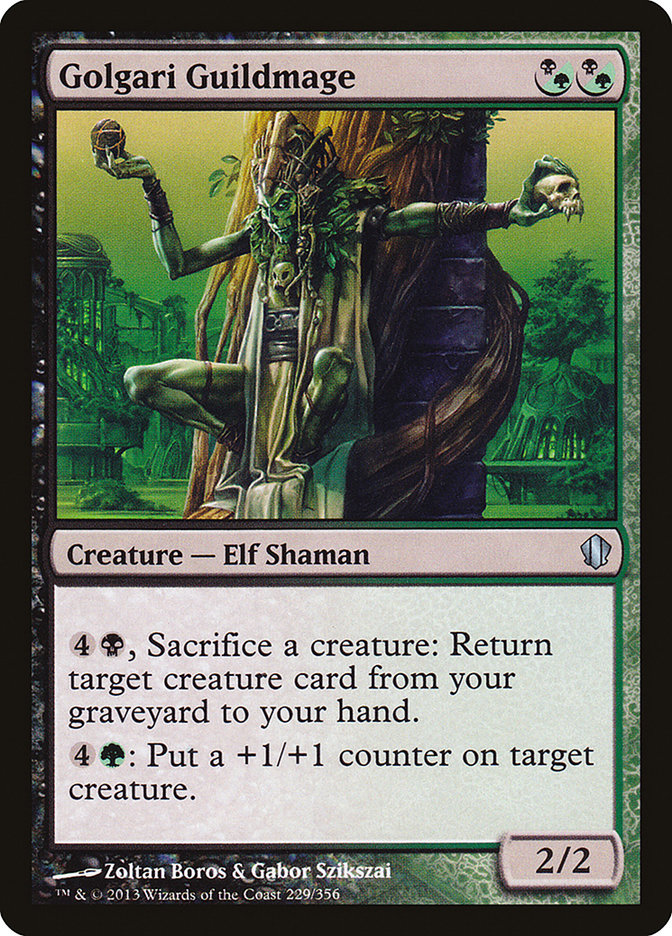
The mana investment for Golgari Guildmage is high, but it’s still a card advantage engine that sacrifices additional cards. The high costs make this better suited to low-powered decks, but it's still worth playing.
#34. Storrev, Devkarin Lich
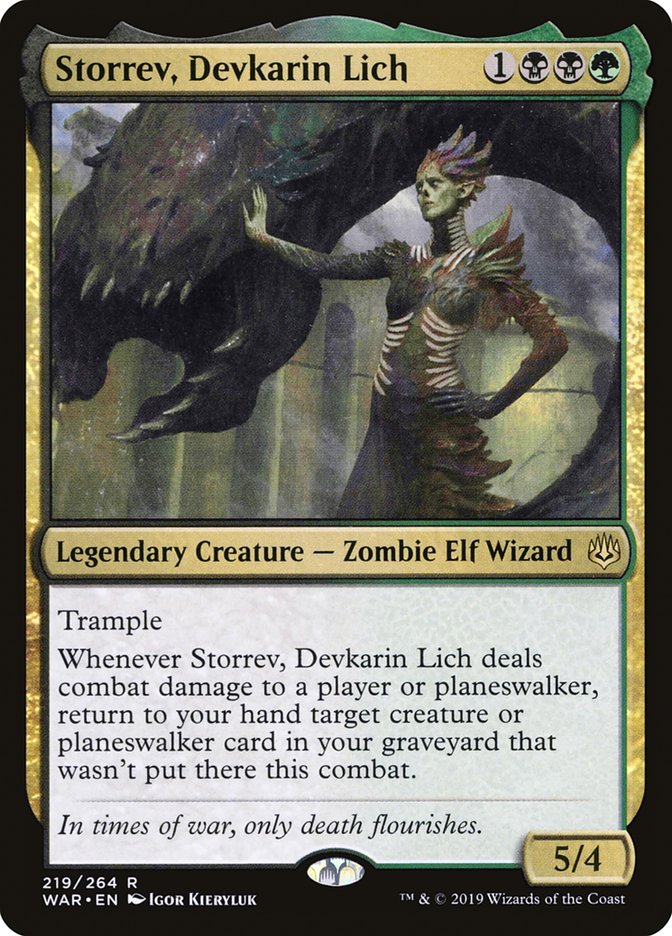
Getting creatures back from your graveyard every turn is a great source of card advantage. Storrev, Devkarin Lich gets held back by the requirement to trigger its ability. Needing to deal combat damage can be challenging and leaves your opponents plenty of time to find an answer before getting a single card.
#33. Harald, King of Skemfar
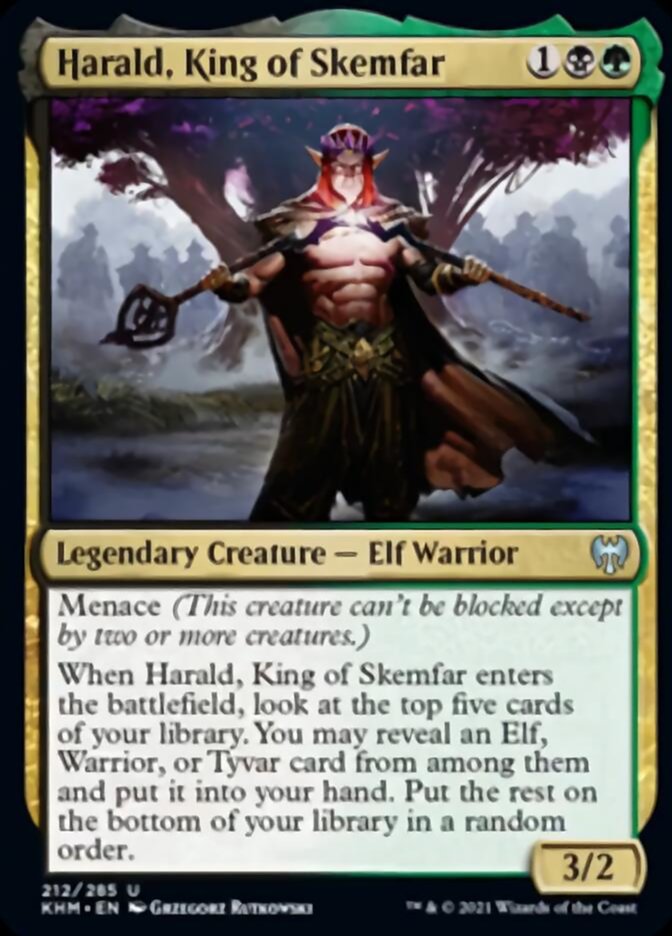
Harald, King of Skemfar is a perfectly respectable piece in any elf deck. A 3/2 with menace bears the pump effects of lords well, and a cheap creature that replaces itself is just what the deck wants. The main limitation here is that Harald doesn’t have a place outside of elfball, and perhaps Najeela, the Blade-Blossom decks.
#32. Greta, Sweettooth Scourge
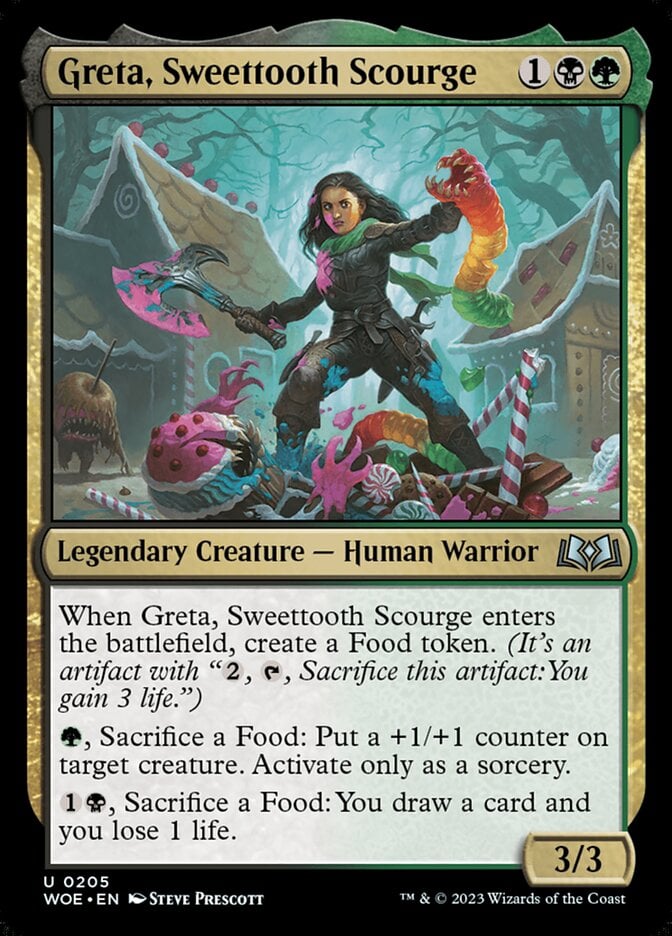
One of the biggest drawbacks to Greta, Sweettooth Scourge is that it needs lots of other support to churn out Food tokens to sacrifice. Plus you still need to sink some mana into the activated abilities. The food mechanic is still relatively young though it gets more support every set, so maybe we'll look at this differently in another 12 months.
#31. Savvy Hunter

Savvy Hunter at least produces plenty of its fodder, and its sacrifice outlet is free. A creature that produces an artifact token when it attacks or blocks has utility in decks attempting to leverage cards like Jaheira, Friend of the Forest and Chatterfang, Squirrel General.
#30. Chevill, Bane of Monsters
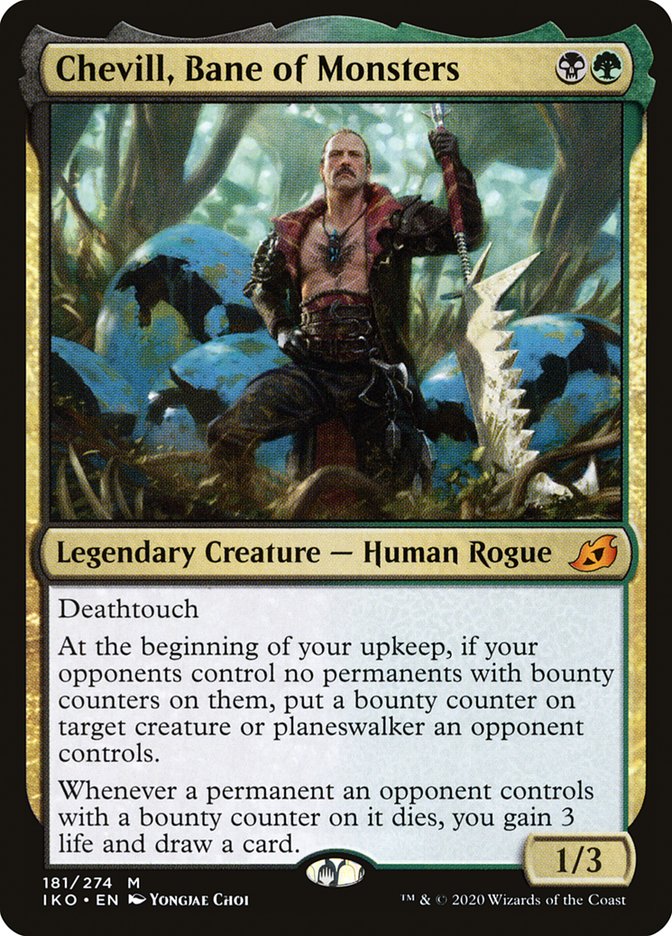
While Ikoria‘s Chevill, Bane of Monsters can be a cheap source of card advantage, it’s not quite worth the work. Golgari doesn’t have trouble killing things, as demonstrated by Abrupt Decay and similar cards. But Chevill only nets one card a turn, you can’t stack the bounty counters, and your opponents know when it’s coming. Some decks can probably use this, but it’s ineffective and doesn’t mesh well with Golgari’s general game plans.
#29. Gleancrawler
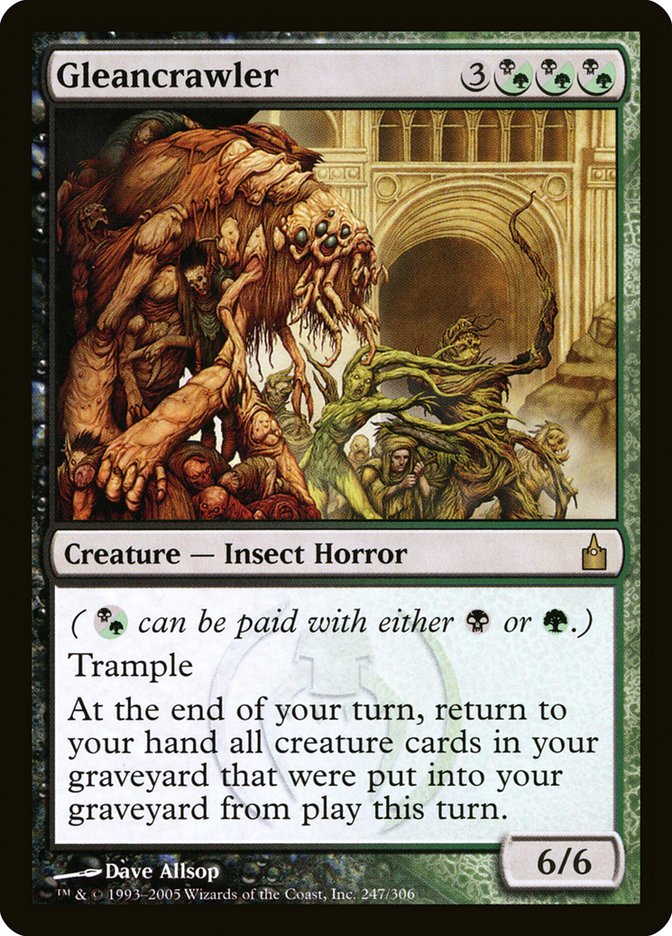
Gleancrawler is an interesting one. The first thing I think of when seeing this card are mass-sacrifice effects, like Plumb the Forbidden and God-Eternal Bontu. This is also simply a way to rebuild after your Toxic Deluge.
#28. Deadbridge Chant
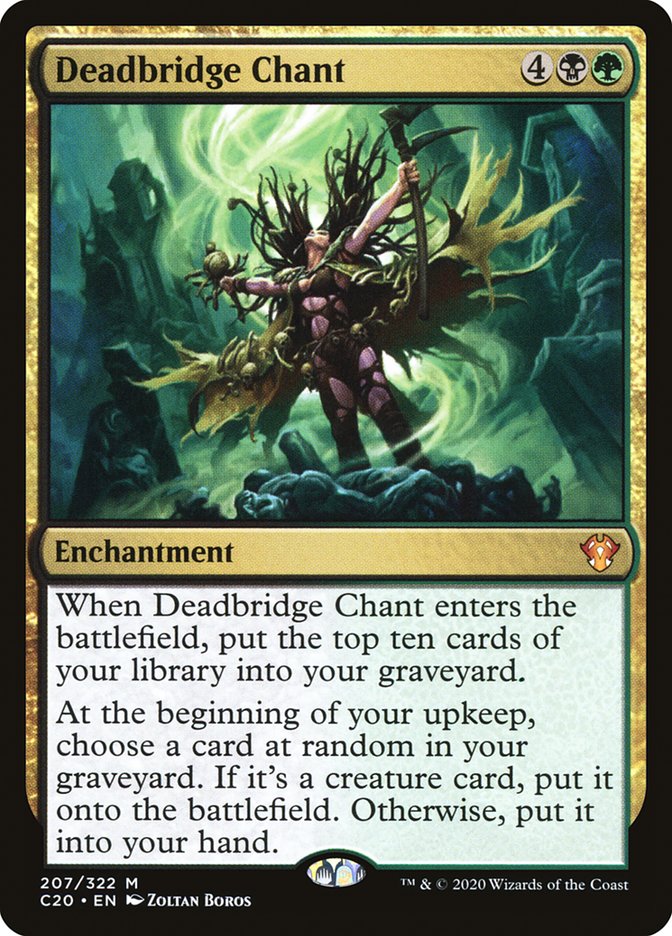
Deadbridge Chant is a formidable card held back by its inability to impact the board when it comes into play. Sure, you get ten extra cards in your graveyard, but that’s not worth 6 mana and an opponent discarding Nature's Claim. When it sticks, Deadbridge Chant quickly dominates the game, keeping your hand or battlefield flush with resources from beyond the grave.
#27. Baloth Null
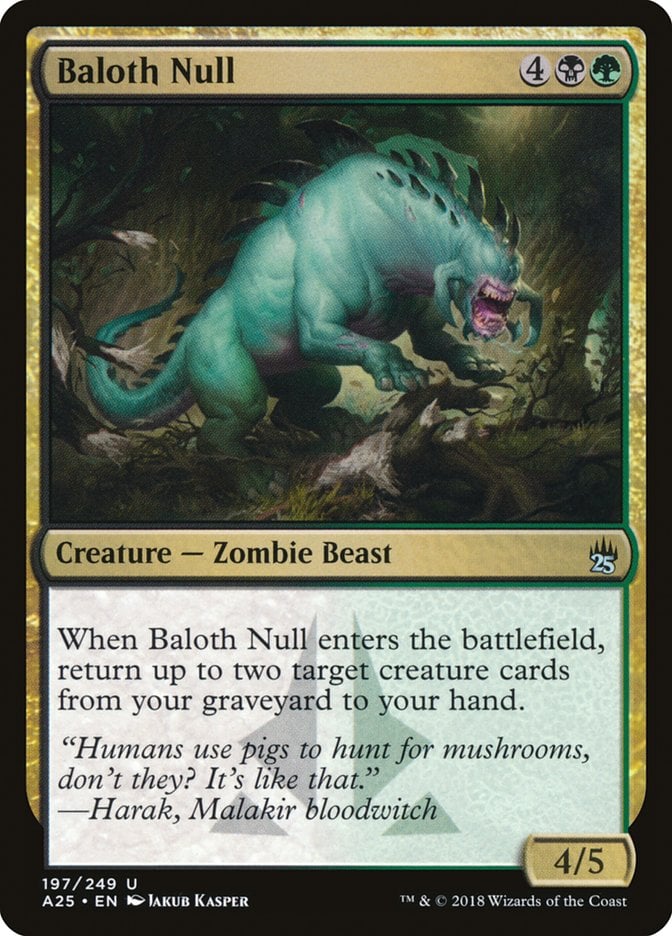
Baloth Null just gets it down. Divination tacked onto a 4/5 is a perfectly respectable card. It’s on the expensive side, but this isn’t something you want to play early anyway.
#26. Shessra, Death’s Whisper
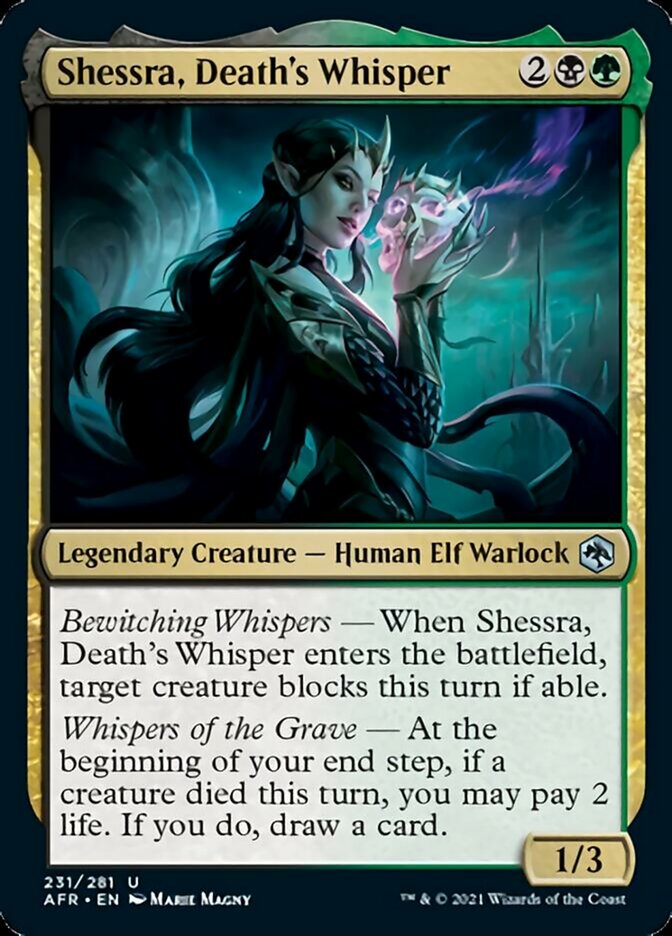
Shessra, Death's Whisper is often a two-for-one the turn it comes into play; you’ll make an opposing creature block, then draw a card once it's dead. All that’s fine, but Golgari has plenty of draw effects like this that don’t need you to pay life.
#25. Ice Cream Kitty
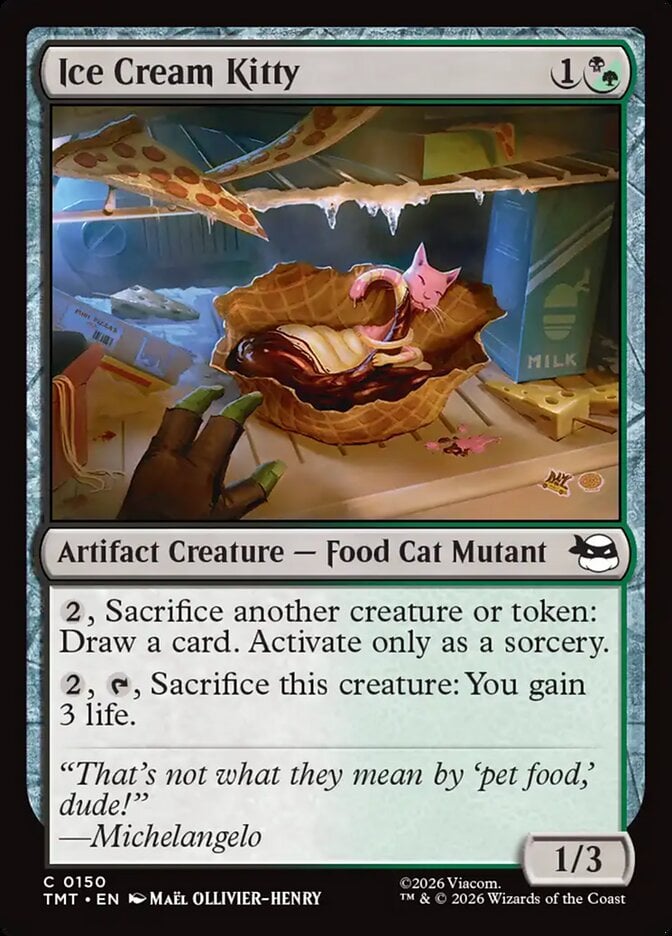
Don't let the fun food fool you. Ice Cream Kitty is a good option for card draw because it doesn't require tapping and basically turns any of your creatures and tokens into clues. This is a sneaky strong common. The sorcery speed activation restriction, and the messy fridge/freezer is my only complaint (couldn't the art have had a color changing spoon and table instead?).
#24. Wardens of the Cycle

Wardens of the Cycle is a bit of a nerfed Deathreap Ritual. The main differences are that this warlock only looks at your turn, not your opponents, you lose a life per drawn card, and is a creature and thus an easy target for removal. Still good and deserves a spot in lots of Golgari builds.
#23. Nemata, Primeval Warden
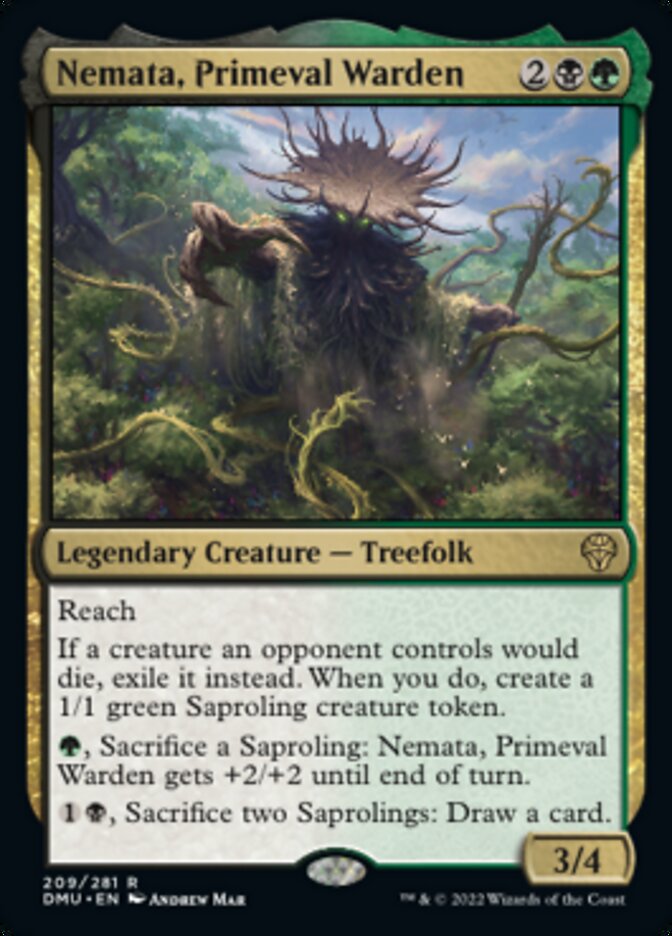
While Nemata, Primeval Warden is a typal card interested in Saprolings to fuel its abilities, it brings the fodder itself. Nemata is a fine role-player in many decks: A token-producing sacrifice outlet that hates on your opponents’ graveyards while drawing cards. It excels at none of these, but the combination is quite interesting.
#22. Izoni, Thousand-Eyed
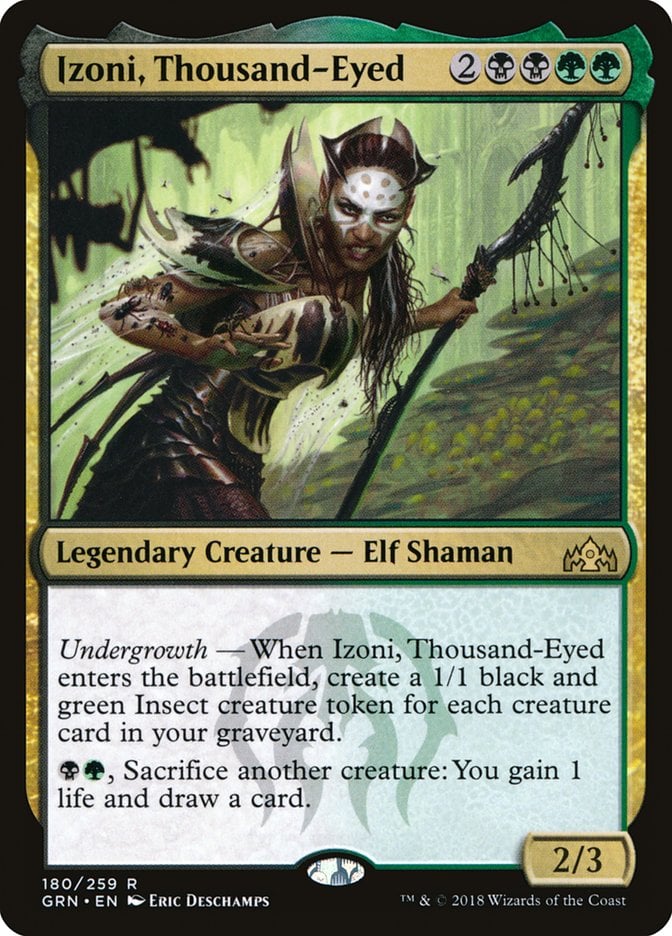
Izoni, Thousand-Eyed is the quintessential Golgari card. It combines the sacrifice and self-mill themes the color pair is known for. It also produces plenty of fodder for its sacrifice ability, becoming a self-enabler draw engine. It’s a little expensive but offers the value to back up its cost.
#21. Kraven the Hunter

I love the target Kraven the Hunter puts on the biggest threats other than your creatures. It's also a reward for when you remove them. So in other words, keep playing the game of Magic and good draw will come.
#20. Ravenous Squirrel
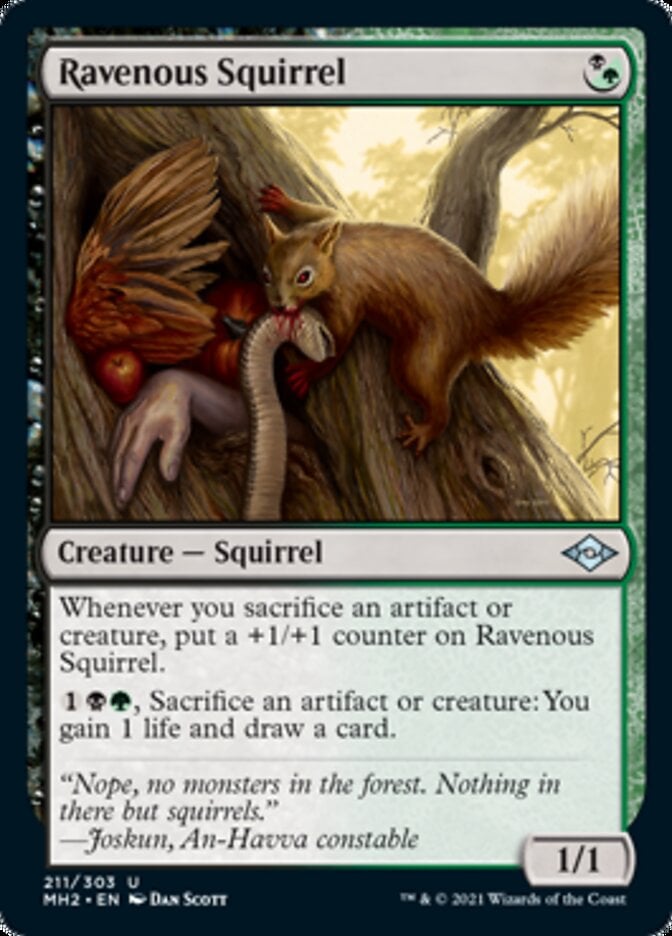
Ravenous Squirrel doesn’t look like much, but it impresses me when I play it. This 1-drop becomes formidable, especially alongside Treasure tokens. The sacrifice outlet is costly, but the flexibility and promise of making this creature larger help offset this.
#19. Vraska Joins Up
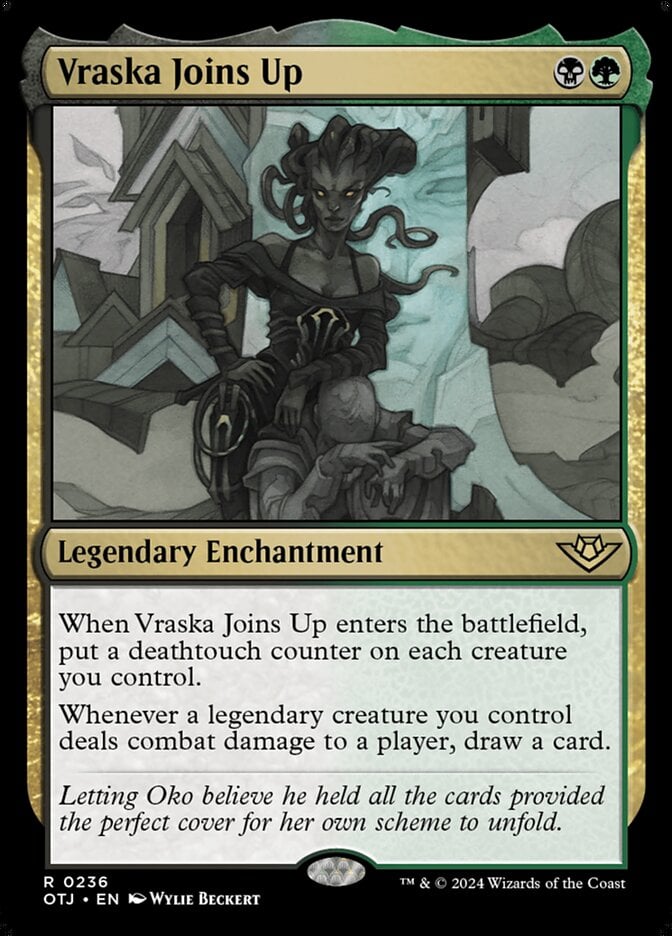
It's strange how deathtouch sometimes translates to unblockable. Vraska Joins Up is a great way to ensure some cards will go to your graveyard. Listen I'm a fan of auras as much as anyone, but I really appreciate that this is not attached to any one creature. Pound in with your commander and your opponents are faced with the tough decision of “Do I lose my creature, or do I give the Golgari player another card?” Those are the questions I like to ask.
#18. Mosswood Dreadknight
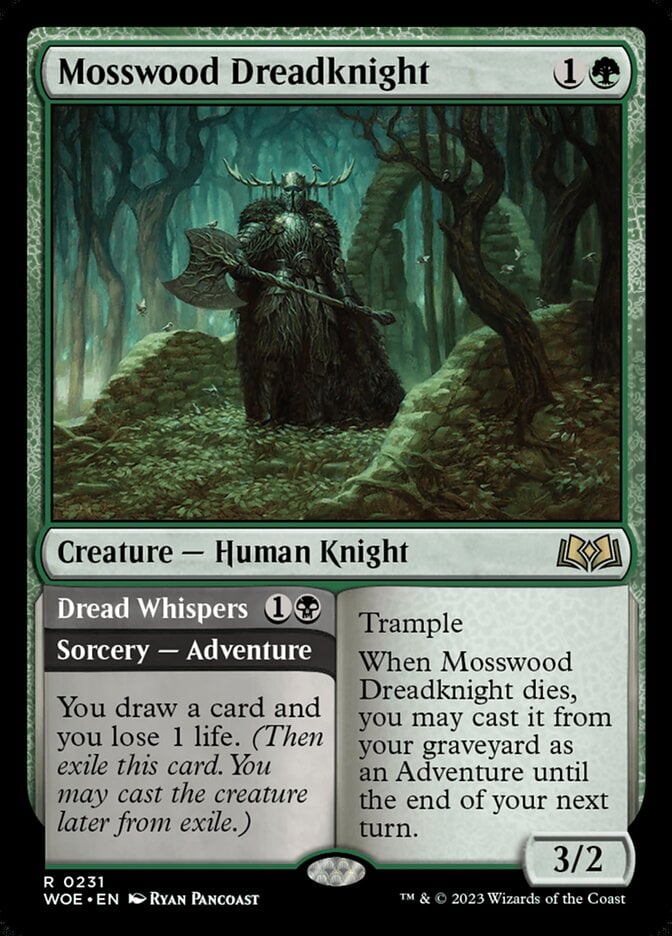
Mosswood Dreadknight on first read goes into 4-mana cantrip territory which isn't great, but when that spent includes buyback, that's what lands you on this ranking. Plus you get a good and relevant body to work with, and it's remarkable how many cards this represents and those that lose to this know full well what it's worth.
#17. Twinblade Assassins
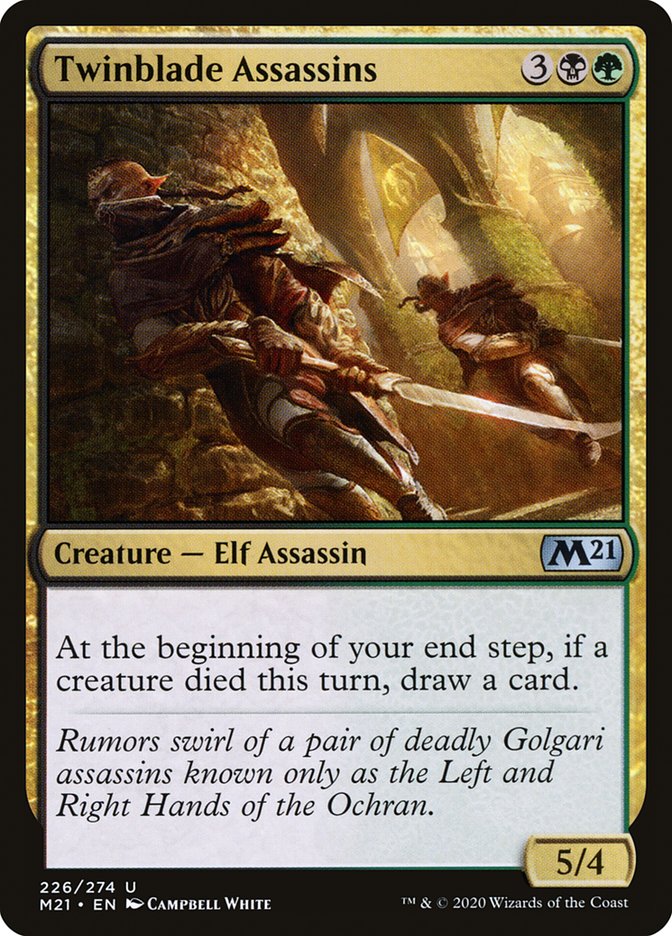
Twinblade Assassins offers aristocrat decks an extra card each turn so long as they meet the low hurdle of sacrificing a creature each turn. Golgari decks meet this threshold accidentally, so it’s often worth leveraging.
#16. Jenova, Ancient Calamity

You don't need to pump Jenova, Ancient Calamity with much power for it to take over games. Before 2024 I might have said there are not enough mutants to make much of the card draw ability, but with Teenage Mutant Ninja Turtles and more potential Marvel sets in the future, I see plenty of mutants willing to sacrifice their power to draw you loads of cards.
#15. Driven // Despair
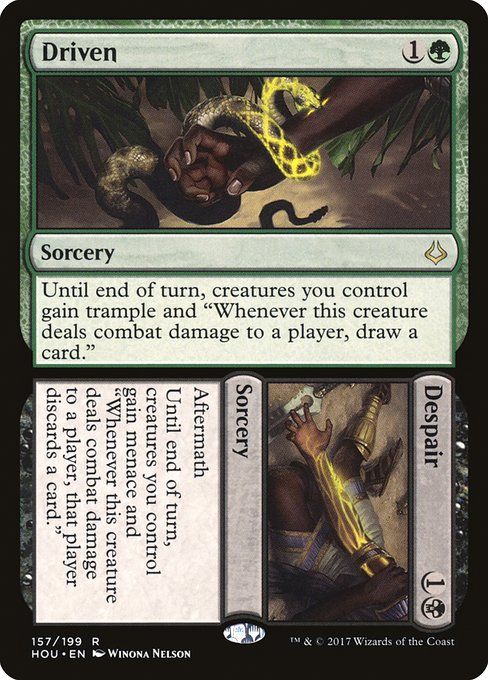
Driven / Despair can be quite potent. Cast as a 4-mana spell, it represents a massive card advantage swing as you draw cards and strip resources from your opponents’ hands. But casting them separately as a two-for-one or existing in a deck as a bit of self-mill value also does plenty.
#14. Sapling of Colfenor
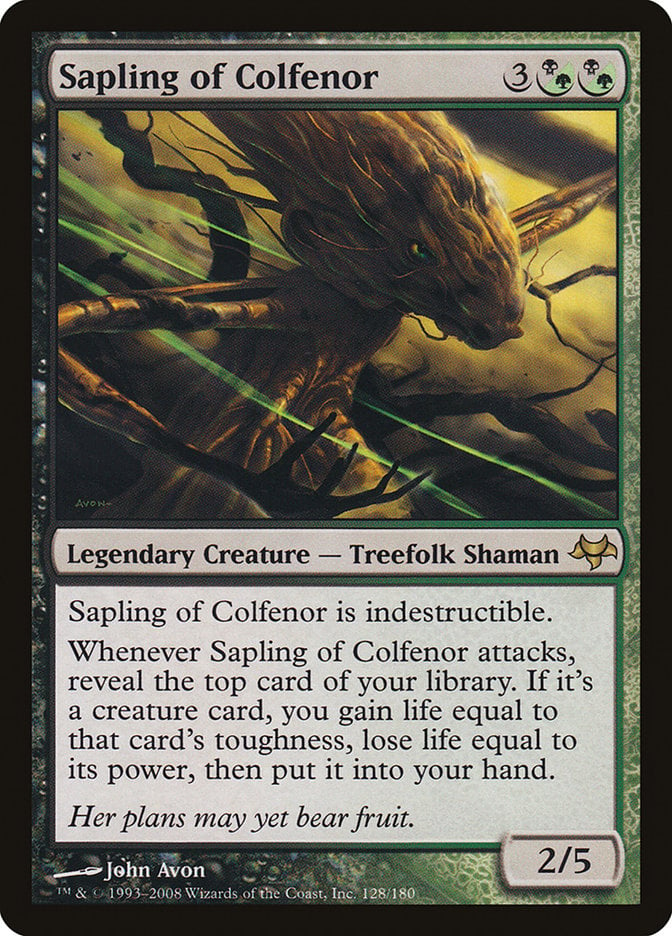
There are some deckbuilding restrictions with Sapling of Colfenor: You need creatures and don’t want too many with power greater than their toughness. When these conditions are met, you get a slightly above-rate 5-drop that’s drawing cards and gaining life.
#13. Grisly Salvage
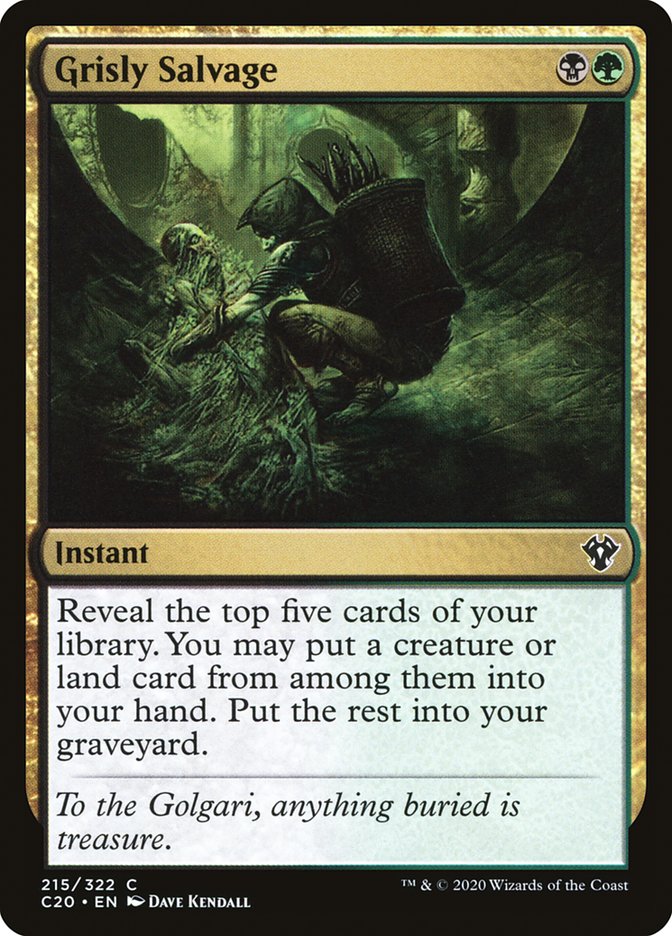
While Grisly Salvage only cantrips on the face of it, the right deck sees a 2-mana Divination. This is practically an auto-include in every Golgari deck since they so often care about the number of cards in their graveyard. It’s among the best enablers and ensures you hit land drops and find threats.
#12. Joel, Resolute Survivor
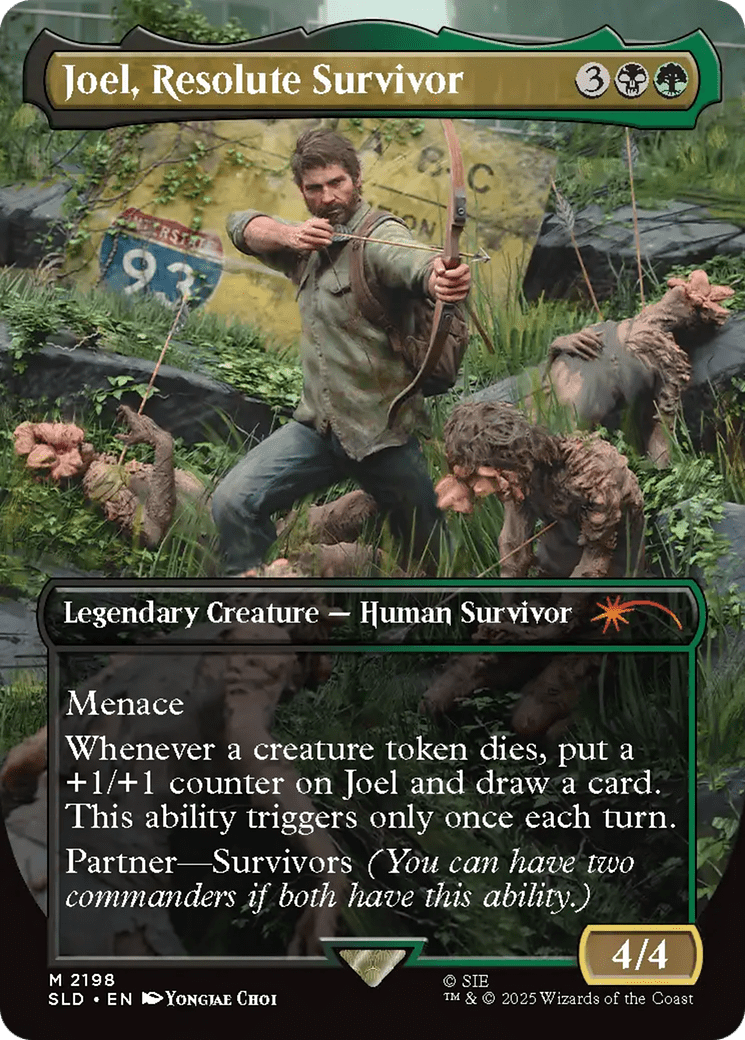
Joel, Resolute Survivor is part of a special partner subset that works exactly like the original partner ability, but only with the “survivors” modifier. Fewer options really hurts, but the two-color partners are consistently good, and Joel draws you cards whether you sacrifice your own token, or an opponent chump blocks with a creature token, on any player's turn. This survivor will draw you plenty of cards.
#11. Carth the Lion
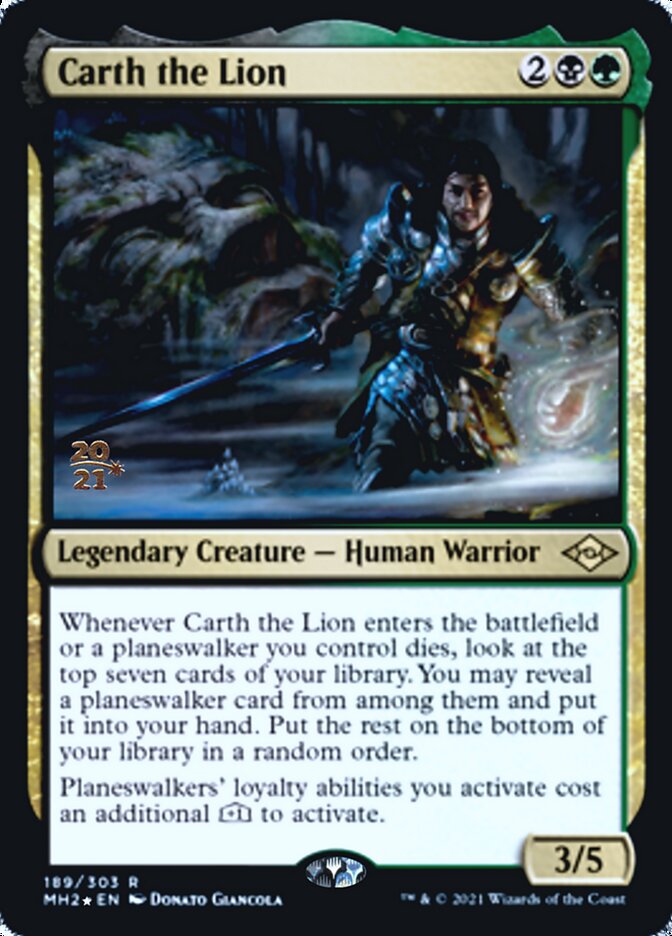
If you aren’t playing a bunch of planeswalkers, you’re not playing Carth the Lion, but the reward is worth the restriction. Between token production and access to sweepers, Golgari decks are more than capable of defending the planeswalkers Carth draws, and it helps you to maintain a board state by drawing new walkers should you fail to protect them.
#10. Baba Lysaga, Night Witch

Aristocrat decks often care about the number of creatures being sacrificed, but Baba Lysaga, Night Witch offers a unique spin by caring about the types sacrificed. This card has some fun quirks. You can activate it to sac three creatures for triggers with drawing cards, but it’s relatively easy to turn one or two sacrificed permanents into three cards—which is a pretty stellar amount of card advantage to go along with an activated ability that doesn’t require mana.
#9. Meren of Clan Nel Toth
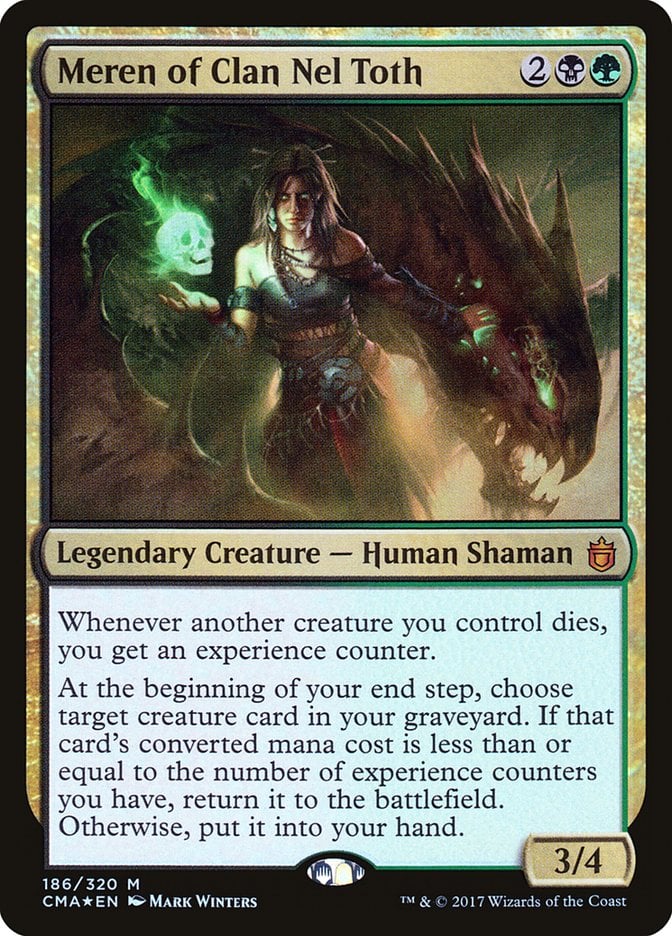
Meren of Clan Nel Toth is a fine example of a card advantage that doesn’t just say draw a card. It can do that if your experience counters are slim but provides card advantage by returning powerful creatures from your graveyard to the battlefield. They can be utility cards like Shriekmaw or game-enders like Archon of Cruelty; either way, you can’t go wrong.
#8. Jarad’s Orders
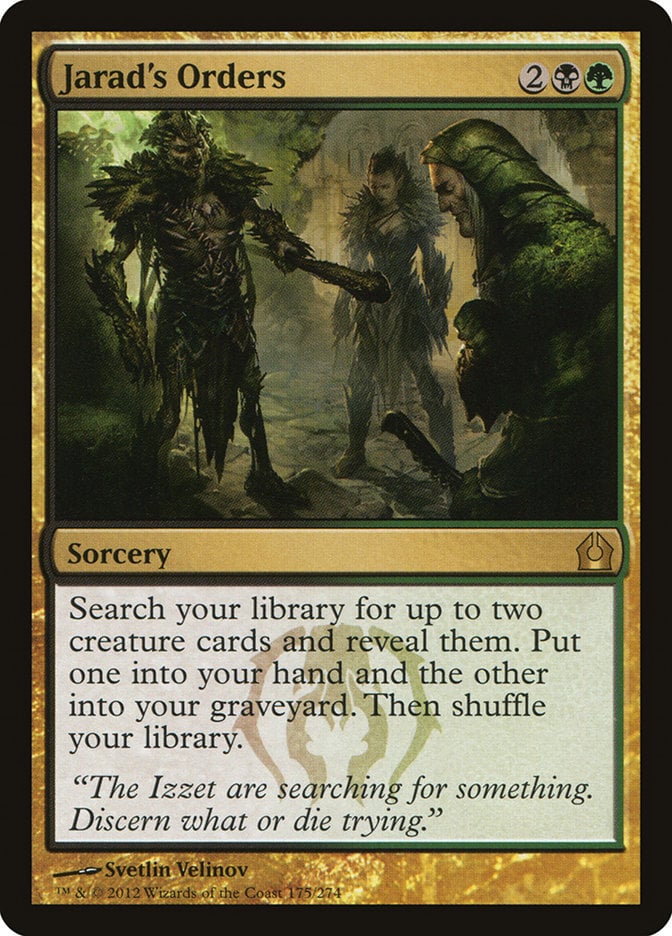
Since Golgari decks make such great use of the graveyard, Jarad's Orders is practically the same as casting Demonic Tutor twice. That’s a bit of a stretch, but this is a powerful tutor, nonetheless. Plenty of two-card Goglari combos, like Peregrin Took + Experimental Confectioner or Devoted Druid + anything can be assembled and reanimated via this card.
#7. Deathreap Ritual
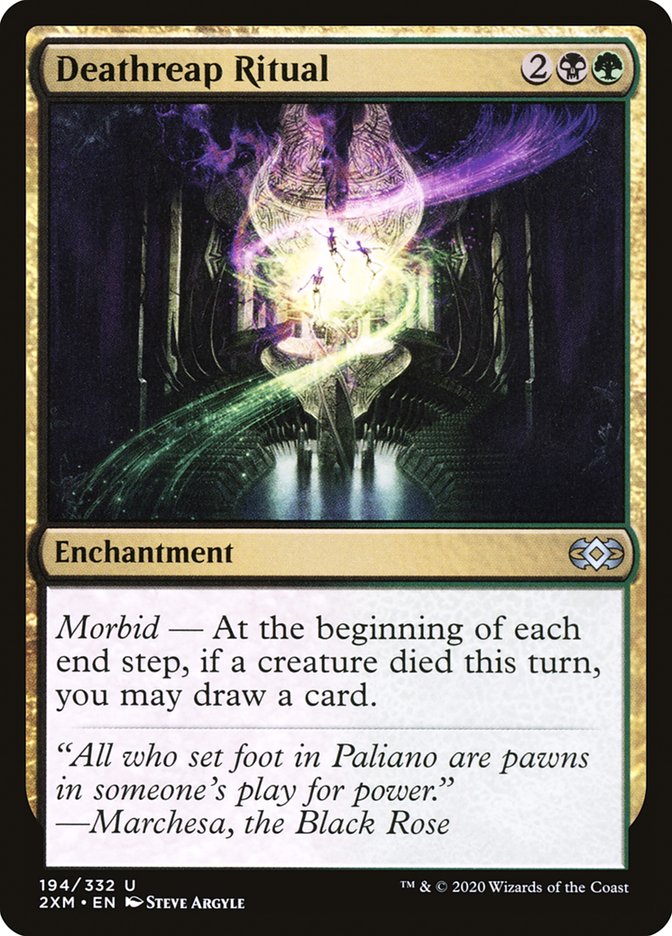
Of all the cards that allow you to draw a single card on your end step, Deathreap Ritual takes the cake. It’s cheap, requires no additional investment, and it’s an enchantment, which is generally the hardest permanent type to remove in Commander, if only because players focus more on artifact interaction.
#6. Find // Finality
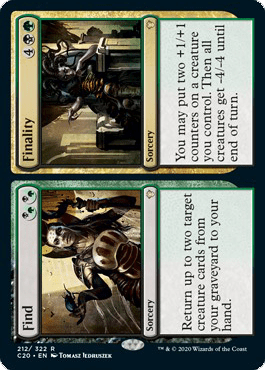
Both modes of Find / Finality function as card advantage. You’re either drawing two or killing off most of your opponents’ boards. Having a sweeper in a creature-heavy list can be detrimental, but the counters go a long way toward saving important creatures while allowing smaller things to be swept away.
#5. Glissa Sunslayer
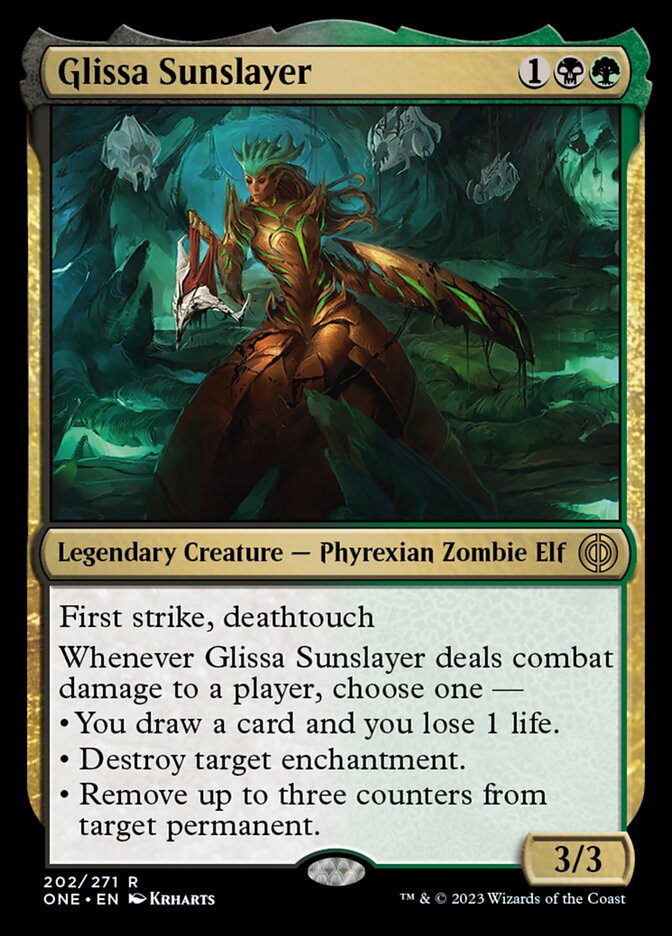
Glissa Sunslayer might be the most annoying card on this list. The combination of first strike and deathtouch makes this creature king of any combat-oriented board state. In addition to being a steady source of card draw, you have lots of flexibility. It’s amazing that this only costs .
#4. Hollowmurk Siege

Choose Sultai when you cast Hollowmurk Siege because you accidentally included cards that add counters to your creatures. Your opponent plays blight, or maybe you meant to put counters on your creatures, either way, you're going to get counters on them so you might as well draw cards, and if you do it during opponent's turns this easily turns into way more cards than should cost. If the rest of this list took care of all the draws you need, choosing Abzan is pretty good too.
#3. The Gitrog Monster
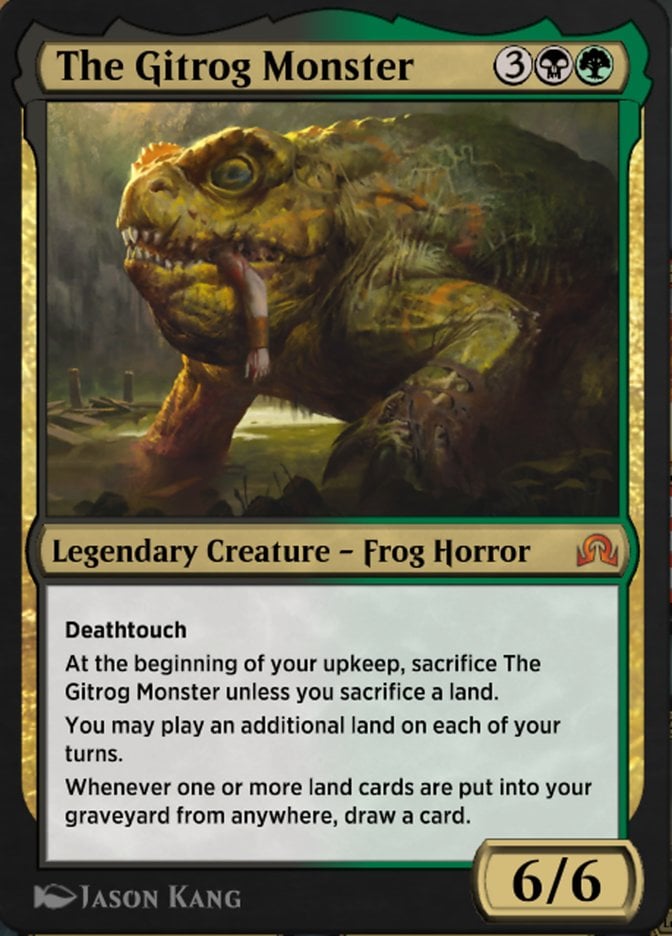
One of the best Golgari creatures in general and one of the strongest frog commanders, The Gitrog Monster plays incredibly well with self-mill effects like Grisly Salvage or Hermit Druid combos. It’s ramp and card advantage and a substantial body. This frog horror isn’t #1 only because Golgari cares less about sacrificing lands than creatures, though it’s more than capable of the former.
#2. Moldervine Reclamation
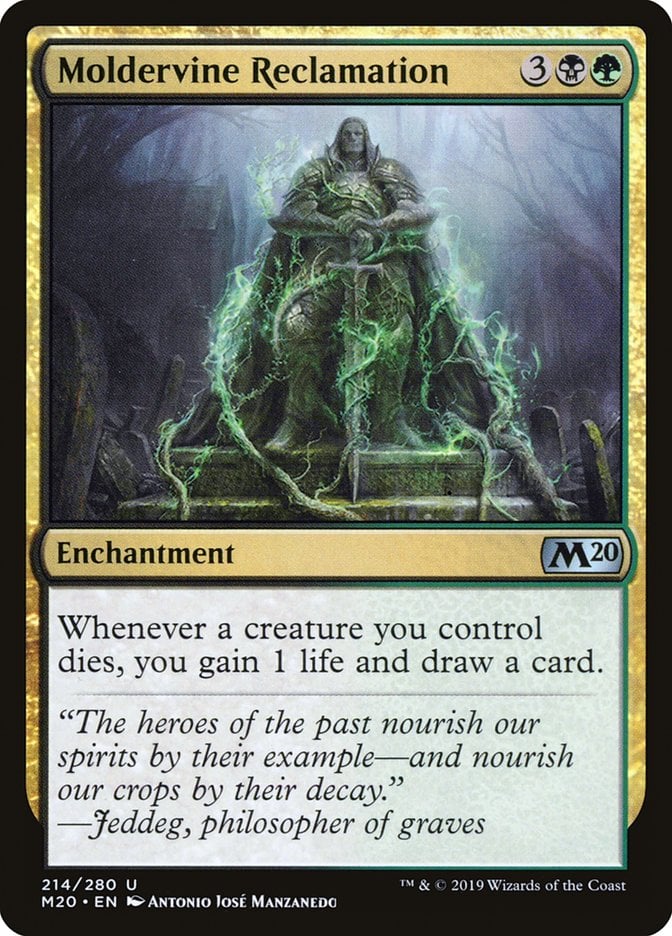
Moldervine Reclamation is substantially better than Deathreap Ritual and friends because it’s not limited to once per turn. A good aristocrat deck draws a card or two the instant this resolves, then buries its opponents beneath a slew of card advantage.
#1. Vraska, Golgari Queen
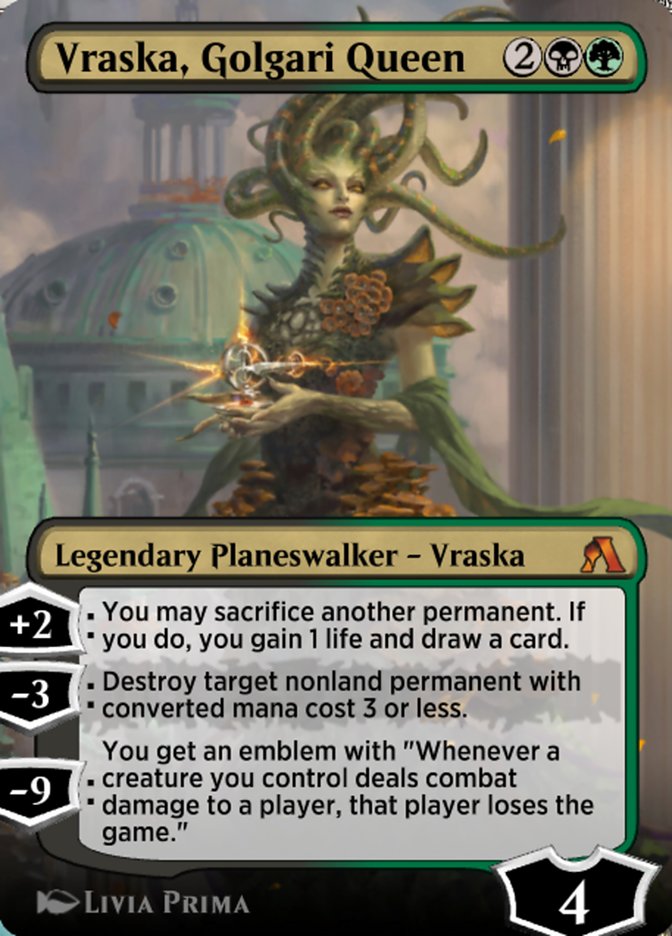
I’m a huge fan of Vraska, Golgari Queen in any Golgari deck looking to sacrifice permanents. You’re often sacrificing creatures to trigger additional effects, but a way to filter excess lands is more than welcome. In addition to the constant card draw, you have the option of interaction and an ultimate that your opponents need to respect. This planeswalker isn’t the flashiest source of card advantage but plays well with most things Golgari decks are interested in.
Best Golgari Card Draw Enablers and Payoffs
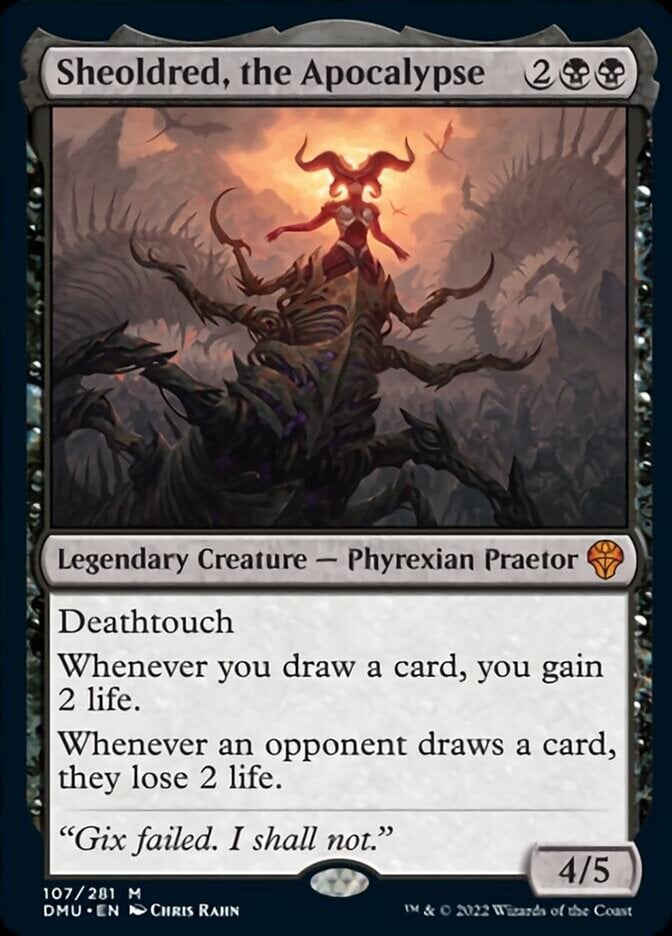
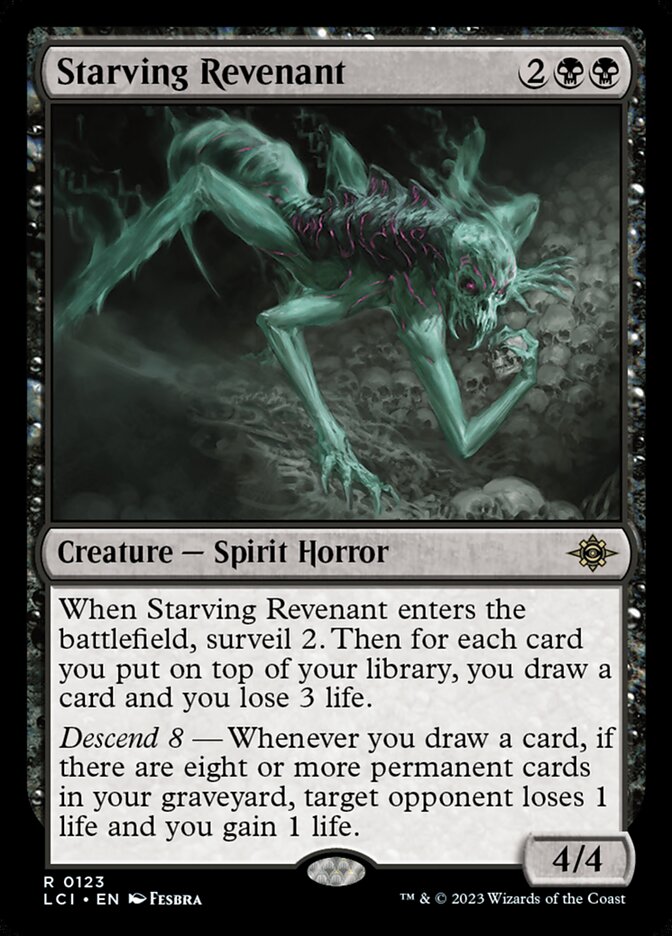
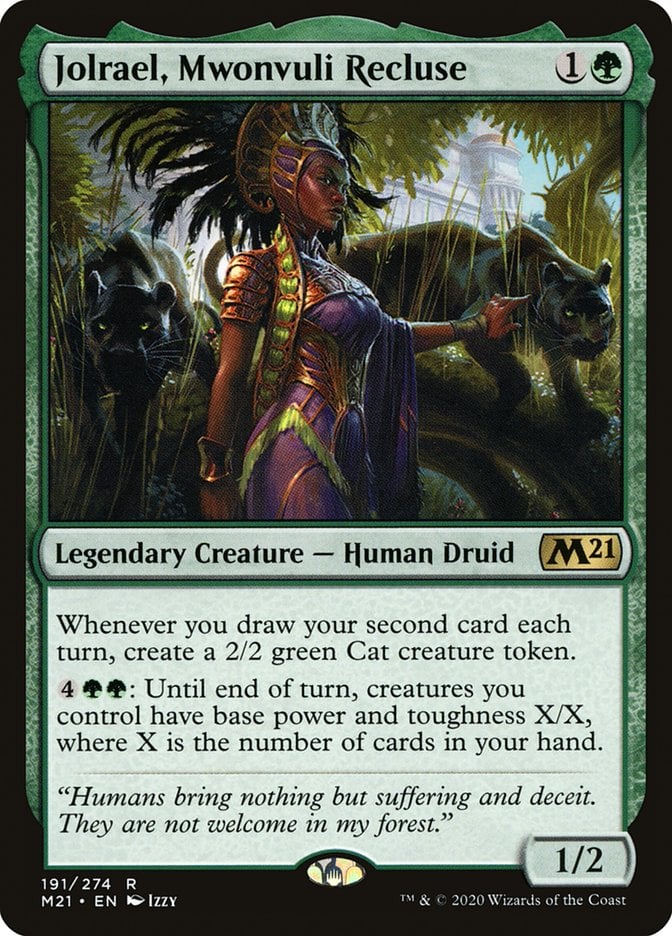
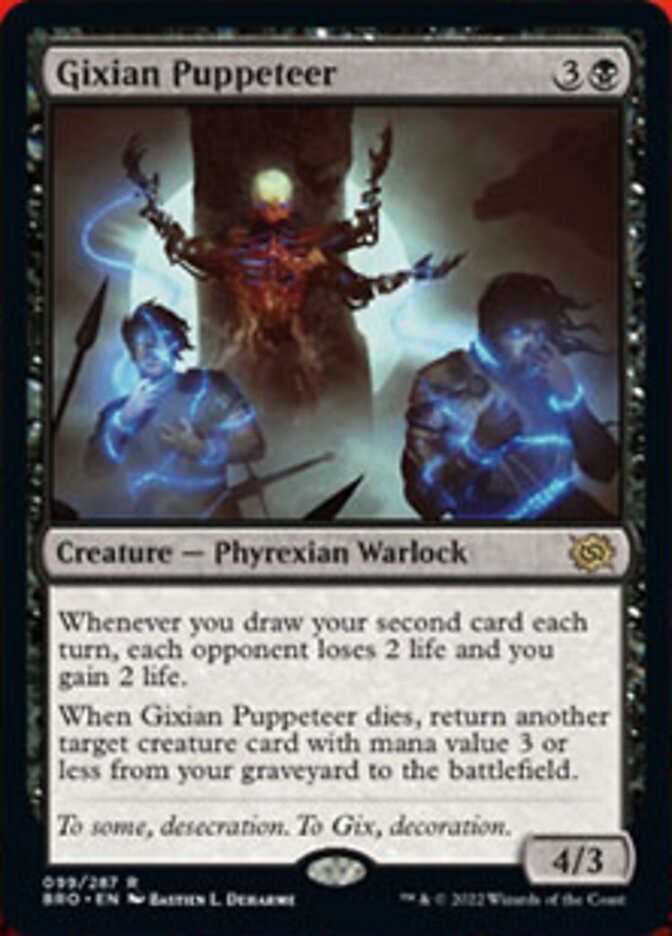
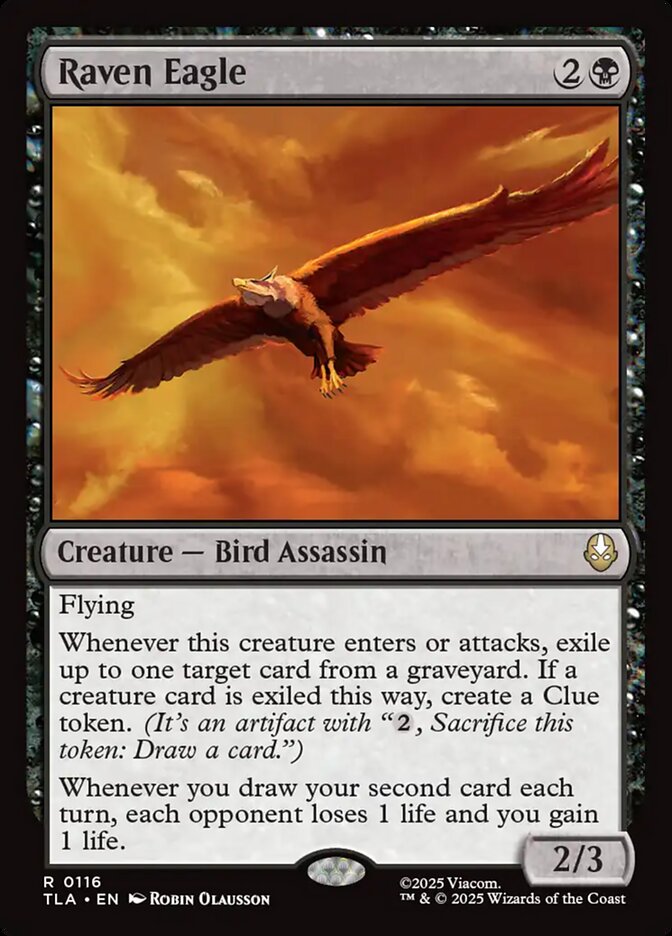
You got access to black, so one of the biggest payoffs in Sheoldred, the Apocalypse is powerful if you can afford it and on the small side you have Ravenous Squirrel which feeds on any sacrifices you make. Starving Revenant needs desend to meet the conditions for a life siphon. The next tier down for Golgari's card draw payoffs is on the second card as with Jolrael, Mwonvuli Recluse, Gixian Puppeteer, or Raven Eagle.
Card advantage is a payoff all its own, but lots of Golgari card draw needs enablers to get going. It’s important to consider the machinations you need to draw the cards, and then how that intersects with payoffs. I’m returning to the break of three card advantage types for accessibility.


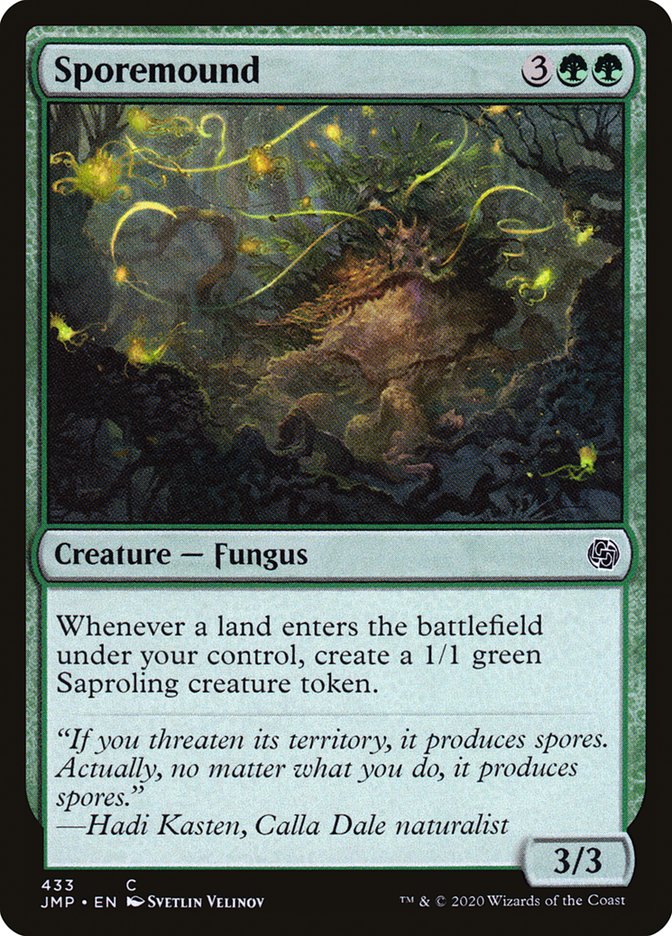

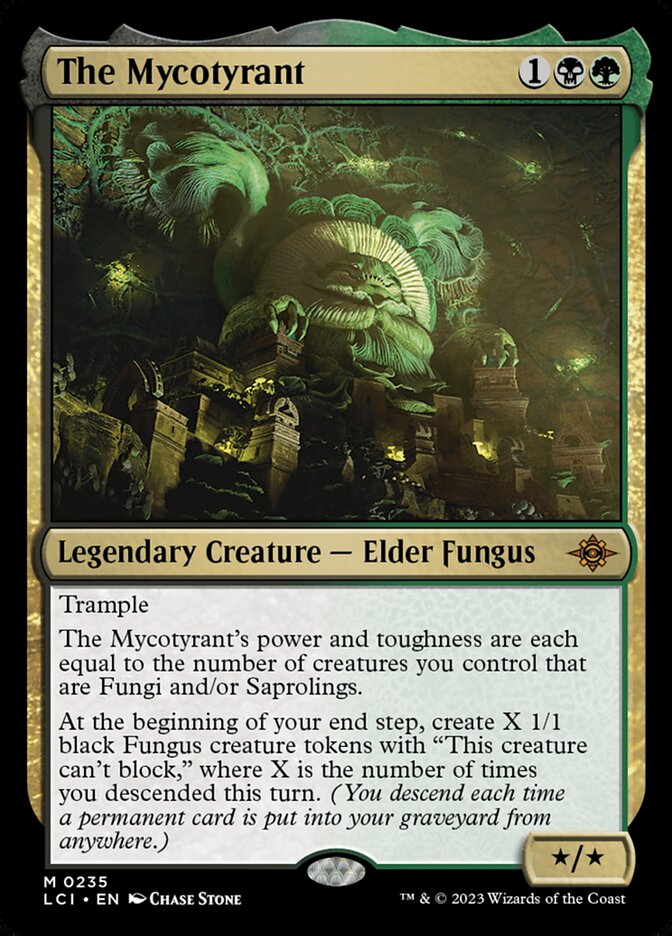
For card advantage outlets that require you to sacrifice a creature, like Vraska, Golgari Queen and Izoni, Thousand-Eyed, free token generators are king. Bitterblossom, Dreadhorde Invasion, Sporemound, and Scute Swarm are examples of the cards you want to use alongside these sacrificial engines. These generate tokens each turn, so you always have at least one spare permanent to sacrifice. The Mycotyrant furnishes lots of fungus tokens just for cracking a land, milling yourself or sacrificing a permanent, a great way to ensure you have plenty of fodder to sacrifice.
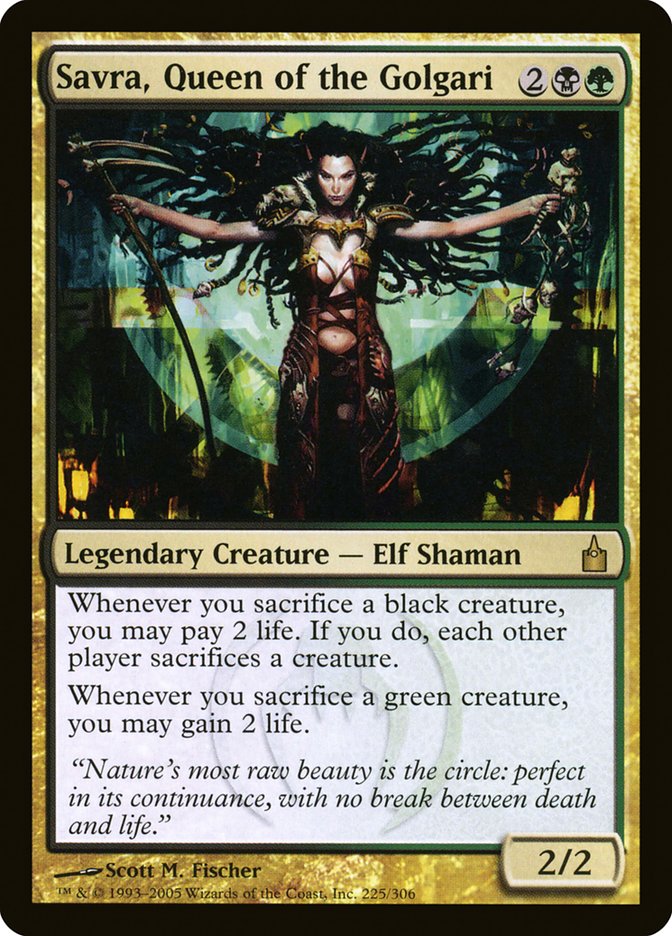 Savra, Queen of the Golgari
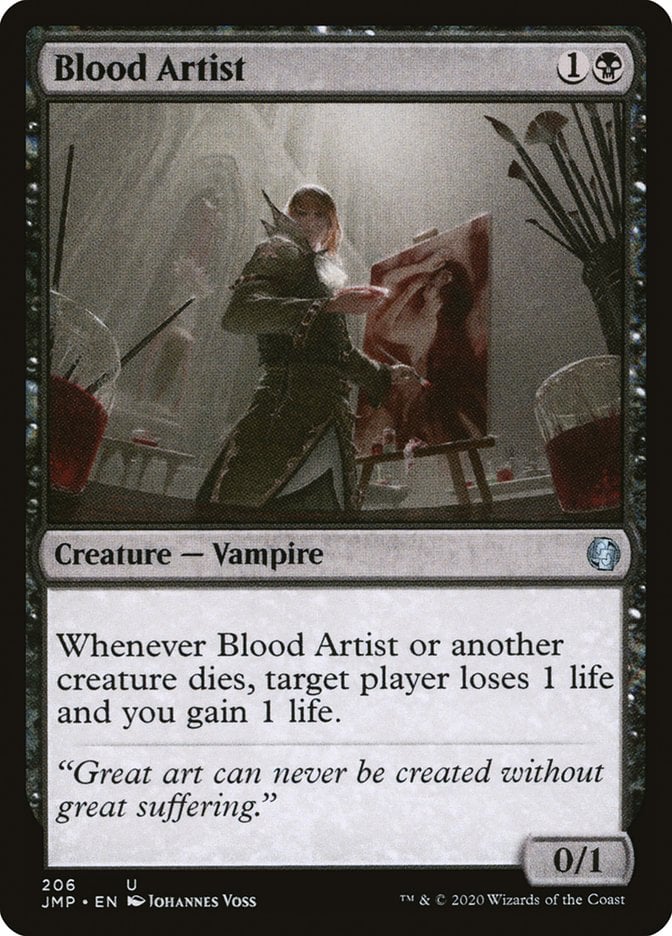
Once you start sacrificing a token each turn, you can get other aristocrat payoffs together. Blood Artist, Sméagol, Helpful Guide, or Zulaport Cutthroat all benefit from the constant sacrificing you’ll be doing.
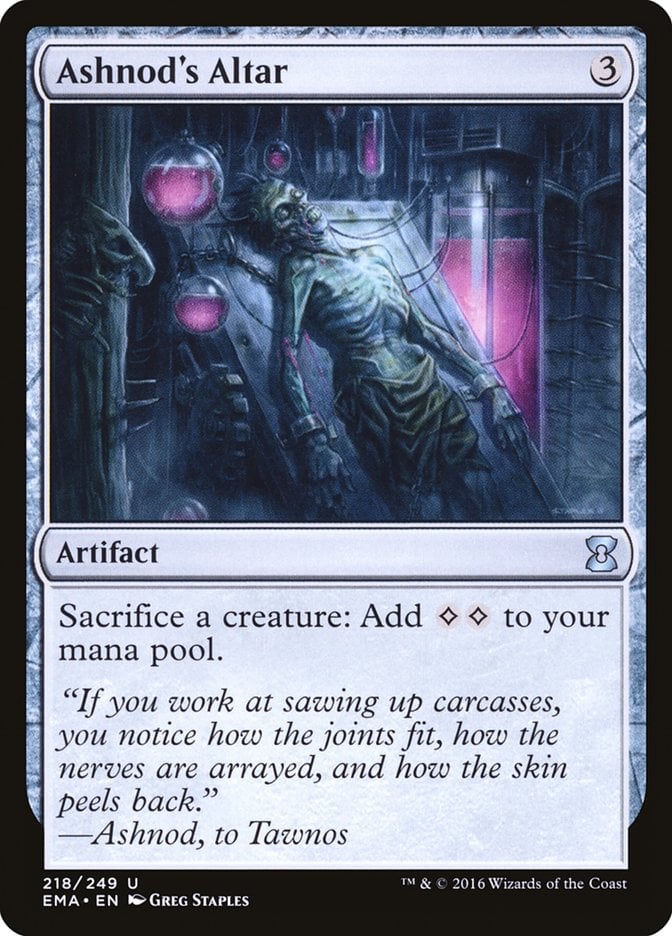
For effects that draw as cards when creatures die, like Moldervine Reclamation or Twinblade Assassins, free sacrifice outlets are key. Things like Carrion Feeder, Woe Strider, and Ashnod's Altar tack additional value to your card advantage. It doesn’t take much to turn these sacrifice outlets from a card draw engine to a combo engine that wins the game.
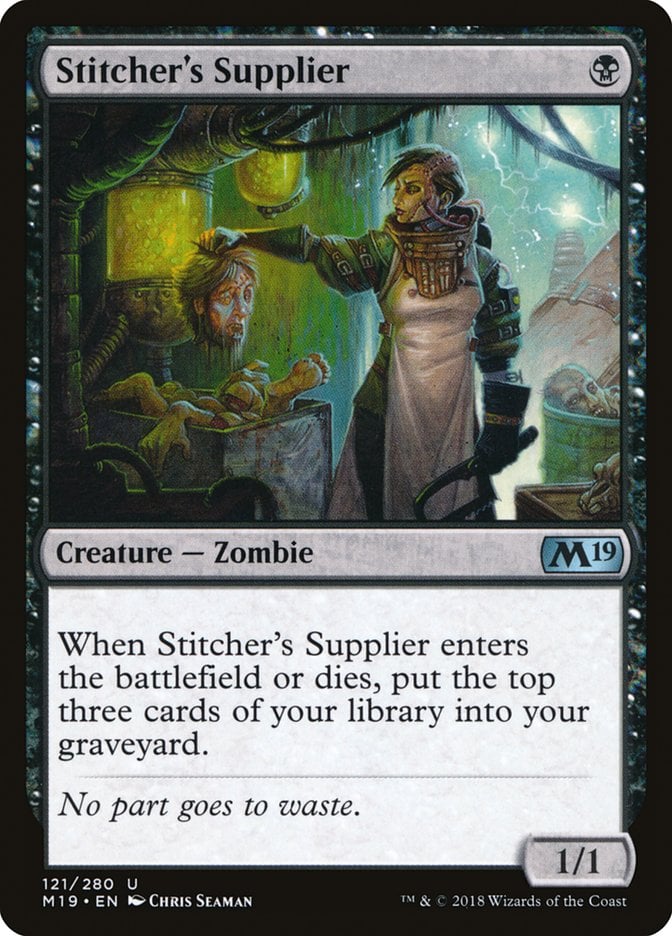
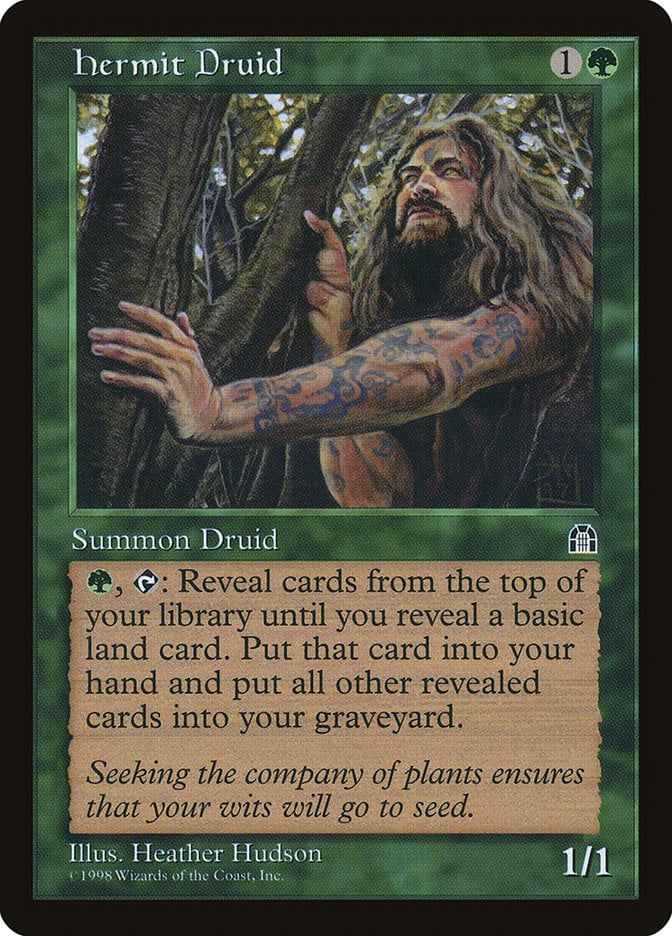
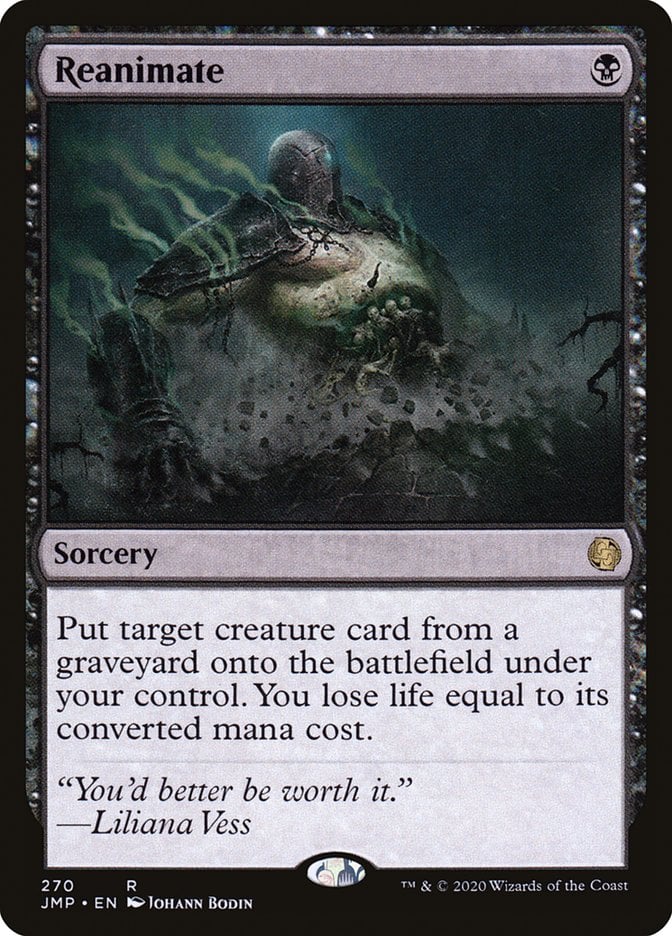
If you focus on recursive card advantage, like with Find / Finality or Baloth Null, self-mill is the name of the game. Cards like Stitcher's Supplier and Hermit Druid fill the graveyard quickly, deepening your resource pool. Once you start self-milling, cards like Reanimate and Dread Return appeal as incredible value options.
Wrap Up
Moldervine Reclamation | Illustration by Antonio José Manzanedo
Drawing cards is one of the best game actions you can take in Magic. Part of the reason blue is considered Magic’s best color is its unparalleled card advantage, but other colors are more than capable of seeing a few extra cards.
It’s important to consider how your color pair wants to draw cards. The Golgari either sends them there or gets them back.
What’s your favorite color pair? Do you like steady card advantage engines or bursts of card draw? Let me know in the comments or on the Draftsim Discord!
Stay safe, and keep grinding!
Follow Draftsim for awesome articles and set updates:


2 Comments
Most of these are recursion and a few tutors, or just mill cards. If you’re focusing on card advantage, sure. But you should rename the post from “best draw cards,” to “how to make a graveyard deck.” Or “best recursion cards” since that’s really what this is. Everyone runs graveyard hate these days, which is why it’s an important distinction.
Fair criticism. Personally, if we revisit this any time soon, I’d like to redo the list including only literal card draw spells.
Add Comment