Last updated on December 30, 2024
Koma, Cosmos Serpent | Illustration by Jesper Ejsing
One of the worst feelings in a game of Commander is getting ready to cast your commander and have it immediately countered. Another terrible feeling is having your commander removed quickly after dropping it. Sometimes, even when you manage to get your commander out, it’s hard to start building a good board state around it.
Koma, Cosmos Serpent has heard your complaints. This great uncounterable commander is here to help and give you a big scaly hug. And it’s going to squeeze the life out of all your opponents while it’s at it.
Let’s take a look at the deck and talk about why Koma should be your next commander.
The Deck

Breeding Pool | Illustration by Mike Bierek
Commander (1)
Planeswalker (1)
Creatures (11)
Ancient Silver Dragon
Consecrated Sphinx
Craterhoof Behemoth
End-Raze Forerunners
God-Eternal Rhonas
Sakashima of a Thousand Faces
Saryth, the Viper's Fang
Seedborn Muse
Serpent of Yawning Depths
Spark Double
Torrential Gearhulk
Instants (13)
Beast Within
Counterspell
Cyclonic Rift
Fierce Guardianship
Growth Spiral
Heroic Intervention
Lazotep Plating
Mystical Tutor
Pact of Negation
Pongify
Second Harvest
Swan Song
Worldly Tutor
Sorceries (15)
Collective Voyage
Cultivate
Distant Melody
Farseek
Green Sun's Zenith
Harmonize
Kodama's Reach
Nature's Lore
Rampant Growth
Ravenform
Regrowth
Search for Tomorrow
Selvala's Stampede
Skyshroud Claim
Triumph of the Hordes
Enchantments (11)
Cryptolith Rite
Defense of the Heart
Doubling Season
Growing Rites of Itlimoc
Kindred Discovery
Mystic Remora
Parallel Lives
Path of Discovery
Primal Vigor
Rhystic Study
Sylvan Library
Artifacts (12)
Arcane Signet
Coat of Arms
Emerald Medallion
Giant's Amulet
Helm of the Host
Jeweled Lotus
Lightning Greaves
Sol Ring
Swiftfoot Boots
Talisman of Curiosity
Thought Vessel
Whispersilk Cloak
Lands (36)
Barkchannel Pathway
Breeding Pool
Dreamroot Cascade
Fabled Passage
Flooded Grove
Forest x11
Hinterland Harbor
Island x10
Misty Rainforest
Rejuvenating Springs
Reliquary Tower
Rimewood Falls
Simic Growth Chamber
Tropical Island
Waterlogged Grove
Yavimaya Coast
Yavimaya, Cradle of Growth
Much like the commander itself, this deck is all about getting wide. This big serpent wall is meant to keep you safe until you’re ready to overwhelm your opponents with a massive attack.
Because growing your snake army relies on having your commander on the field, you’re going to want to get Koma out as early as possible with the help of ramp spells like Collective Voyage. Protecting it with cards like Lightning Greaves is also key to making sure you’re getting enough tokens to be a threat.
Cloning your commander will help speed things up, hence cards like Spark Double. When you’re ready, it’s time to swing out and watch your opponent’s life totals plummet or poison counters grow.
The Commander
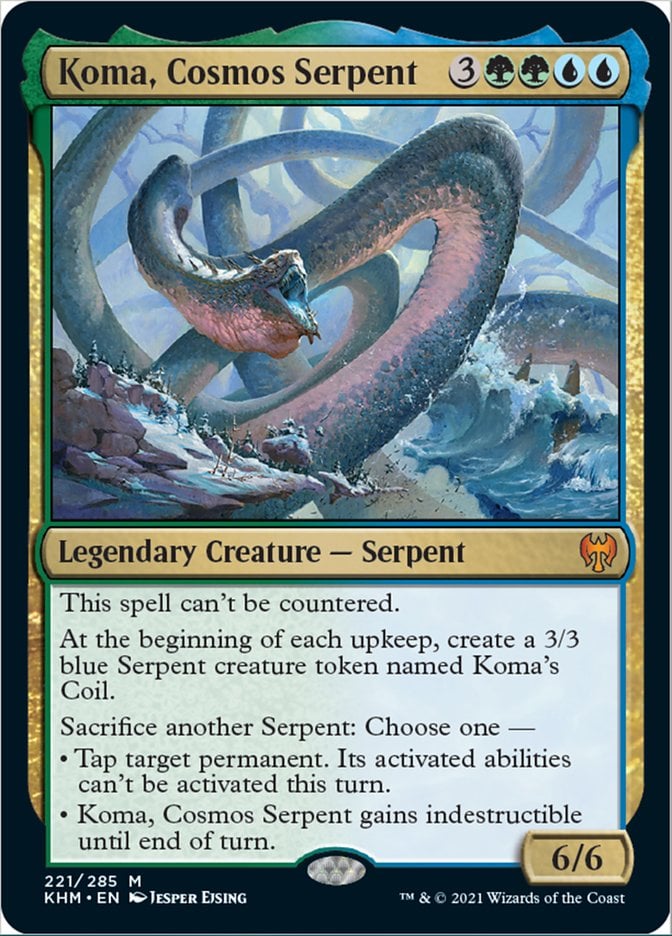
Koma, Cosmos Serpent was part of the long awaited first journey to the plane of Kaldheim. It isn’t hard for me to see why players were immediately drawn to this card. Koma is not only hard to answer, it also builds you your very own army at no cost.
You’re already going to be sitting pretty with four 3/3 tokens at the start of your turn after just one trip around the table. Of course, you can also sacrifice them to keep Koma alive or shut down problematic activated abilities on your opponents’ boards.
A lot of times when a new commander comes out, I think, “oh that would be good with this card” or “this could be a fun interaction with certain cards.” What’s fun about Koma is that it’s a great card all on its own. That being said it’s going to need a little help getting on the battlefield and staying there once your opponents realize just how good it is.
Ramp Spells
Early ramp spells like Rampant Growth are very important for helping you get Koma onto the field quicker. Farseek and Nature's Lore have the added benefit of helping you grab some of your blue green dual lands.
Not only does searching up more than one land help ensure you aren’t missing land drops, it also helps thin your deck even faster. Skyshroud Claim is another card that searches for Forests and can allow you to grab two of the three Forest Islands in the deck at once.
Collective Voyage is nice for its versatility, allowing you to use it early game for one or two lands, or you can hold onto it for a lot more. While there’s a downside to giving your opponents lands, you’re going to need a lot to make sure you can cast and re-cast Koma when you need to. Having more lands also helps you keep mana open for counters and protection spells.
Another form of ramp in this deck is cashing in on the number of creature tokens you’ll be creating. Cryptolith Rite can help with mana fixing as well since you can tap for any color.
Protection
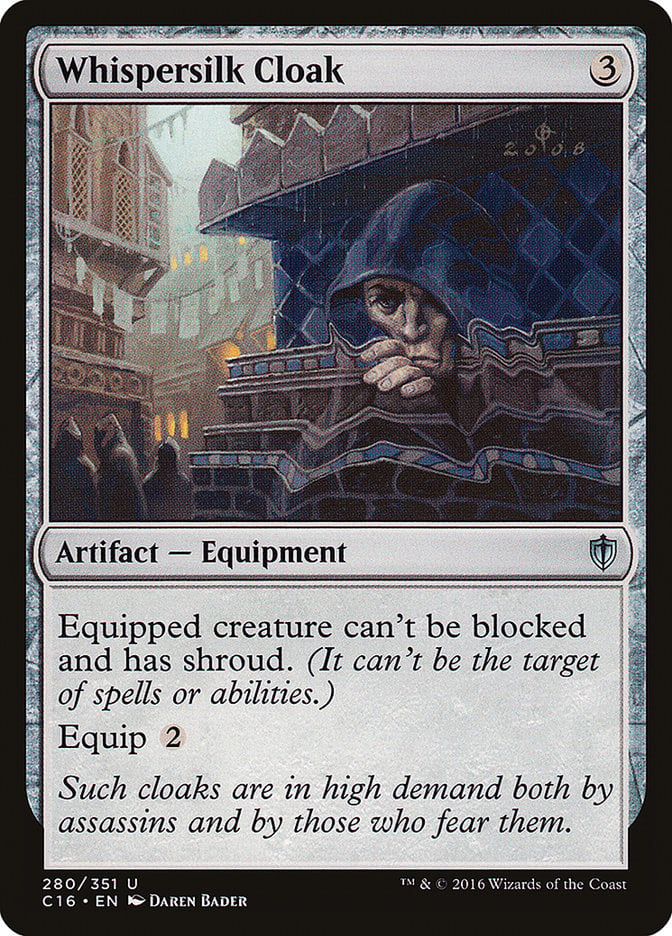
The first form of protection for this deck is equipment that makes Koma difficult to target. While Koma keeps itself alive pretty well, these cards can protect from spells that exile, like Swords to Plowshares, or auras like Darksteel Mutation. Whispersilk Cloak has the added benefit of making Koma unblockable so you can start swinging for commander damage.
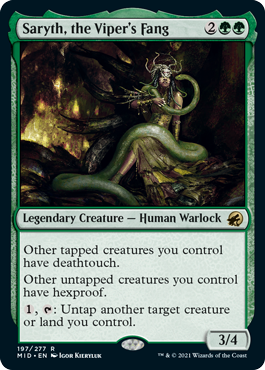
Saryth, the Viper's Fang can offer hexproof to Koma as well as any other creatures or creature tokens you control. This card also gives any of your attacking creatures deathtouch, making your opponents choose between their life and their creatures every time you swing.
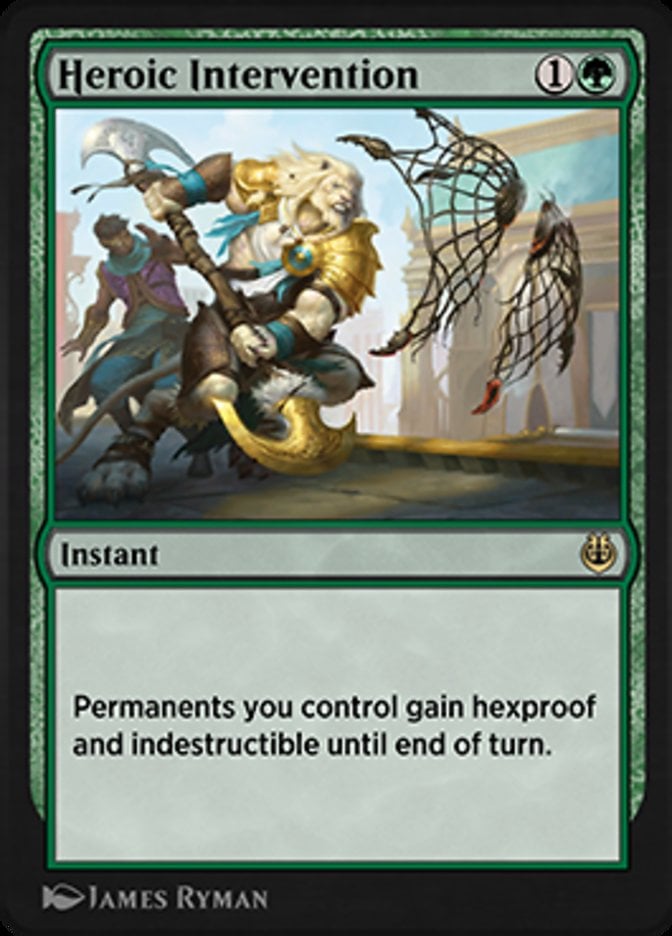
While permanent protection is ideal, instant-speed protection can also help keep your creatures alive. Heroic Intervention can double as a game winner if you respond to a board wipe with it when you have a big enough army of tokens.
Cloning Spells
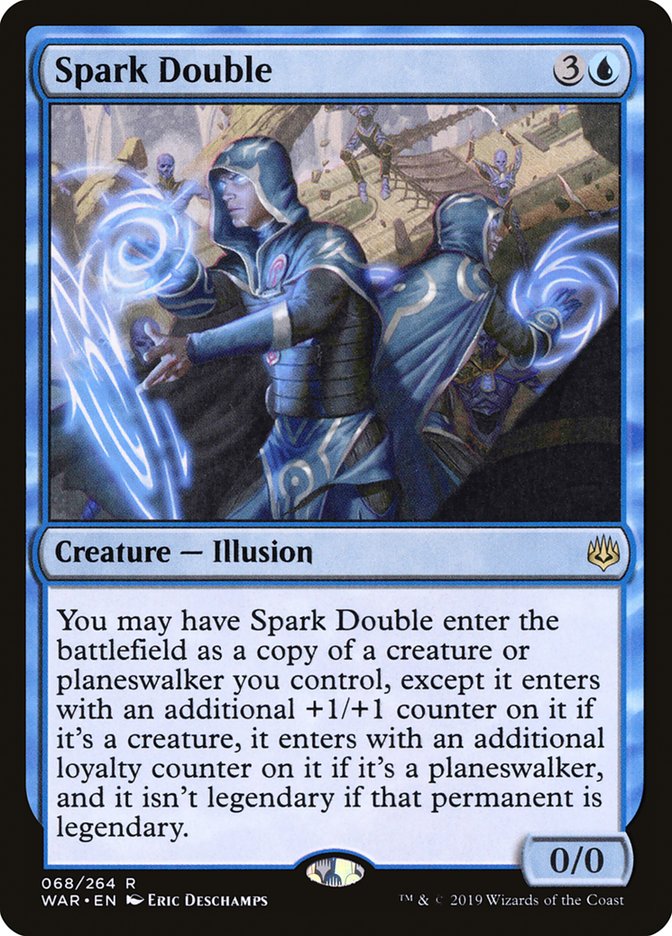
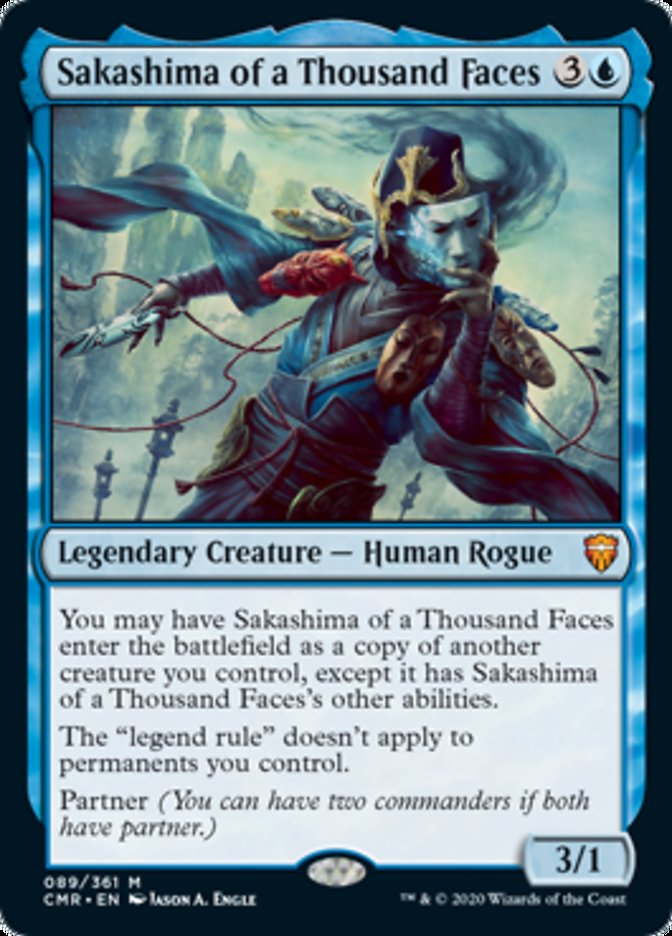
One Koma is great, but having a few on the board at the same time is really going to speed your game up by making multiple tokens each upkeep. It’s important that the cloning spells you include can get around the legend rule, so Spark Double and Sakashima of a Thousand Faces are great choices.
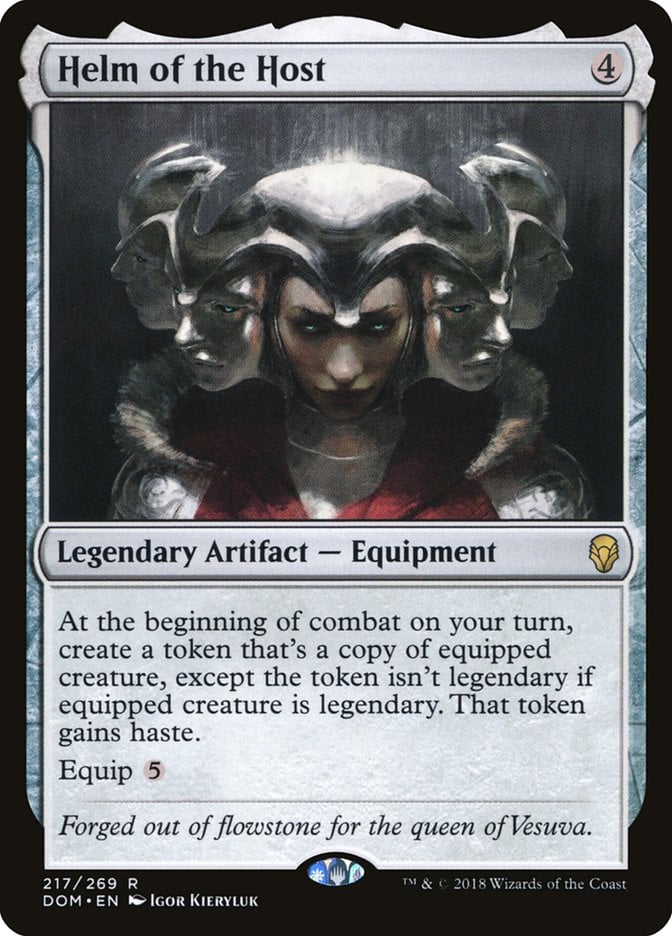
Helm of the Host is even better because you’ll be making an extra Koma for each turn that it’s equipped. That said, you’ll want to make sure that you’re pretty well protected when you put this down because you’ll quickly become a target when your opponents know what you’re up to.
Token Doublers
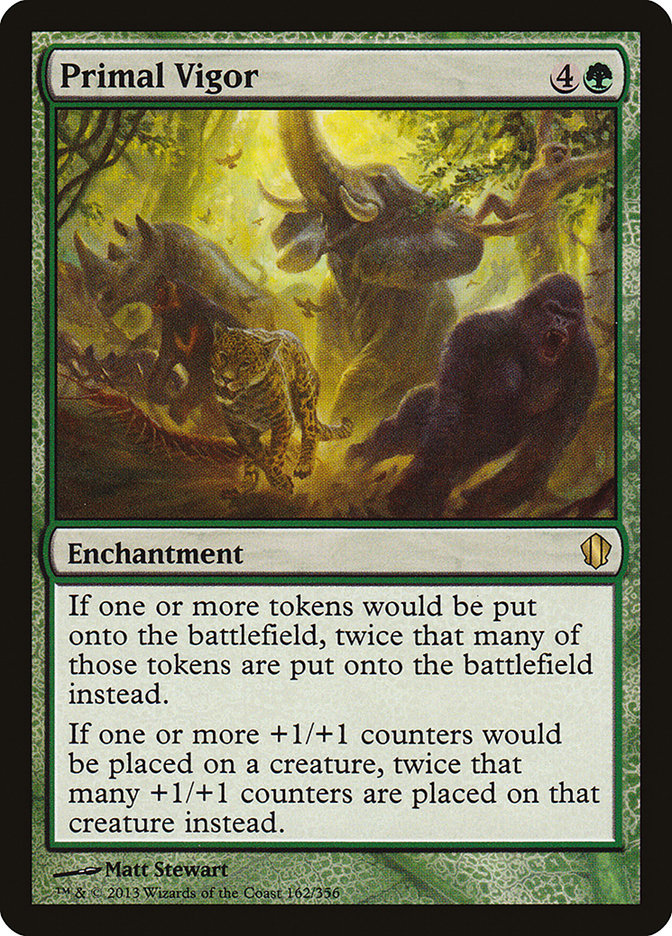

If you can’t copy Koma, copying its token output is the next best option. Primal Vigor and Doubling Season have the added benefit of doubling up +1/+1 counters. And that’s still a nice added benefit even if this deck isn’t built around that too much.

Once you’ve created a lot of tokens, Second Harvest lets you to double all of them. The benefit of this card being instant speed is that you can cast it in response to an attack, or right before your turn so all of those new tokens can attack right away.
Finishers
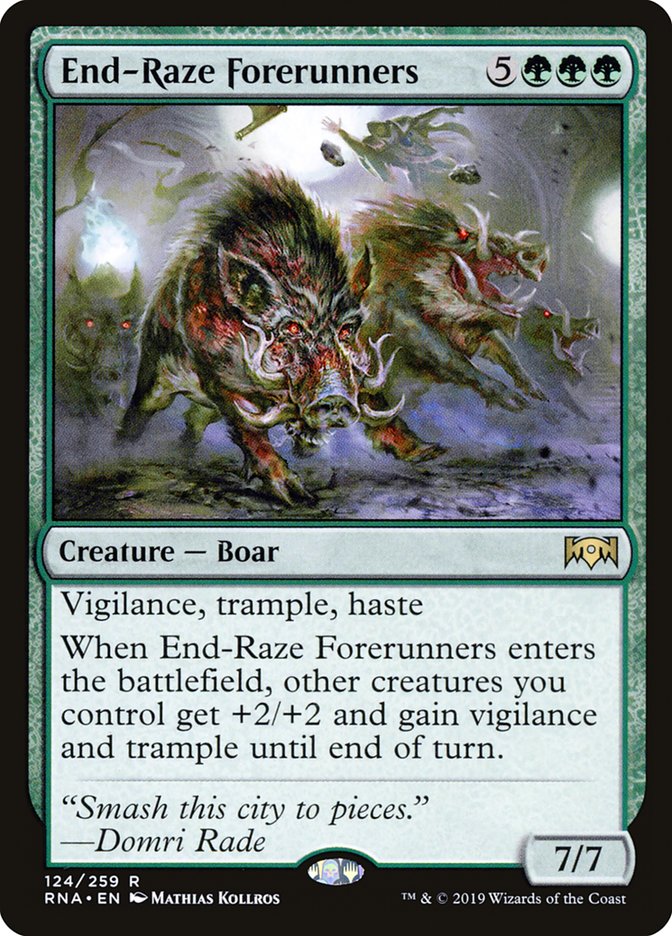
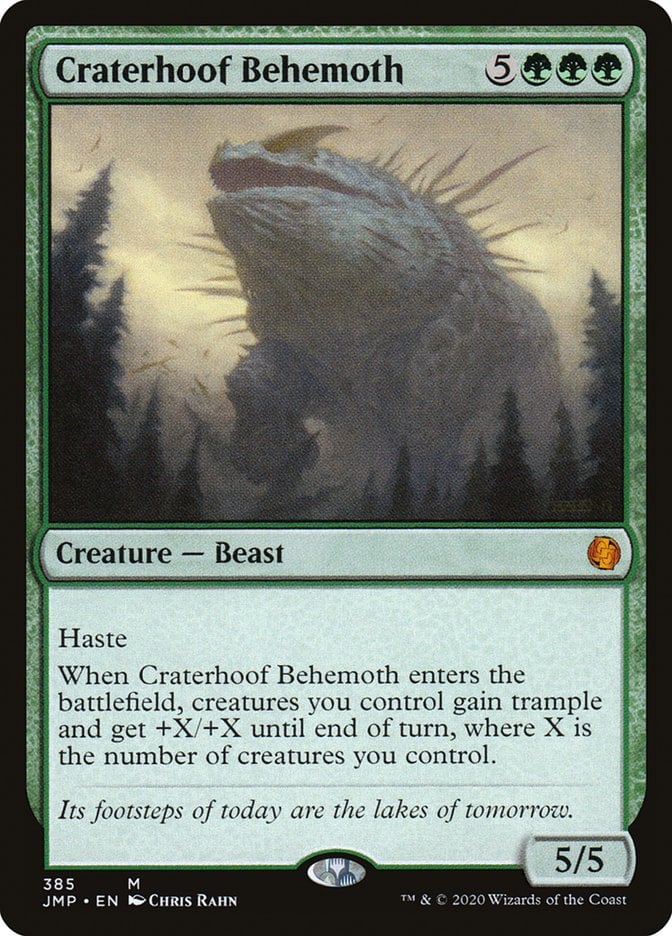
While 3/3 is big for creature tokens, these serpents are going to need a buff to help finish off your opponents. Putting these creatures on the board once you’re ready to swing can get you those extra points of damage you need to win. End-Raze Forerunners and Craterhoof Behemoth also give your creatures trample, which help you punch through blockers.
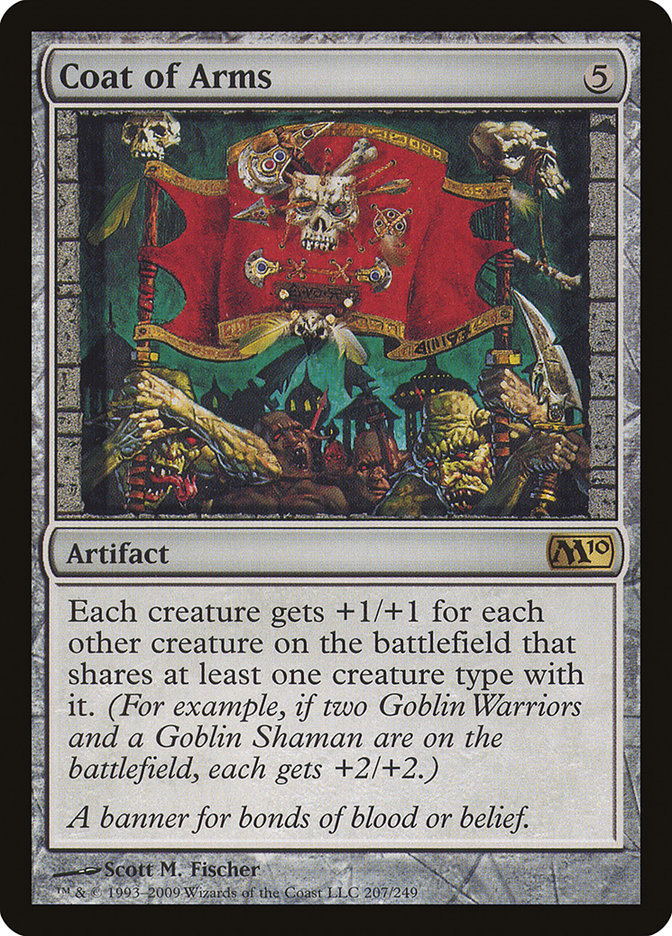
Coat of Arms can also help make your creatures huge, but it’s important that you’re careful when you play this. You really have to make sure that you’re benefiting more from this artifact than your opponents if you’re going up against another tribal deck.
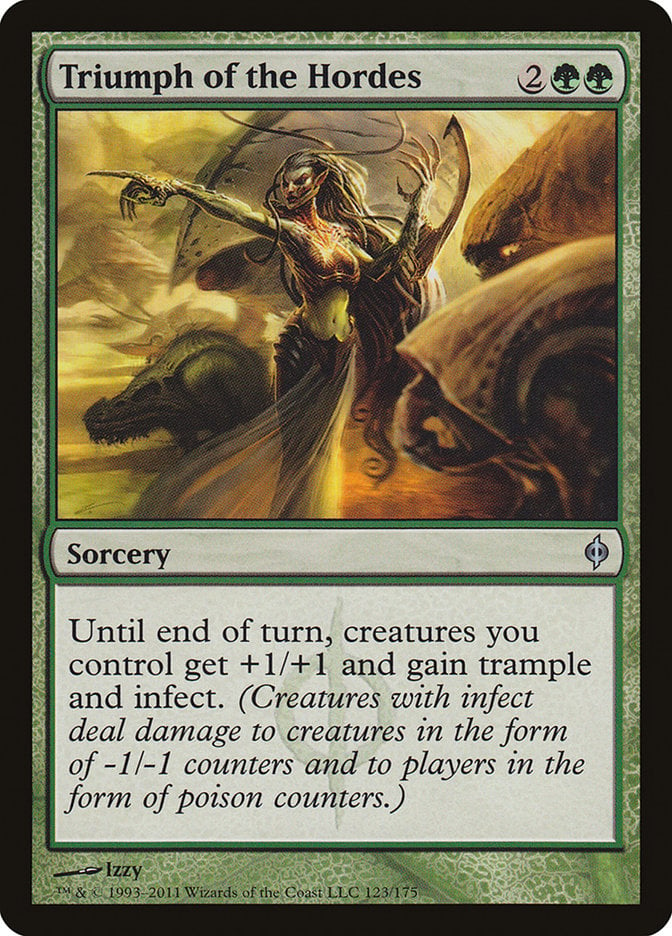
Of course, your serpent tokens don’t need to be much bigger than they start if you can give them infect instead. While Triumph of the Hordes is meant to function as a finisher, and you can also use it to significantly weaken your opponents’ creatures with -1/-1 counters.
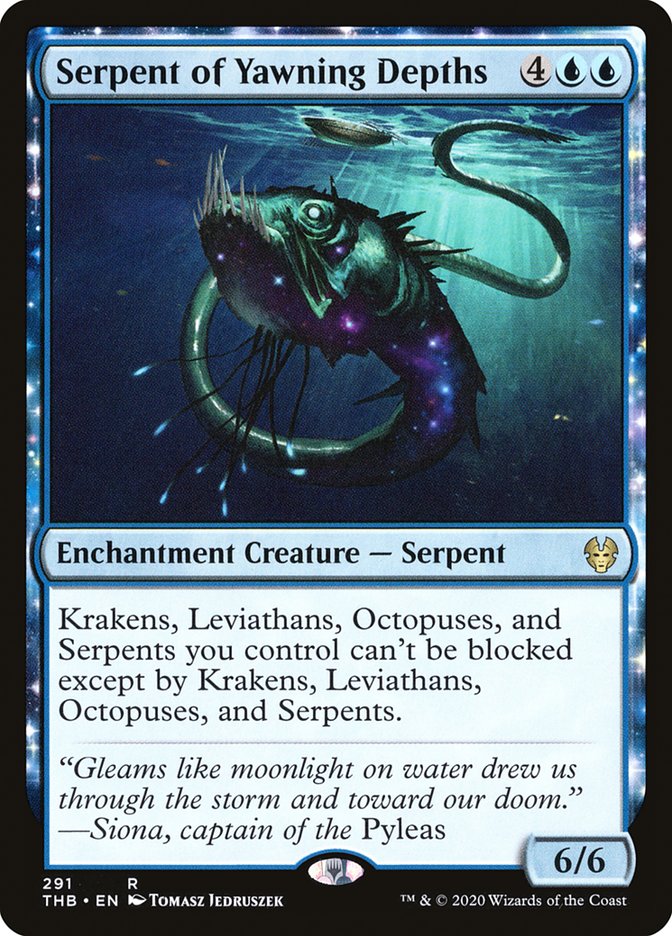
Instead of making your creatures strong enough to get around or through blockers, Serpent of Yawning Depths can help you get past most of your opponents’ creatures. While it’s possible that they may be able to block a couple of your creatures, chances are they aren’t running as many as you are.
Draw Spells
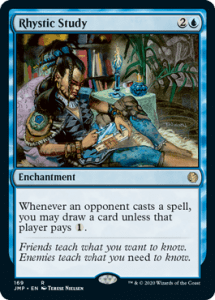
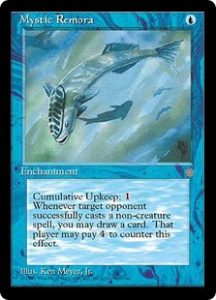
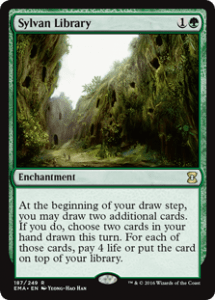
These enchantments are staples for a reason. Consistently drawing more cards ensures you always have what you need. Mystic Remora and Rhystic Study are also good for slowing down your opponents since they may feel pressured to pay mana to keep you from getting ahead. Sylvan Library will help you dig deeper into your library each turn.
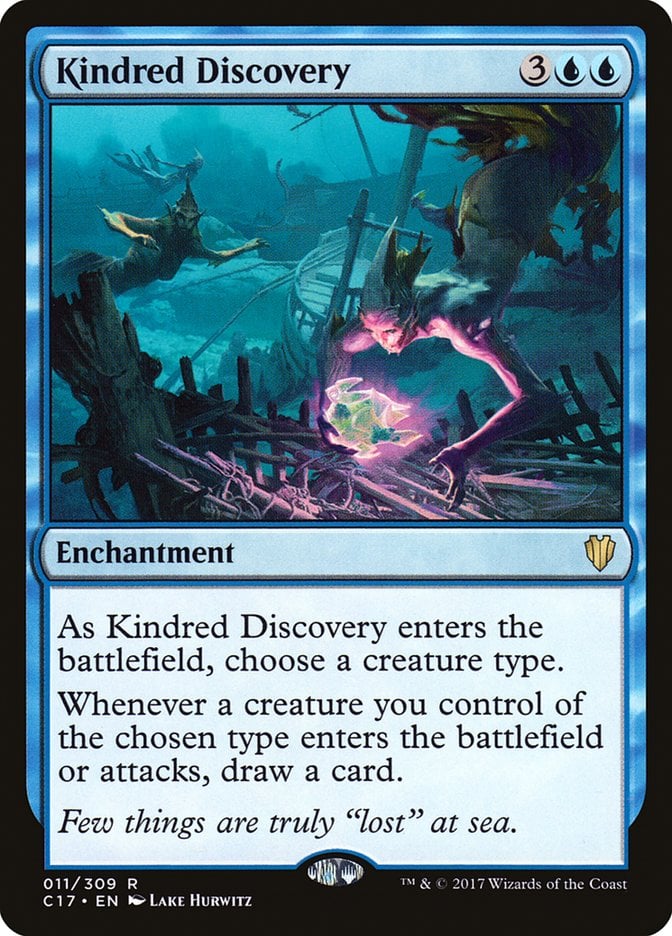
Because you’re aiming to create a bunch of serpents, these cards help you get added value out of them. Kindred Discovery lets you draw a card on each player’s upkeep as long as Koma is on the field and Distant Melody can be good for a one-time influx of cards.

Ancient Silver Dragon can give you no maximum hand size for the rest of the game, which is very helpful with the amount of draw potential in this deck.
Counters and Removal
Counterspells are great multipurpose tools. They can act like removal by preventing a problematic creature hitting the board, or they can protect your board. Fierce Guardianship will be very helpful since this deck aims to have Koma out as much as possible.
Green and blue are hurting a bit for creature removal, but these are some of the better options. Ravenform and Beast Within also have the added bonus of hitting other types of permanents.
Cyclonic Rift is another format staple, and for good reason. It’s versatile, so you can bounce one big threat if you really need to. Or you can overload. This card is versatile enough that it could easily fit into the finisher category as well as removal.
Tutors
While they are versatile, these cards are mainly here to grab your finishers when you need them. It’s important to keep in mind that they force you to reveal what you tutor, so it would be smart to pair these with a draw spell.
While not your traditional tutor, Defense of the Heart is a great way to drop some of your finishing creatures onto the battlefield at the beginning of your turn. Of course, you can also get any useful creatures if you’re not ready to close the game out just yet, like Consecrated Sphinx or Ancient Silver Dragon.
The Mana Base
Cheap mana rocks are important for this deck because you want to get Koma out as early as possible. Jeweled Lotus is also great in this deck, either for getting Koma early or paying for commander tax later on. And having Forest Island lands are very helpful because your ramp spells that search for Forests can search these up for you.
Yavimaya, Cradle of Growth is great for mana fixing because it allows your Islands and utility lands to also tap for green if you need them to. I’d strongly advise including this in any multicolor deck that includes green if you can get your hands on it.

With the amount of card draw in this deck, it can be useful to make sure you don’t have to discard anything you really need. Reliquary Tower will let you fill up your hand with no worries.
The Strategy
If the artwork didn’t give it away, this deck is all about making as many Koma's Coil tokens as you can with your commander. You’ll want to get Koma out as quickly as possible to start building your serpent army. Once you’ve started accruing tokens you can start deciding the best way to use them, but you’ll ultimately be looking to swing out with a lot of creatures and end the game.
Early game is going to be all about ramp since your commander is a little pricey. Koma can protect itself pretty well and will be generating extra creatures, so you can feel confident keeping early hands with a lot of lands and ramp spells. If you draw into a Mystical Tutor early on, don’t be afraid to use it on a ramp spell. You’ll have time to find your big finishers when you get your wall of snakes.
Now that Koma is on the field you’re going to want to keep it there. Protection like Lightning Greaves, counterspells, and Koma’s indestructible ability are going to come in very handy during this part of the game.
It’s also important to remember when to use Koma’s second ability. Tapping down planeswalkers like Kaya the Inexorable or creatures like Priest of Forgotten Gods during your opponents’ upkeep prevents them from exiling Koma since they won’t be able to activate their abilities.
Any time is really a good time to clone Koma since it helps speed up your game, but the earlier you can manage it the better. Don’t be afraid to use your Koma's Coil tokens as blockers if need be. They can help keep you alive while you search for your finishing moves.
There are a couple ways you can look to close out the game. The most common is building up your token army until you’re ready to swing and take out one or more of your opponents.
Craterhoof Behemoth and Triumph of the Hordes are the best way to try and close out the game all at once. End-Raze Forerunners and God-Eternal Rhonas can be good for single player eliminations. You can swing out at one opponent and still have some blockers to keep you safe since they give your creatures vigilance.
If your opponents have too many blockers to get through, emptying their boards with Cyclonic Rift can open them up to an attack. Or you can try to evade their blockers with Serpent of Yawning Depths.
The other way you can try to close out the game is with commander damage. Whispersilk Cloak or Serpent of Yawning Depths can make Koma unblockable. You can feel free to swing Koma knowing you’ll still have some protection against enemy attackers since you’ll be generating tokens each upkeep.
Now, no commander deck is complete without considering the political angle. This deck is definitely at risk of being seen as a big threat on the table. You want to convince your opponents that they’re wrong.
Don’t be afraid to sacrifice Koma's Coil to help your opponents out of a tight jam from time to time. Keep a scary planeswalker from activating its abilities or tap down a big threatening creature. If the table is relying on you to keep them safe from other threats, they’ll want to keep you around a little longer and inadvertently allow you to get stronger.
Combos and Interactions
This deck is meant to be pretty straightforward, so you aren’t searching for any infinite combos. These are going to all involve Koma, so it’s important to make sure you have it on the field as much as possible.
Path of Discovery has a great interaction with Koma’s token creation. Your Koil tokens will be exploring during each players’ upkeep, allowing you to manage your draws and potentially buff up your tokens.
Kindred Discovery and Koma’s upkeep ability are also a great interaction. You’ll be drawing a card on every upkeep that you have your commander out.
Budget Options
This deck is very expensive as is, so there are some changes you can make that will quickly drop its price to a place that’s a bit more manageable if you’re on a budget.
The biggest price tag in this deck is probably no surprise, and that’s Tropical Island. It’s just one land in the deck and you can easily replace it with cards like Botanical Sanctum or Temple of Mystery.
Jeweled Lotus is another very pricey card. While not as fast, Gilded Lotus can help with paying for Koma later in the game if it’s destroyed and you’re dealing with commander tax. Geode Golem is also a good way to help get Koma on the battlefield and would pair well with Whispersilk Cloak.
Growing Rites of Itlimoc can easily be replaced by Circle of Dreams Druid, which will save you a good chunk of change. While the Druid is easier to remove it still works the way you need it to.
Search for Azcanta isn’t as effective at managing draws as Sylvan Library and it won’t draw you extra cards, but it’s a good alternative if you’re looking to shave a lot off the price of this deck.
Other Builds
This current deck is built all around Koma and its abilities. But another option is to turn the tokens into bigger threats instead of trying to create a ton of them. There are plenty of cards that let you do this in Simic (), so I’ll quickly run through how to make that work.
First you’re going to want to add cards like Proteus Staff, Polymorph, and Synthetic Destiny. These are going to let you transform your Koma's Coil tokens into a random creature from your deck.
Next you’re going to want to include a small number of very powerful creatures in your deck to make sure the random creature you’re getting is worth it. Keeping it around six to eight creatures helps prevent you from drawing one of these creatures before you can cheat it out. Creatures like Blightsteel Colossus and Ulamog, the Ceaseless Hunger are good options since they’re harder to remove and can help win you the game.
Cloning spells would also be a good choice for this deck since you can choose to clone either Koma or one of the big creatures you cheat onto the battlefield.
Commanding Conclusion

Simic Growth Chamber (Double Masters 2022) | Illustration by Pete Venters
Koma, the Cosmos Serpent has such good staying power that you can count on it to stay alive long enough to make an impact. While I went over my preferred strategy and one alternative, I think there are even more ways you can build this commander. Even if you wanted to just throw all your best green and blue cards together into a deck, Koma would be a great choice to lead the charge.
Do you have a Koma deck that you’ve built differently? Can you think of any cards that would be good to add to this deck? Any support you’d like to see printed for a deck like this? Let me know in the comments below or over on the Draftsim Twitter.
I hope you enjoy this deck guide and get some good use out of it. I look forward to seeing you in the next one!
Follow Draftsim for awesome articles and set updates:


2 Comments
Have you considered Adrix and Nev over Primal Vigor? What are your thoughts on Tireless Provisioner in a deck built like this?
Adrix and Nev are a solid alternative, especially with Ward 2. My main reason for using Primal Vigor instead is that I usually encounter more creature removal or creature board wipes than enchantment removal, since all colors have a way to deal with creatures but some struggle to deal with enchantments.
I think Tireless Provosioner can be good. I don’t think its exceptionally better in this deck than any other deck, but if you wanted to swap out Emerald Medallion or Talisman of Curiosity for it I think it could work fine.
Add Comment