
Kaalia of the Vast | Illustration by Livia Prima
Mardu () decks tend to create some of the most aggressive and grindy combos in the game, and today, we’re diving into how Mardu combos work and the impact they can have on the board.
Let’s explore the ruthless side of the color pie and see how Mardu wins with sacrifice and sheer brutality.
What Are Mardu Combos in MTG?

Kelsien, the Plague | Illustration by Chris Rallis
Mardu combos are strong combinations between red, white, and black cards that focus on aggressive strategies like dealing damage, looping sacrifices, and draining life.
Many of these combos can go infinite to create endless combat steps, tokens, or direct damage by using effects like graveyard recursion and death triggers. In this list, I’ll break down the most popular Mardu combos and rank them based on how difficult they are to pull off.
#14. Carmen, Cruel Skymarcher + Breath of Fury
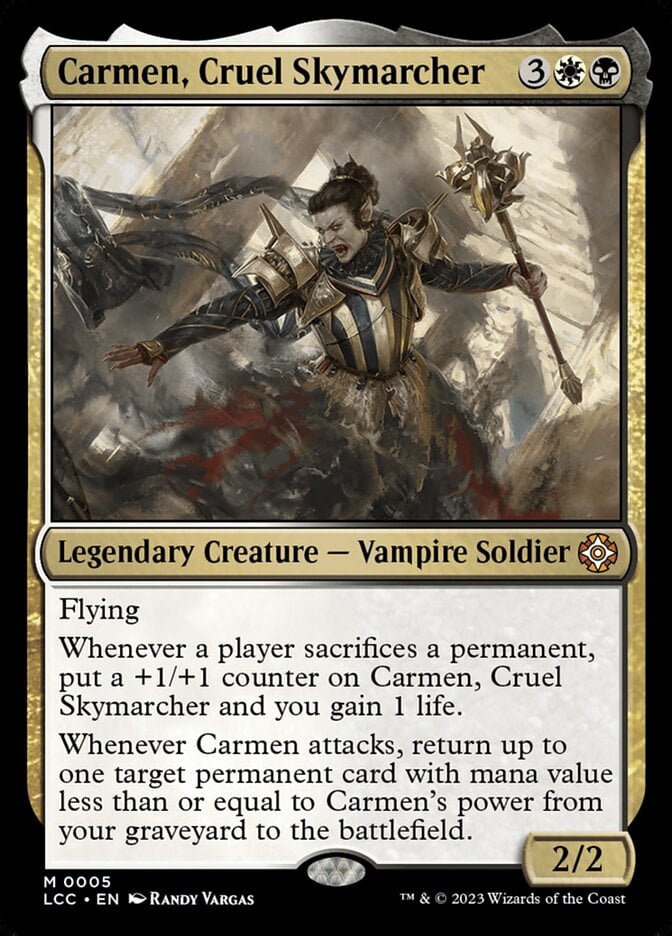
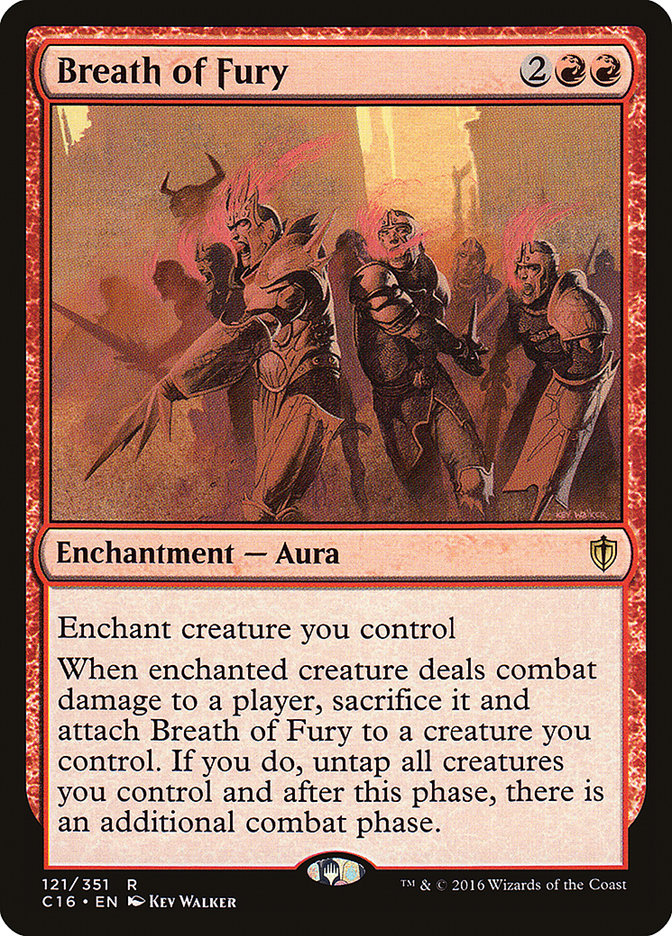
Cards – Carmen, Cruel Skymarcher + Breath of Fury
Prerequisites – Carmen, Cruel Skymarcher and Breath of Fury are on the battlefield, with Breath of Fury attached to a nontoken creature that has haste. You also need a hasty creature card in your graveyard. Carmen must have power equal to or greater than the mana value of both the creature it’s attached to and the one in your graveyard. You must be able to attack safely without blockers interfering, and Carmen can’t have summoning sickness.
Result – Infinite combat steps, +1/+1 counters on Carmen, combat damage, ETB triggers, death triggers, lifegain, and untaps for your creatures.
Variations: This combo is unique and rather niche.
Execution – Swing with Carmen, Cruel Skymarcher and the creature enchanted with Breath of Fury. When Carmen attacks, its ability triggers and returns a hasty creature from your graveyard to the battlefield. That creature joins the attack and deals combat damage. After damage, Breath of Fury triggers—sacrificing the creature it was attached to, then moving to another hasty one. You untap all your creatures and get another combat phase. Carmen also gets a +1/+1 counter and gains you 1 life. You’re now set to repeat the loop: Attack again, bring back another creature, deal damage, sacrifice, untap, and keep going. The result is an endless chain of combat steps, triggers, and value.
#13. Rowan, Scion of War + Necropotence + Debt to the Deathless
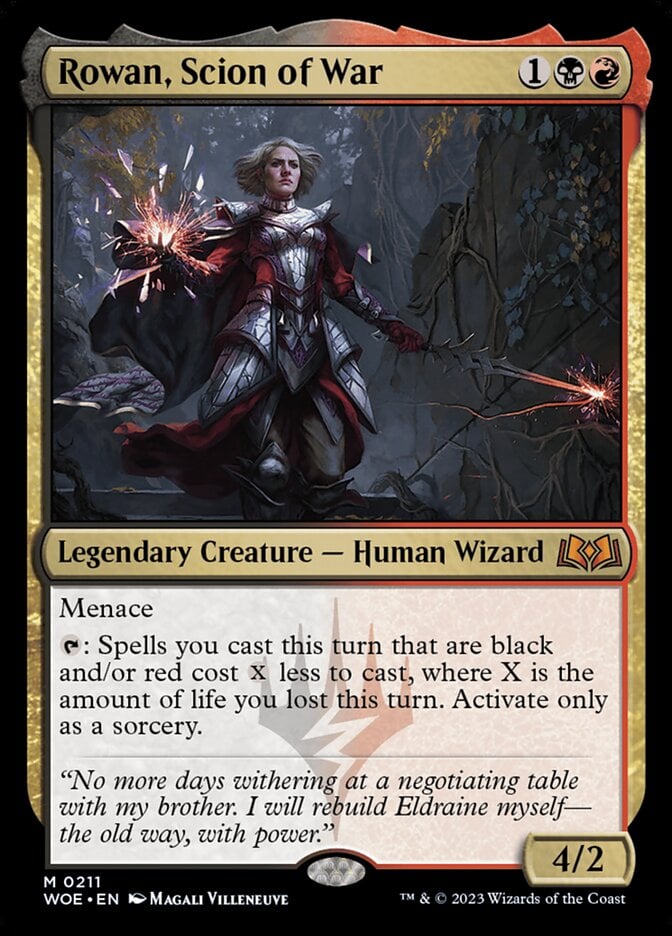


Cards – Rowan, Scion of War + Necropotence + Debt to the Deathless
Prerequisites – Rowan, Scion of War and Necropotence are on the battlefield, and Rowan is untapped. Debt to the Deathless is in hand. Your life total is at least half of the highest opponent’s life, rounded up. You have enough mana to cast Debt to the Deathless with Rowan's cost reduction.
Result – You drain each opponent’s life to 0 and gain a massive life buffer, winning the game on the spot.
Variations – You can run Aetherflux Reservoir as a backup wincon if opponents aren’t low enough for Debt to the Deathless. While Necropotence is key for efficiency, life loss and payoff effects like Phyrexian Arena plus Exsanguinate offer similar lines, though with more steps.
Execution – Start to activate Necropotence over and over—each time you pay 1 life to exile the top card of your library, which you'll draw later at your end step. Keep doing this until you’ve paid enough life to match at least half of the highest opponent’s life total. Once you're there, tap Rowan to reduce the cost of your next red or black spell by that much. Then cast Debt to the Deathless, using X equal to the life you just lost. When it resolves, each opponent loses double that amount of life, and you gain that much back, which ends the game in your favor.
#12. Heartless Hidetsugu + Vizkopa Guildmage
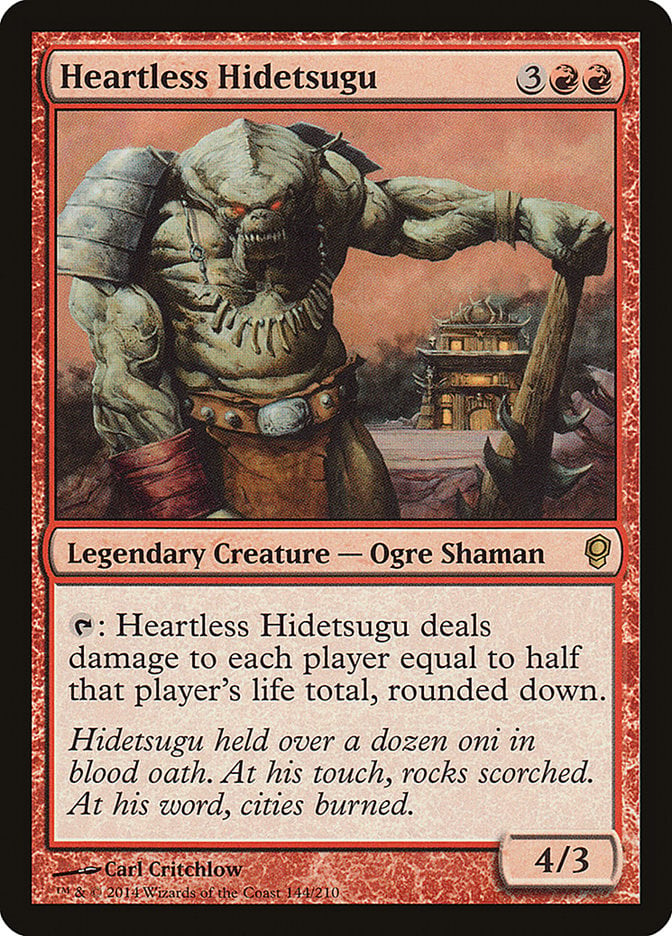
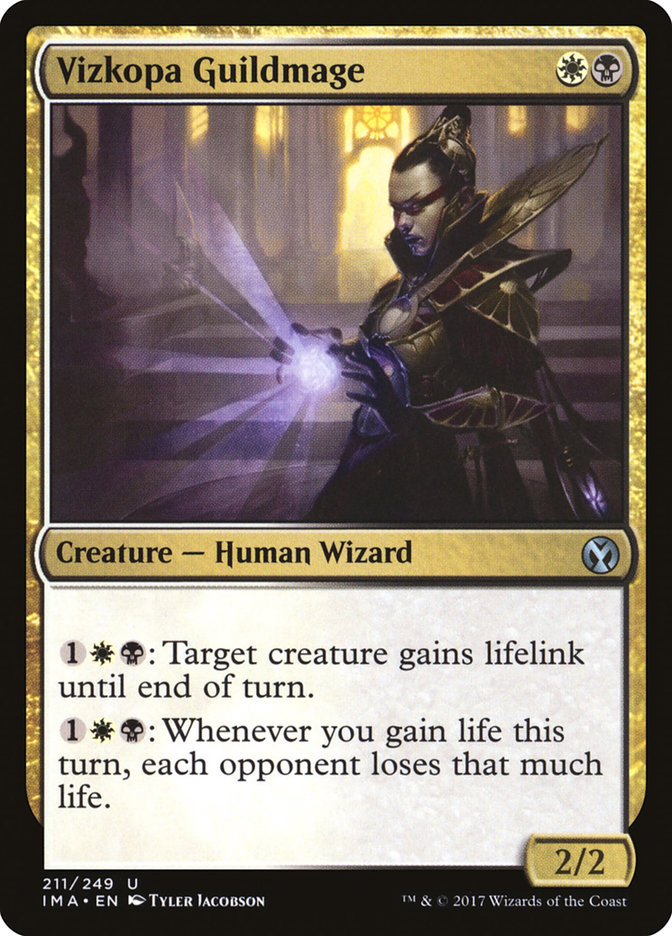
Cards – Heartless Hidetsugu + Vizkopa Guildmage
Prerequisites – Both cards are on the battlefield. You have at least mana for Vizkopa Guildmage.
Result – Each opponent loses all their life while you gain an enormous amount.
Variations – Cards like Dictate of the Twin Gods, Furnace of Rath, or Fiery Emancipation double or triple Hidetsugu’s damage and help to eliminate opponents at odd life totals. Basilisk Collar can give Hidetsugu lifelink, and you can use Sanguine Bond instead of Guildmage.
Execution – Activate Vizkopa Guildmage’s first ability to give Heartless Hidetsugu lifelink. Then activate the Guildmage’s second ability to set up a delayed trigger that causes each opponent to lose life equal to the amount you gain. Now tap Heartless Hidetsugu to deal damage equal to half of each player’s life total, rounded down—including yourself. Because Hidetsugu has lifelink, you gain that much life. Immediately afterwards, the delayed trigger from Vizkopa Guildmage kicks in and causes each opponent to lose life equal to the life you just gained. The result? Every opponent takes double Hidetsugu’s damage total and drops to 0, while you walk away with a massive life buffer or near infinite life.
#11. Extus, Oriq Overlord + Chain of Smog
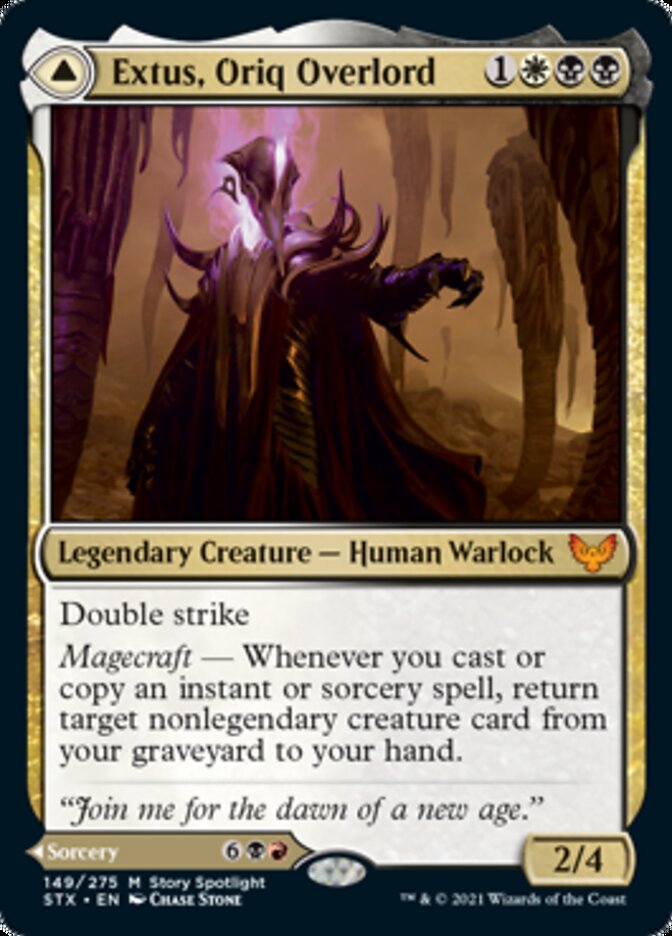
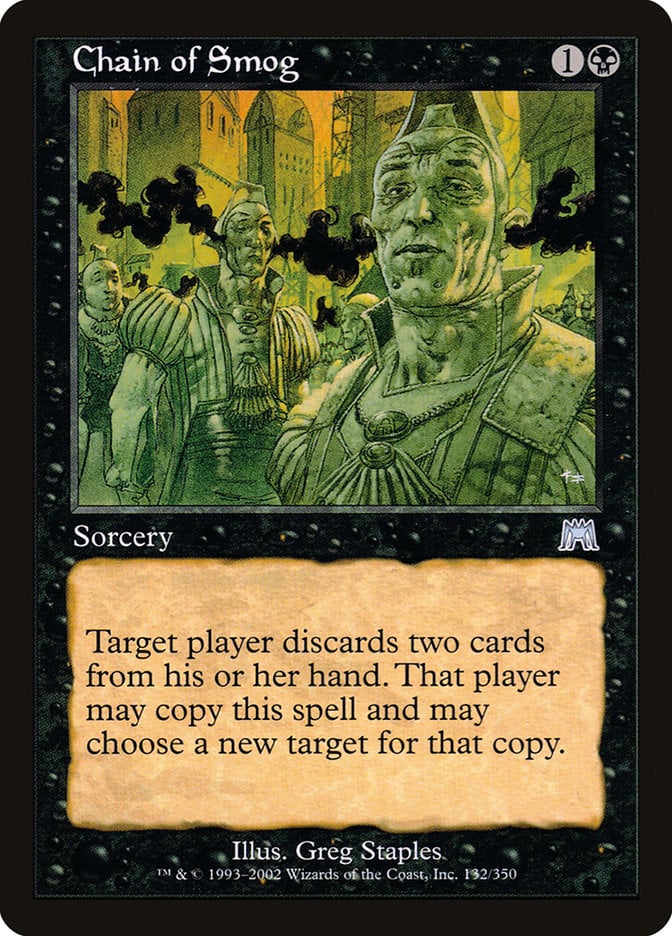
Cards – Extus, Oriq Overlord + Chain of Smog
Prerequisites – Extus is on the battlefield. Chain of Smog is in your hand, and you have a non-legendary creature card in your graveyard.
Result – Infinite magecraft triggers and infinite self-discard loops. With the right payoffs, this can drain all opponents or gain infinite life.
Variations – This combo is fairly unique thanks to how magecraft and Extus interact.
Execution – Cast Chain of Smog, targeting yourself. Extus’s magecraft ability triggers and lets you return a non-legendary creature from your graveyard to your hand. When Chain resolves, discard that creature card, then choose to copy the spell, targeting yourself again. Each time the copy resolves, Extus brings the creature back, you discard it again, and the cycle continues. Every loop adds another magecraft trigger—perfect for cards like Leonin Lightscribe, Sedgemoor Witch, or anything else that rewards copying spells. You can stop the loop at any time simply by choosing not to copy the spell again.
While this only requires black and white cards, having Awaken the Blood Avatar on the back of Extus means it's locked to a Mardu color identity.
#10. Vihaan, Goldwaker + Pitiless Plunderer + Aggravated Assault

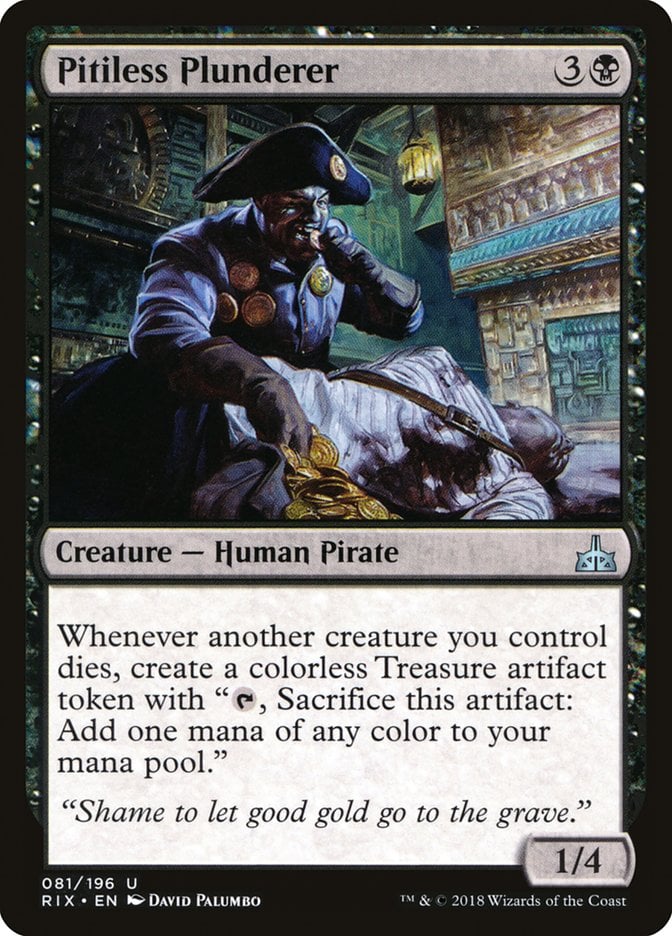
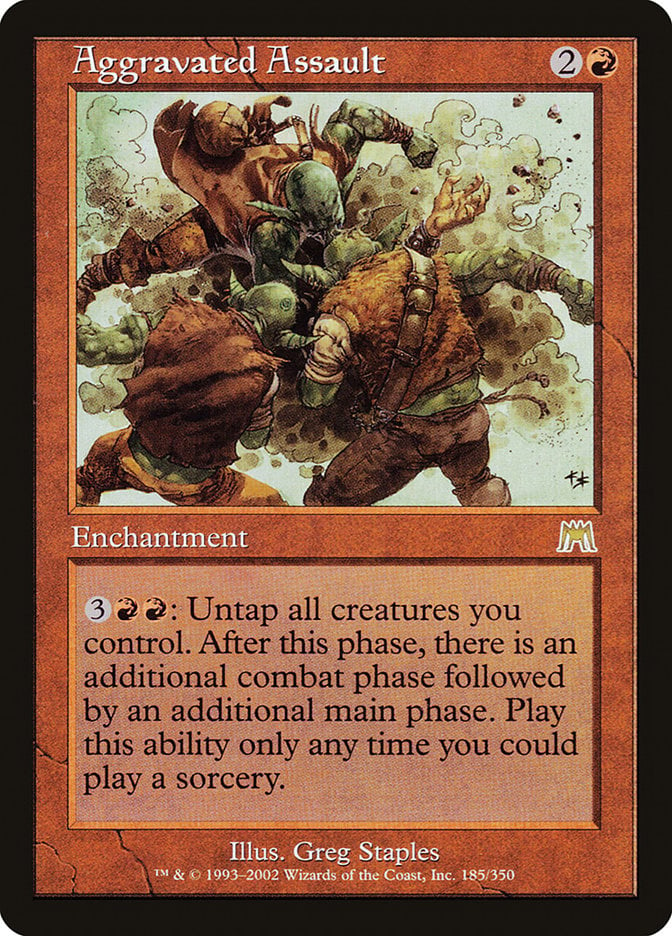
Cards – Vihaan, Goldwaker + Pitiless Plunderer + Aggravated Assault
Prerequisites – All three are on the battlefield. You have at least five Treasure tokens to start the loop.
Result – Infinite combat phases, infinite death and leave-the-battlefield triggers, and infinite sacrifice triggers. This setup can go wide with value or win on the spot with the right payoffs.
Variations – Smothering Tithe can help to generate the initial Treasures. For a wincon, add Purphoros, God of the Forge or Impact Tremors to burn opponents down without engaging in combat.
Execution – When you enter combat, Vihaan, Goldwaker turns all your Treasure tokens into 3/3 construct assassins. After combat wraps up, head into your second main phase and tap and sacrifice those animated Treasures for mana. Each Treasure death triggers Pitiless Plunderer, giving you five brand-new Treasure tokens. Use the mana to activate Aggravated Assault, untapping your creatures and setting up another combat and main phase. Now you’re right back where you started—Vihaan animates your new Treasures, and the loop continues. You can keep going as long as you want, stacking up value, damage, or whatever payoff you’ve got waiting.
#9. Karmic Guide + Kiki-Jiki, Mirror Breaker + Viscera Seer
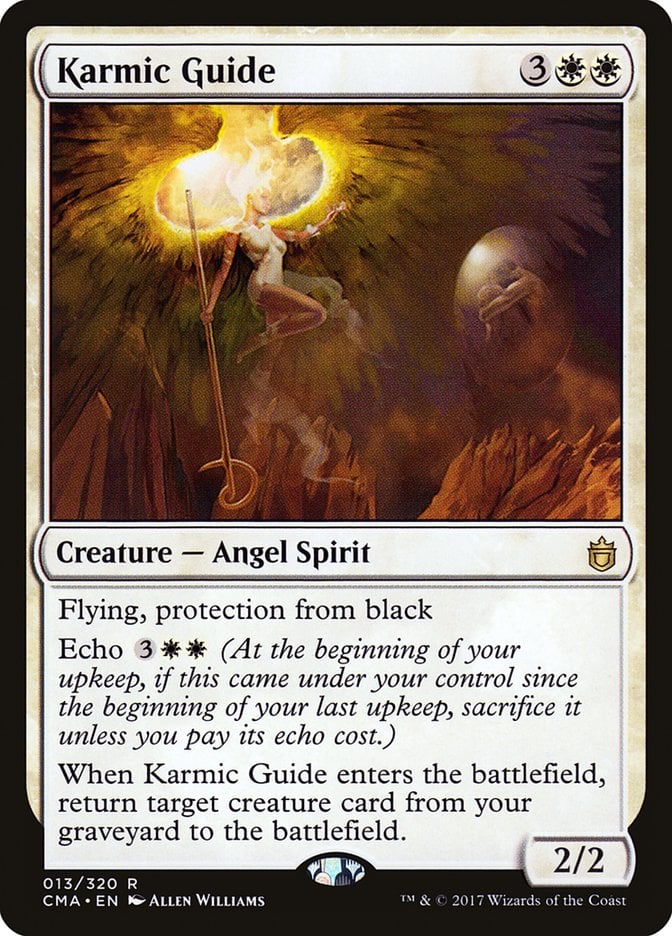
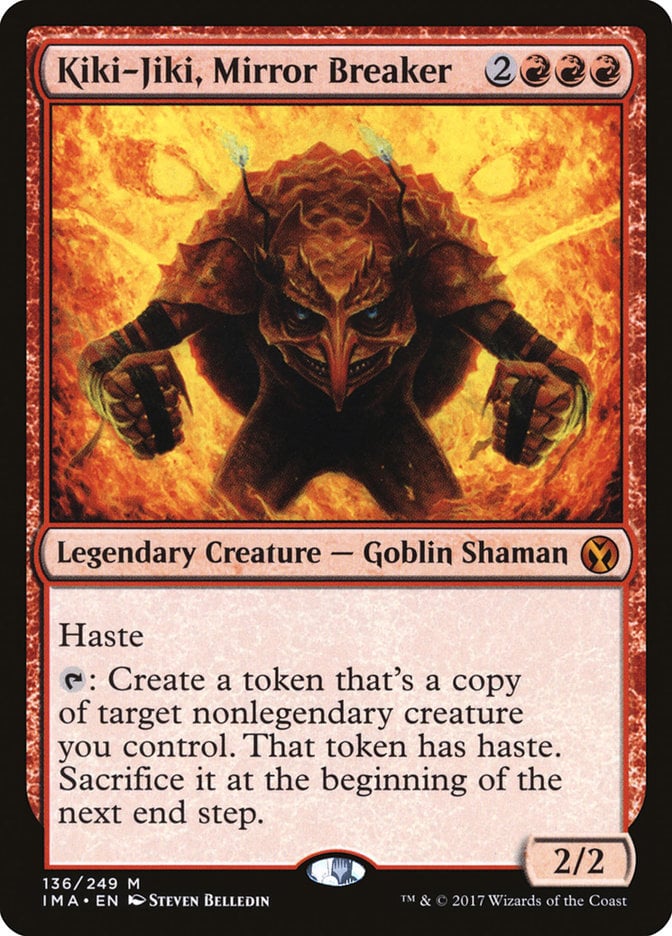
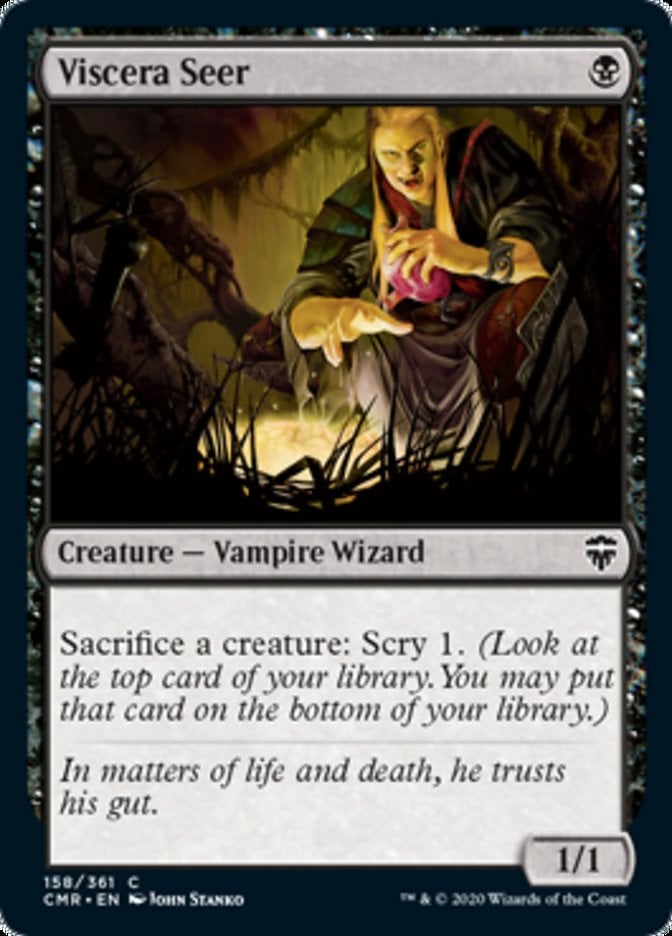
Cards – Karmic Guide + Kiki-Jiki, Mirror Breaker + Viscera Seer
Prerequisites – All creatures on the battlefield. Either Kiki-Jiki or Viscera Seer can be in your graveyard to return with Karmic Guide.
Result – Infinite ETB, death, and sacrifice triggers. With the right payoff, this becomes infinite life drain, damage, mana, card draw, or tokens.
Variations – Felidar Guardian combos can replace Karmic Guide. Phyrexian Altar creates infinite mana. Payoffs like Blood Artist or Zulaport Cutthroat amplify the loop.
Execution – Tap Kiki-Jiki, Mirror Breaker to make a hasty token copy of Karmic Guide. Before the token’s enters trigger resolves, sacrifice Kiki-Jiki to Viscera Seer to scry 1. Then the Guide token enters, and you can bring Kiki-Jiki back from the graveyard. Now that it’s back, you can do it all over again—make Guide tokens, sacrifice Kiki-Jiki in response, and reanimate it for an infinite loop.
#8. Leonin Relic-Warder + Animate Dead + Mayhem Devil
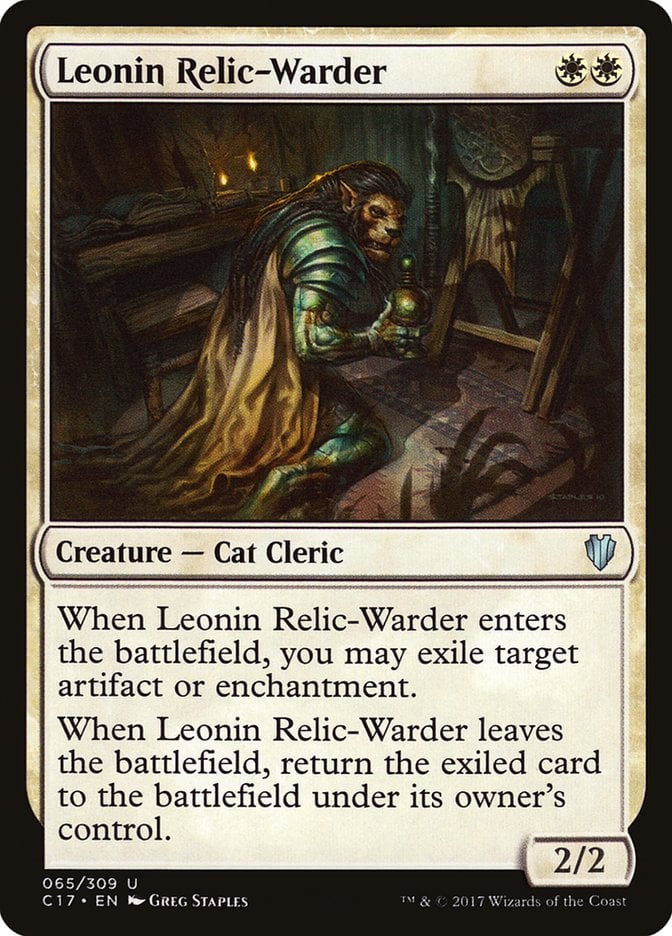
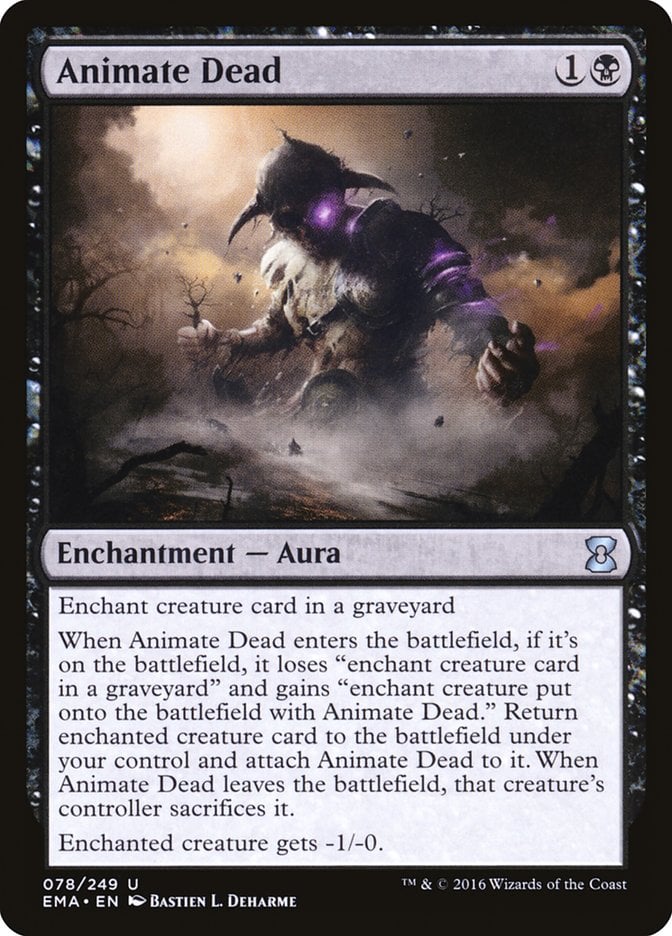
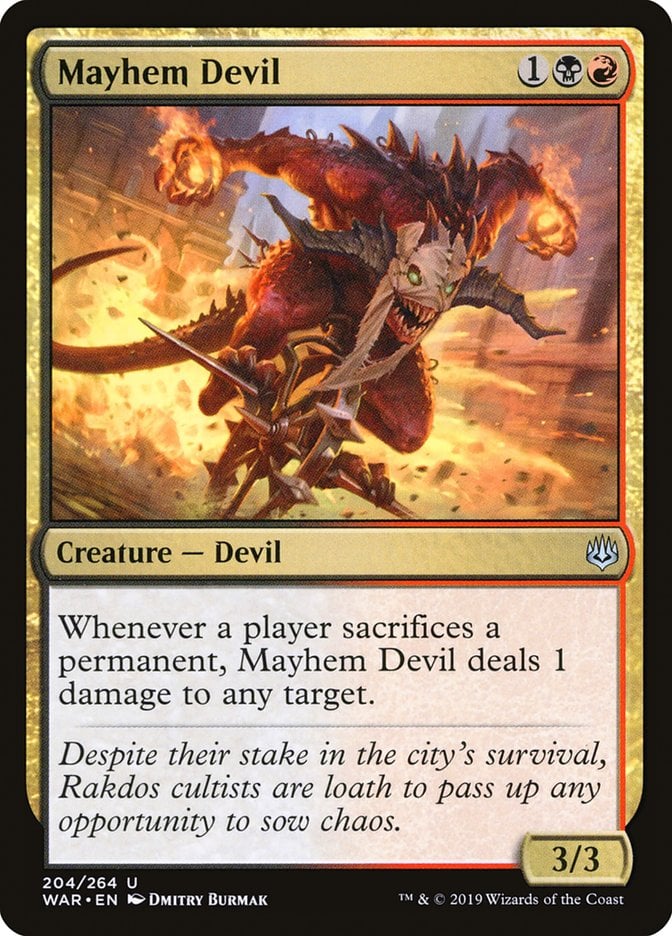
Cards – Leonin Relic-Warder, Animate Dead, Mayhem Devil
Prerequisites – Leonin Relic-Warder is in your graveyard. You have at least 2 mana to cast Animate Dead. Mayhem Devil is on the battlefield.
Result – Infinite death triggers and infinite damage via Mayhem Devil.
Variations – Bastion of Remembrance, Zulaport Cutthroat, or Blood Artist can replace Mayhem Devil for infinite damage. Dance of the Dead or Necromancy can also replace Animate Dead with minor adjustments.
Execution – Cast Animate Dead, targeting Leonin Relic-Warder in your graveyard. When it enters, its ETB exiles Animate Dead, which causes it to die. This puts Relic-Warder back in the graveyard and returns Animate Dead to the battlefield. Reanimate Leonin Relic-Warder again, looping infinitely. Each death triggers Mayhem Devil to deal 1 damage per loop. Repeat for infinite damage.
#7. Dihada, Binder of Wills + Underworld Breach + Flicker
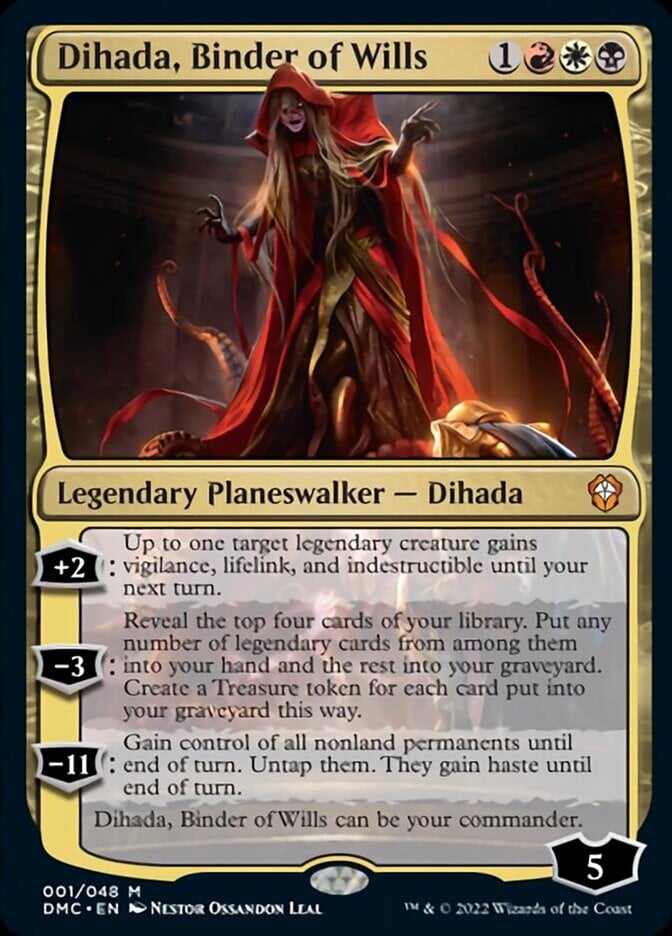
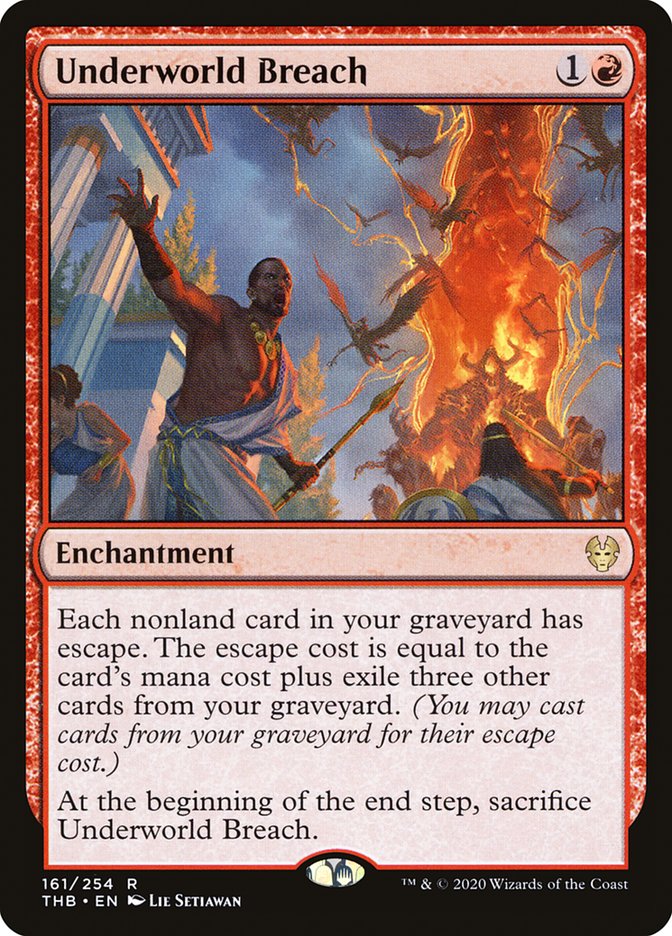
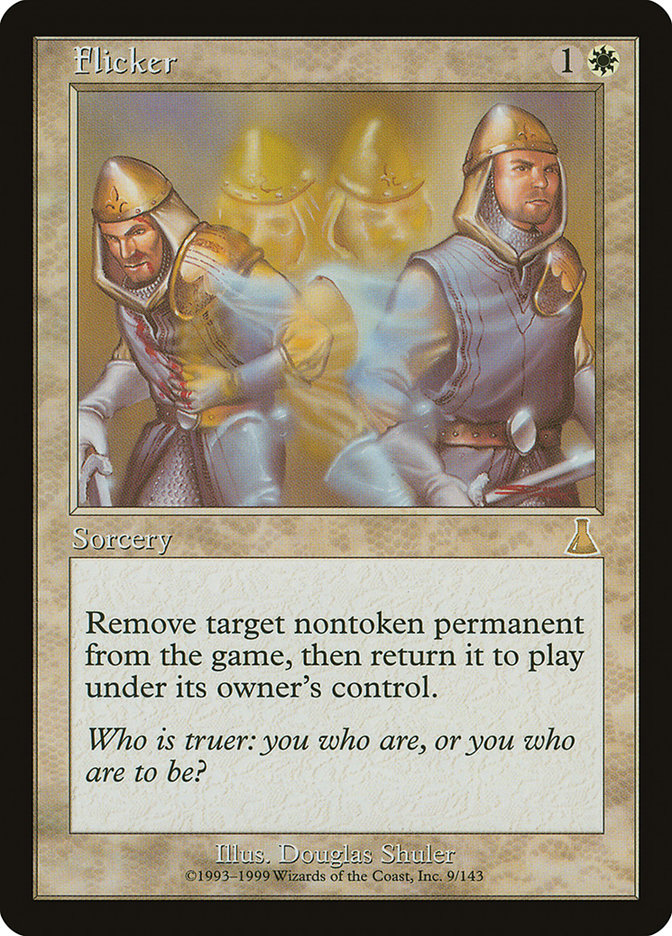
Cards – Dihada, Binder of Wills + Underworld Breach + Flicker
Prerequisites – Dihada, Binder of Wills is on the battlefield with at least 4 loyalty. Underworld Breach is on the battlefield. Flicker is in your graveyard, ready to cast via escape. You have at least two Treasure tokens and at least three other cards in your graveyard to exile for the escape cost.
Result – Infinite self-mill, near-infinite Treasure tokens, and mana of all colors from the Treasures. You also generate a massive storm count and countless magecraft triggers.
Variations – This combo is unique to Dihada, Binder of Wills because of its ability to mill cards and produce Treasure tokens—fueling both Underworld Breach and the mana cost of Flicker. In other Mardu decks, Underworld Breach typically combos with pieces like Lion's Eye Diamond or Wheel of Fortune for infinite mana and draw. Other related loops include Mayhem Devil for damage, or Grinding Station for similar mill-based wins. However, this specific blink loop with Flicker is compact and self-sustaining with Dihada alone.
Execution – Activate Dihada, Binder of Wills’ -3 ability to mill four cards and create four Treasure tokens. Then, use two of those Treasures to cast Flicker from your graveyard via escape, exiling three other cards for its cost with Underworld Breach. Flicker exiles Dihada and immediately returns it to the battlefield with its loyalty reset. Since the planeswalker is now a new permanent, you can activate its -3 again to repeat the process. Each loop nets you two extra Treasures and mills four more cards, quickly fueling Underworld Breach while building toward a game-ending storm count, graveyard, and mana base. Once your library is empty and you have all the mana you need, win however you prefer—you can escape Thassa's Oracle outside of Mardu colors or cast a lethal Exsanguinate.
#6. Kelsien, the Plague + Thornbite Staff + Basilisk Collar
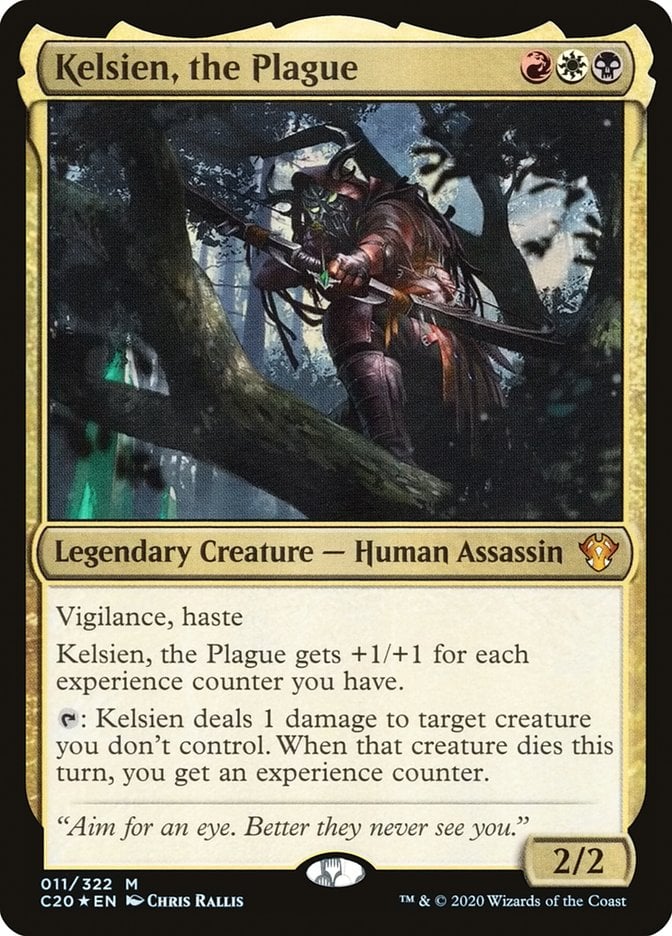
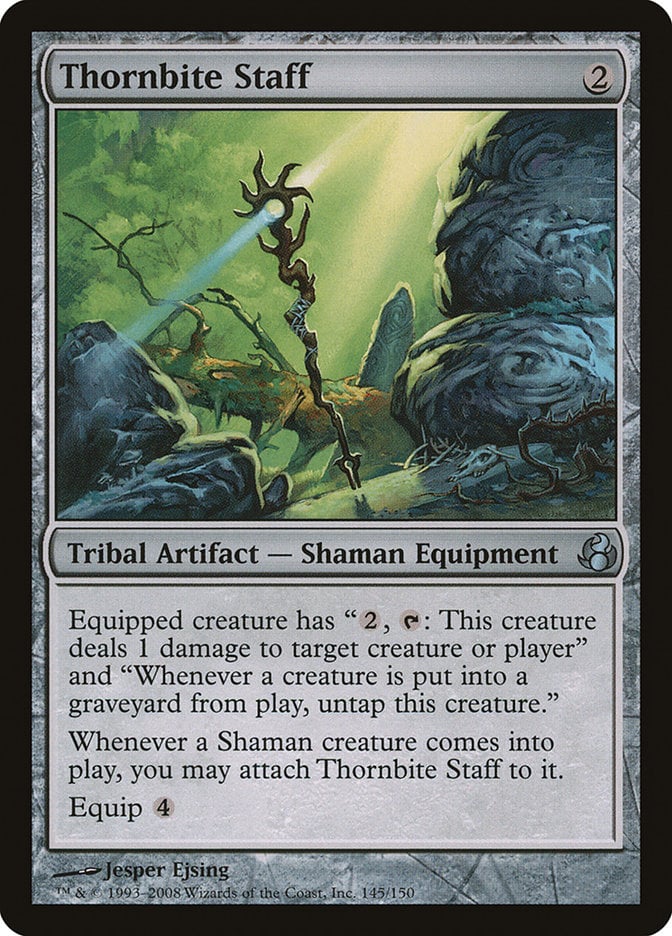
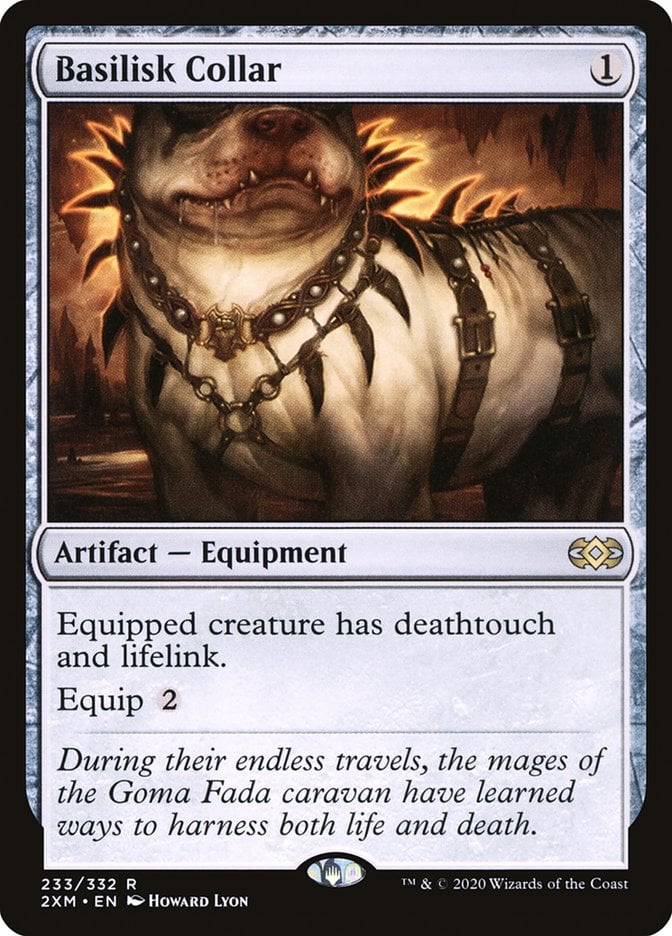
Cards – Kelsien, the Plague + Thornbite Staff + Basilisk Collar
Prerequisites – Kelsien, the Plague is on the battlefield and equipped with both Thornbite Staff and Basilisk Collar. The Collar provides deathtouch and lifelink—deathtouch is the essential part, while lifelink is just a bonus. Any other source of deathtouch can work in place of the Collar.
Result – You can destroy any number of creatures, repeatedly pinging and killing every creature your opponents control. This locks out creature-based decks completely. As a bonus, you also gain 1 life each time due to lifelink.
Variations – Any source of deathtouch can replace Basilisk Collar. Options like Gorgon's Head or Quietus Spike work perfectly with Thornbite Staff and Kelsien, the Plague. You can even grant deathtouch through a partner commander like Falthis, Shadowcat Familiar in the 99. The lifelink from Basilisk Collar isn’t required for the combo to function—it just adds passive lifegain during the loop.
Execution – Tap Kelsien, the Plague to deal 1 damage to a target creature. With deathtouch from Basilisk Collar, that 1 damage is enough to kill it. Because Kelsien has lifelink, you also gain 1 life. The creature dies, which triggers two effects: Kelsien gives you an experience counter, and Thornbite Staff untaps it. Once untapped, Kelsien can tap again to ping another creature. Repeat this process to wipe the board or pick off new creatures as they enter the battlefield, keeping your opponents’ boards completely under control.
#5. Jan Jansen, Chaos Crafter + Clock of Omens + Liquimetal Coating
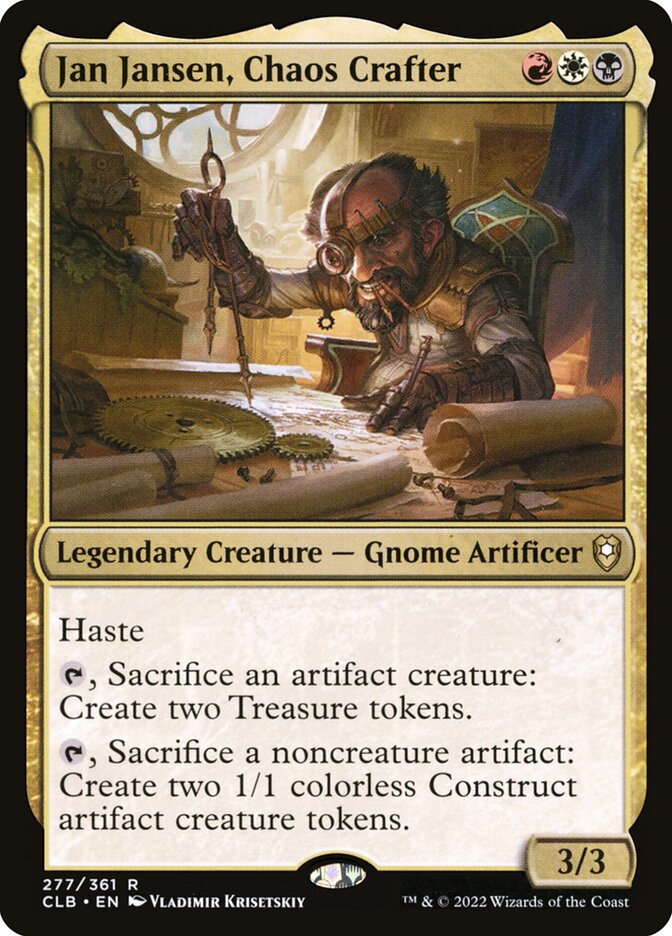
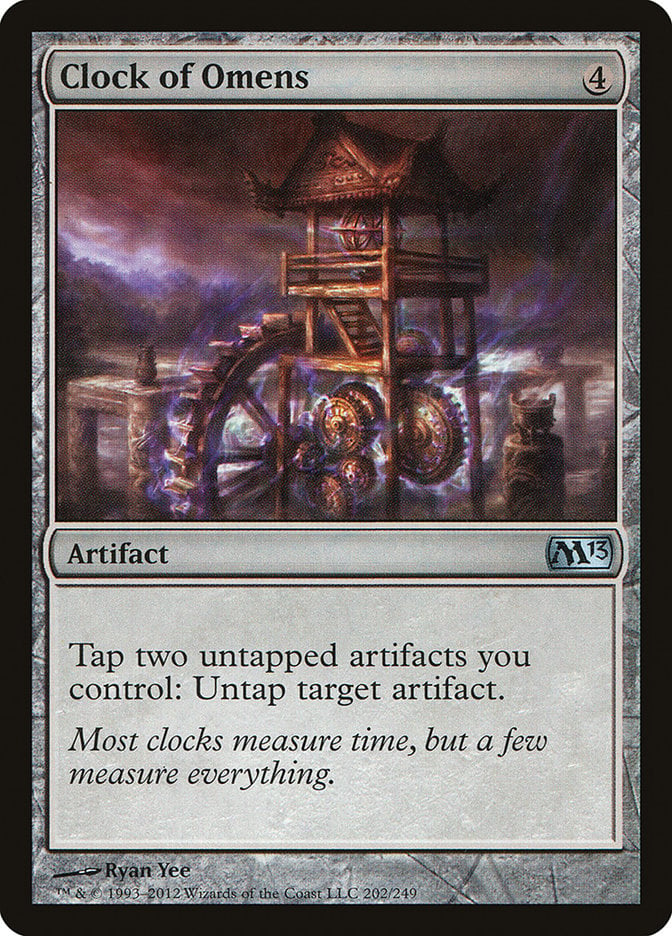
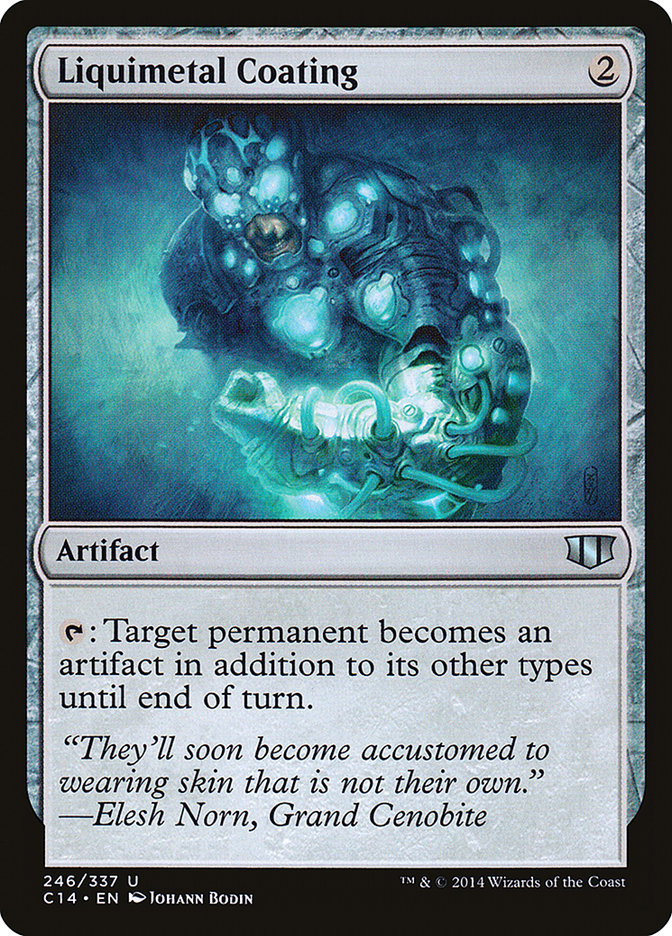
Cards – Jan Jansen, Chaos Crafter + Clock of Omens + Liquimetal Coating
Prerequisites – Jan Jansen, Chaos Crafter, Clock of Omens, and Liquimetal Coating are all on the battlefield. You control at least one additional creature to sacrifice for Jan Jansen’s ability.
Result – Infinite death triggers, ETB triggers, and sacrifice triggers. You also generate an unlimited number of tapped Treasure tokens and Construct creature tokens. These can fuel additional combos or act as win conditions with cards like Reckless Fireweaver or Marionette Master.
Variations – You can substitute Liquimetal Torque for Liquimetal Coating, as it also turns Jan Jansen, Chaos Crafter into an artifact and enables the same combo.
Execution – Use Liquimetal Coating to turn Jan Jansen, Chaos Crafter into an artifact creature until the end of turn. Then, tap Jan Jansen and sacrifice a creature to activate its first ability, creating two Treasure tokens. Tap both Treasures to activate Clock of Omens and untap Jan Jansen. Tap it again and sacrifice a Treasure to activate Jan Jansen’s second ability and create two 1/1 Construct creature tokens. Tap those two Constructs to activate Clock of Omens once more and untap Jan Jansen. With Jan ready again, tap it and sac one of the Constructs to create two Treasure tokens and loop the combo indefinitely.
#4. Edgar Markov + Oathsworn Vampire + Phyrexian Altar
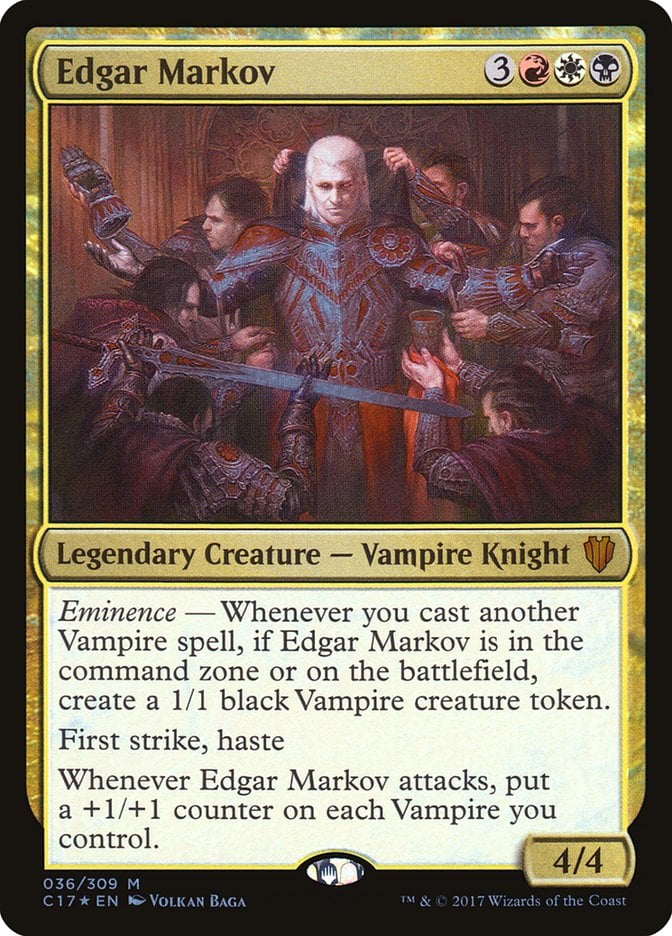
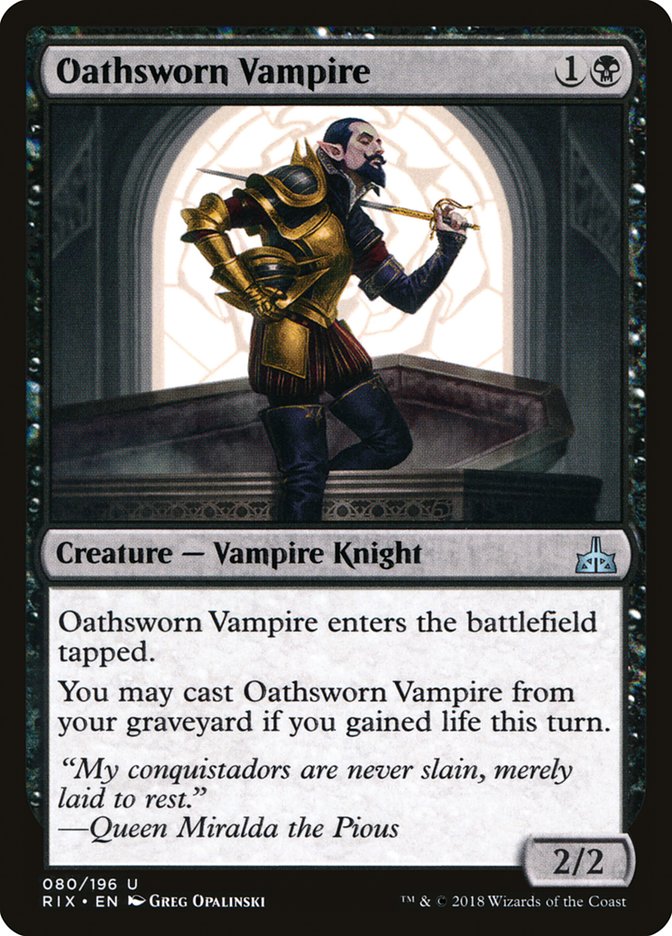
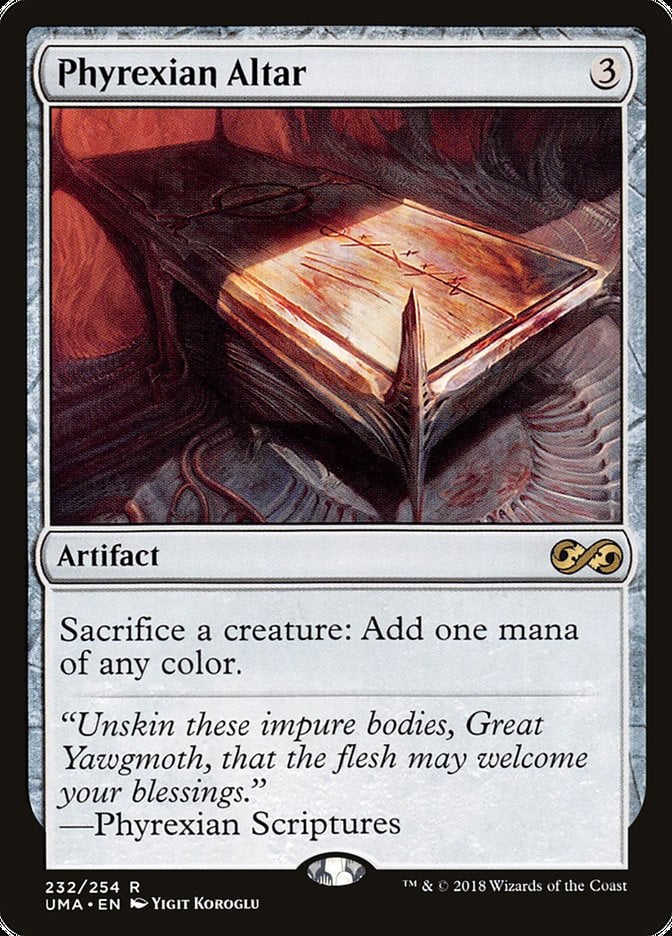
Cards – Edgar Markov + Oathsworn Vampire + Phyrexian Altar
Prerequisites – Edgar Markov is on the battlefield or in the command zone to enable its eminence ability. Phyrexian Altar is on the battlefield. Oathsworn Vampire is in your graveyard, and you’ve gained life this turn (to allow you to cast it from the graveyard). You also need at least 1 mana—preferably black—to start the loop.
Result – Infinite death triggers, ETB triggers, LTB triggers, and sacrifice triggers. You also generate an infinite storm count. With cards like Blood Artist or Zulaport Cutthroat, this loop can drain your opponents' life. With Ayara, First of Locthwain, it can draw your entire deck.
Variations – This combo is especially common in vampire typal decks. Lifegain triggers from Blood Artist or Epicure of Blood can turn the infinite loop into a direct win. Other versions swap in recursion pieces like Reassembling Skeleton, but Oathsworn Vampire shines here thanks to its synergy with Edgar Markov’s lifelinking tokens.
Execution – Cast Oathsworn Vampire from your graveyard by paying its cost. Edgar Markov triggers and creates a 1/1 Vampire token. Sacrifice both Oathsworn Vampire and the token to Phyrexian Altar to produce 2 mana—1 black and 1 of any color. Since you gained life earlier in the turn, you can now cast Oathsworn Vampire from the graveyard again. Each loop creates another Vampire token and recasts Oathsworn Vampire, repeating the process infinitely.
#3. Anafenza, Kin-Tree Spirit + Murderous Redcap + Viscera Seer
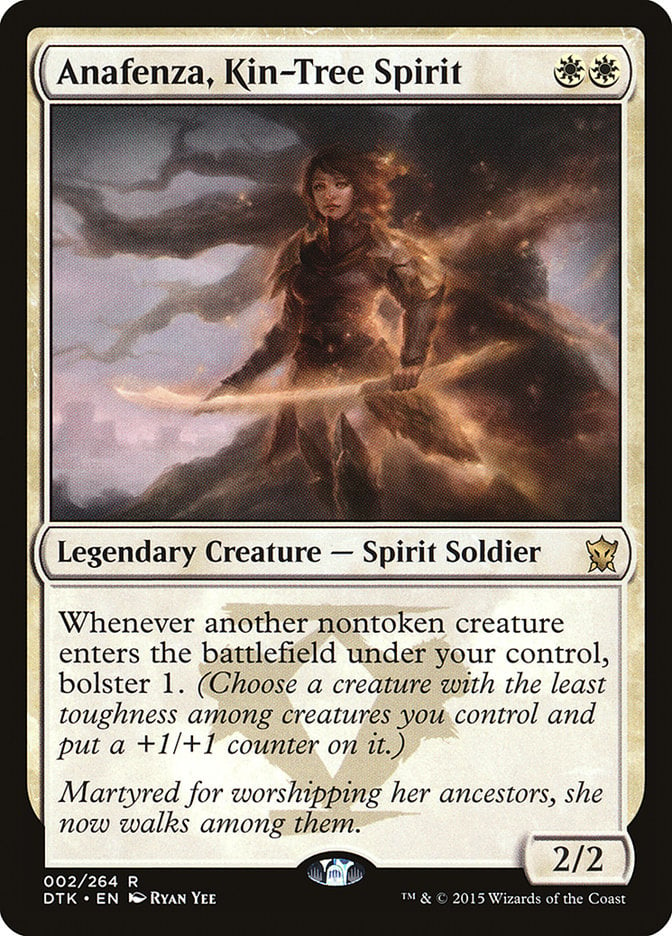
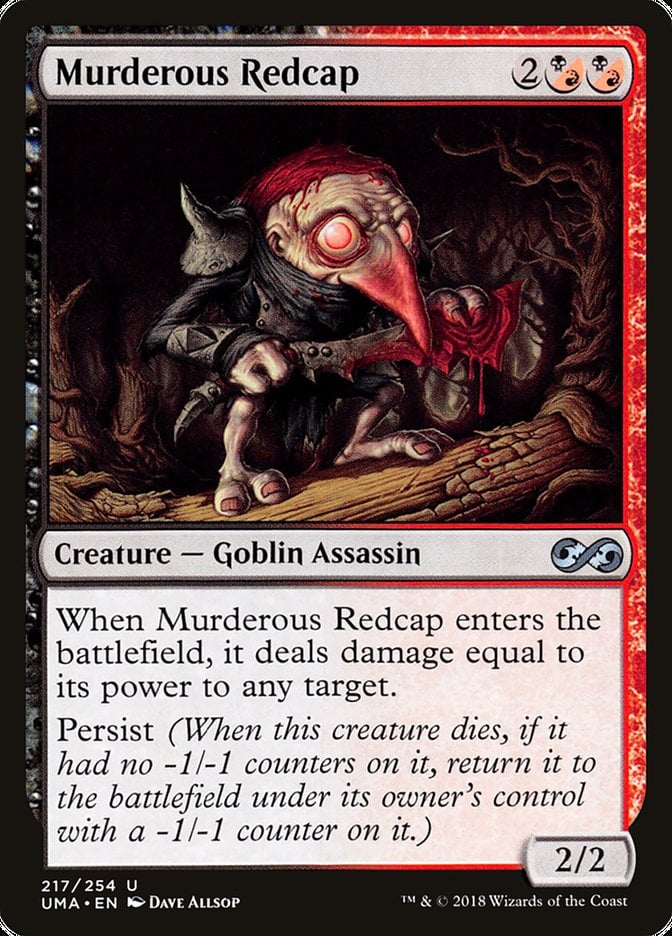
Cards – Anafenza, Kin-Tree Spirit + Murderous Redcap + Viscera Seer
Prerequisites – All three creatures are in play. Redcap must not have a -1/-1 counter so it can persist. Anafenza’s bolster must choose Redcap each time it re-enters, which usually works if it has the lowest toughness.
Result – Infinite damage via Murderous Redcap’s ETB, infinite death/ETB/sacrifice triggers, and infinite scry 1 if using Viscera Seer.
Variations – Solemnity can replace Anafenza to stop -1/-1 counters entirely. Marionette Master enables life drain instead of damage. Any free sac outlet works—Goblin Bombardment just needs Redcap to aim its damage at itself. You can also use Celes, Rune Knight instead of Anafenza, along with any persist creature.
Execution – Sacrifice Murderous Redcap to Viscera Seer, which triggers persist. Redcap re-enters with a -1/-1 counter and triggers both Anafenza’s bolster and its own ETB. Bolster puts a +1/+1 counter on the Redcap, which cancels the -1/-1. Redcap then deals 2 damage to any target. Repeat the loop by sacrificing it again for infinite damage.
#2. Deathbringer Thoctar + Heliod, Sun-Crowned

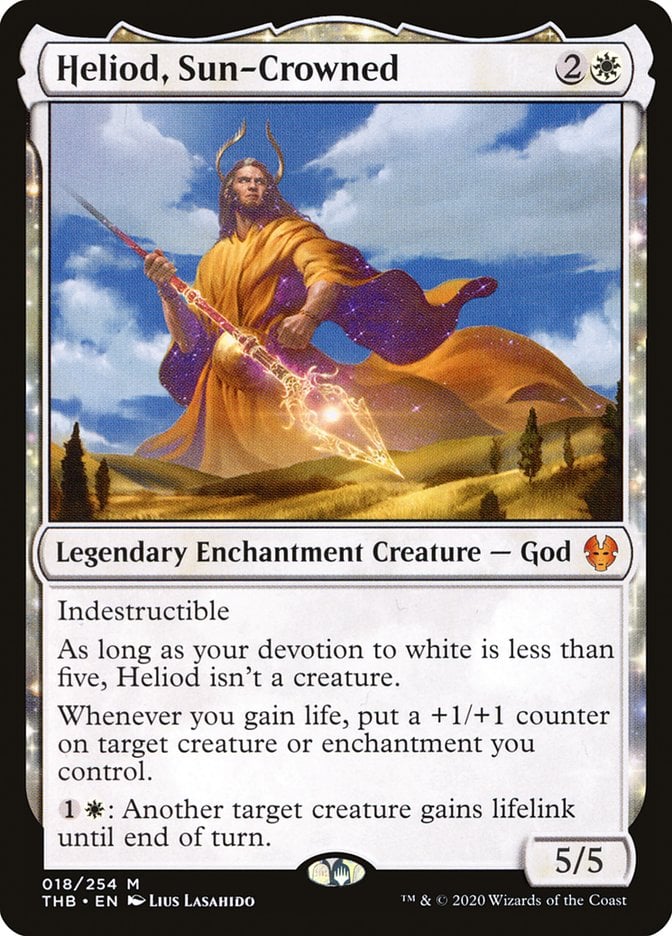
Cards – Deathbringer Thoctar + Heliod, Sun-Crowned
Prerequisites – Both Deathbringer Thoctar and Heliod are on the battlefield. Thoctar has at least one +1/+1 counter on it, and you have available to activate Heliod’s lifelink ability.
Result – Infinite damage and infinite life. You can repeatedly deal 1 damage and gain 1 life, targeting any creature, planeswalker, or player.
Variations – Walking Ballista can replace Deathbringer Thoctar, but the latter is a great addition when running Mardu colors.
Execution – Pay to activate Heliod and give Thoctar lifelink. Then remove a +1/+1 counter from Thoctar to deal 1 damage to any target. You gain 1 life, which triggers Heliod and puts a +1/+1 counter back on Thoctar. Now you’re back where you started. Keep repeating the loop: Ping, gain life, get a counter, and go again. Each loop deals 1 damage and gains 1 life—infinitely. Aim the damage however you like to win on the spot.
#1. Kaalia of the Vast + Master of Cruelties
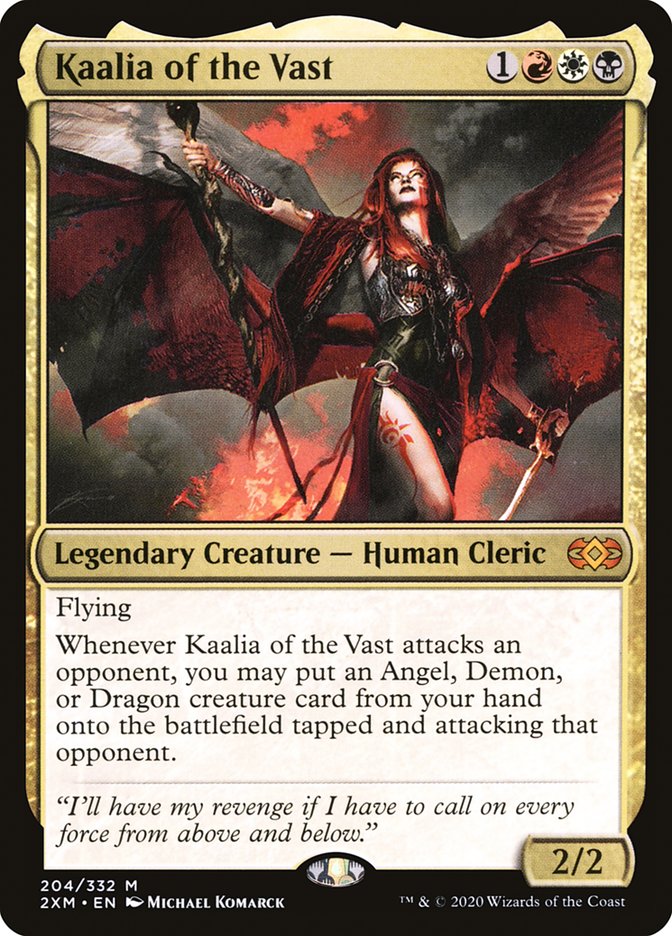

Cards – Kaalia of the Vast + Master of Cruelties
Prerequisites – Kaalia of the Vast is on the battlefield and able to attack. Master of Cruelties is in your hand. You have a clear attack at one opponent.
Result – Instantly kill one opponent. Master of Cruelties sets their life to 1, and Kaalia of the Vast‘s combat damage finishes them off.
Variations – Alesha, Who Smiles at Death can execute a similar combo by reanimating Master of Cruelties tapped and attacking, then dealing the final point of damage itself. Other “cheat into play” effects like Sneak Attack can replicate the one-shot effect by putting Master of Cruelties into combat unexpectedly.
Execution – Declare Kaalia of the Vast as an attacker and use its ability to put Master of Cruelties from your hand onto the battlefield tapped and attacking. Master of Cruelties must go unblocked—its trigger sets the opponent’s life total to 1 then prevents it from dealing damage. Then Kaalia of the Vast connects and deals its combat damage, which is enough to finish the opponent.
Wrap Up

Vihaan, Goldwaker | Illustration by Magali Villeneuve
Mardu combos don’t mess around, and more often than not, they lead to killing multiple opponents at once in Commander games. I opted not to include many of the same effects like recursive patterns, as trust me, there are tons of Kiki-Jiki and persist lines with sacrifice payoffs out there.
What do you think? Is Mardu the most explosive color trio when it comes to closing out games? Let me know in the comments or on the Draftsim Discord!
Thanks for reading, and if you enjoyed this breakdown and want to see more lists like it, don’t forget to follow us on social media so you never miss an update.
Take care, and I’ll catch you next time!
Follow Draftsim for awesome articles and set updates:


Add Comment