Last updated on March 22, 2024
Prime Speaker Vannifar | Illustration by Kieran Yanner
From the earliest days of Modern there's always been one deck that combines incredible value and card advantage with a reliable combo kill. That deck was Birthing Pod, where it served as an engine. It assembled combos like Melira, Sylvok Outcast, Viscera Seer, and Kitchen Finks to infinitely sacrifice the Finks and gain infinite life and scries. This deck is one of my favorites of all time in Modern, and I even played some Standard variants and a crazy Legacy brew one time.
Prime Speaker Vannifar is literally the answer to the question, “what if Birthing Pod could be your commander?” I’ve never been the biggest fan of Commander, but I knew I had to build this deck as soon as this card was spoiled.
How can you build around Prime Speaker Vannifar in Commander? I’ve been working on this deck for the last five years, slowly improving it as new cards are printed. You could say this one’s been a long time coming!
The Deck
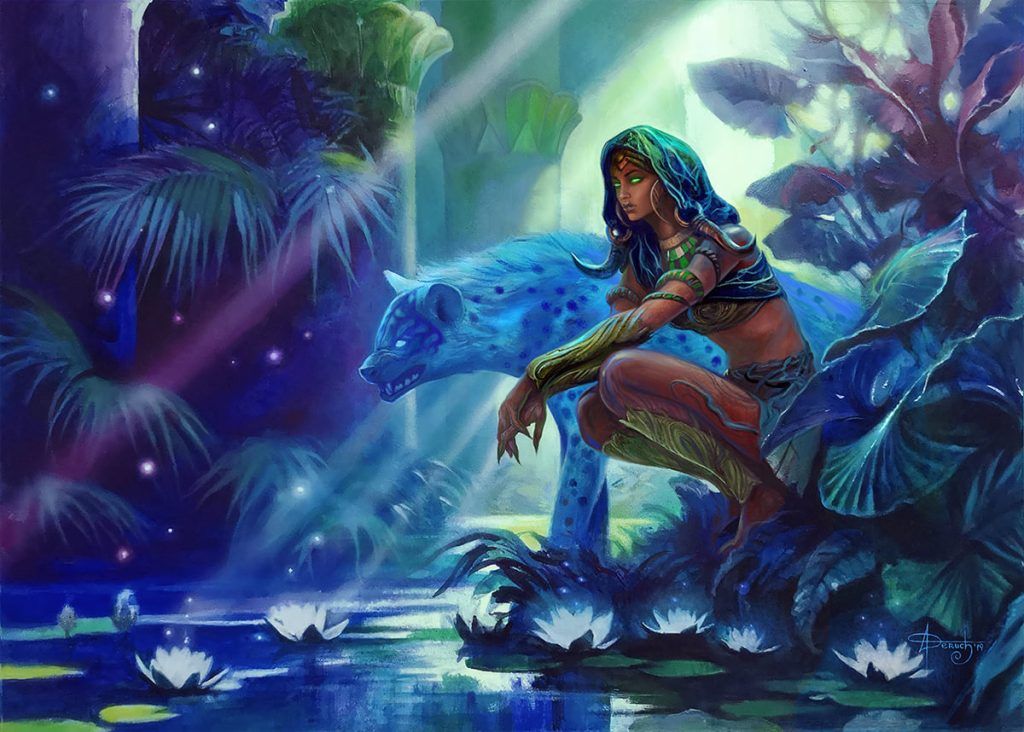
Timeless Witness | Illustration by Deruchenko Alexander
Commander (1)
Planeswalkers (2)
Vivien, Monsters' Advocate
Vivien on the Hunt
Creatures (46)
Apex Altisaur
Craterhoof Behemoth
Woodfall Primus
Tishana, Voice of Thunder
Avenger of Zendikar
Agent of Treachery
Progenitor Mimic
Deadeye Navigator
Kogla, the Titan Ape
Great Oak Guardian
Woodland Bellower
Greenwarden of Murasa
Bane of Progress
Thragtusk
Body Double
Workshop Warchief
Mulldrifter
Acidic Slime
Sakashima the Impostor
Thassa, Deep-Dwelling
Timeless Witness
Solemn Simulacrum
Clever Impersonator
Breaching Hippocamp
Phyrexian Metamorph
Frilled Mystic
Sower of Temptation
Bounding Krasis
Risen Reef
Eternal Witness
Reclamation Sage
Wood Elves
Skullwinder
Spellseeker
Farhaven Elf
Tribute Mage
Pestermite
District Guide
Sylvan Ranger
Fblthp, the Lost
Corridor Monitor
Phantasmal Image
Coiling Oracle
Young Wolf
Llanowar Elves
Elvish Mystic
Instants (4)
Cyclonic Rift
Ghostly Flicker
Illusionist's Stratagem
Chord of Calling
Sorceries (5)
Eldritch Evolution
Rite of Replication
Tooth and Nail
Green Sun's Zenith
Finale of Devastation
Enchantment (1)
Artifacts (7)
Sol Ring
Arcane Signet
Lightning Greaves
Swiftfoot Boots
Mimic Vat
Panharmonicon
Birthing Pod
Lands (34)
Tropical Island
Breeding Pool
Misty Rainforest
Simic Guildgate
Temple of Mystery
Lumbering Falls
Barkchannel Pathway
Hinterland Harbor
Waterlogged Grove
Simic Growth Chamber
Flooded Grove
Command Tower
Yavimaya Coast
Dreamroot Cascade
Rejuvenating Springs
Dryad Arbor
Myriad Landscape
Boseiju, Who Endures
Minamo, School at Water's Edge
Littjara Mirrorlake
Island x5
Forest x9
This deck has one very simple theme: ETB triggers. Virtually every creature in the deck has one, and 46 creatures make for a lot of triggers. I like my decks to stick very closely to their theme, so I set myself a few rules that I always stick to.
I’m not saying that there aren’t exceptions, but almost every card follows these simple rules:
- Every creature must have an ETB trigger. The main exceptions to this are a variety of clones (because they basically have ETB triggers by copying those that have them) and a few mana creatures.
- Noncreature spells must be able to grant ETB triggers, usually by searching for a creature or flickering ones already on the board. There's a similar exception here for some mana artifacts.
Otherwise I’ve only put a small handful of staple cards, either because they directly help Vannifar do its thing or they just make sense.
The Commander
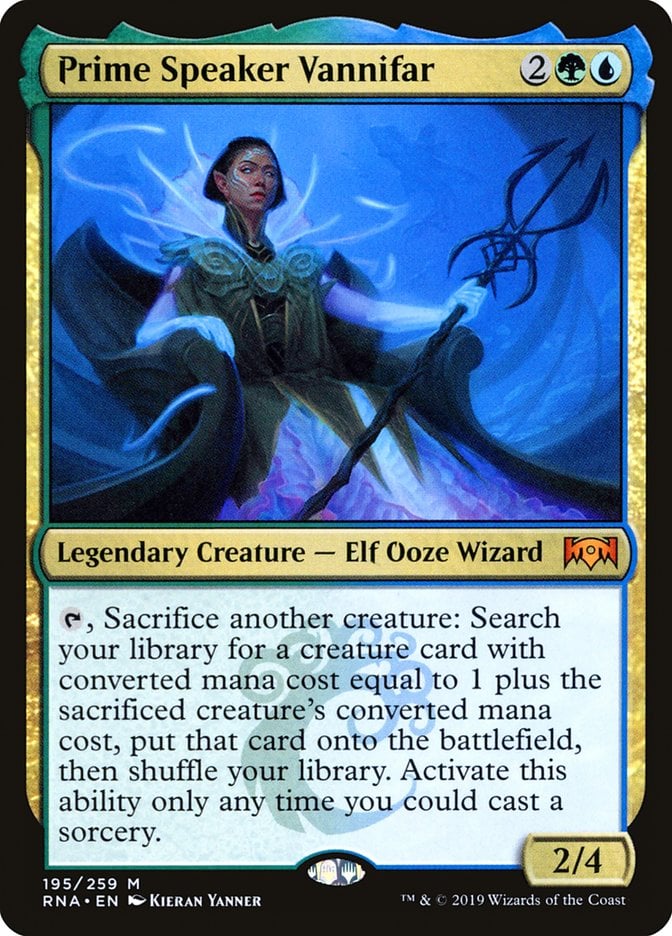
Prime Speaker Vannifar is Birthing Pod in commander form, so how does a Pod deck usually work? The most important part of the deck is to make sure you have a good curve of mana values so that you have a variety of options to go up the chain with Vannifar’s ability. There are only very few 1- and 2-mana creatures because the really juicy abilities start at three.
The general idea of a Pod deck is that it’s a great deck for lots of silver bullet creatures to deal with various scenarios because you’re able to tutor up creatures with relative ease. Need to kill a problematic enchantment? Go fetch Reclamation Sage or Acidic Slime. Annoying creature in your way? Kill it off with Kogla, the Titan Ape or steal it with Sower of Temptation. You can tutor up the right answer for the right scenario whenever you need to once you have Vannifar established on your board.
Unlike the original Birthing Pod, Vannifar is subject to summoning sickness and can be slow. You have very few options to get around this since you’re stuck in green and blue, but you at least have Commander staples like Lightning Greaves and Swiftfoot Boots. You also have Tribute Mage as a convenient little 3-drop that can search for them.
While there are other options, like Concordant Crossroads, these are the most convenient because they’re searchable. Granting Vannifar haste lets you use it as an immediate tutor if you have something to sacrifice. That’s all well and good, but what if you could make your commander even more powerful?
Given that Vannifar taps to use its ability, finding an untap ability allows you to use it again. That’s why this deck has options at several mana values that untap it. Corridor Monitor at two, Bounding Krasis and Pestermite at three, Breaching Hippocamp at four, and Great Oak Guardian at six.
Woodland Bellower is also an untapper by searching up Bounding Krasis. These all have different mana values, so you can work your way up the chain and essentially turn a creature into whatever you like instead of being limited to only creatures of one mana value higher.
Say you wanted to turn your Eternal Witness into an Acidic Slime. You can first turn it into Breaching Hippocamp, untap Vannifar, and then turn the Hippocamp into the Acidic Slime that you want. Unfortunately there are no 5-drops that do this for you, so your chain can go from two to four and then stop, but it often lets you get to the higher mana values a lot quicker.
You can also just play these cards from your hand to manually untap Vannifar having gotten something else. This is especially useful because you’ll normally win games with your much more expensive creatures.
The 1- and 2-Drops
The deck’s early plays mostly focus on mana with 1- and 2-drops.
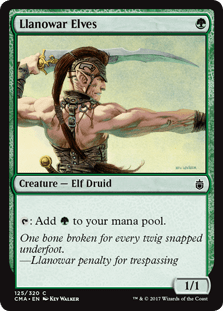

Llanowar Elves, Elvish Mystic, Sylvan Ranger, and Coiling Oracle all offer ways to accelerate your mana and can later be sacrificed to Vannifar.

Young Wolf is another really nice one. Undying and persist work very well with Pod effects, but there are very few of these available in this color combination. This is the most useful one because of how cheap it is, and it lets you start a nice Pod chain all the way up to five thanks to your untap effects.
You also have Phantasmal Image as the cheapest clone, and you get some very nice value out of Fblthp, the Lost and can often draw two cards from it thanks to all your tutors and Birthing Pods.
The 3-Drops
This part of the curve is where the deck’s keys start to appear. I’ve already pointed out that the pair of untapping creatures, but there’s also Eternal Witness and Skullwinder.
One of my favorite combos in Magic is the Pauper staple of Ghostly Flicker with Archaeomancer to infinitely flicker a second target by getting the flicker spell back with Archaeomancer’s ability. Naturally I’ve built this combo into the deck and there are basically four “Archaeomancers,” except their green variants can get any card back. The cheapest ones start here and also let you buy back untap creatures that you’ve already used up. They’re very important for how the deck works.
Three mana also gets you a bunch more mana fixing and the great silver bullet of Reclamation Sage.
Next up is Spellseeker. This deck has very few instants and sorceries, only three possible targets in the whole deck. The theory is that Green Sun's Zenith always shuffles back into the deck if it resolves, so you’re extremely likely to have a tutor target in the deck.
You often want to get Finale of Devastation because it’s one of your big finishers.
The only other option is Cyclonic Rift, one of the cards in this deck that breaks my own rules but is too good not to play. The fact that it’s searchable thanks to Spellseeker makes it even more ridiculous, but it turns Spellseeker into a very powerful silver bullet for the deck.
The 4-Drops
Four is where you start seeing some very powerful options.

You have some nice flexible cards in Solemn Simulacrum and Timeless Witness.
There are a variety of powerful clones, including Sakashima the Impostor which can copy Vannifar itself.
Clever Impersonator and Phyrexian Metamorph can copy Birthing Pod and any of your creatures.
Thassa, Deep-Dwelling is a fun one. While it doesn’t have an ETB trigger itself, the ability to flicker a creature every turn is too powerful an effect to ignore.
Sower of Temptation is one of the more broken options in the deck because stealing an enemy creature is the perfect thing for you to do. Lots of players might ask why this is good when you're likely to sacrifice Sower and give the creature back anyway. The answer is that you can sacrifice the creature you stole first.
There’s very little that's more satisfying with this deck than stealing a cool creature that your opponent played and turning it into a game-breaking threat. Not to mention you then have a simple 4-drop that you can turn into something like…
The 5-Drops
Five is actually the worst spot on this curve. It’s the only mana value at which you have no untap option. The closest thing here is Chakram Retriever, but I’ve elected to leave it out because it doesn’t untap as an enters the battlefield trigger.

But there are a pair of nearly identical cards in Thragtusk and Workshop Warchief, the latter of which synergizes with Vannifar very nicely thanks to its blitz cost.
There’s also a very unique clone in Body Double, which can sort of function as an untap creature. You won’t be able to then go further up the chain since it copies the mana value of that creature.
Acidic Slime helps you to deal with all sorts of problematic permanents.
Mulldrifter is one of the best ETB creatures of all time. This powerhouse card dominated Standard and is widely regarded as one of the best Limited commons in history. It’s one of the only cards in this deck that’s permanently locked in and will never be taken out.
The 6-Drops
I’m pretty sure the 6-drop slots are the ones that I’ve changed the most over the years. There are so many powerful options available, but you can only run a few.
There are two untap creatures here, Great Oak Guardian and Woodland Bellower (to grab Bounding Krasis), letting you very easily bridge up to seven mana.
Progenitor Mimic is one of the most powerful clone effects in the game.
Deadeye Navigator lets you continually flicker your best creatures.
There’s also Greenwarden of Murasa, a supercharged version of Eternal Witness.
You have some of your best silver bullet creatures to attack certain strategies in Kogla, the Titan Ape and Bane of Progress.
The Other Creatures
This mana curve tops out at nine, where the best creatures are.
There’s an absolutely ridiculous silver bullet in Apex Altisaur. For a while Myojin of Life's Web was the deck's only 9-drop. It sucked if you searched it with Vannifar, but it at least had a powerful effect otherwise. But when Altisaur was printed it was the easiest swap ever. A creature that kills multiple creatures when it enters and can be flickered is exactly what a deck like this needs.
The best card in the deck at seven is Agent of Treachery. It’s the single best payoff you have to use all those untap creatures to work your way up the mana curve and into a 7-drop. Those of you who played Standard a few years back are likely familiar with how powerful this effect can be.
You get to permanently steal any permanent (including lands) regardless of what then happens to Agent. It’s not unheard of to steal around a dozen permanents over the course of a game thanks to this deck’s ability to flicker and constantly reuse its triggers. This card is just flat-out broken in this deck and is something that helps you answer so much just by itself.
Rounding out the top of the curve are another couple silver bullets in Tishana, Voice of Thunder, to draw a load of cards, and Woodfall Primus, to deal with problematic stuff.
Finally are the go-to win conditions. Avenger of Zendikar and Craterhoof Behemoth make for a simple one-two punch that ends most games. This is a very commonly played pair in green Commander decks and it just so happens that you can run them very happily in this deck because they both have ETB triggers.
The Spells
Most of the spells are simply flicker effects, like Ghostly Flicker and Illusionist's Stratagem, or tutors like Eldritch Evolution and Chord of Calling.
There are also a couple of big splashy cards, like Tooth and Nail and Rite of Replication. A lot of these cards do the same kinds of things and all of them are very good at it.
Vivien on the Hunt is literally Birthing Pod, so it had to be added even though you can’t untap this Vivien to use it again.
Vivien, Monsters' Advocate is just a great utility card that gives you access to more of your deck and helps you tutor for creatures, so it’s also had to go in.
The Mana Base
As with most other 2-color Commander decks, this one has a very simple mana base. You can run as many Simic () dual lands as possible without running bad ones. Basic lands are good here because they enter untapped and make sure you can cast cards.

There are also some utility lands, and first is the much-maligned Dryad Arbor, which turns all your creature tutors into cheap ramp spells.
Then there’s Minamo, School at Water's Edge which is fantastic at untapping Vannifar in the middle of a chain.
Littjara Mirrorlake is a really nice card that lets you clone your creatures, which is something you’re very interested in doing.

One card I wanted to mention is Simic Guildgate. This card really sucks and doesn’t need to be in the deck, but you have District Guide to help fix your lands. Having the ability to grab a gate is very useful. I don’t think there are any other gates worth running, but one is enough to enable this card.
The Strategy
Ideally you want to cast Vannifar as early as possible. If you can cast your commander on turn 3 then it'll usually survive until your next turn, at which point you can start popping off.
You don’t have any major combo kills to work toward other than Avenger and Craterhoof, so you basically have a few things you like to do. You can pick and choose based on the scenario you’re presented with.
- Use silver bullets to deal with problematic threats on the board.
- Put together a Ghostly Flicker and Eternal Witness combo to reuse silver bullets and control the board.
- Start stealing permanents with Agent of Treachery.
It’s often as simple as that. You want to hit land drops every turn because you want to able to spend nine mana on a kicked Rite of Replication or entwined Tooth and Nail. If you ever hit 12 mana to hit the X=10 mode of Finale of Devastation that has to be enough to win a game on its own.
Combos and Interactions
Ghostly Flicker + Eternal Witness + Mulldrifter = three mana to draw two cards without spending any cards because the witness picks up the flicker spell. Sub out the Mulldrifter for any other ETB and you can continually reuse that trigger for just three mana. This is also achieved with Deadeye Navigator.
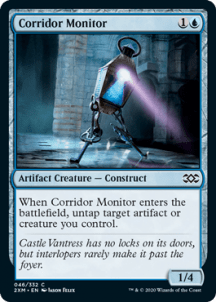
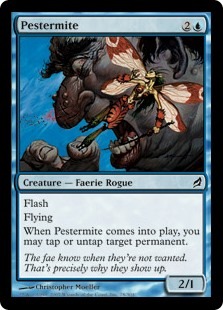
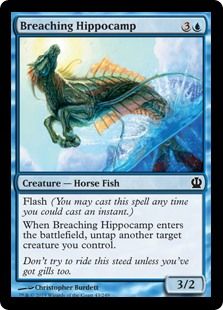
Corridor Monitor -> Pestermite -> Breaching Hippocamp lets you turn a 1-drop into a 5-drop. You can also use the various Eternal Witness cards to buy these creatures back and go again.
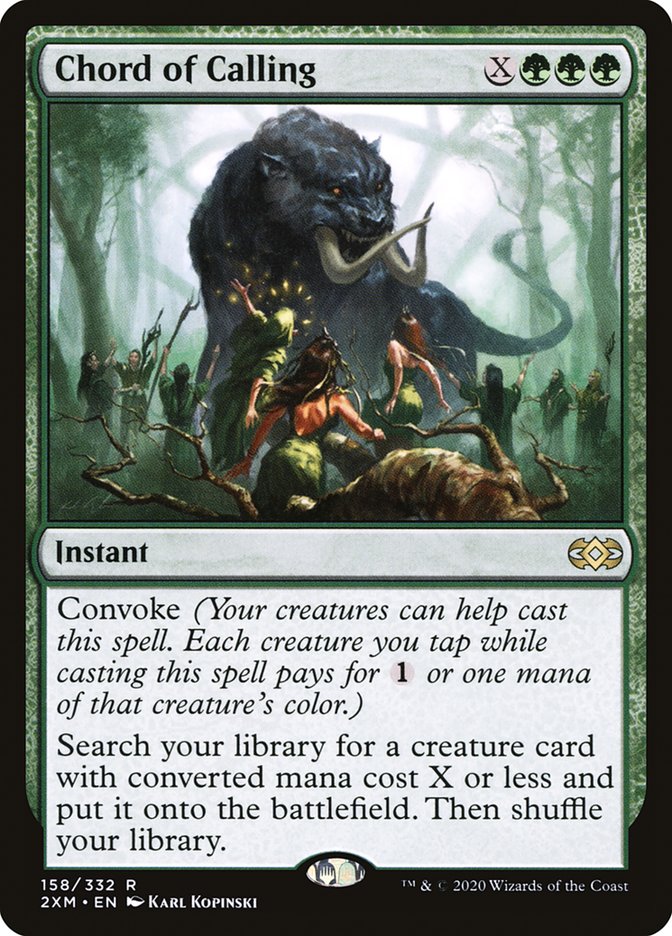
Chord of Calling + Eternal Witness. What’s funny about the various Witness cards (of which there are four in the deck) is that they’re often free to get out of the deck. If you play Chord of Calling to go and get one, for example, they can then immediately pick up that same tutor card for you to use on something else. From there they can be flickered and cloned and all that good stuff.
Avenger of Zendikar + Craterhoof Behemoth = carnage. You can even Pod Avenger right into the Hoof, making it even easier to assemble this combo.
Rule 0 Violations Check
I’m sure all Commander players are familiar with how playing decks that are completely mismatched on power level can be very unfun. Rule 0 conversations, where players determine how powerful their decks are before playing, are a way to make sure that you’re playing decks that are of roughly the same power level against each other.
From my experience this deck is very powerful in your average Commander game, but I’ve made cuts to it to remove awkward situations that may stem from Rule 0. Here are some examples:
- This deck, by its own nature, is packed full of creature tutor effects. It’s trivially easy for you to find a Reclamation Sage, Acidic Slime, or even Bane of Progress and then start flickering it or copying it to attack if you're playing against an enchantment-based deck. This makes the deck inherently powerful against a variety of matchups, though it still suffers in some areas.
- There are no infinite combos in the deck that I know of. Every combo can only be done a specific number of times because each iteration requires mana, and you don’t have access to infinite mana. I dislike infinite combos in games of Commander and specifically don’t put them in most of my decks.
- There are no stax pieces in this deck. There are some ways to attack mana since there’s plenty of artifact removal for mana rocks, and Acidic Slime can destroy lands. As a simple adherence to Rule 0 you don’t want to attack your opponents’ mana bases. Sometimes if the game is just going that way it might be funny to do, but generally save these effects to hit better artifacts or utility lands.
Budget Options
What you might have noticed about a lot of these cards is that this deck is dirt cheap. Lots of the best cards are commons and uncommons. The expensive cards, like Spellseeker, are by no means necessary to run.
Flicker decks are usually very cheap to build because the best flicker spells and targets all tend to be common. Even the rare ones don’t go for much money. You may have to be stingy on the creature tutors, but all in all the key components that make this deck tick are pretty cheap. If you had room in your budget for one “expensive” card, I’d make it the $25 Craterhoof Behemoth because it’s the easiest way you have to close out a game.
One thing you may have noticed about this mana base is that there’s a Tropical Island in it. I’ve been working on this deck for nearly six years, so I’ve added bits to it and upgraded it as I go. About four years ago I sold a bunch of cards at a Grand Prix and decided that I wanted to invest in Tropical Island for this deck, so I did.
Dual lands are very expensive. I bought this one for about £170, and it would now be worth around £350. I just wanted to point out that it’s absolutely not necessary to run. It’s far more important to get pricey cards than to go for overpriced fancy lands.
Other Builds
The reason that my deck has come out like this is that I have been very careful to stick to the rules I set out for myself. Vannifar’s effect naturally leads you to be a very creature-centric deck, but you could focus on all sorts of different strategies within blue and green. Simic does things like tokens, +1/+1 counters, activated abilities, even some tribal decks like merfolk and elves.
Vannifar’s ability is so broad that you don’t need to stick to any one particular theme. I built this deck in the way I did because I love it. It’s as simple as that. If you love something else that Vannifar might work well with, I encourage you to give it a try.
Commanding Conclusion
Birthing Pod | Illustration by Daarken
Prime Speaker Vannifar has allowed players to bring the joys of a Birthing Pod-style deck to Commander. It’s a versatile commander that can enable lots of strategies, but this one is particularly powerful.
What do you think of this deck? Which changes would you make to a Vannifar deck with this strategy? How else would you build a Vannifar deck? Let me know in the comments or over on the official Draftsim Discord.
Until next time, take care of yourselves!
Follow Draftsim for awesome articles and set updates:


Add Comment