
Wayta, Trainer Prodigy | Illustration by Magali Villeneuve
Looking for the best Naya () combos in Magic: The Gathering? You’re in the right place. Whether it’s infinite tokens, damage, or mana, these combos showcase just how wild things can get when you bring together the strengths of each Naya color.
We’ve put together a list of the most powerful and fun Naya combos, complete with the cards you’ll need, the setup required, and what each combo accomplishes. You’ll even find variations with similar effects, so you can tweak them to fit your own deck.
Ready to explore what these Naya combo engines can really do? Let’s jump in!
What Are Naya Combos in MTG?

Mayael's Aria | Illustration by Steve Argyle
Naya combos are powerful interactions between red, green, and white cards that often result in game-winning effects, like infinite damage, tokens, mana, or card draw. These combos typically focus on creature-based synergies, using mechanics like haste, convoke, and blink to loop effects or go infinite.
Naya’s strength lies in its ability to generate massive board presence and explosive combo finishes, making it a favorite for aggressive or token-focused Commander decks.
#15. Samut, the Driving Force + Sprout Swarm

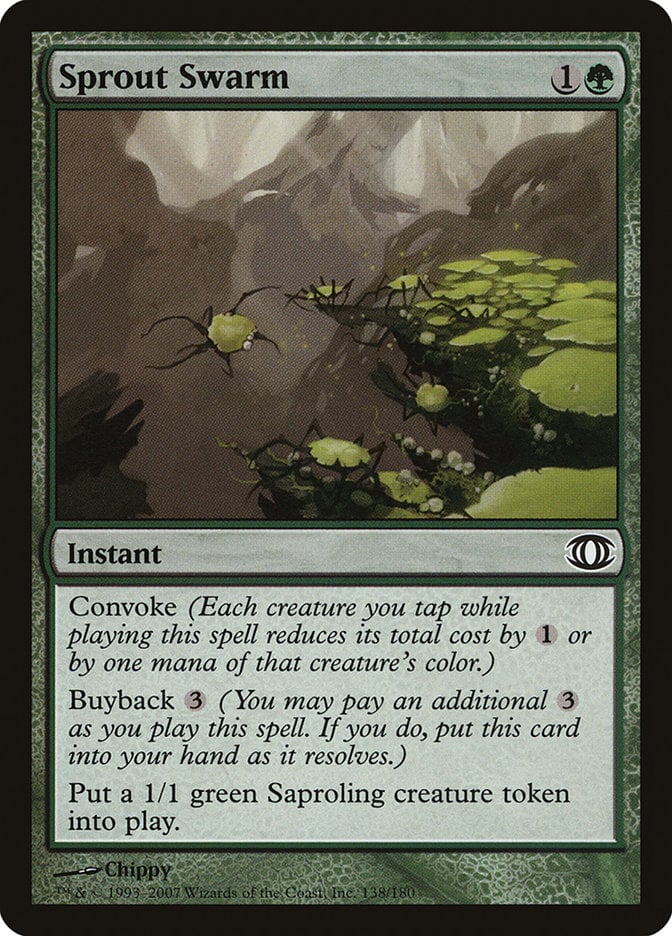
Cards – Samut, the Driving Force, Sprout Swarm
Prerequisites – Samut must be on the battlefield. You need Sprout Swarm in hand, and at least one green creature to convoke the first Swarm. You also need max speed.
Result – Infinite tapped 1/1 Saproling tokens, infinite ETB triggers, infinite storm count, infinite magecraft triggers.
How It Works: With Samut, the Driving Force on the battlefield, Sprout Swarm becomes an infinite engine. You cast it once using convoke, and thanks to buyback, you get it back to hand along with a 1/1 Saproling that immediately helps convoke the next cast—and so on forever. Each loop adds a new creature, a spell cast, and any number of ETB or magecraft triggers. It’s a go-wide storm engine disguised as a token spell, perfect for explosive Naya finishes.
#14. Atla Palani, Nest Tender + Thornbite Staff + Ashnod’s Altar
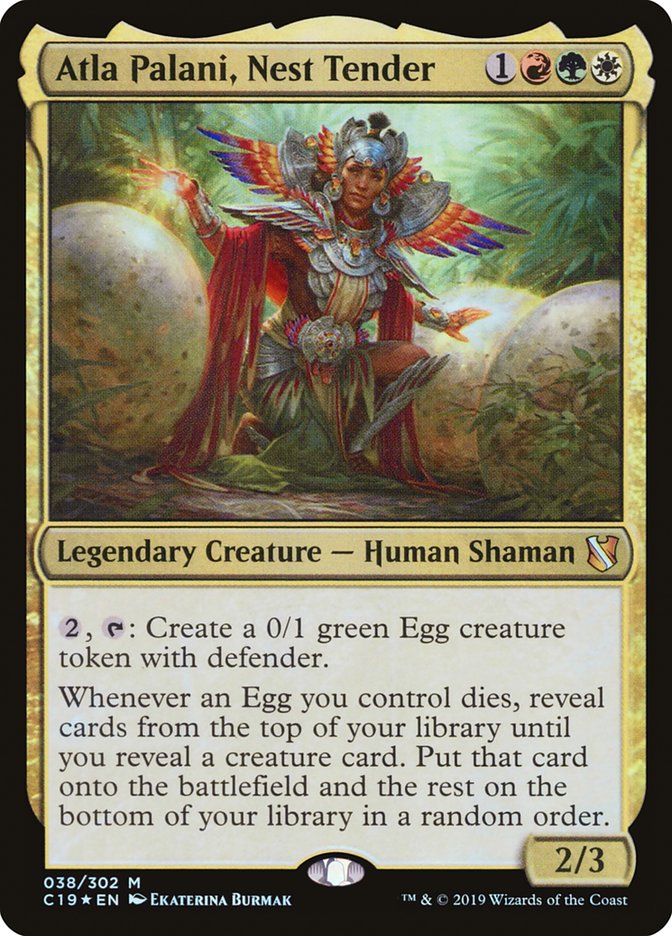
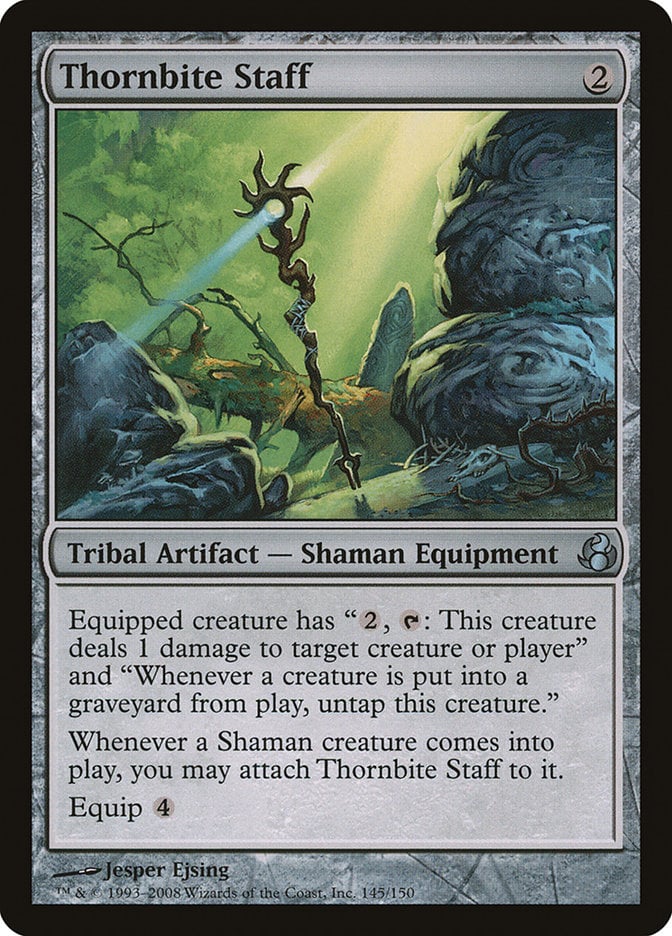
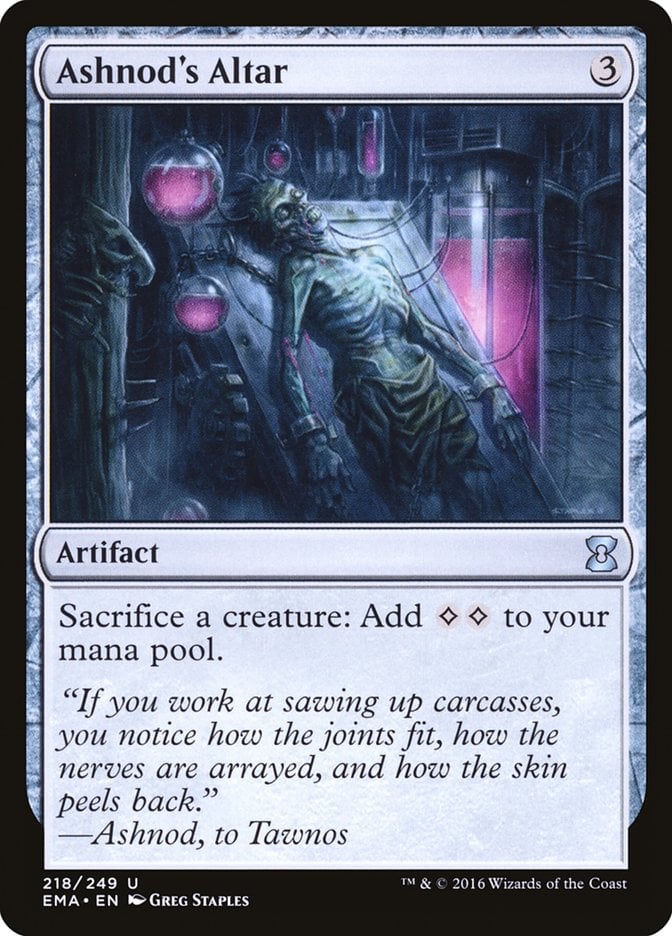
Cards – Atla Palani, Nest Tender, Thornbite Staff, Ashnod's Altar
Prerequisites – Atla must be equipped with Thornbite Staff. Ashnod's Altar is on the battlefield. You need at least 2 mana available to activate Atla’s egg-making ability the first time.
Result – Sacrifice an Egg to pull a creature from your library, then Atla untaps and repeats. This results in all creatures from your library being put onto the battlefield, along with infinite creature enter/death triggers.
Variations – None.
How It Works: Once Atla Palani, Nest Tender is equipped with Thornbite Staff and you have Ashnod's Altar, you can loop endlessly. Pay to create an egg, sacrifice it for 2 mana, hatch a creature, and untap Atla from the egg’s death. With each cycle, you pull a new creature from your deck.
#13. Kodama of the East Tree + Gruul Turf + Felidar Retreat
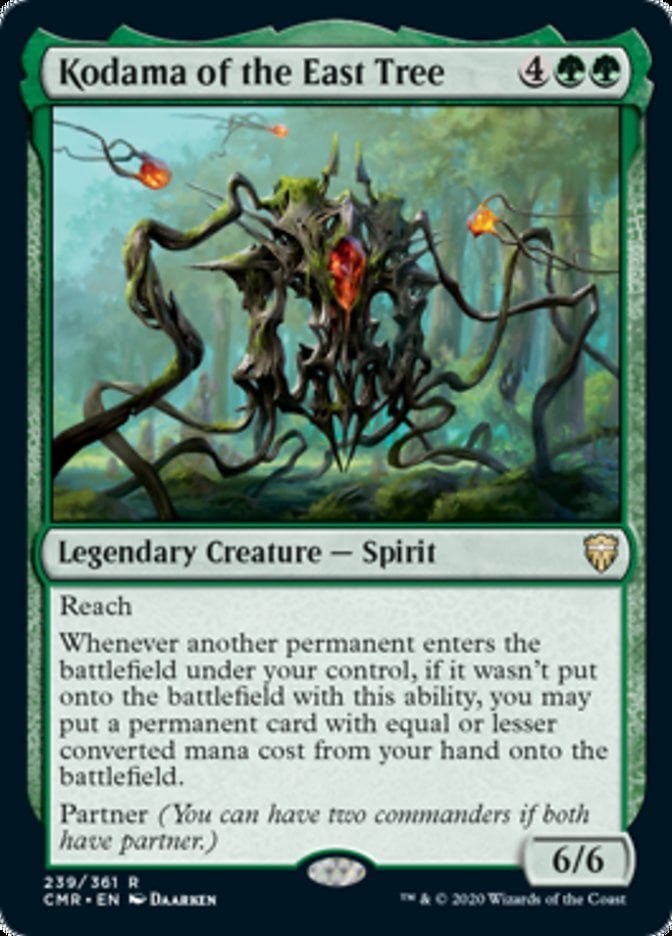
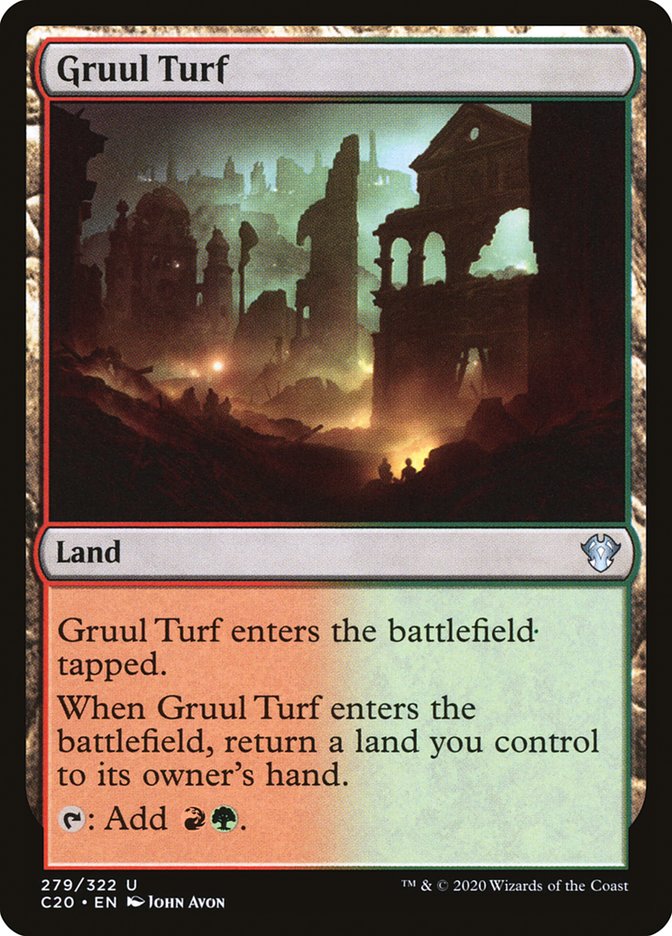
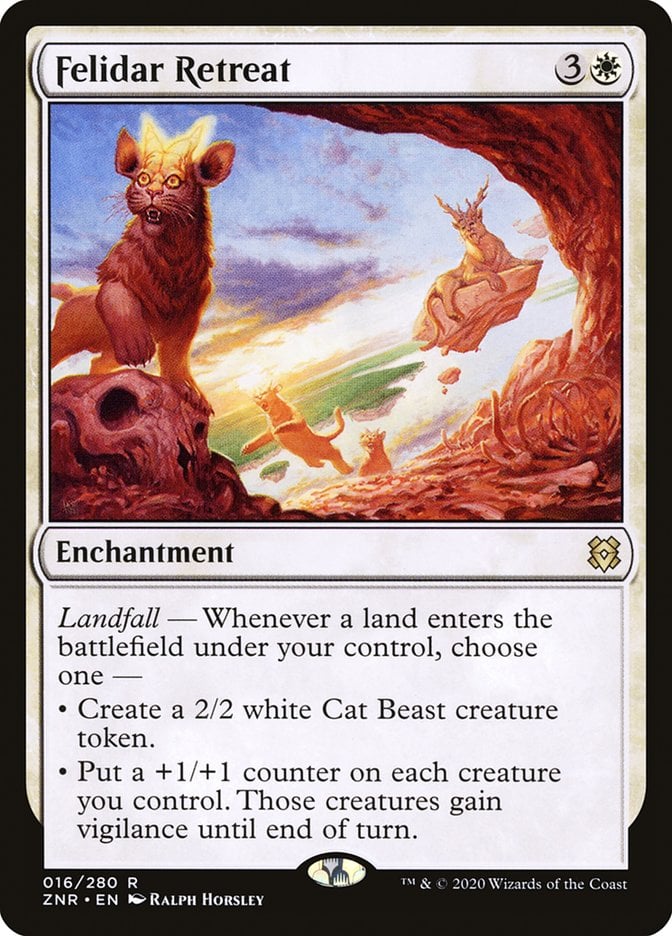
Cards – Kodama of the East Tree, Gruul Turf (or similar bounce land), Felidar Retreat
Prerequisites – Kodama on the battlefield, a bounce land in hand, and Felidar Retreat on the battlefield set to its token mode.
Result – Infinite landfall triggers, resulting in infinite 2/2 Cat Beast tokens and infinite creature enters-the-battlefield triggers.
Variations – Retreat to Emeria or Maja, Bretagard Protector can replace Felidar Retreat as token generators for the landfall loop. Instead of Felidar Retreat’s tokens, you could use its +1/+1 counter mode if paired with a payoff like Shalai and Hallar to deal infinite damage, but the token mode usually provides the win via sheer numbers.
How It Works: With Kodama of the East Tree and Felidar Retreat on the battlefield, you can loop a bounce land like Gruul Turf to go infinite. Play the Turf—it triggers landfall and makes a 2/2 Cat Beast with Felidar Retreat. Kodama sees the token enter and lets you put the bounced Turf back in your hand. The Turf re-enters, bounces itself, and the loop repeats. You end up with infinite cats and landfall triggers, easily overwhelming the table.
#12. Zacama, Primal Calamity + Temur Sabertooth
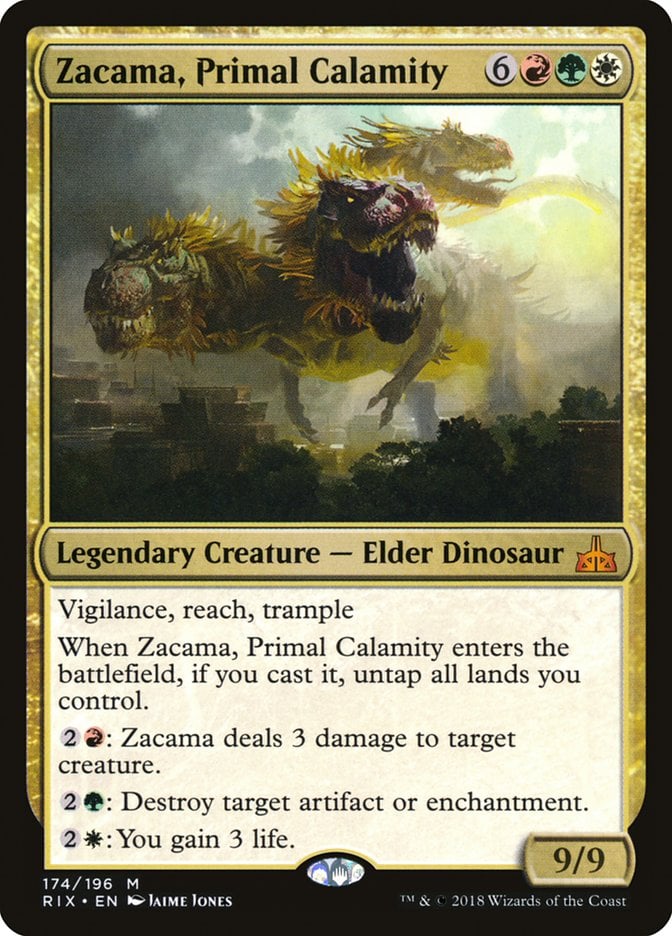
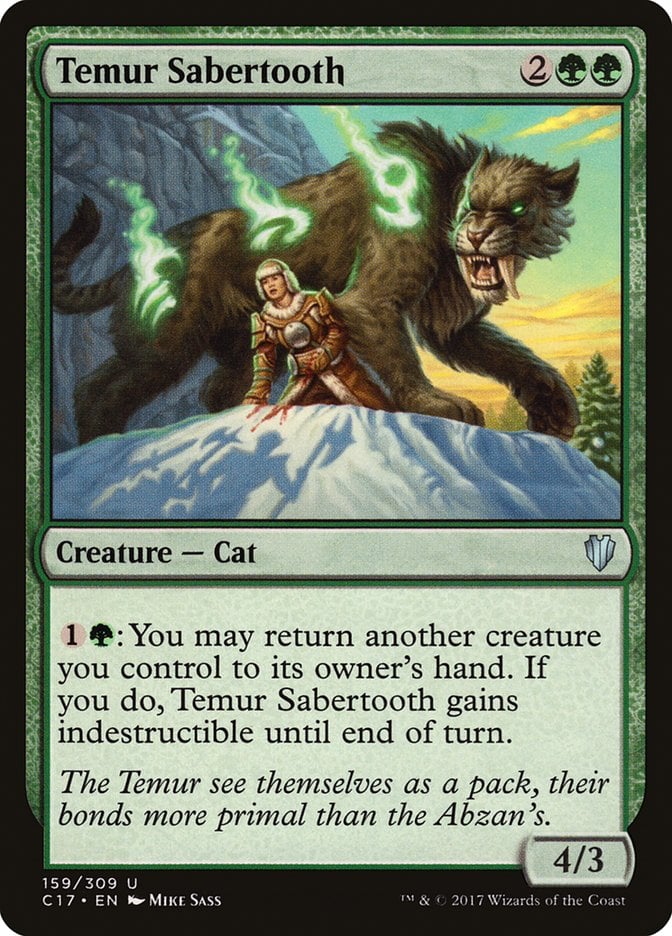
Cards – Zacama, Primal Calamity, Temur Sabertooth
Prerequisites – You must be able to produce at least 12 mana from lands. Zacama is cast and resolves. Temur Sabertooth is on the battlefield.
Result – Infinite mana, which in turn means infinite uses of Zacama’s activated abilities.
Variations – If you don’t have Temur Sabertooth, Sanctum of Eternity can achieve a similar loop with Zacama, requiring slightly more mana. The key is repeatedly returning Zacama to hand and recasting it to reuse the untap ability.
How It Works: Once Zacama, Primal Calamity hits the battlefield, it untaps all your lands. You're set if you’ve got Temur Sabertooth out and your lands can make at least 12 mana total (9 to cast Zacama, 2 to activate Sabertooth, and 1 left over to generate mana). Use 2 mana to bounce Zacama with Sabertooth, then tap your lands again to recast Zacama and untap them all over. Repeat this loop for infinite mana, which means infinite uses of Zacama’s abilities—wipe creatures, blow up artifacts and enchantments, and gain all the life you want.
#11. Wayta, Trainer Prodigy + Cacophodon + Brash Taunter
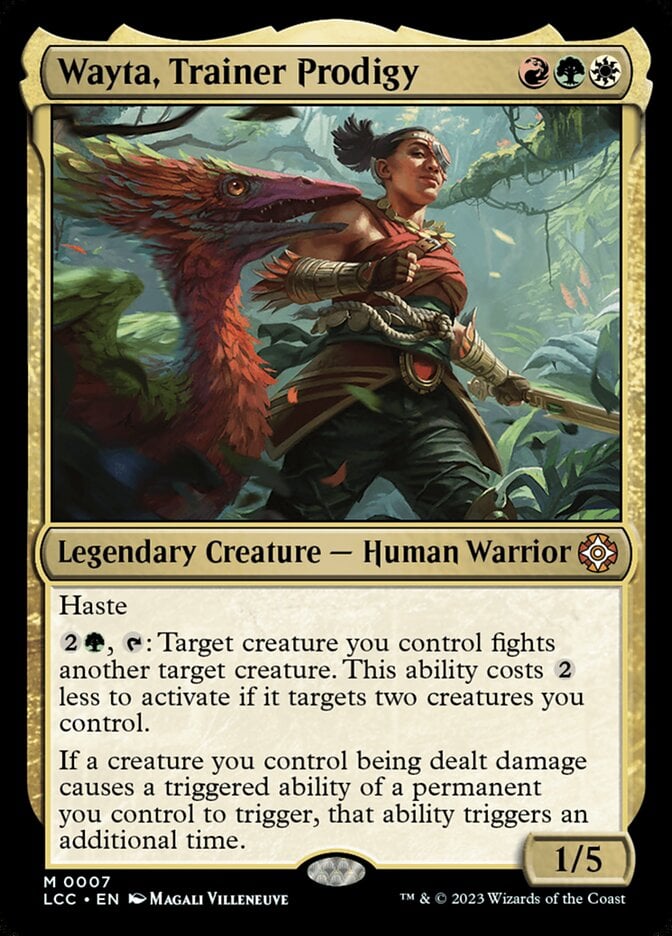
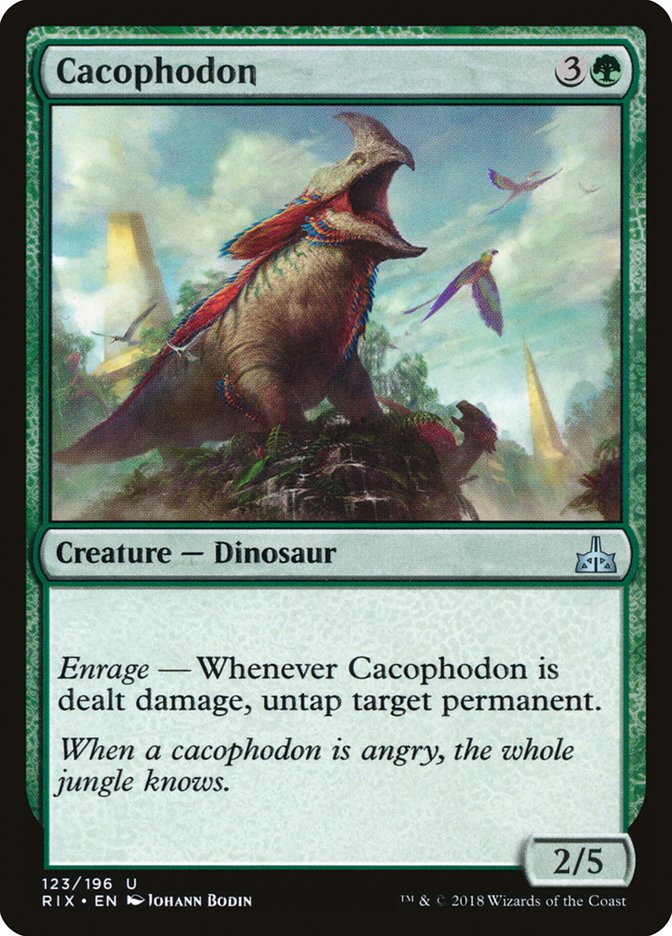
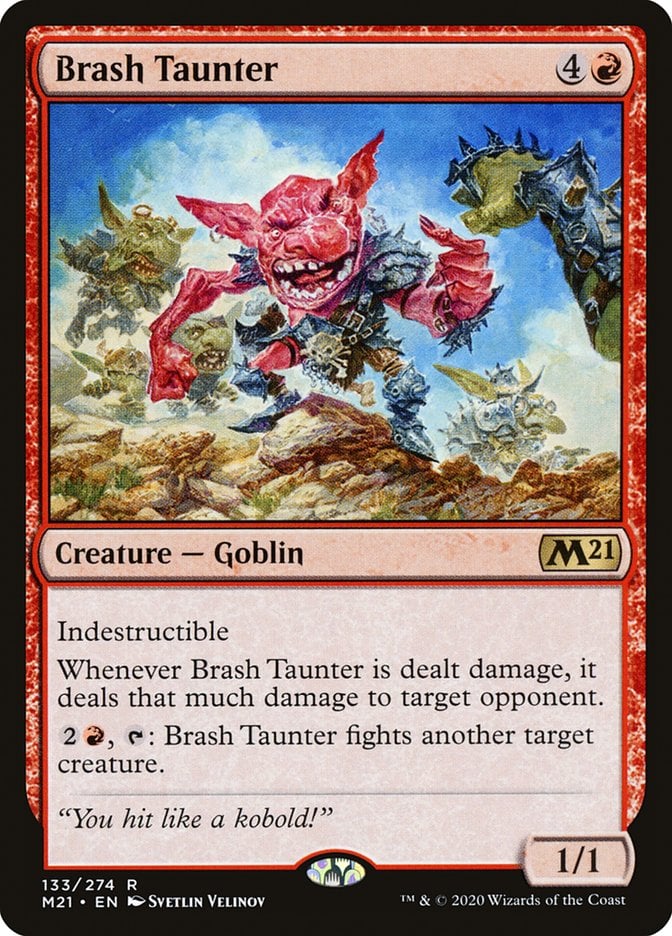

Cards – Wayta, Trainer Prodigy, Cacophodon, Brash Taunter, Tyvar's Stand
Prerequisites – All three creatures on the battlefield. Cacophodon needs to be indestructible with something like Tyvar's Stand so it doesn’t die from repeated damage. You also need a source of mana each loop, typically an untapped mana dork or land that Cacophodon can untap.
Result – Infinite damage to opponents.
Variations – Spitemare or Boros Reckoner can stand in for Brash Taunter along with Rite of Passage as an alternate way to sustain the loop. The core idea is an enrage the dino + a fight effect creature.
How It Works: With Wayta, Trainer Prodigy, Cacophodon, and Brash Taunter on the battlefield, you have a deadly loop. Pay with Wayta to make Taunter and Cacophodon fight. Cacophodon triggers enrage, untapping a land or dork to refund the mana, and Brash Taunter deals damage to an opponent. As long as Cacophodon is indestructible, you can repeat this over and over—burning the table for infinite damage.
#10. Mayael’s Aria + Conclave Sledge-Captain
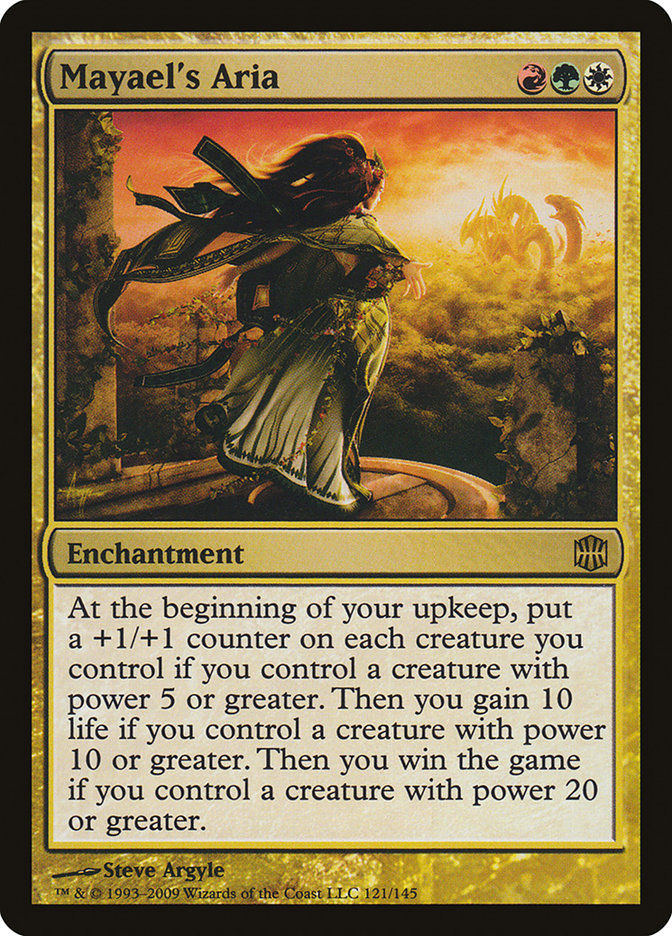
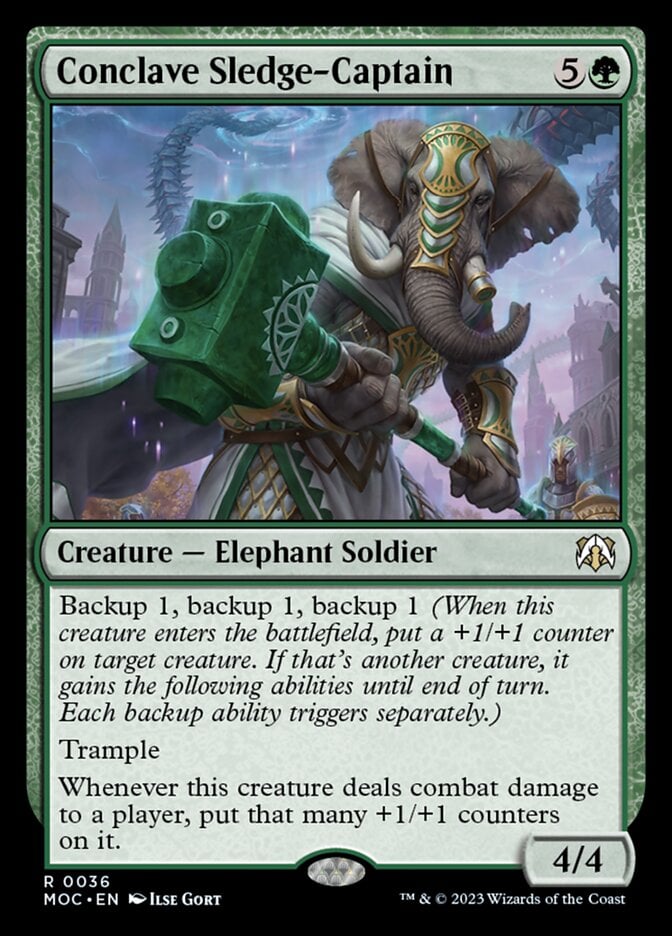
Cards – Mayael's Aria, Conclave Sledge-Captain
Prerequisites – A creature you control with power 2 or greater that can attack unblocked this turn. You also need available to cast the Sledge-Captain. Mayael’s Aria must be on the battlefield before your upkeep.
Result – You win the game at the beginning of your next upkeep.
Variations – Using backup abilities like Conclave Sledge-Captain isn’t the only way to reach 20 power. You could, for example, use Colossification on any creature – Aria will see that and win at upkeep. The Sledge-Captain method is a one-turn, creature-based route to the same goal.
How It Works: With Mayael's Aria on the battlefield and Conclave Sledge-Captain in hand, you can win the game out of nowhere. Cast Conclave Sledge-Captain and put all three backup abilities on your creature with power 2 or greater, then attack with it. Each instance of Conclave Sledge-Captain’s ability triggers, piling on a massive number of +1/+1 counters. By your next upkeep, Mayael’s Aria sees a creature with 20+ power and wins the game.
#9. Jinnie Fay, Jetmir’s Second + Academy Manufactor + Prosperous Partnership
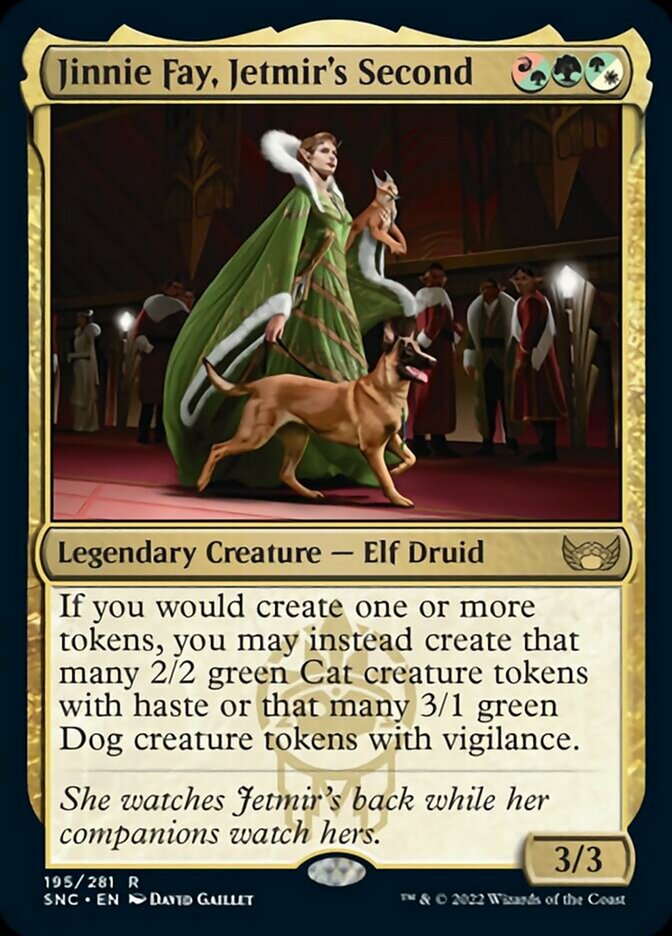
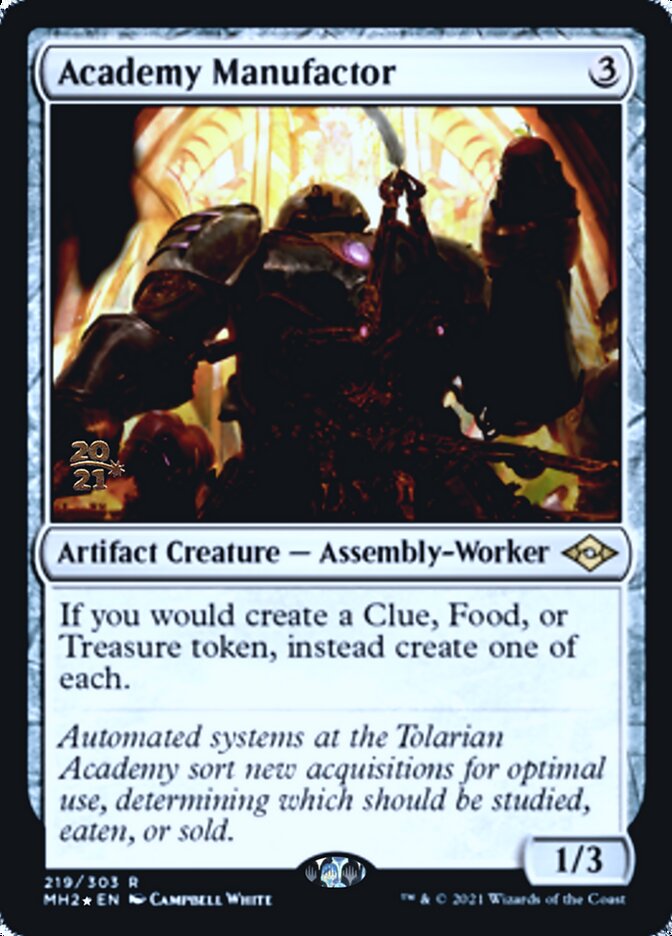
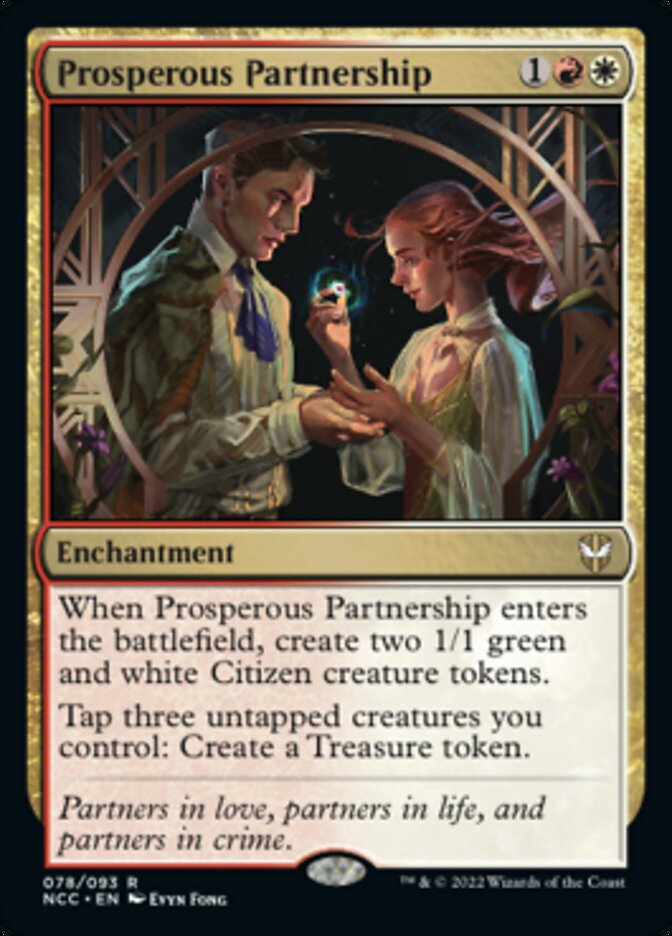
Cards – Jinnie Fay, Jetmir's Second, Academy Manufactor, Prosperous Partnership
Prerequisites – All three permanents on the field. You need at least two creatures that you can tap to activate Prosperous Partnership’s ability to create a Treasure.
Result – Infinite tapped creature tokens – effectively infinite creatures enter the battlefield, which you can use for infinite mana or an overwhelming attack on your next turn.
Variations – Instead of Prosperous Partnership, any token-maker that can consume the kind of tokens you produce to make more can work. For instance, Pitiless Plunderer combined with a free creature sac outlet can form a similar loop with Jinnie Fay and Manufactor. The core idea is that generating one token leads to three, which Jinnie converts to creatures, which then fuel more token creation.
How It Works: With Jinnie Fay, Jetmir's Second, Academy Manufactor, and Prosperous Partnership on the field, the loop practically runs itself. Tap two creatures to make a Treasure with Partnership—but Manufactor gives you a Treasure, Clue, and Food instead. Jinnie Fay turns each into hasty 2/2 cats. So you spend two tapped creatures to get three new ones, gaining +1 token each time. Repeat that forever, and you’ve got infinite tapped cats (or dogs), infinite creature ETB triggers, and a massive army ready to attack your opponents.
#8. Midnight Guard + Presence of Gond + Impact Tremors
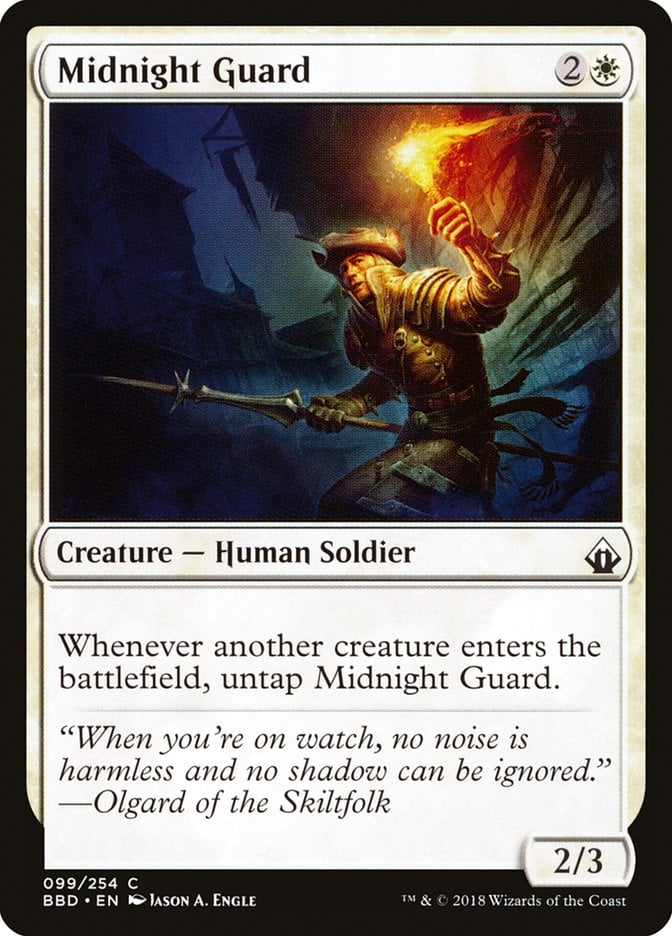
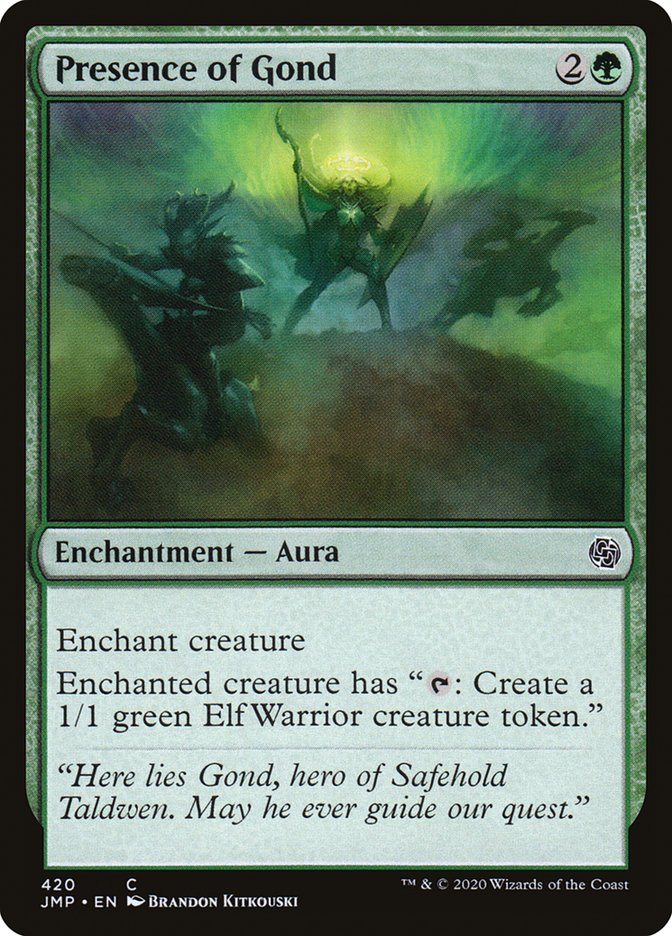
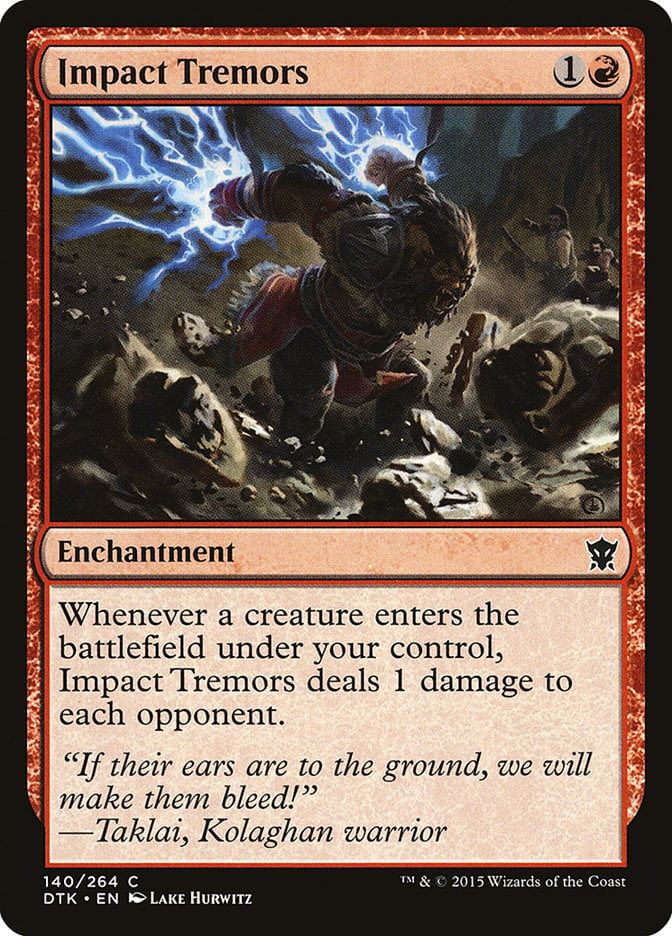
Cards – Midnight Guard, Presence of Gond, Impact Tremors
Prerequisites – Midnight Guard is enchanted with Presence of Gond and doesn’t have summoning sickness. Impact Tremors is on the battlefield.
Result – Infinite 1/1 Elf creature tokens and infinite damage to all opponents.
Variations – If you don’t have Impact Tremors, you still get infinite tokens which can win next combat. Purphoros, God of the Forge or Witty Roastmaster can replace Tremors as the damage outlet. Similarly, Splinter Twin or Elemental Mastery on Midnight Guard (or any creature with a similar untap-one-creature-ETB effect) achieve the same infinite creature combo.
How It Works: Enchant Midnight Guard with Presence of Gond so it can tap to make a 1/1 Elf. When the token enters, Midnight Guard untaps—ready to do it again. Add Impact Tremors, and every elf pings your opponents for 1. You create infinite elves, untap the Guard each time, and deal infinite damage through Impact Tremors. It’s a clean, compact win in any Naya token shell.
#7. Marath, Will of the Wild + Doubling Season + Ashnod’s Altar
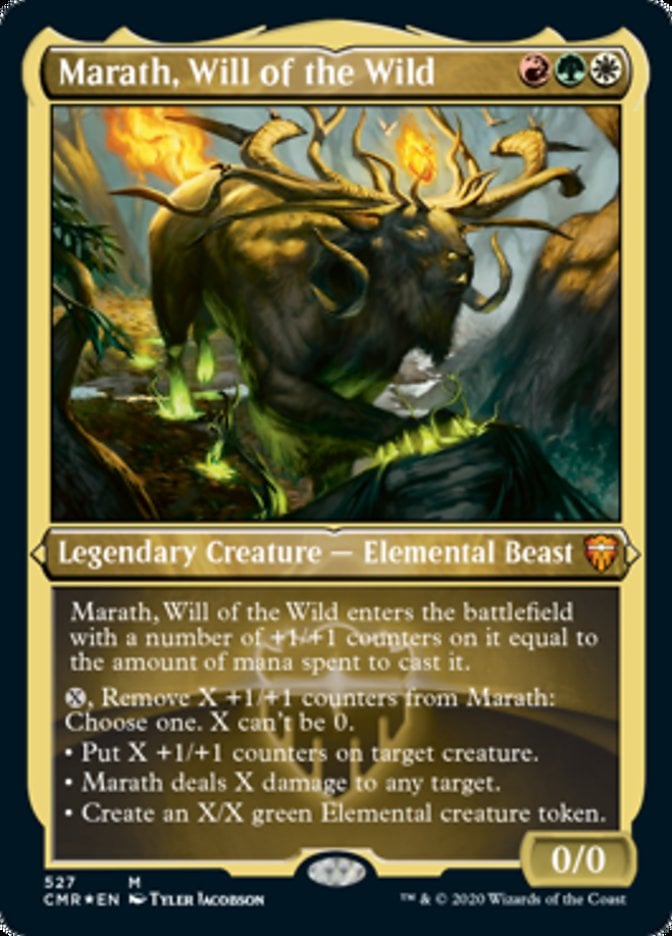

Cards – Marath, Will of the Wild, Doubling Season, Ashnod's Altar
Prerequisites – Marath has at least three +1/+1 counters, you control the other two permanents, and you have at least 1 mana available.
Result – Infinite +1/+1 counters on Marath, infinite elemental tokens, infinite colorless mana, and infinite damage to opponents.
Variations – Primal Vigor or Branching Evolution can substitute for Doubling Season in this combo. Conclave Mentor or Hardened Scales enable a similar loop, though you only get infinite death, enters, and sacrifice triggers.
How It Works: The loop starts by paying to remove a counter from Marath and create two 1/1 saprolings. Sacrifice one of them to Ashnod's Altar to create 2 mana, then use one of that mana to remove a counter from Marath and put two counters on it, thanks to Doubling Season. You can continue this loop until Marath has enough counters to burn out the table.
#6. Saffi Eriksdotter + Sun Titan + Goblin Bombardment
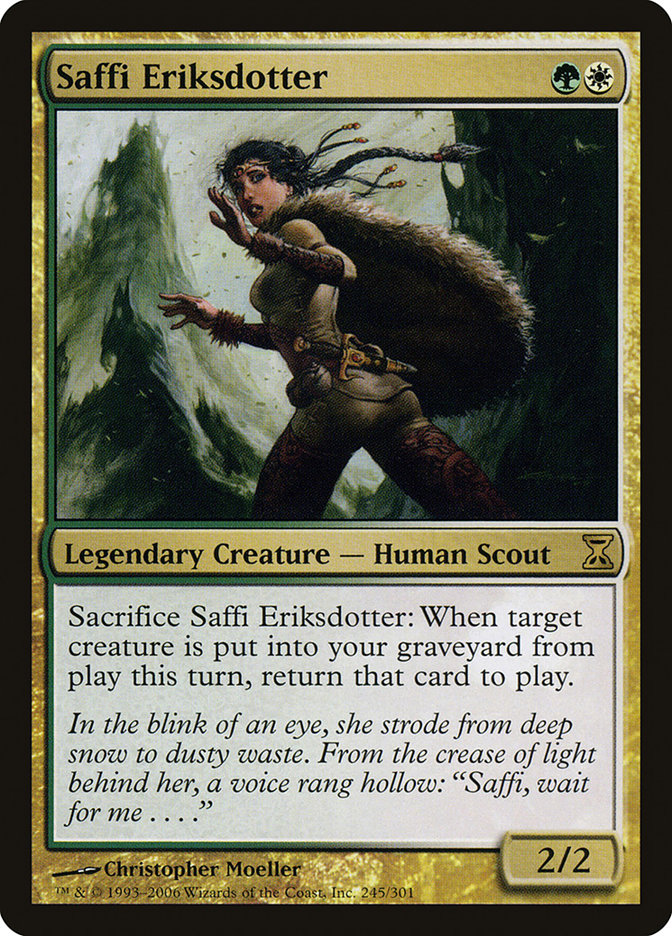
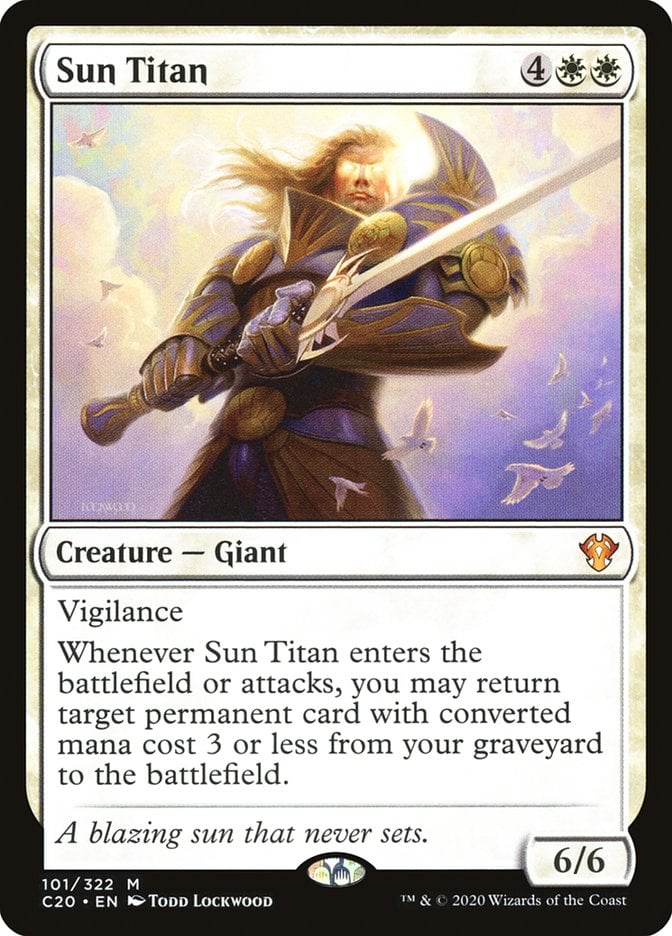

Cards – Saffi Eriksdotter, Sun Titan, Goblin Bombardment
Prerequisites – All three cards on the battlefield.
Result – Infinite death triggers and infinite damage to opponents.
Variations – Karmic Guide can be used instead of Sun Titan. Reveillark plus Karmic Guide (with a sac outlet) is another famous loop, though it requires an additional low-power creature. Any free sac outlet that deals damage (e.g. Blasting Station) can replace Bombardment as the finisher.
How It Works: With Saffi Eriksdotter, Sun Titan, and Goblin Bombardment on the field, you have an infinite damage loop. Sacrifice Saffi, targeting Sun Titan. Then sacrifice Sun Titan to Bombardment to deal 1 damage. Saffi brings Sun Titan right back; when it enters, it returns Saffi. Repeat infinitely for as much damage as you want. It’s a classic, clean Naya combo that wins on the spot.
#5. Cathars’ Crusade + Scurry Oak + Impact Tremors
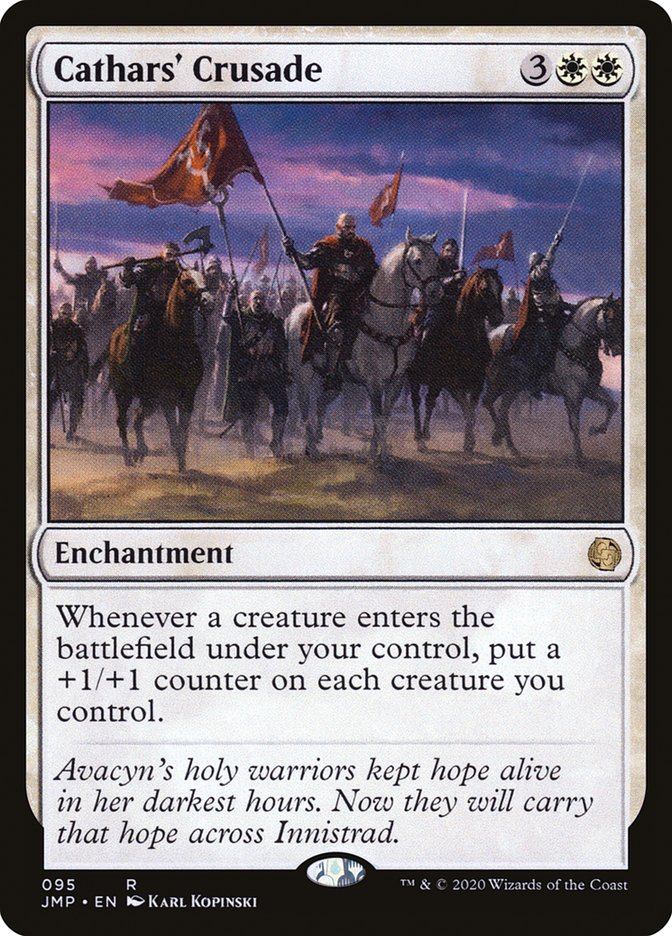
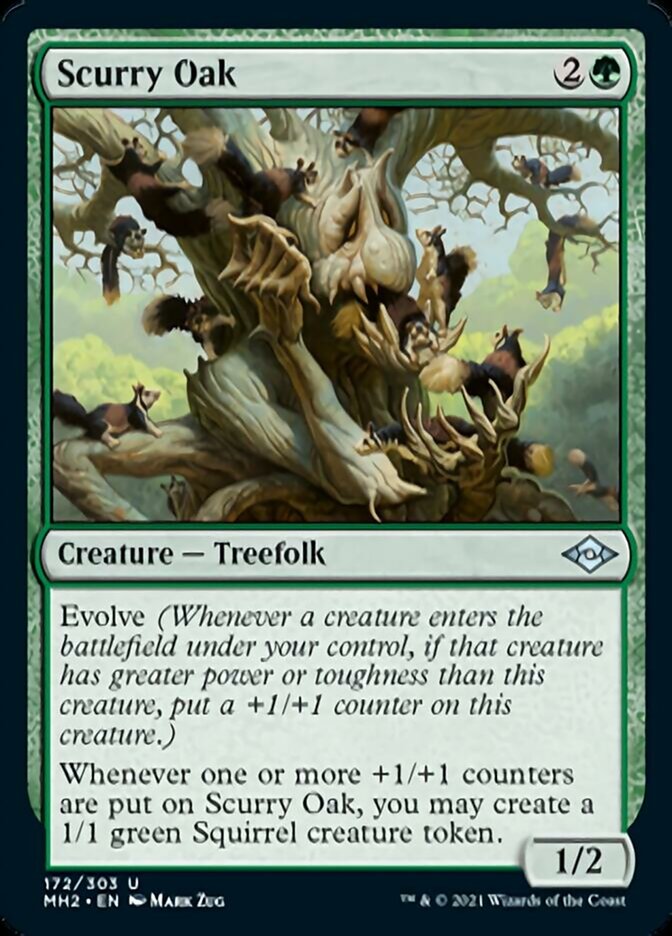
Cards – Cathars' Crusade, Scurry Oak, Impact Tremors
Prerequisites – All three permanents in play. Ideally, have another creature ETB to trigger Oak’s evolve the first time if needed.
Result – Infinite squirrel tokens and infinite damage to opponents.
Variations – Ivy Lane Denizen and Rosie Cotton of South Lane can replace Cathars' Crusade for giving Scurry Oak counters. Scurry Oak itself can be swapped for Basking Broodscale or Herd Baloth. Witty Roastmaster could replace Impact Tremors as the damage dealer.
How It Works: With Cathars' Crusade, Scurry Oak, and Impact Tremors on the battlefield, you have a loop that goes off the moment Scurry Oak gets a +1/+1 counter. That counter creates a Squirrel token, which triggers Cathars' Crusade to put another counter on Scurry Oak—making another Squirrel. Every token entering also pings your opponents with Impact Tremors. The loop repeats forever, giving you infinite Squirrels and infinite damage.
#4. Emiel the Blessed + Rapacious Dragon + Doubling Season
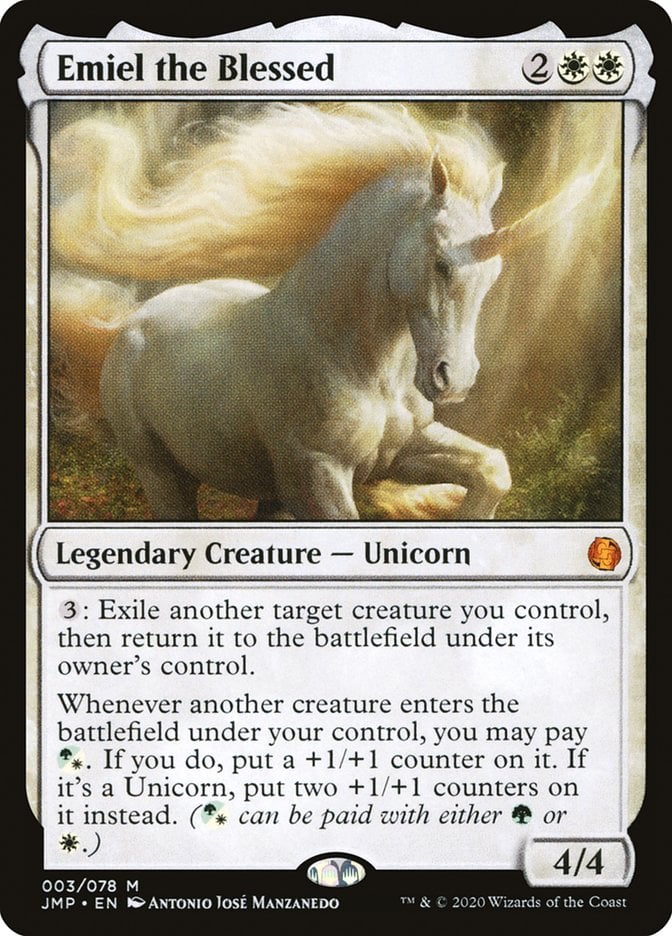
Cards – Emiel the Blessed, Rapacious Dragon, Doubling Season
Prerequisites – All permanents in play with enough mana to activate Emiel at least once.
Result – Infinite blinking of creatures, infinite enter/exit triggers, and infinite Treasure tokens.
Variations – Parallel Lives or Primal Vigor can stand in for Doubling Season’s token-doubling effect if needed. You can also use Goldspan Dragon or Roxanne, Starfall Savant to make each Treasure add twice as much mana rather than doubling the number of Treasure you create.
How It Works: With Emiel the Blessed, Rapacious Dragon, and Doubling Season on the field, you can blink your way to infinite mana. Blink the dragon with Emiel for —it'll enter with four Treasure tokens total. Sacrifice those Treasures for 4 mana, and you’re up 1 mana each time. Repeat the loop for infinite mana, infinite Treasure tokens, and endless enter-the-battlefield triggers. Add any ETB payoff, and you’ve got a clean win.
#3. Shalai and Hallar + The Red Terror
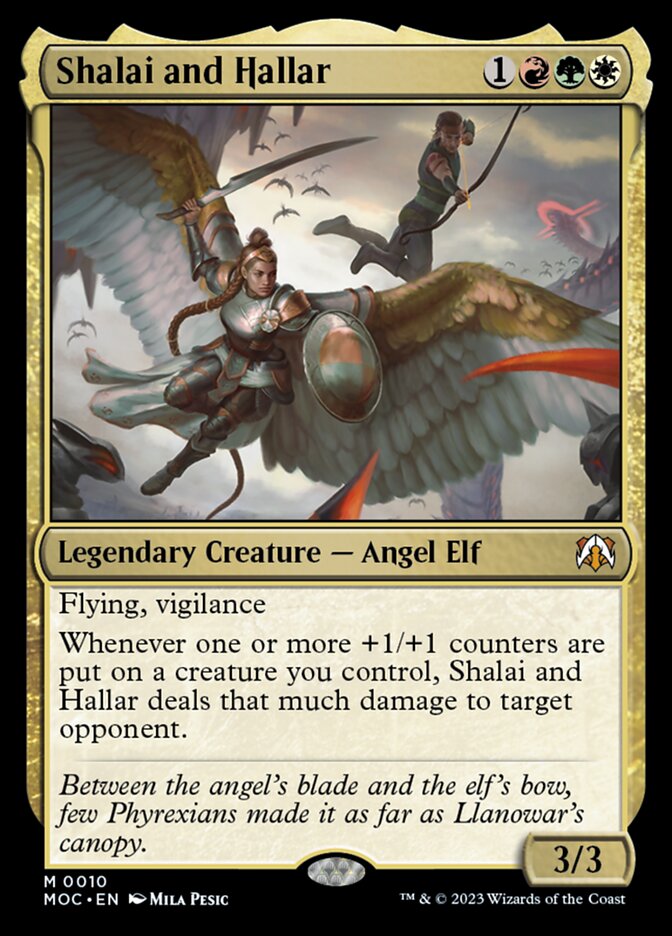
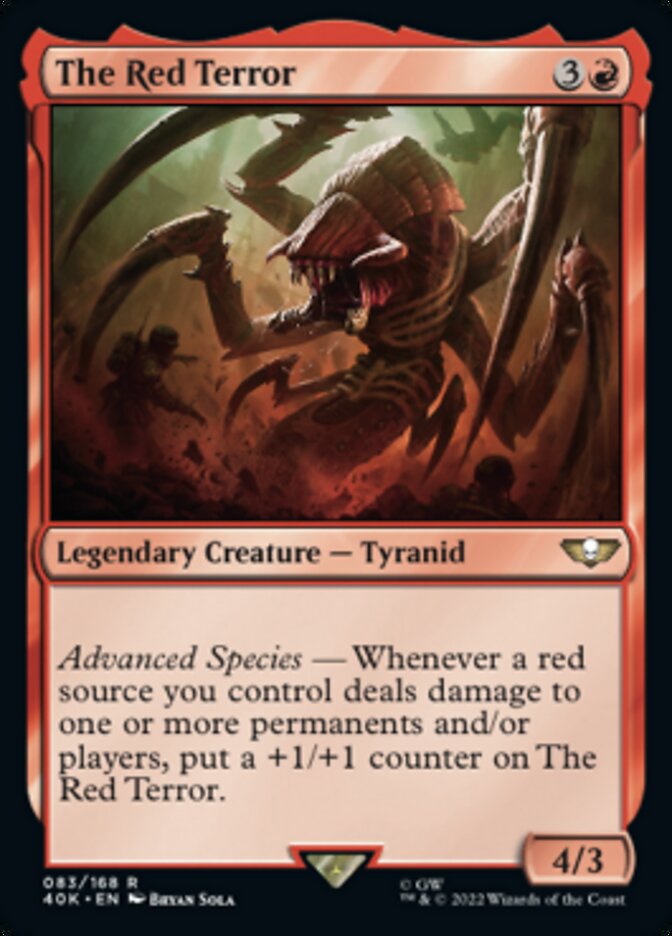
Cards – Shalai and Hallar, The Red Terror
Prerequisites – Both creatures on the battlefield, and a way to deal damage to an opponent.
Result – Infinite +1/+1 counters on The Red Terror and infinite damage to opponents.
Variations – War Elemental or All Will Be One can replace The Red Terror. Any initial damage source can kick off the combo.
How It Works: Once Shalai and Hallar and The Red Terror are on the battlefield, you just need to deal 1 damage to start the loop. That gives The Red Terror a counter, triggering Shalai and Hallar to deal 1 damage because a counter was added. Since that damage is from a red source, The Red Terror gets another counter… and the cycle repeats. You end up with infinite damage and The Red Terror becomes massive.
#2. Shalai and Hallar + Heliod, Sun-Crowned
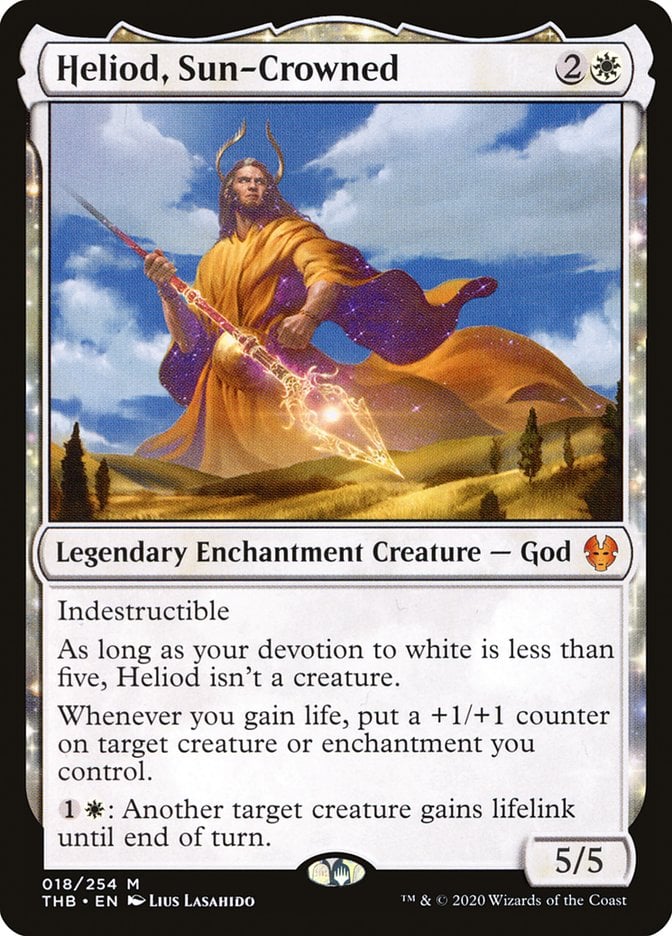
Cards – Shalai and Hallar, Heliod, Sun-Crowned
Prerequisites – Shalai and Hallar on the battlefield, Heliod on the battlefield. Shalai and Hallar needs lifelink, and you need a way to gain life to start.
Result – Infinite +1/+1 counters and infinite damage from Shalai and Hallar, along with infinite life gain.
Variations – Archangel of Thune can play a similar role to Heliod, especially if combined with a Soul Sisters effect (like Soul Warden). Cleric Class (Level 2) is another alternative to Heliod for the counter-on-lifegain effect. Both of these options require an additional card to give Shalai and Hallar lifelink.
How It Works: Once Shalai and Hallar has lifelink and you gain life, Heliod gives it a +1/+1 counter. That triggers Shalai and Hallar to deal 1 damage, which gains you 1 life, which triggers Heliod again… and so on. The loop gives you infinite life, infinite damage to opponents, and a massive Shalai and Hallar. All you need is both creatures out, lifelink on Shalai and Hallar, and any way to start the lifegain.
#1. Splinter Twin + Village Bell-Ringer + Earthcraft
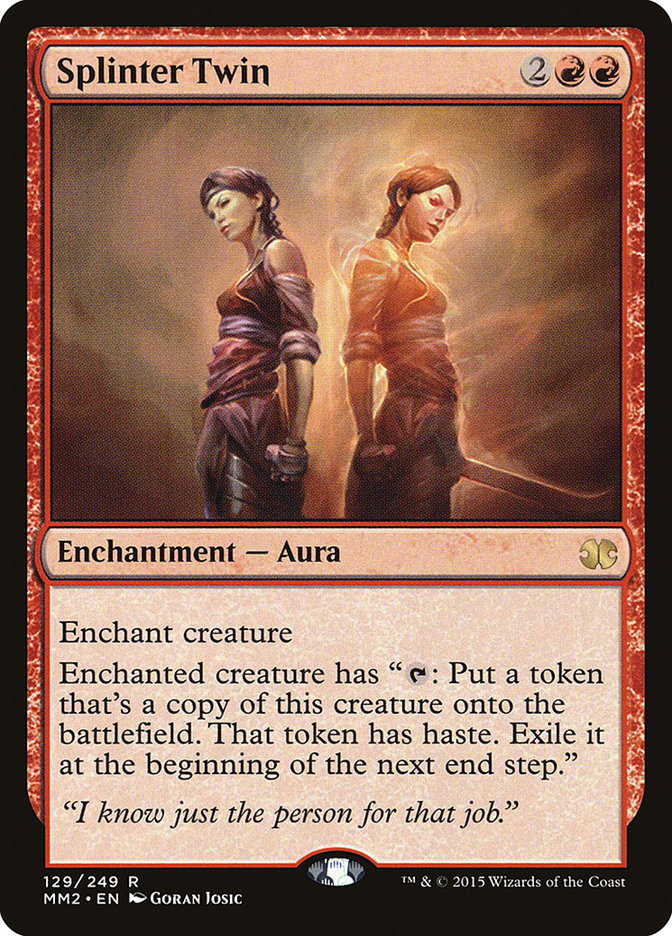
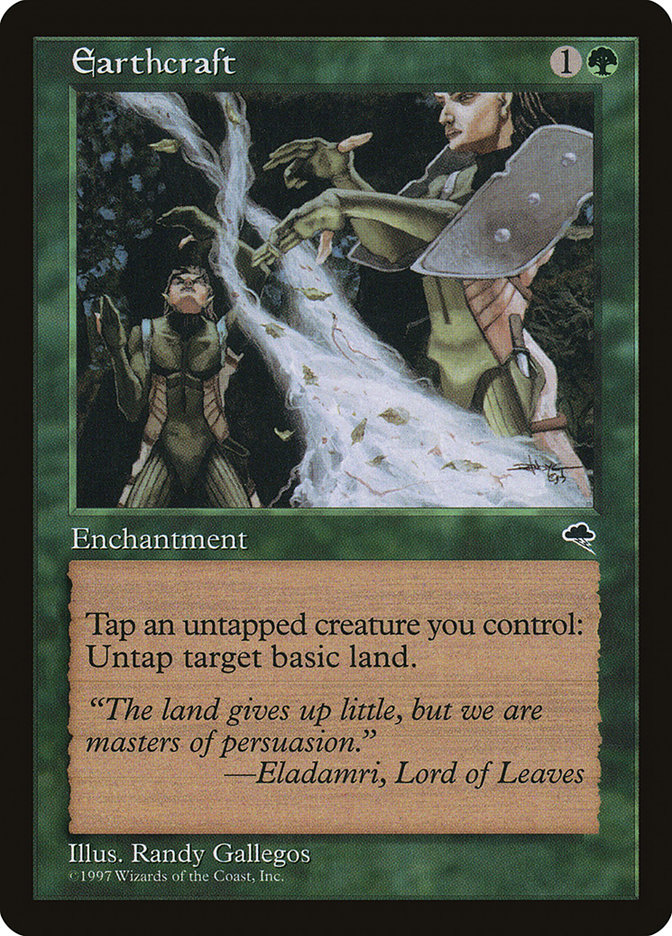
Cards – Splinter Twin, Village Bell-Ringer, Earthcraft
Prerequisites – Village Bell-Ringer on the battlefield (no summoning sickness). Splinter Twin in hand or already enchanting the Bell-Ringer. Earthcraft on the battlefield. At least one basic land is available to untap with Earthcraft.
Result – Infinite 1/4 Bell-Ringer token creatures and infinite untap triggers, which via Earthcraft yields infinite mana or infinite land untaps. Practically, you get an unlimited hasty army.
Variations – Kiki-Jiki, Mirror Breaker can be used instead of Splinter Twin. Earthcraft turns the infinite creatures into infinite mana or other value. If you just want the tokens, you don’t even need Earthcraft – Splinter Twin on Bell-Ringer alone generates infinite hasty tokens.
How It Works: Enchant Village Bell-Ringer with Splinter Twin, then tap it to make a hasty token copy. When that token enters, it untaps all your creatures, including the original Bell-Ringer. Now you can do it again… and again. That alone gives you infinite 1/4 tokens with haste. Add Earthcraft, and now each token can tap to untap a basic land, giving you infinite mana too. You end up with an army of hasty Bell-Ringers and all the mana you could ever need—game over.
Wrap Up

Atla Palani, Nest Tender | Illustration by Ekaterina Burmak
As you can see, Naya combos offer some seriously game-breaking potential—especially in Commander and high-power tables like cEDH. Whether you’re aiming for infinite tokens, damage, or just explosive value from your favorite Naya cards, there’s no shortage of ways to close out a game with style.
Did one of these combos jump out at you? Or maybe you’ve got a personal favorite Naya combo we didn’t cover? Drop it in the comments!
Thanks for reading up until now. If you’re into MTG content and want more updates on spicy new combos and deck techs, be sure to follow us on social media and join our Discord family.
Take care, and we will meet again in my next article.
Follow Draftsim for awesome articles and set updates:


Add Comment