Last updated on October 11, 2024
Liberator, Urza's Battlethopter | Illustration by Ekaterina Burmak
Artifacts make up some of the most powerful cards in Magic. Many of them are colorless, making them easier to cast than colored spells. They also synergize very well together because there are plenty of cards that support other artifacts. One such card is also a viable option for a commander: Liberator, Urza's Battlethopter.
Liberator is a colorless commander, so it restricts the cards you can include in your deck pretty heavily. But having only colorless cards also allows you to take advantage of some powerful cards like All Is Dust. Liberator also gives you the ability to cast every card in this deck at instant speed. This gives you a lot of flexibility over how and when you play your cards that you don’t usually have.
While some artifact commanders like Urza, Lord High Artificer might be more cEDH viable, I think that Liberator is one of the more fun artifact commanders you can play. I’m going to walk you through how this deck works and explain why I think playing a deck like this can be one of the most interesting ways to play Magic.
Let's just dive right in!
The Deck
Foundry Inspector | Illustration by Jason A. Engle
Commander (1)
Liberator, Urza's Battlethopter
Planeswalkers (3)
Ugin, the Ineffable
Ugin, the Spirit Dragon
Karn Liberated
Creatures (27)
Foundry Inspector
Jhoira's Familiar
Solemn Simulacrum
Palladium Myr
Wandering Archaic
Scrap Trawler
Meteor Golem
Myr Retriever
Endbringer
Steel Hellkite
Wurmcoil Engine
Steel Overseer
Burnished Hart
Shimmer Myr
Traxos, Scourge of Kroog
Junk Diver
Walking Ballista
Stonecoil Serpent
Void Winnower
Canoptek Spyder
Kuldotha Forgemaster
Cryptothrall
Myr Battlesphere
Soul of New Phyrexia
Eldrazi Mimic
It That Betrays
Blightsteel Colossus
Instants (4)
Warping Wail
Scour from Existence
Titan's Presence
Not of This World
Sorceries (3)
All Is Dust
Introduction to Prophecy
Skittering Invasion
Artifacts (26)
Forsaken Monument
Basalt Monolith
Mystic Forge
Mind Stone
Thran Dynamo
Unwinding Clock
Hedron Archive
Cloud Key
Commander's Plate
Darksteel Forge
Moonsilver Key
Sensei's Divining Top
Rings of Brighthearth
Horizon Stone
Clock of Omens
Helm of Awakening
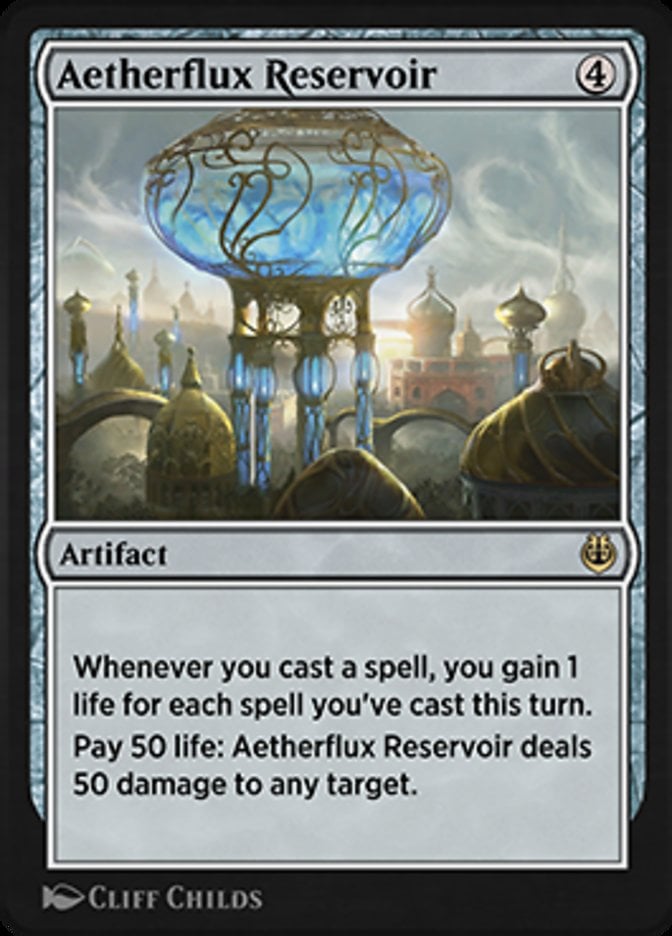
Aetherflux Reservoir
Sol Ring
Everflowing Chalice
Thought Vessel
Liquimetal Torque
Pristine Talisman
Darksteel Ingot
Commander's Sphere
Victory Chimes
Teferi's Puzzle Box
Lands (36)
Reliquary Tower
Wastes x13
Myriad Landscape
Ancient Tomb
The Mycosynth Gardens
Urza's Mine
Urza's Tower
Urza's Power Plant
Urza's Saga
Buried Ruin
Urza's Workshop
Inventors' Fair
Darksteel Citadel
Tomb of the Spirit Dragon
Zhalfirin Void
Strip Mine
Field of the Dead
Maze of Ith
Geier Reach Sanitarium
Witch's Clinic
Treasure Vault
Evolving Wilds
Temple of the False God
Mishra's Factory
I tried to make it easy to take advantage of your ability to cast spells with flash when building this deck. Cards like Victory Chimes and Unwinding Clock essentially allow you to play both on your own turn and on your opponents’ turns. You also have Horizon Stone to help store up excess mana to use at any time.
I also built in a good amount of support cards for artifacts. There’s cost reduction through spells like Foundry Inspector, and Darksteel Forge is a great way to keep most of the permanents in this deck safe from destruction. Cost reduction is especially helpful in a colorless deck because you’ll get to a point when you can cast some of your cards for free.
The Commander
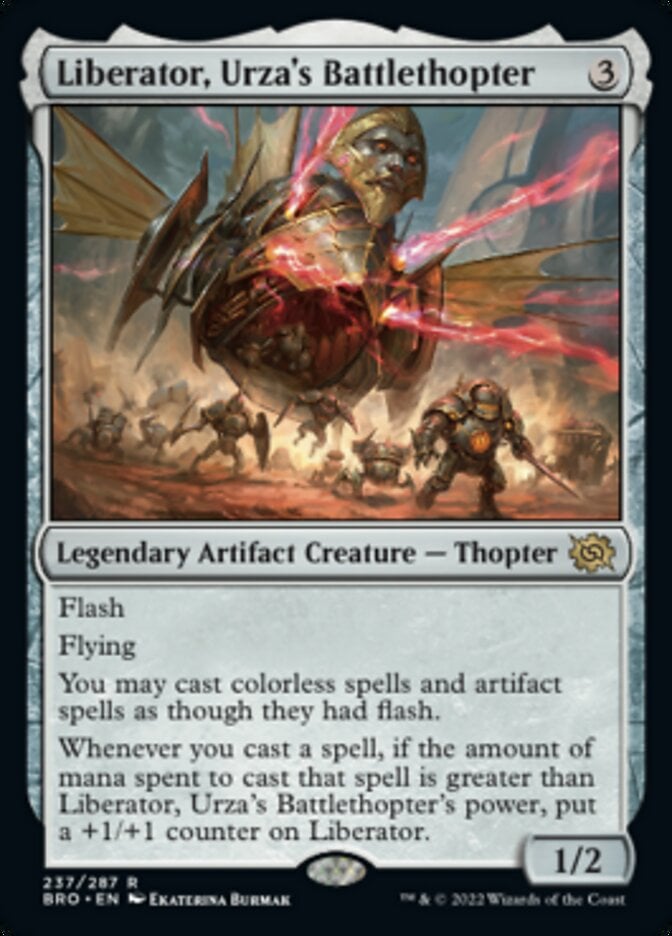
What made me choose Liberator, Urza's Battlethopter to head a deck is the way it fundamentally changes how you play the game. When you’re able to cast any of your cards at instant speed, you’re no longer tied to simply playing cards on your turn. This offers you the chance to drop creatures as surprise blockers or use sorcery speed spells to affect the board state on other players’ turns.
Liberator’s ability to buff itself is also nice. With some pretty big spells in this deck, you’ll be able to get Liberator pretty strong, making either a dangerous attacker or just an effective blocker. I personally keep Liberator out of combat as much as possible, just to make sure I don’t lose my ability to cast my cards with flash.
Cost Reduction
Cards that reduce casting costs are essential for setting up one of this deck’s combos, but it’s also just good in general. Reducing the generic cost of colorless cards can even allow you to cast them for free if you have enough on the field.
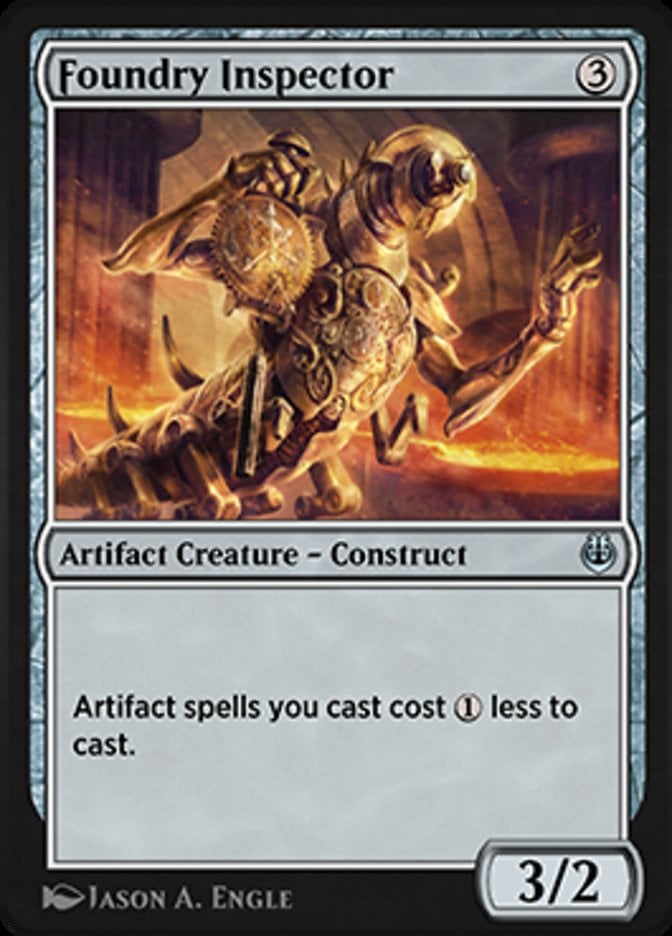
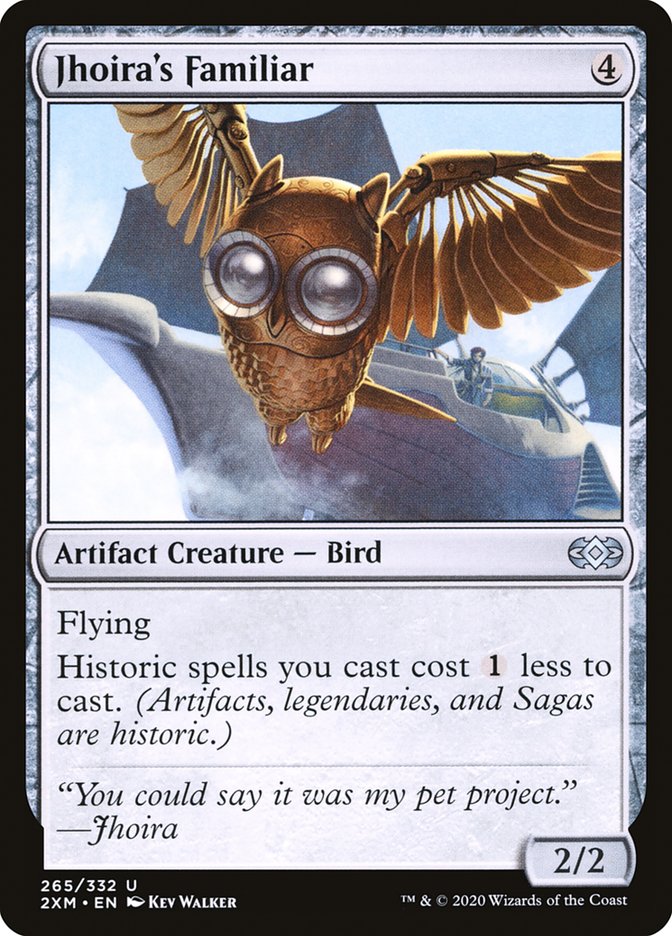
Creatures like Foundry Inspector and Jhoira's Familiar can reduce the cost of your artifacts, which also affects a good number of your creatures since they’re also artifacts.
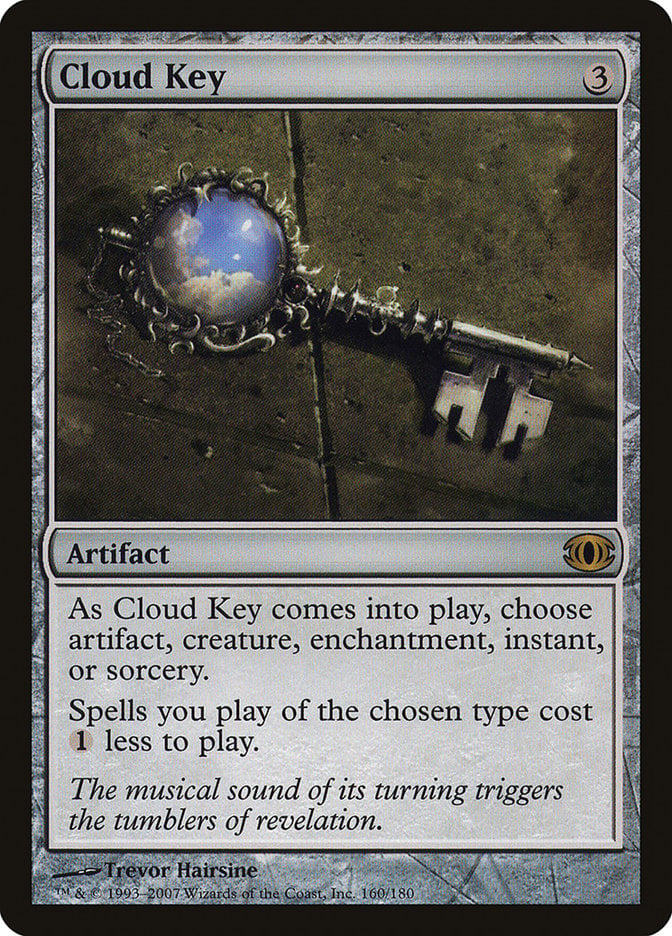
Cloud Key gives you some flexibility of cost reduction targets, but I’d usually choose artifacts in this deck.
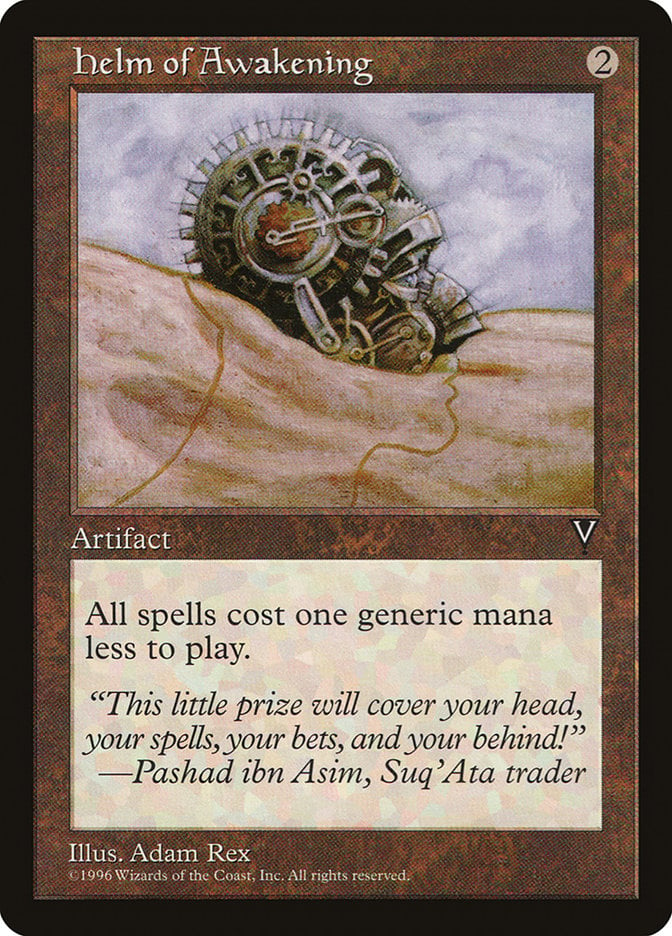
Helm of Awakening on the other hand reduces the cost of all your spells, making it one of the better bits of cost reduction in this deck.
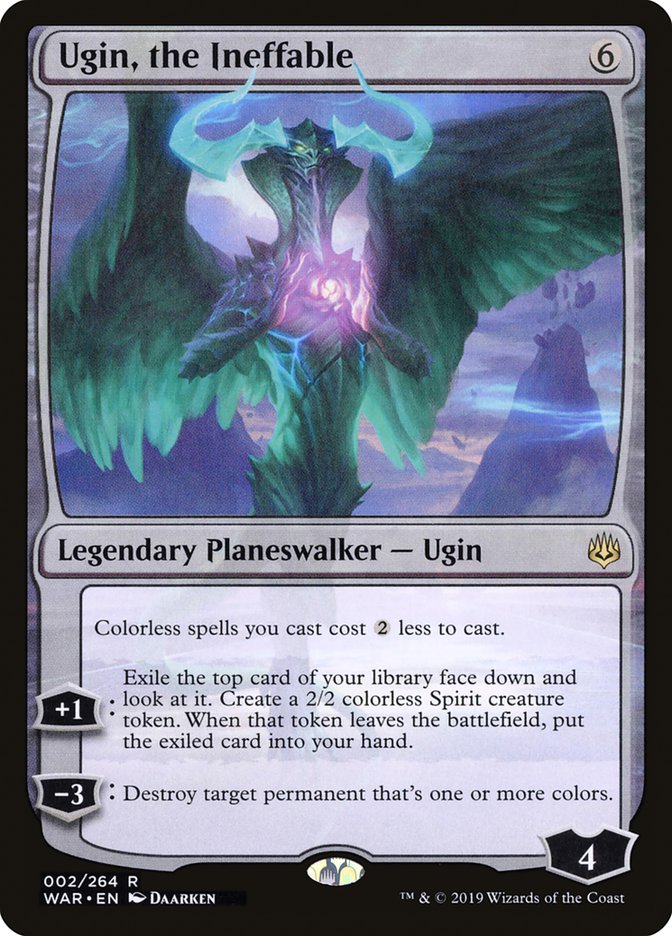
Ugin, the Ineffable is a good inclusion in any colorless deck because it’ll reduce the cost of all the spells in this deck by two mana.
Card Draw
It’s always important to have cards in your hand, and in a deck like this with a few game-winning combos you’ll want a way to find them more quickly.

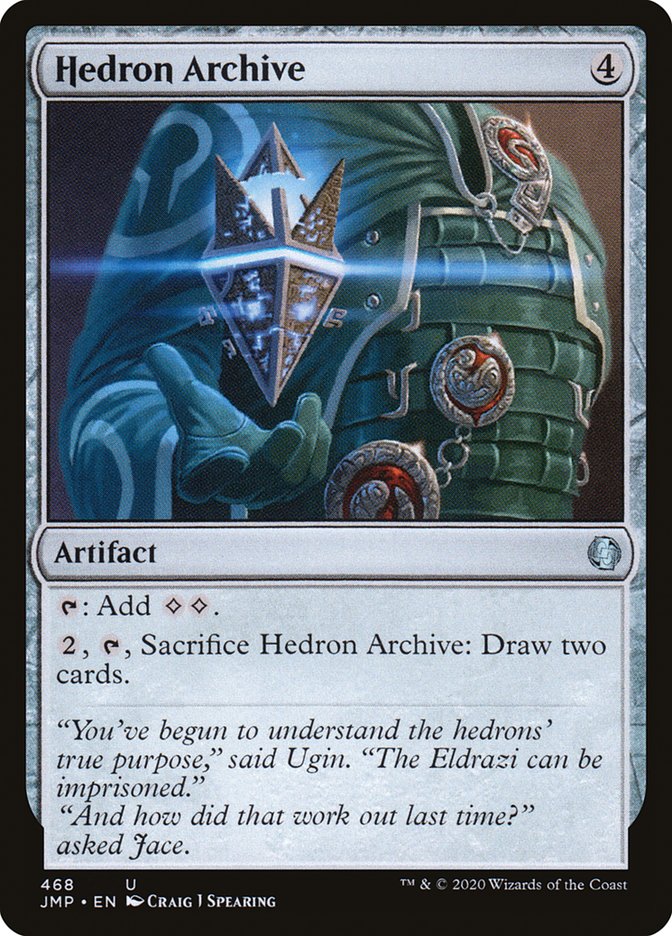
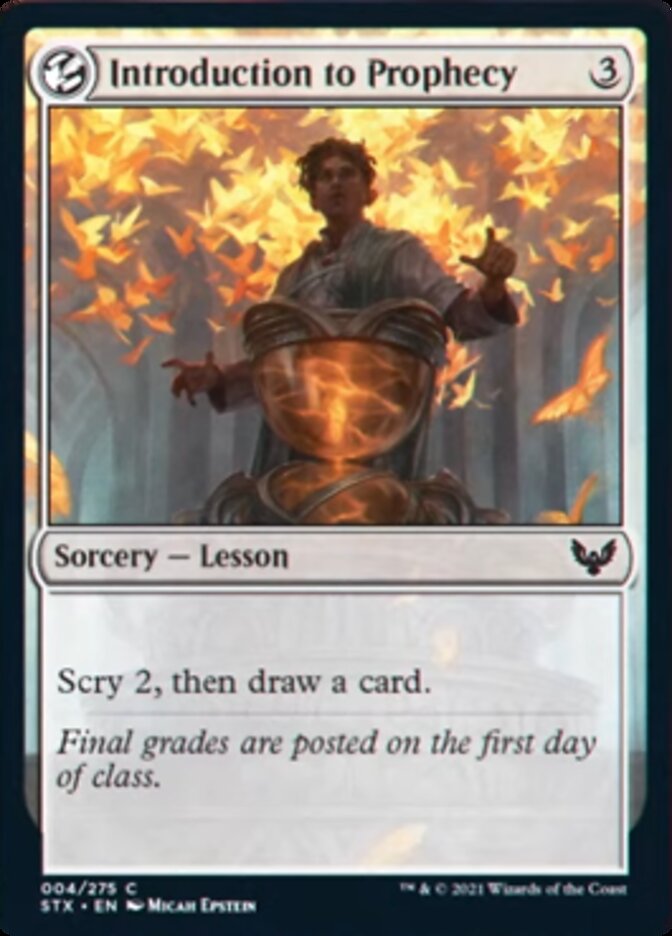
You have a few sources of one-time draw like Commander's Sphere, Hedron Archive, and Introduction to Prophecy.
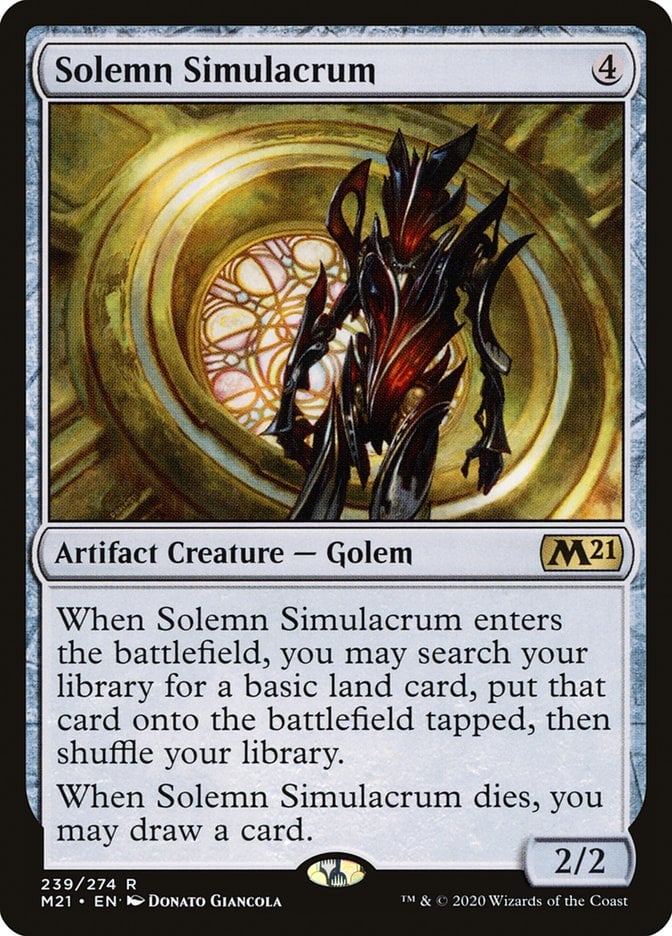
Solemn Simulacrum ramps you to allow you to thin your deck a bit and draws you a card when it dies. With a good amount of recursion in this deck, you can likely repeat this effect if you need.
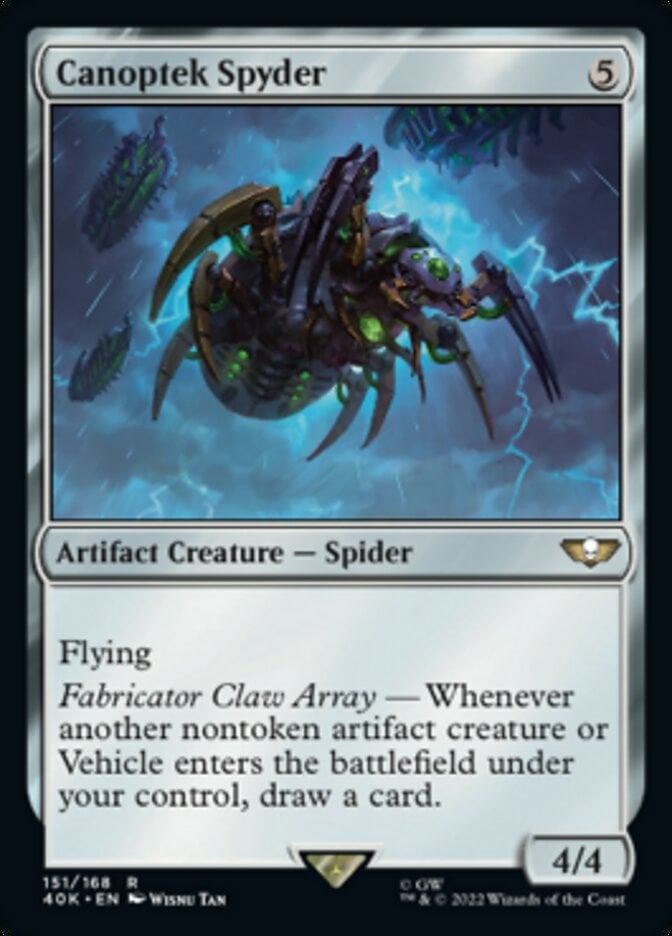
One of the best ways to draw cards in this deck is with Canoptek Spyder. Most of the cards you play are artifacts, so you’ll be drawing a card most of the time a permanent enters the battlefield under your control. This pairs especially well with your cost reduction, letting you drop small artifacts for free or just one or two mana and get another card to play.
Flash Support
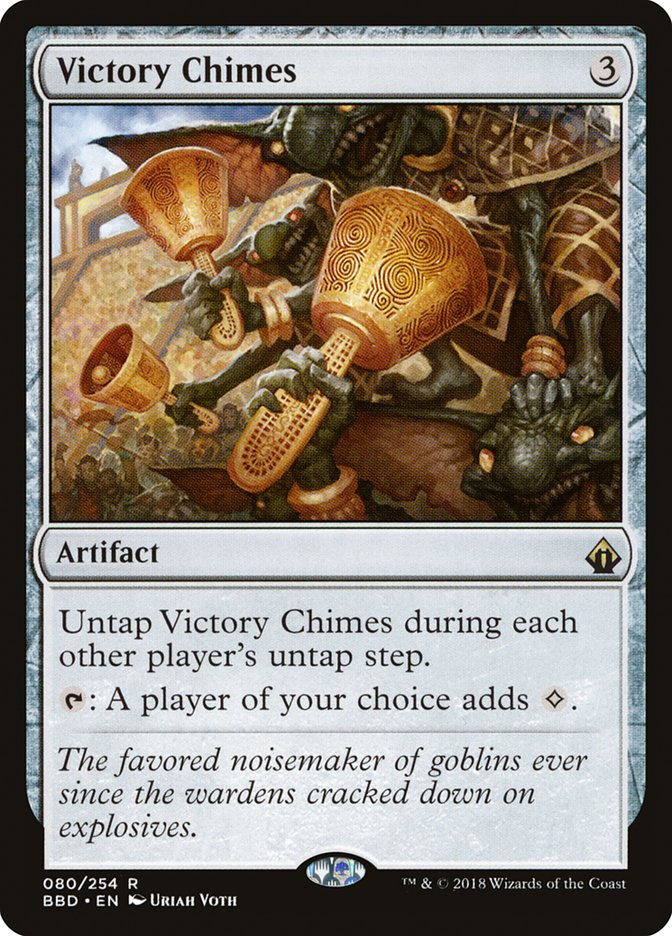
Since you’ll be able to cast your spells on any turn, I wanted to include cards like Victory Chimes that help with this.
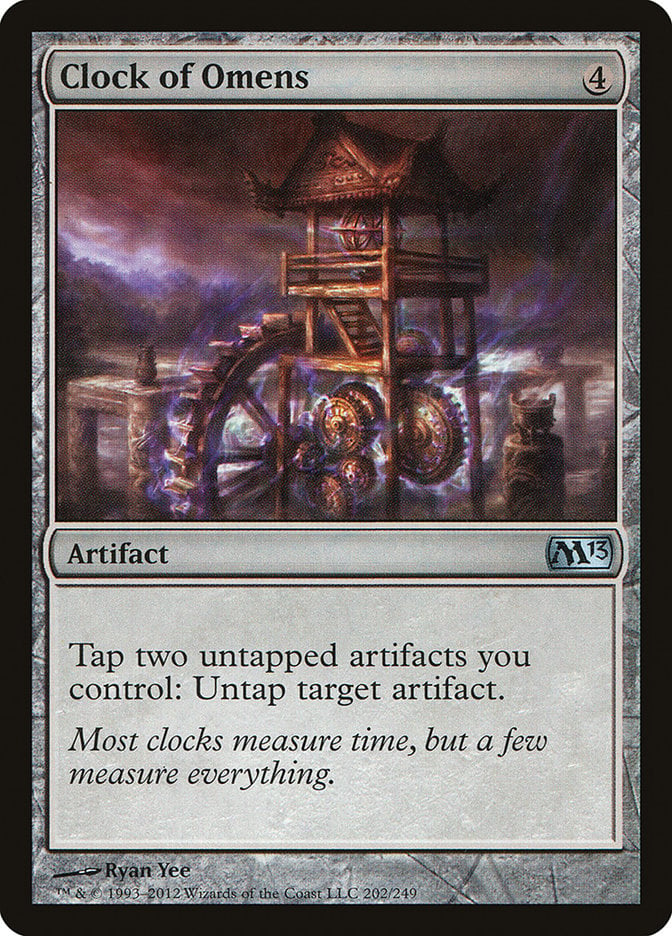
Clock of Omens can also help you to untap some of your mana rocks by tapping your other permanents. It can tap itself for its own ability which is good to remember.
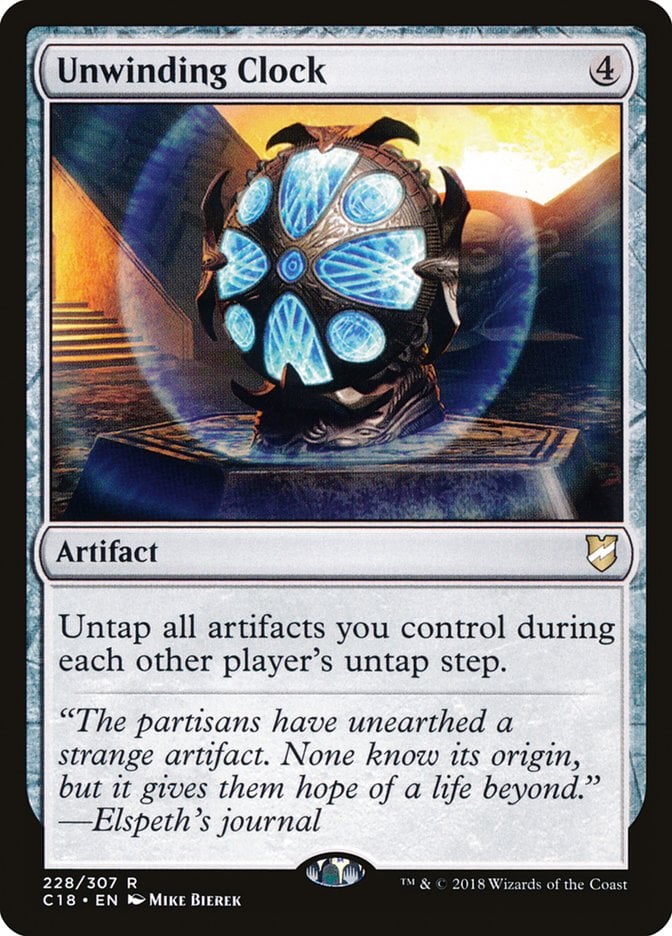
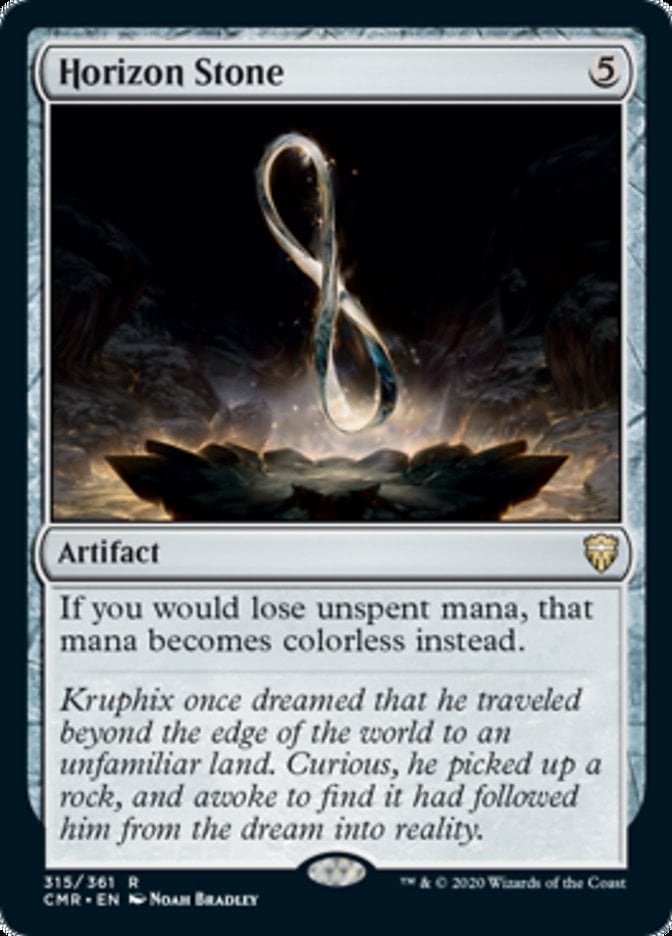
Unwinding Clock is probably the best for flash support because it untap all your mana rocks on your opponents’ turns, including Basalt Monolith without having to pay its mana cost. This also pairs well with Horizon Stone because you can tap out each turn and store up your mana, just for your mana rocks to untap the next turn.
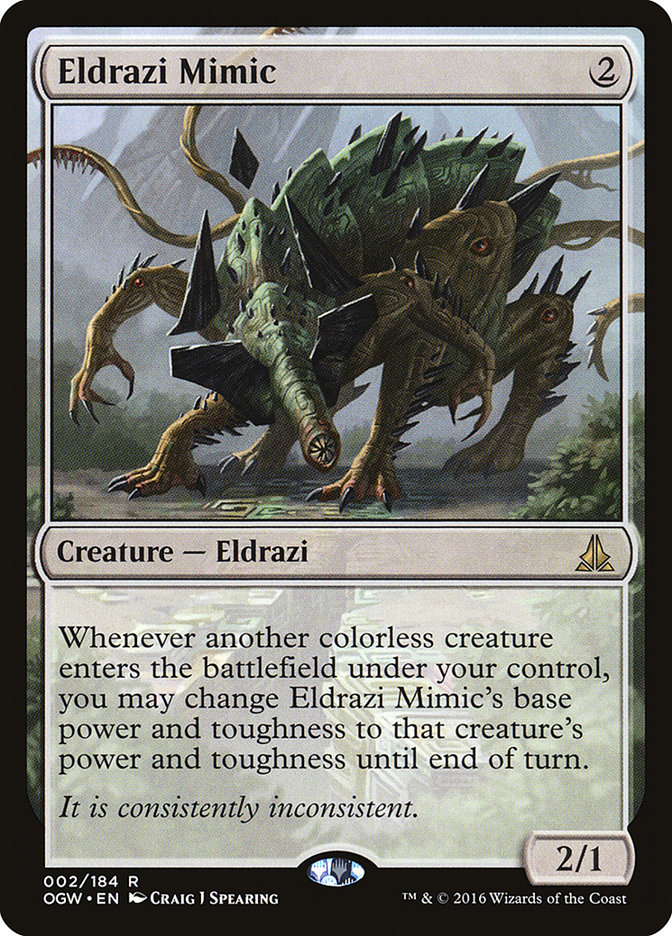
Eldrazi Mimic can be used to great effect when you’re able to flash in creatures. This means you can flash in a stronger creature, make Eldrazi Mimic match its power and toughness, and have two large surprise blockers to help defend you.
Artifact Support
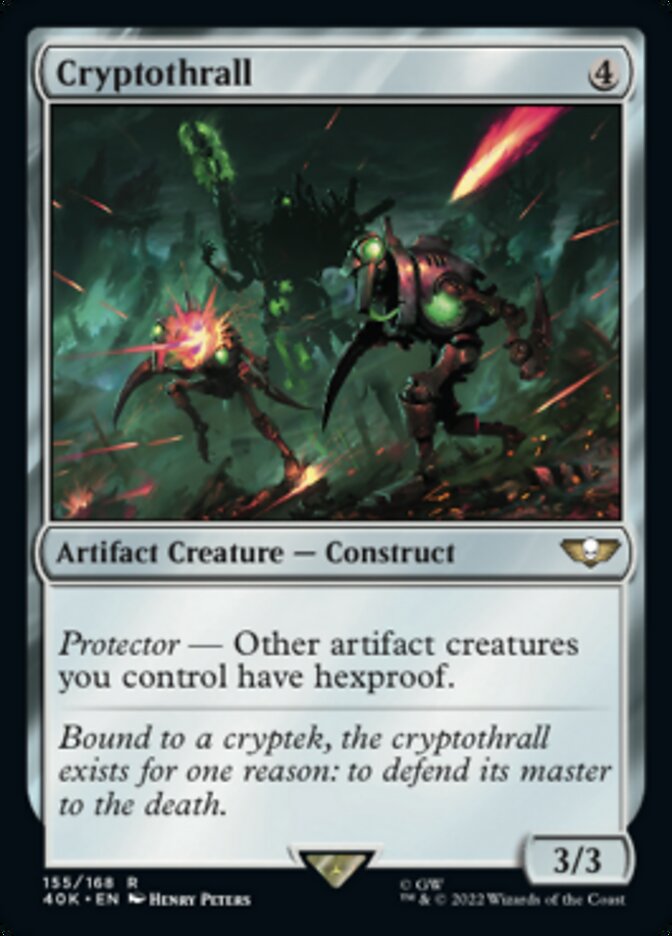
Since most of your cards are artifacts, having ways to support them just makes sense. Cryptothrall for example can keep your artifacts safe by giving them hexproof.
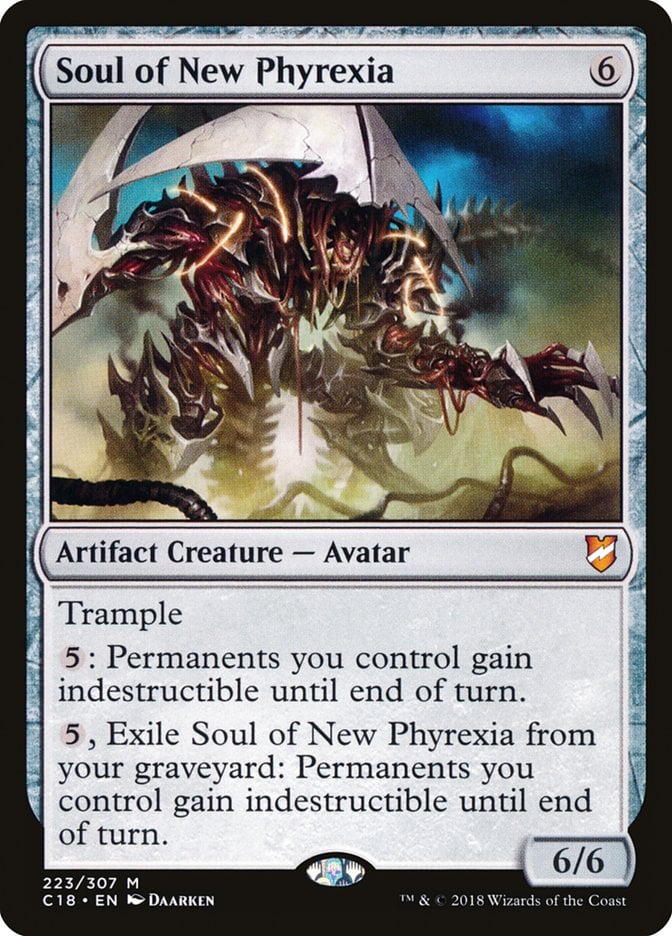
You can pay to stop your artifacts from being destroyed with Soul of New Phyrexia on the field or in the graveyard.

Darksteel Forge is one of the best ways to keep your artifacts safe and can be especially helpful given how easy it can be to remove artifacts.
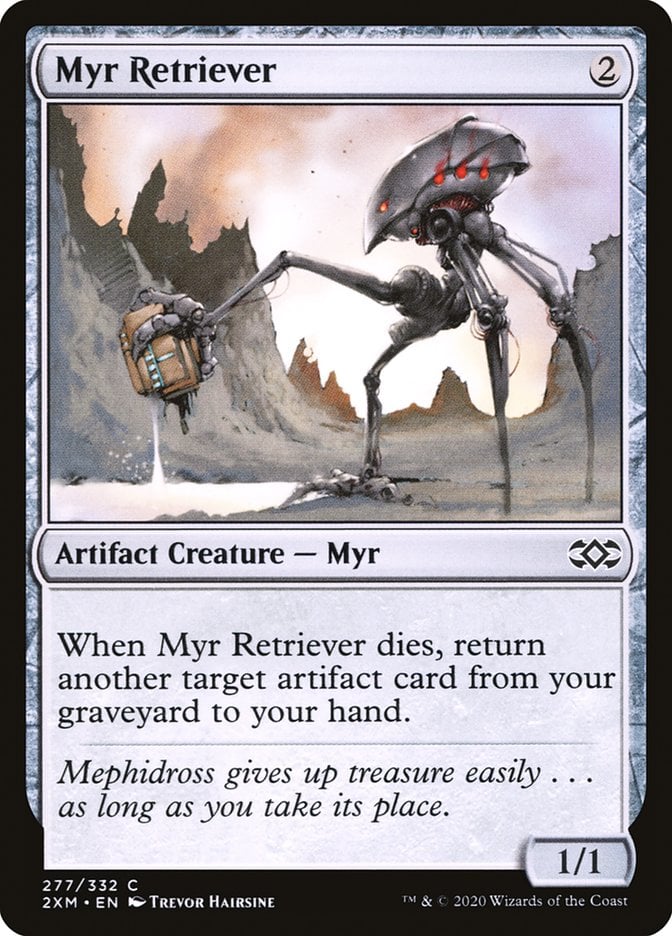
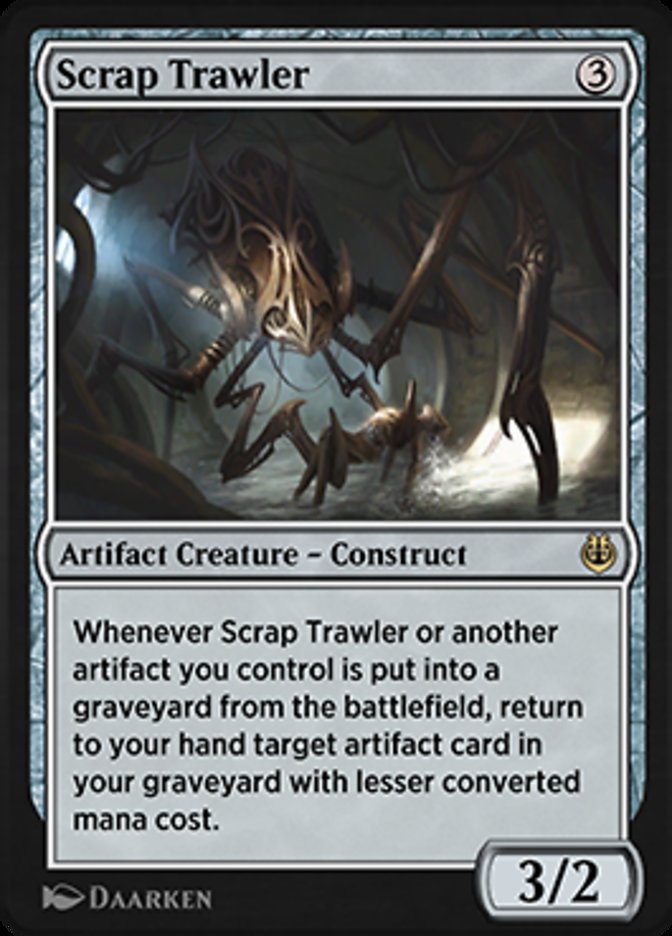
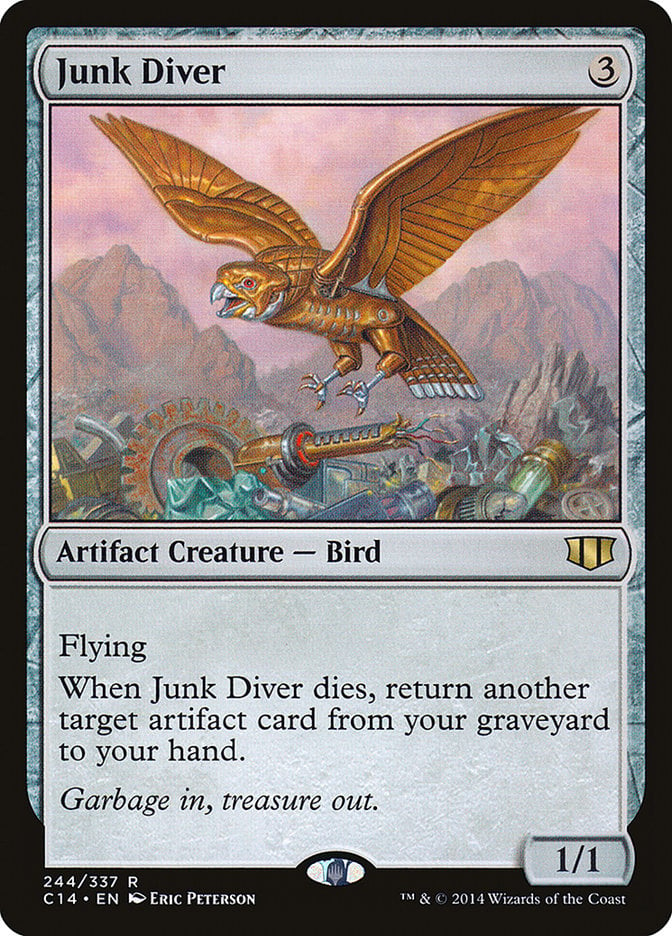
Cards like Myr Retriever, Scrap Trawler, and Junk Diver can help you get important artifacts back out of your graveyard. If you have multiple of these cards at the same time you can also use them continuously to bring the other back from the graveyard. This ensures you have at least one of these cards around for a while.
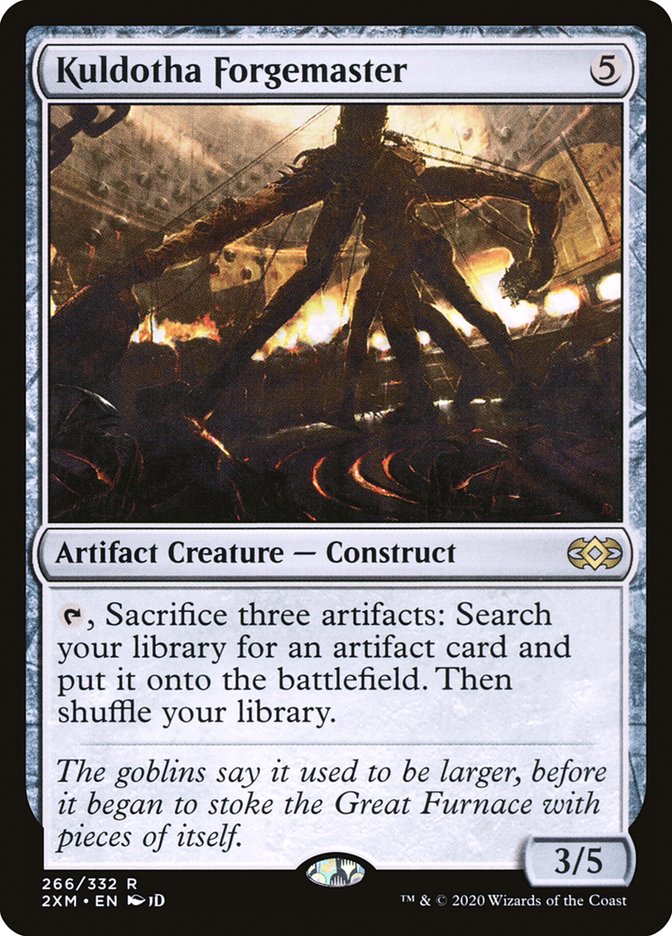
Kuldotha Forgemaster allows you to trade some of your cheaper artifacts for a big bomb. It can fetch up parts of your game-winning combos like Aetherflux Reservoir, or it can get you a massive creature like Blightsteel Colossus.
Removal
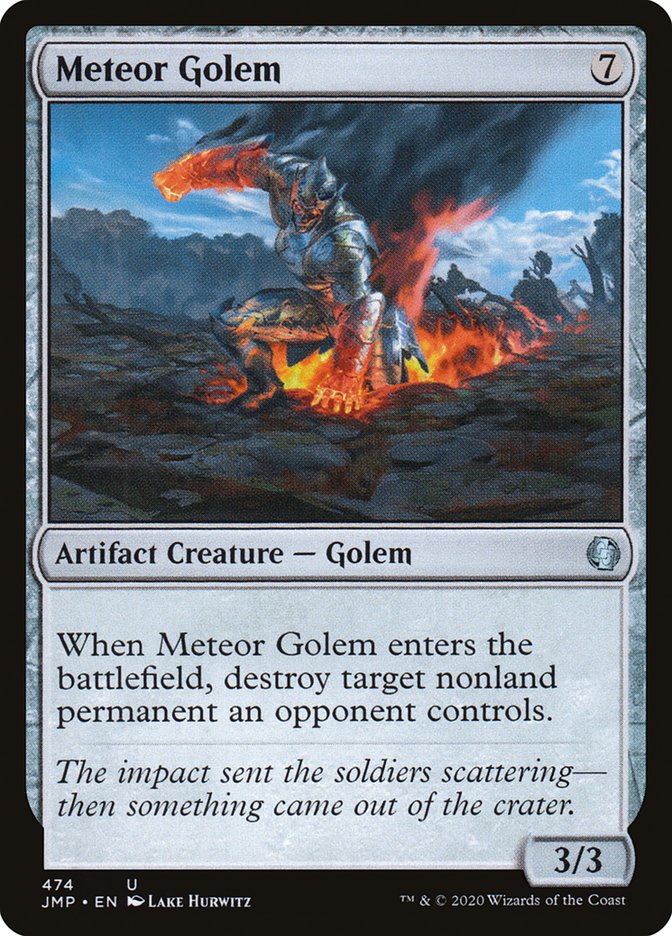
Having ways to remove your opponents’ threats is always helpful. While I wouldn’t usually run Meteor Golem, it gets more powerful in a deck with so much artifact support and when it can be cast at flash.
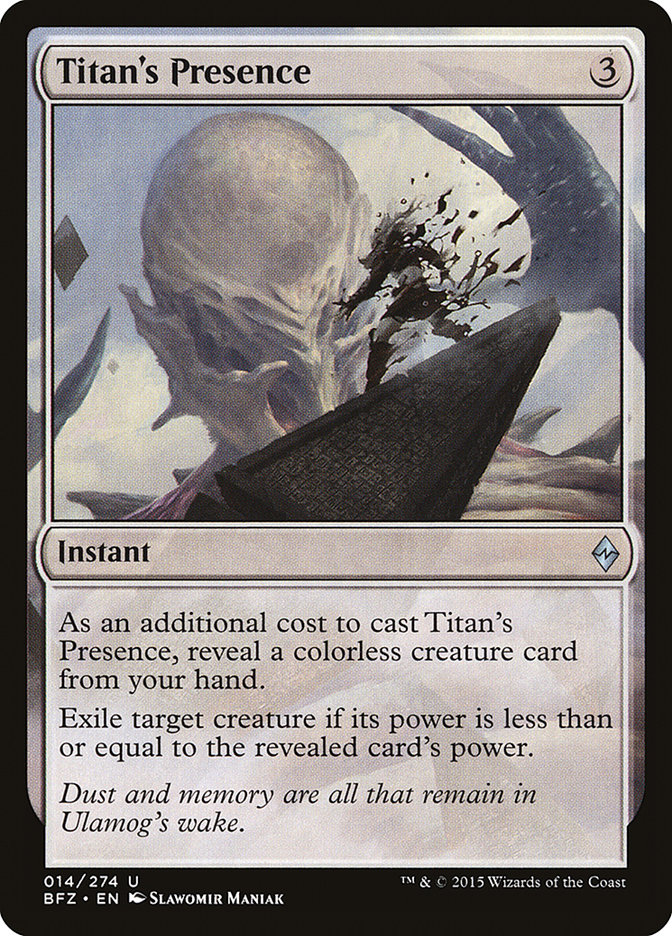
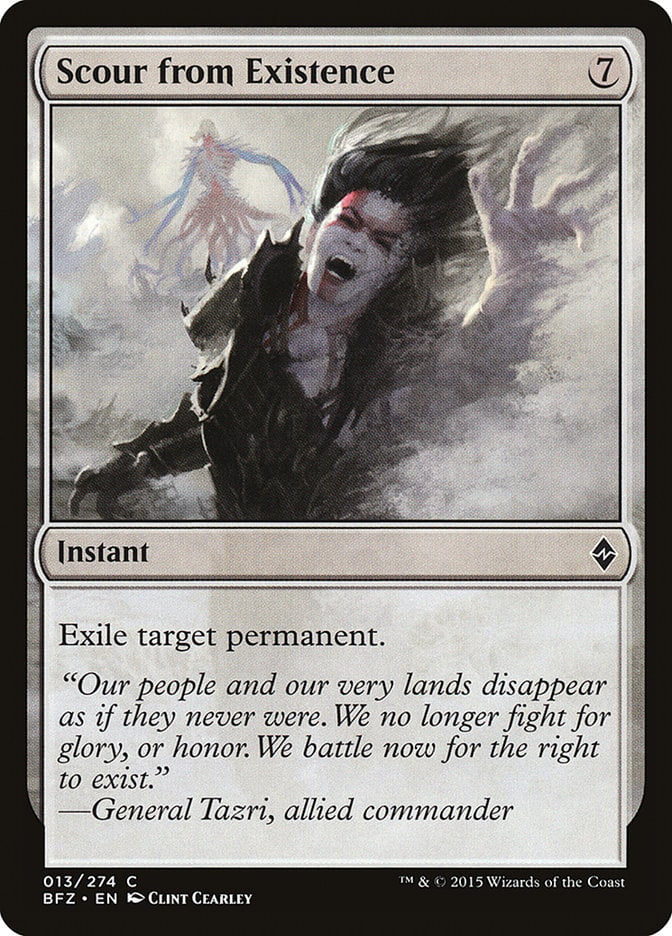
While colorless decks are limited in their removal spells, you do have a few options like Titan's Presence and Scour from Existence.

Karn Liberated can also serve as a good bit of removal and is easier to cast when you have lots of mana rocks and the Tron lands.
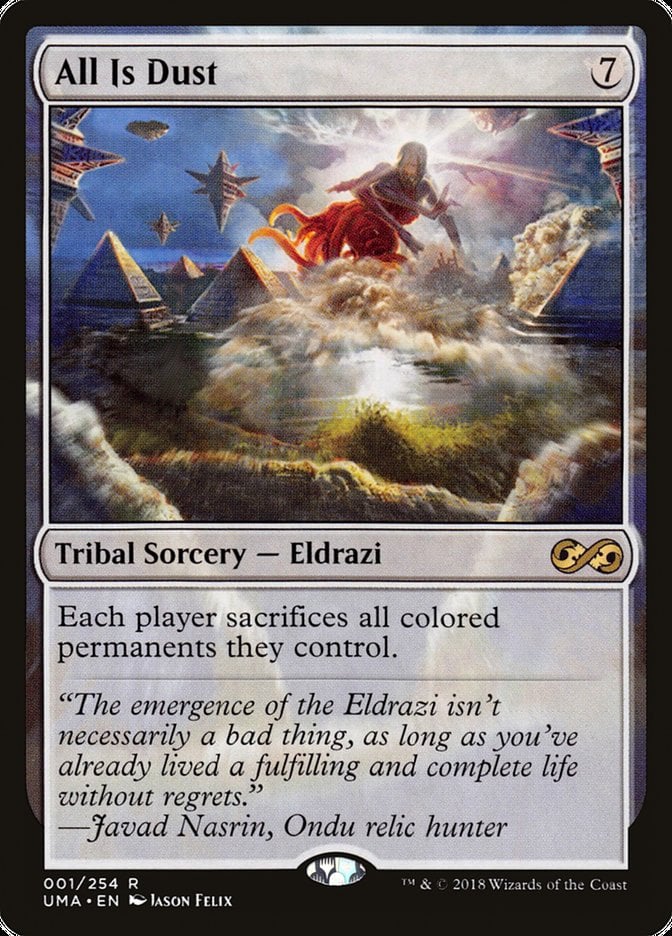
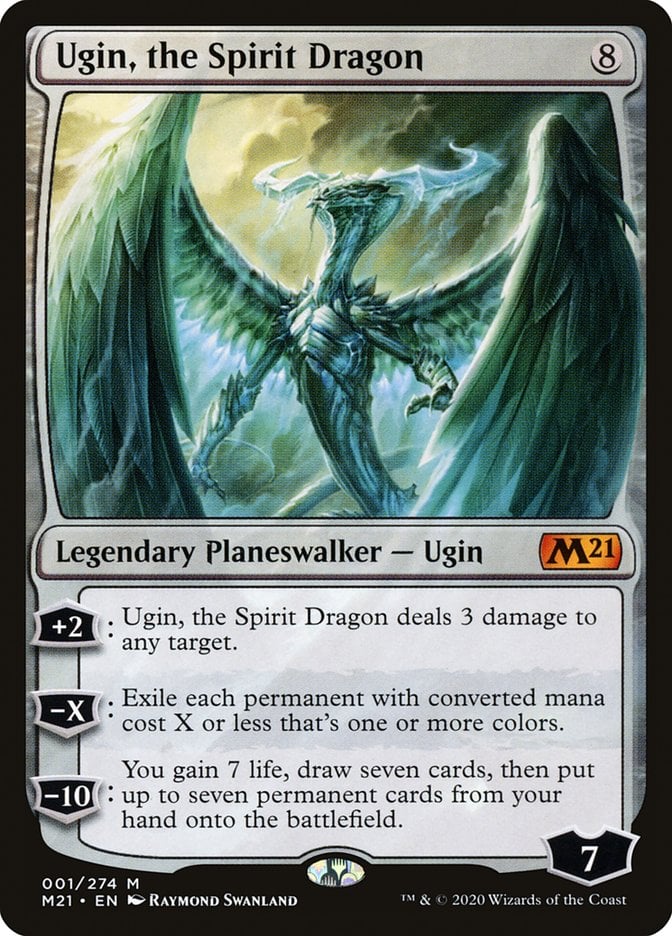
Some of the best bits of removal for a colorless deck are cards like All Is Dust and Ugin, the Spirit Dragon. These allow you to wipe the board of your opponents’ colored permanents while leaving your entire board intact. Since All Is Dust causes them to sacrifice their permanents and Ugin exiles them, you’ll also be able to get around any indestructible permanents.
Powerful Creatures

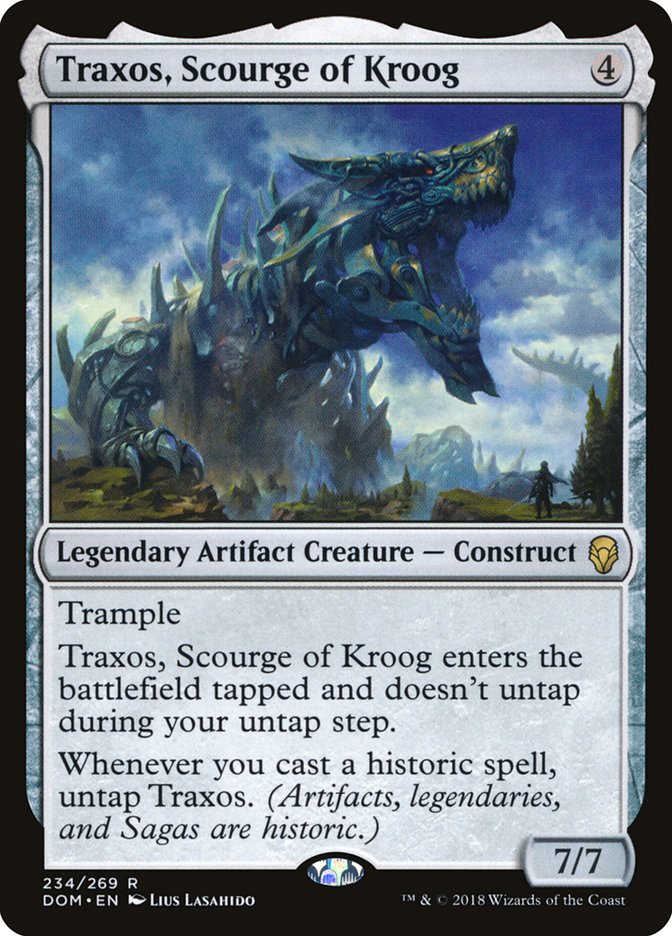
One of your options for winning is finding your combos, but it’s also nice to have some massive creatures that can do damage if that doesn’t pan out. Big artifacts like Wurmcoil Engine and Traxos, Scourge of Kroog can help you do some serious damage, or just protect you from your opponents’ attackers.
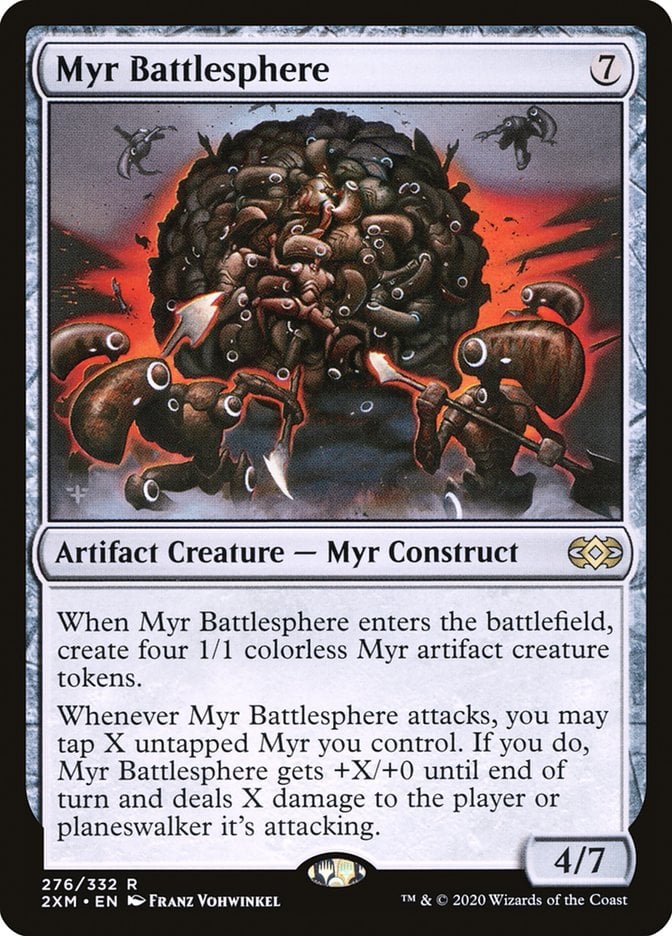
Myr Battlesphere can be a pretty great attacker and is a really good way to take out planeswalkers. Apart from the Myr that it makes, you also have a few other myr creatures in this deck simply because they go well in any artifact deck like Palladium Myr.
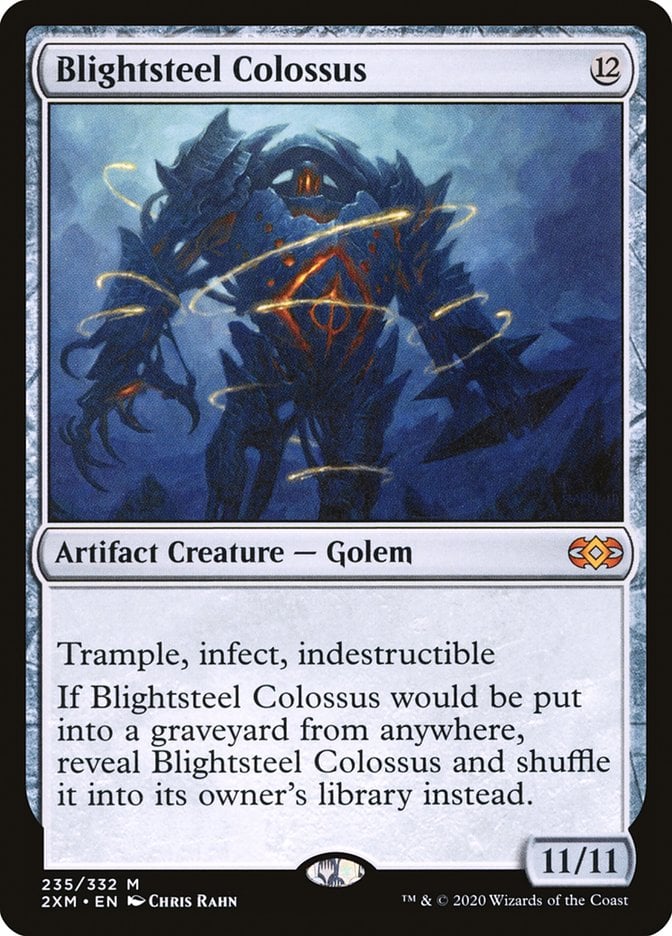
Blightsteel Colossus can take out players with a single attack, and when you can flash it in you can easily surprise a player who tapped down all their attackers thinking they’d survive any upcoming attacks.
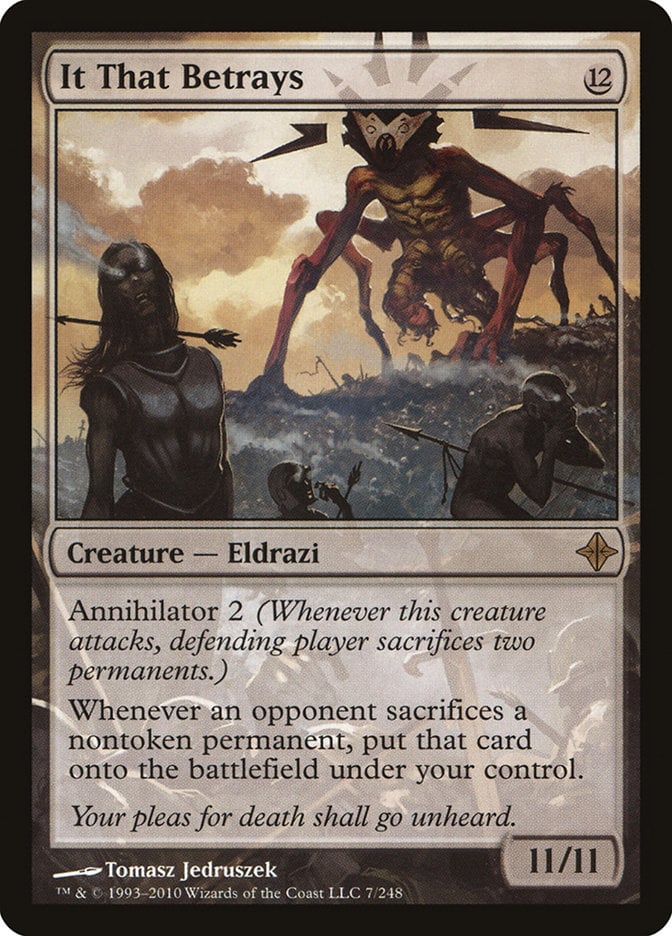
It That Betrays is a very powerful card that counters a lot of decks that seek to sacrifice their own permanents. You can also force your opponents to sacrifice permanents by attacking with It That Betrays and triggering its annihilator ability. Flashing It That Betrays in before your turn allows you to attack with it right away and make it more likely to benefit from annihilator.
The Mana Base
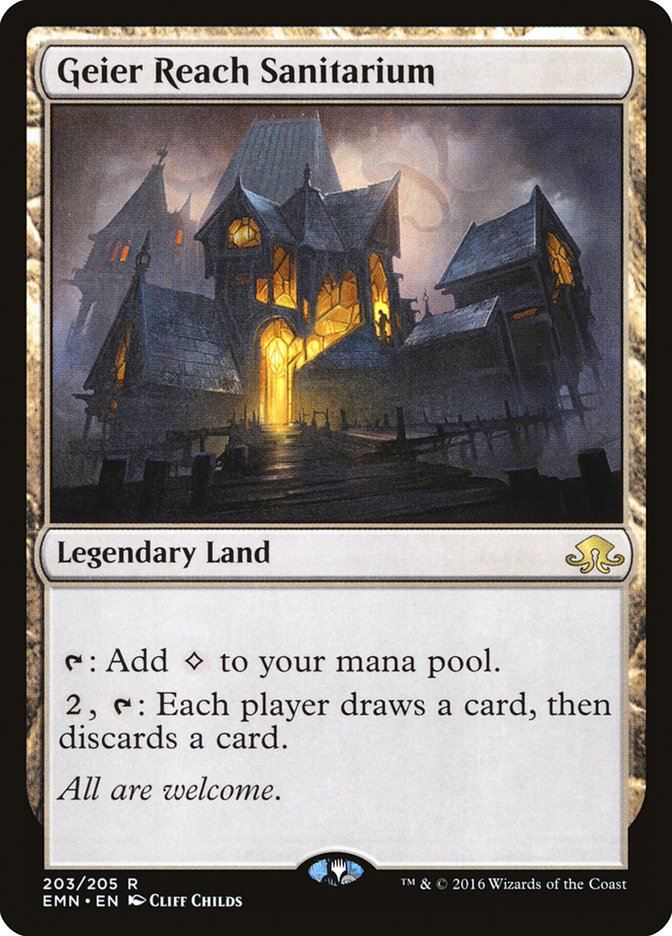
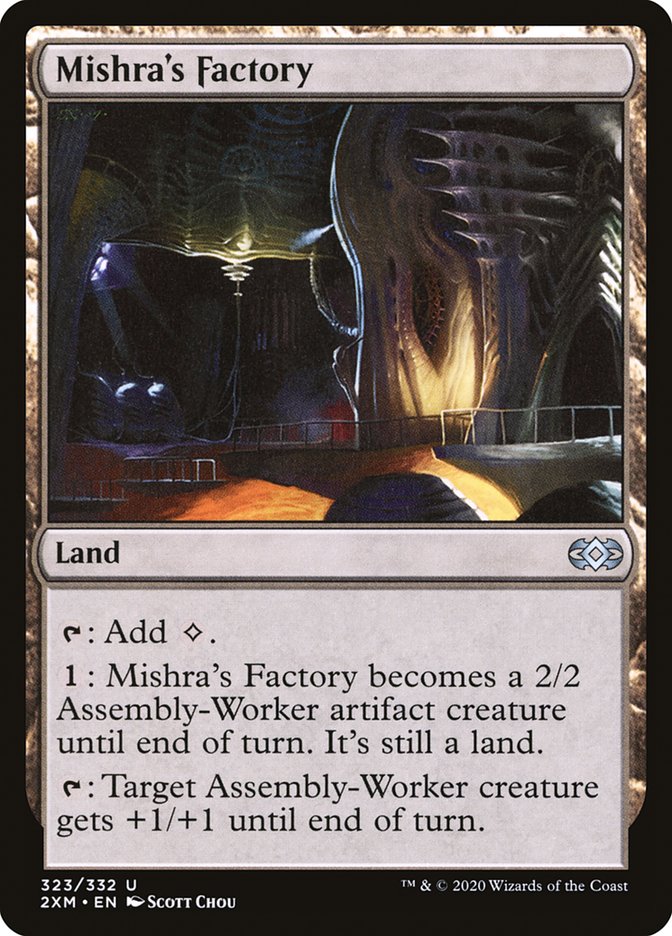
Playing a colorless deck is nice because you don’t have to choose between lands that generate colored mana and powerful utility lands. Lands like Geier Reach Sanitarium and Mishra's Factory are just as good for casting spells as they are for their other abilities.
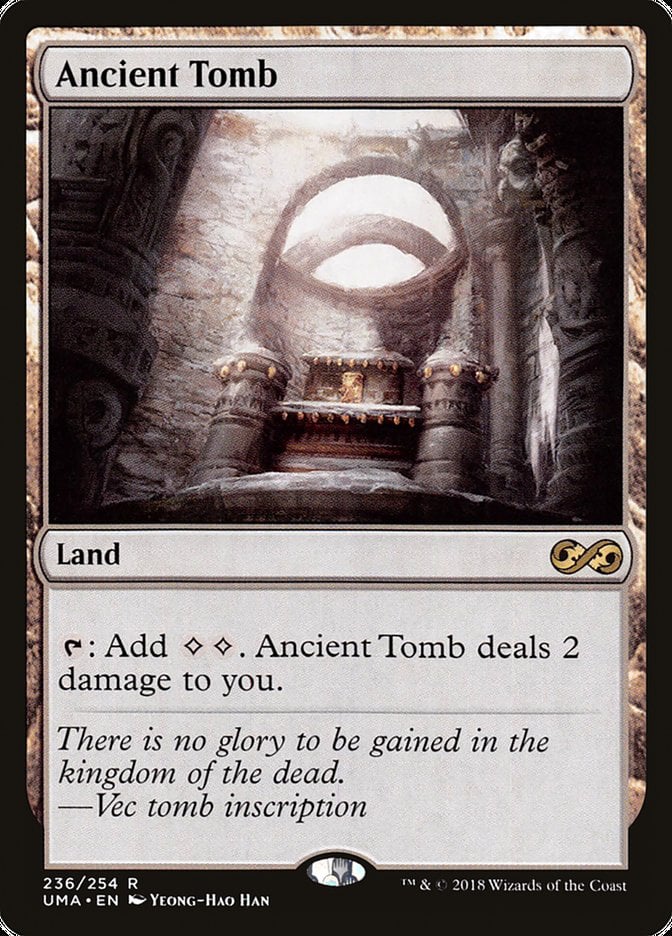
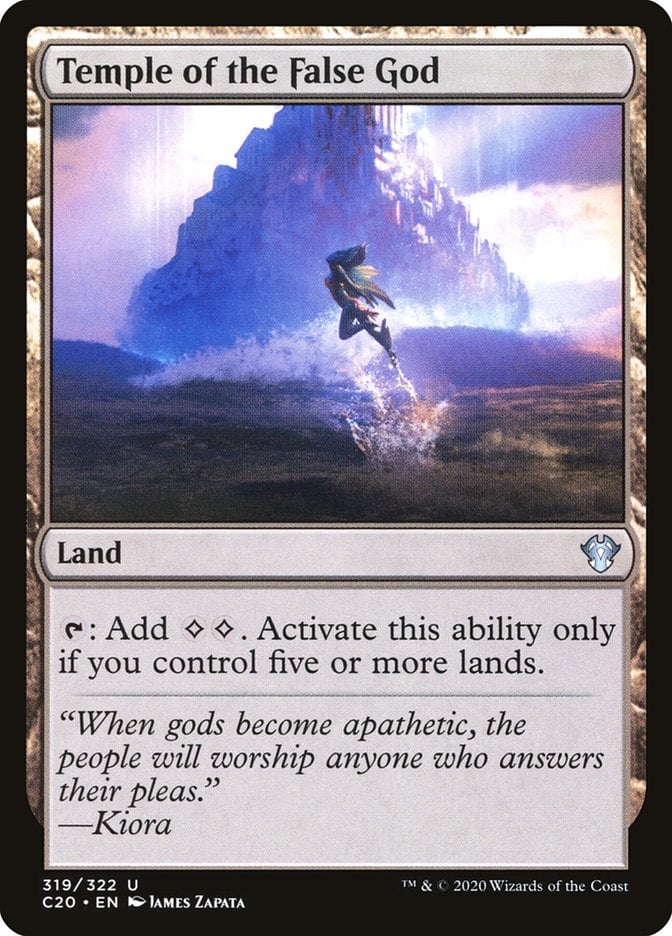
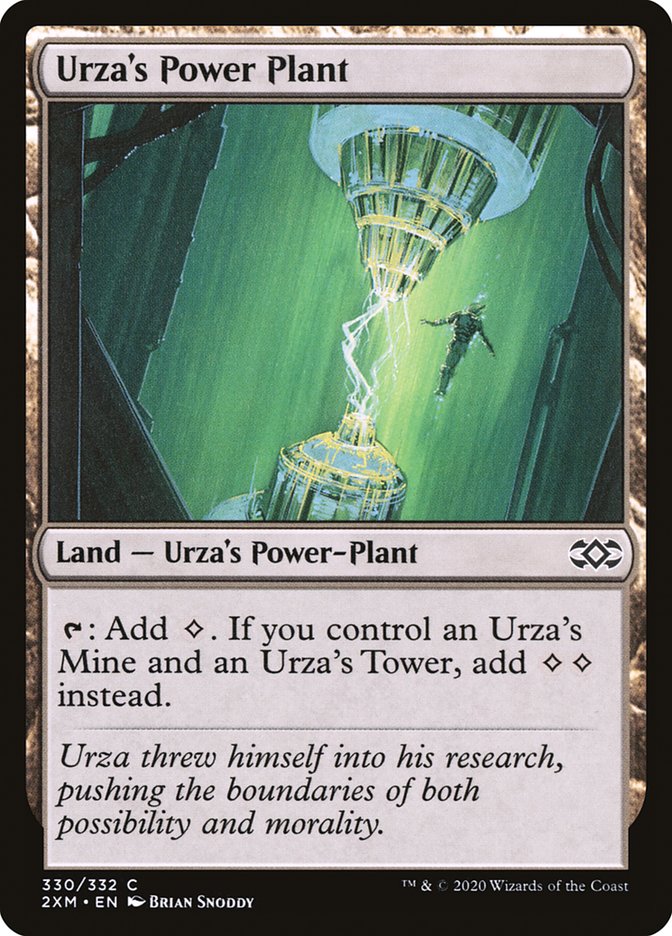
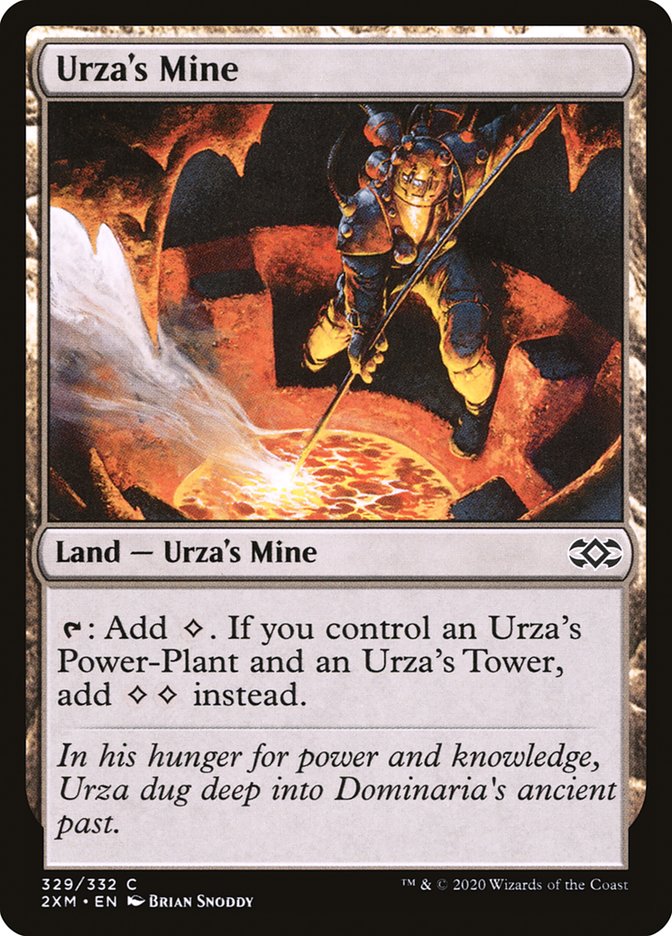
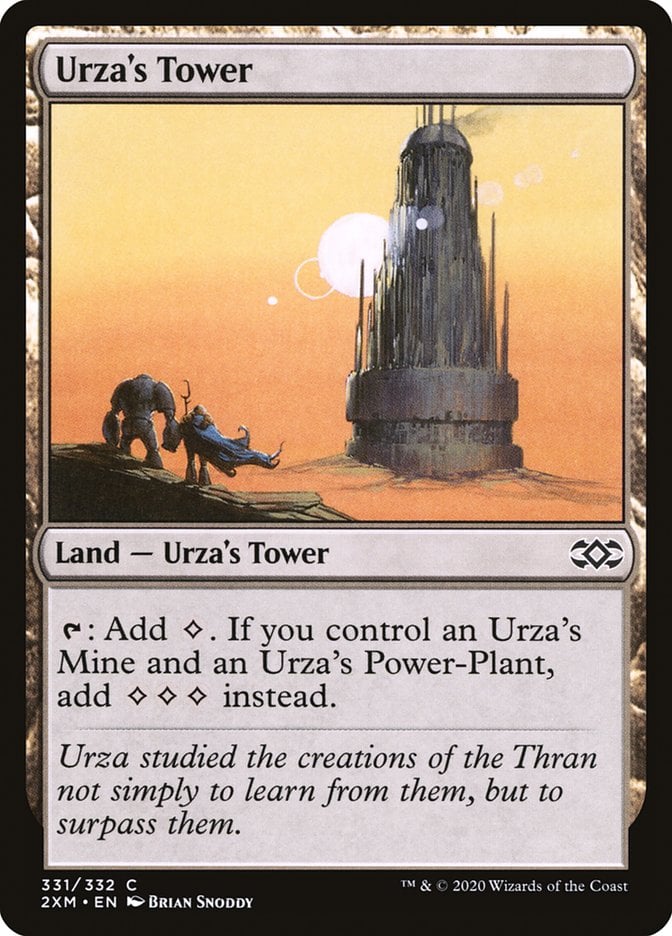
Another nice thing about colorless decks is that they have lands like Ancient Tomb and Temple of the False God, which can tap for two mana instead of one. I’ve also included the Tron lands (Urza's Power Plant, Urza's Mine, Urza's Tower) because they can be very powerful in a colorless deck.

Wastes is in this deck to go along with your utility lands. This is because you have some ramp cards that allow you to search for basic lands. As the only colorless basic land, you’ll need these to work with those spells.
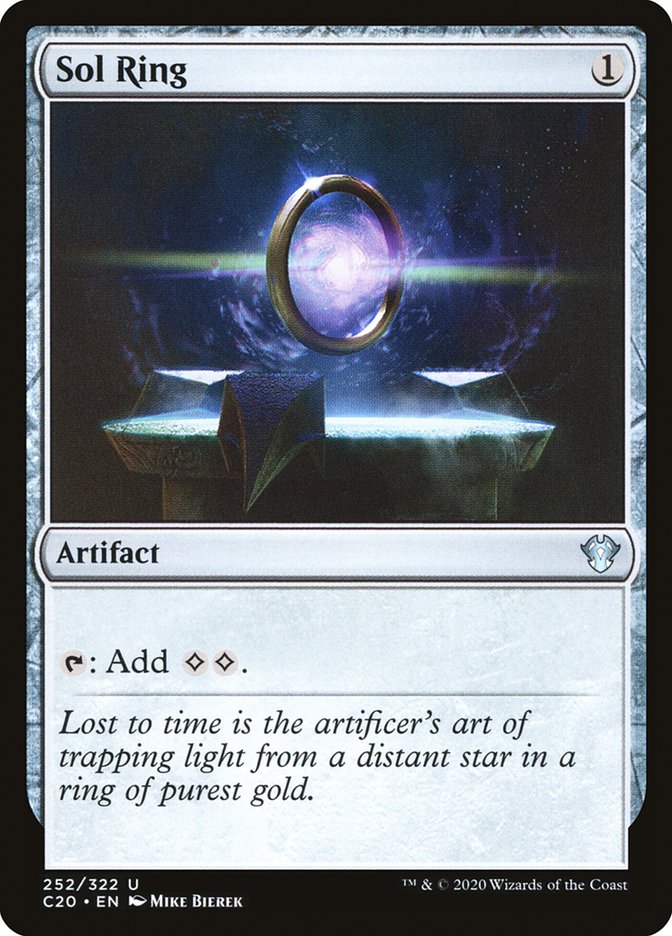
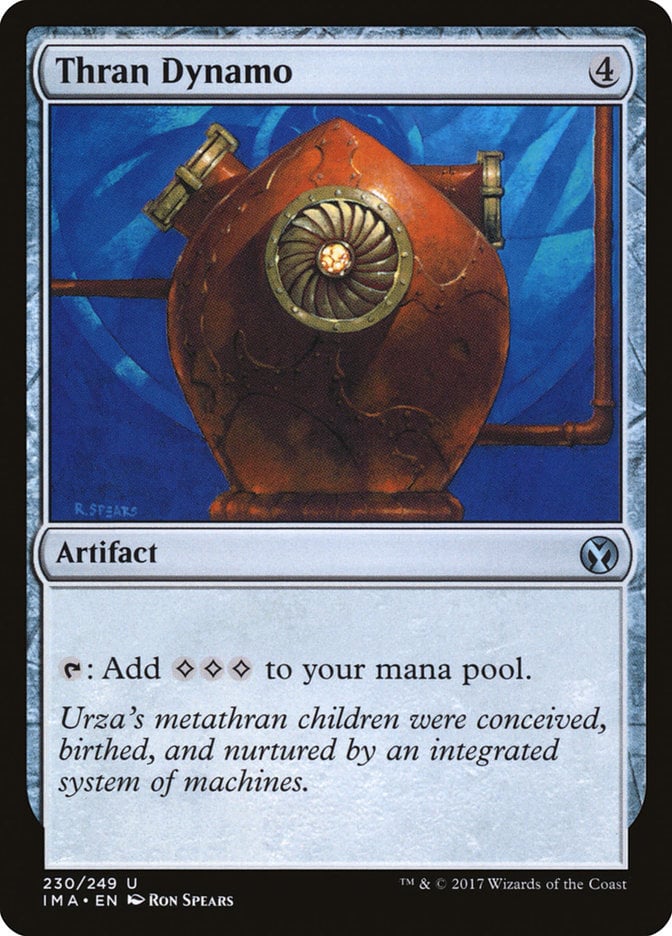
You also have a good number of mana rocks in this deck to go along with your lands. Sol Ring and Thran Dynamo make sense because they can generate a lot of mana for you.
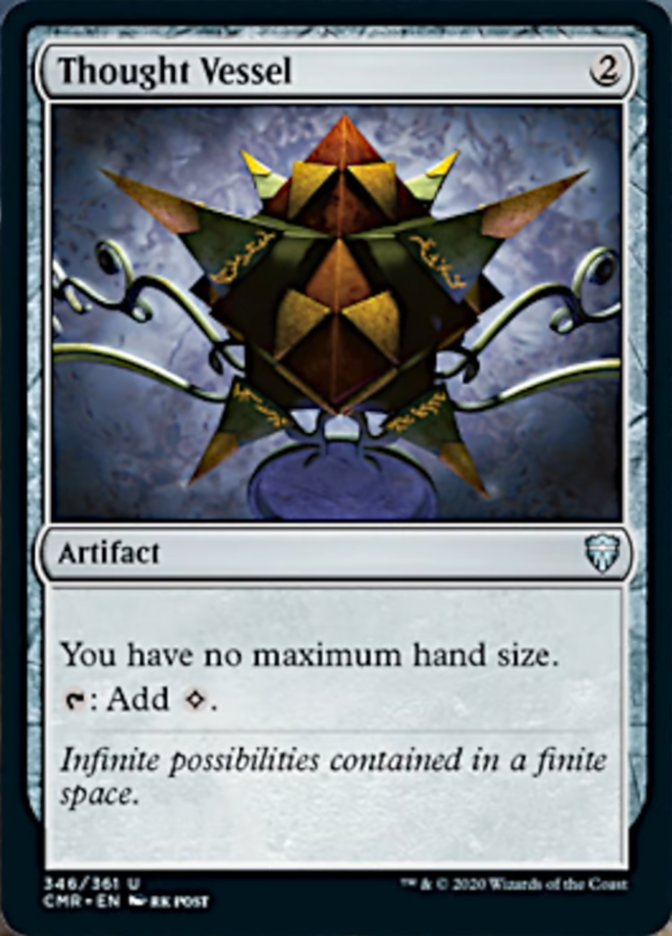
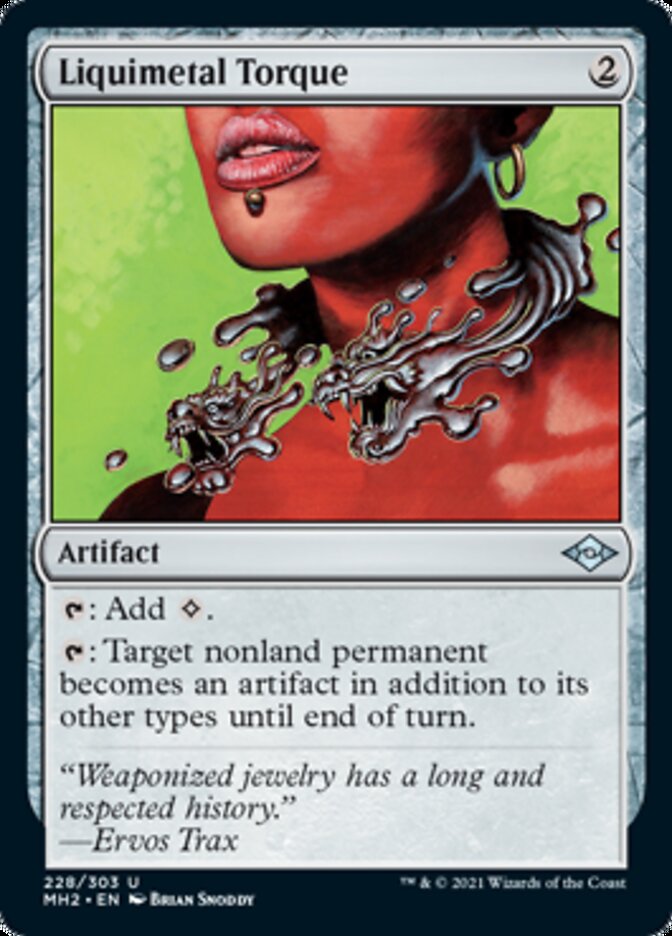
Cards like Thought Vessel and Liquimetal Torque may only tap for one, but they also have some helpful abilities.
Victory Chimes is especially helpful when you have your commander on the field, and it also pairs very well with Horizon Stone.
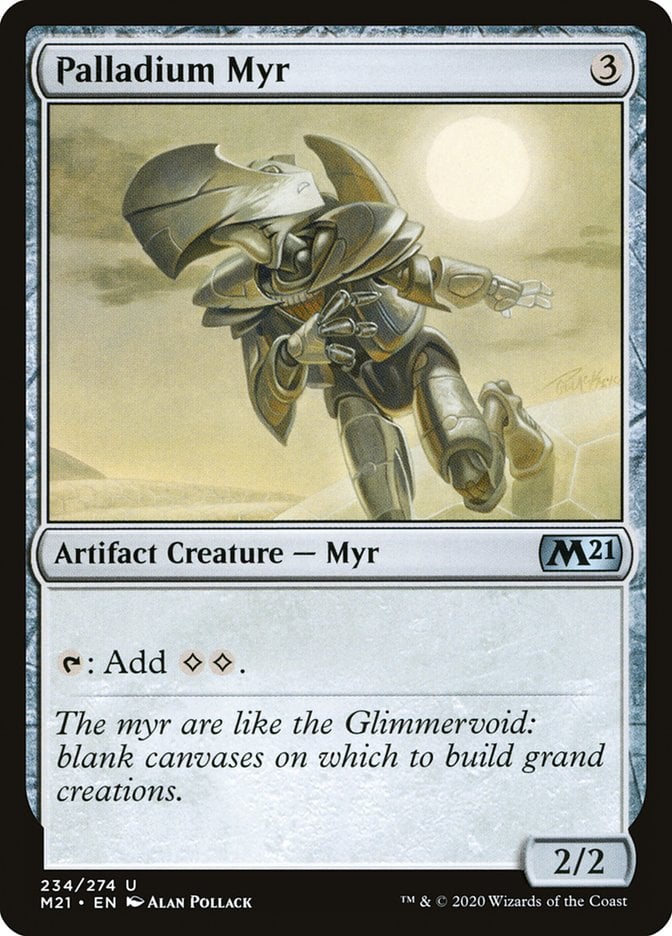
In terms of mana dorks, you only have Palladium Myr, but you also have some creatures like Foundry Inspector and Jhoira's Familiar which reduce the cost of your cards. This can be just as good if not better than a mana dork when it comes to casting colorless spells.
The Strategy
I usually try to look for either cost-reduction cards or mana rocks when I’m deciding what kind of hand to keep with this deck. This helps you cast Liberator, Urza's Battlethopter more quickly. I like having the option to cast cards with flash as quickly as possible.
I also like keeping early hands if there are cards like Scrap Trawler or Myr Retriever. These allow you to get multiple uses out of cards like Moonsilver Key and Burnished Hart. You can also continuously fetch the other card back if you have multiple of these cards, allowing you to use them as perpetual blockers and stall as you build up a more powerful board state.
Ramping with mana rocks and using cost-reduction spells should allow you to get to your higher-cost permanents quicker than your opponents. I also try to wait until the turn before mine to drop any big creatures like Myr Battlesphere or Blightsteel Colossus. That way you can attack with them on the next turn instead of having to wait for an entire trip around the table. This gives your opponents less of a chance to remove them before you attack.
You also have a few other options to win the game if you aren’t able to close out the game with your big creatures. You can easily get enough life to win with Aetherflux Reservoir using some combo exploits. And if you have both Basalt Monolith and Forsaken Monument, you’ll be able to generate infinite mana and win with Walking Ballista. This gives you a few options for how to close out the game.
Combos and Interactions
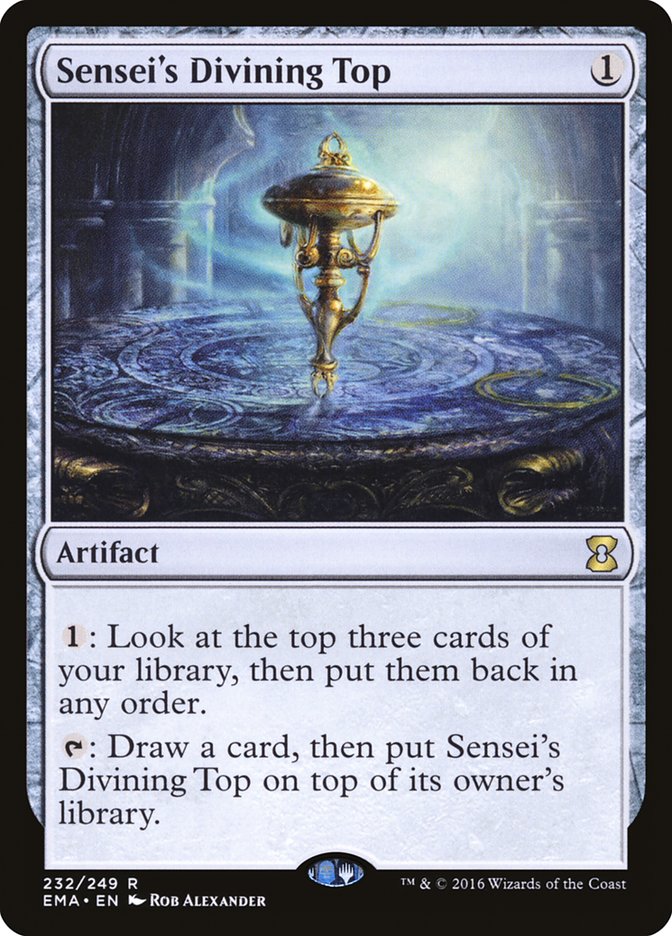
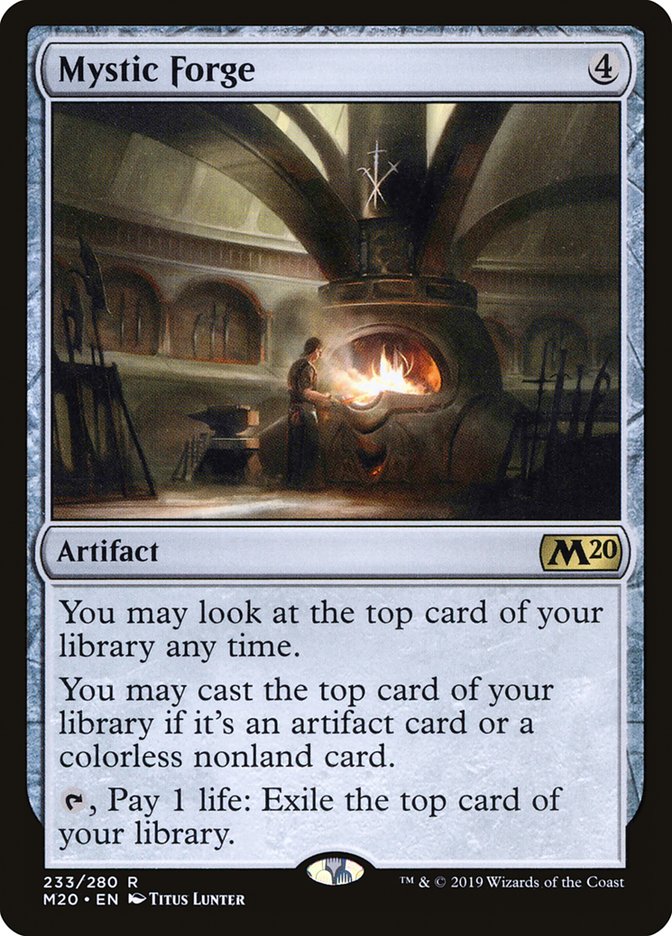
The main infinite combo in this deck involves Sensei's Divining Top. If you have it and Mystic Forge on the battlefield, you can use the top to draw a card and then recast it from the top of your library. You can also repeat this as many times as you want if you have cost reduction from a card like Cloud Key or Jhoira's Familiar since the top won’t cost you any mana.
You can continue to draw and recast Sensei's Divining Top until you’re able to play Aetherflux Reservoir. Then you can continue repeating this cycle, gaining a ton of life from the Reservoir in the process. You can then pay enough life to take out all your opponents.
It’s possible to run out of cards to draw, so make sure you don’t deck yourself.
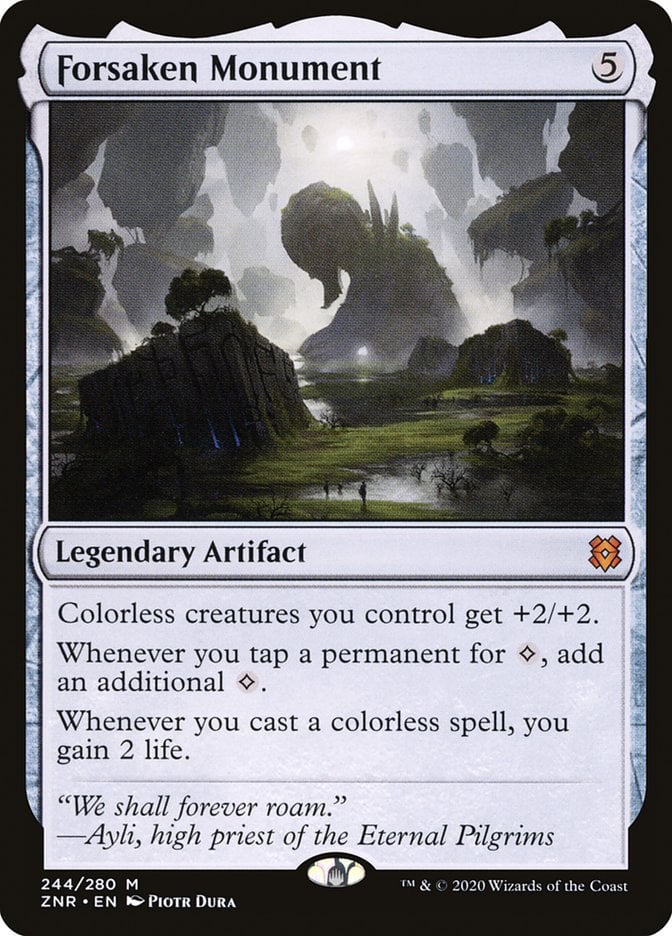
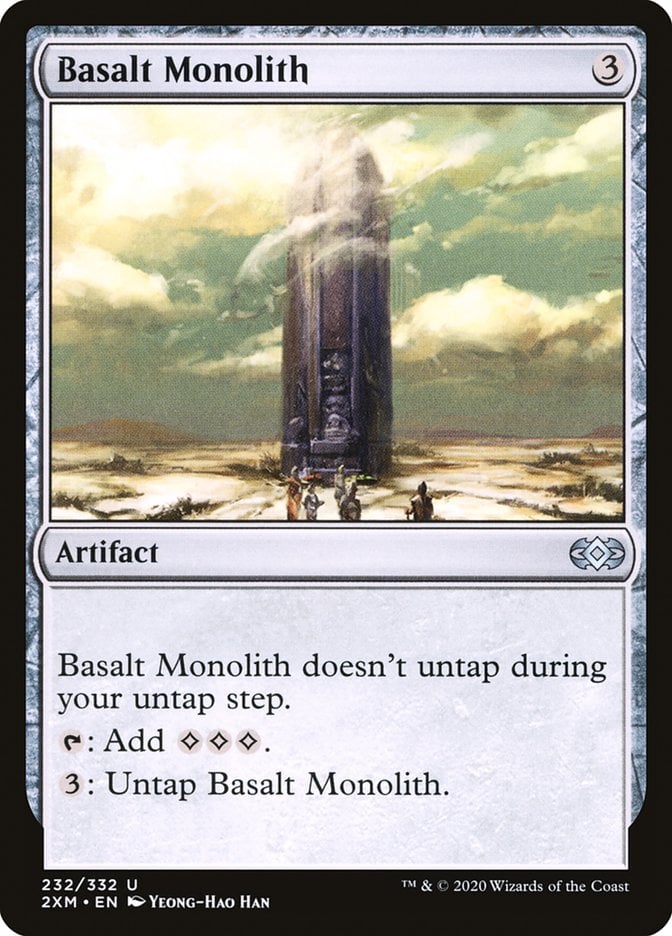
As I mentioned, Forsaken Monument can help you to produce infinite mana with Basalt Monolith. This is because tapping Basalt Monolith with the Monument out generates four mana instead of three. Then you can just pay three of the four to untap Basalt Monolith and tap it again for another four mana.
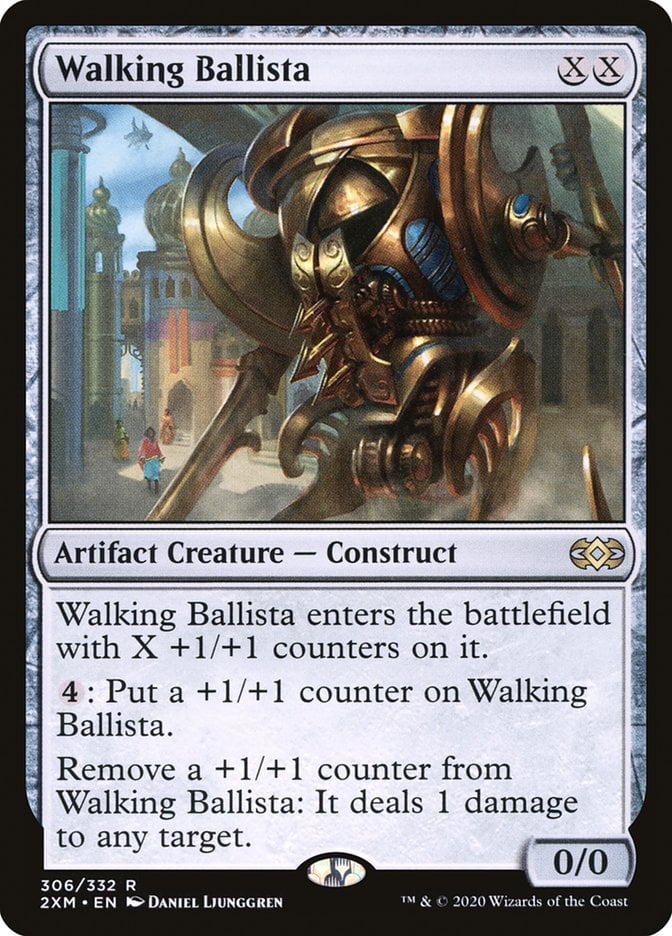
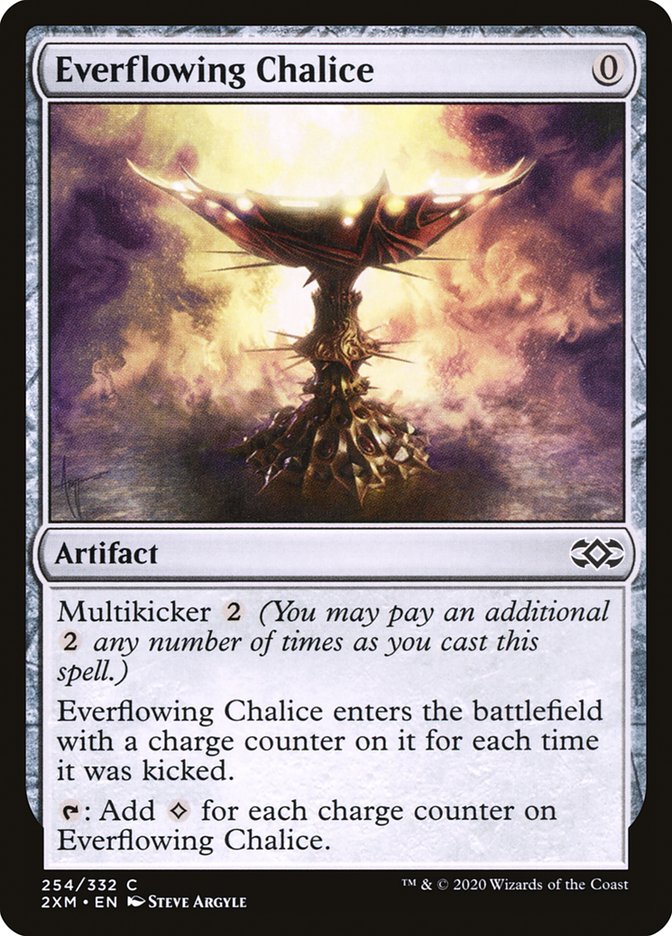
You can use this in a variety of ways, like pumping up Walking Ballista for a win, or multi-kicking Everflowing Chalice as many times as you want to make a massive mana rock for yourself.
Budget Options
There are a few options in this deck to help cut down on price when looking to cut cards for budgetary reasons.
Blightsteel Colossus can be a good finisher, but it’s also a very expensive card. You can cut it and just rely on your combos to win instead. You can also swap it for a Grafted Exoskeleton, which you can attach to one of your other big creatures to give it infect.
Ancient Tomb is another expensive card in this deck, and maybe unnecessary given the number of mana rocks you have that tap for multiple colorless mana. You can swap it out for another Wastes if you want to save a good amount of money on this deck.
Field of the Dead isn’t as pricey as the other cuts, but it also isn’t as necessary for your strategy in this deck. Cutting it can save you about $20, which is still a good amount to save on a card that isn’t integral for this deck.
Other Builds
I decided to focus on artifacts for this build, but Liberator, Urza's Battlethopter is just as good with any colorless cards. This means it can be a good commander for an Eldrazi tribal deck. Any of your Eldrazi creatures can be cast at instant speed with Liberator’s ability, and a lot of them have high mana costs. This means Liberator also gets buffed up from you casting them.
Another route you can go is to focus on equipment cards. You can use the equipment to make Liberator stronger while it’s also buffed up by its triggered ability. This allows you to threaten your opponents with commander damage.
Some good equipment to include are the Mirran sword cycle like Sword of Truth and Justice or Sword of Feast and Famine. These cards can help make Liberator unblockable while also allowing you to benefit from their powerful combat damage triggers.
Commanding Conclusion
Forsaken Monument | Illustration by Piotr Dura
Liberator, Urza's Battlethopter is a fun commander that allows you a new way to consider how you play Magic. Being able to cast your spells whenever you want adds a new dimension to the game and allows you to be flexible with your strategy. It also helps you drop combos at the perfect time when you know your opponents won’t be able to respond.
Which style of deck would you build around Liberator? Do you enjoy colorless decks, or do you prefer having more options from colored mana? Let me know in the comments below, or over on Draftsim’s Twitter.
Thanks for reading, and I look forward to seeing you in the next one!
Follow Draftsim for awesome articles and set updates:


Add Comment