Last updated on June 27, 2025
Child of Alara | Illustration by Steve Argyle
I’ve written my fair share of deck guides on landfall and other land-based strategies in Commander. They’re a very underrated and underappreciated strategy that can throw your opponents off balance and really take over certain games. One strategy I’ve yet to try myself (until now!) is a 99-land Commander deck.
Yes, you read that right. 99 lands. With Child of Alara as your commander you too can pilot a deck with 99 lands in the mainboard. Only a few of them are modal double face cards, which means there aren’t any cute workarounds or technicalities to disclose here.
This is as land-based as it gets, but does this deck land on its feet, or fall flat on its face? Let's dive in and find out!
The Deck
Command Tower | Illustration by Games Workshop
Commander (1)
Instant (7)
Beyeen Veil
Hagra Mauling
Fell the Profane
Jwari Disruption
Kazuul's Fury
Khalni Ambush
Malakir Rebirth
Sorcery (5)
Bala Ged Recovery
Bridgeworks Battle
Ondu Inversion
Shatterskull Smashing
Sink into Stupor
Land (87)
Arcane Sanctum
Arch of Orazca
Azorius Guildgate
Baldur's Gate
Basilisk Gate
Black Dragon Gate
Boros Guildgate
Cathedral of War
Cave of the Frost Dragon
Celestial Colonnade
Citadel Gate
Cliffgate
Command Tower
Crawling Barrens
Creeping Tar Pit
Crumbling Necropolis
Den of the Bugbear
Desolate Lighthouse
Dimir Guildgate
Dryad Arbor
Faerie Conclave
Field of the Dead
Frontier Bivouac
Gateway Plaza
Geier Reach Sanitarium
Ghitu Encampment
Golgari Guildgate
Gond Gate
Great Hall of Starnheim
Grim Backwoods
Gruul Guildgate
Guildmages' Forum
Hall of Storm Giants
Hall of the Bandit Lord
Heap Gate
High Market
Hissing Quagmire
Hive of the Eye Tyrant
Hostile Hostel
Izzet Guildgate
Jungle Shrine
Keldon Necropolis
Kessig Wolf Run
Kher Keep
Labyrinth of Skophos
Lair of the Hydra
Lavaclaw Reaches
Lazotep Quarry
Littjara Mirrorlake
Lumbering Falls
Manor Gate
Maze of Ith
Maze's End
Midgar, City of Mako
Mikokoro, Center of the Sea
Miren, the Moaning Well
Mutavault
Mystic Monastery
Mystifying Maze
Needle Spires
Nomad Outpost
Opal Palace
Opulent Palace
Orzhov Guildgate
Path of Ancestry
Phyrexian Tower
Plaza of Heroes
Rakdos Guildgate
Restless Ridgeline
Rogue's Passage
Sandsteppe Citadel
Savage Lands
Sea Gate
Seaside Citadel
Secluded Courtyard
Selesnya Guildgate
Shambling Vent
Simic Guildgate
Slayers' Stronghold
Stirring Wildwood
Sunhome, Fortress of the Legion
Temple of the False God
The World Tree
Tolaria West
Treetop Village
Vault of the Archangel
Wandering Fumarole
This 99-land deck works like none you’ve played before. It has no spell-based interaction, which means you need to get a little creative with how you win the game, and stay on the board long enough to do so.
The best part of this deck is that you don’t need to shell out a mortgage payment for its mana base! Most 5-color decks require complex and optimized mana bases with the most efficient fetch lands, shock lands, dual lands, and more, but you don’t even need ‘em.
Those are normally strict upgrades, but this deck needs every land to have some utility or purpose. The fetches, shocks, and duals are strict downgrades for this deck so it really helps keep the budget down.
The Commander: Child of Alara
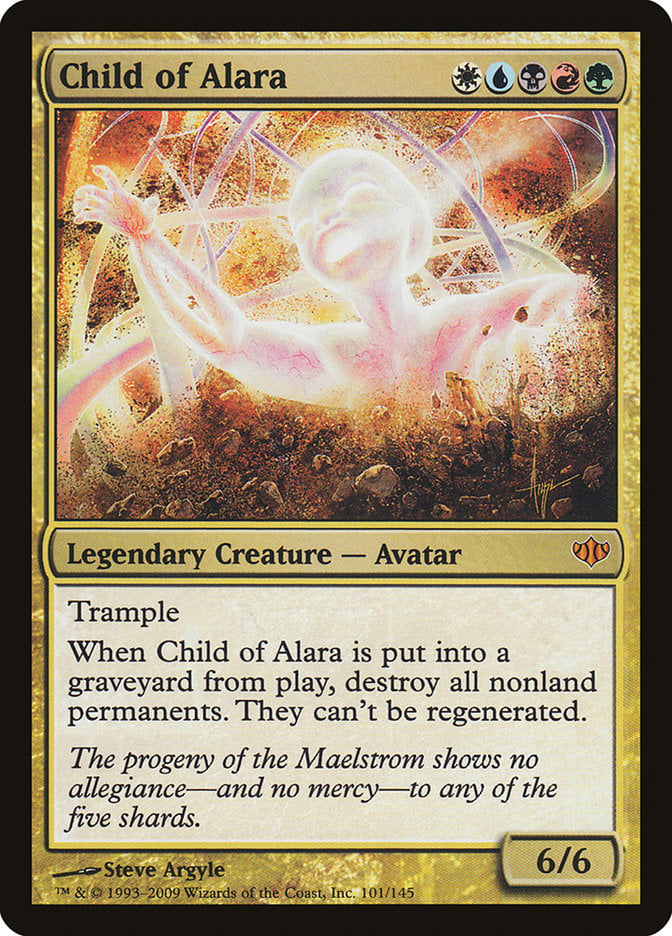
The commander is truly what allows this deck to work. Child of Alara, sometimes referred to as “the baby,” is a 6/6 trampler that destroys all nonland permanents when it dies. You have an on-demand board wipe at your disposal that doesn’t hit anything you own if you have a way to sacrifice it or can force your opponents to block it with lethal commander damage.
There are numerous lands dedicated to making it happen since you need to have your commander die to get the effect.
Ways to Kill (or Make Others Kill) Your Commander
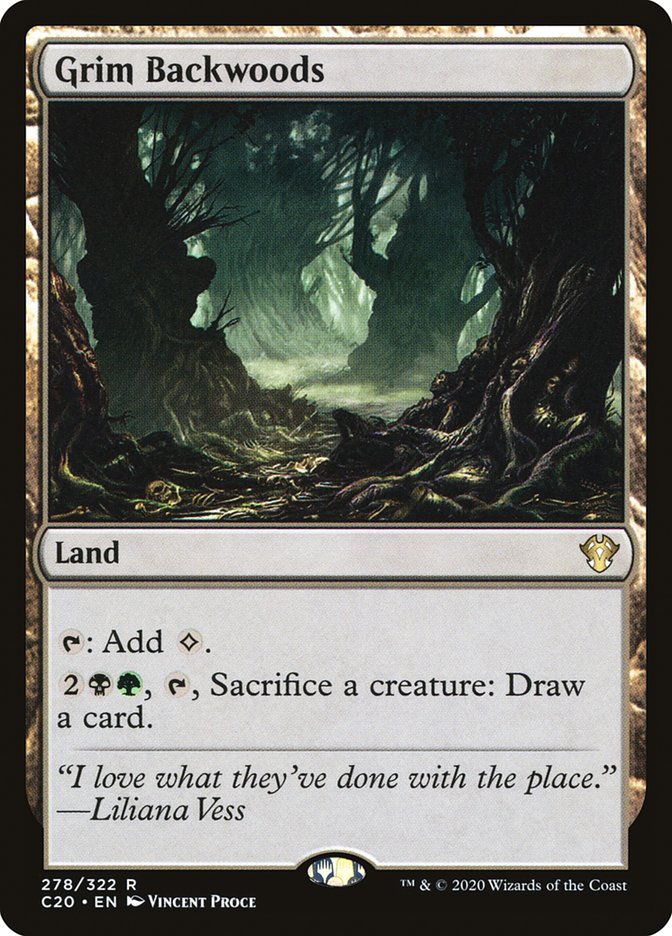
Grim Backwoods is one the easier ones. It only costs four mana and draws you a card in the process.
Hall of the Bandit Lord can give it haste, so you can have it die to a forced block immediately.
High Market just gains you one life whenever you sacrifice a creature. That probably won’t matter in the long run, but I’ve also won plenty of games on five life or less.

Hostile Hostel is perhaps the best way to sacrifice Child of Alara. It takes a few sacrifices to meet the three-counter threshold, but you get a very strong Creeping Inn in exchange. What a great trade!
Lazotep Quarry is a no-cost way to sacrifice your commander.

Midgar, City of Mako qualifies for the 99 as a town with an adventure. Not just any adventure either, this one counts as card draw like a Village Rites that could also be your land instead.
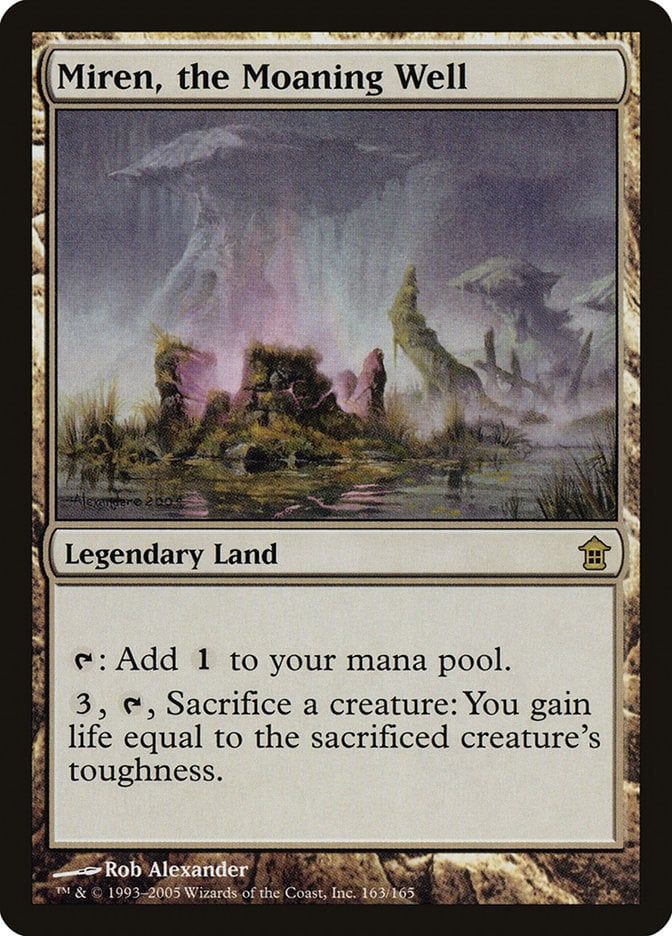
Miren, the Moaning Well is another sacrifice outlet, but this one gives you life equal to the creature’s toughness. That’s no joke, and it makes this card one of the best in the deck thanks to the incredible sustain supplied by wiping the board and gaining six life every few turns.
Remember that getting an opponent to kill Child of Alara can be just as good (if not better) in a lot of situations. The deck runs plenty of lands that buff up the baby, so your opponents face a big and occasionally lethal dose of commander damage. They can’t chump block thanks to trample, and that means they have to kill it if they want to survive. If they don’t, well, you eliminated a player. That’s probably better anyway.
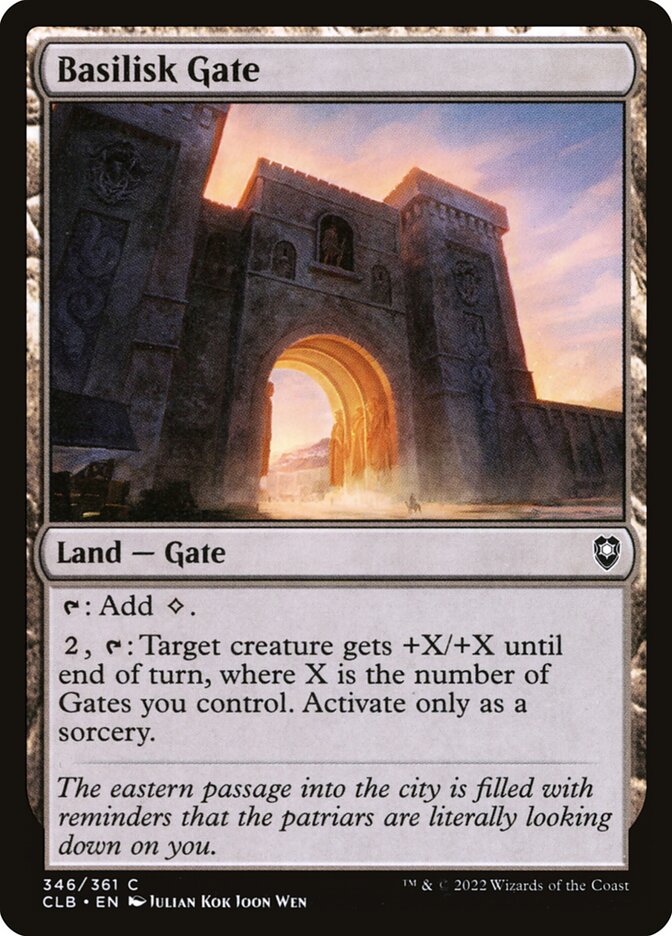
Basilisk Gate is one of the best ways to do this. You can really pump Child of Alara if you’ve got a few gates out (the deck runs 20). It isn’t even out of the question that you can threaten a one-shot thanks to commander damage. Maze's End seems a little more appealing by that time.
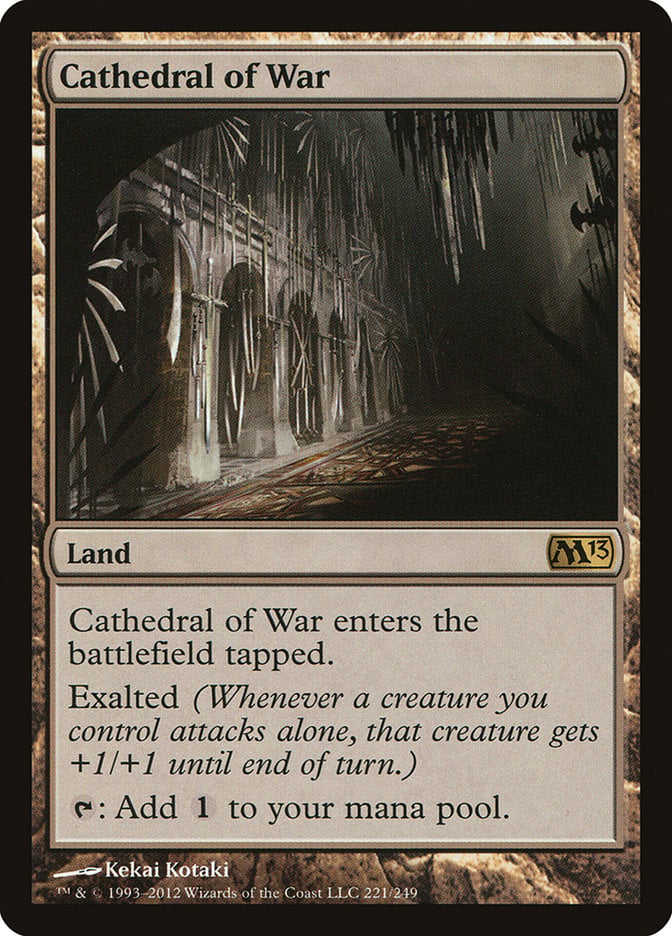
Cathedral of War gives your commander exalted. It isn’t much, but it’s certainly better than nothing and adds up over time. It even brings the clock on lethal commander damage down from four turns to three.
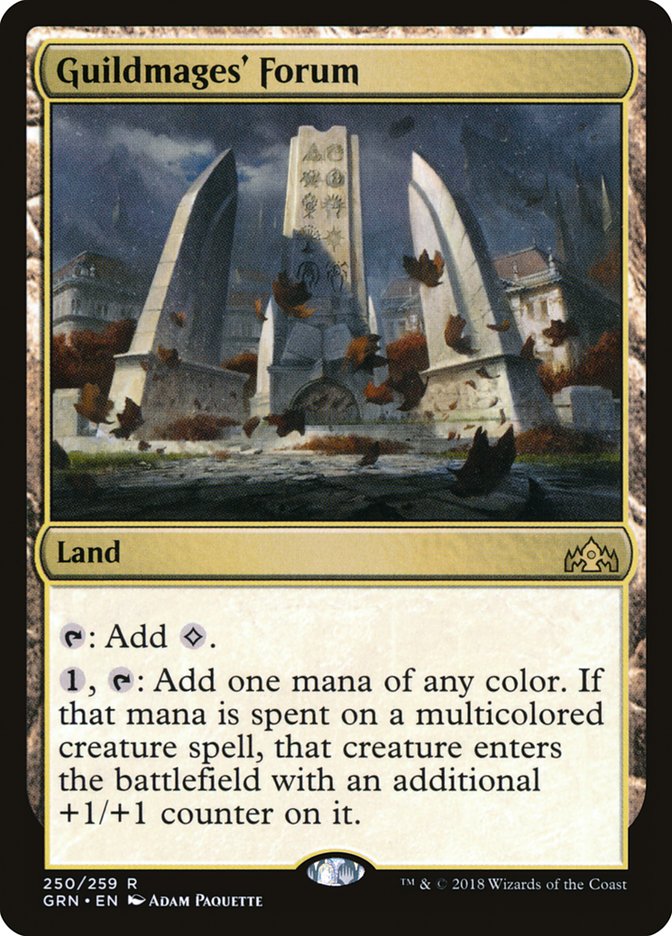
Guildmages' Forum is great early. It fixes mana (that’s almost never an issue, by the way) and brings your commander in with a +1/+1 counter.
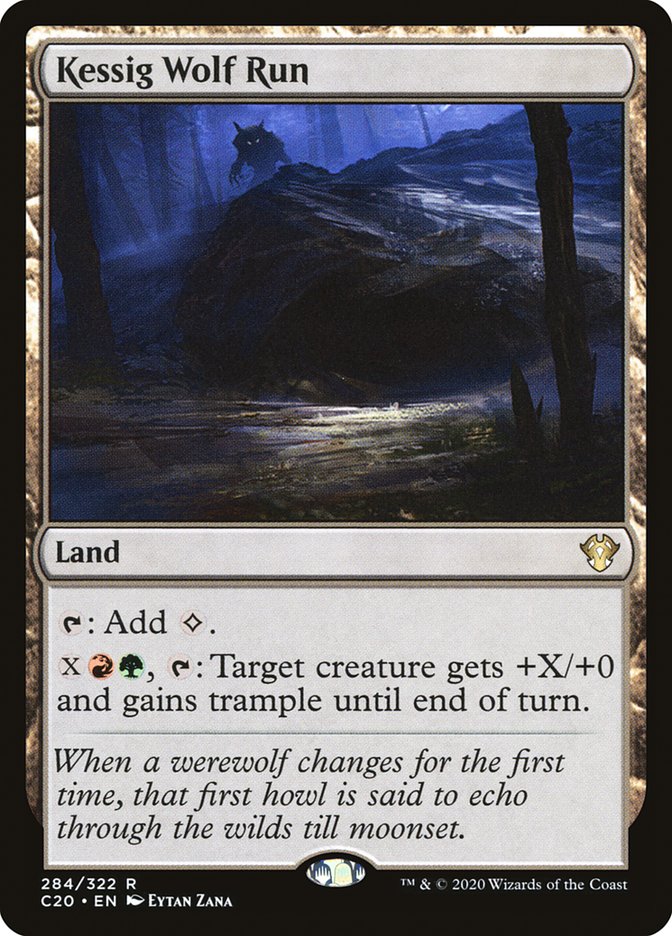
Kessig Wolf Run provides perhaps the most power going into the late game. It makes your attack on turn 6 be with a 10/6 instead of a 6/6 if you’re playing on-curve. That’s much more threatening since commander damage is lethal at 20.
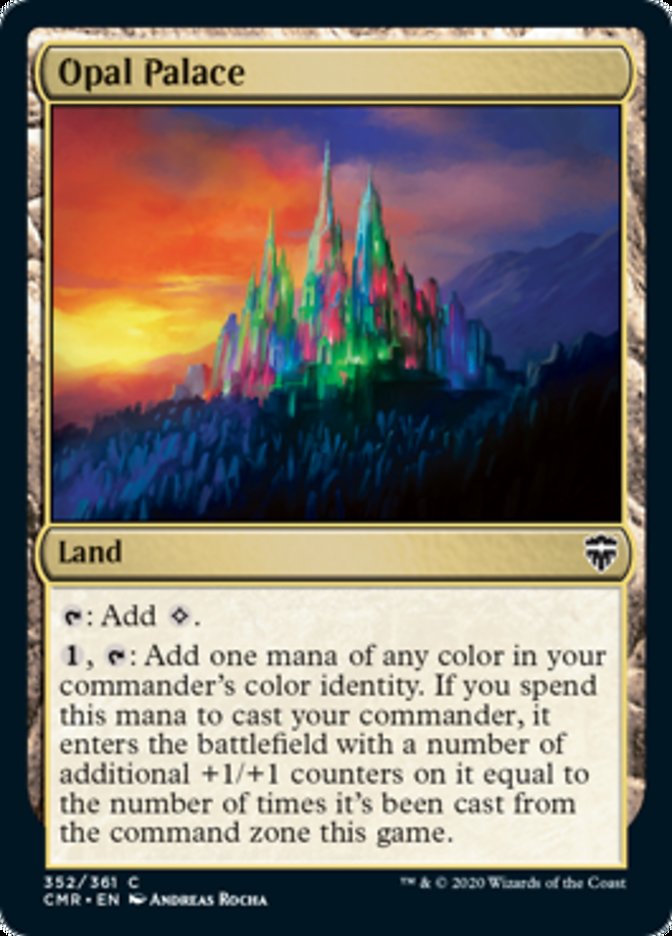
Opal Palace gets better the longer the game goes. You already cast Child of Alara multiple times, and having it become better each time makes for a better deal overall.
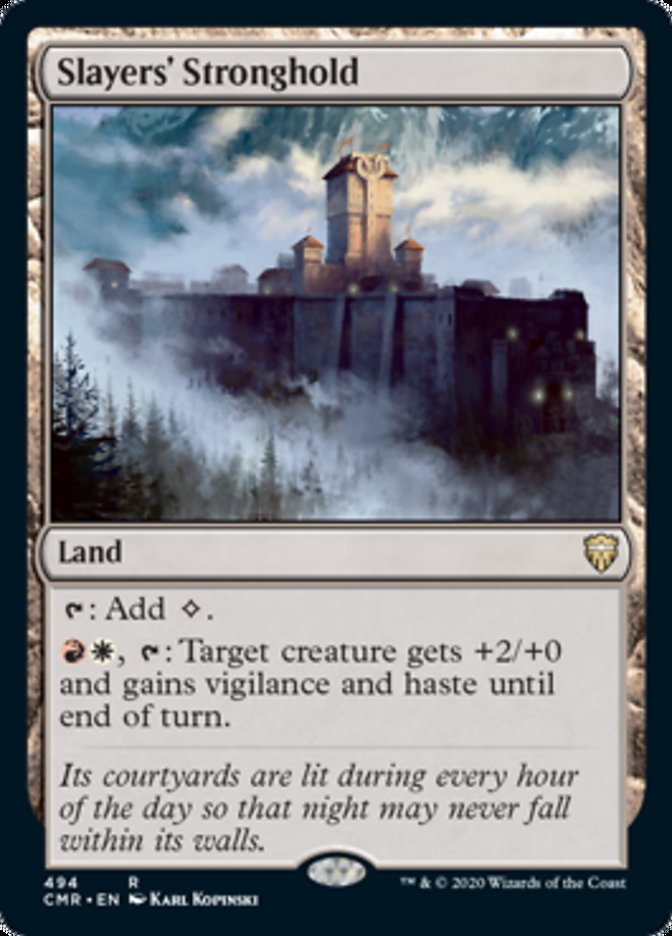
Slayers' Stronghold gives +2 to the power and notably gives haste, meaning you can ram out a hasty 8/6 trampler with vigilance in one turn. That’s great aggressive potential that increases the chance of killing the baby (yay)!
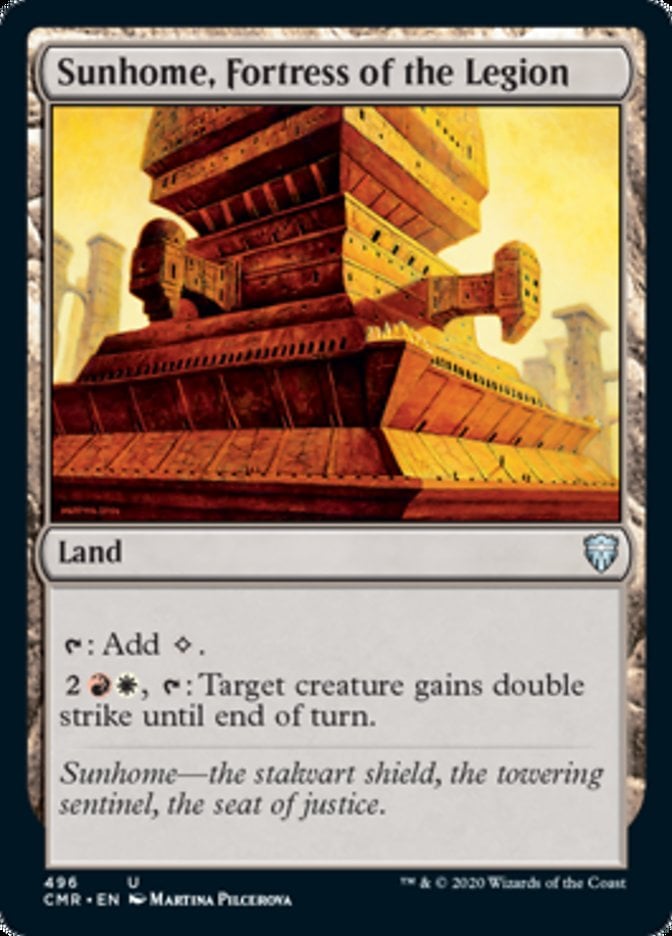
Double strike from Sunhome, Fortress of the Legion is also very powerful.
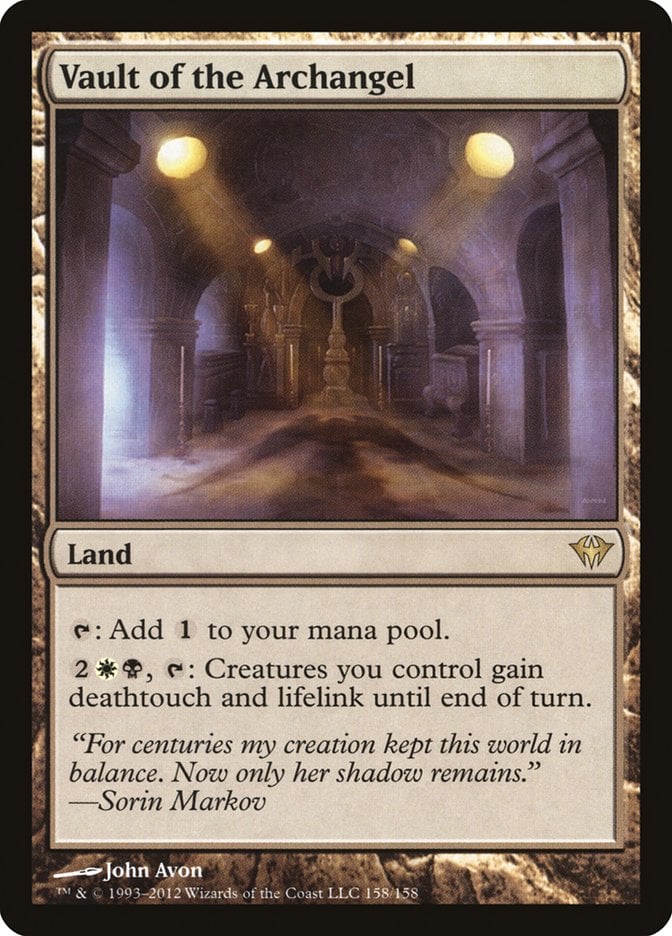
Lastly comes Vault of the Archangel. Who doesn’t want lifelink and deathtouch on their trample creature?
Gates

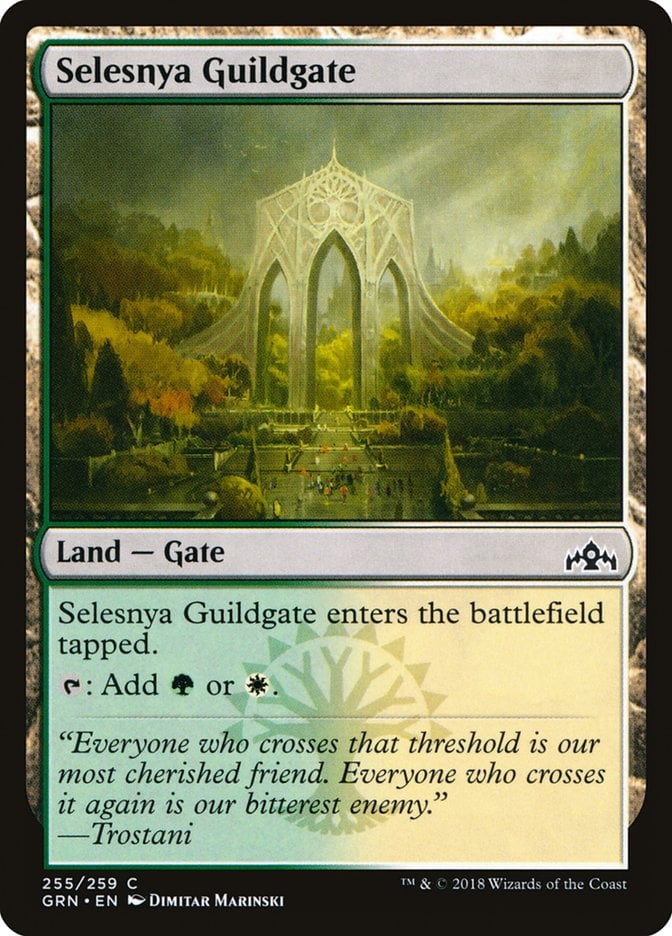
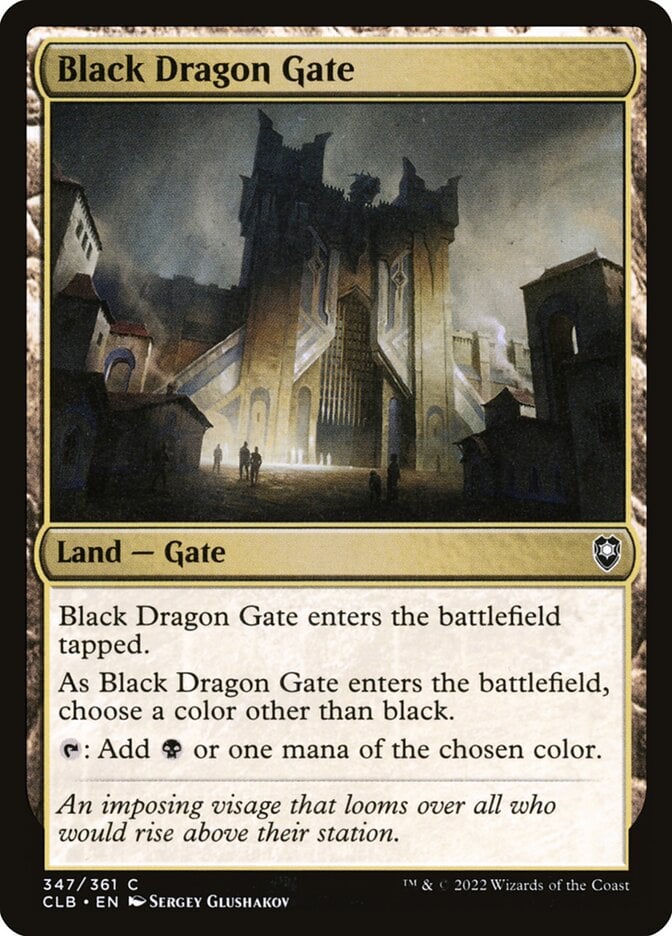
Gates are some of the best cards in this deck and there’s a full suite of gate lands here, including the dual lands from both cycles like Dimir Guildgate and Selesnya Guildgate. There are also the gates which can tap for various colors of mana depending on what you choose, like Black Dragon Gate
On top of being decent mana fixing for two colors, they also have a lot of synergy with other gate cards that can go as far as winning you the game outright.
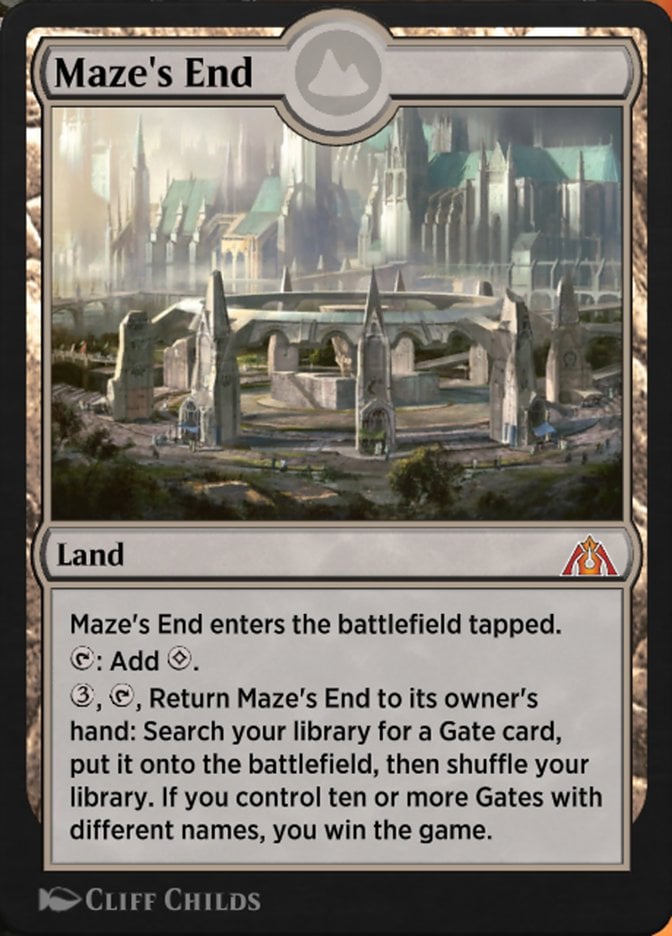
The most notable and important of these is Maze's End. It isn’t a gate itself but it does give you the power to tutor various gates into play. That does wonders to fix your mana if you’re struggling, but you play it specifically for the ability to win the game if you have 10 or more gates in play.
It’s very difficult to stop, requiring either land destruction or a way to force you to discard it, and it can be a great way to close out longer matches.
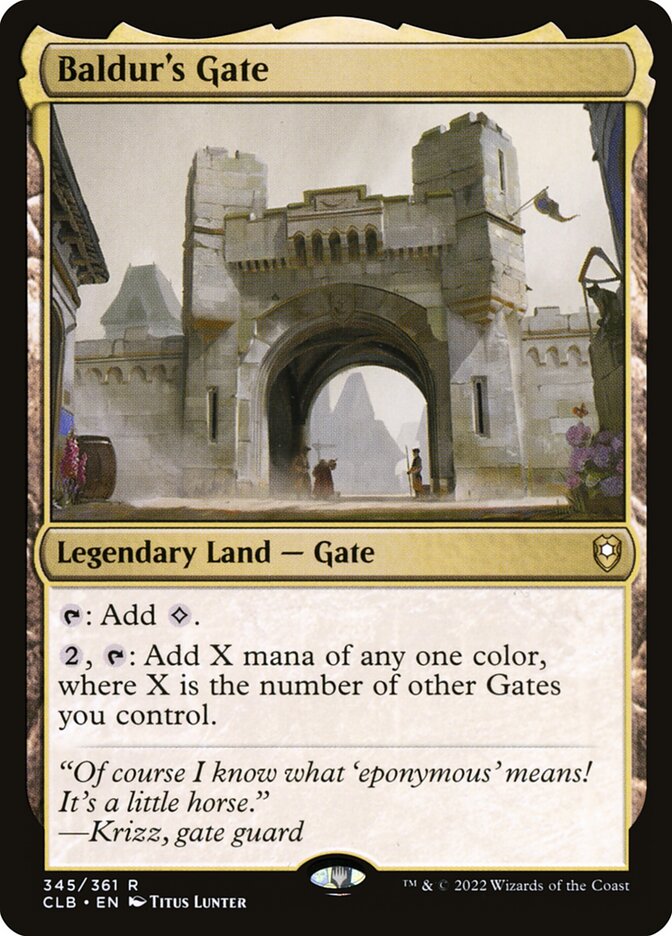
Baldur's Gate is decent mana ramp, especially once you get into the later game and need to pay for an expensive commander tax.
Creaturelands
Creaturelands are great at a lot of things in this list. They’re the real main deck way to interact in combat and attack or defend yourself, so you run essentially every single decent one.
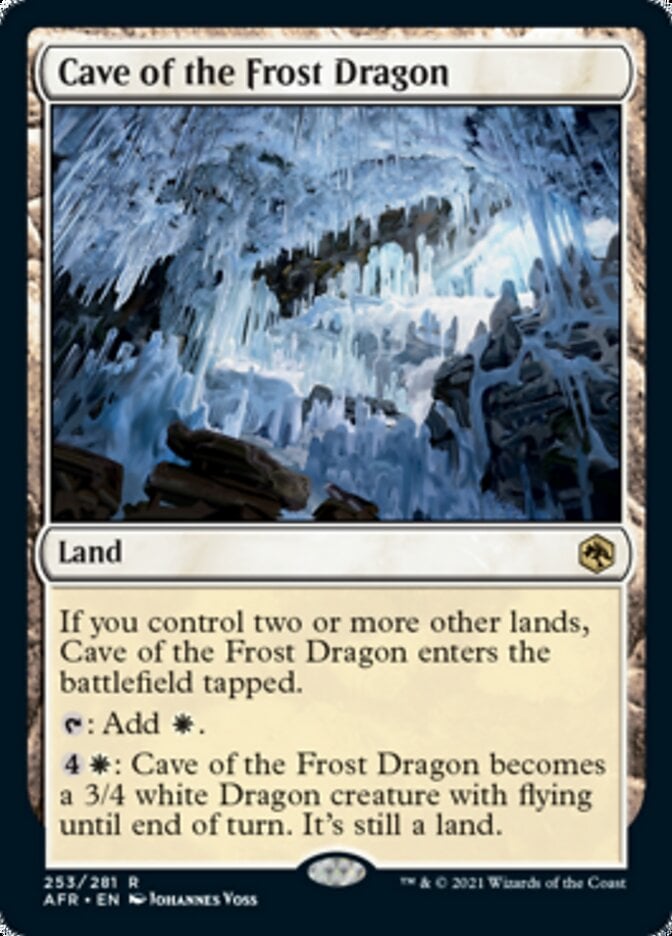
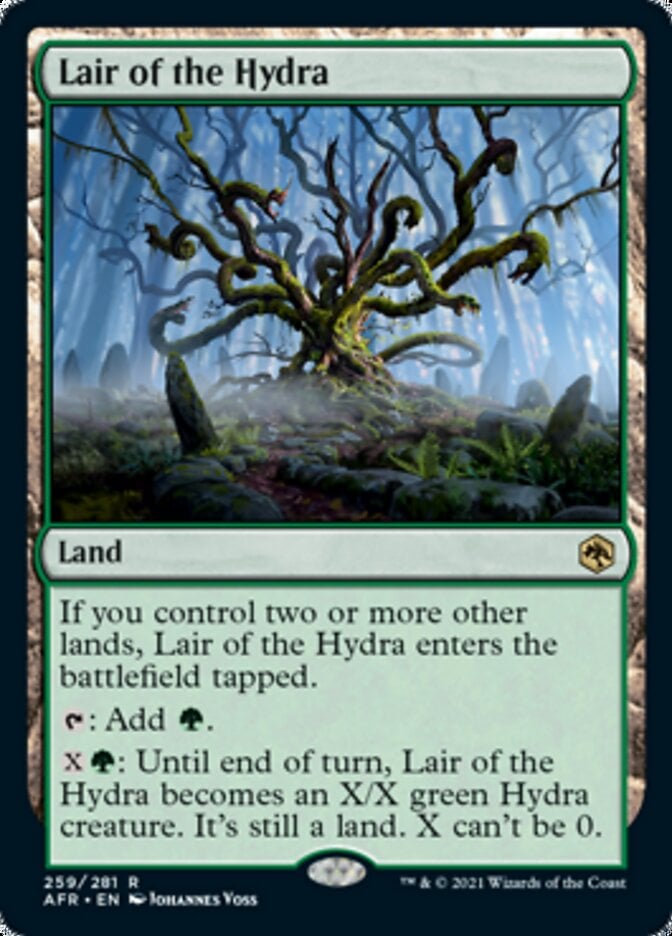


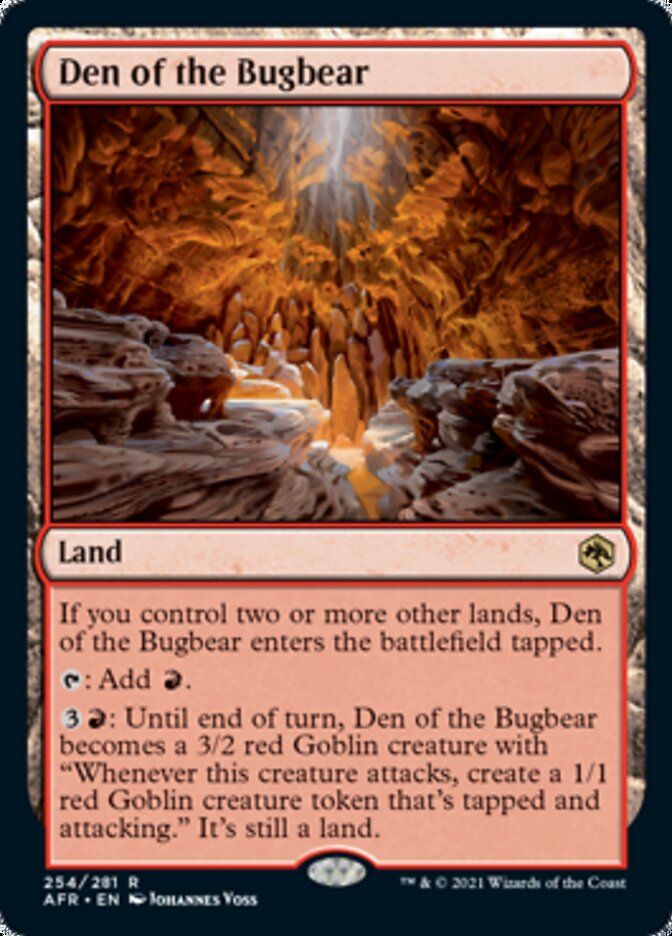
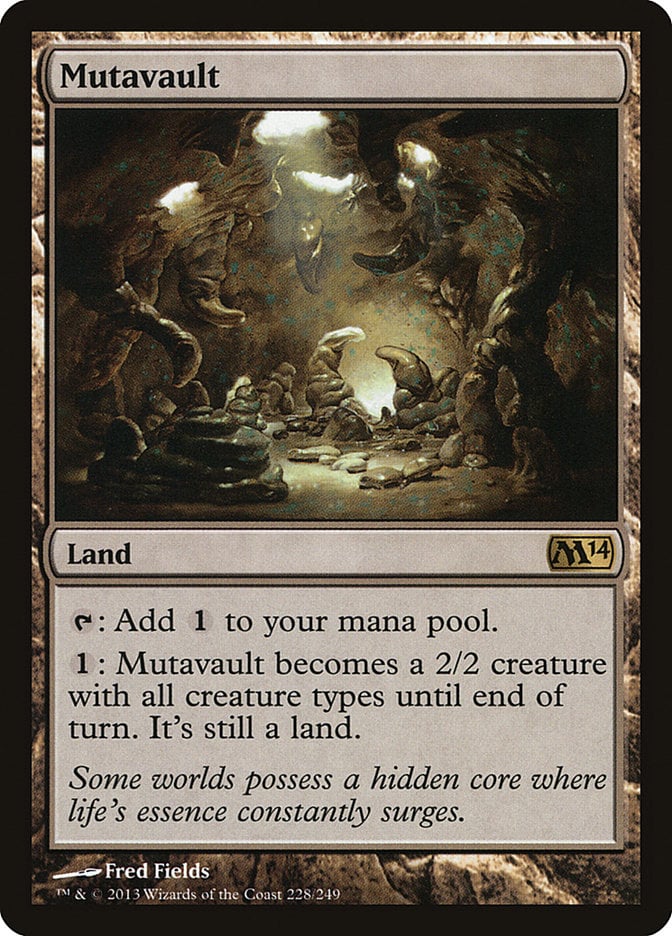
The full cycle from Forgotten Realms are some of the most powerful. That includes Cave of the Frost Dragon, Hall of Storm Giants, Lair of the Hydra, Hive of the Eye Tyrant, and Den of the Bugbear. Each one brings a different style of attacking and interacting with other creatures, and no single one is best in every situation. Mutavault is the cheapest to activate, even if the changeling aspect is not relevant.
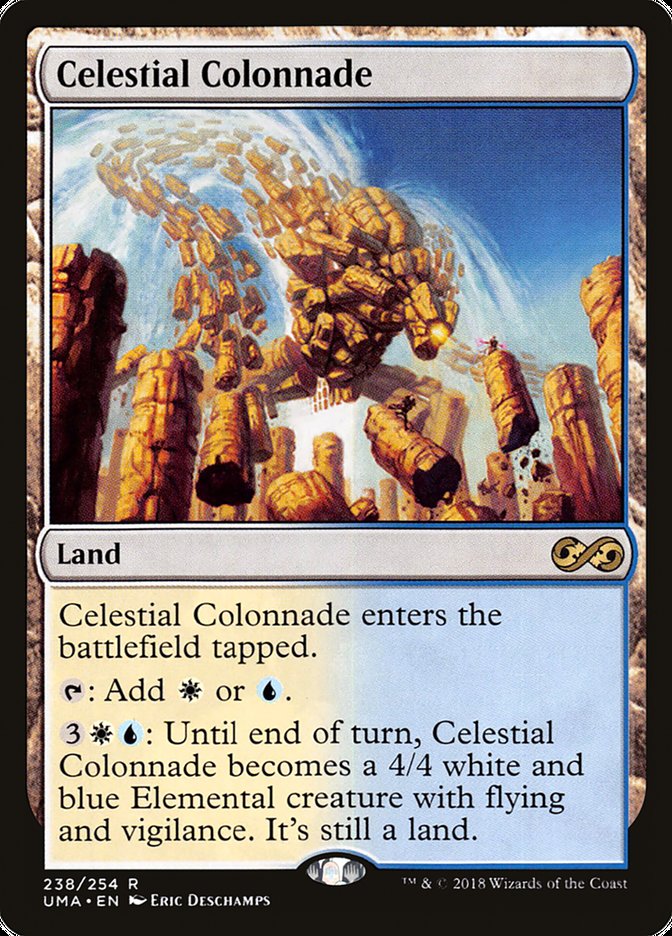
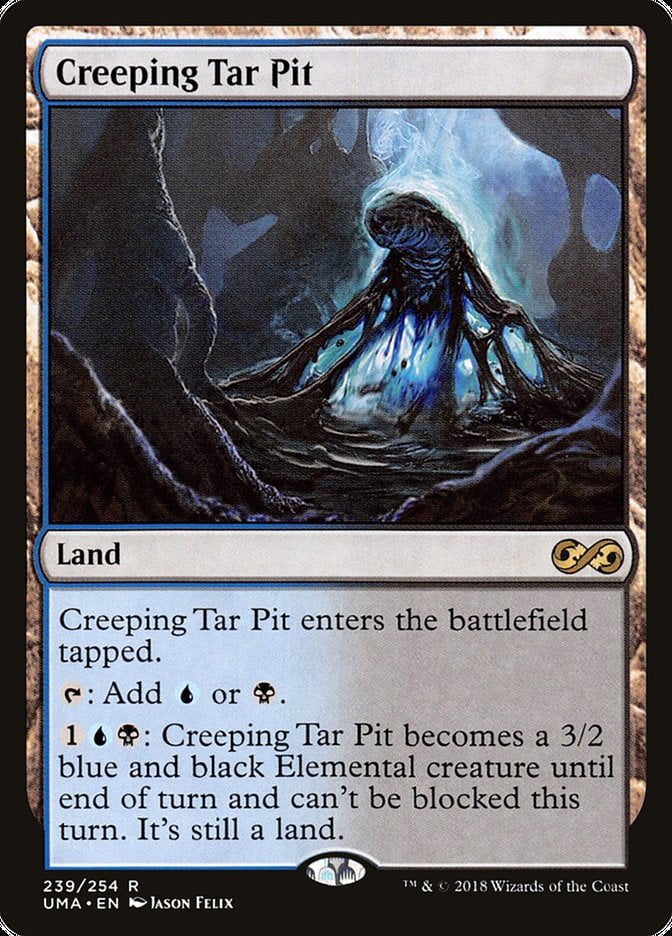
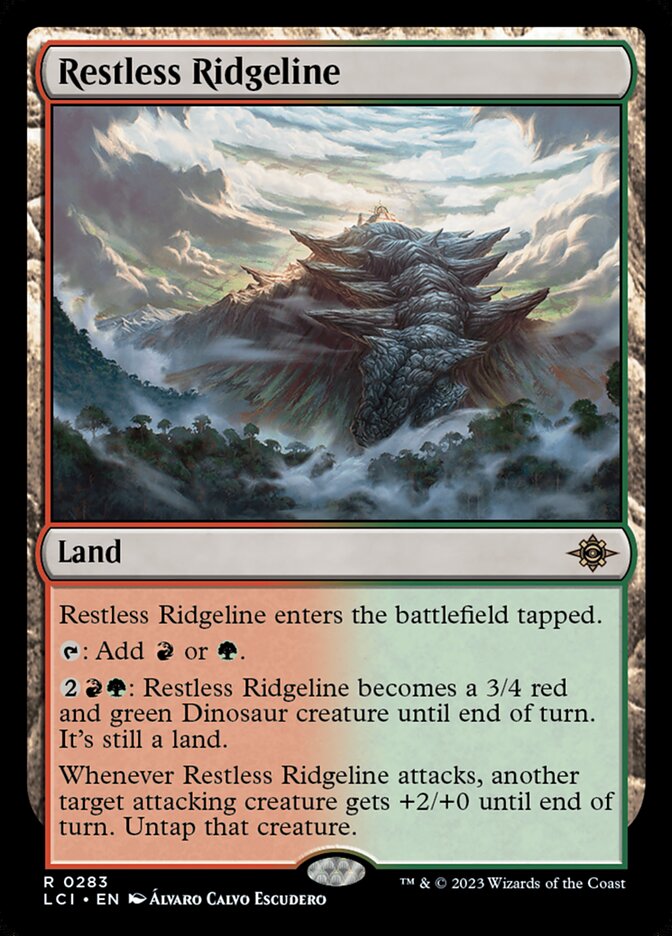
There are also plenty of creature lands that tap for multiple colors of mana. These are some of the best lands in the deck, bringing great mana fixing along with powerful creatures behind them to be activated after a board wipe. Some of the more notable inclusions are Celestial Colonnade (once the only win condition for many Azorius () control decks in various formats), Creeping Tar Pit, and Restless Ridgeline.
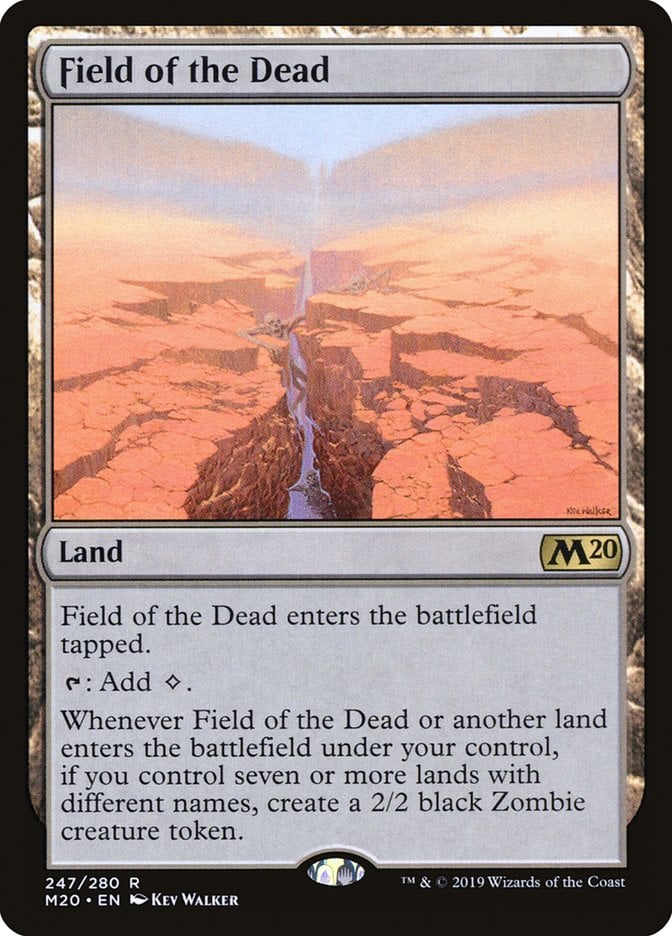
While Field of the Dead doesn’t become a creature itself, it spawns a lot of tokens over the course of the game to act as chump blockers and sacrifice fodder. It’s free value that brings versatility without drawback, so why not include it?
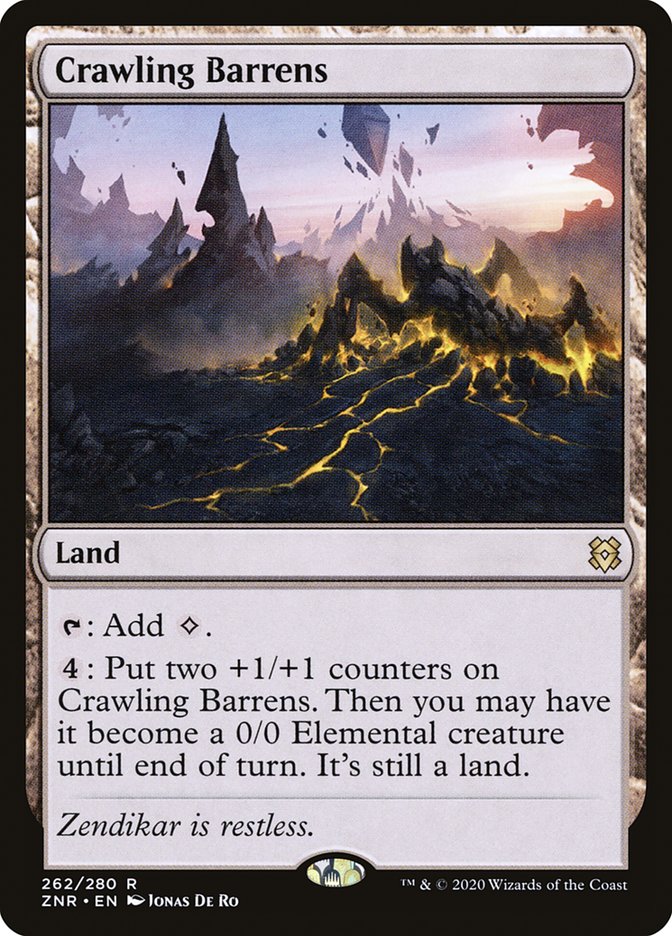
Crawling Barrens is also present. It’s a great land that starts out as a 0/0 but can grow as much as you want. It’s great specifically because it doesn’t become a creature unless you want it to, so it’s a great mana sink even when you face guaranteed creature removal. Long-term investments paired with some of the other creature-buffing lands in the list can turn this simple nonbasic into a premiere threat.
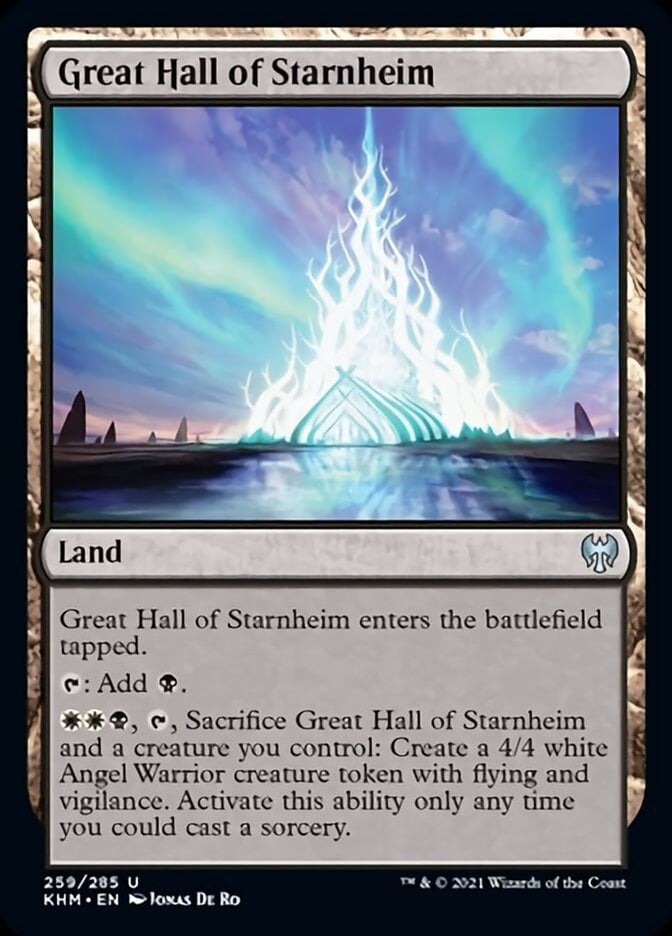
You can sacrifice Great Hall of Starnheim in exchange for a 4/4 angel with flying and vigilance. Not terribly great, but it’s decent.
Acceleration (Yes, Really)
Despite having all lands, there are a few ways to generate more mana and get slightly ahead of the curve. There isn’t much to talk about since you’re never going to miss a land drop unless something goes horribly, terribly wrong.
Baldur's Gate has the most instant-acceleration potential. If you’ve managed to get it into play alongside three or more other gates, you’re netting mana. It isn’t too useful early because you’re forced to have it all come in one single color.
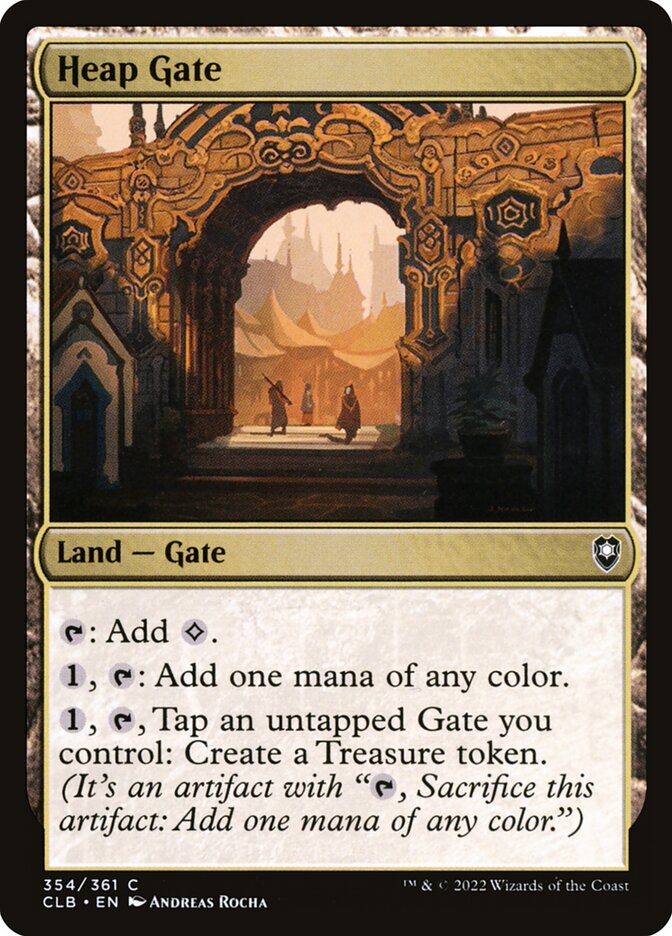
Heap Gate doesn’t net you mana right away, but it is a way to store mana for when you need it. Don’t lose all your Treasures to your Child of Alara.
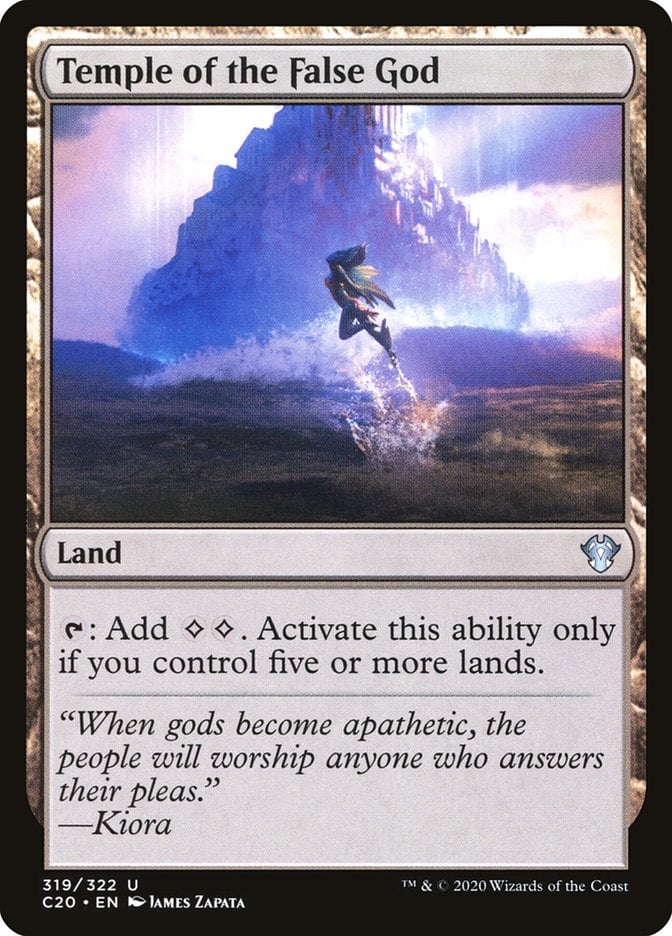
Temple of the False God is useless until you’ve already cast and killed Child of Alara, but it’s incredibly good after that. You never want to face down an all-in opponent’s lethal damage and just be one or two mana short of casting the spell side of an modal double face card or activated ability.
Modal Double Face Lands
There are a few MDFC lands that can be played as the land on the backside or as their front side’s spell.
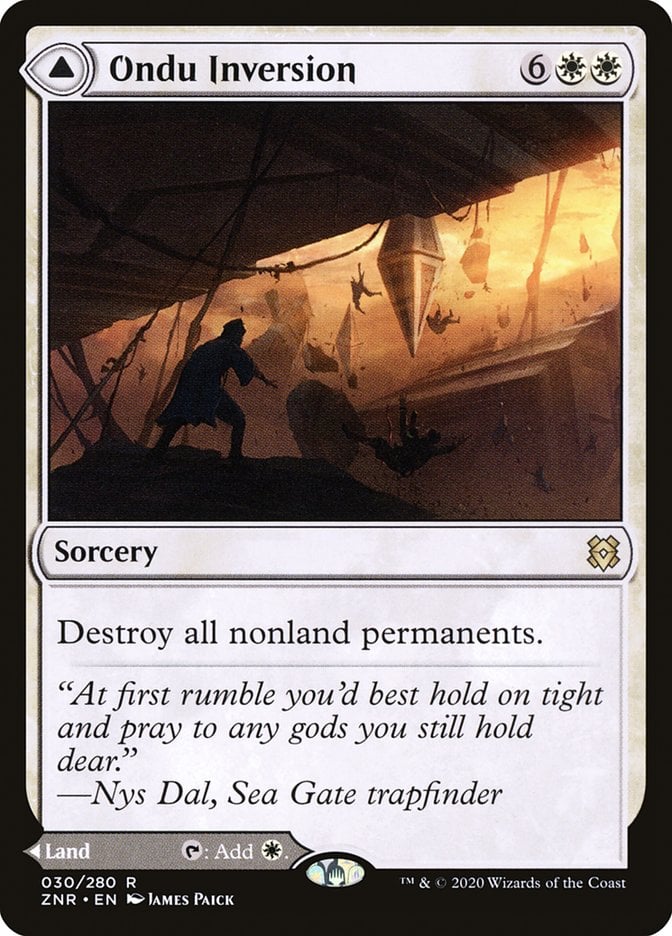
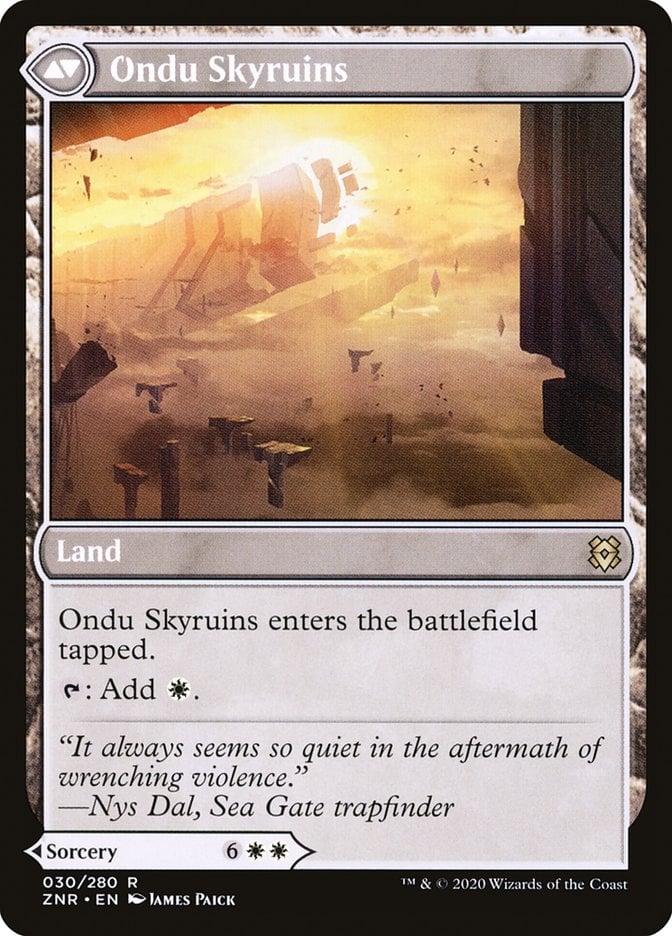
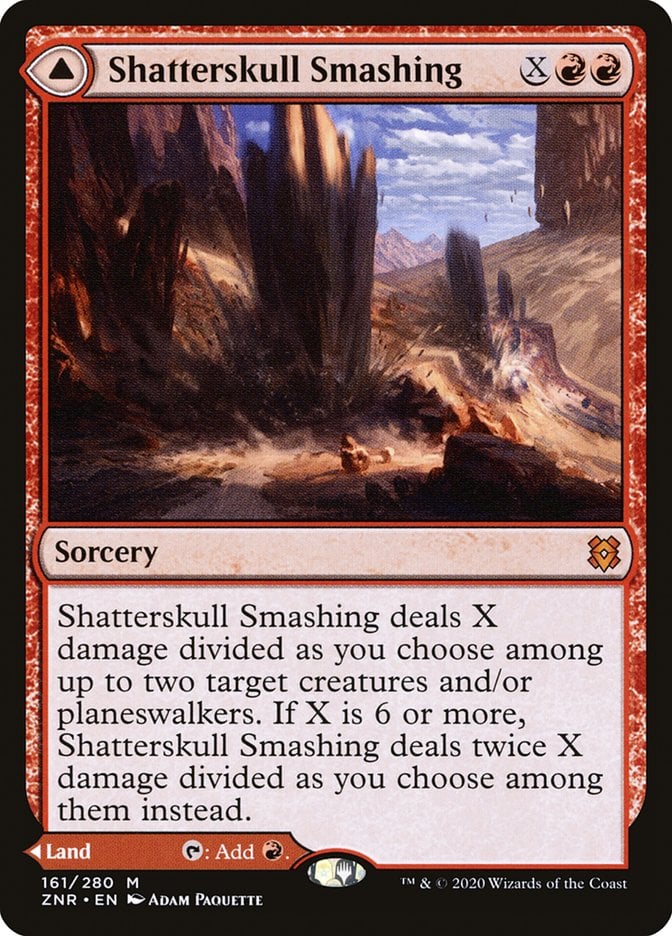

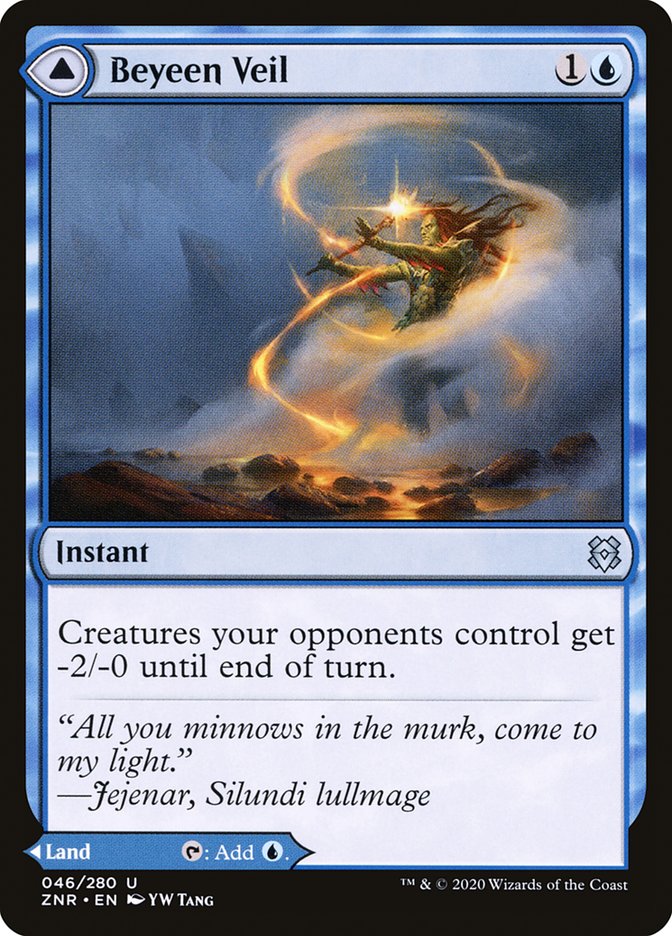
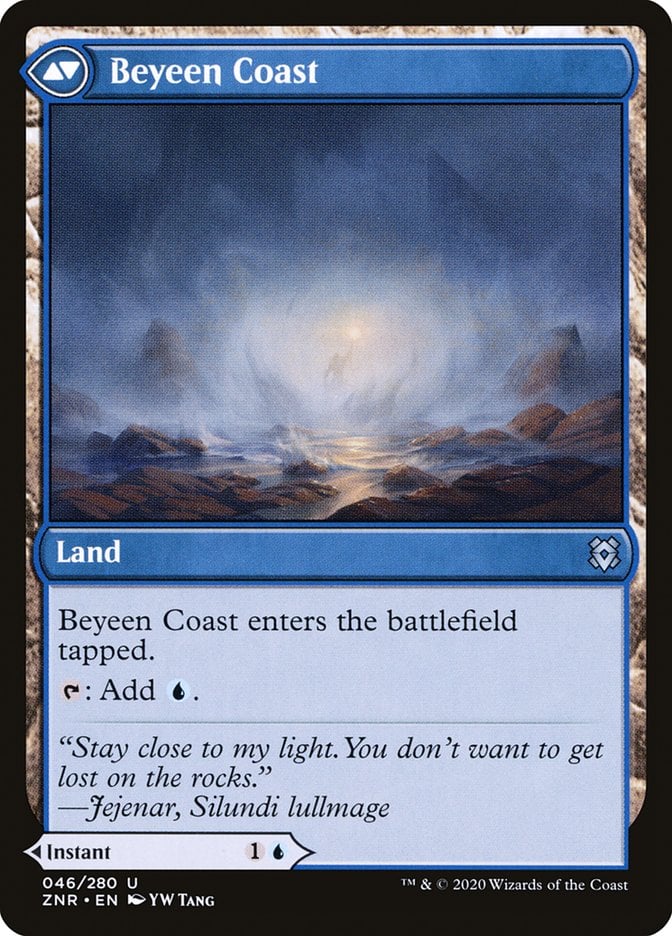
Ondu Inversion is just a mediocre sweeper that can be played because it’s also a land. It’s good redundancy in case you don’t have a way to quickly kill Child of Alara. Shatterskull Smashing is another piece of interaction. It’s a huge mana sink to blow something up, but there isn’t much beyond that. Beyeen Veil is incredibly important and useful. It helps protect against wide decks that can quickly rebuild after a board wipe. I’ve found it a good intermediate spell when you’re between Child of Alara deaths.


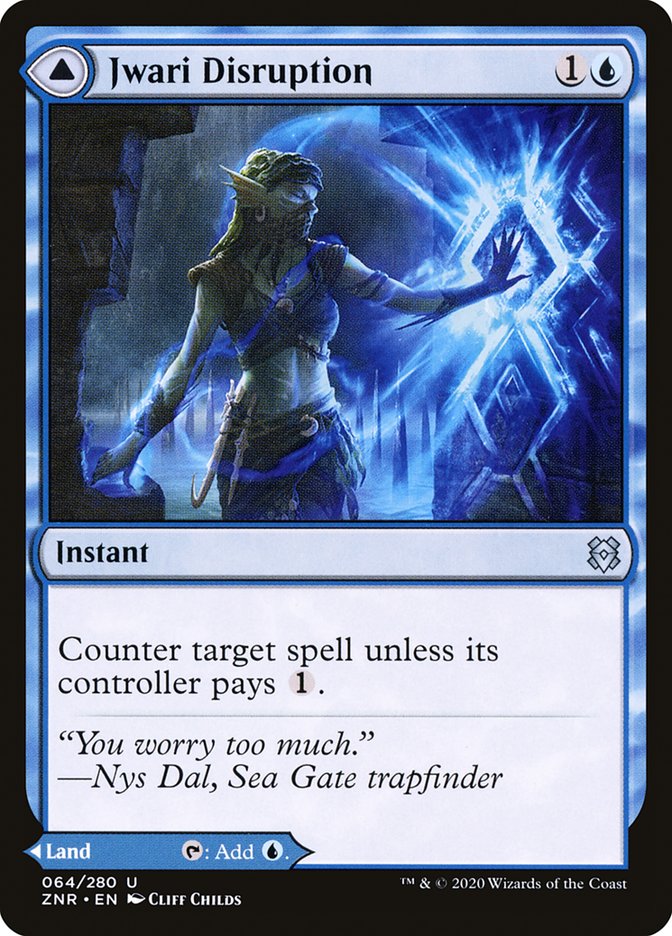
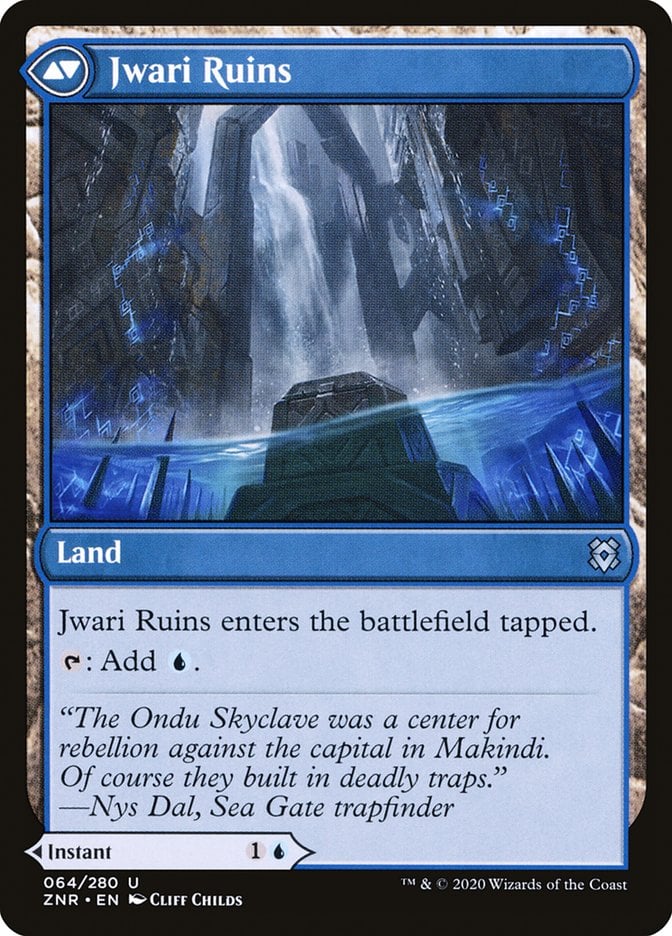
Sink into Stupor and Fell the Profane give you direct and targeted removal while Jwari Disruption can catch unsuspecting opponents off guard. Opponents assume you just run no instant-speed interaction and gladly tap out. Few suspect this card and it’s great because of that.
Jwari Disruption can and will catch unsuspecting opponents off guard. They assume you just run no instant-speed interaction and gladly tap out. Few suspect this card and it’s great because of that.


Bridgeworks Battle, Kazuul's Fury and Khalni Ambush are nonland ways to kill Child of Alara. You almost never use them as single-target removal, but it happens sometimes.
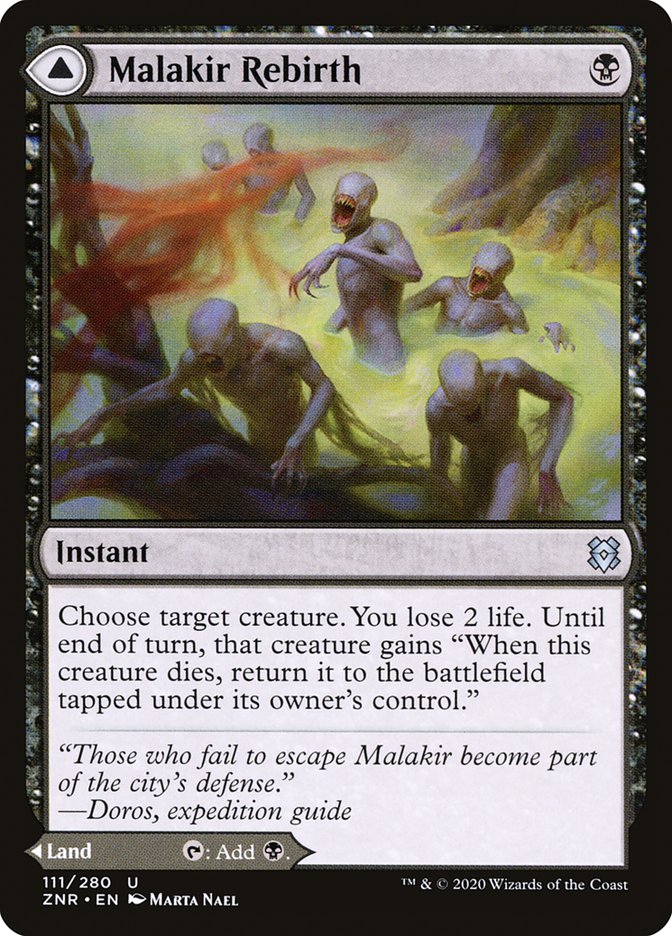
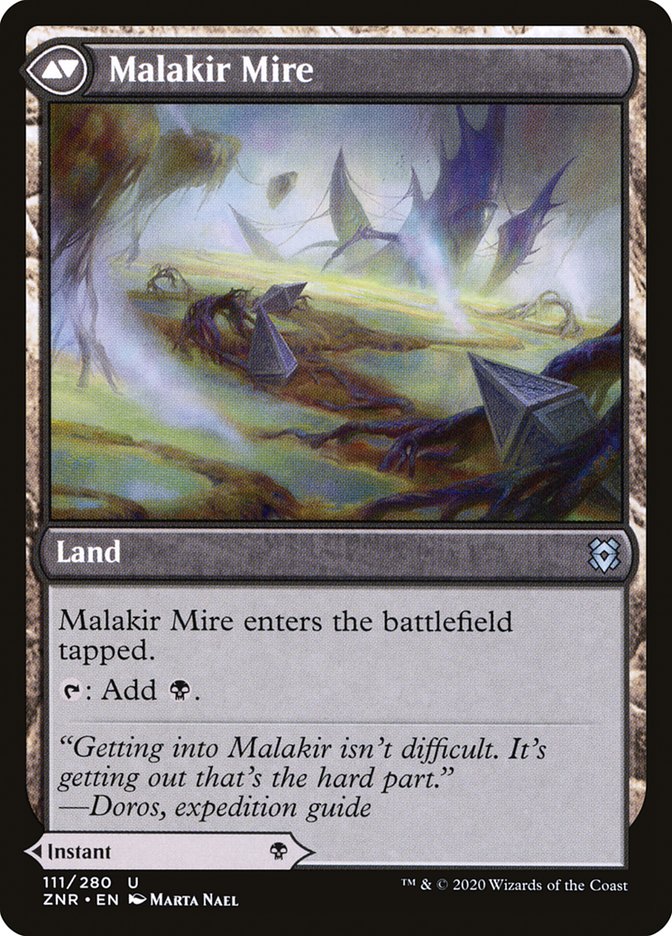
Malakir Rebirth is perhaps the best MDFC in the deck. It’s one mana to basically get a free cast of Child of Alara after you kill it. This deck has a window where it can’t cast its commander after it dies, typically one to three turns, and Malakir Rebirth can help keep it around for seconds in tighter situations.
The Strategy
You’re mostly relying on wiping the board over and over until you’re the last one standing, so you need to have legitimate ways to win the game that don’t take 30+ turns to actualize.
The simplest way is through creaturelands, which can be tactically activated to get guaranteed attacks on opponents with no defenses. These aren’t creatures unless you make them, so they don’t get caught up in the mass destruction brought on by Child of Alara.
They die to spot removal or choice blocking, and they’re still somewhat subject to interaction. The secondary plan, which consistently works in long games, is winning through Maze's End. It takes a while to assemble it, but you’re in great shape if you draw it early.
Never discount winning through your opponents not having enough time to play. The game may “count” as a draw, but you can have the satisfaction of putting other players into an infuriating rage as they concede to your eighth Child of Alara sweep sending the pod into hour three. Winning doesn’t always look like winning.
Combos and Interactions
There aren’t any notable combos or interactions in this deck that haven’t been discussed, but they deserve a recap.
Child of Alara is purely meant to be killed. Never mulligan out of a hand with a sacrifice outlet since keeping one handy is important.
Your creaturelands aren’t creatures until you make them so. Don’t lose them to easy removal or single-target spells that don’t specify that targets must be nonland.
It’s easy to access on turn 5, so try to mulligan for core win conditions and utility lands like Maze's End, powerful creaturelands, Malakir Rebirth, or sacrifice outlets.
Don’t be afraid to keep hands with gate-specific cards like Baldur's Gate if you only have one or other gates in your hand. There are 20 in total, so you have a decent chance to draw extra ones before it matters.
Rule 0 Violations Check
This deck is pretty clean when it comes to Rule 0. There are no infinite combos, no direct tutors, and Field of the Dead is the main Game-Changer to worry about. The only non-creature-based win condition is Maze's End, which won’t even really outpace any upgraded precon without Child of Alara board wipes.
This deck is incredibly casual friendly on paper. There aren’t any super-efficient counterspells or free mana, but that doesn’t mean it’s fun to play against. Remember that the strategy of this game is outlasting and repeatedly clearing your opponent’s boards. It’s very frustrating to play against and can dissuade newer players from the format or even Magic in general.
Try to be a little cautious of when you use this deck.
Budget Options
Most of the deck’s price tag comes from a few expensive cards.
Shatterskull Smashing is maybe the most cuttable card that’s worth a chunk. It’ll save you a few bucks and you won’t really miss it. Play some other red dual you own, or another utility pet land you like.
Field of the Dead can be clutch in a lot of situations, and its one of the most expensive cards in the deck and nowhere close to the most important. Say goodbye to this next. Next to remove is Hall of the Bandit Lord. It represents several dollars and just isn’t necessary.
Miren, the Moaning Well brings a lot of lifegain to the table and is a great sacrifice outlet, but it’s pricey. Keep in mind that sacrifice outlets are a key aspect of this deck. These kinds of lands should be the last thing to go in necessary budget cuts.
Phyrexian Tower is a clutch sacrifice outlet, but that’s all it is. It’s most notably free to sacrifice, but while it’s somewhat costly at around $16 it still might have to go if you need to slash the budget that hard.
Other Builds
There aren’t really any other 99-land builds out there, at least none that can put up a fight like this. This strategy is incredibly niche. It relies on very specific cards and having Child of Alara as your commander.
Straying away from this build quickly throws you into 5-color landfall, which is a whole other thing that wants nonland cards. The other 99-land decks go with Ashling the Pilgrim but that's a mono red commander and completely opposite side of fun EDH decks.
Commanding Conclusion
Baldur's Gate | Illustration by Titus Lunter
If only I had as many red balloons as this deck has lands…
I had so much fun building this list together and testing it online, so much so that I’ll probably throw together a paper version very shortly.
What did you think of my list and the strategy as a whole? Is it unique, something you might try? Do you find it very narrow and boring? Let me know your thoughts and critiques in the comments or come chat about it in the official Draftsim Discord.
Until next time, stay safe and stay healthy!
Follow Draftsim for awesome articles and set updates:


Add Comment