Last updated on January 18, 2025
Yuriko, the Tiger's Shadow | Illustration by Yongjae Choi
Yuriko, the Tiger's Shadow: a fantastic Dimir general that finds a home in both casual and cEDH gameplay. Yuriko boasts a straightforward gameplan that thrives off of manipulating the top of your deck. You connect for damage, flip the top of your library, and generate big damage numbers.
It’s a powerful commander and my favorite in the format, and I’m excited to share the 99 cards that I run in my Yuriko, the Tiger's Shadow deck with you today. Let’s just jump right in!
The Overview
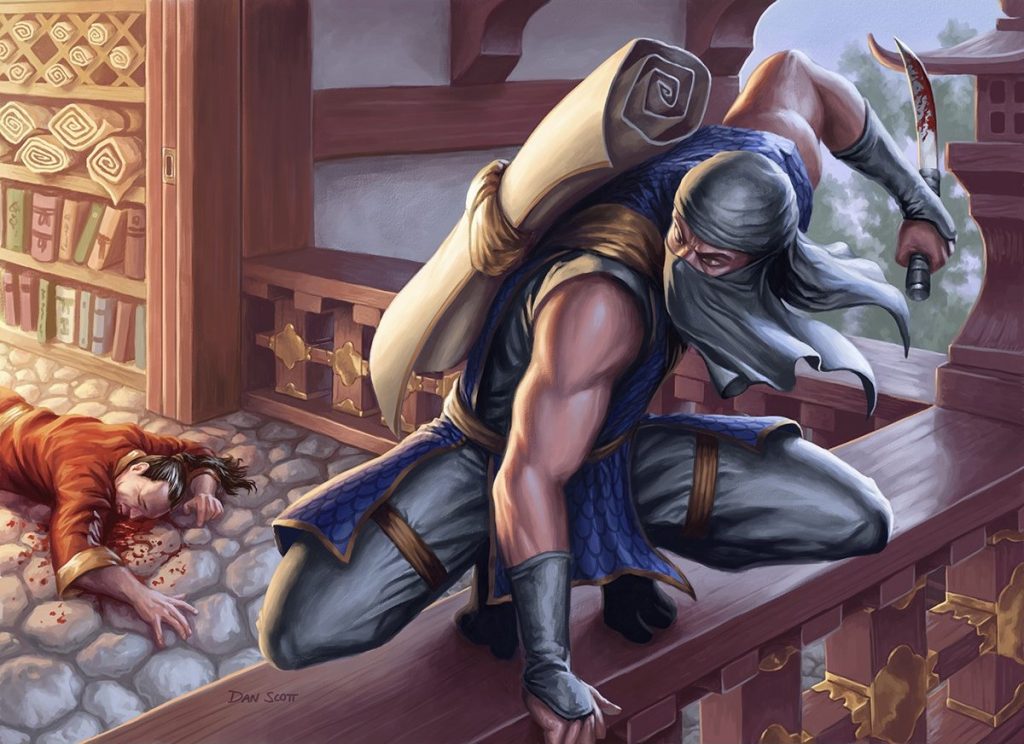
Ninja of the Deep Hours | Illustration by Dan Scott
Yuriko works its magic as a commander when any of your ninjas deal combat damage to your opponent. You lose some secrecy as you reveal the top card of your library but you look at the mana value of the card revealed and the whole table loses life.
Mess with the top of your deck as much as you can to send that output to its highest potential. But keep in mind what kind of cards you want to hit that are large but still valuable.
What better cards to compromise in the middle of the field with than extra-turn spells? They’re fairly middle ground and are sometimes expensive spells that can deal plenty of damage, but they also help the deck keep going after you draw one. You also need ninjas to make Yuriko work with more than just itself. You need lots of ninjas as well as cheap creatures that can enable ninjutsu for said ninjas.
Do some classic blue shenanigans and run a solid portion of counterspells to support your overarching strategy. You’ve also got a few pieces of evasion to punch through the front lines and go for the throat to make sure your creatures get through for the proper damage. You also have some miscellaneous utility and a couple removal spells to pad for some cards and deal with niche scenarios or dig for more gas.
Finally you have the infamous Thassa's Oracle plus Demonic Consultation combo that players so fervently despise. You might hate me for including it but you can’t deny that you’ll feel a little more comfortable with an ace up your sleeve just in case things go south.
Before we get to the list, I’d like to put it out there that this initial deck isn’t cheap since I built it over the last few years and add to it as I collect cards. I’ll get to budget changes that you can make later on as well as some stray ideas for other places the deck could go.
So, let's have some fun and talk Commander, shall we?
The Deck

Mystical Tutor (Signature Spellbook: Jace) | Illustration by Yongjae Choi
Commander (1)
Planeswalker (1)
Creatures (24)
Changeling Outcast
Draco
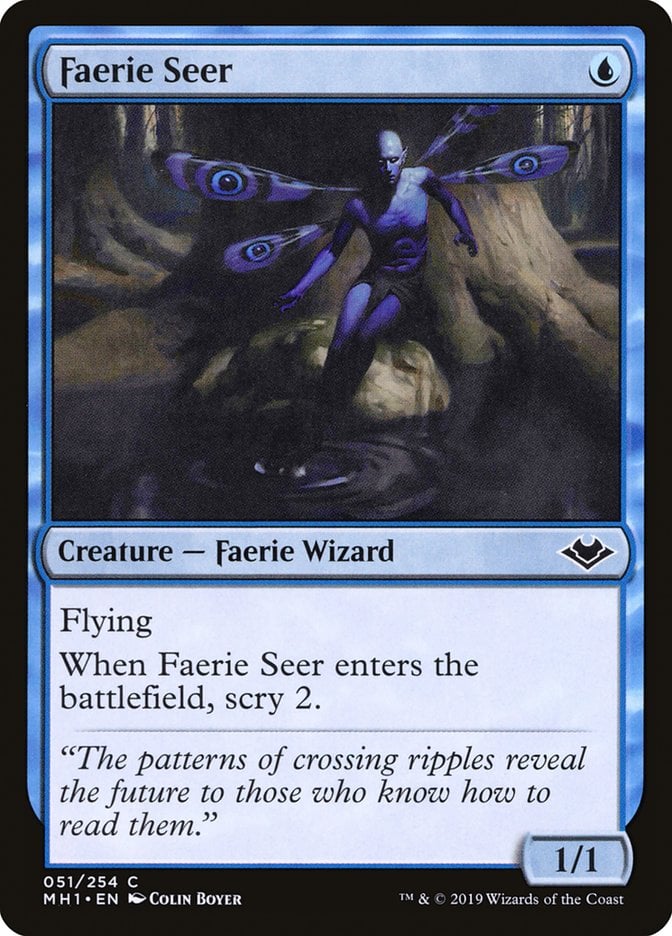
Faerie Seer
Fallen Shinobi
Higure, the Still Wind
Ingenious Infiltrator
Ingenious Prodigy
Ink-Eyes, Servant of Oni
Mist-Syndicate Naga
Thousand-Faced Shadow
Ninja of the Deep Hours
Ornithopter
Phyrexian Walker
Prosperous Thief
Sakashima's Student
Satoru, the Infiltrator
Silver-Fur Master
Skullsnatcher
Tetsuko Umezawa, Fugitive
Thassa's Oracle
Throat Slitter
Walker of Secret Ways
Watcher for Tomorrow
Wingcrafter
Instants (20)
Abjure
Blinkmoth Infusion
Brainstorm
Brainsurge
Commandeer
Counterspell
Demonic Consultation
Dig Through Time
Dismember
Dispel
Drown in the Loch
Force of Negation
Lim-Dûl's Vault
Mana Drain
Mental Misstep
Misdirection
Mission Briefing
Mystical Tutor
Spell Pierce
Tyrant's Scorn
Sorceries (13)
Artful Dodge
Distortion Strike
Dream Cache
Expropriate
Faerie Slumber Party
Ponder
Portent
Reanimate
Scheming Symmetry
Temporal Manipulation
Temporal Mastery
Temporal Trespass
Time Warp
Enchantments (2)
Cover of Darkness
Mystic Remora
Artifacts (7)
Arcane Signet
Dimir Keyrune
Lotus Petal
Mox Tantalite
Scroll Rack
Sensei's Divining Top
Sol Ring
Lands (32)
Castle Locthwain
Castle Vantress
Choked Estuary
Clearwater Pathway
Command Tower
Creeping Tar Pit
Dimir Aqueduct
Drowned Catacomb
Evolving Wilds
Fetid Pools
Gloomlake Verge
Island x5
Misty Rainforest
Mystic Sanctuary
River of Tears
Scalding Tarn
Sunken Hollow
Swamp x4
Temple of Deceit
Terramorphic Expanse
Underground River
Verdant Catacombs
Polluted Delta
Watery Grave
Reliquary Tower
Your Commander: Yuriko, the Tiger's Shadow
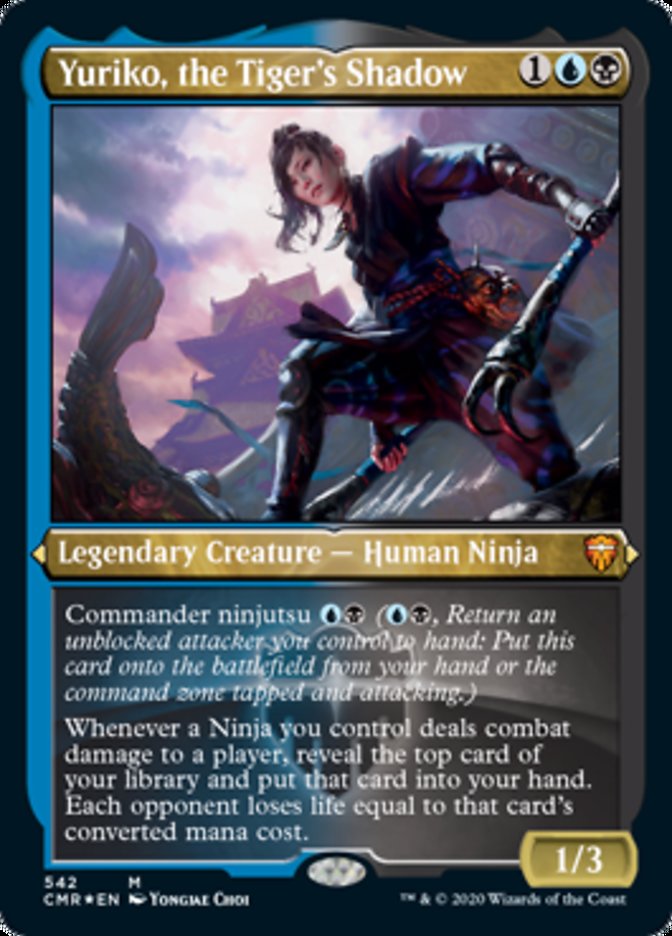
Yuriko, the Tiger's Shadow is my favorite commander, and not just because it was the first commander I built. This Dimir card‘s ability can be as simple or as complicated as you want (or need) it to be, and its damage potential is massive because of that.
Not only can you deal big damage with its ability, but it also puts cards into your hand and evades cards that stop you from drawing anything extra. It’s super potent with the right board state but you can bet money that you’ll make swift enemies with everybody at the table.
Creatures in the 99
All of the creatures in this deck enable ninjutsu or activate Yuriko’s ability. Some of them succeed in other secondary goals that are just gravy on top of their initial purpose.
These guys are MVPs, believe it or not. They’re free ninjutsu enablers that you can slap back down on the board at no extra cost after getting a ninja through to your opponents. They’re here for a super simple reason, but boy is it effective.
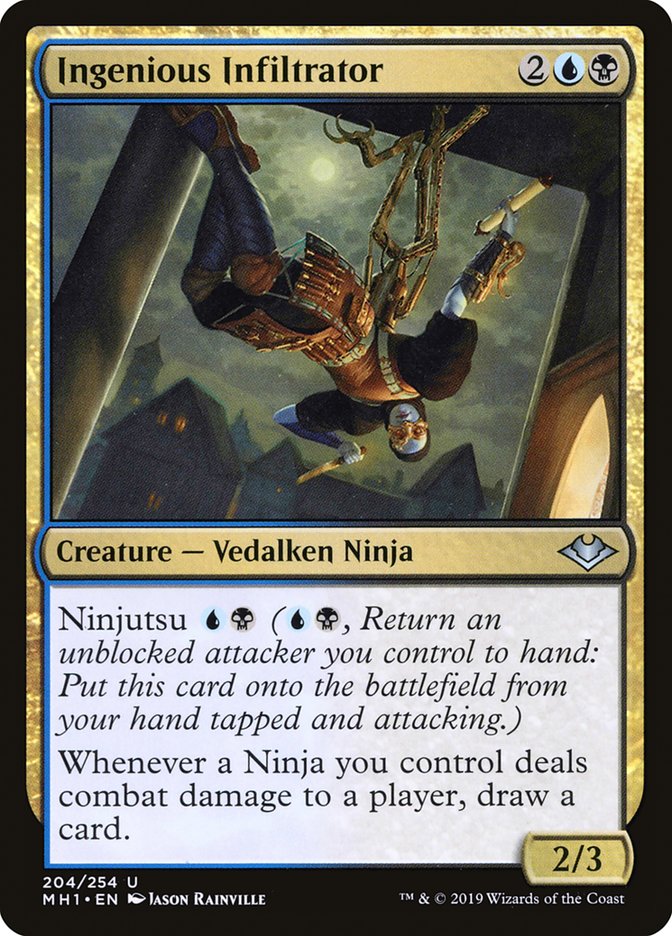
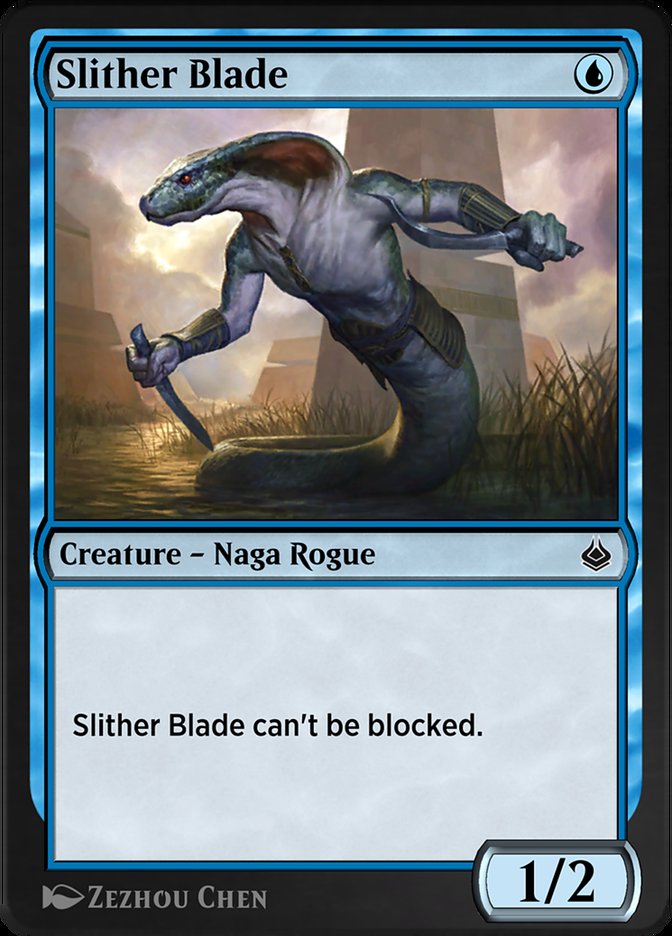
Ingenious Infiltrator, Prosperous Thief and Ninja of the Deep Hours are excellent ninjas that can hit the board for cheap mana and draw some cards while Faerie Seer and Slither Blade are fantastic turn 1 plays that have the evasion to safely put your ninjas onto the battlefield.
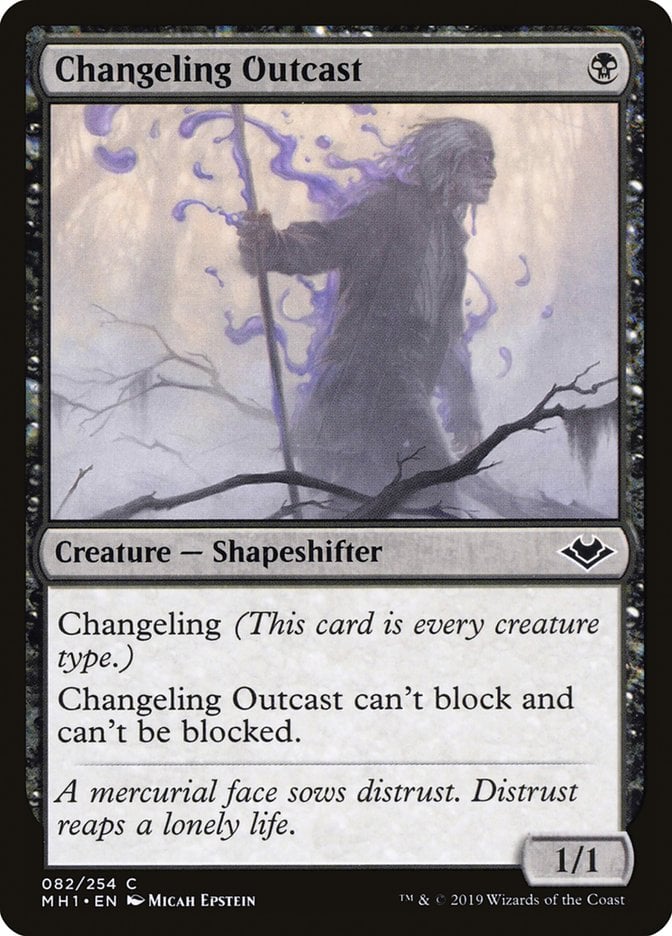
You also have an honorary ninja: Changeling Outcast!. It's cheap and also boasts evasion to help your real ninjas use their ninjutsu.
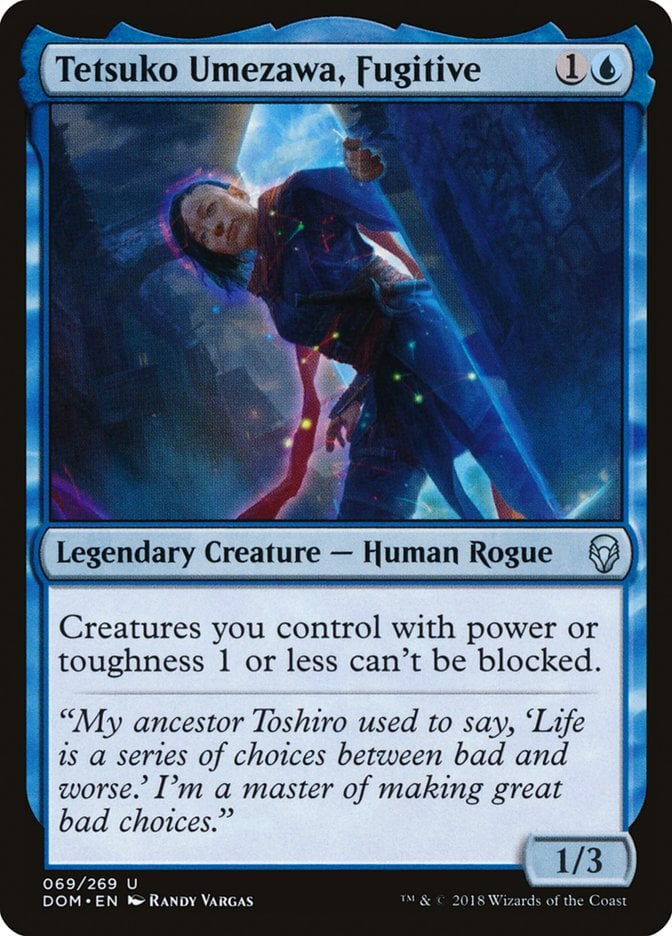
Tetsuko Umezawa, Fugitive is a creature that gives most of your other small creatures, especially Yuriko, the evasion they need to contribute to the fight.
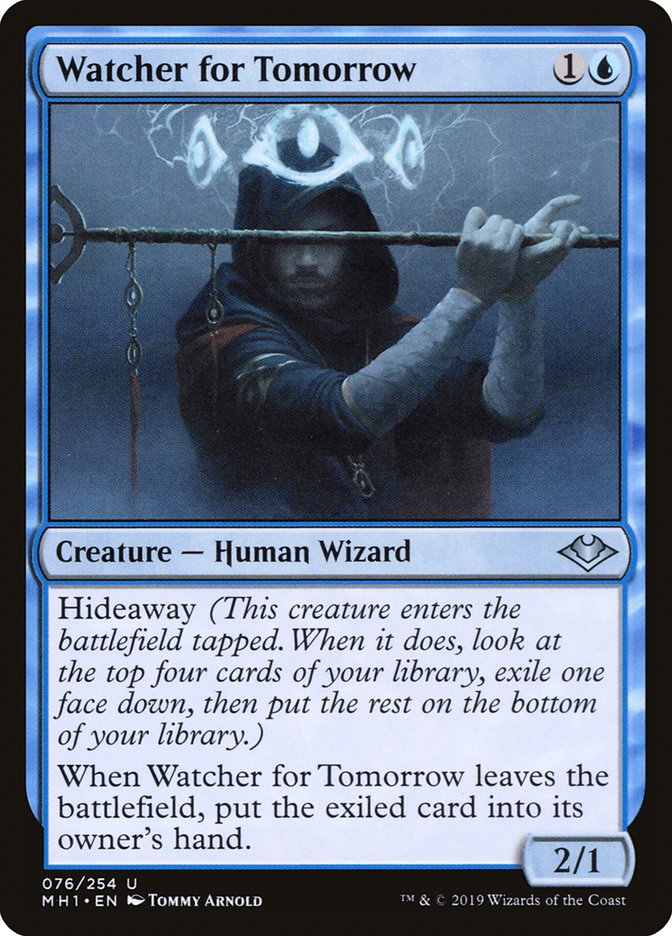
Watcher for Tomorrow is one of my favorite cards in the deck because of how it interacts with ninjutsu. It allows you to grab a card you want from the top four of your library, and you can bounce it back to your hand with ninjutsu only to cast it again and continue the pattern when it gets around to swinging at your opponent. This nets you so much value since you’ll always be able to pick out exactly what you need, or at least get around some potentially bad draws.
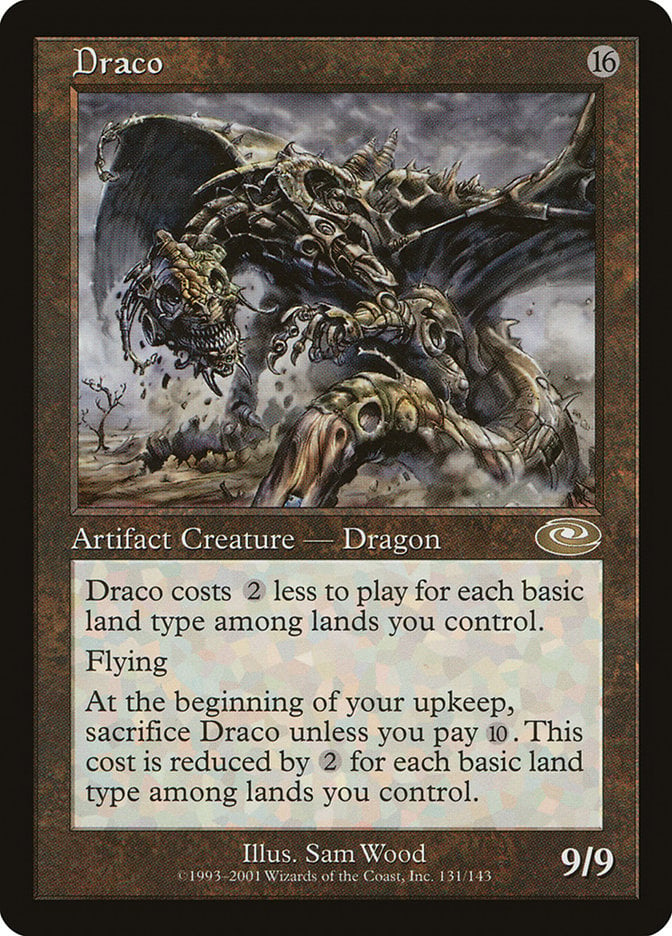
The big red (or should I say colorless) button: Draco. It has no reason to be cast at all. You don’t cast it. You want to put this bad boy on the top of your deck and flip it to slam 16 damage. If you have a way to put it back on top of your deck before a second Yuriko trigger with something like Brainstorm or Sensei's Divining Top, suddenly you’re slamming 32 damage. That either kills a whole table and wins you the game or gets everyone mighty close to death, and it’s a ton of fun to watch happen when the stars align.
Cards and Tutors: Fiddling With the Future
Make sure you avoid hitting duds with Yuriko’s ability. To do that you enlist the help of a suite of cards that let you mess with the top of your deck.
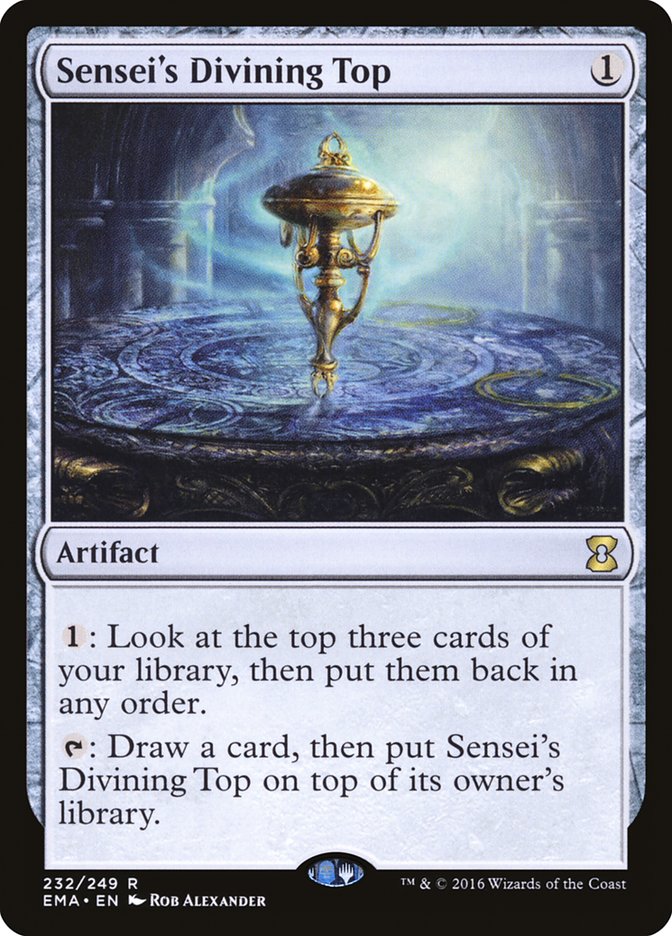
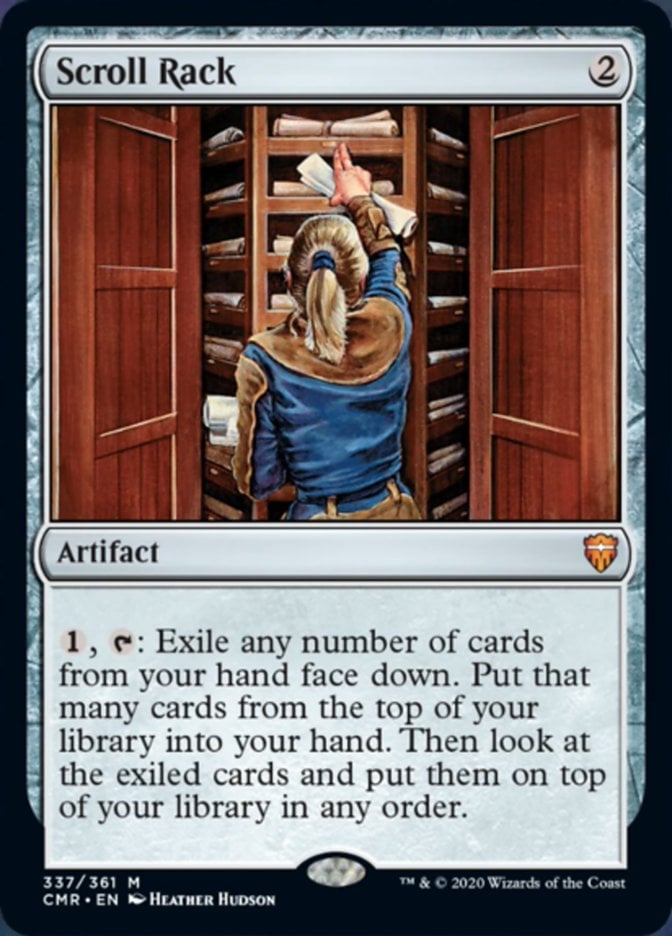
Sensei's Divining Top and Scroll Rack are the most notable of all your helpers. The Top rearranges the top three cards of your deck as needed to fix draws or Yuriko triggers while the Rack lets you recycle big cards from your hand to maximize damage or hunt for your big red buttons.
Mystical Tutor and Scheming Symmetry are straight-up tutors to put something that you need on the top of your library. Symmetry is extra fun since you can play politics with your opponents (Queen Marchesa‘s monarch deck, anybody?), and it’s one of the best spells I can imagine in any Two-Headed Giant match.


Lim-Dûl's Vault isn’t quite a tutor but it gets the job done if you’ve got the life and the time to dig for the cards you need.
Finally you have cards like Dream Cache, Portent, Ponder, Brainsurge, and Brainstorm that help you find what you need or make sure that you’ve got big hits on the top of your library.
Counterspells: Don’t Touch My Stuff
You can’t play a blue deck without playing counterspells. So let's face and embrace the music, shall we?

Say hello to your “free counterspell suite.” Cards that get dangerous spells off your back in one way or another without paying any mana come in the forms of Force of Negation, Commandeer, Misdirection, and Mental Misstep. These guys let you bluff shields down to draw out dangerous spells from your opponents, only to counter them or swipe them away when they least expect it.


If those don’t quite work out you always have your 2-mana Counterspell and its companions of varying power like the mighty Mana Drain or Drown in the Loch, which doubles as removal when necessary.
There are a few more counters in the list but they’re not as consistent as the cream of the crop that I just mentioned.
Turns: Just One More
Turns are like potato chips; why stop at just one?
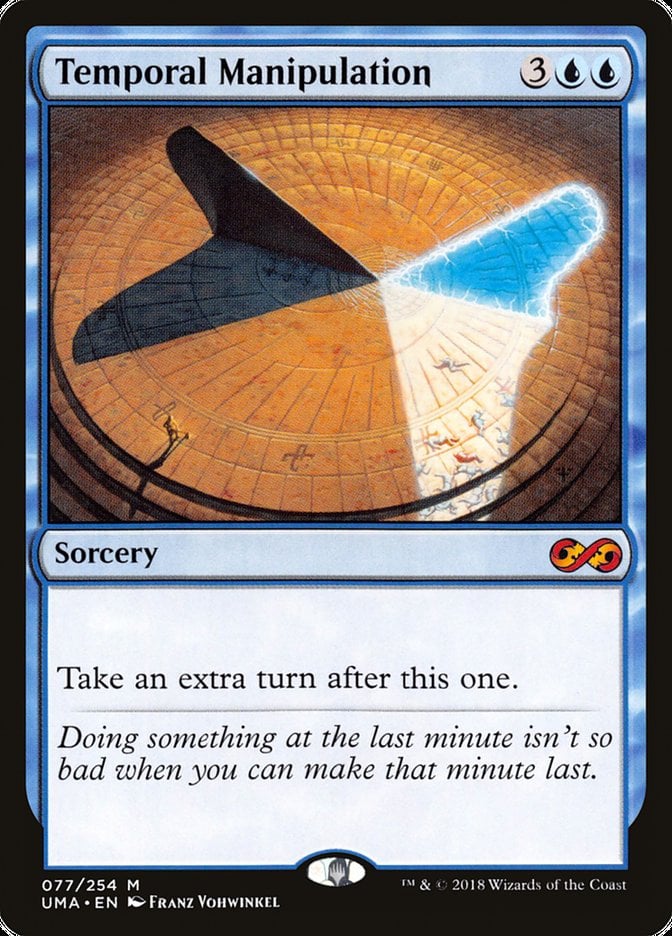
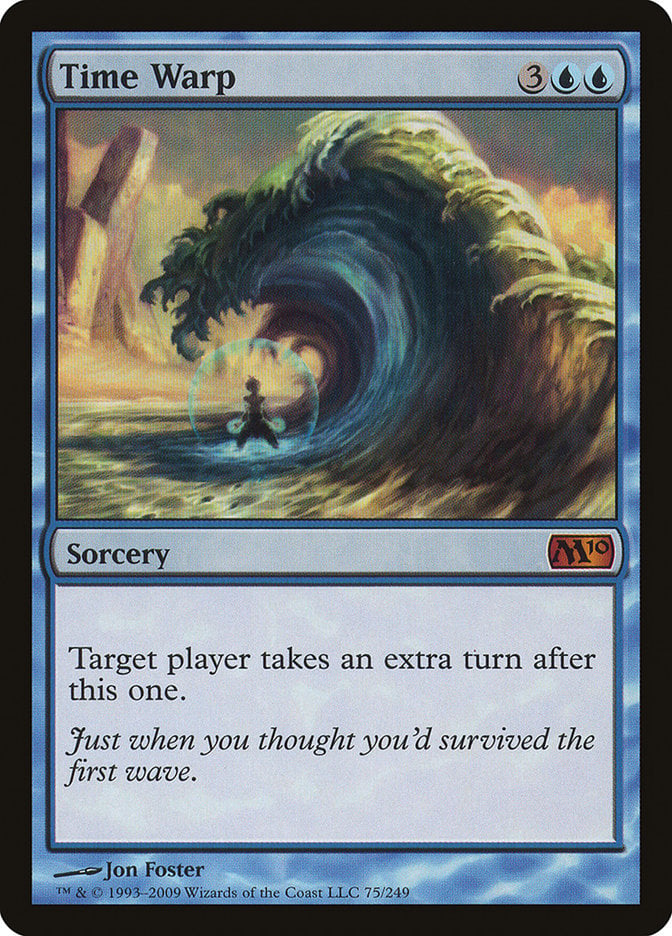
With the help of Temporal Manipulation or Time Warp you can get an extra turn for a fair price.
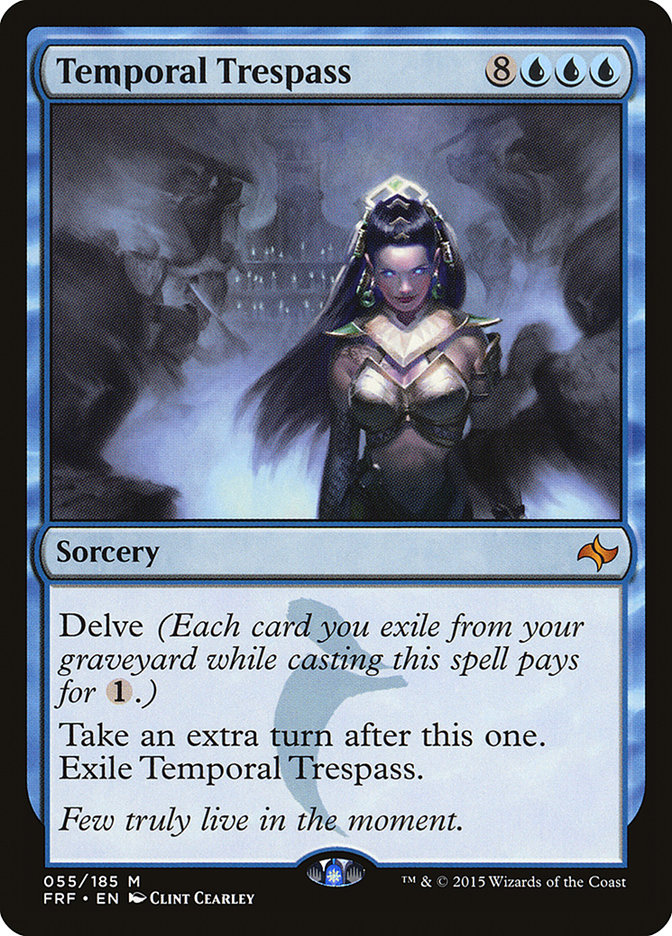
You can try to delve one out with Temporal Trespass if you want to be a little thrifty with your mana and snag an extra turn for less
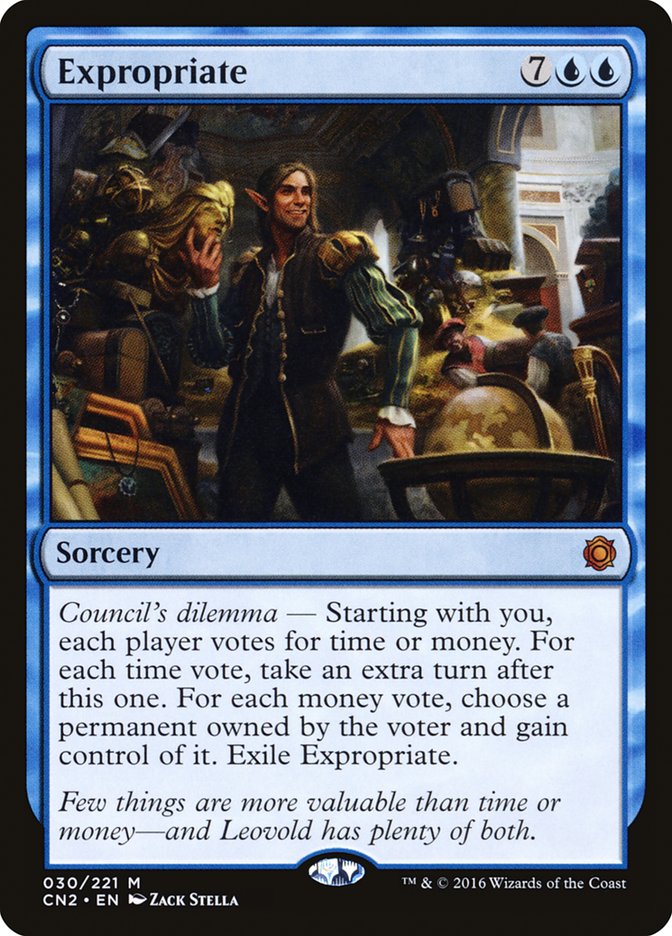
And you can cast Expropriate if you want to spend big and win big to make the table choose whether they value their permanents more than you getting more turns to do your thing.
Oh, and you might use Scroll Rack to throw Temporal Mastery to the top of your deck if you ever get the chance so you can cast it for its miracle cost when you draw it.
The Cherries on Top
You’re not always going to have a deck that runs 99 on-theme cards. Sometimes there are some cards that are out of the way from the original gameplan but complement your deck nicely enough that you can’t find a reason not to run them. Unless you’re looking to adhere to the meta 100%.

Cover of Darkness, Distortion Strike, and Artful Dodge are great pieces of emergency evasion in the event that you can’t get some of your creatures through your opponents’ defenses.
You’ve got some very powerful cards in this deck, some creatures and some instants or sorceries, so you want to be able to use them again in some scenarios. Reanimate helps bring back some strong creatures like Sakashima's Student, Ink-Eyes, Servant of Oni, and Fallen Shinobi.
In the same vein, Mission Briefing (another favorite card of mine) can not only check the top of your library for Yuriko using surveil, but it can grab back any of those free counterspells or maybe an extra turn spell you couldn’t justify holding onto that you finally have the mana to play.

I also really enjoy Faerie Slumber Party. It's a big enough spell that it hits for a lot of damage off our Commander, but it's also a solid pseudo-board wipe that clears the way for more attackers.
The Mana Base


First up are the utility lands like Mystic Sanctuary to help reuse some large spells from the graveyard to get big damage from Yuriko. Reliquary Tower is around to assist in keeping a hold of the hand size you generate with your Yuriko triggers.


I run the black and blue castles from Throne of Eldraine: Castle Locthwain and Castle Vantress. This deck doesn’t run a lot of consistent card draw outside of Yuriko’s ability so the castles help dig down a little further in the deck every now and then to find the cards you really want to see.
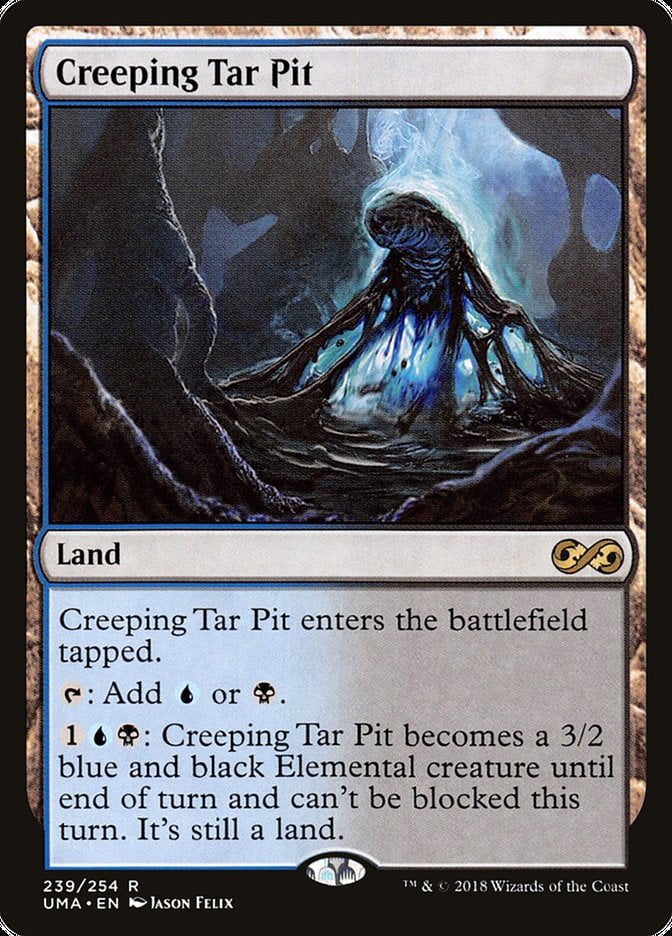
You also have Creeping Tar Pit. This thing has won me a few games just by being able to put Yuriko back on the field for the killing trigger thanks to it being unblockable. Sometimes players forget it’s around entirely and you can sneak by with it.
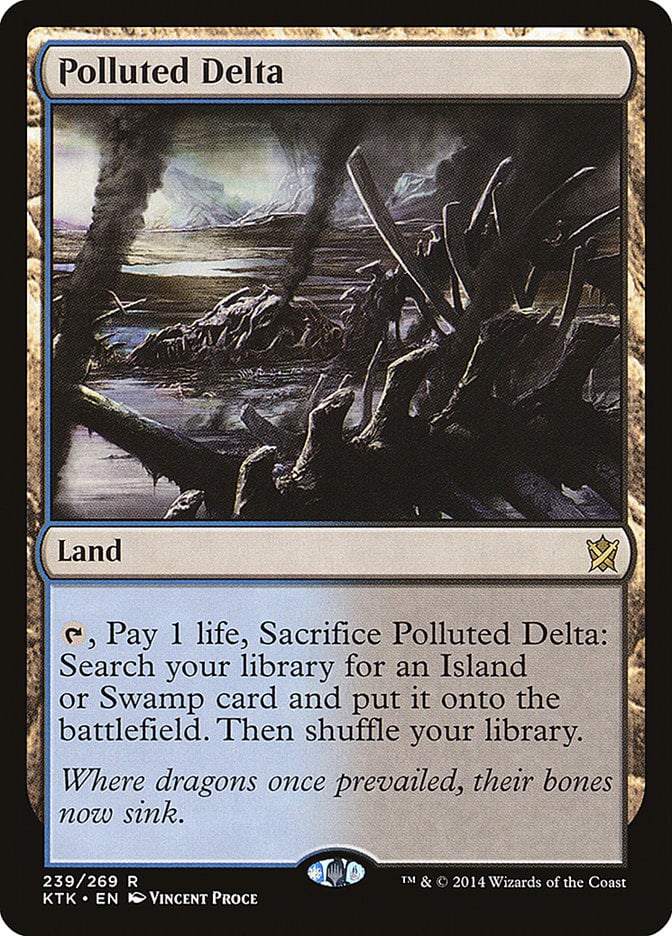
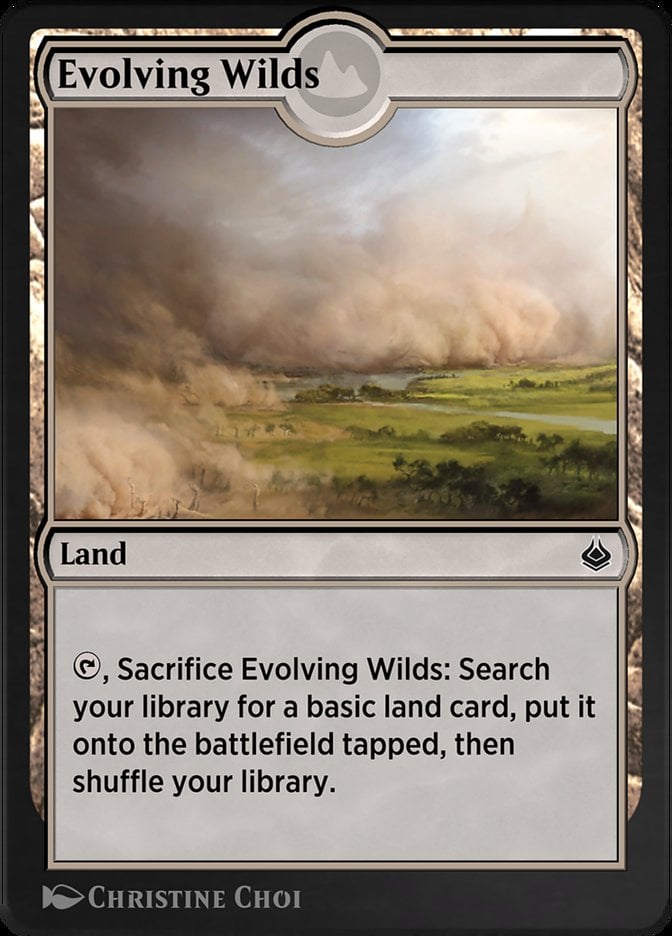

For the sake of always having the sources you need as well as deck thinning, I choose to run fetches like Verdant Catacombs, Polluted Delta, and Scalding Tarn plus the tried and true Evolving Wilds and Terramorphic Expanse. Ever since I opened up these fetch lands in Modern Horizons 2 (and bought Delta) they’ve worked wonders for fixing my mana sources. That said, they’re expensive. Feel free to run more basic lands (which run alongside Gloomlake Verge) of each type in their place if you can’t pick up the fetches.
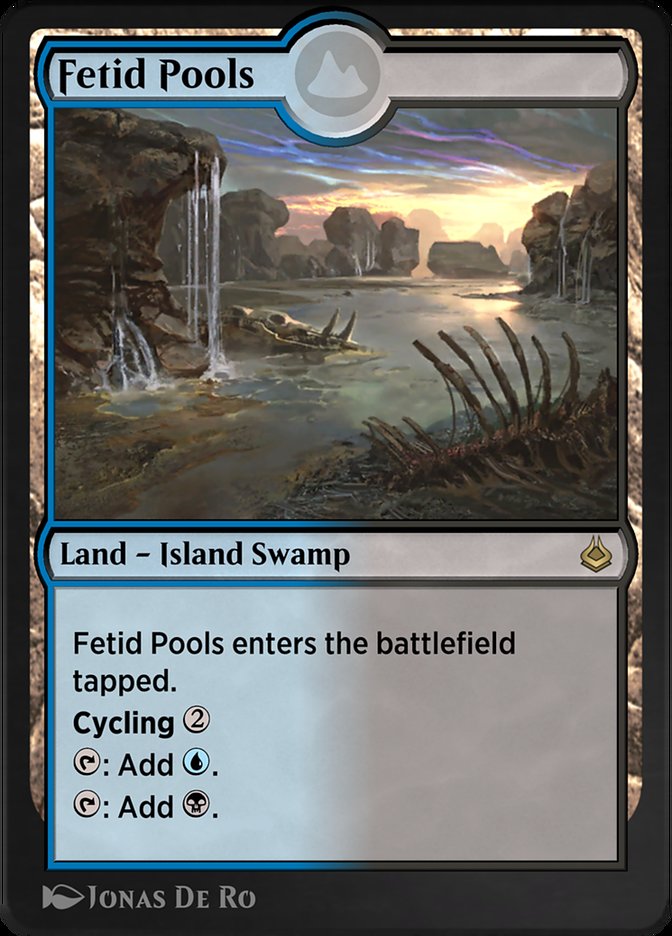
You have about a dozen lands that produce more than one color. The notable ones are Fetid Pools, Sunken Hollow, and Watery Grave since they can be fetched by any of the fetches since they have a basic land type.
The Mana Rocks
For mana rocks you’ve got Lotus Petal and Mox Tantalite as free sources of mana.

Sol Ring and Arcane Signet are here as your classic Commander package.
Dimir Keyrune is playing the same role as Creeping Tar Pit by being able to become an unblockable creature when you need it.
The Playbook
Okay, so you’ve got the deck together and now it’s time to go over all the cool stuff you get to do with it. I’ll go over things looking at different timestamps in a game of Commander because I can’t tell you what to do on each turn. I also can’t tell you how to mulligan with this deck since those decisions rely on your judgment of the other decks at the table.
I can only point you in a general direction. The journey is something you have to complete for yourself.
Turns 1 to 3: Hit the Ground Running
I mean it when I say that you make enemies real fast with this deck, so it’s best to establish your board presence as quickly as possible. Ideally you draw the nuts and play out your first land, a Sol Ring, and an Arcane Signet to establish a flourishing mana base before slamming any of your many 1-drop creatures as well as a Phyrexian Walker or Ornithopter. You’ll become enemy number one after that, but you’ll have plenty of answers to whatever your opponents have to throw at you once you use ninjutsu to start Yuriko’s triggers on turn 2 and get to refilling your hand.
But let’s be a little more realistic. That happens once in a blue moon, so don’t expect it. What you should do is make sure you’ve got the means to play Yuriko by turn 3 at the latest so you don’t fall behind.
You want one of your 0- to 2-drop creatures to play. If you have to stick with a turn 2 creature you should be fine as long as you have a non-creature spell that you can cast on turn 1. Once you’ve gotten your first body on the board, swing that at the first player you can, but only if you know that your creature will make it through for combat damage. This ensures that you can ninjutsu Yuriko out by turn 2 at the earliest for a trigger to deal damage and refill your hand so that you can keep the good stuff going.
Turns 4 to 7: Keep Up the Pace
By now things are most likely heating up and everyone’s establishing a board presence. That’s bad for you; very unhealthy. Spend turns 4 to 7 doing what Yuriko does best to stay in shape and keep your board state: smack players in the face with ninjas as much as possible.
Getting damage in with Yuriko shouldn’t be too difficult during the first few turns so you’re likely to be ahead of the others in terms of cards drawn. Look for more ninjas or some evasion to help Yuriko continue to do damage while remaining risk-free. Do that as much as you can without taking too much damage from your opponents trying to smack you back.
And remember that you run extra turn spells in this deck. You’re more than likely to find one at some point, and you’ll be in a position where you could start casting them if you see the chance around turn 5. Using these can really gain you some distance in your race to the finish line.
Sometimes you might deem that you can’t actively attack, and that’s fine. Hold up counterspells, play down some creatures, set your board up; do what you need to do to survive. It’s at this point that you’re looking for the pieces you need to win the game. It won’t always just fall into your hands so be patient and maximize your value. Measure twice.
Turns 8 and Beyond: Cut Once.
If you haven’t found your win condition by turn 8, keep looking. You want to resolve one of two win conditions that don't involve combat damage: big numbers on the top of your deck with multiple Yuriko triggers on the stack, or the dreaded Thassa's Oracle and Demonic Consultation combo.
The Oracle Consultation combo goes like this:
- You cast Thassa's Oracle and its ability goes on the stack.
- You respond to its ability with Demonic Consultation and name any card that isn’t in your deck list, exiling your library.
- The Oracle ability sees the conditions have been met to win the game and resolves, winning you the game.
While the Oracle Consultation combo is straightforward and only needs two pieces, you’re given a lot of freedom with the big numbers win condition. Try to get your opponents down to around 20 life before executing this one just to make sure they’ll all drop with one swing.
I recommend trying to guarantee three or more Yuriko triggers before going in with Scroll Rack on the field or Brainstorm in your hand. Scheming Symmetry and Mystical Tutor can help to find these for you while you prepare for the finisher.
You can also get lucky with lethal numbers without these cards, but they make the attempt much more consistent. Use Brainstorm or Scroll Rack to make sure your biggest possible cards are on the top of your deck and then attack your opponents’ faces for devastating damage from your multiple triggers.
Contingency Plans
Don't try to win the game without contingency plans.
You’re likely to be holding one of those free counterspells like Misdirection or Commandeer by the time you go for the throat. If you have a free counterspell, feel free to go shields down on your last swing to win the game. If your opponents try to kill your creatures at this point you can use those free counterspells to blindside them and lock in your victory.
Tips, Tricks, and Things to Remember
There are some nuances and neat interactions to keep in mind with a few cards in this deck as well as some ways to maximize your Yuriko trigger damage.
Let’s start with the big one that benefits you the most: you can cast Brainstorm and activate Scroll Rack between the resolution of multiple Yuriko triggers to put big cards like Blinkmoth Infusion or Draco back on top of your deck to be revealed again for unfathomably massive damage. Can you imagine your friends’ faces when you tell them you just dealt 28 or 32 damage? Priceless.
Faerie Seer and Watcher for Tomorrow are cards you want to use to activate ninjutsu as much as possible. Watcher gives you the card that it tucked away when you return it to your hand and Seer becomes a repeatable scry 2 for one mana.
Misdirection and Commandeer can counter normal counterspells, not just removal. Counterspells still target a spell so these cards can force your opponent’s counter to target themselves. Since they resolve before the counter would, the counter loses a legal target and does nothing.
Distortion Strike has rebound, meaning you can exile it after it resolves and cast it again at the beginning of your next upkeep without paying its cost. I’ve cast this card without actually using its effect, attacking with the creature I targeted because I wanted to avoid paying that mana on the turn after while still getting the effect so that I could squeeze out another spell at the same time to win the game. It’s super niche to play it in like that, but you may as well go for it if you’re having a hard time attacking since you need to keep blockers up and set yourself up for the next turn.
Rule 0 Violations Check
Make sure to check with your play group to make sure that they’re okay with playing against this list if you plan to follow the build here.
Yuriko as a commander is built with what can feel like a downright evil win condition. It can win extremely quickly and your opponents sometimes might not get to participate much because of how much damage it can put out, not to mention the Oracle Consultation combo floating around in the 99. Not everyone likes to play at that power level, so do your due diligence and check in with your homies before bringing this to the table.
That said, this list isn’t perfect and it’s not always consistent, but I like to play it a lot because it feels powerful when you deal huge damage off of Yuriko’s triggers with some clever plays to set up your deck with big spells to reveal. My playgroups are fine with it because they can match the deck in power.
Sometimes I’ll make a promise to not use the Oracle Consultation combo at all that evening before we start playing and just swap them out for basic lands. No deck is fun to play if nobody else has fun playing against it.
Alternate Budget Build: More Ninjas
There are other ways to go about this deck as I’m sure you can imagine. If you don’t like the list I’ve already shared or it’s too hard on your budget, there are solutions to that problem. Here are some suggestions for changes to make to gear the deck in different directions.
First thing’s first: scrap the expensive fetch lands and throw in more basics and some cheap utility lands of your choice. You immediately save tons of money.
Next, rip out those pesky expensive extra turns and bring in some of the cheaper tutors like Diabolic Tutor and Profane Tutor as well as Mastermind's Acquisition and Final Parting. These tutors aren’t all cheap to cast so they actually make great cards to reveal with Yuriko!
Other cards I suggest immediately removing are Reanimate, Mana Drain, Demonic Consultation, Mystical Tutor, Lotus Petal, and Force of Negation. Those are a huge chunk of the price of this deck along with the fetch lands.
To replace those cards I’d recommend bringing in Silent-Blade Oni, Okiba-Gang Shinobi, Moonblade Shinobi, Throatseeker, and Ninja of the New Moon. This shift your creature base more into ninjas for more Yuriko triggers, plus more creatures on board for a fun time with a tribal theme.
You can replace spells like Misdirection and Commandeer with cards like Negate and Mystical Dispute.
Scroll Rack and Sensei's Divining Top also need to go to preserve your wallet’s wellbeing. You could easily slot in any mana rock you want in their place, or you could bring in some pet cards of your own! I used to run Void Beckoner because I had the Space Godzilla alternate art for it, plus I liked saying “Yuriko triggers revealing Spacegodzilla for eight damage.”
From this point the deck’s price is dramatically cut, but you can go cheaper if you want. You can have a lot of fun at a lower budget when you start finding cards you really like that delve cards that cost a lot of mana and just a few cents. They make for great hits on a Yuriko trigger for big damage and can reduce the stress on your wallet when building the deck. Go wild and have fun with it!
Commanding Conclusion

Watcher for Tomorrow | Illustration by Tommy Arnold
That’s about it, folks. I’ve had a blast going over this deck with you and being able to show you the list that I run. That said, I always keep it in the back of my mind to try and build an alternate version of Yuriko at some point in time. Not sure exactly what every change would be, but I’m a big fan of ice and snow lands. I adore all the snow cards I can get my hands on and Kaldheim was a dream come true.
I’d definitely pick up cards like Runo Stromkirk and Hullbreaker Horror (I know it’s not snow but they give me the cold icy vibe, y’know?) from Crimson Vow, and I’d absolutely double back to Kaldheim to grab Icebreaker Kraken, Blood on the Snow, and Graven Lore for the deck. There are also tons of big mana kraken creatures, so I’d consider a sort of ninja-kraken-hybrid tribal using Maskwood Nexus or Arcane Adaptation. So many options…
All that said, I really hope you enjoy check this list. If you did and you want more cool and powerful EDH decklists, check out the Draftsim blog.
Stay safe and I hope to see you back here next time!
Follow Draftsim for awesome articles and set updates:


1 Comment
You should consider adding Sun Quan, Lord of Wu… basically all your creatures become unblockable.
Add Comment