Last updated on June 28, 2024
Satoru Umezawa | Illustration by Anna Pavleeva
Kamigawa: Neon Dynasty is finally here, and I couldn’t help but put together a Commander deck with a new creature from the set. I thought I’d have a hard time choosing a commander to go with but the moment Satoru Umezawa was revealed I knew I’d have to make a list focused on it.
So today I’m bringing you a complete guide and primer on this new legendary creature. I’ve got the list, a rundown of everything included and why, some suggestions for playstyle, possible Rule 0 violations, and how you can save money building the deck.
With the intro out of the way, let’s get to the fun part!
The Deck
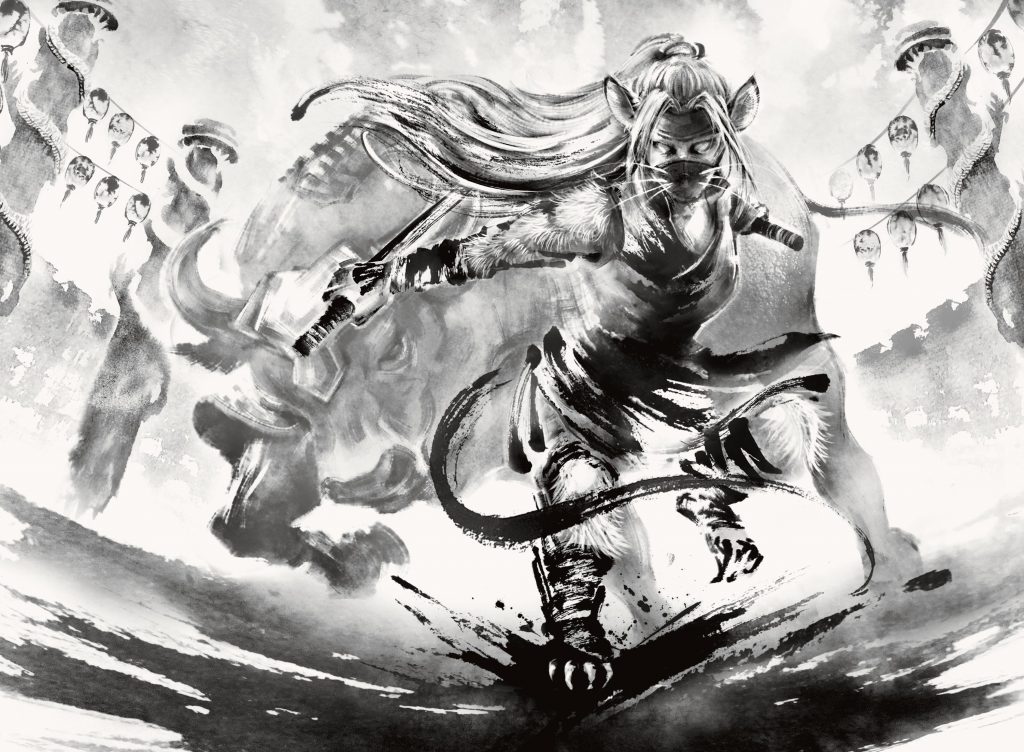
Ink-Eyes, Servant of Oni (Secret Lair) | Illustration by JungShan
Commander (1)
Planeswalker (1)
Creatures (35)
Jin-Gitaxias, Core Augur
Wingcrafter
Tormented Soul
Spectral Sailor
Triton Shorestalker
Gingerbrute
Slither Blade
Mist-Cloaked Herald
Ornithopter
Changeling Outcast
Faerie Seer
Silver-Fur Master
Gudul Lurker
Ingenious Infiltrator
Tetsuko Umezawa, Fugitive
Mist-Syndicate Naga
Mausoleum Wanderer
Thousand-Faced Shadow
Fallen Shinobi
Nashi, Moon Sage's Scion
Void Winnower
Sheoldred, Whispering One
Thassa, God of the Sea
Toxrill, the Corrosive
It That Betrays
Higure, the Still Wind
Sakashima of a Thousand Faces
Razaketh, the Foulblooded
Ink-Eyes, Servant of Oni
Consecrated Sphinx
Emrakul, the Promised End
Blightsteel Colossus
Ulamog, the Infinite Gyre
Kozilek, Butcher of Truth
Sakashima's Student
Instants (13)
Brainstorm
Delay
Misdirection
Snuff Out
Swan Song
Flusterstorm
Deadly Rollick
Cyclonic Rift
Mana Drain
Vampiric Tutor
Fierce Guardianship
Force of Negation
Force of Will
Sorceries (9)
Feed the Swarm
Reanimate
Show and Tell
Sea Gate Restoration
Agadeem's Awakening
Toxic Deluge
Damnation
Demonic Tutor
Imperial Seal
Enchantments (3)
Rhystic Study
Bitterblossom
Dream Halls
Artifacts (9)
Dimir Signet
Lightning Greaves
Commander's Plate
Lotus Petal
Sensei's Divining Top
Chrome Mox
Jeweled Lotus
Mana Crypt
Mox Diamond
Lands (29)
Command Tower
Snow-Covered Swamp x4
Clearwater Pathway
River of Tears
Snow-Covered Island x5
Underground River
Watery Grave
Darkslick Shores
Marsh Flats
Sunken Ruins
Verdant Catacombs
Prismatic Vista
Mana Confluence
Misty Rainforest
Scalding Tarn
Urborg, Tomb of Yawgmoth
Morphic Pool
Flooded Strand
Shizo, Death's Storehouse
Bloodstained Mire
Polluted Delta
Underground Sea
This list is very similar to your typical run-of-the-mill ninjutsu deck with a commander like Yuriko, the Tiger’s Shadow where you trigger ninjutsu early and often to deal huge amounts of damage as fast as possible. But the twist here is that you have Satoru Umezawa in the command zone!
Instead of focusing on flipping high mana value cards on top of your deck, you’re ninjutsu-ing giant creatures and bombs as early as turn 3. You want to get out creatures like Jin-Gitaxias, Core Augur, Blightsteel Colossus, and It that Betrays, so keep your hopes high for this deck.
This deck isn’t quite cEDH level thanks to a lack of game-winning combos, but it can still be considered “high power” and has plenty of fast mana and tutors available.
The Commander
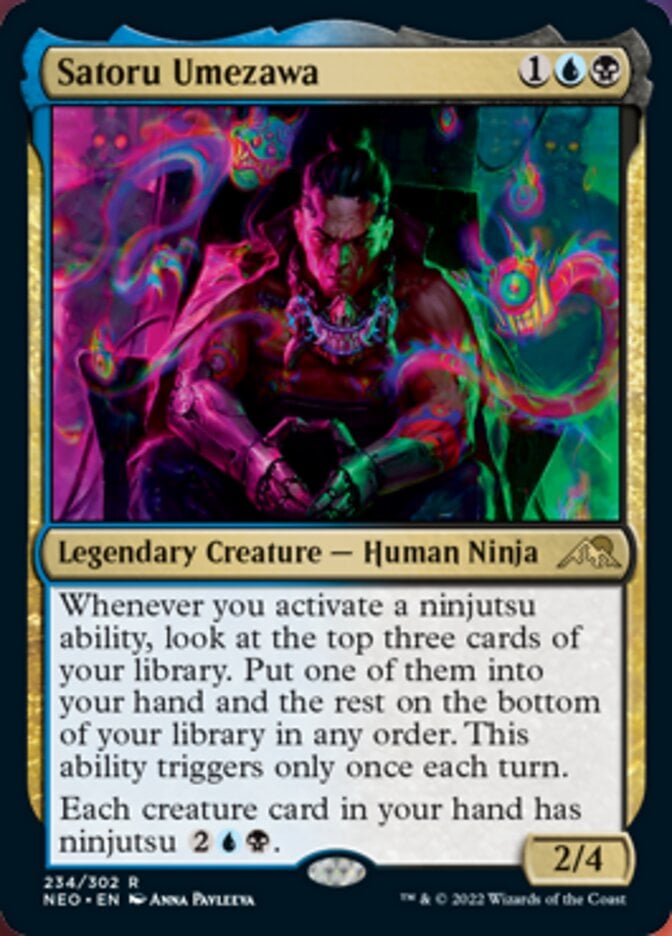
Satoru Umezawa quickly rose as the most popular and talked about card during Neon Dynasty’s spoiler season. Players were quick to theory craft it as a commander and how they could ninjutsu out Ulamog, the Infinite Gyre as quickly as possible. This build with Satoru at the helm aims to do just that.
Every single creature in your hand has ninjutsu for thanks to Satoru’s static ability. And you may have already noticed that it curves out perfectly with a 1- or 2-mana unblockable creature, your commander on three, and then a ninjutsu-d Eldrazi or Phyrexian Praetor on four. This is the heart and soul of the deck and the goal every time you attack with a little creature like Ornithopter.
Your commanders’ first ability is also a nice bonus that helps keep your hands full of great ninjutsu targets. You get to dig through your top three cards and grab something new every time you activate a ninjutsu ability, which is ideally every turn. This supplies you with plenty of card advantage if you need to consistently refill your hand, search for removal, or continue applying pressure.
Early Creatures and Attackers
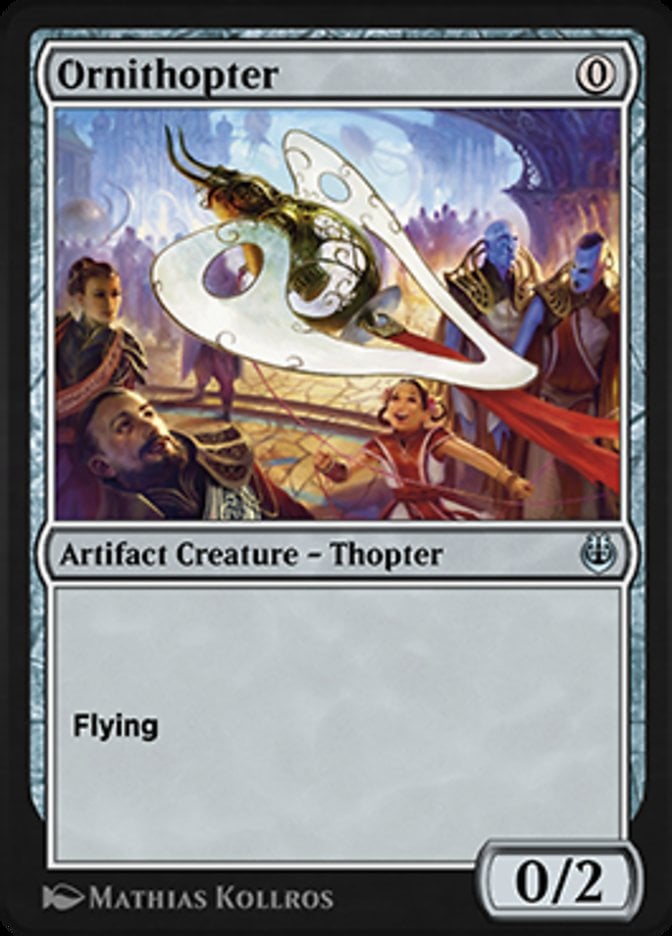
The most important part to succeeding with this deck is to get hard-to-block creatures that can consistently attack on the turn you have your commander out early so that you can ninjutsu something far more powerful. The best early creatures for this areOrnithopter and Slither Blade. Your deck is just some mediocre Dimir () list with too many high-cost creatures for its own good if you can’t manage that.
This list includes 14 1- and 2-drop creatures that have some combination of unblockable, flying, or both. This gives you a 71.5% chance to see at least one of these in your first eight cards and gives you a 91.4% chance to see them if you mulligan to six.
Not only are these creatures easy to get guaranteed attacks with but they’re also cheap. This means you can almost always replay them after they’re bounced to your hand for a ninjutsu trigger. But you don’t want to bounce your good creatures like Fallen Shinobi so you need to make sure that you can refill the board with at least one unblocked attacker each turn.
Removal
Removal is critical to any deck’s success, even one that hopes to win far before removal is super necessary. This list runs light in comparison to other decks on the hard removal but it certainly has enough.
Feed the Swarm is excellent cheap removal that hits creatures and enchantments. Losing life isn’t really a downside when you’re starting with 40 and probably have the best board by turn 5 or 6.

Damnation is one of the best sweepers and it’s easy to cast. It also hits hexproof creatures that might evade your other removal spells. The downside here is that it also hits your creatures, but luckily you have plenty of cheap attackers to refill with.
Toxic Deluge is another sweeper that gives you some options as to how much you want to kill. Most of your bigger bombs have incredibly high toughness so you can usually kill what you want while preserving your own board. And the life total cost isn’t really anything to worry about since taking four to six life is nothing compared to how much value you get from killing things with this.
Deadly Rollick presents free removal and is four mana to exile something at worst. This is as good as it gets since the most threatening creatures often have indestructible (looking at you Blightsteel Colossus).

Snuff Out is the last piece of instant-speed removal you have and you can actually cast it for just four life instead. This is another great example of trading life for resources, something every Magic player needs to learn to enjoy doing. The only downside here is in its targeting scope: it can’t hit black creatures, but it’s still amazing.
Counterspells and Interaction
In case the list of black cards had you fooled you are also playing blue cards in this deck, and this is where most of them are. Most of your blue interaction comes in counterspells of various kinds but there are also some other spells worth mentioning.
Flusterstorm, Swan Song, Fierce Guardianship, Force of Negation, and Misdirection help prevent and disrupt many of the of noncreature spells your opponents try to cast. These should most often be used to counter counterspells and protect your commander since that’s the biggest way to set your deck back a turn or three.


Delay, Mana Drain, and Force of Will are great general counterspells that can be used for a variety of defensive or offensive measures. Delay gets worse the more casual of a format and table you play at, but this list is meant for higher power games where three turns can mean the death of whoever is on the receiving end.
A copy of Cyclonic Rift is included since this spell is just far too good to not be automatically included in any Commander deck that plays blue. It’s amazing and will sometimes just result in a scoop from your token or Treasure-playing opponents which is always nice to see.
Tutors and Tutor Targets
Black has access to some of the best tutors in all of Magic and you definitely want to include them wherever possible. This deck needs both an early creature and something big to ninjutsu out and you might want a specific creature or removal spell to smooth things out even if it isn’t hard to get that because of how the deck is built.
Imperial Seal hits anything in your deck and places it on top. You need to either wait a turn or have some kind of card draw to get it into your hand, but Wishing for a card for just is amazing. This card currently has a huge price tag of over $1,500, though, so you may want to check if proxies are allowed in your playgroup.
Vampiric Tutor is a little more aggressive than Imperial Seal since it goes at instant speed. This makes it a great cast at the end step of whoever is to your right at the table.
Demonic Tutor costs but it puts the card directly into your hand. This means you can tutor out something like Consecrated Sphinx on your first main phase and then have it ready for your upcoming ninjutsu trigger.
As for tutor targets you want to use tutors as an effective blank check that can be used to fill the gap in whatever plan you’re running. You’ll always have access to your commander thanks to the command zone and you’ll probably always have an unblockable creature of some kind out early. You want to try and prioritize using tutors to get the best creature to ninjutsu out. If somebody is drawing a lot of cards per turn, opt for something like Jin-Gitaxias, Core Augur or Consecrated Sphinx instead of It that Betrays.
Ninjutsu Targets
This deck has one goal: to get guaranteed attacks in and ninjutsu out big creatures. This means that most of the makeup of your creature base consists of one or the other. There are 14 good ninjutsu creatures that throw you massively ahead of your opponents if you’re able to get them out on time.
Fallen Shinobi is one of the cheaper cards that you may end up ninjutsu-ing or hard casting. The effect of stealing an opponent’s card can get real nasty, especially when they’ve stacked their deck or scry’d something to the top.
Higure, the Still Wind is similar to Shinobi but it tutors out another ninja as its combat damage trigger. There are plenty of them to look for in your deck with the best being Fallen Shinobi or Sakashima's Student.
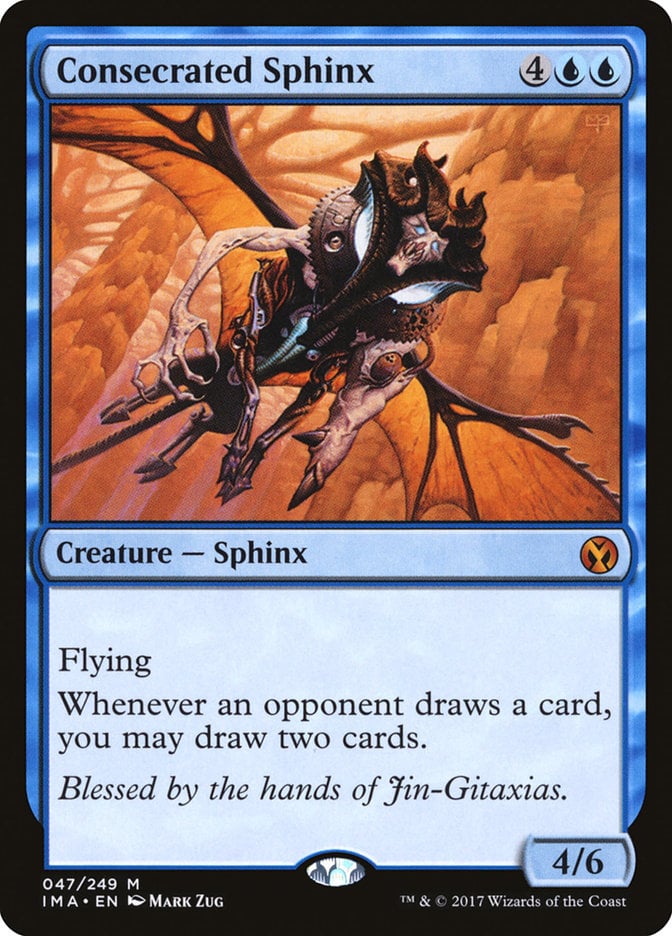
Consecrated Sphinx is a cult classic blue bomb that’s also one of my personal favorites. You’re looking at six free cards minimum if it gets around the table even once.
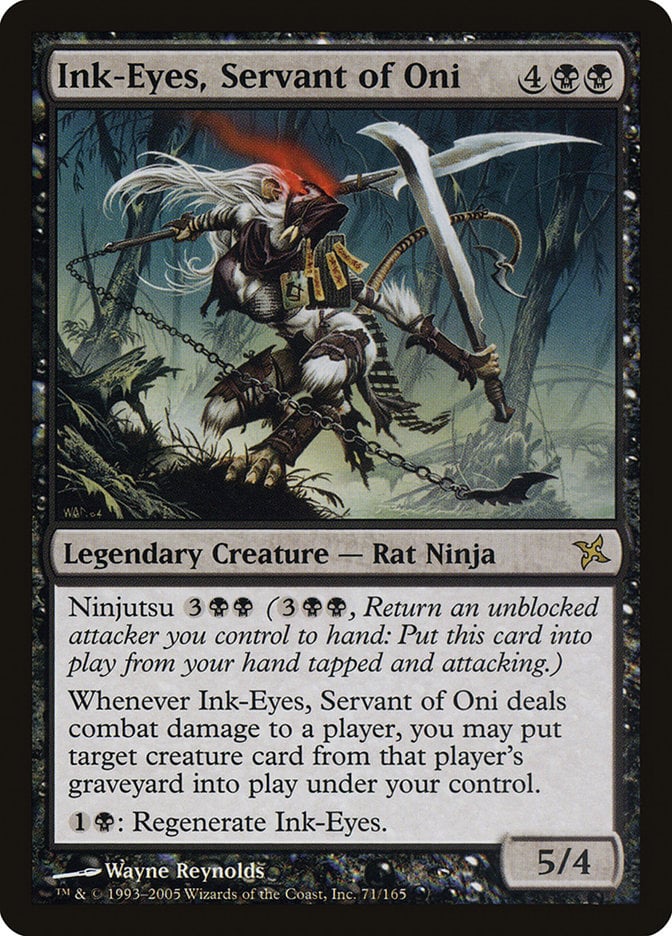
Ink-Eyes, Servant of Oni is Reanimate on a stick that also hits your opponents’ graveyards. This is great in multiplayer since you almost always have something that died that’s worth reanimating on your side of the table. Something as cheap as Baleful Strix or Courser of Kruphix is always great and we welcome this value.
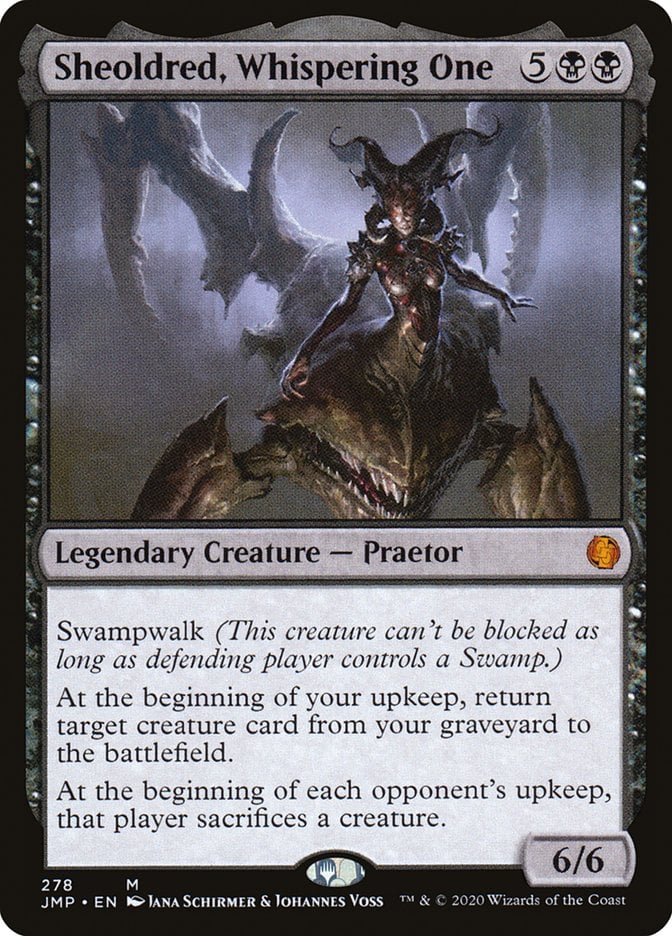
Sheoldred, Whispering One is the black Phyrexian Praetor that can usually win a game on its own. It starts reanimating creatures on your upkeep which makes it an excellent tutor or end-game ninjutsu target. Its forced-sacrifice mechanic also comes in clutch a lot, especially against more instant- and sorcery-based decks that might not have enough sacrifice outlets to keep up.
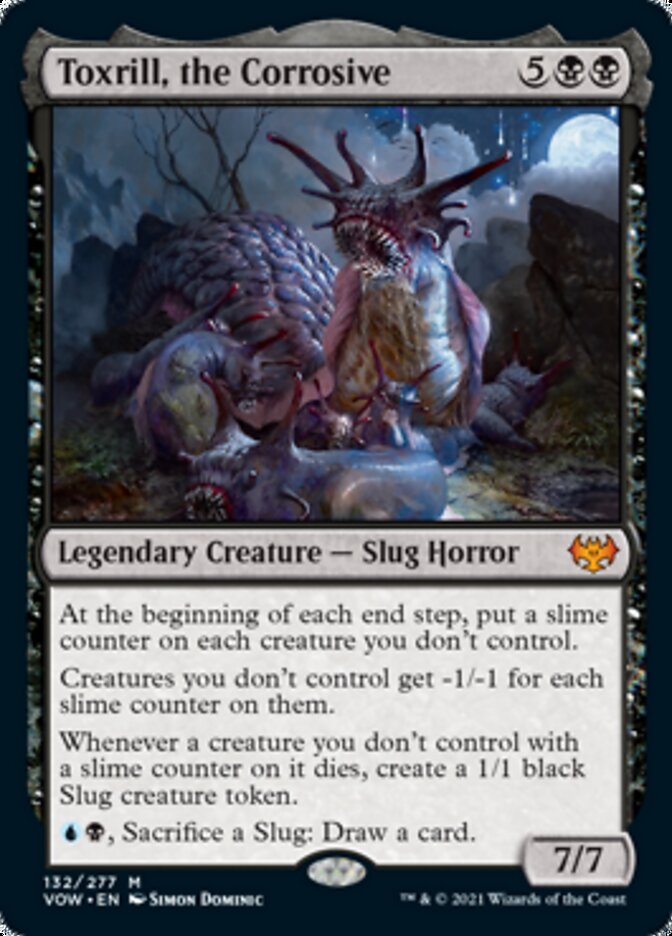
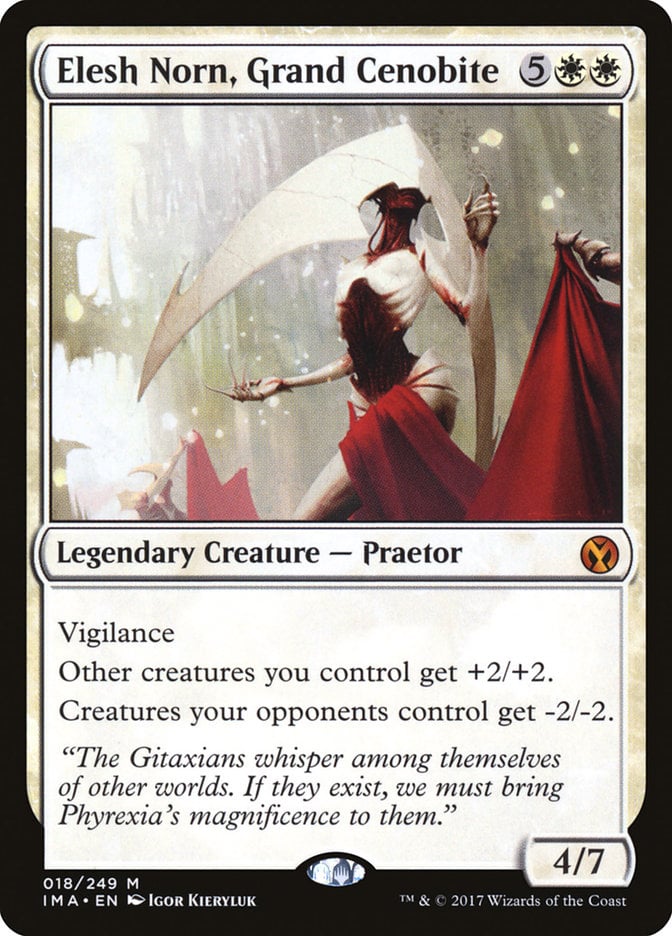
Toxrill, the Corrosive is an excellent board wiper that’s almost on-par with Elesh Norn, Grand Cenobite. It also provides some nice card advantage and plenty of cheap creatures to attack and ninjutsu with.
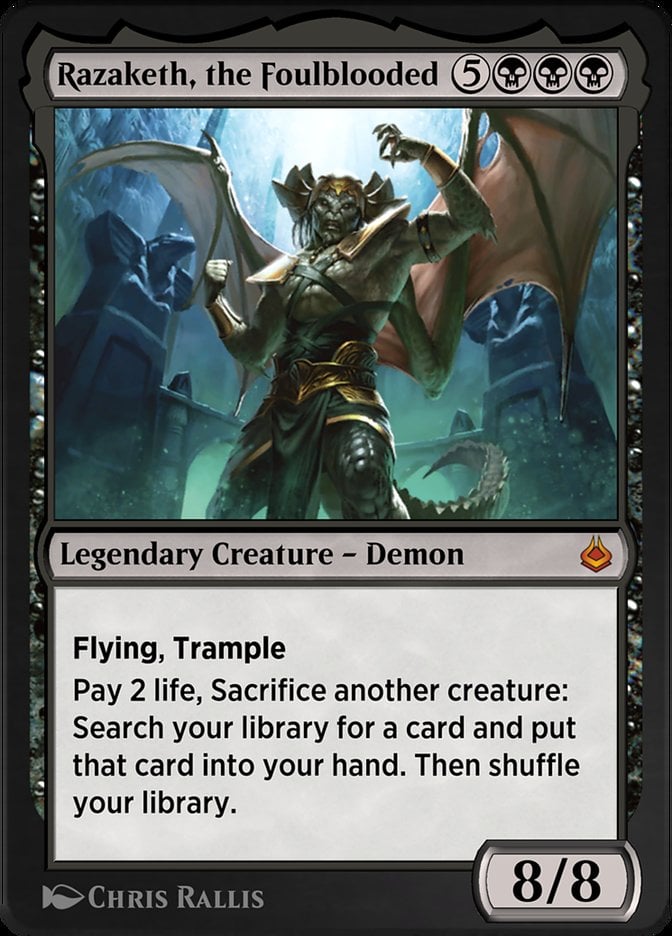
Razaketh, the Foulblooded is one of the most powerful cards in the deck. It lets you sacrifice your cheaper creatures later to tutor more bombs and necessary cards.
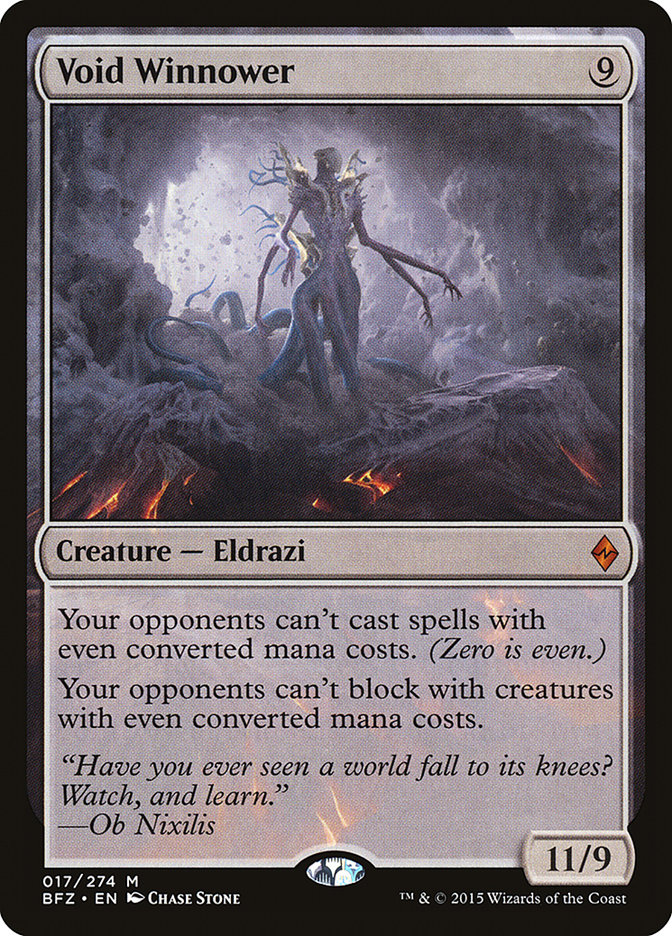
Void Winnower restricts your opponent’s blockers and makes your life a bit easier.
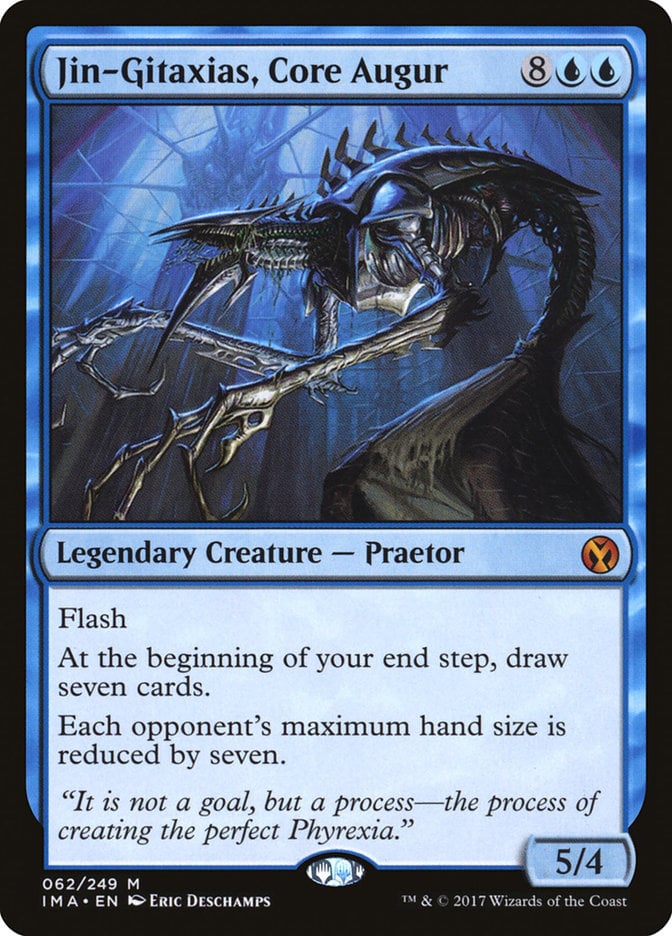
Jin-Gitaxias, Core Augur is the second Phyrexian Praetor on the list and is the best way to dig through your deck for more gas while simultaneously restricting your opponent’s abilities.
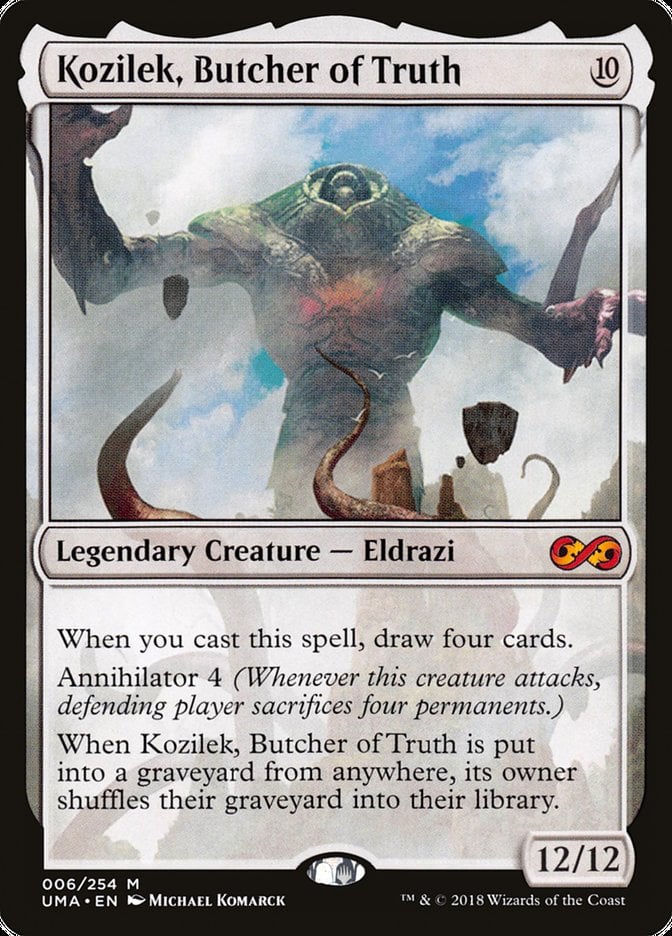
Kozilek, Butcher of Truth is a 12/12 body with horrific implications if you get to untap with it. It’s also important to note here that ninjutsu doesn’t work with annihilator triggers since that trigger happens when the creature first attacks, not just while its attacking. You won’t get that until you attack with it conventionally. The same applies to any creature with this keyword.
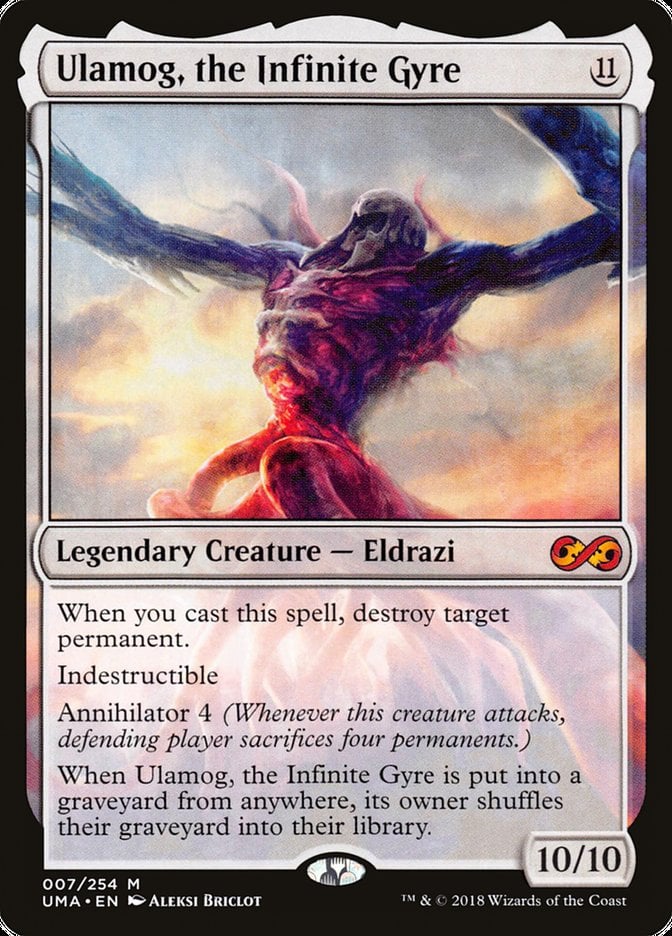
Ulamog, the Infinite Gyre is another indestructible body that keeps you from milling yourself and has excellent annihilator capabilities.
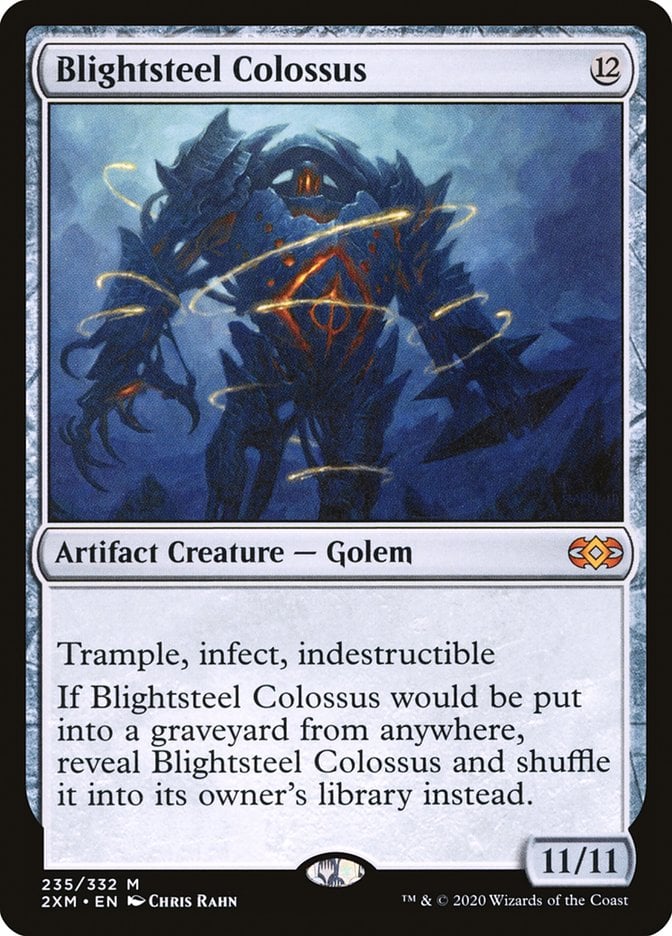
Blightsteel Colossus is a one-shot one-kill creature that kills with infect if it is ninjutsu-d out. The lethal amount of infect counters is officially still 10 which makes it far too strong in Commander to miss out on. But most household rules or groups opt to raise this number to 15 or 20 which is something you’ll want to discuss before the person is facing down the gun.
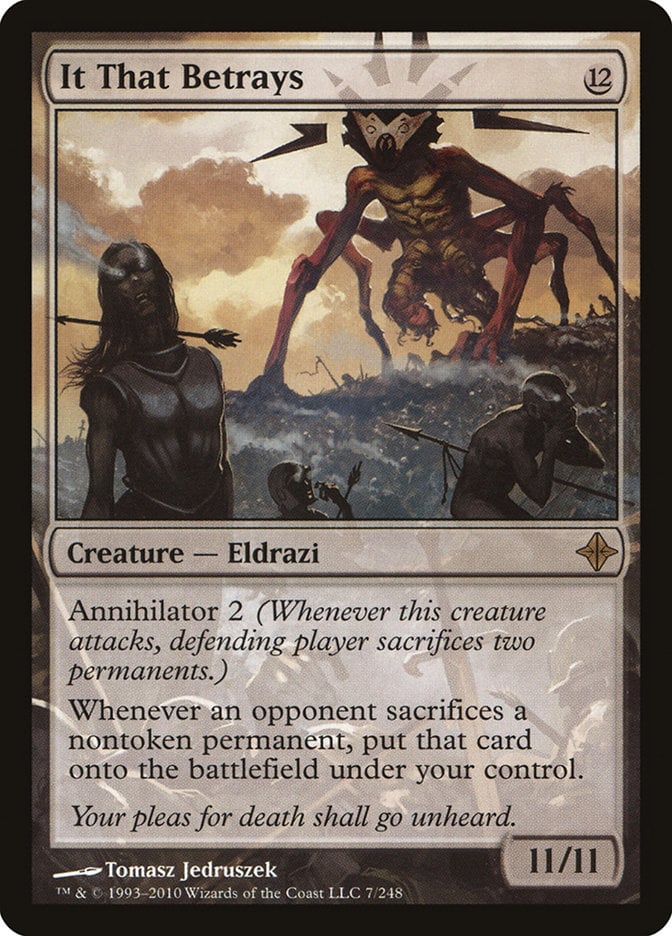
It That Betrays is another annihilator Eldrazi that puts the nail in the coffin of sacrifice-based decks and turns them into your personal sidekick.

Emrakul, the Promised End is the most threatening Eldrazi in this list mostly because it’s incredibly hard to kill and has both flying and trample. The bonus here is that you have a decent chance of hard casting this in Commander since reaching 9 to 11 mana with some cards in the graveyard is only a matter of time. Taking control of somebody is incredibly fun and you can often completely ruin a player’s game doing so (bonus!).
The Mana Base
The mana base is the most underrated and important part of any deck, especially multicolored ones. Consistently hitting the right colors is super importance so this deck includes just about every dual land that’s legal and playable. That includes everything from Clearwater Pathway to Underground Sea.
Let’s look at the specifics.
Mana Acceleration
Mana acceleration can be really strong in this deck since it either lets you do your ninjutsu plan a turn earlier or get to the point where you can hard cast a lot of your big creatures.
Something that may have jumped out at you is that the deck doesn’t run Sol Ring. You might be thinking to yourself, “how could you not run Sol Ring!?” The answer to that is that you don’t really need it. Your ideal turn 1 is playing one of your creatures that cost just or , and using that mana to get colorless isn’t beneficial most of the time. Your commander also doesn’t benefit from .
You’re better off using space for things like Chrome Mox or Lotus Petal. But the deck does run Mana Crypt because it costs and is strictly better than Sol Ring.
As for the other mana ramp, you have Jeweled Lotus for a turn 1 commander and Dimir Signet for mana fixing. This deck is pretty low to the ground so you only need to include a few great mana rocks instead of a lot of decent ones that something like Gruul () Werewolves would do.
Lands
You run every possible fetch land including Misty Rainforest, Marsh Flats, Scalding Tarn, Flooded Strand, Bloodstained Mire, and Polluted Delta. These helps you consistently have both colors turn 2.
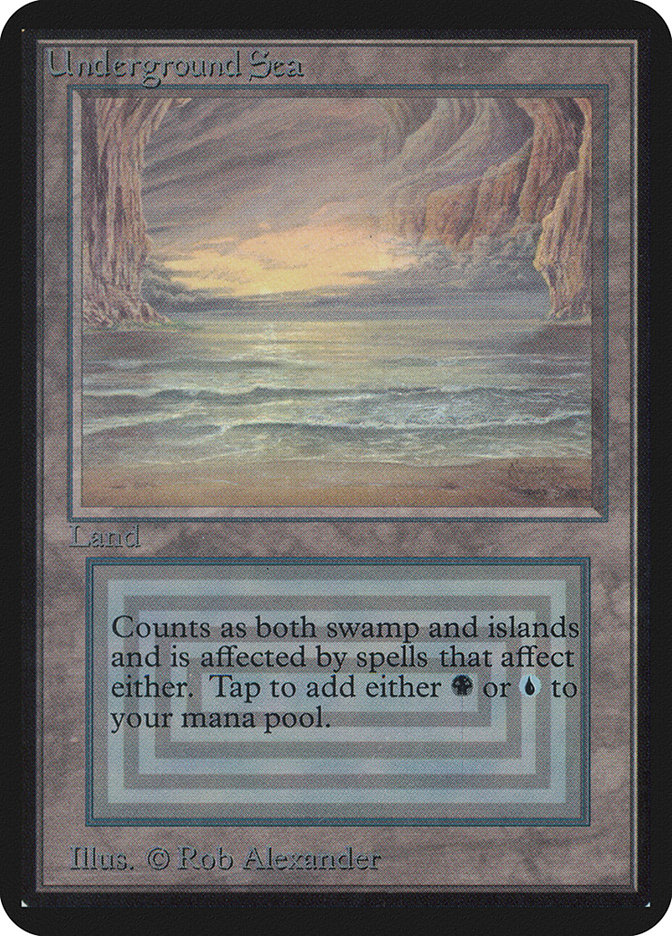
You also have plenty of fetch targets in your snow-covered lands, Watery Grave, and Underground Sea.
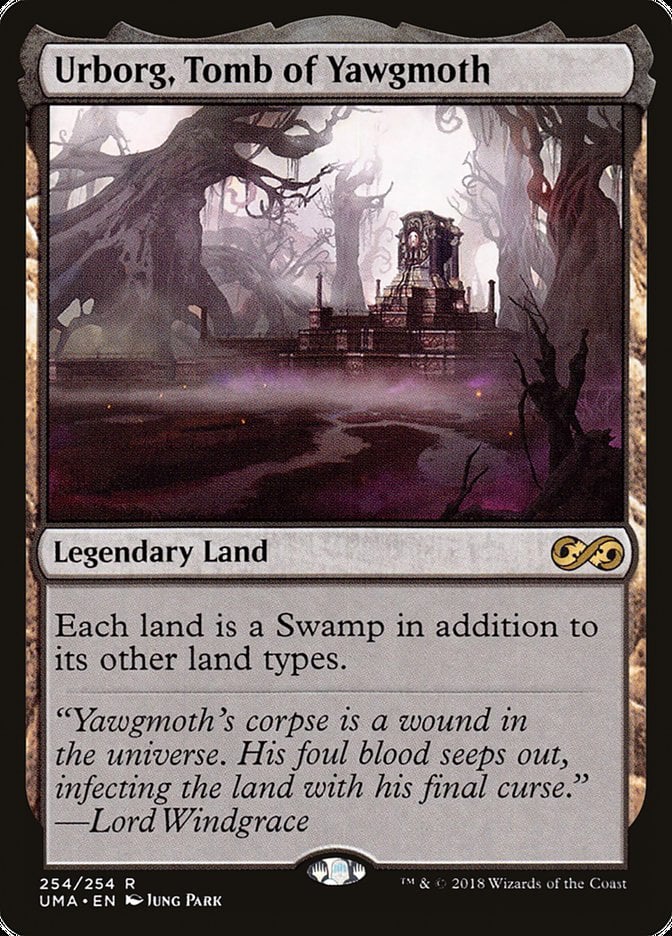
Urborg, Tomb of Yawgmoth is a great inclusion as a utility land and helps with your fixing. And it’s really all you need.
The Strategy
Your strategy and goals with this deck can be broken down into a few parts.
First is your turn 1, which should always be playing some kind of fast attacker like Mist-Cloaked Herald or Gudul Lurker. Some quick mana is also nice but not necessary since your first priority is playing a creature.
Your ideal turn 2 is tutoring something to ninjutsu out on 4 or playing Satoru Umezawa with something like Chrome Mox to go with your second land. You also want to ninjutsu out a powerful threat with your commander’s ability which will launch you ahead and hopefully provide some card advantage.
While this strategy is pretty simple and straightforward, knowing what to ninjutsu out and how hard you should play into board wipes will help you maximize your win rate. Your biggest mistakes with this deck is putting all your eggs in one basket only for it to get swiftly removed by a player that knows what they’re doing.
Don’t get too aggressive with this list. One powerful threat is usually enough and you have to be able to constantly re-apply pressure after removal and sweepers inevitably come down.
Combos and Unique Interactions
There aren’t any infinite combos in the deck that I know of. You don’t need to worry about going too overboard on power level here. But there are still some great interactions that you may want to take note of.
Sheoldred, Whispering One goes great with It That Betrays to make for an awesome sacrifice-to-your-board engine.
Jin-Gitaxias, Core Augur pairs well with Ink-Eyes, Servant of Oni to reanimate creatures that your opponents discarded.
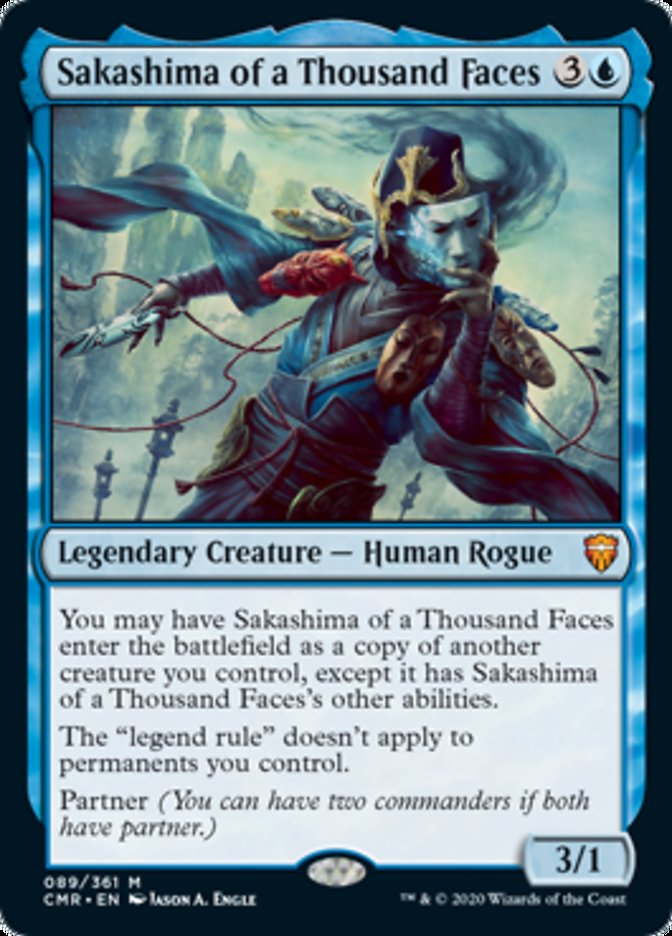
Sakashima of a Thousand Faces doesn’t trigger the legend rule so you can compound the effects of Sheoldred, Whispering One or one of your Eldrazi to seriously maximize threat level.
Possible Rule 0 Violations
“Rule 0” refers to the “have fun” rule of Commander, where those playing can set custom rules to better enhance the casual and fun aspect of the format. These include things like restricting tutors, no fast mana, no combos, etc.
There are quite a few possible violations in this list so here’s a brief list of things to mention to your playgroup to make sure you’re good to go if you want to run this build:
- There are tutors in the list in the form of Demonic Tutor, Vampiric Tutor, Imperial Seal, and (kind of) Razaketh, the Foulblooded.
- Your fast mana includes Mana Crypt, Chrome Mox, and Jeweled Lotus.
- There are no infinite combos.
- There are multiple fetch lands as well as one original dual land.
If you need to describe your deck’s power level, this sums it up pretty well:
My deck has some tutors and fast mana but no infinite combos. My deck isn’t totally cEDH level but it’s still pretty powerful and will win by turn 7 or 8 if I’m left to my own devices without interruption.
Budget Options
This deck is expensive so it’s important to know what you do and don’t need. The mana base is where you should look first in terms of cutting costs. This is a pretty simple deck when it comes to colors since there are only two and most cards don’t need anything crazy like .
Cutting the fetch lands, Underground Sea, and the fast mana can be done without much hesitation. Sakashima's Student and the Eldrazi can be replaced with other large creatures of your choice which saves you a few hundred dollars. The Forces (Force of Negation and Force of Will) are also both not critical and can be replaced with Counterspell and Arcane Denial. Imperial Seal on its own will save you a month’s worth of rent and, quite frankly, don’t buy it. Proxy it or don’t play it.
Other Builds
There aren’t really any other builds to really replace this with while using the same commander. This deck can easily be transitioned into a Yuriko, the Tiger’s Shadow EDH list, but that’s more of a different commander than a “different build.”
This is just how I put the deck together and what I thought would be good. You don’t need to use this as rule of law when building your own list. Use this build as a reference for how the deck wants to function and what cards and makeup lead to a successful list.
Commanding Conclusion
Jin-Gitaxias, Core Augur | Illustration by Eric Deschamps
That wraps up today’s guide to Satoru Umezawa! I really like this commander and I’m excited to play with it once I get a chance to buy a copy from my local game store.
What do you think of the commander and, more broadly, the new Neon Dynasty set? Do you think Satoru will dethrone Yuriko, the Tiger's Shadow as the top Dimir and ninjutsu commander? Let me know down in the comments or over on our official Draftsim Discord.
Until next time, stay safe and stay healthy!
Follow Draftsim for awesome articles and set updates:


Add Comment