Last updated on December 19, 2024
Teysa Karlov | Illustration by Magali Villeneuve
Commander is a popular format beloved by deckbuilders because you can infuse your essence into your brews while having fun with your games. You can go casual, or you can go competitive; it depends on what your playgroup is up to. The bottom line is that there's tons of room for brewing.
I like sacrifice effects and triggers when creatures hit the battlefield, and today I’m going to go over a great aristocrat commander that loves this. Teysa Karlov is tons of fun, and while it’s not a premier deck I do have a semi-competitive list here for you.
Let's get started!
The Deck
Liliana, Dreadhorde General | Illustration by Chris Rallis
Commander (1)
Planeswalker (1)
Creatures (32)
Weathered Wayfarer
Carrion Feeder
Cruel Celebrant
Blood Artist
Priest of Forgotten Gods
Reassembling Skeleton
Skirsdag High Priest
Skyclave Shade
Zulaport Cutthroat
Bloodghast
Mentor of the Meek
Ministrant of Obligation
Athreos, God of Passage
Teysa, Orzhov Scion
Grim Haruspex
Midnight Reaper
Pawn of Ulamog
Solemn Simulacrum
Luminous Broodmoth
Elenda, the Dusk Rose
Disciple of Bolas
Falkenrath Noble
Pitiless Plunderer
Sifter of Skulls
Vindictive Vampire
Yawgmoth, Thran Physician
Reveillark
Karmic Guide
Shriekmaw
Requiem Angel
Sun Titan
Grave Titan
Instants (6)
Enlightened Tutor
Path to Exile
Swords to Plowshares
Vampiric Tutor
Anguished Unmaking
Utter End
Sorceries (8)
Rite of Oblivion
Demonic Tutor
Damn
Vindicate
Toxic Deluge
Victimize
Living Death
Austere Command
Enchantments (7)
The Meathook Massacre
Animate Dead
Bitterblossom
Bastion of Remembrance
Phyrexian Arena
Dictate of Erebos
Open the Graves
Artifacts (7)
Skullclamp
Sol Ring
Lightning Greaves
Ashnod's Altar
Blasting Station
Whip of Erebos
Bolas's Citadel
Lands (38)
Ancient Tomb
Arid Mesa
Bloodstained Mire
Bojuka Bog
Cabal Coffers
Caves of Koilos
Command Tower
Eiganjo Castle
Fabled Passage
Flagstones of Trokair
Flooded Strand
Godless Shrine
High Market
Isolated Chapel
Mana Confluence
Marsh Flats
Nykthos, Shrine to Nyx
Plains x5
Polluted Delta
Reliquary Tower
Scrubland
Shattered Sanctum
Shizo, Death's Storehouse
Swamp x8
Urborg, Tomb of Yawgmoth
Verdant Catacombs
Windswept Heath
The Commander
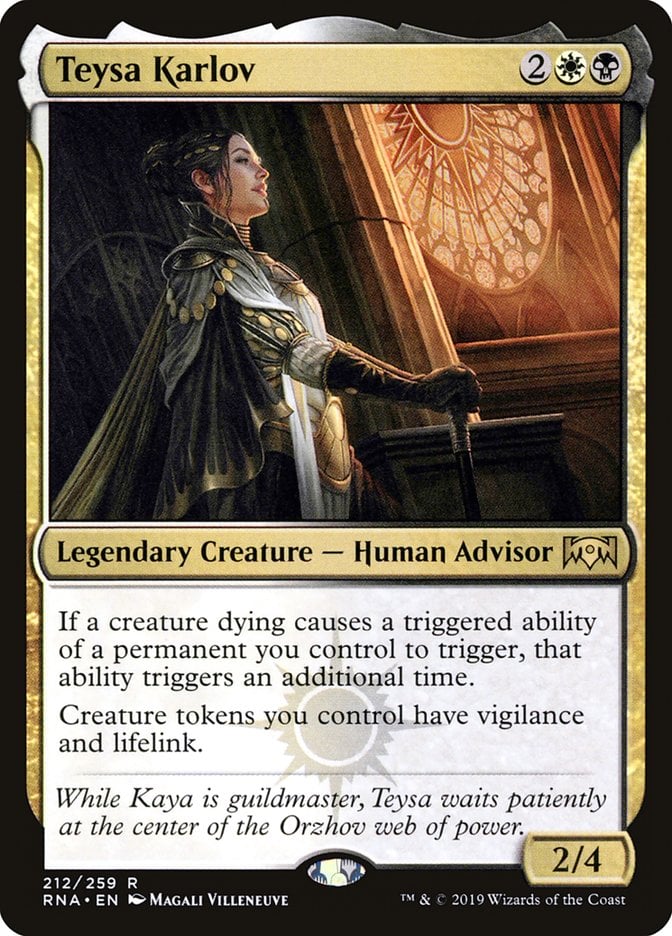
Teysa Karlov is a great sacrifice commander that needs to be built around creature death triggers since it doubles the effect whenever this happens. These effects are usually “innocent” if they only happen once, but your opponents will have a hard time staying alive when they pile up and affect the whole board in the long game.
Teysa’s second ability isn’t irrelevant since staying alive is ideal, particularly when you use global effects that annoy the table. Not to mention that lifelink on vigilant tokens can be critical in various parts of the game.
Tutors
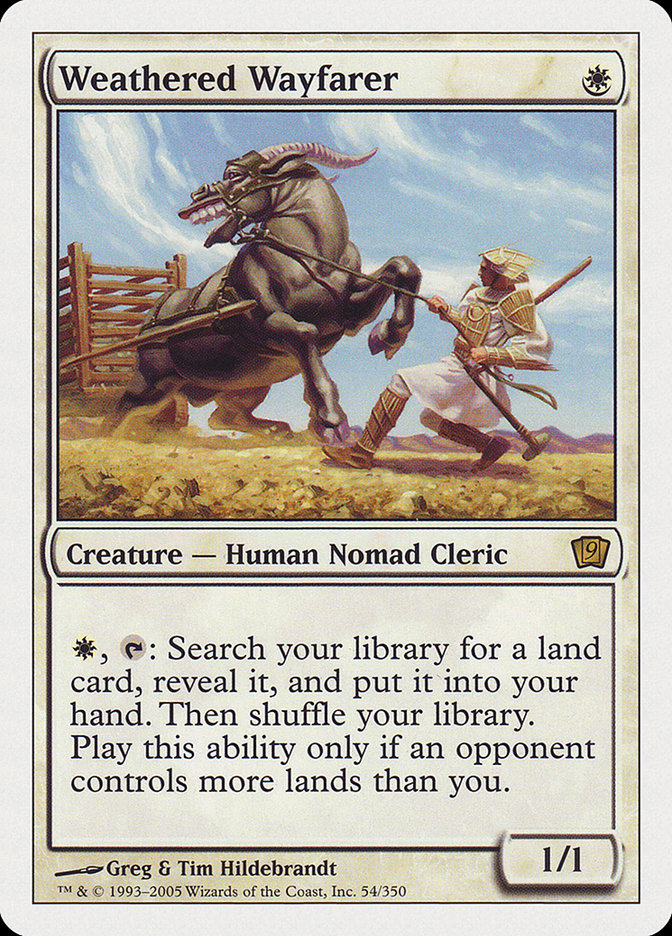
I want to focus on the cheaper tutors available to white and black, like Weathered Wayfarer. This card is an excellent tutor for lands (like your duals) to fix your mana or for setting up combos between Cabal Coffers and Urborg, Tomb of Yawgmoth.
What's good about Wayfarer is that it's a repeatable effect, and it can tutor other utility lands like High Market for a sacrifice outlet or Nykthos, Shrine to Nyx for even more mana if left unchecked.
Enlightened Tutor is the next tutor on the list. It's very useful for fetching any of your artifacts and enchantments in the deck. It can tutor something small like Sol Ring and Skullclamp in the early stages, or it can fetch the more potent cards like Dictate of Erebos and Whip of Erebos in the late game. It can also tutor Solemn Simulacrum if needed.
But there aren’t any better tutors than the ones that can tutor anything, and Vampiric Tutor and Demonic Tutor are probably the best available.
Vampiric may cost you a couple life but it also benefits you with the EOT-instant speed. Opponents have more trouble responding to your threats since you (hopefully) have all your mana available on your turn.
Removal
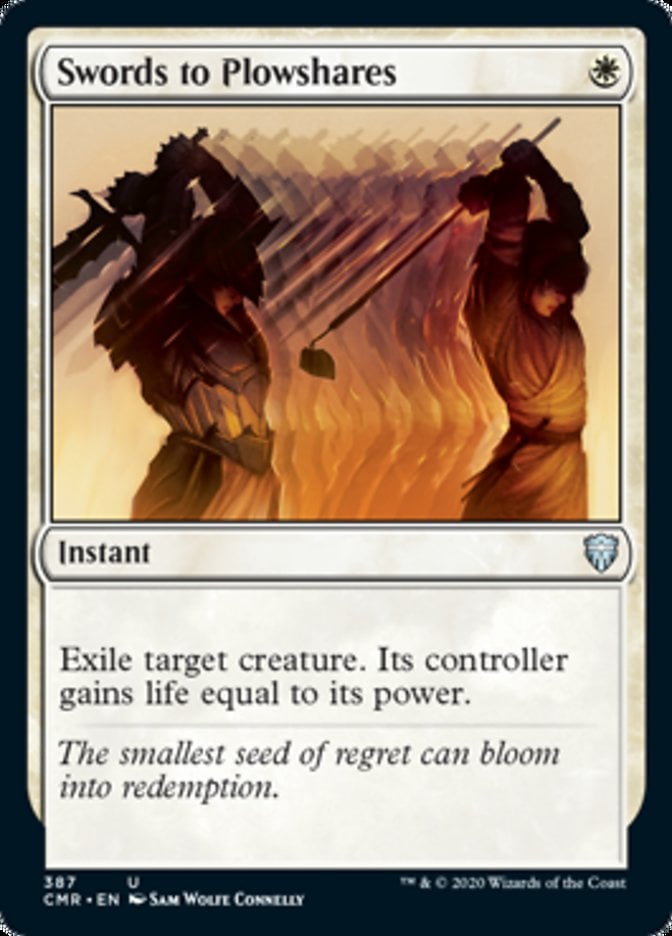
As far as spot removal goes, you have Path to Exile and Swords to Plowshares as your cheapest and best removal for a single mana.
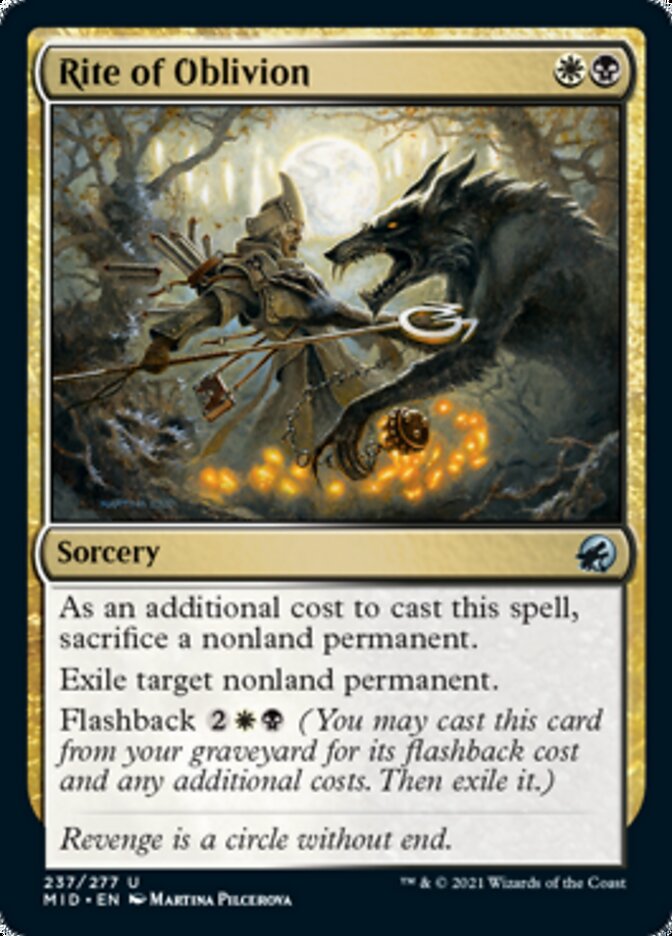
There are some cards, like Rest in Peace, that can stop your deck dead in its tracks, so it’s essential to run answers. You have said answers in the form of Rite of Oblivion, which synergizes well with the deck and can be played twice.
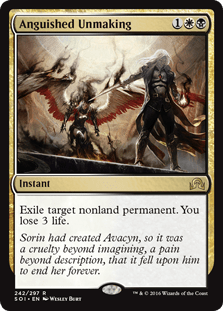
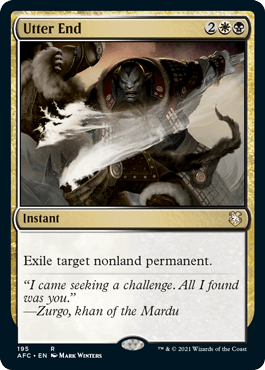
Anguished Unmaking, Utter End, and Vindicate also have a similar role of getting rid of your opponent's threats. And then there’s Shriekmaw, which sacrifices itself to trigger your other creatures and permanent effects.
One of the fundamentals of Commander is that you need to play some sort of board wipe since you sometimes need to push the red button when an opponent builds a threatening board state and aims to end the game soon. You run a mix of them in Toxic Deluge (the best one out there), Austere Command to deal with multiple cards outside of creatures, Damn as spot removal or another option to clean the board when overloaded, and Living Death as a one-sided board wipe that can bring your previously sacrificed creatures back. Just be careful to watch what your opponent's graveyards before pulling Living Death’s trigger.
Sac Outlets
The cheapest sac outlet is Carrion Feeder, which can be a bit clunky but grows out of bounds if left unchecked.
Next is Priest of Forgotten Gods. This card can ramp you a bit with the right investment and draws you a card in the process.
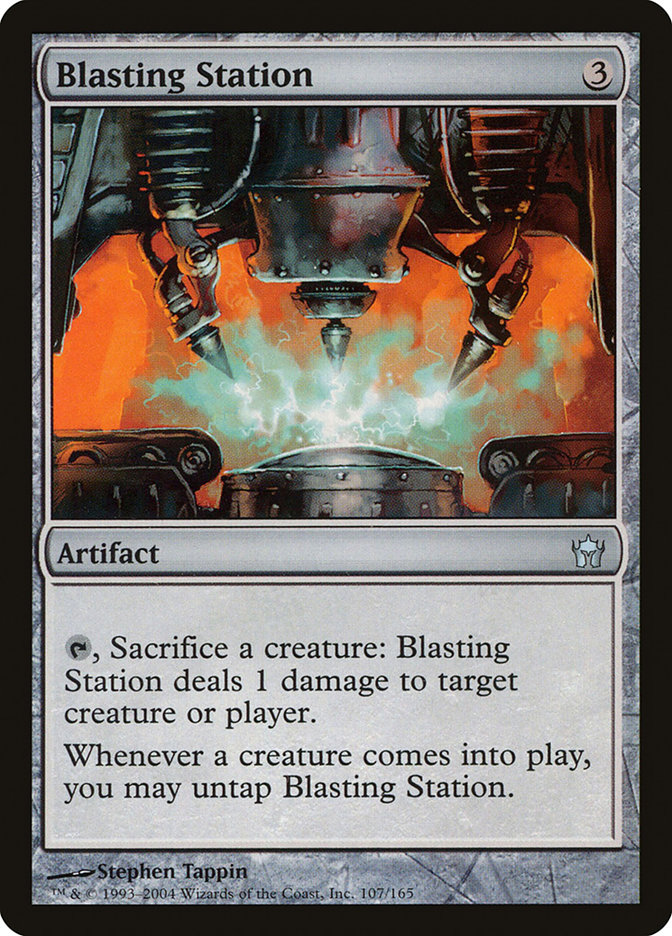
Blasting Station is an exciting card since some creatures and effects like Requiem Angel synergize well with it. But you can keep it fair or broken with other combo pieces depending on your playgroup.
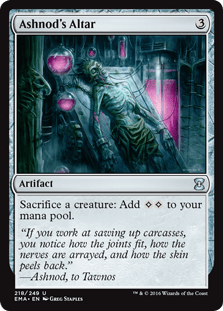
Ashnod's Altar is another card that can go “infinite” with the right investment. But in an effort to keep games fun this deck intends to use it only as a ramp card and sacrifice outlet.
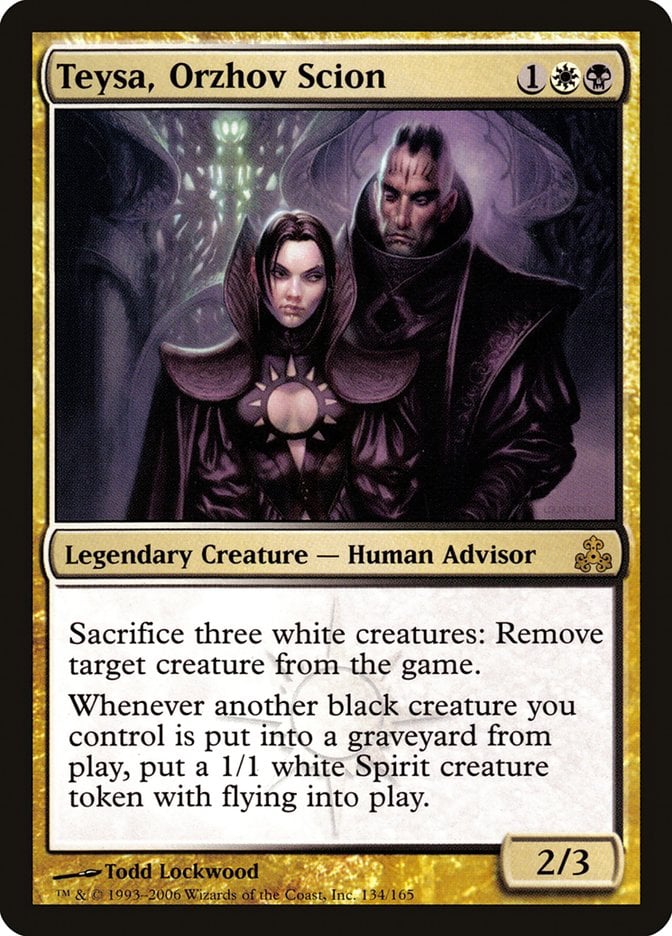
Teysa, Orzhov Scion is the other presentation of our dear Teysa Karlov. This one is a must-have in any aristocrat deck. It not only gets rid of your opponent's threats but creates a small army while doing so.
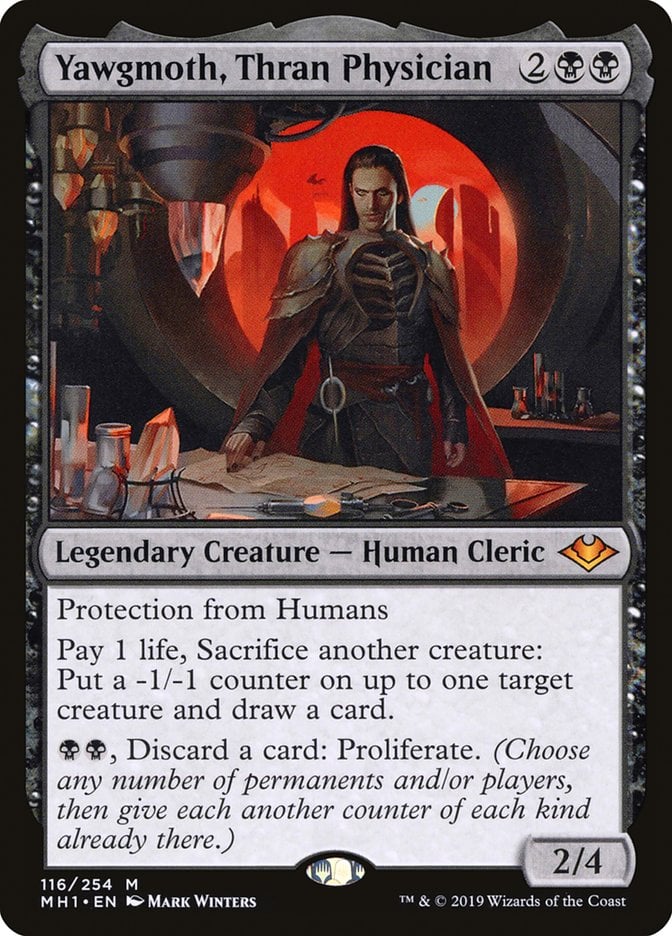
Yawgmoth, Thran Physician also fits perfectly in the deck since it acts as removal and a card draw engine to prevent you from running out of gas.
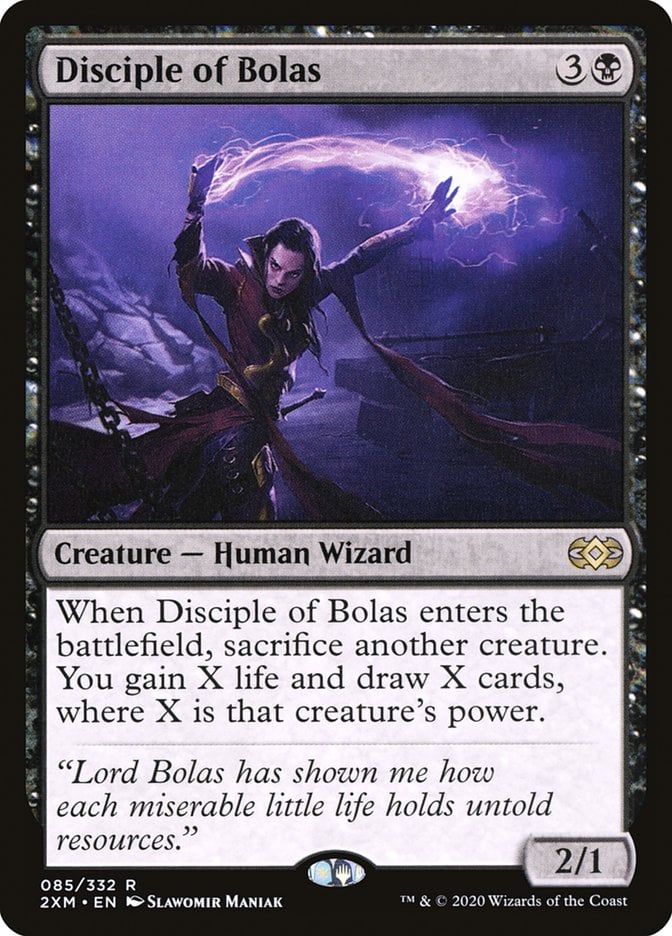
Disciple of Bolas is a peculiar addition. It's an unconventional sac and card draw engine that leaves you with another body on the field to get sacrificed or reanimated later.
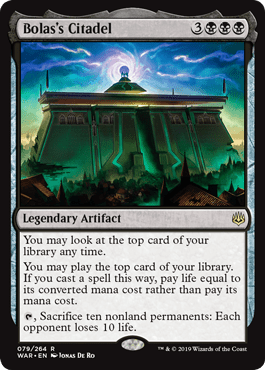
Bolas's Citadel is probably the ultimate sacrifice engine, quite literally. You can expect to end the game once it hits the battlefield by potentially killing the whole board with one swing. But I’ll get to that in a bit.
Morbid Triggers
I call this morbid but it’s not quite the exact term. It’s still the closest I could find. Morbid checks if a creature “died” this turn, but this deck looks at “whenever a creature dies, X happens.”
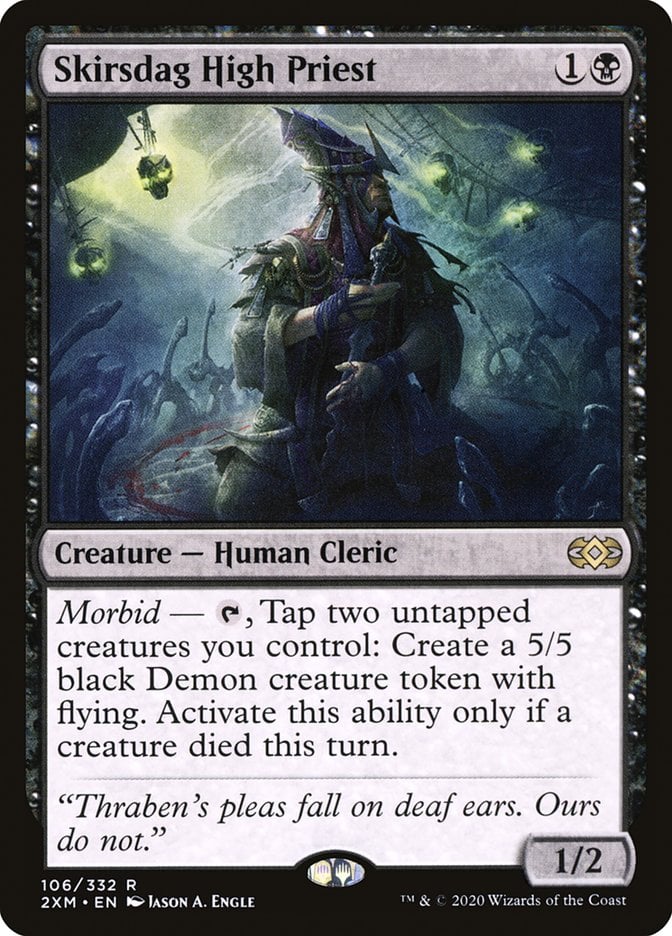
With that out of the way, the only creature that has “morbid” is Skirsdag High Priest. This card can create giant demons from time to time. And keep in mind that its ability can be activated whenever a creature dies regardless of who controlled the creature.
Card Draw Engines
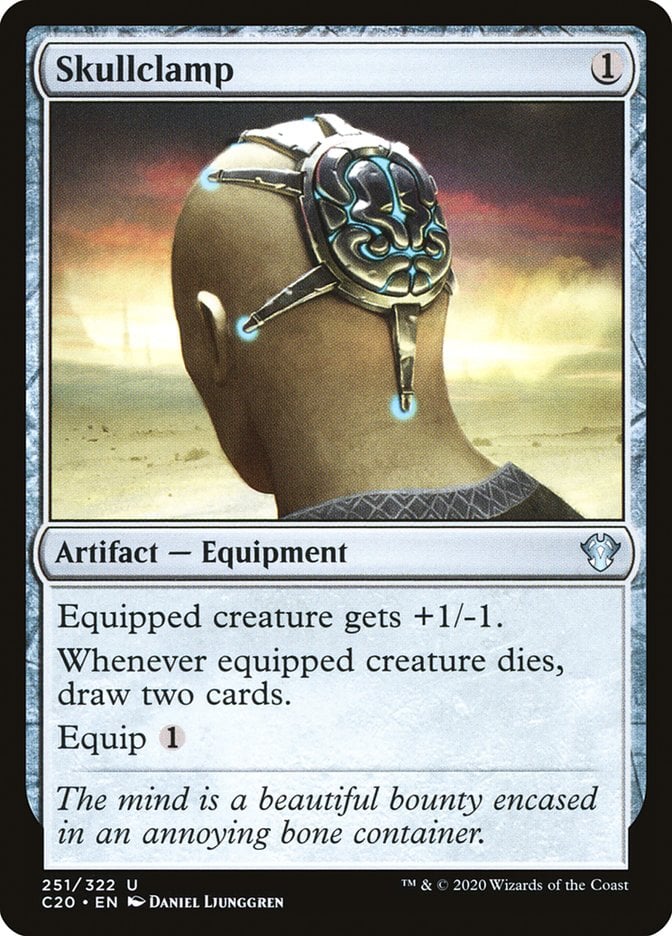
Now for the real payoffs of the deck! First you have Skullclamp, an all-star staple of every aristocrat deck that benefits from sacrificing tokens since they usually only have 1 toughness. It’s also a perfect target to find with your tutors if you need card advantage.

Midnight Reaper and Grim Haruspex also provide card advantage whenever creatures die. As you may expect in Commander by now, running the same effect on multiple cards is excellent.
Liliana, Dreadhorde General is the only planeswalker in the deck. And it’s great in this list because of both its static and activated abilities. It's almost as if the General was created for this deck.
Token Makers
Pawn of Ulamog works particularly well with Skullclamp and any other sacrifice effects since it gives you more things to sacrifice. Those tokens can be sacrificed to trigger more morbid effects while ramping you further in the game in some situations.
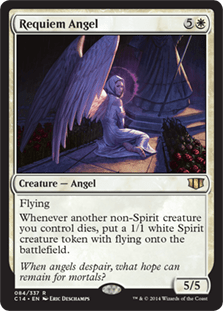
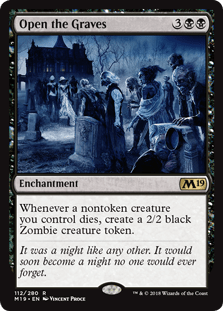
Other creatures that work similarly are Sifter of Skulls, Requiem Angel, and Open the Graves. These are very important to keep the party going, especially when you have cards like Blasting Station to benefit from all the creatures that enter the battlefield whenever one dies.
Other Advantage Effects
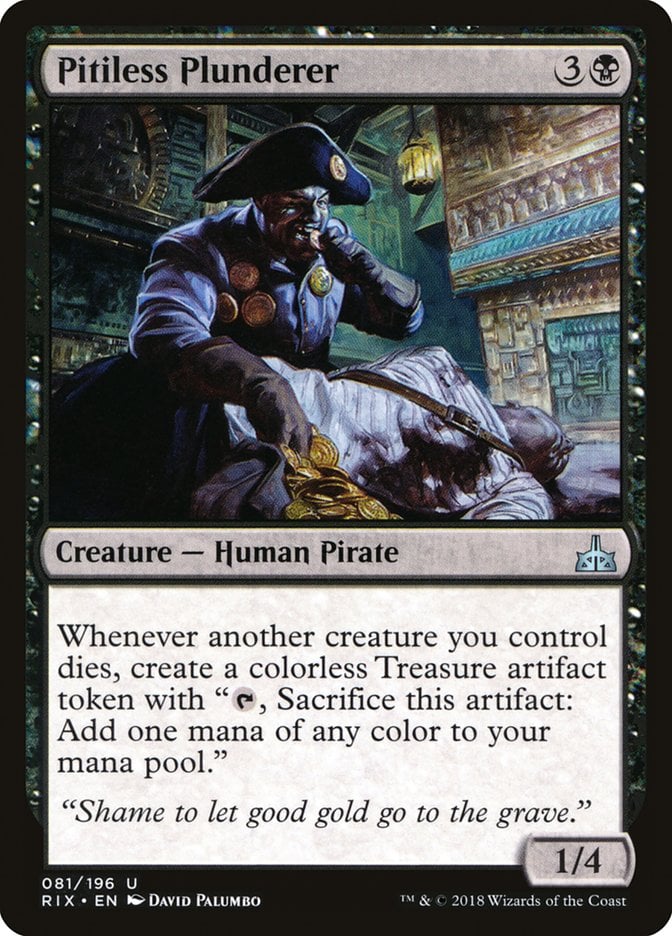
Some other cards provide an advantage whenever you sacrifice creatures, usually nontoken creatures. One that’s particularly cool is Pitiless Plunderer. This card generates a seemingly endless stream of mana that can lead you to flood the board in no time when combined with other effects, especially card draw.
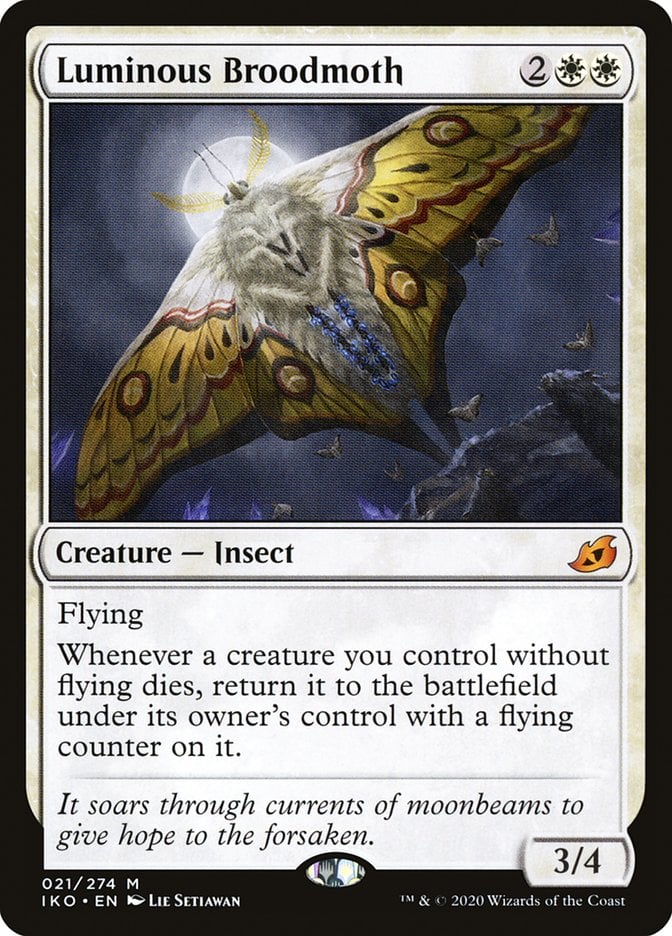
Luminous Broodmoth works as pseudo-board wipe protection and also pairs well with the deck's primary strategy to bring back your other creatures to be sacrificed again. And they also trigger your other effects since they’re not tokens. But keep in mind that this only works on creatures without flying. Thankfully you only run a few flyers so it won’t impact you too heavily.
The Pingers
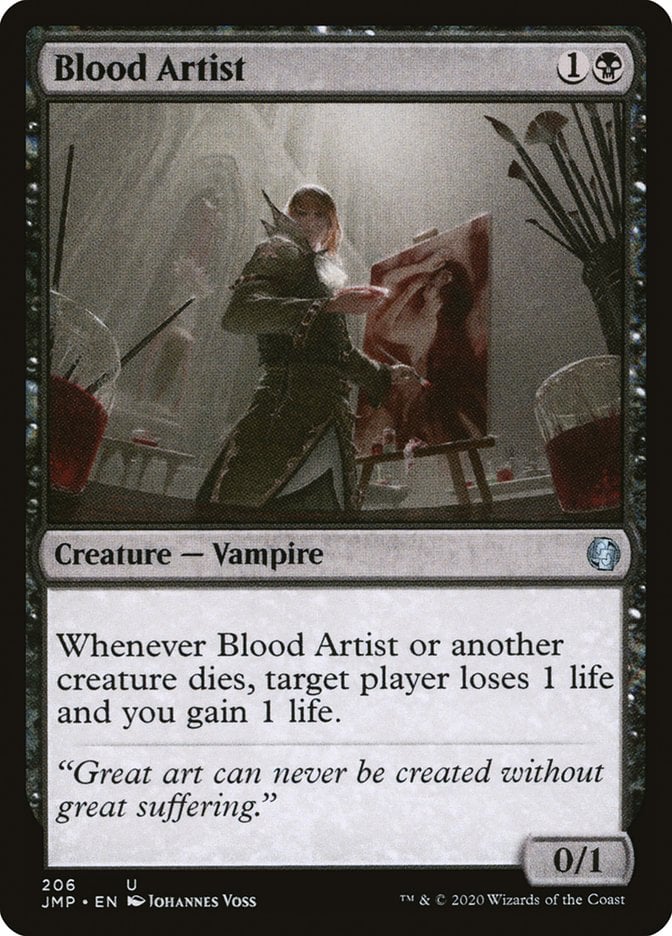
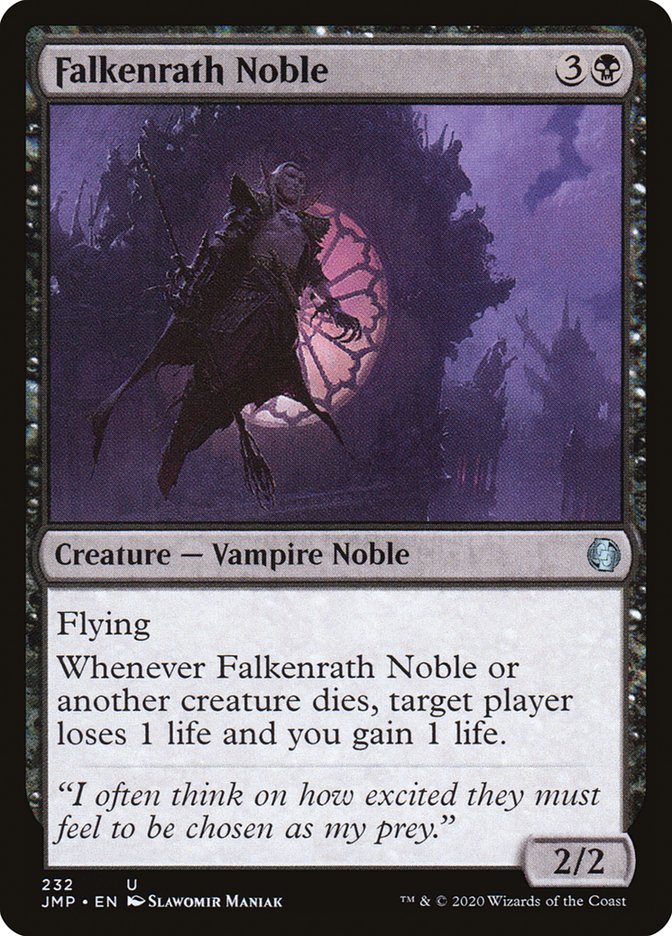
The most famous pinger is probably Blood Artist followed by Falkenrath Noble. These cards are identical in their effects. But it's still essential to know that these target just one opponent unlike the other cards in the deck with similar effects. Something to keep in mind if an opponent gives themselves hexproof or something.
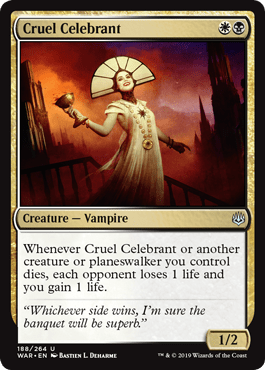
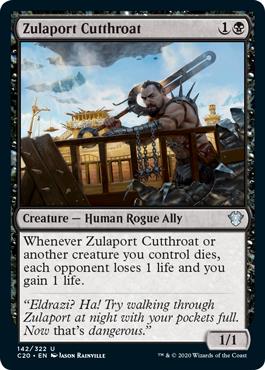
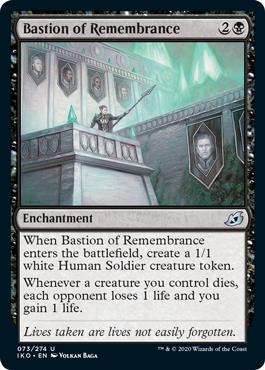
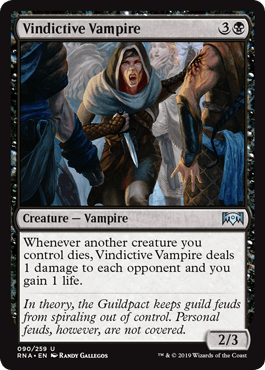
Cruel Celebrant, Zulaport Cutthroat, Bastion of Remembrance, and Vindictive Vampire all have the same effect, and they affect each of your opponents. Stacking these effects is excellent and you don't even have to have two of these cards in play since just one beside Teysa Karlov works just as well as double the triggers.
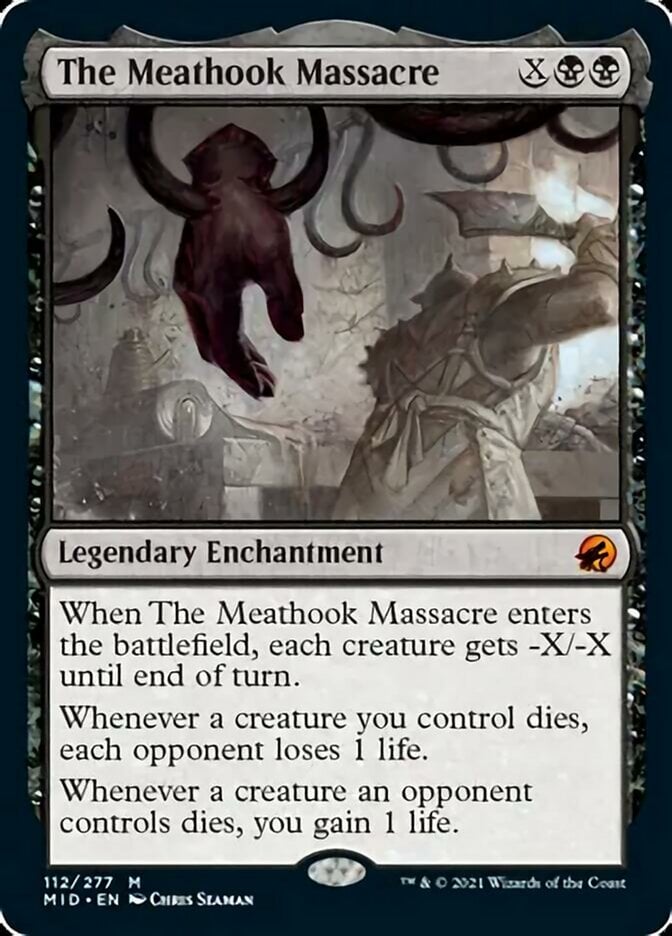
A more recent addition of this effect was printed with the introduction of The Meathook Massacre in Midnight Hunt. But this card only hurts your opponents when your creature dies, and you only gain life when theirs die. Not gaining life from sacrificing your creatures is somewhat irrelevant for all intents and purposes.
Sacrifice Fodder
So now you know which cards benefit from sacrificing creatures and which cards are your sacrifice outlets, but what about actual sacrifice fodder? Let’s get into that right now.
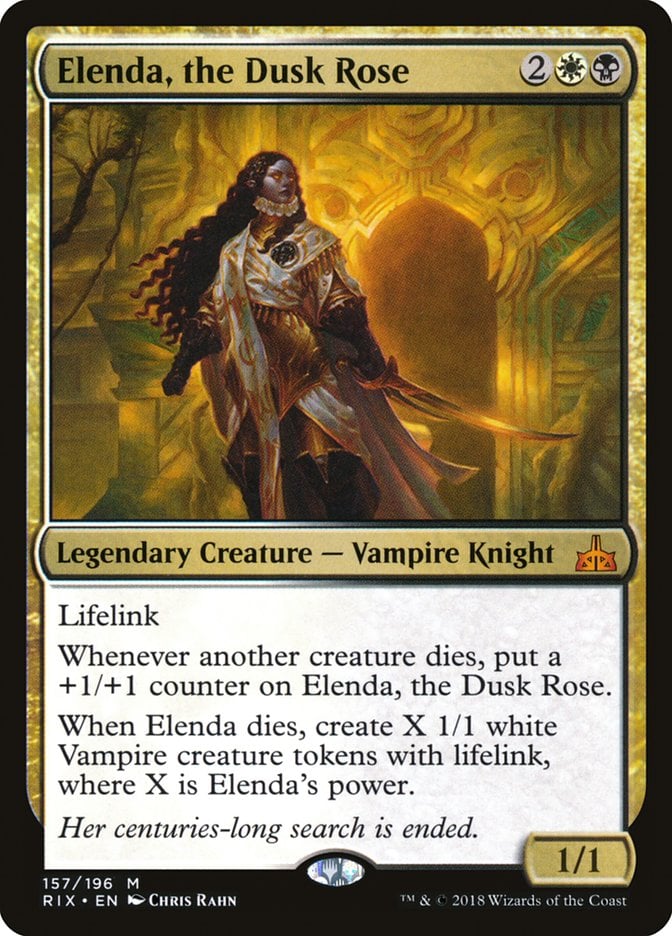
Elenda, the Dusk Rose is the first on the list. Its static ability lets it grow whenever something dies. But more importantly you get an insane number of tokens when you sacrifice it. Elenda can lead you to some exciting play patterns where you sacrifice the rest of your board, trigger some of your ping effects, offer it, and then sacrifice your tokens again.
Elenda is probably the best on the job, but other creatures like Bloodghast, Skyclave Shade, and Reassembling Skeleton can continuously come back from the graveyard.
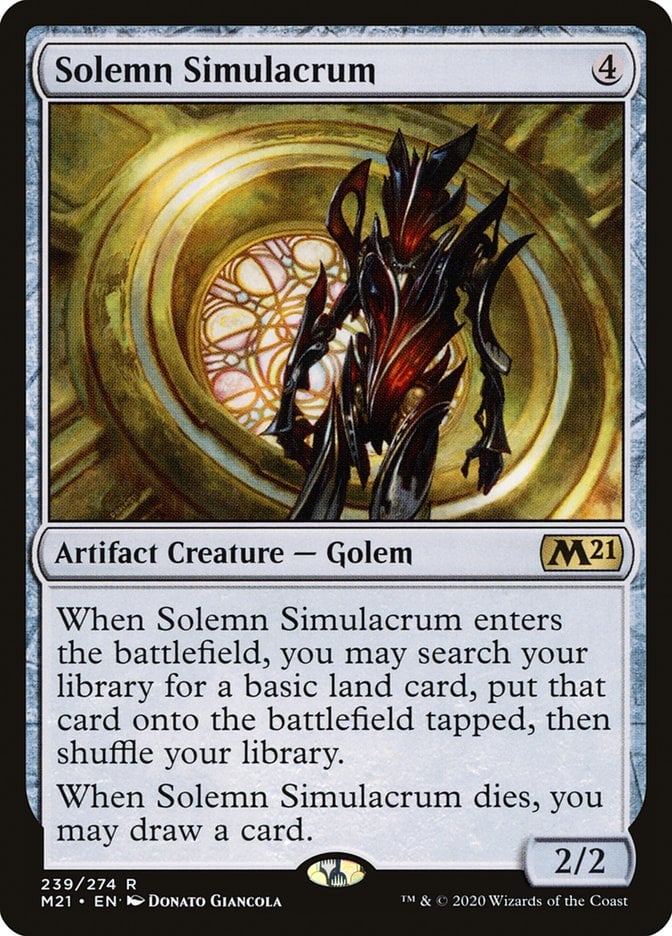
Ministrant of Obligation and Solemn Simulacrum also are good sacrifice targets since they both give you some kind of card advantage when they die. One in the form of extra bodies, and the other in extra cards.
Reanimate Package
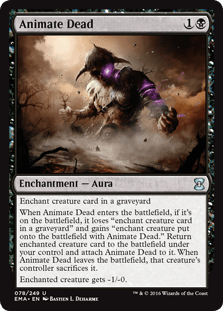
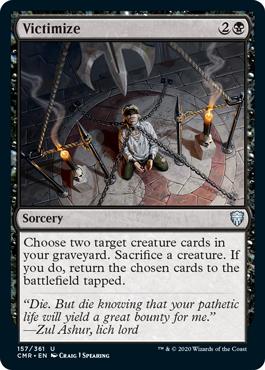
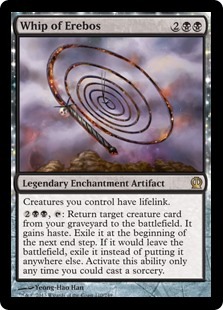
This deck also runs a pseudo-reanimator package with cards like Animate Dead, Living Death (for a global effect), Victimize, and Whip of Erebos.
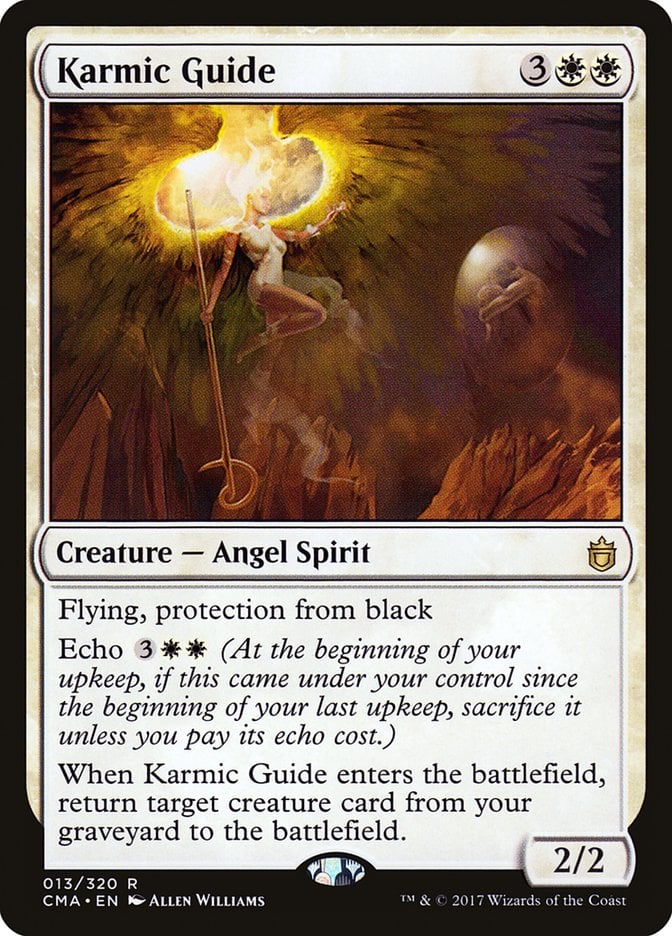
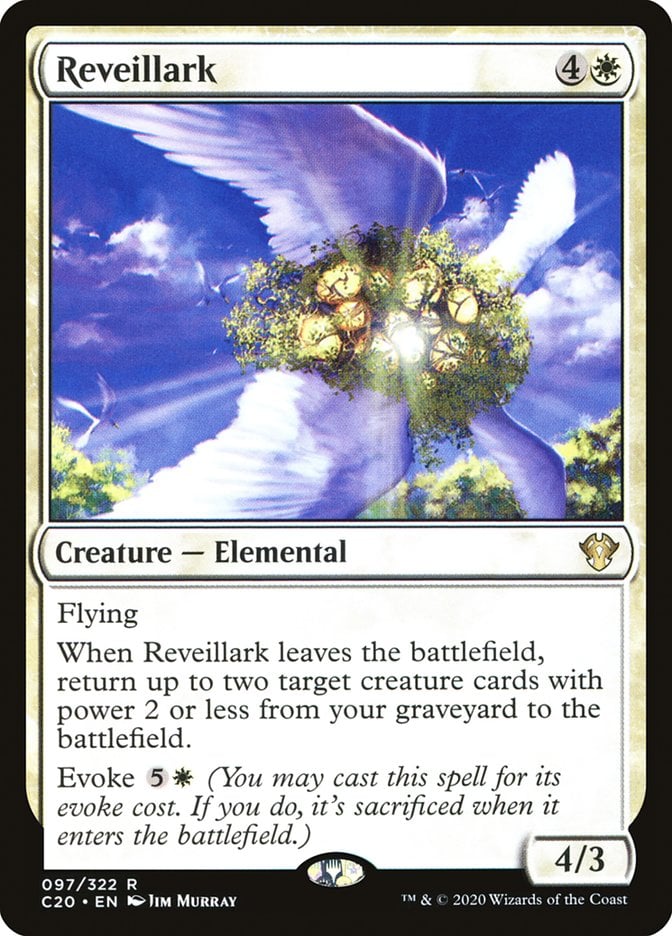
You also have some creatures that can bring some of your other cards back from the graveyard, like Karmic Guide and Reveillark. These two have the potential to go infinite as well. When Reveillark leaves the battlefield it can return Karmic Guide, and then it’s back again when it enters the battlefield. You can pair these with any of the sac outlets and some pingers to end games instantly, but you’ll be at risk of losing some friends, so keep that in mind.
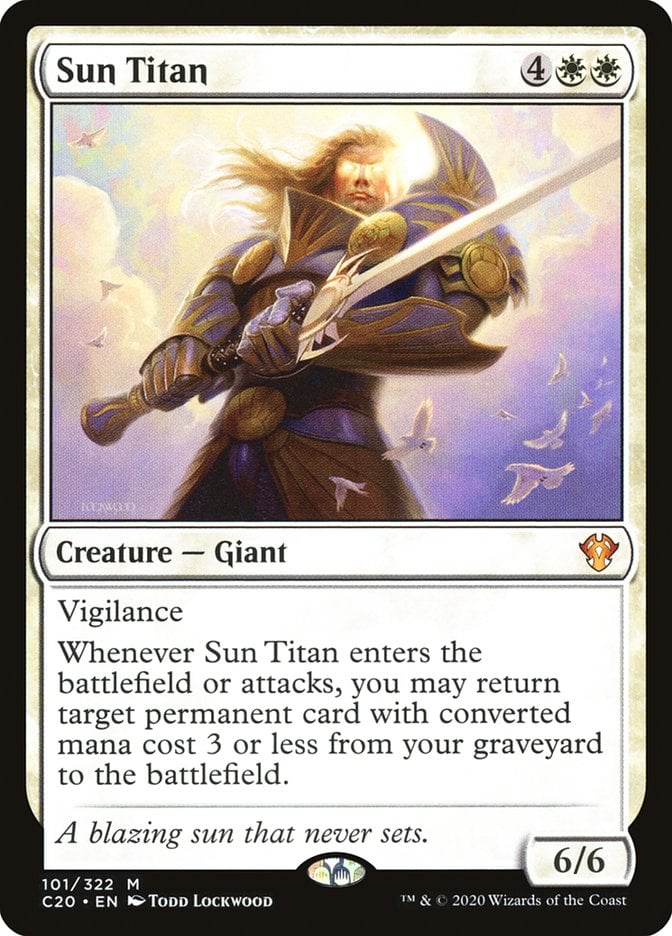
Sun Titan is the last reanimation piece you run, and it's one of the few cards that can get you back in the game once it enters the battlefield. Pair it with Animate Dead and you’ll have tons of fun.
Other Cards
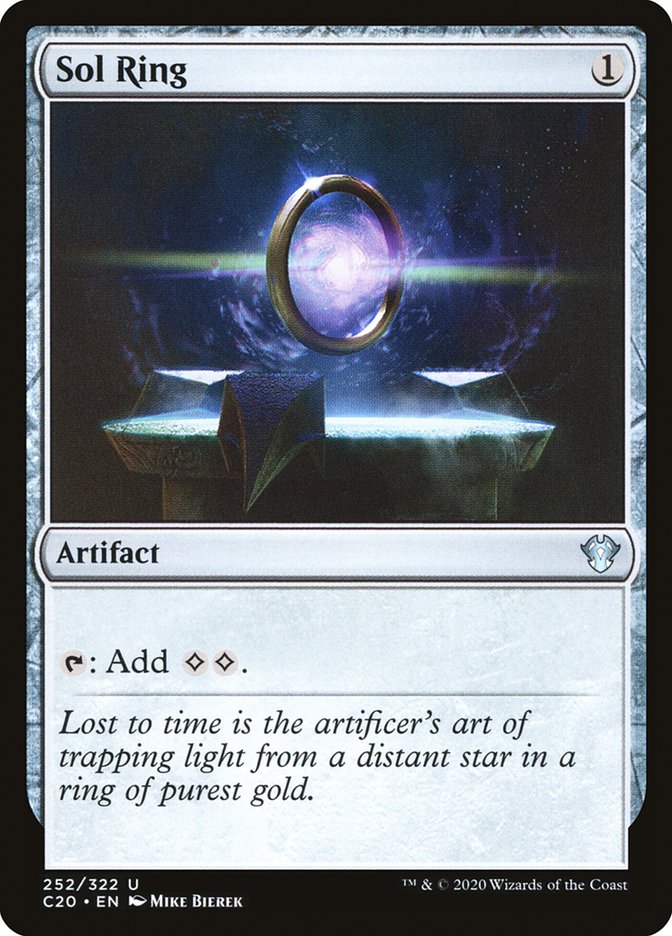
The rest of the non-land cards in the deck are a mix of utility and card advantage. Surprising no one, Sol Ring leads the pack as a Commander staple that doesn't need any presentation.
Lightning Greaves is here to protect your commander and any other important creatures that you want to keep alive. Again, you shouldn't be surprised by this inclusion.
You also have Phyrexian Arena, Mentor of the Meek, and Athreos, God of Passage for card advantage.
The first two are different card draw engines, and Mentor can be exploited with the multiple tokens some cards generate. Athreos is unique since your fodder gets returned to your hand unless any of your opponents want to pay three life, and they won't most of the time.

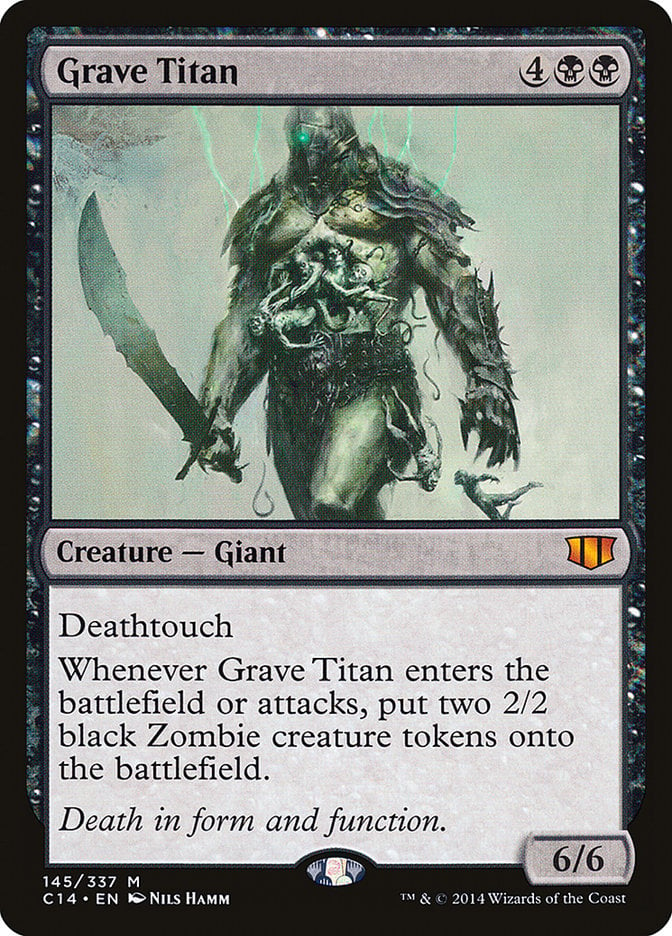
Bitterblossom and Grave Titan are recursive token makers that fit in list perfectly. They continuously provide fodder for your strategy and Titan is an excellent reanimate target.
The Mana Base

You run eight fetch lands in the form of Arid Mesa, Bloodstained Mire, Flooded Strand, Verdant Catacombs, Windswept Heath, Marsh Flats, Fabled Passage, and Polluted Delta to tutor the land you need depending on the situation, and to thin the deck a bit.
You also run some dual lands so you don't have to struggle casting your spells. Command Tower, Caves of Koilos, Godless Shrine, Shattered Sanctum, Isolated Chapel, Mana Confluence, and Scrubland are a perfect fit for a 2-color deck.
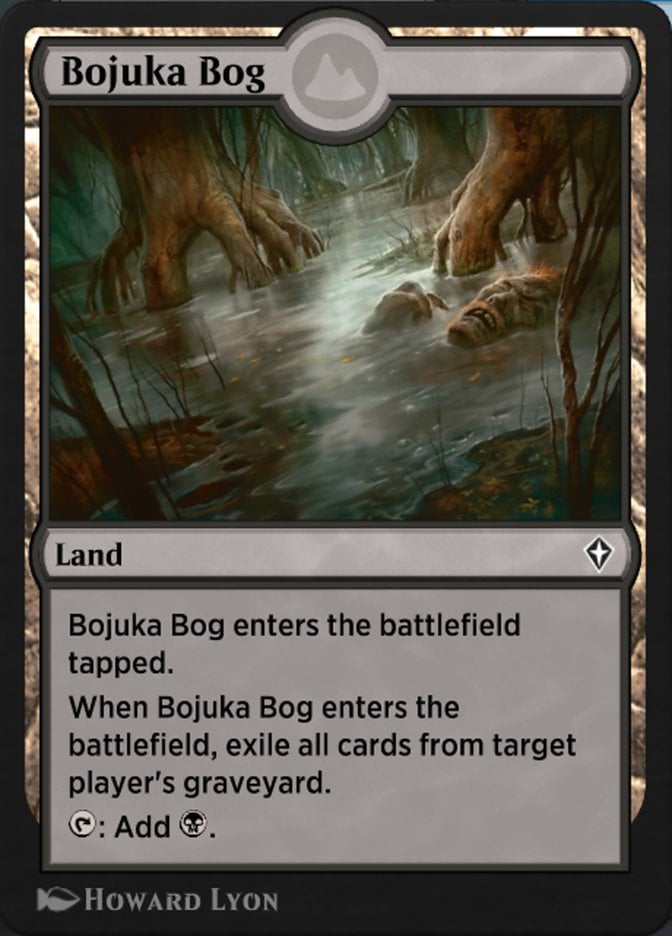
Ancient Tomb helps ramp you. Bojuka Bog gets rid of an opponent’s graveyard and pairs particularly well with Living Death.
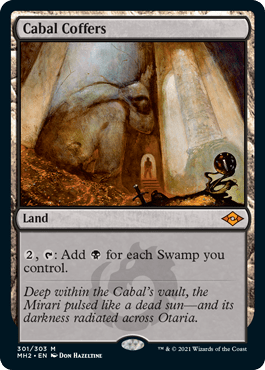
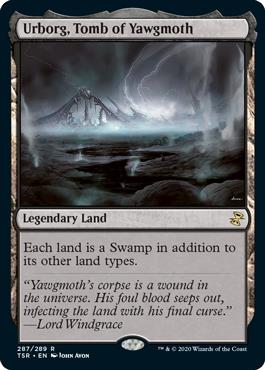
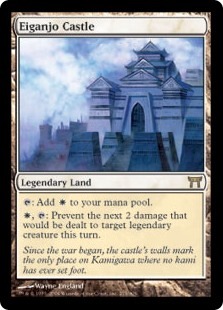
Cabal Coffers and Urborg, Tomb of Yawgmoth are the bread and butter for any deck running black. Eiganjo Castle and Shizo, Death's Storehouse provide some utility.
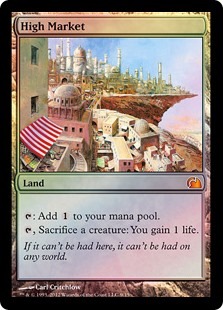
Reliquary Tower gives you infinite cards in hand, Nykthos, Shrine to Nyx adds tons of mana, Flagstones of Trokair is nice to have if someone decides to get rid of all lands, and High Market is an excellent sacrifice outlet.
The Strategy
This deck is all about sacrificing creatures and doubling their value. Tons of triggers happen all at the same time which is fun, and most of them affect the whole board. You usually want to start with a low profile, casting a few creatures and building your board without drawing too much attention.
Don't play cards like Bolas's Citadel or Blasting Station if you don't have a clear plan, because they’ll draw attention and make you an easier target. Instead you want start with some utility creatures like Pitiless Plunderer or Skirsdag High Priest. These won’t draw too much attention from your opponents and give you a chance to properly set yourself up.
This deck significantly benefits from the compound effect it generates over time. There's a point in the match where you can start pulling the trigger on more powerful spells like Living Death and The Meathook Massacre on a stacked board. And remember to hold removal for cards that directly shut you down or threaten to kill you.
Trading 1-for-1 against aggro decks is usually good since you benefit from creatures dying and they get back onto the battlefield one way or another. Your commander is key to determining when it's time to put the pedal to the metal, kill some of your opponents in the blink of an eye, or gain massive card advantage in one turn.
You’re mainly trying to assemble a board state where you use your ping effects to win, but that doesn't happen right away. You need to work on getting the right pieces onto the battlefield first.
Patience is key with this deck, and it excels at keeping you alive through the match.
Combos and Interactions
Here we are with what you were all waiting for: the combos. There are some cute interactions in this list along with some very oppressive ones, but you should know them all regardless of how impactful they are.
Ready? Let’s take a look:
Skullclamp + Bitterblossom = Draw two more cards per turn for just one mana
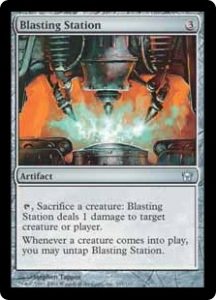
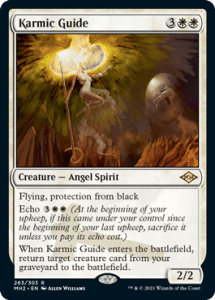
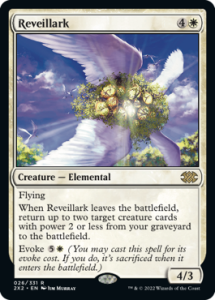
Blasting Station + Karmic Guide + Reveillark = Infinite sacrifice triggers
Reassembling Skeleton + Ashnod's Altar + Pitiless Plunderer = Infinite sacrifice triggers
Mentor of the Meek + Pitiless Plunderer + Requiem Angel = Free card draws
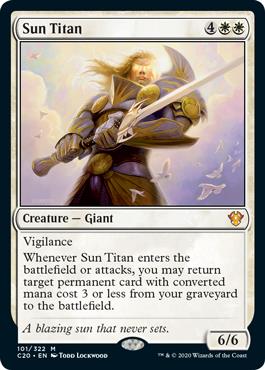
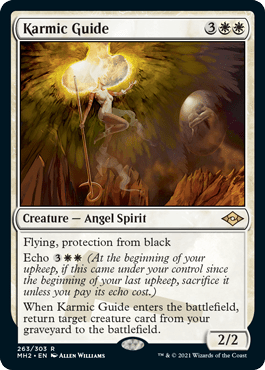
Sun Titan + Karmic Guide + Animate Dead + Ashnod's Altar = Infinite colorless mana
There’s definitely more interaction than what’s listed above. You can add in some of the payoff effects to get more value, but these are the main combos that can serve as a start.
There are also other cards that you can include to go infinite with Teysa, Orzhov Scion, like Darkest Hour. There’s also Blasting Station or Kaya's Ghostform that can open the door for other endless interactions when paired with Sun Titan. But I excluded these from the deck since they’re rather specific, but you still you need to know about them.
Budget Cards
This list has some pretty pricey cards, especially old ones. But you can start small by cutting some of the more expensive cards and adding more sac fodder if you still like the deck idea.
Here’s a list of cards that are relatively cheap and synergize well with the deck:
- Doomed Traveler
- Garrison Cat
- Field of Souls
- Butcher of Malakir
- Harvester of Souls
- Archon of Justice
- Nightmare Shepherd
- Ogre Slumlord
- Viscera Seer
- Hallowed Spiritkeeper
- Despark
- Rally the Ancestors
- Syphon Mind
- Mortify
- Oketra's Monument
- Witch's Oven
- Witch's Cauldron
- Revel in Riches
- Doom Foretold
- Dreadhorde Invasion
- Underworld Connections
- Witch's Cottage
- Thriving Moor
- Thriving Heath
- Temple of the False God
- Castle Ardenvale
- Mind Stone
- Orzhov Signet
- Commander's Sphere
- Arcane Signet
- Temple of Silence
- Evolving Wilds
- Terramorphic Expanse
- Tainted Field
- Scoured Barrens
- Orzhov Guildgate
- Orzhov Basilica
- Myriad Landscape
Other Builds
There are some other exciting builds I came across while building this deck. The build that caught most of my attention used an “eggs” shell with cards like Krark-Clan Ironworks as its core and sacrifice fodder in the form of Myr Retriever and Junk Diver to re-use all your other artifacts.
The strategy involves busted mana rocks like Mana Vault, Mana Crypt, Mox Opal, and Grim Monolith to ramp very fast and end the game with some silly combos involving Sword of the Meek, Rings of Brighthearth, and Walking Ballista. Along with pingers like Blood Artist, of course.
Wrap Up
Animate Dead | Illustration by Bastien L. Deharme
Teysa Karlov is a very straightforward commander that really captures the essence of aristocrats decks. This is one of my favorite ways to play Magic and I hope WotC prints some more tools to build decks like this in Standard.
What do you think? Did I miss any cards that you consider key in this deck? Please let me know in the comments down below or over on Twitter or Reddit.
As always, take care and I'll see you next time!
Follow Draftsim for awesome articles and set updates:


1 Comment
Wait… no Welcoming Vampire?! Okay, it only triggers once per turn unlike Mentor, but a free draw is a free draw and tacked onto a decent body for three mana 🙂
Add Comment