Last updated on August 17, 2025
Talion, the Kindly Lord | Illustration by Justyna Dura
Every new set brings us new commanders. Some of them, often legendary signpost uncommons, are quickly forgotten about if they’re even discussed. But some generate plenty of buzz and even whispers of being good enough for cEDH.
Talion, the Kindly Lord is among such hyped commanders. It’s a fairly inexpensive commander who offers an alluring source of card advantage and pressure. While you could take this commander in many directions from faerie–typal to cEDH combo, I went for the obvious option: storm–stax–control!
Let’s jump into the deck!
The Deck

Notion Thief | Illustration by Clint Cearley
Commander (1)
Planeswalkers (2)
Narset, Parter of Veils
Tezzeret the Seeker
Creatures (9)
Dauthi Voidwalker
Orcish Bowmasters
Opposition Agent
Trinket Mage
Notion Thief
Sheoldred, the Apocalypse
Urza, Lord High Artificer
Hullbreaker Horror
Tidespout Tyrant
Instants (22)
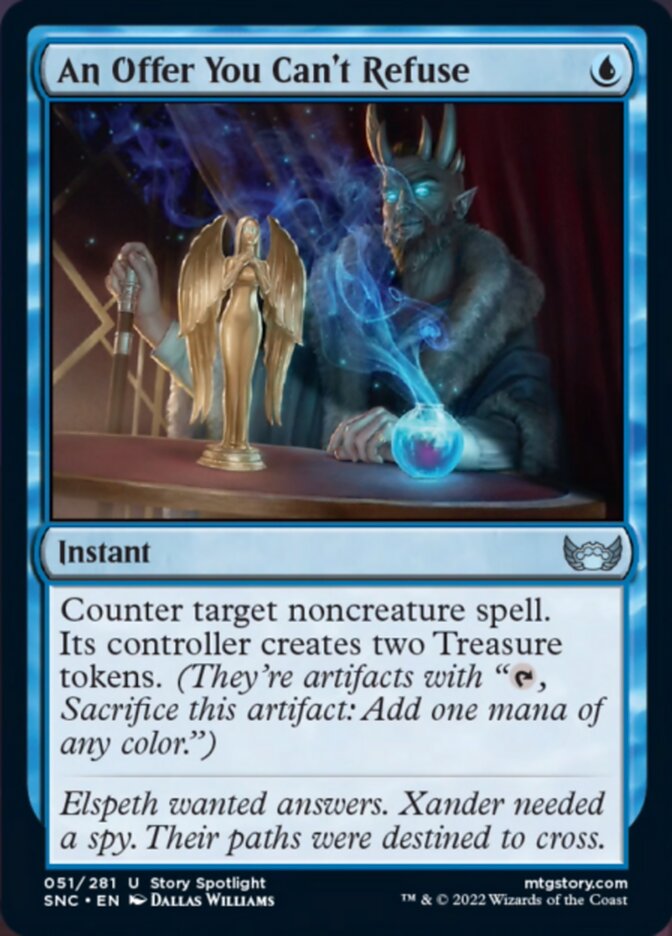
An Offer You Can't Refuse
Chain of Vapor
Dark Ritual
Dizzy Spell
Flusterstorm
Malakir Rebirth
March of Swirling Mist
Mystical Tutor
Slip Out the Back
Swan Song
Vampiric Tutor
Counterspell
Countersquall
Cyclonic Rift
Dramatic Reversal
Mana Drain
Resculpt
Fierce Guardianship
Force of Negation
Whir of Invention
Deadly Rollick
Snuff Out
Sorceries (11)
Scheming Symmetry
Demonic Tutor
Torment of Hailfire
Timetwister
Toxic Deluge
Windfall
Beseech the Mirror
Damnation
Tendrils of Agony
Mind's Desire
Sea Gate Restoration
Enchantments (4)
Mystic Remora
Overburden
Back to Basics
Rhystic Study
Artifacts (18)
Mana Crypt
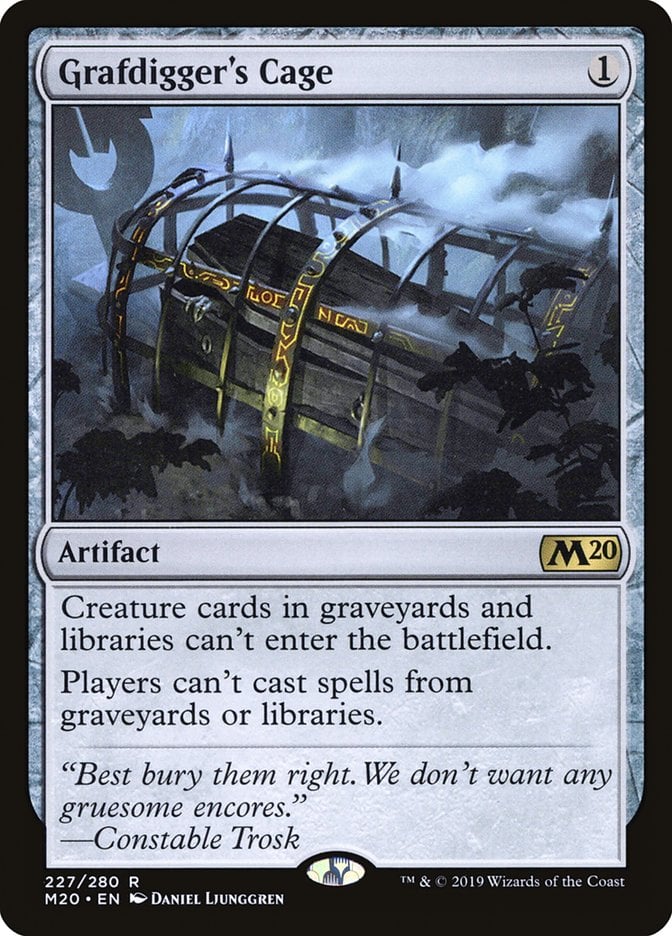
Grafdigger's Cage
Meekstone
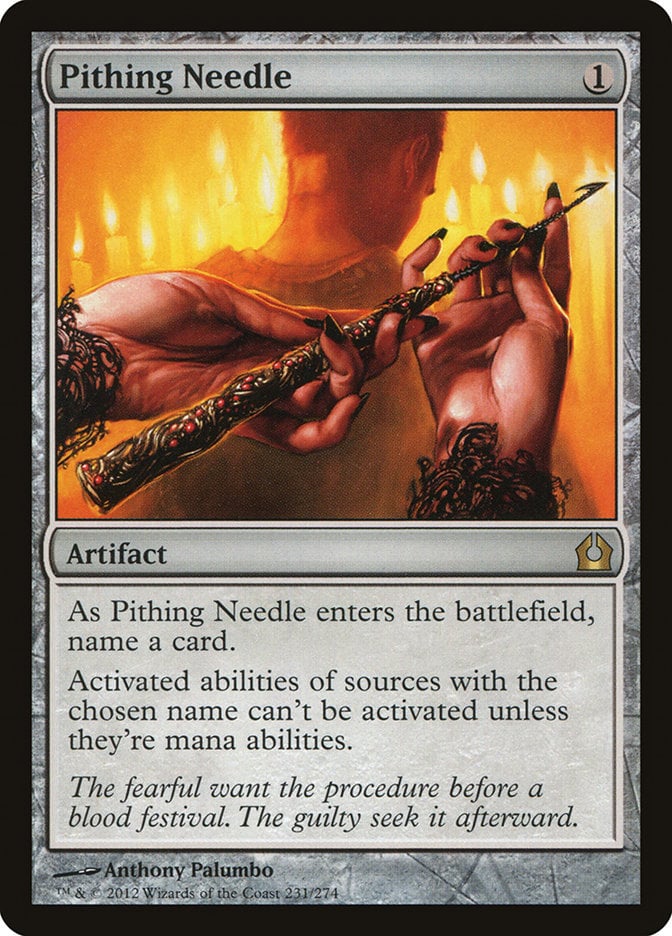
Pithing Needle
Sensei's Divining Top
Sol Ring
Arcane Signet
Cursed Totem
Dimir Signet
Fellwar Stone
Isochron Scepter
Mind Stone
Talisman of Dominance
Torpor Orb
Wishclaw Talisman
Aetherflux Reservoir
The One Ring
Bolas's Citadel
Lands (33)
Fabled Passage
Island x15
Morphic Pool
Otawara, Soaring City
Polluted Delta
Prismatic Vista
Swamp x11
Urza's Saga
Watery Grave
This list is what it says on the tin: storm-stax-control. I’ve increasingly found stax to be one of the most reliable means for controlling the game in a multiplayer setting where the traditional control elements of card advantage and one-for-one removal aren't as effective as they are in 1v1 formats. The storm elements give this deck powerful combos to close the game, with the stax pieces buying you time to assemble said combos.
This Kindly Control deck is aimed at high-powered tables with its fast mana and stax elements. It’s not nearly a cEDH list, though a few modifications could make it resemble a cEDH deck.
Like all stax decks, it’s highly customizable to your local meta. I jump around a lot, so it’s a bit general. You could absolutely work to pinpoint more specific strategies; if you play against mono-colored decks, you can lose the Back to Basics. A meta of creature-heavy decks might encourage you to add an additional wrath or two alongside effects like Propaganda.
The Commander
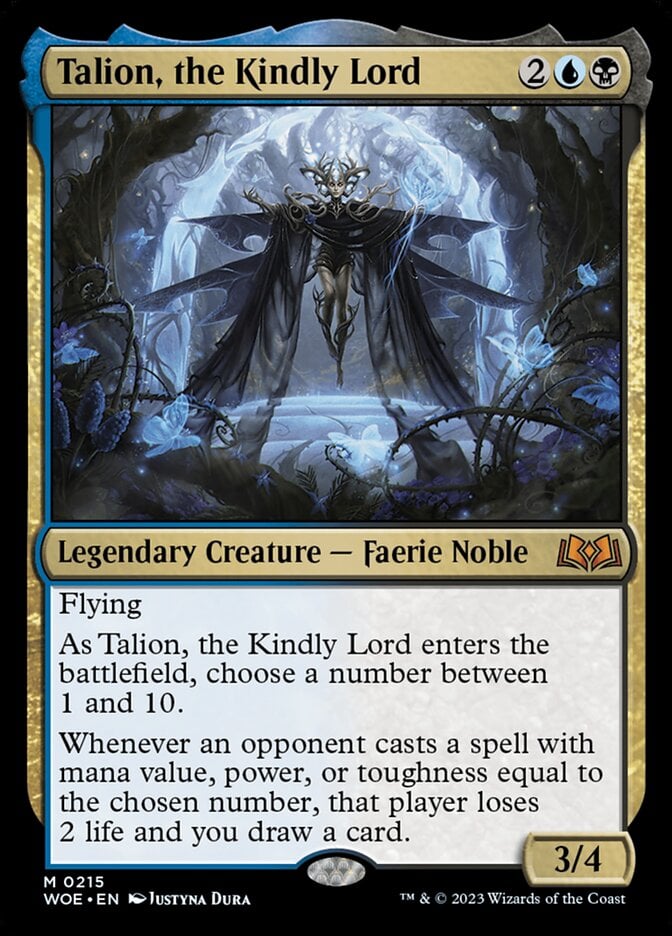
Talion, the Kindly Lord helms this deck as a patron, much as he was for Kellan in the Wilds of Eldraine story. So long as you pick the correct number, it promises you an abundance of card advantage while pressuring your opponents' life totals. While you won’t often capitalize on the life loss since you’re looking to end the game in a single turn, other, more aggressive decks might capitalize on this to take your opponents out – that can be an easy political alliance to strike up.
So, which number should you name with Talion? I’m partial to 2 or 3. 2 can be especially effective if you land it early with some fast mana since many decks spend early turns playing Talismans or other 2-mana mana sources. 3 gives you a lot of coverage over spells many players play. I don’t have hard math to back these claims; it’s a combination of a personal hunch and the anecdotal experience that's worked well for me.
Another great way to determine the number you want to pick is by analyzing the opposing commanders. If there’s a common number among them, like if one opponent has a 3-mana commander and the other two have commanders with power or toughness equal to 3, it can be as simple as choosing that number. Commanders are spells that players often want to play as soon as possible and will be played multiple times.
The strategies can also offer a sense of what to pick. For example, if two players run spellslinger commanders, they’ll likely have many 1- and 2-mana instants and sorceries to throw around. I wouldn’t name anything higher than 4. Decks can only run so many cards with a mana value of 5 or higher before they become clunky piles, so betting on your opponent's shoddy deckbuilding isn't consistent.
Card Advantage + Tutors
While Talion generates card advantage, you can’t count on it to carry your deck alone. Your commander could be removed, or your opponents could stubbornly refuse to play spells that would trigger it – which would benefit you but could become detrimental long-term if you get a few bad draws.
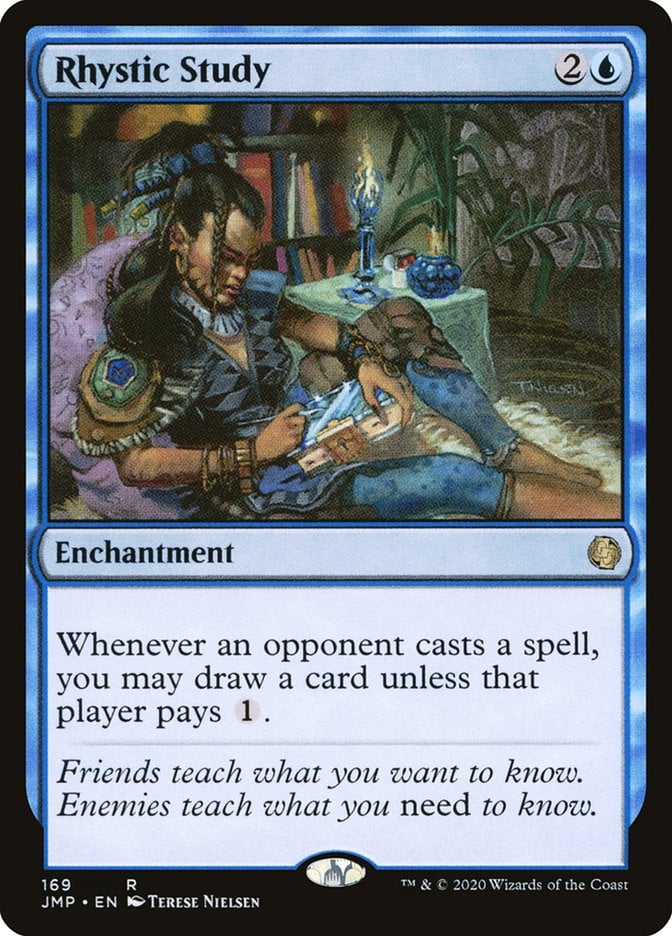
Rhystic Study proves time and again that it’s one of the best card draw engines in the format, and it’s perfectly at home here and cheaper than ever thanks to several reprints, including in WOE itself.
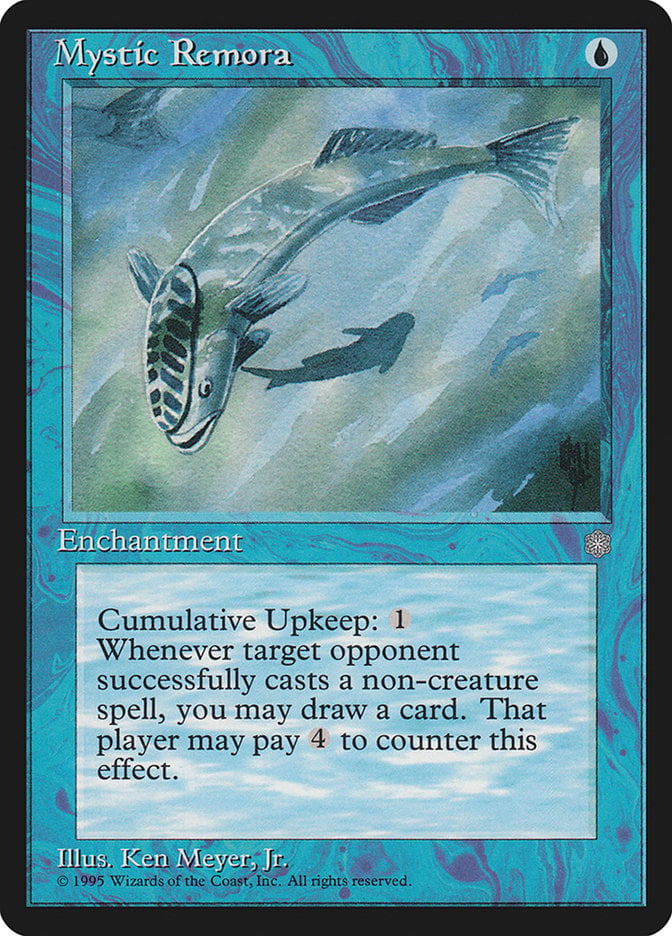
Mystic Remora often proves better than Rhystic Study in the short term, though it doesn’t stick around forever. Some opponents never feed the fish, but that often sets them back a turn or two, so you win either way.
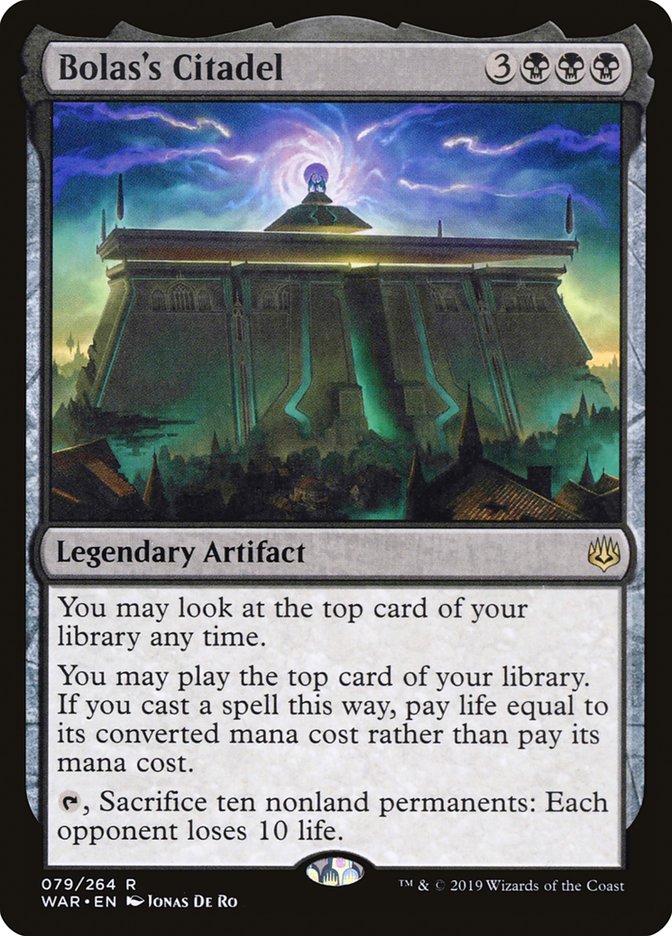
Bolas's Citadel is a win condition but also a great source of card advantage if you’re not ready to win the game. This black artifact lets you cast a flurry of spells for “free,” though you’ll want to watch your life total as this deck doesn’t gain life outside of Aetherflux Reservoir.
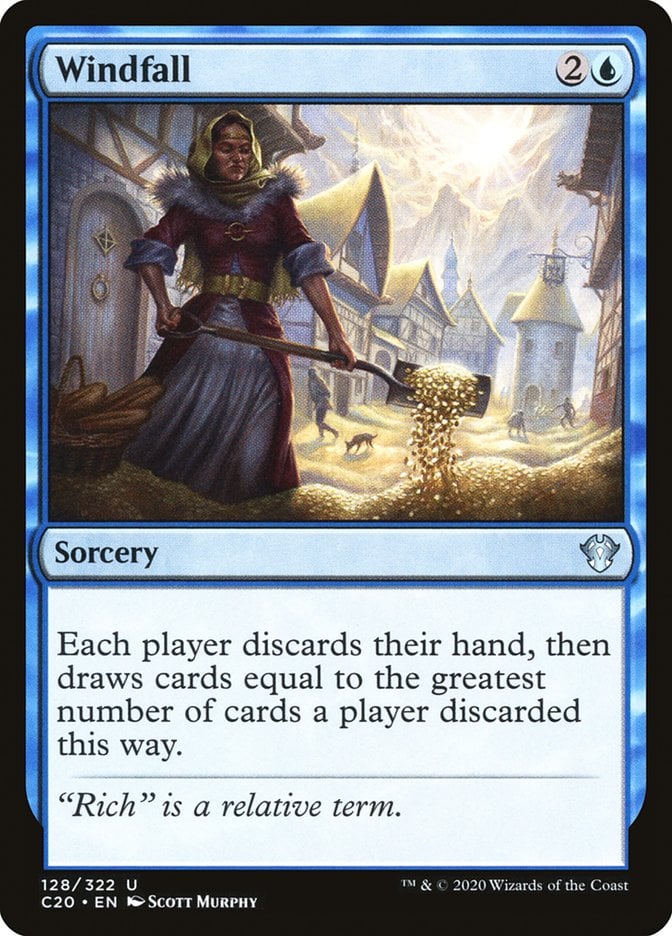
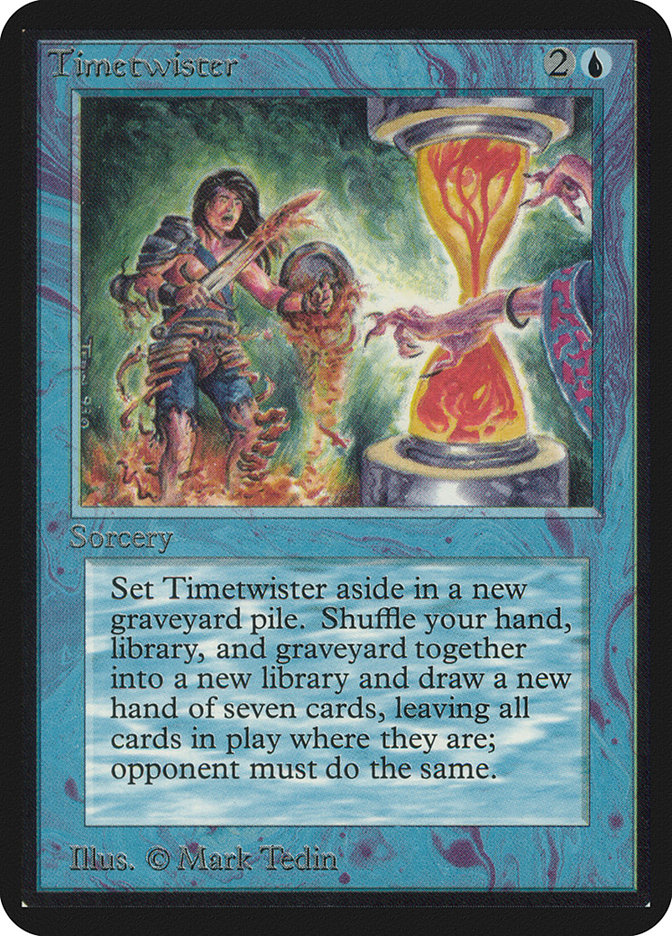
Windfall and Timetwister give your opponents cards and can work against you if they have a draw filled with mana acceleration, but the rewards outweigh the risk. You can also deploy a rapid flurry of mana rocks, and you have a few stax pieces that interfere with your opponents’ ability to draw cards. It’s not always appropriate to cast these, but they lead to some of your stronger draws.
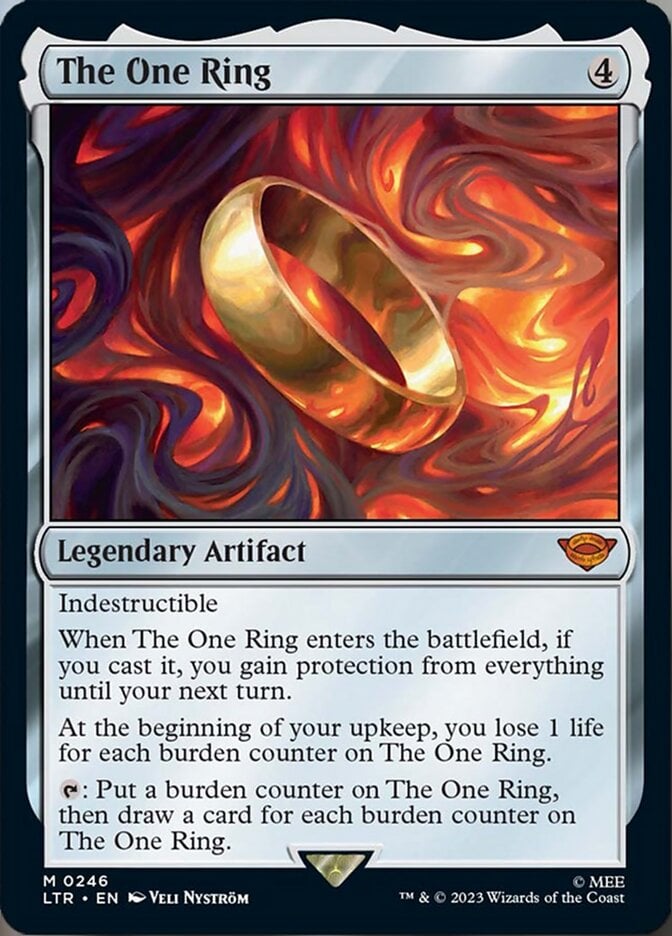
The One Ring has been a hugely impactful card. It’s an amazing protective spell for a turn and gives you tons of card advantage over a long game. What’s not to love?
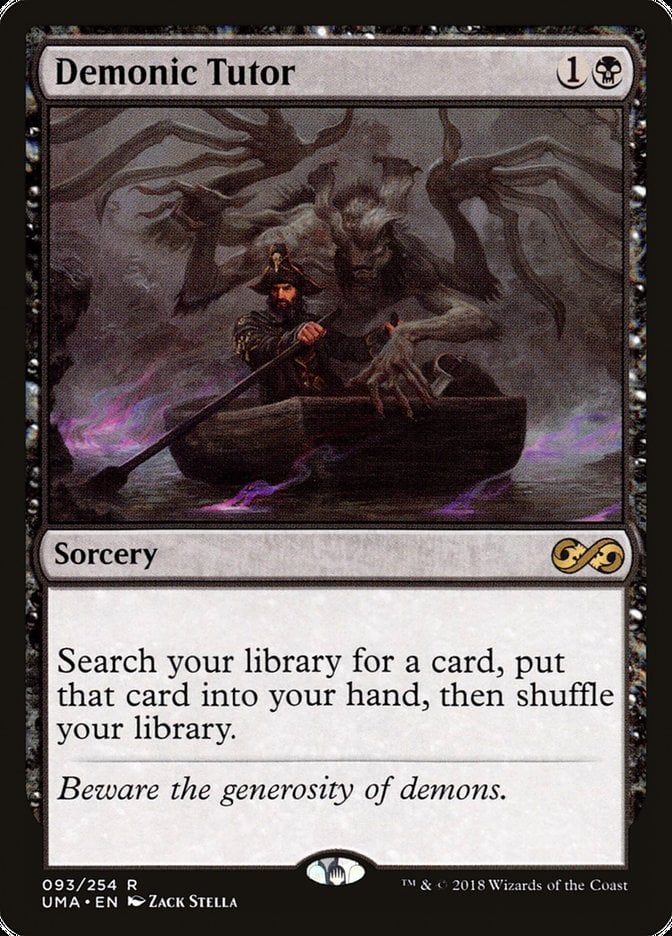
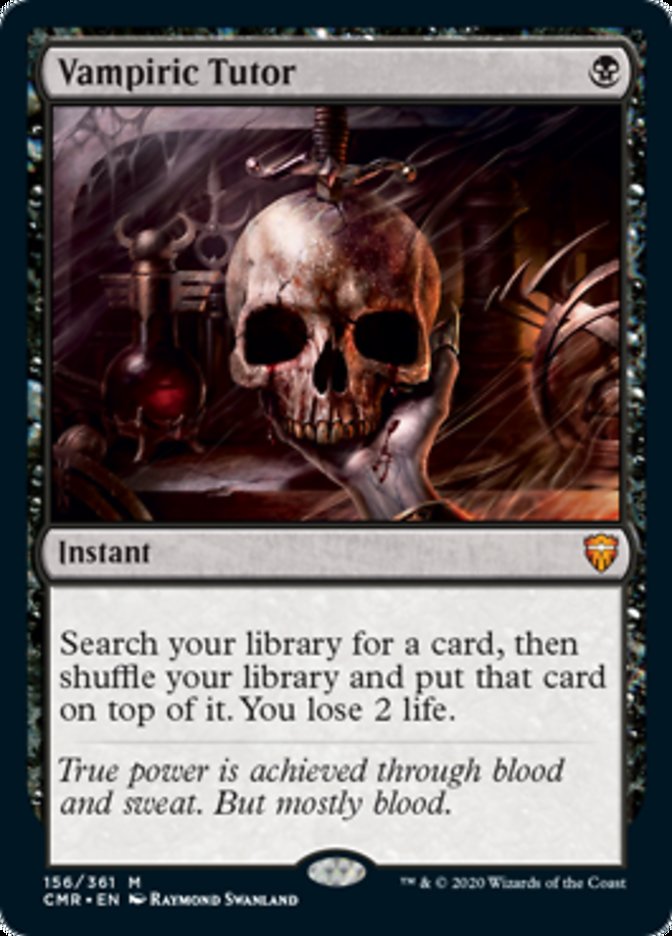
Demonic Tutor sets the tutor stage with one of the best tutors ever printed. Vampiric Tutor is also up there, despite being card disadvantage.
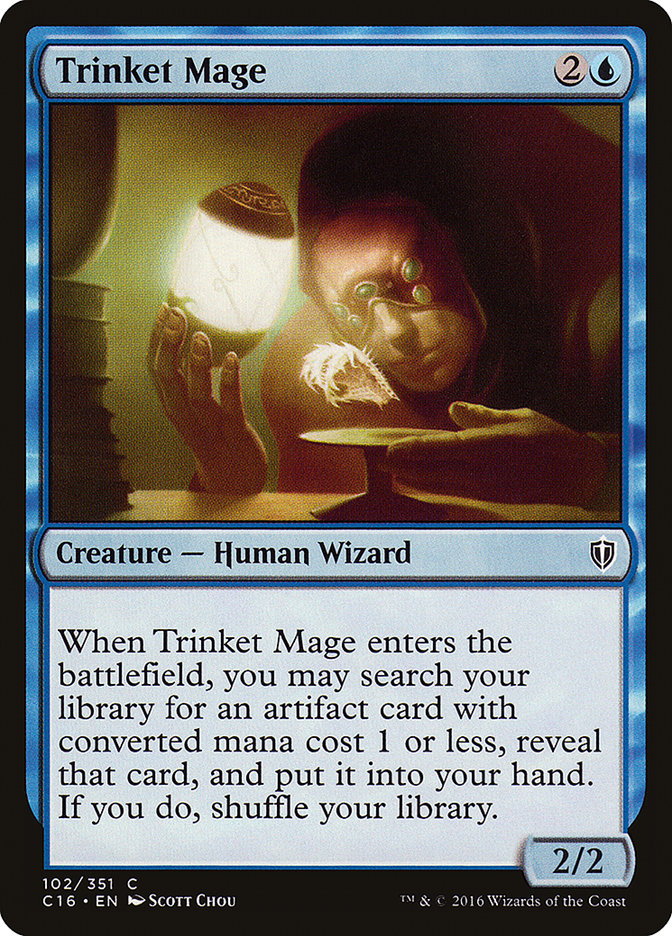
Trinket Mage helps assemble your combos while finding many of your stax pieces and mana accelerants.
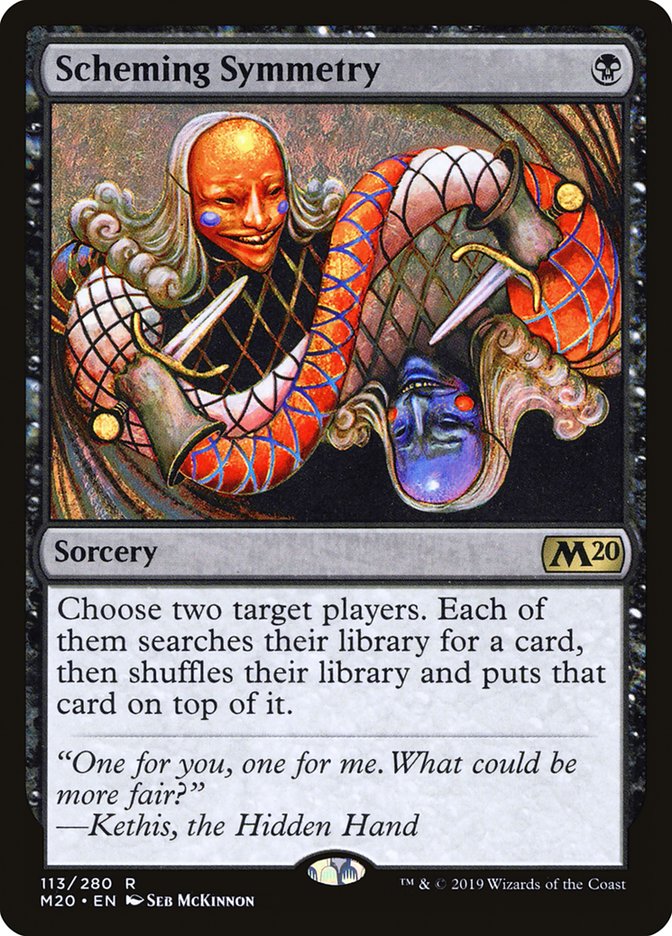
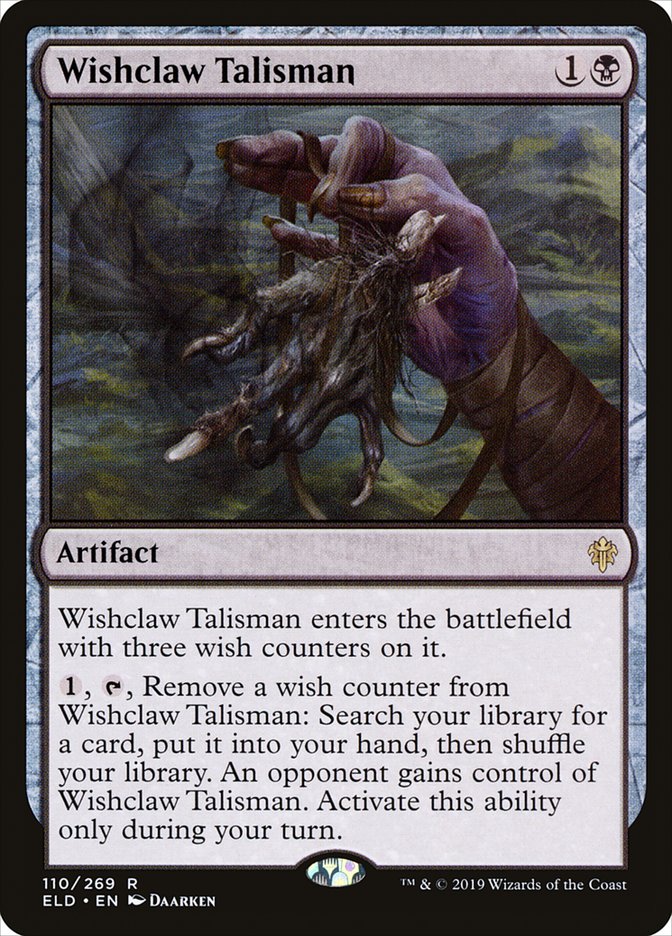
Scheming Symmetry and Wishclaw Talisman aren’t the greatest tutors, but they’re so much fun. Symmetry is notably powerful with Citadel, as you can cast the spell immediately. If you can win the turn you activate Talisman, you don’t need to worry about your opponent gaining control of it. With both these effects, it’s best to choose the opponent with the lowest likelihood of disrupting you or winning with their tutored card.
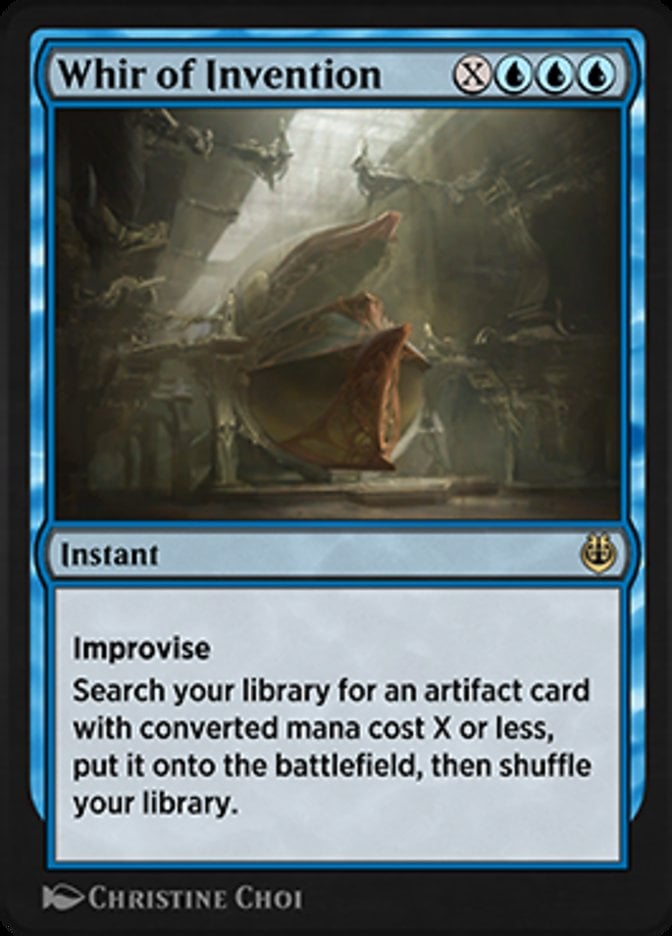
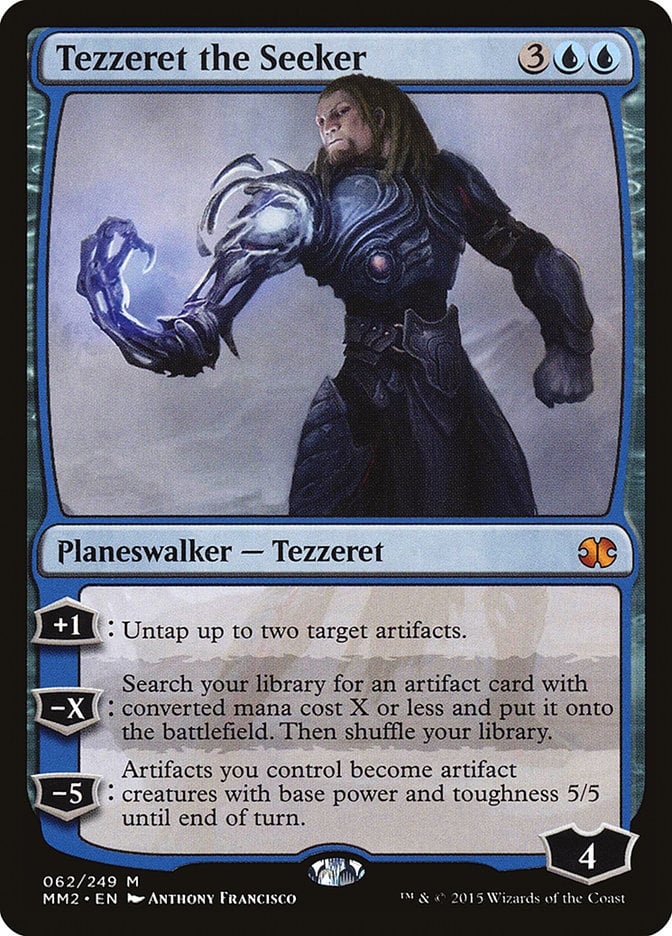
Whir of Invention and Tezzeret the Seeker both help you find artifacts. Most of your stax pieces are artifacts and all your combos utilize artifacts, so these are invaluable tools for disruption and victory.
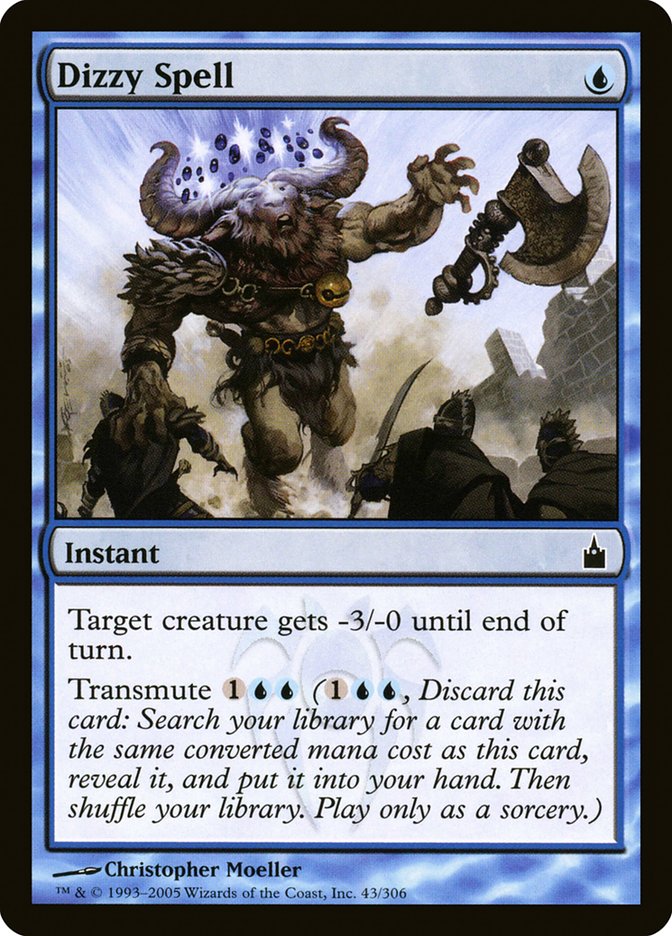
Transmute is a slow tutor, but Dizzy Spell does the job. Its notable targets include Grafdigger's Cage and Pithing Needle as disruptive pieces, An Offer You Can't Refuse and Flusterstorm as protection, and Sensei's Divining Top and Sol Ring as combo pieces.

Beseech the Mirror might be the single most anticipated and powerful card from Wilds of Eldraine. It’s already making waves in Legacy and Vintage, and it’s fantastic here. You have plenty of artifacts to sacrifice, and it casts most of your deck and can assemble pretty much everything you need for any of your combos, short of a few expensive pieces.
Stax Elements
Everybody loves a stax deck, right? This one has a variety of stax pieces, with most of your attention turned toward disrupting your opponent's mana and card draw.
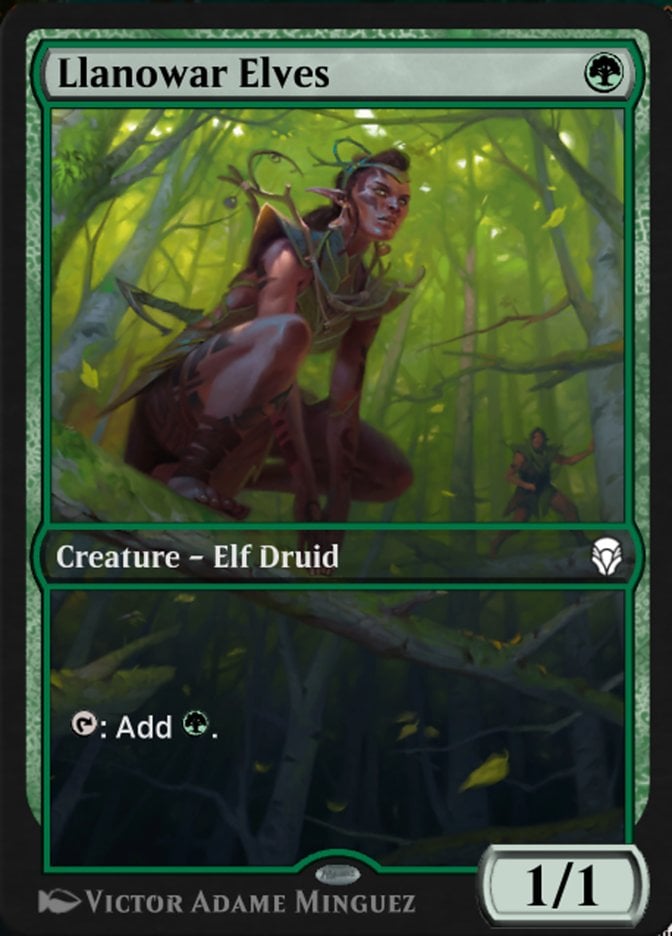
Overburden is a card I’ve wanted to play for a while, and I think it’s found a home in this 10-creature deck. It gets weaker the later you play it, but it’s incredibly disruptive early and especially sets green decks behind. Imagine playing Llanowar Elves into this.
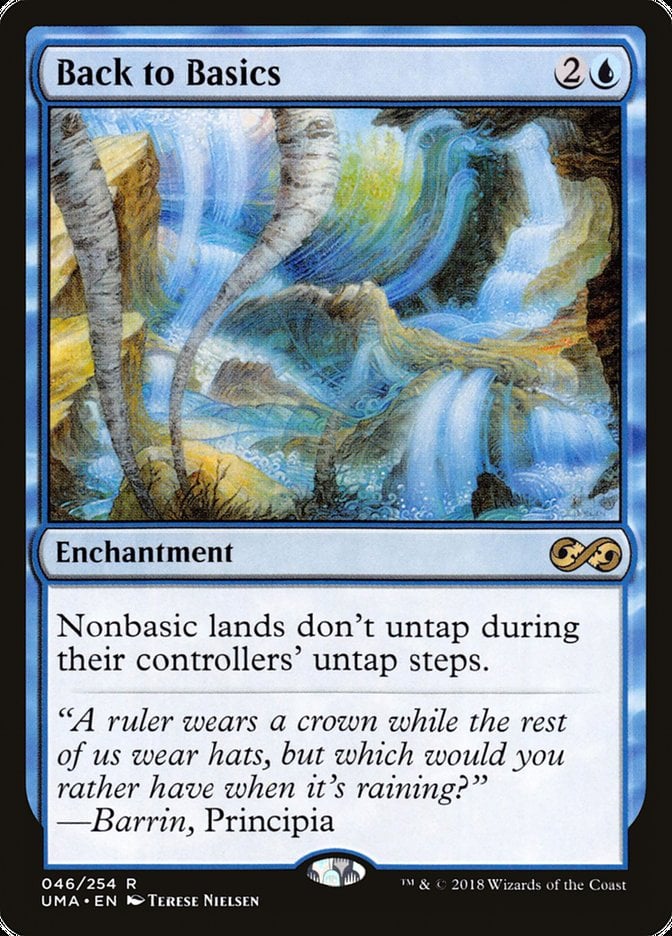
Back to Basics is a classic stax piece that sees occasional Legacy play. Many players love playing as few basics as possible, even in 2-color decks, so this tends to shut people down.
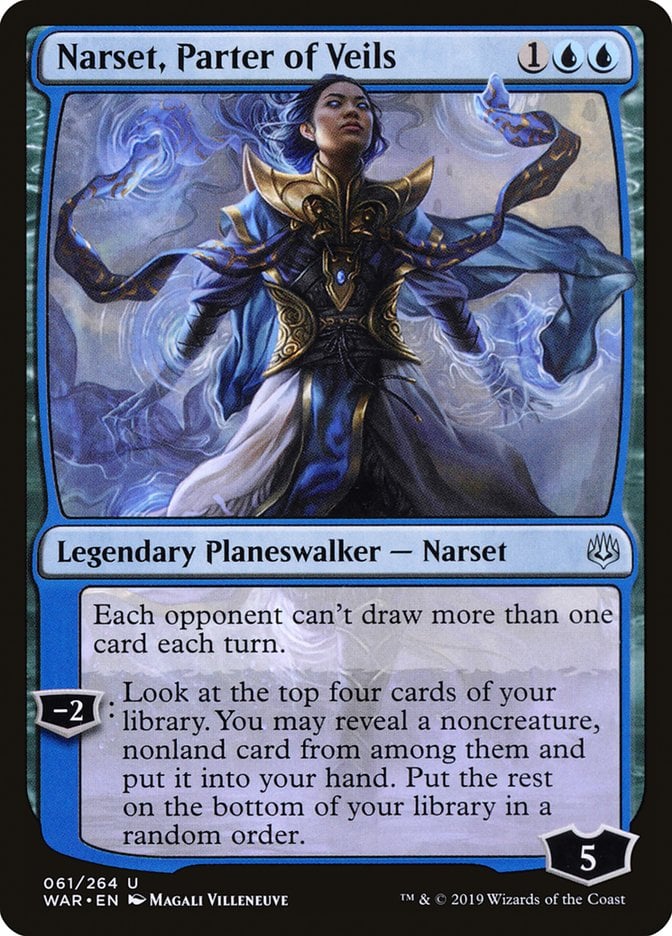

Narset, Parter of Veils and Notion Thief stop your opponents from drawing extra cards while generating plenty of card advantage for yourself. They disrupt opposing draw engines and combo with your wheels.
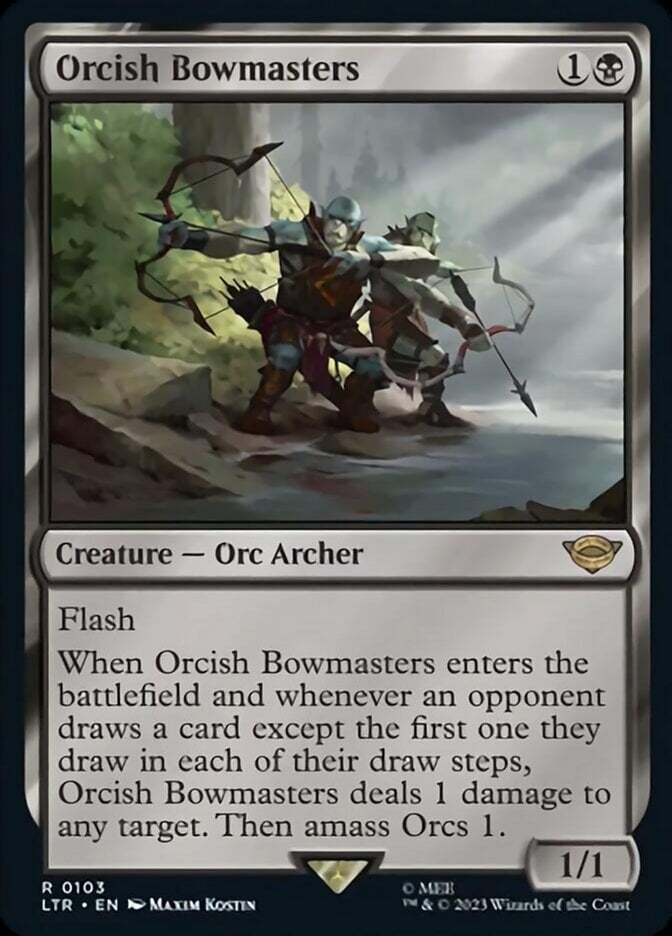
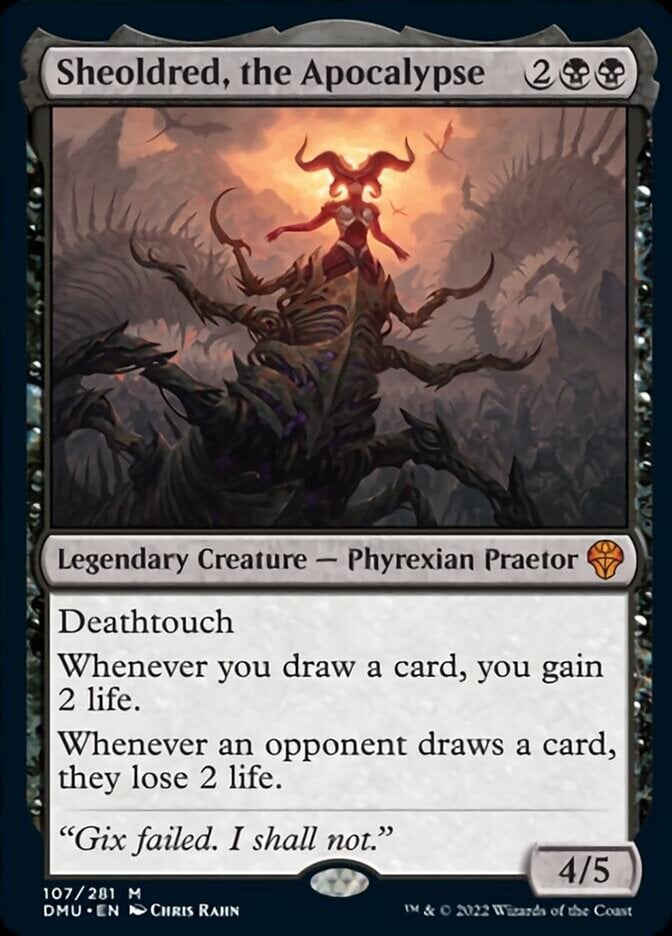
Orcish Bowmasters and Sheoldred, the Apocalypse don’t prevent your opponents from drawing cards but punish the act. Any “fair” wins you get will likely be on the back of casting wheels with one or both in play.
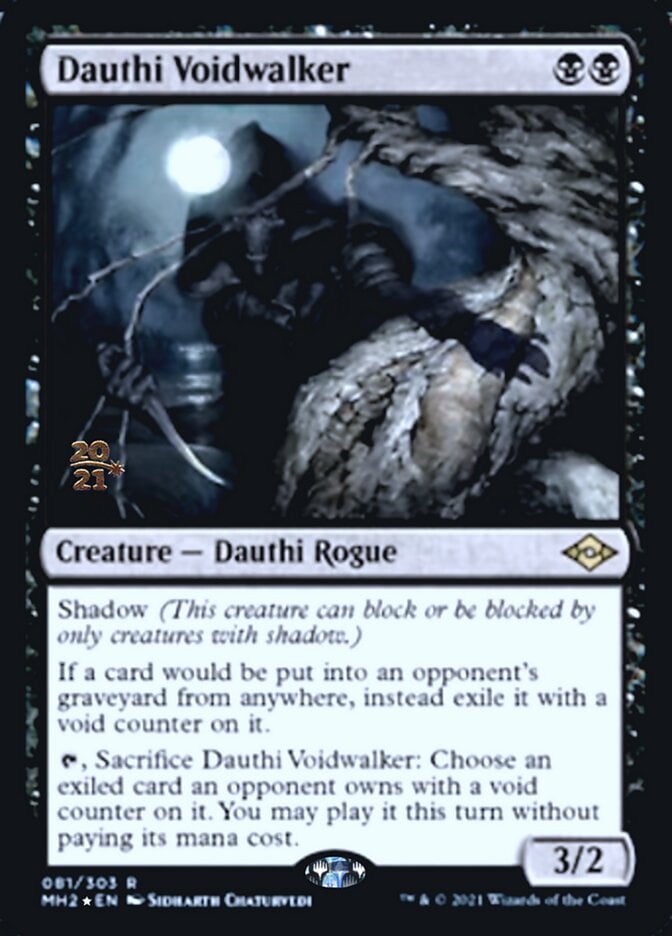
Dauthi Voidwalker and Grafdigger's Cage both disrupt various graveyard decks. Cage is a bit awkward with Citadel, but you have other ways to win and a few ways to bounce or sacrifice the Cage itself should it impede you instead of your opponents.
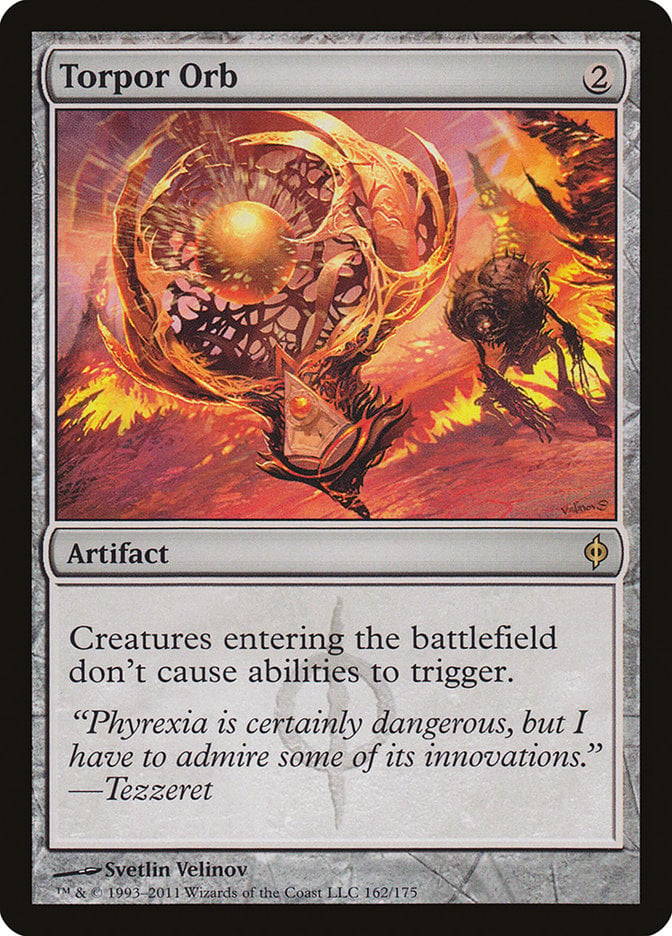
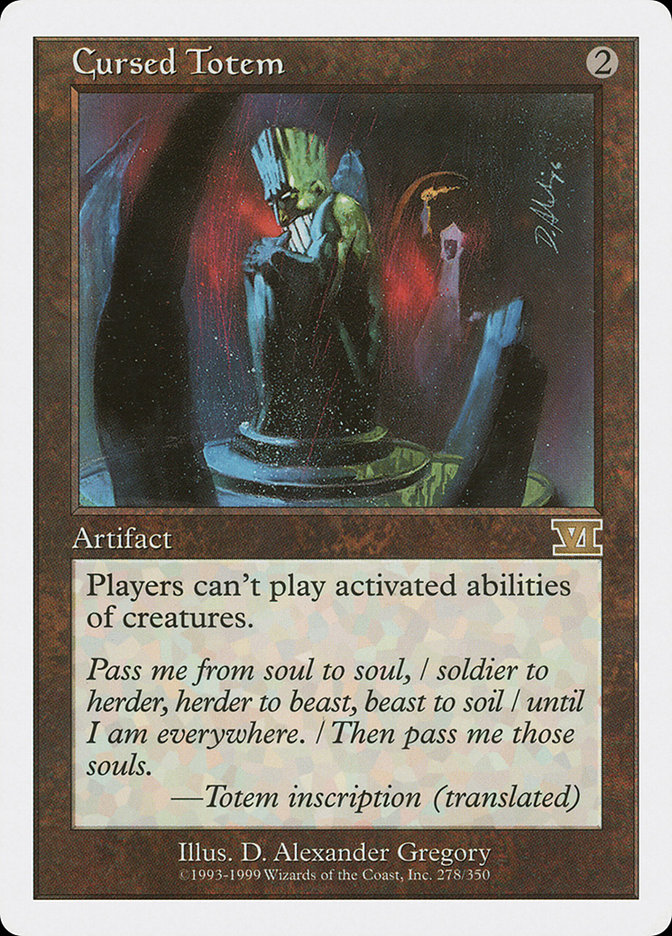
Torpor Orb and Cursed Totem are useful against different flavors of creature decks.
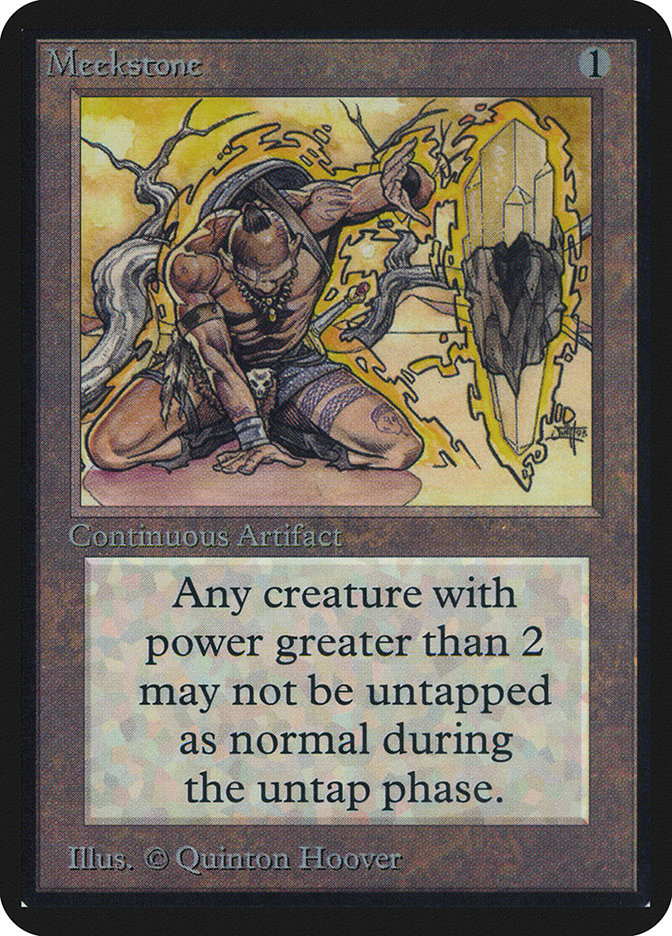
Meekstone is a fantastic protective piece against many creature decks, namely ones that want to attack you. It can also prevent larger mana dorks from untapping.
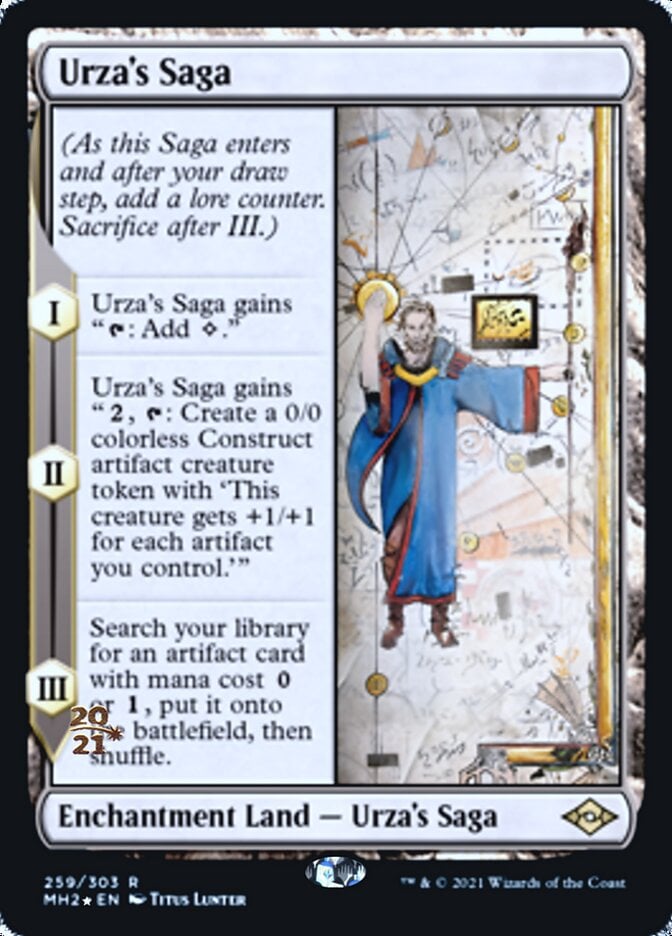
Pithing Needle rounds out your stax pieces with an answer to many specific situations and works incredibly well with Urza's Saga and Whir of Invention.
Finishers + Enablers
We’ll go over the combos themselves in more detail later, but these are the fundamental pieces that win you the game.
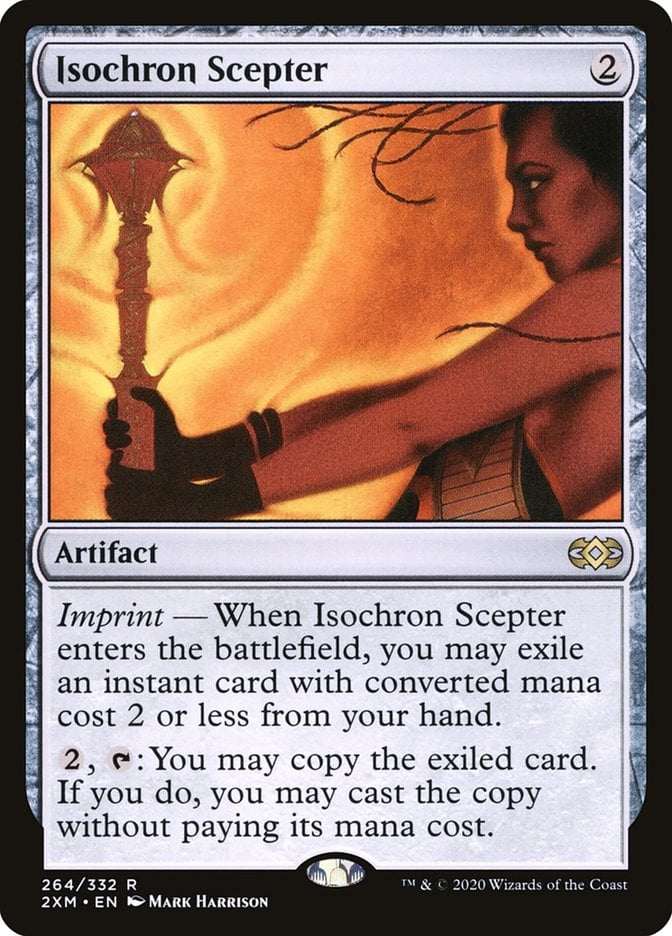
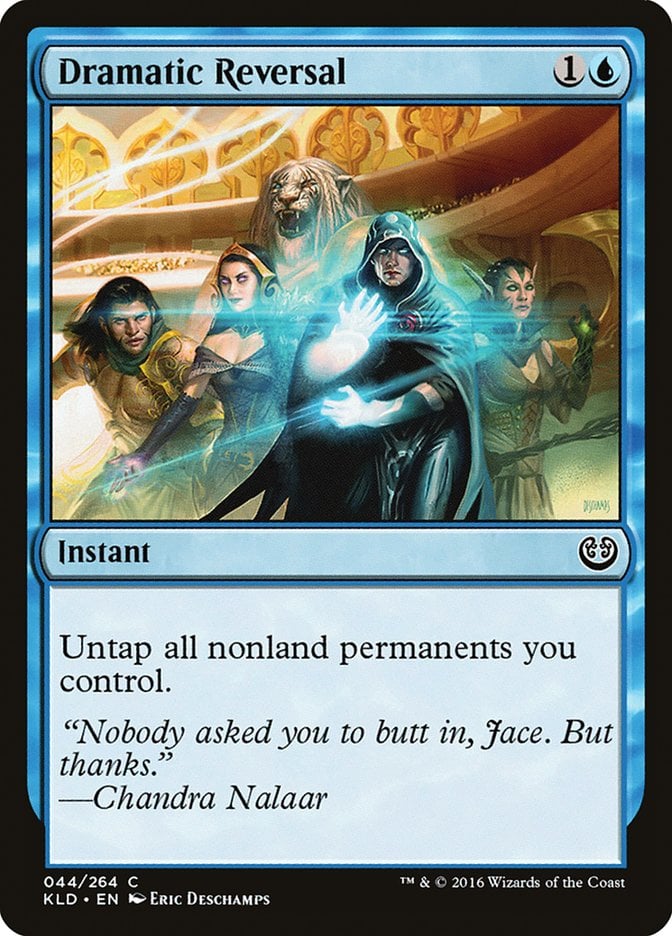

Isochron Scepter pairs with Dramatic Reversal for an infinite combo, but don’t overlook using Scepter to get a ton of protection or card advantage by imprinting cards like Demonic Tutor and Mana Drain.

Tendrils of Agony will just kill your opponents. While it does take a large storm count, you generate infinite storm, so that’s not a concern. Tendrils can also be important later in the game to help gain a bit of life to either stabilize you or help you cast a bunch of spells with Citadel.
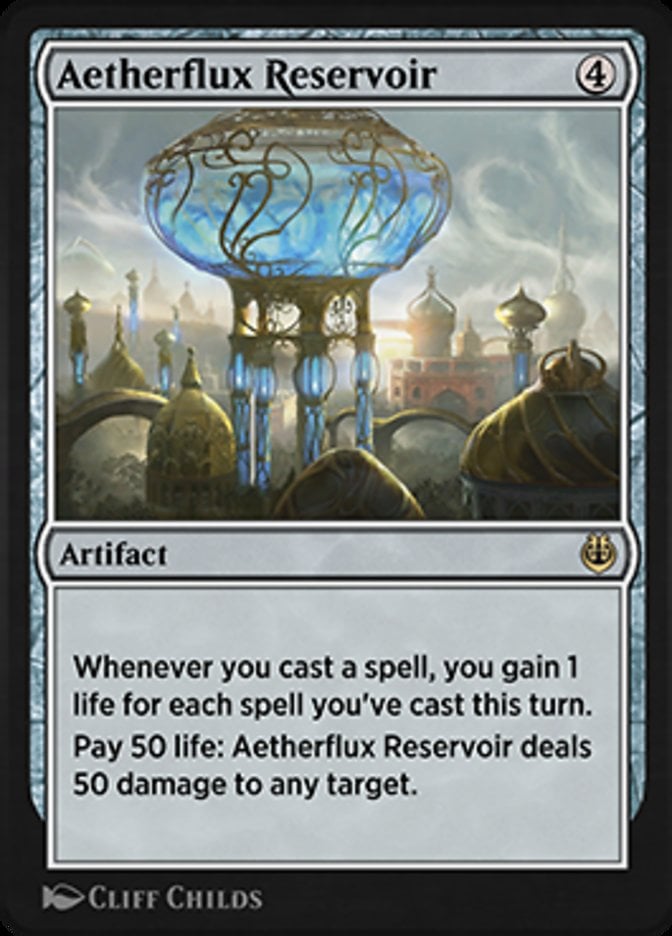
Aetherflux Reservoir is basically a Tendrils that your artifact tutors find. You’ve got infinite storm combos and the classic Citadel + Top to enable this.
Mind's Desire is essentially a super tutor that lets you cast your entire deck. You’ll even get all the counterspells you haven’t cast yet should your opponents try to interact with your win after this spell resolves.
Tidespout Tyrant and Hullbreaker Horror enable both infinite storm and infinite mana combos.
Urza, Lord High Artificer and Torment of Hailfire are both infinite mana outlets. Urza helps assemble the missing combo pieces, namely something to utilize your storm count, while Torment is a backup if the storm cards won’t work.
Disruptive Elements
As for other disruptive pieces, you’ve got a bunch of cheap, effective countermagic. Counterspell and Mana Drain are among the best counters ever printed and are supplemented by several more efficient but narrower counters like Swan Song and An Offer You Can't Refuse.


To deal with creatures, you have a bit of spot removal, Snuff Out and Resculpt among them, with Toxic Deluge and Damnation for board wipes. March of Swirling Mist and Slip Out the Back are flexible cards that either protect your creatures or temporarily disrupt your opponents.
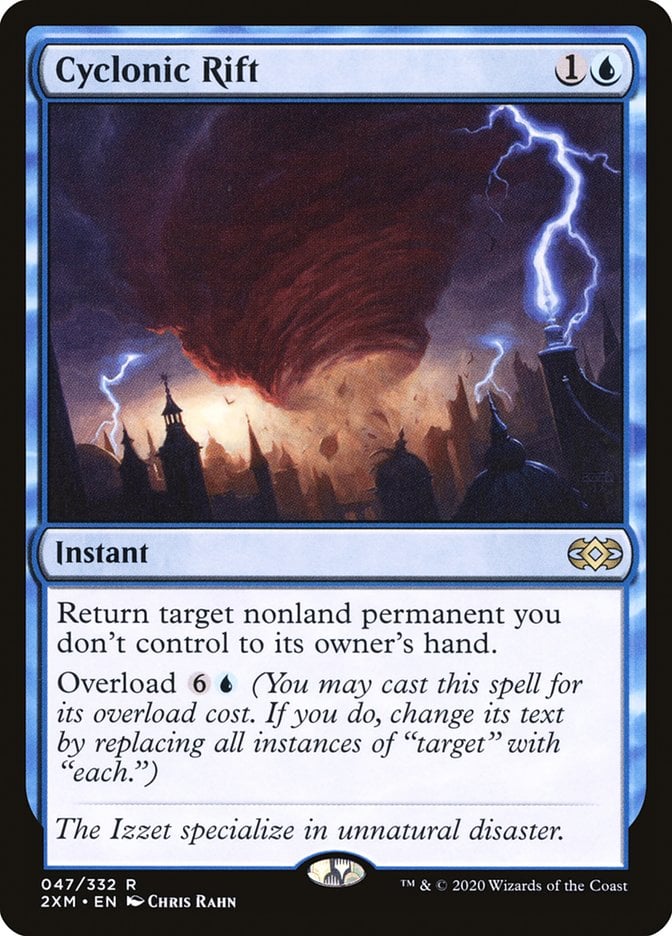
Chain of Vapor and Cyclonic Rift round out your interaction with a few ways to deal with any problematic nonland permanent.
I run into a lot of blue, so this list is weighted toward interacting with my opponents on the stack. If you play into more creature decks, don’t be afraid to tweak a card or two to better answer the decks you play against.
The Mana Base
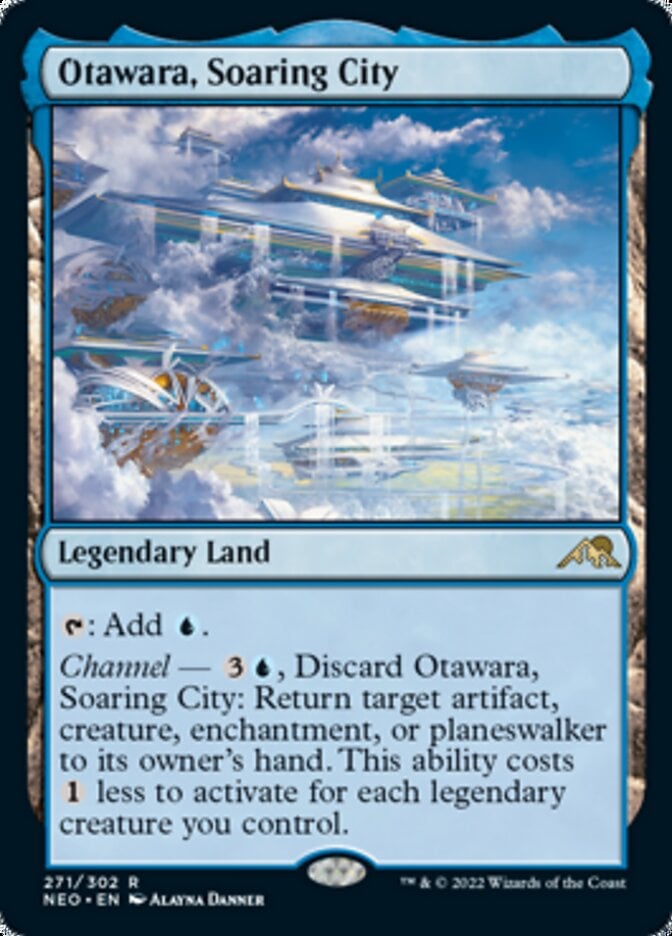
Your land base is very basic-heavy as you have Back to Basics. The only non-fixing value lands are Otawara, Soaring City for uncounterable interaction and Urza's Saga for the incredible tutor and a few blockers.
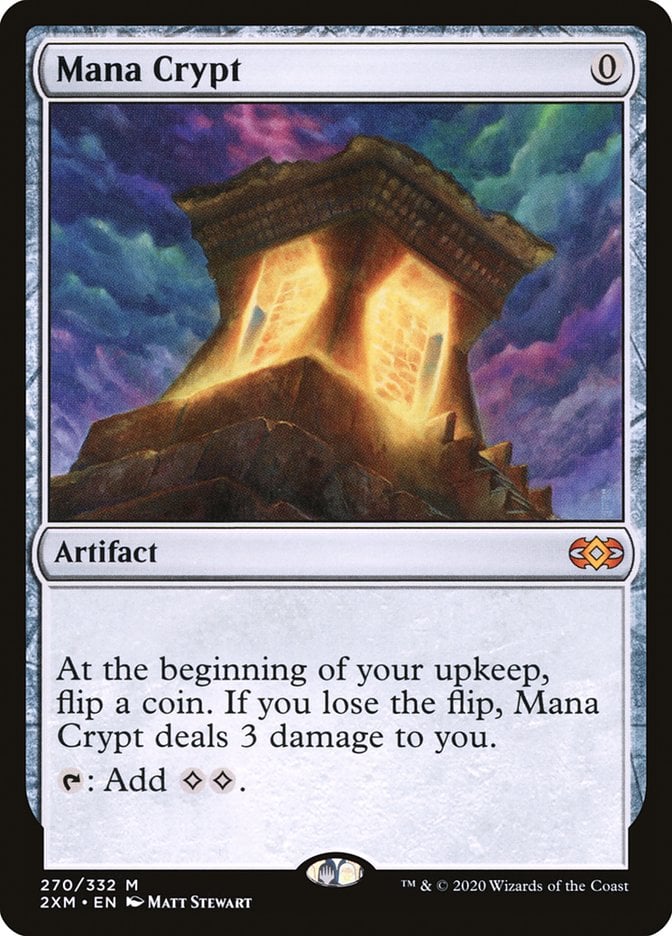
For mana accelerants, you have a bunch of typical 2-mana rocks – your on-color Talisman and Signet and so on. Mana Crypt and Sol Ring are incredible ramp pieces and important combo pieces.
The Strategy
This deck has a pretty simple plan: Slow your opponents and get your combo off. The combo pieces aren’t always something you need in your opening hand, though it certainly helps. The most important thing is a card advantage engine or a disruptive card. It’s hard to mulligan away a hand that gets a fast Talion or casts Rhystic Study.
Of course, a comfortable amount of disruption also helps. Your opponents' commanders help determine what an acceptable amount of interaction is. For example, if a player has Brago, King Eternal in the command zone, the value of Torpor Orb skyrockets, as does Back to Basics against multiple decks with 3+ colors.
Once you’ve got your disruption or card advantage, whichever you’re leaning into, you want to keep things slow. You can have explosive draws, often involving Mana Crypt and a draw-seven, but should look to keep things chill. If you look like too much of a threat, you could be stomped, especially if you deploy some early stax.
With so much interaction and card advantage, you don’t mind playing a longer game; your deck is built to encourage that. Playing patiently might be your biggest strength. Keep up protection while assembling your combos, especially the cheaper ones.
Combos and Interactions
Let’s get into some juicy combos that win you the game, starting with the basics.
Isochron Scepter + Dramatic Reversal + mana rocks producing 2 or more mana.
Play Scepter, imprinting Reversal on ETB. Then activate Scepter with your mana rocks to cast a copy of Dramatic Reversal. As long as your mana rocks can produce 2 mana, you’ll get infinite storm since you cast the copy of Reversal. If you can generate 3 or more mana, you’ll get infinite mana with this combo.
Aetherflux Reservoir + Sensei's Divining Top + Bolas's Citadel.
This one’s easy. With all three pieces in play, you win! Activate Top’s last ability, drawing a card and putting it on top of your library. Cast it by paying 1 life through Citadel’s ability. This triggers Reservoir, gaining you 1 life (assuming Top is the first spell you cast). Continue this loop, gaining more and more life, until you can use Reservoir’s activated ability to win.
Tidespout Tyrant/Hullbreaker Horror + Sol Ring + Mana Crypt.
With either of the big blue creatures in play, cast Sol Ring. Tap it for 2 mana, then cast Mana Crypt. This triggers your blue creature. Use the trigger to return the tapped Sol Ring to your hand. Then tap Crypt and use one of your 4 floating colorless mana to cast Sol Ring, bouncing Crypt.
Rinsing and repeating this loop nets you infinite colorless mana and infinite storm. This combo is more flexible than it appears; you just need two mana-positive permanents. This loop can be performed with Mana Crypt and any of your other 1-mana artifacts or your 2-mana rocks that produce colored mana for infinite colored mana. It does work best with Crypt + another rock for that colored mana.
This infinite storm is what lets you win with Tendrils of Agony and Mind's Desire. It also does the trick with Reservoir in play. It's important to know that Reservoir counts all spells played, regardless of whether it was already on the battlefield. If you cast it and then cast your 1000th spell, you’ll gain 1000 life.
This deck has a couple of other things it can do with the infinite blue and black mana. I’m going to use Hullbreaker Horror as my example for the next couple of combos, but Tidespout Tyrant is interchangeable. These combos all assume you have access to infinite colored mana.
Hullbreaker Horror + Narset, Parter of Veils + Mana Rock
Cast Narset and use its ability to look at the top four cards of your library and put a noncreature spell from among them into your hand. Then cast one of the rocks you used for your loop to return Narset to your hand. You can continue this loop to put all the noncreature spells in your deck into your hand. This lets you find a storm card to win with.
Hullbreaker Horror + Orcish Bowmasters + Mana Rock
Loop your mana rock and Bowmasters the same way you did Narset, except this combo lets you ping your opponents to death. If you can’t target them, it can also wipe the board and make an infinitely large Orc Army. If you control Torpor Orb, you’ll need to bounce it at some point in this loop.
Tidespout Tyrant + Urza, Lord High Artificer + Timetwister
This loop is a little more niche. It requires Tidespout, not Hullbreaker, and it’s only useful if your opponents have somehow locked out your other win conditions, but it’s worth knowing.
Activate Urza infinitely with your infinite mana and cast all the spells in your deck but Timetwister. Casting your counterspells in response to each is an important part of this. Use the triggers you get from Tyrant to start bouncing all your opponent’s permanents to hand.
Once you’ve cast all your spells, cast Timetwister to empty your opponents' hands and refill your library. You can rinse and repeat this combination until your opponents don’t have any permanents in play. This kind of works with Hullbreaker Horror, but that creature doesn’t bounce lands.
This combo is tied off by one of your draw-hate pieces. This loop wins with Bowmasters or Sheoldred in play, while Notion Thief or Narset leave your opponents in the unwinnable position of having no permanents and one or no cards in hand.
Rule 0 Violations Check
Thankfully, this contains 11 Swamps, which are the only cards that don’t violate a Rule 0 conversation. This is a high-powered stax deck that basically only wins via infinite combos. Lots of players won’t want to play against this kind of deck. A thorough Rule 0 conversation is important with this deck so your opponents don’t feel cheated. I’d consider this a high 8. It’s a deck with a place in Commander but at specific tables. This isn’t to say you shouldn’t play it; just make sure your opponents enjoy playing this kind of EDH.
Budget Options
The first and biggest place you can make a budget cut is to the mana base. Because of Back to Basics, this deck could happily replace all the non-basics with basic lands, including the MDFCs.
Beseech the Mirror has a high price thanks to the hype and power. It could become any weaker tutor, like Grim Tutor. Demonic Tutor and Vampiric Tutor are also expensive pieces here for consistency but could get replaced with raw card draw like Night's Whisper and Sign in Blood to dig for your important pieces. Rhystic Study falls in with these cards that can become draw spells.
Damnation and Toxic Deluge have fine budget alternatives in Languish and Crux of Fate.
You have a handful of free interactive spells: Fierce Guardianship, Deadly Rollick, Snuff Out, and Force of Negation are among your most expensive interactive pieces. They can all get replaced with parallel interactive spells that cost mana, like Infernal Grasp and Negate.
Palantír of Orthanc can replace The One Ring as a source of steady card advantage until the price drops because it gets banned in Modern.
Exsanguinate can replace Torment of Hailfire for a backup infinite mana sink. Sheoldred, the Apocalypse and Orcish Bowmasters don’t have one-for-one trades, which is part of why they’re so expensive. You can replace these with other stax pieces, like Frozen Aether and Propaganda. I play with a totally real Timetwister that certainly wasn’t produced by my mom’s Canon, but if that’s not your style, Day's Undoing is a great alternative. It cuts off that Urza-Tyrant combo, but that’s useful in such narrow cases that losing it won’t matter much.
Other Builds
What else can Talion, the Kindly Lord do? One route would be to go full cEDH. This deck has relatively little fast mana, and it’s not at the power level that Thassa's Oracle/Demonic Consultation felt like a good win condition, but those would be some easy swaps to make to push this towards a hyper-competitive build.
You could also lean into the type box and have Talion lead a faerie-typal matters deck. That would also be a great option if you wanted a more casual Talion build as opposed to the higher-powered lists suggested above.
Commanding Conclusion
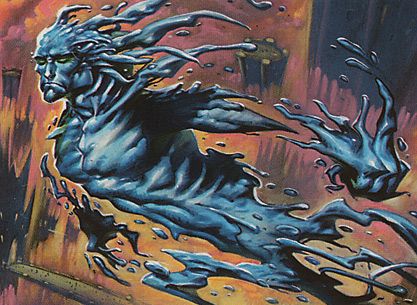
Tidespout Tyrant | Illustration by Dany Orizio
Talion, the Kindly Lord is one of the most hyped commanders from Wilds of Eldraine, for cEDH and beyond. Whether it’ll live up to the hype remains to be seen, but 4-mana commanders that offer potent card advantage are rarely bad.
While this iteration leans hard on using Talion as a card draw engine to power a controlling strategy, there are plenty of other ways to build this commander. What do you think about high-powered EDH decks that fall short of cEDH? Which Wilds of Eldraine legend are you most excited to build around? Let me know in the comments or on the Draftsim Discord!
Stay safe, and keep kind!
Follow Draftsim for awesome articles and set updates:


Add Comment