Last updated on December 30, 2024
Saruman, the White Hand | Illustration by Leonardo Borazio
The Lord of the Rings’ first venture into the world of Magic: The Gathering brought with it every classic character from the novels, including heroes, villains, and ents. So many ents. Today we’re building around one of the most recognizable antagonists from Tolkien’s work: Saruman. No, not Saruman of Many Colors, the other one. No, not Saruman the White. The other, other one.
That’s right, it’s Saruman, the White Hand, the, uh… one. Now that we’ve settled on the right version, let’s take a look at the deck and amass some thoughts about this commander.
The Deck
Merciless Executioner (Secret Lair) | Illustration by Paolo Parente
Commander (1)
Creature (14)
Changeling Outcast
Orcish Bowmasters
Baral, Chief of Compliance
Merciless Executioner
Orcish Siegemaster
Grishnákh, Brash Instigator
Sedgemoor Witch
Poppet Stitcher / Poppet Factory
Anhelo, the Painter
Wizards of Thay
Storm-Kiln Artist
Exalted Flamer of Tzeentch
Deekah, Fractal Theorist
Magnus the Red
Instant (16)
Consider
Thought Scour
Stubborn Denial
March of Swirling Mist
Lazotep Plating
Counterspell
Temur Battle Rage
Saruman's Trickery
Frantic Search
Kazuul's Fury / Kazuul's Cliffs
Pile On
Bolt Bend
Murderous Cut
Commence the Endgame
Curtains' Call
Dig Through Time
Sorcery (19)
Ponder
Faithless Looting
Preordain
Rite of Consumption
Shatterskull Smashing / Shatterskull, the Hammer Pass
Summons of Saruman
Foray of Orcs
Deep Analysis
Enter the God-Eternals
Chandra's Ignition
Widespread Brutality
Treasure Cruise
Phthisis
Sea Gate Restoration / Sea Gate, Reborn
Fevered Suspicion
Blasphemous Act
Dead Drop
Temporal Trespass
Volcanic Salvo
Enchantment (4)
Dreadhorde Invasion
Black Market Connections
Arcane Adaptation
Fall of Cair Andros
Artifact (12)
Sol Ring
Arcane Signet
Fellwar Stone
Rakdos Signet
Dimir Signet
Izzet Signet
Lightning Greaves
Commander's Sphere
Mindsplice Apparatus
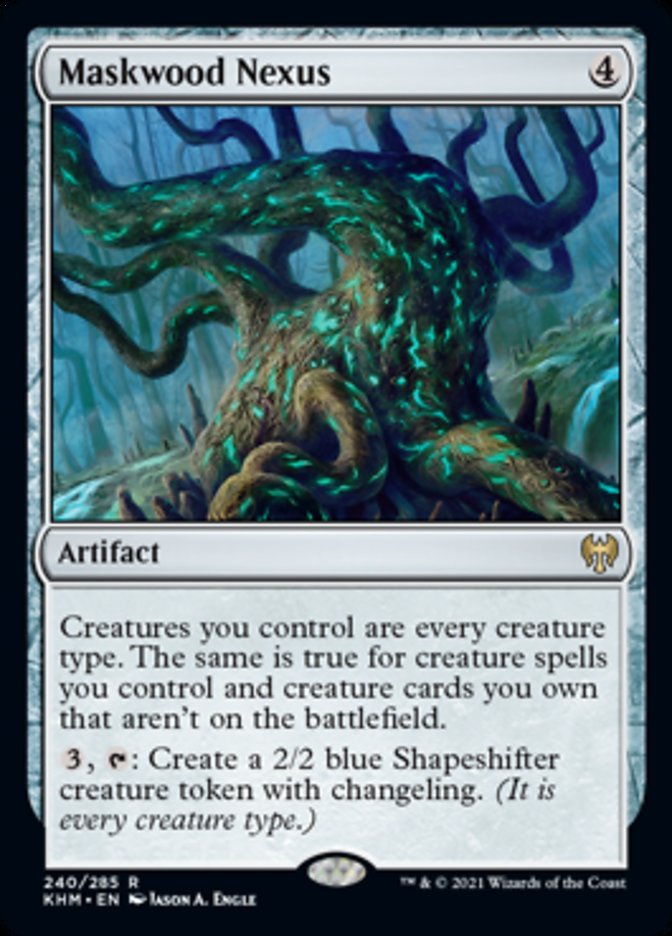
Maskwood Nexus
Embercleave
The Magic Mirror
Land (34)
Command Tower
Path of Ancestry
Fabled Passage
Exotic Orchard
Crumbling Necropolis
Xander's Lounge
Watery Grave
Blood Crypt
Steam Vents
Morphic Pool
Luxury Suite
Training Center
Shipwreck Marsh
Haunted Ridge
Stormcarved Coast
Dragonskull Summit
Drowned Catacomb
Sulfur Falls
Barad-dûr
Temple of the False God
Rogue's Passage
High Market
Myriad Landscape
Island x4
Swamp x4
Mountain x3
The Commander
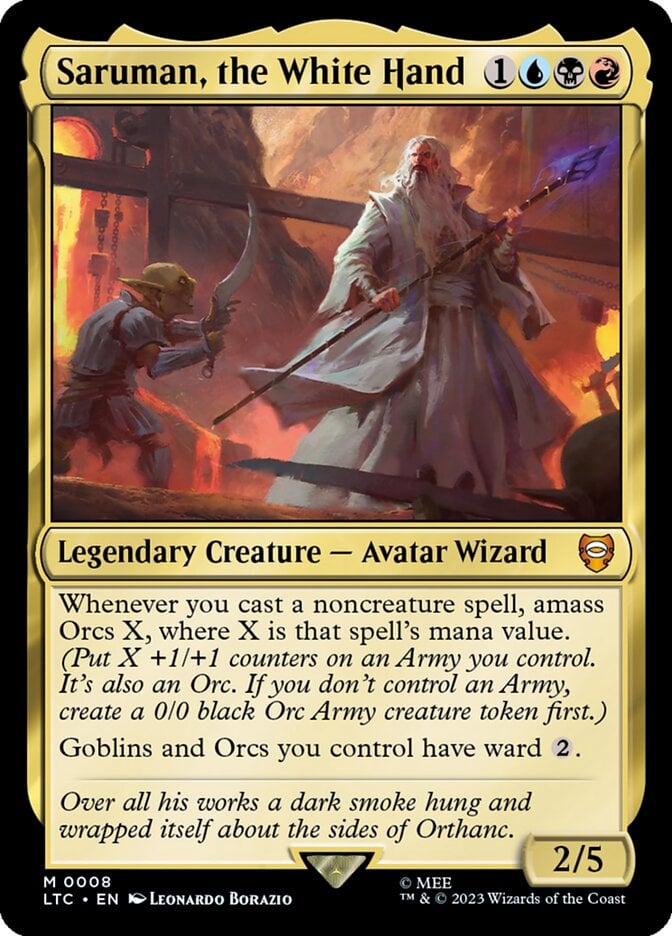
Saruman, the White Hand looks like a few other commanders from past sets. It follows the same formula as Talrand, Sky Summoner, Deekah, Fractal Theorist, and other spellslinger legends that create tokens when you cast spells. The twist is that Saruman amasses orcs, which doesn’t necessarily make a new token every time it triggers. You can choose to build up one large army or use sacrifice outlets to get value from multiple armies. You can’t go wide like many of these creatures often do, however.
Saruman cares about the mana value of the spells you’re casting, not the amount of mana spent. That means you want to cast expensive spells without spending the full amount of mana. Cost reduction abilities help, free-casting spells usually works, and mechanics like delve and suspend usually let you cheat on mana.
Note that Saruman triggers off any noncreature spell, not just instants and sorceries, so artifacts and enchantments have added value here. Mana rocks are great, but they’re even better when they add 2-3 +1/+1 counters to your army.
Bear in mind that Saruman is the card that gives your army (and other goblins/orcs) ward , so it loses its protection if your commander leaves the battlefield. Saruman doesn’t defend itself either, so I’ve included more protection than normal to make sure it sticks around. Even better, most of the protection is in noncreature form, so your army grows while you’re fending off your opponents’ interaction.
The Big Spells
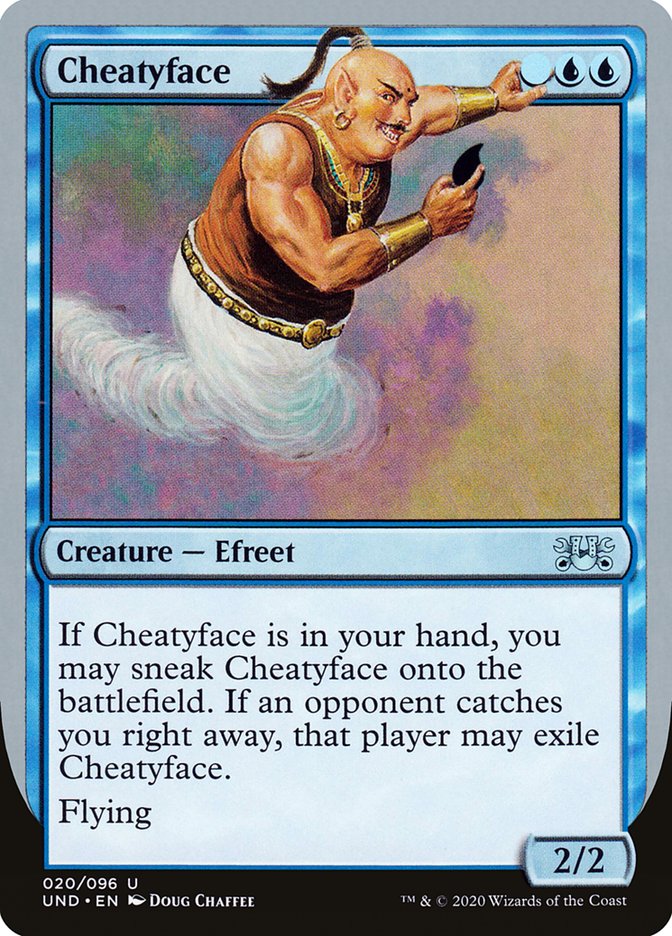
There’s a version of this deck that plays as many 1-mana spells as possible alongside sac outlets to get a new token with every amass trigger. That’s not what you’re doing here. You want to keep amassing the same army and use it to beat down. To do that, put on your Cheatyface hat and look for expensive spells that you can get a discount on.
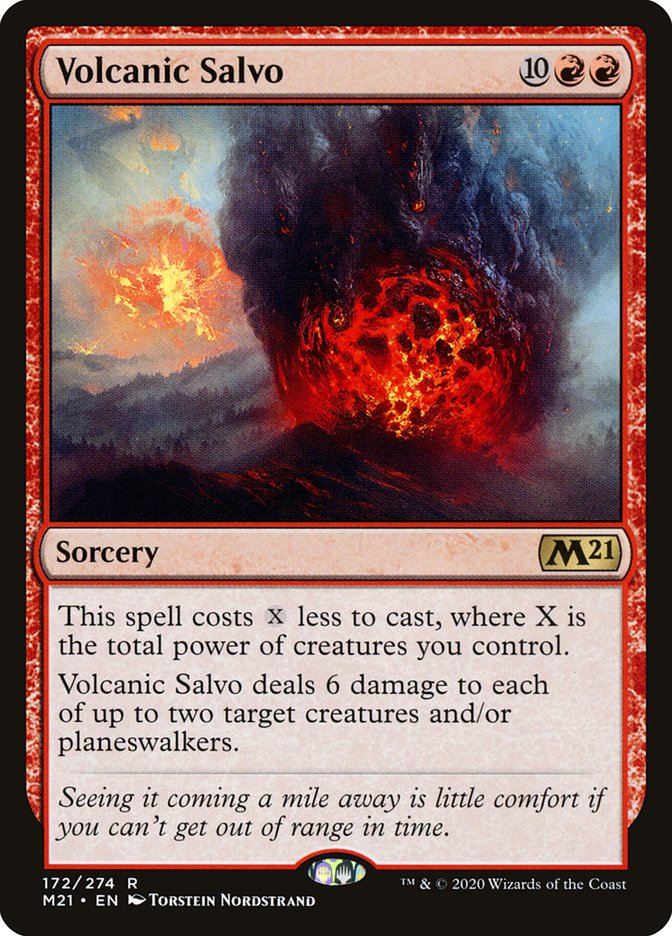
Volcanic Salvo is the most expensive spell in the deck at 12 mana, but it can be reduced to as little as . For that cost, you spend two mana to remove two targets and add 12 +1/+1 counters to your army.
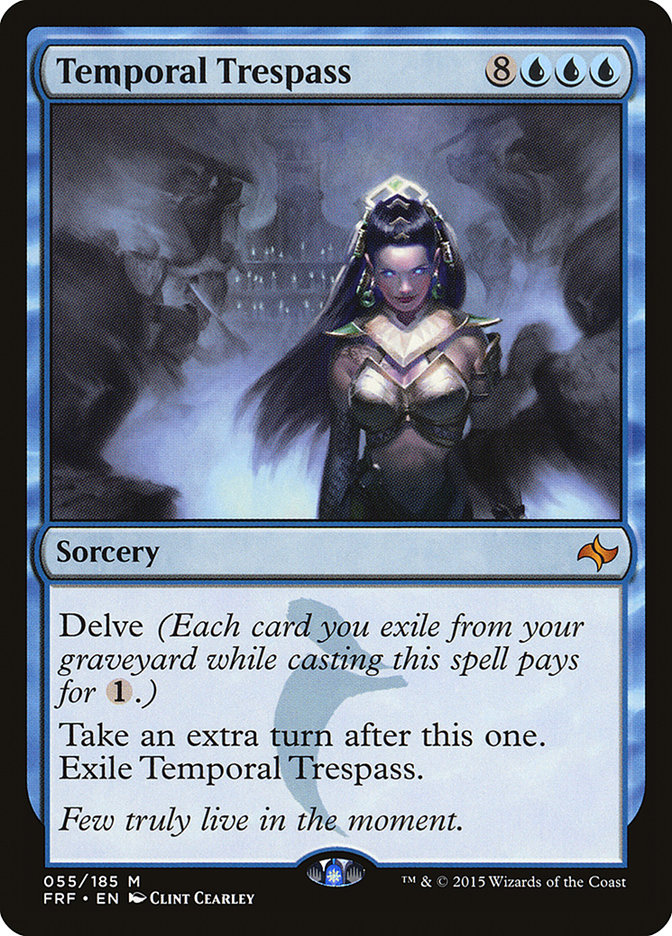

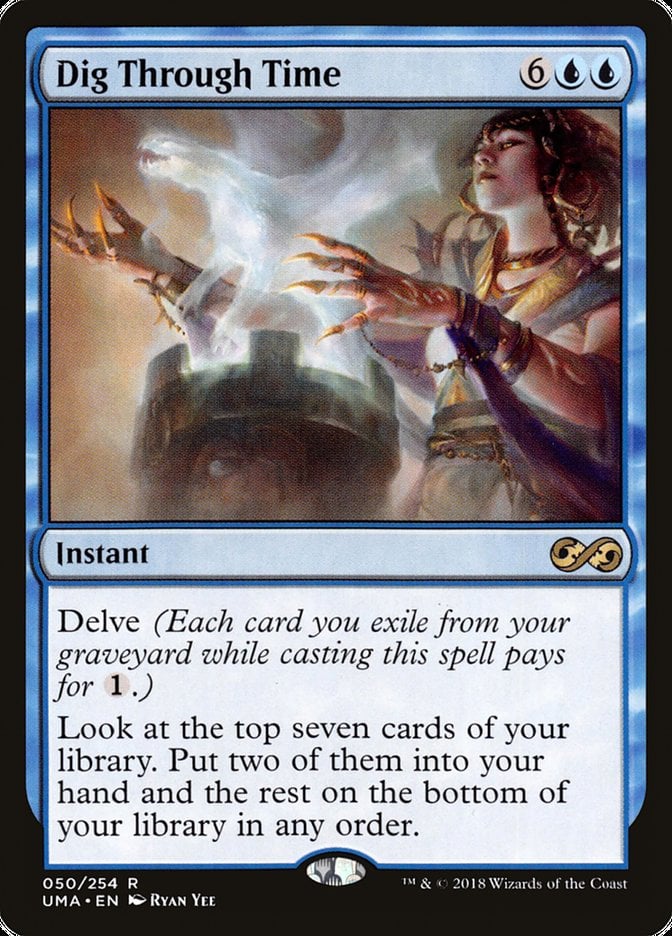
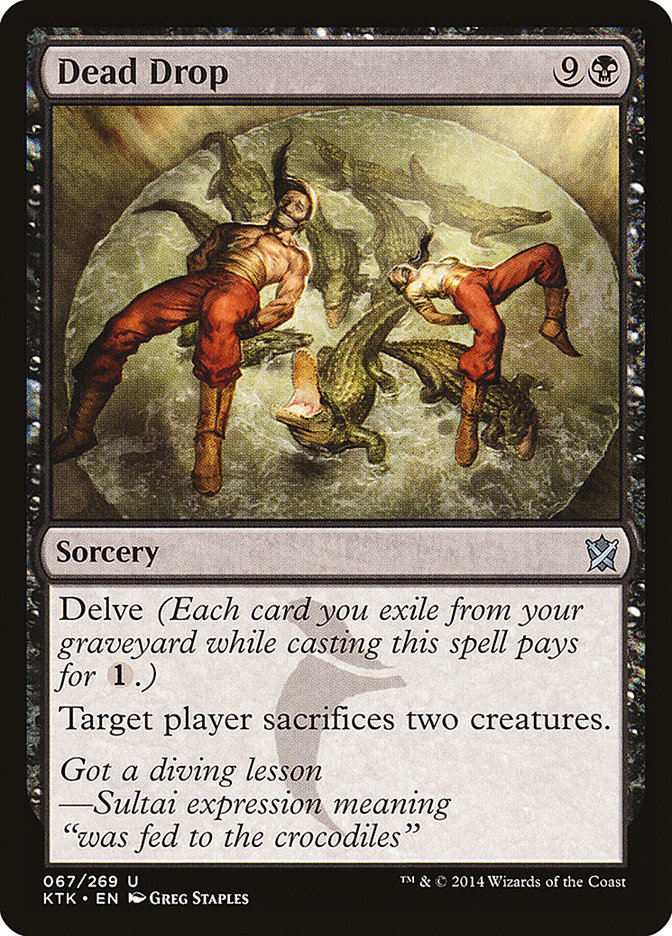
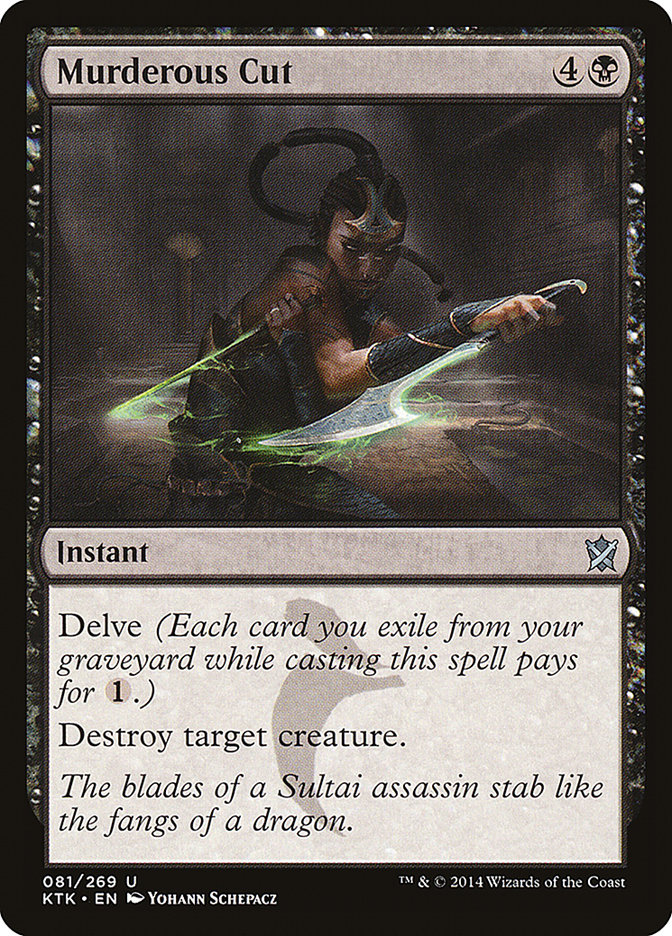
Temporal Trespass is next in line with a mana value of 11, though delve can get it down to as low as three. When you cast it, you’re adding 11 +1/+1 counters to the board and taking an extra turn to get another combat with the massive army you just made. Treasure Cruise, Dig Through Time, Dead Drop, and Murderous Cut are additional delve cards with high mana values. I didn’t add much recursion to the deck since the delve cards often chew through your graveyard resources.
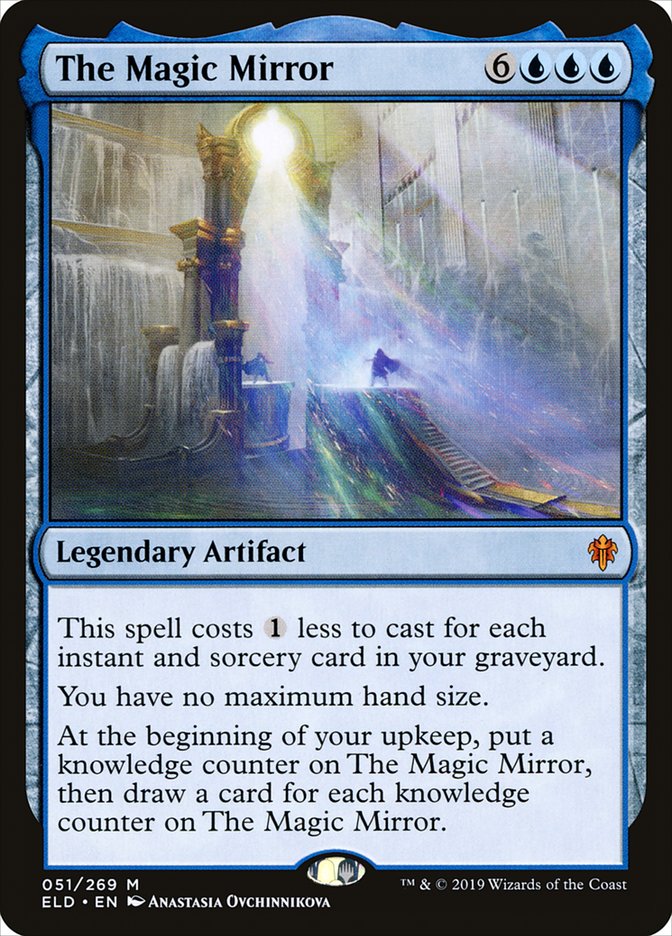
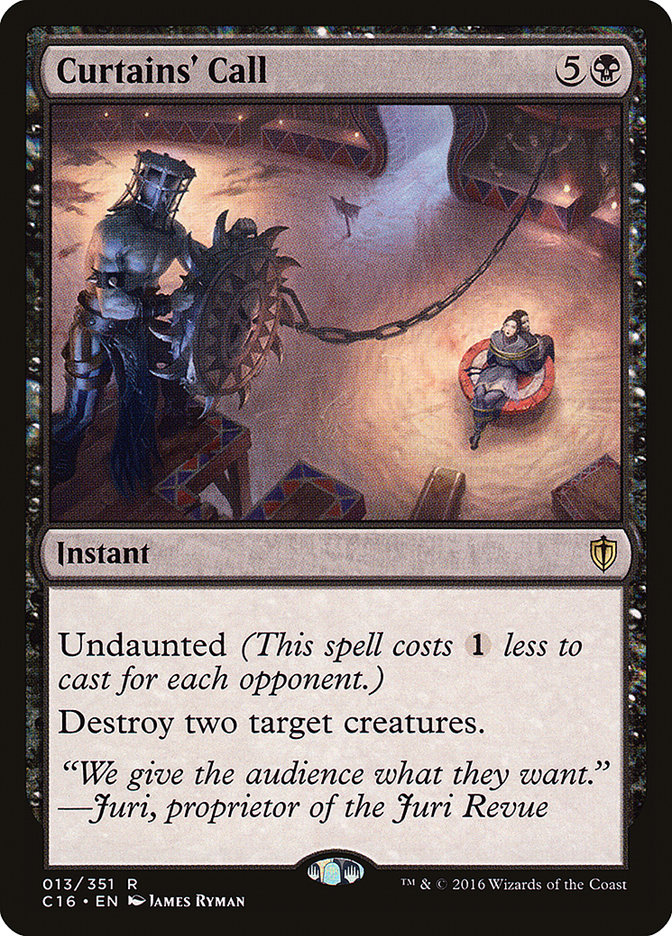
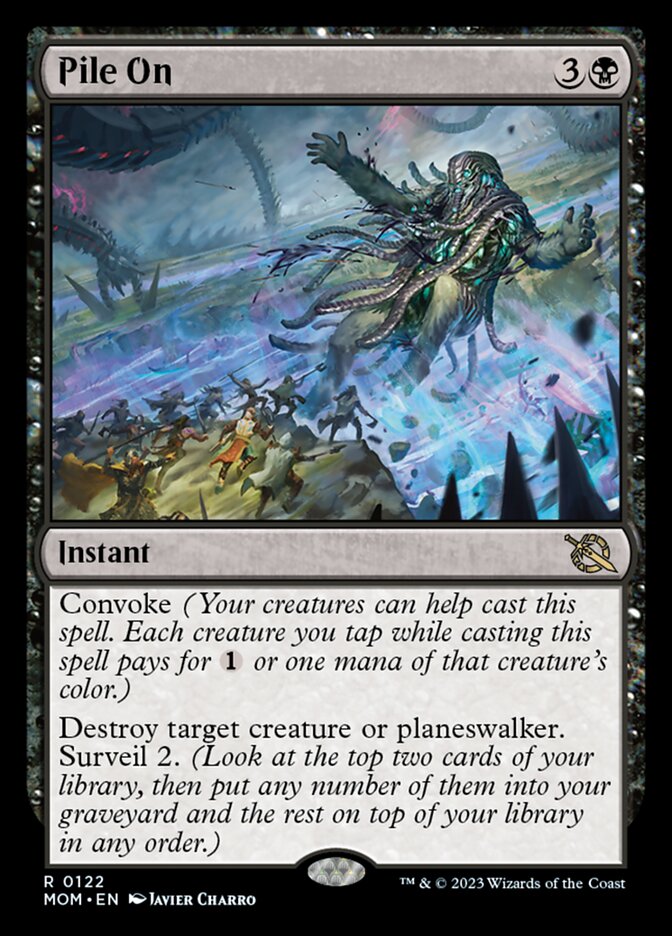
The Magic Mirror is a bit of a non-bo with delve, but ideally, you land this first then exile cards from your graveyard. You can usually cast Curtains' Call for 3 mana, and Pile On is sometimes completely free. These cards still add the maximum number of counters regardless of how much mana you spend on them.
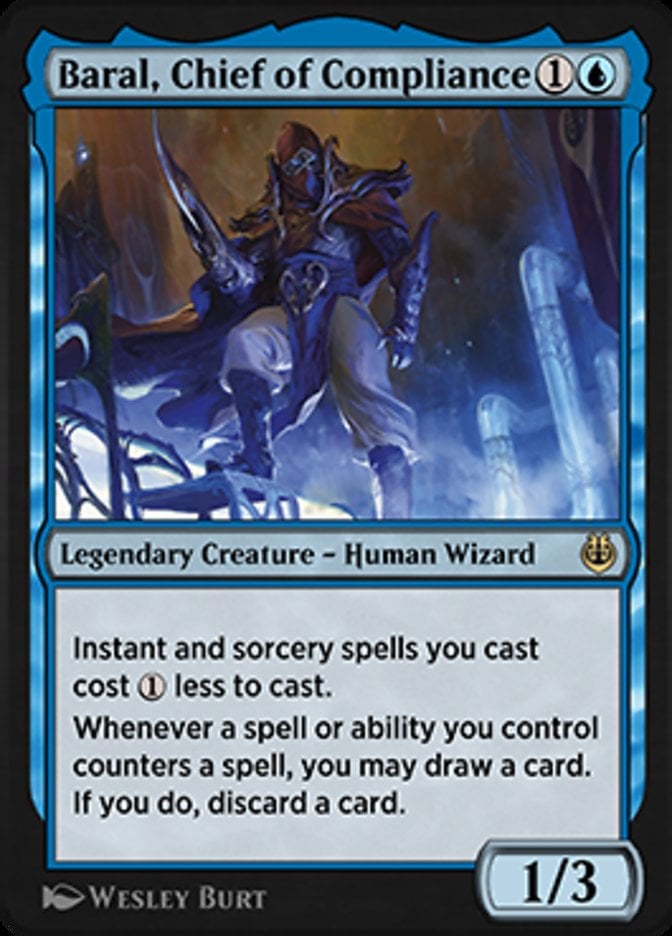
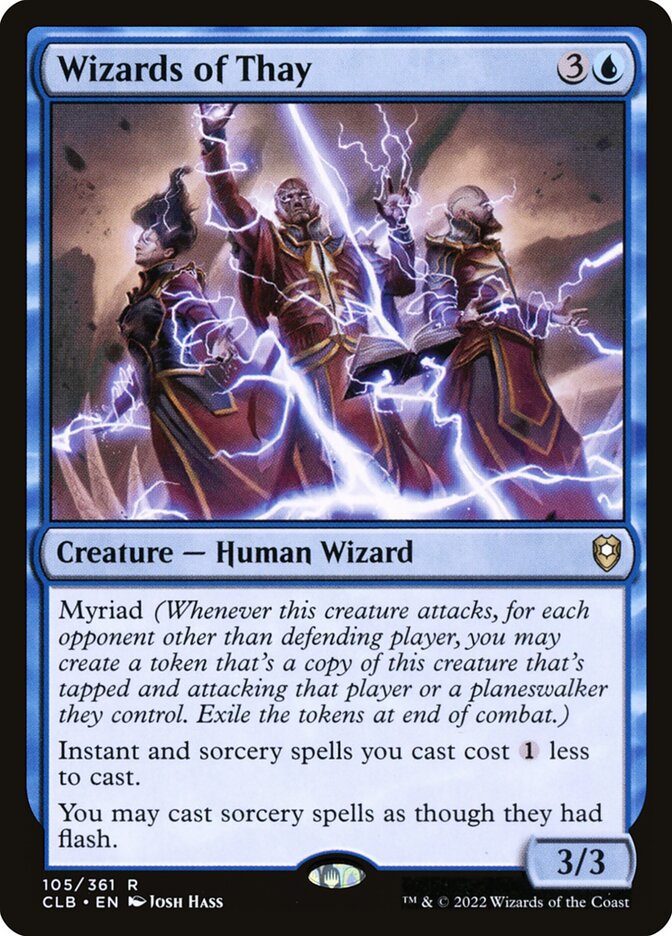
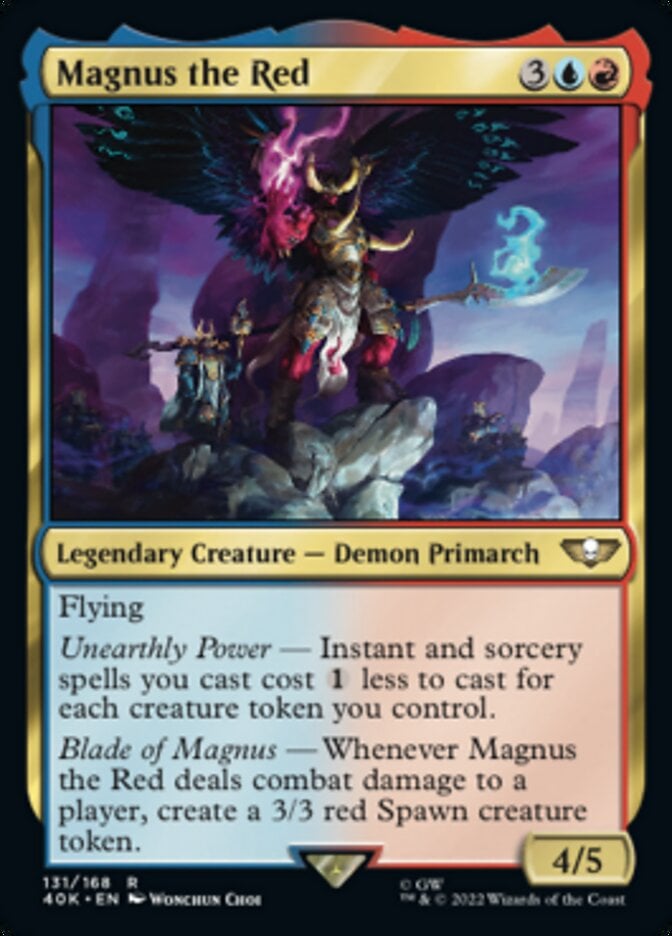
Baral, Chief of Compliance, Wizards of Thay, and Magnus the Red provide some much-appreciated cost reduction, which does not change the amount that Saruman amasses for.
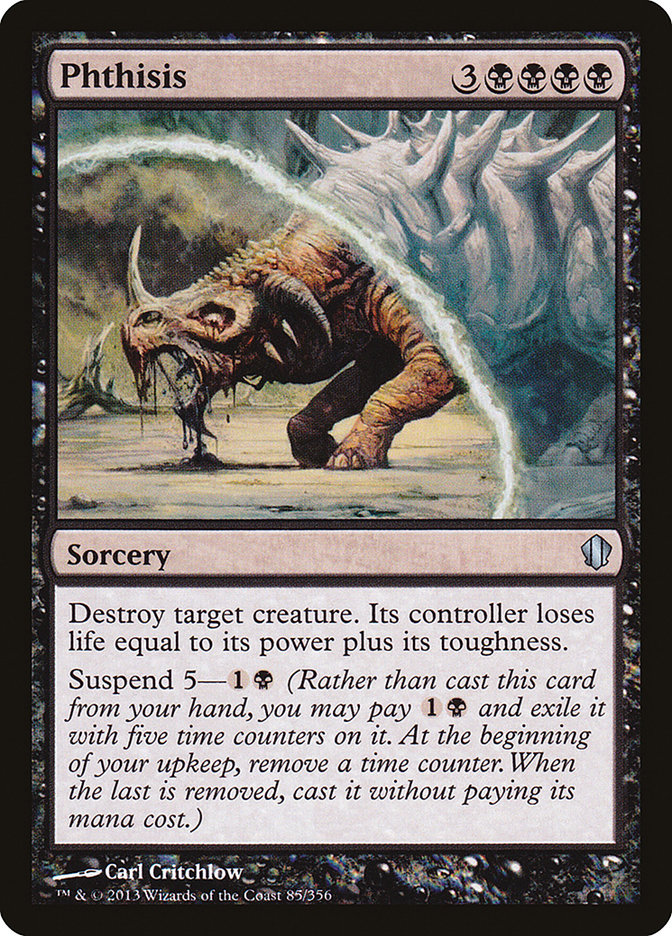
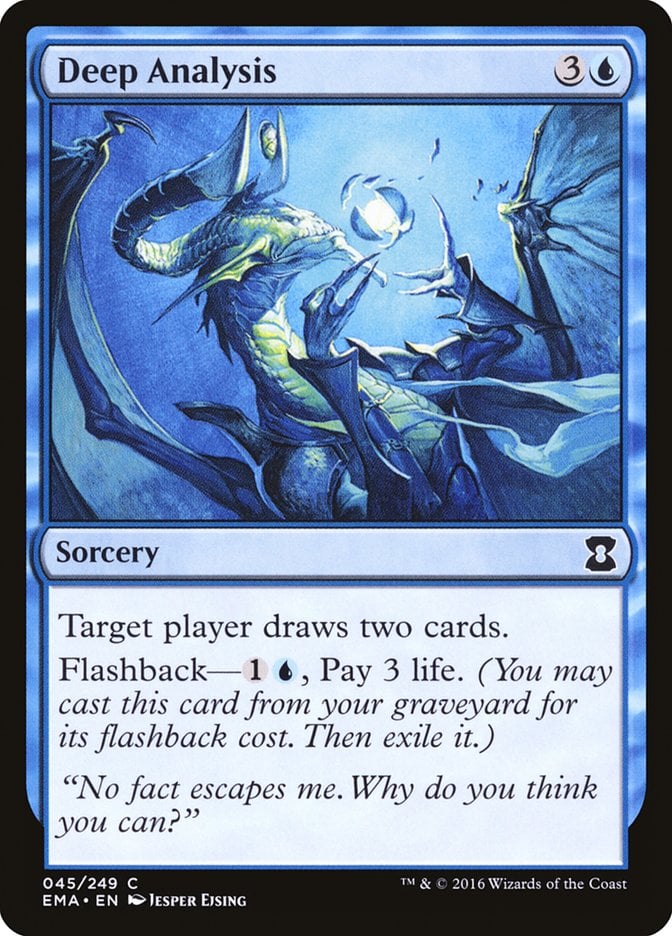
Phthisis is a delayed removal spell that eventually gives you a 7-mana spell for an initial investment of only 2. Deep Analysis also gives you the full amass 4 even if you only flash it back for .
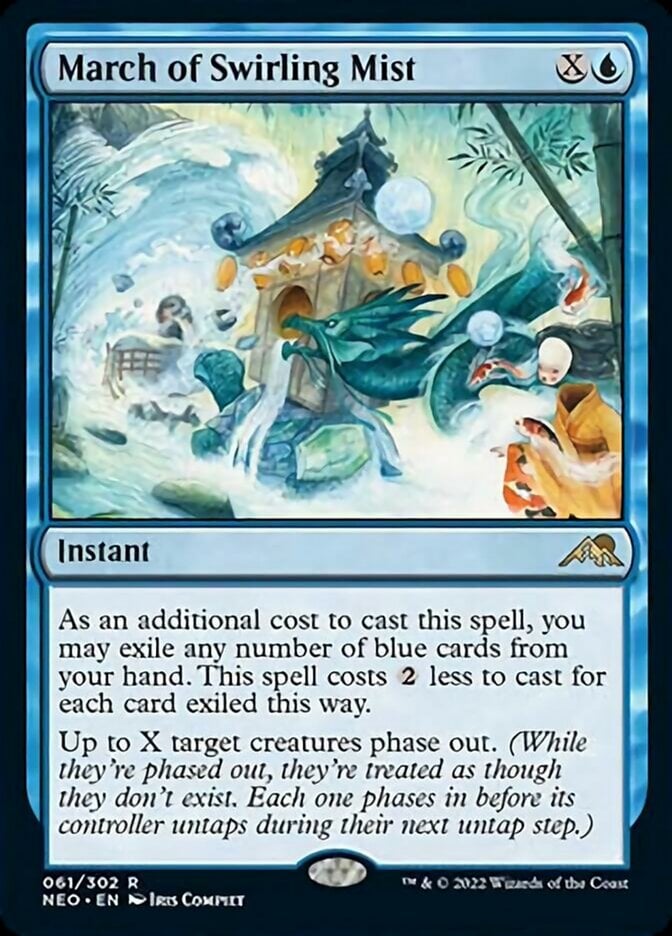
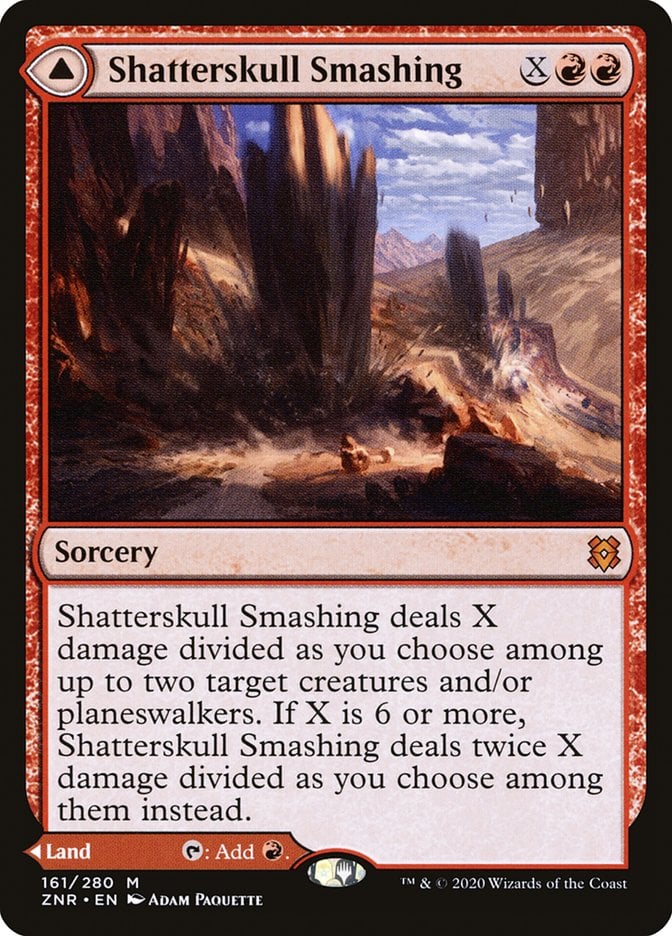

X-spells work with Saruman exactly how you want them to. The more mana you can dump into March of Swirling Mist, Shatterskull Smashing, or Summons of Saruman, the bigger your army gets. Notable, you can target your army with March of Swirling Mist and it’ll grow before phasing out, so you might want to filter extra mana into it even if you don’t have other targets to phase out.
The Protection
I’ll outline the backup plan when we talk strategy, but I should be clear that a big army is your most and probably only reliable win-con. You can get scrappy if you need to, but the army is your route to victory. Amass often feels like putting all your eggs in one basket, so let’s make sure that army sticks around.

This deck has three counterspells, which are very important in making sure your army survives and makes them even more threatening when you cast them. If your opponent tries to remove your 10/10 army and you respond with Saruman's Trickery, your army survives and smashes for 14 now!
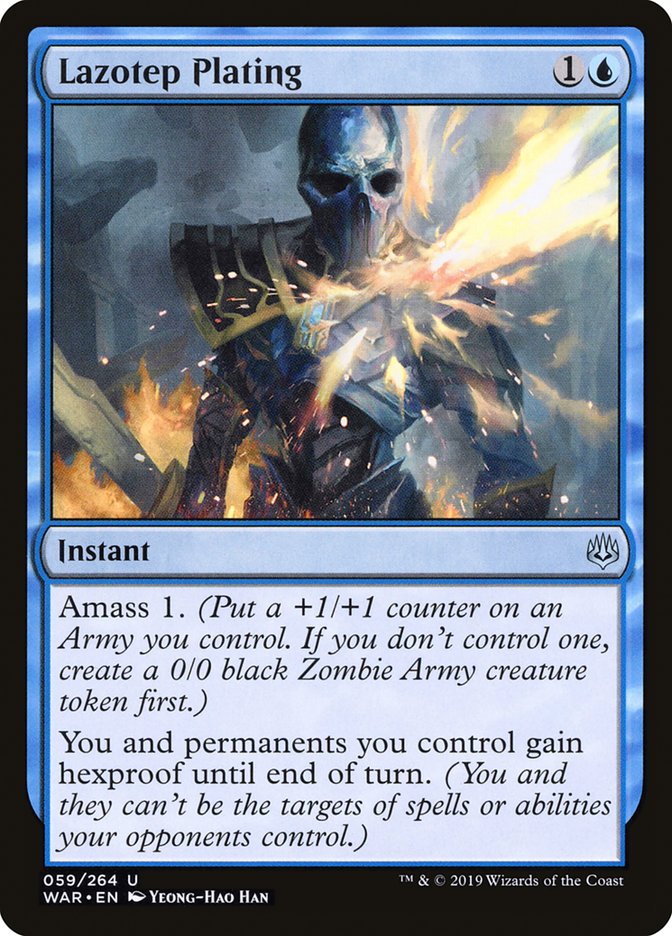
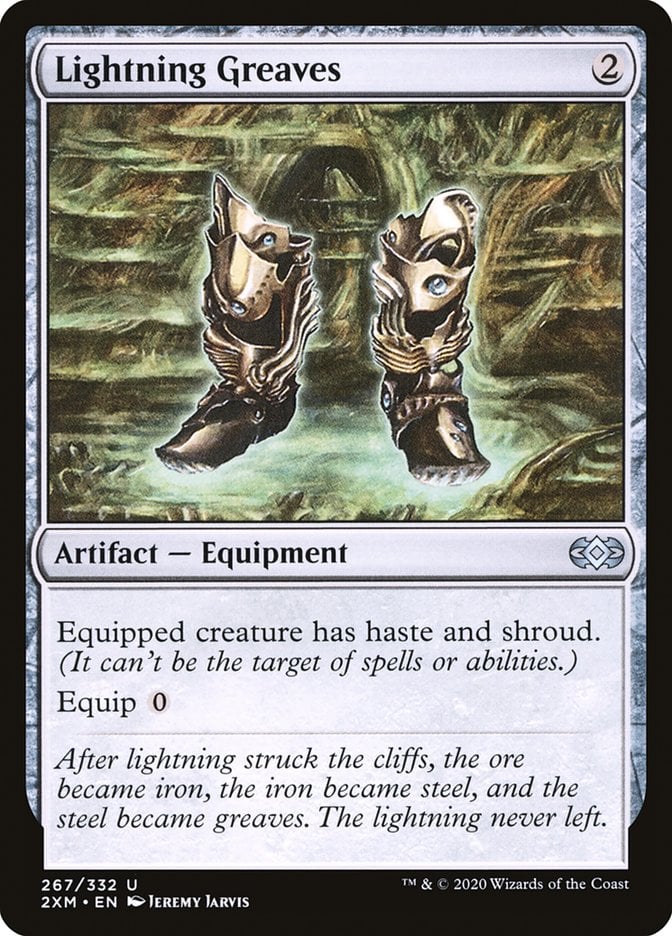
Lazotep Plating and March of Swirling Mist give you ways to dodge most removal, and you have a trusty copy of Lightning Greaves to keep your army or Saruman safe (amass doesn’t target).
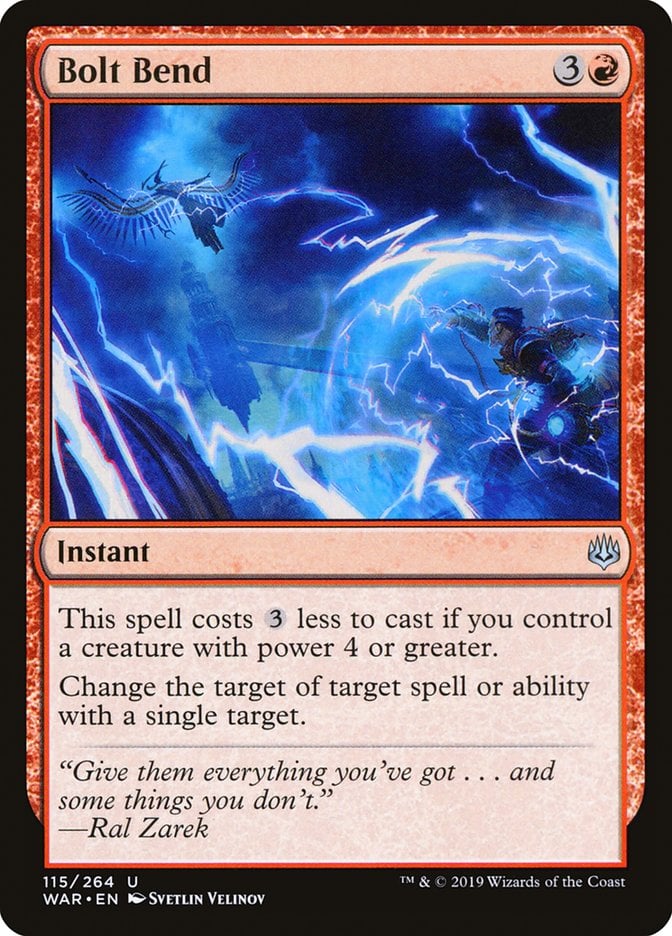
I can’t praise Bolt Bend enough in general, but it’s excellent here. Your army needs to be a 4/4 or greater already, but clear that bar and Bolt Bend can fork a spell away from your army while adding four +1/+1 counters to the pile.
The Killing Blow
Let’s talk finishers. Your entire strategy revolves around making one enormous army, but a giant vanilla creature usually needs some help.
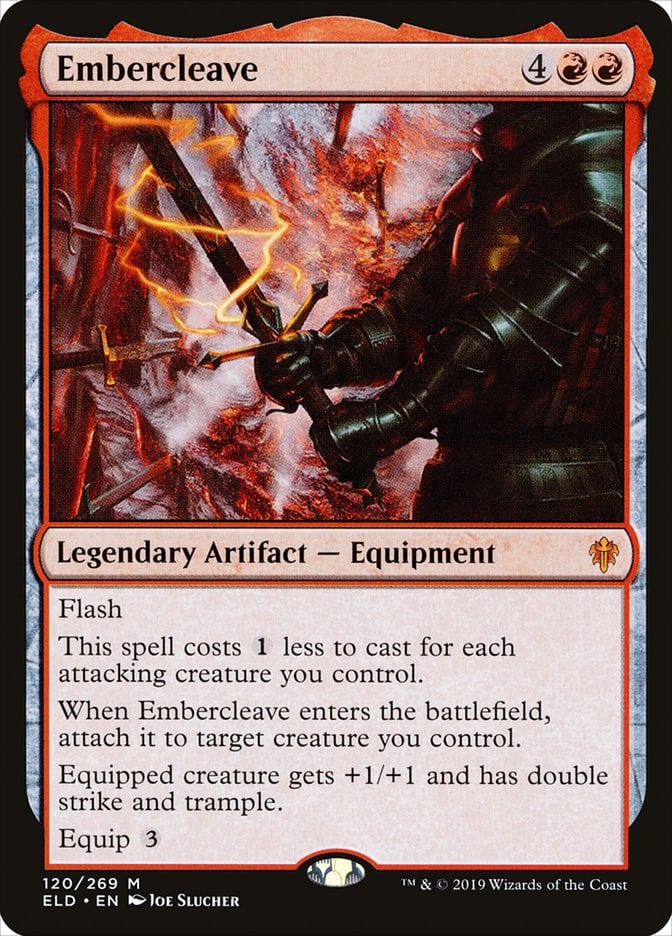

Embercleave usually takes out one player on the spot. Not only can you sometimes cast it for cheap, but Embercleave triggers amass 6, which represents 14 extra trample damage on its own on top of how big the army already was. If you can take out the most threatening opponent and keep your army intact, Embercleave sticks around to repeat the process next turn. Temur Battle Rage is a one-shot version of this same effect.
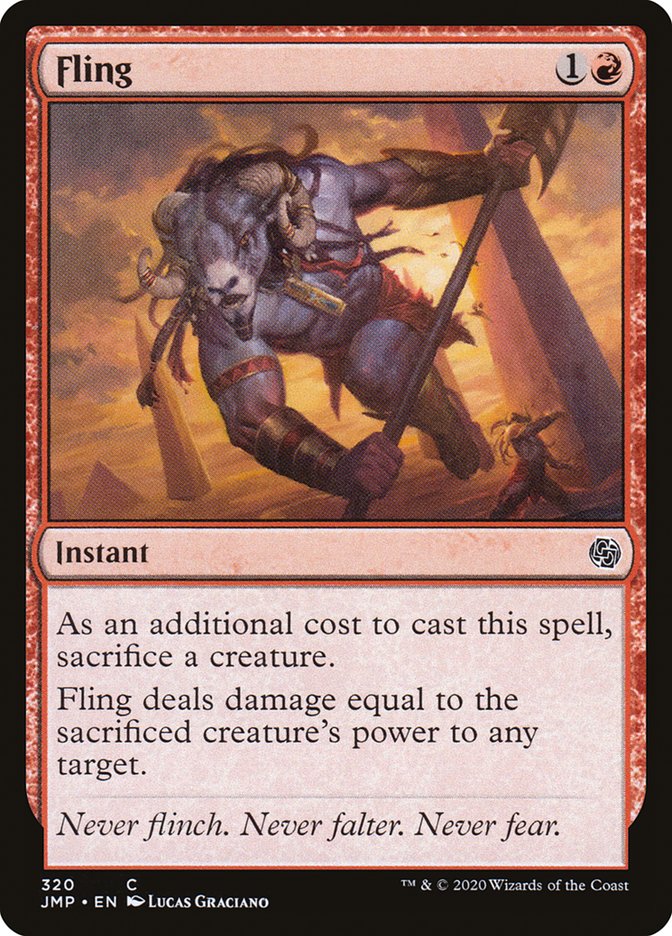
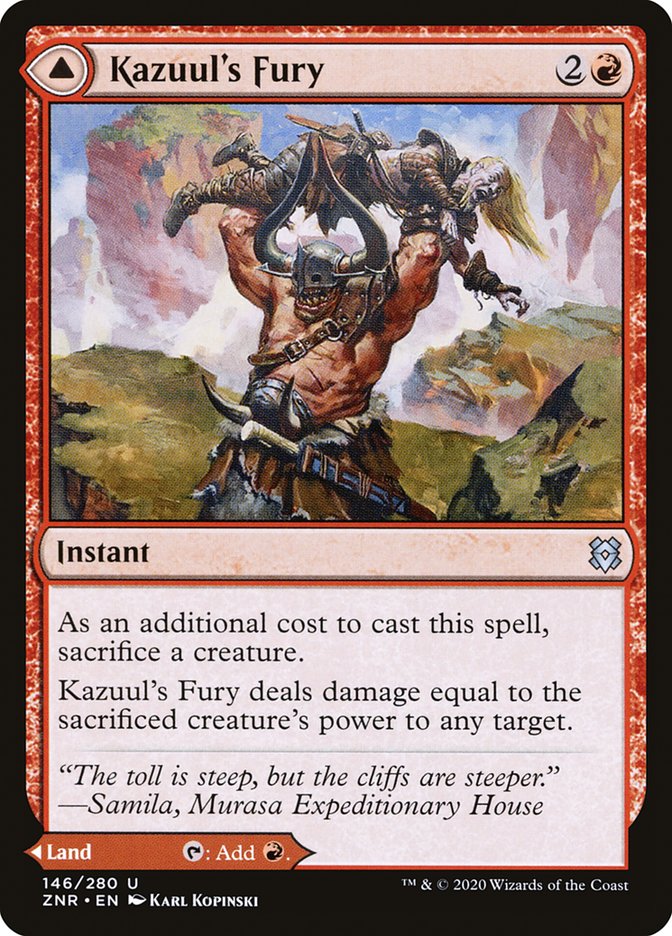
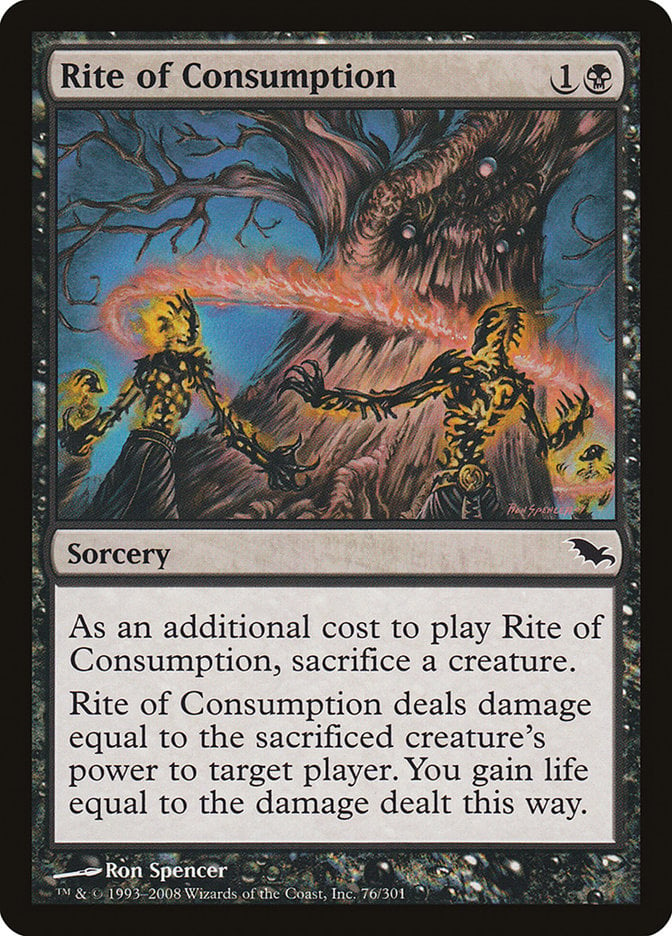
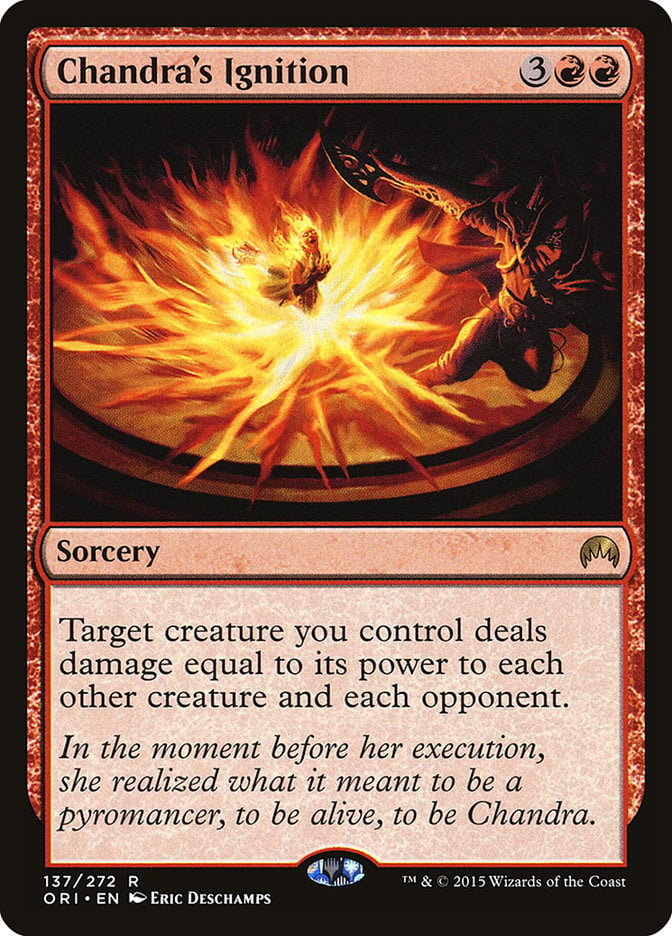
You have a few Fling effects with Kazuul's Fury and Rite of Consumption. The idea is to attack players down with your army then fling it directly at the last opponent. This usually requires a really big army, but that’s the whole point. Chandra's Ignition can sometimes take out all your opponents at once, though you have to be careful with your timing.
The Mana Base
You’ve got a standard Grixis mana base to work with, complete with four sets of dual lands, a few tri-lands, some multicolor lands, and just a smattering of utility lands.
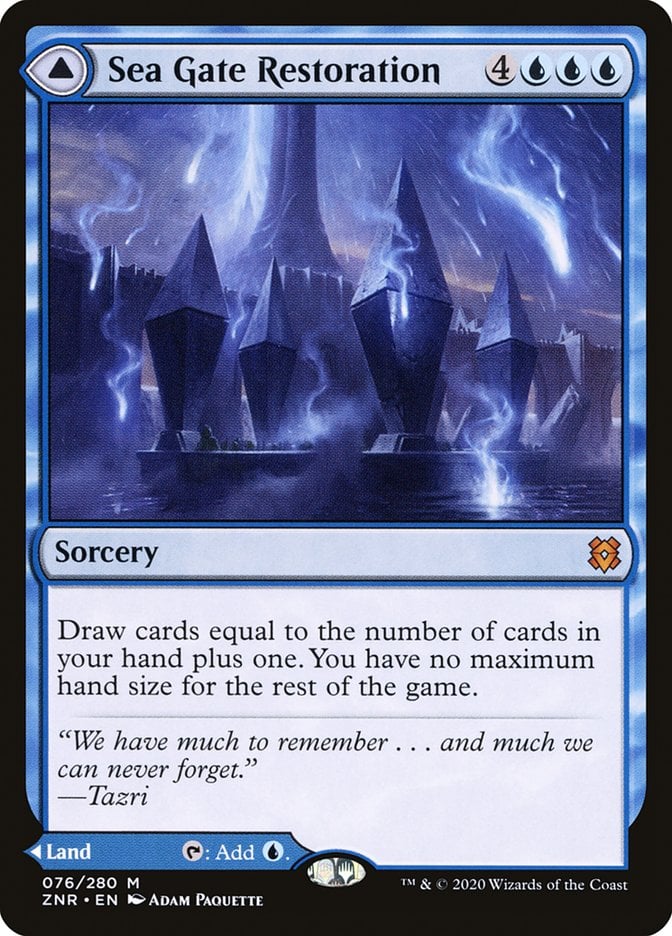
Modal double-face cards play just as well here as any deck since they’re borderline free ways to up your spell count without giving up consistency. Sea Gate Restoration and Shatterskull Smashing are MDFC lands that can provide mana when you need them or expensive spells that amass when your mana’s in good shape.

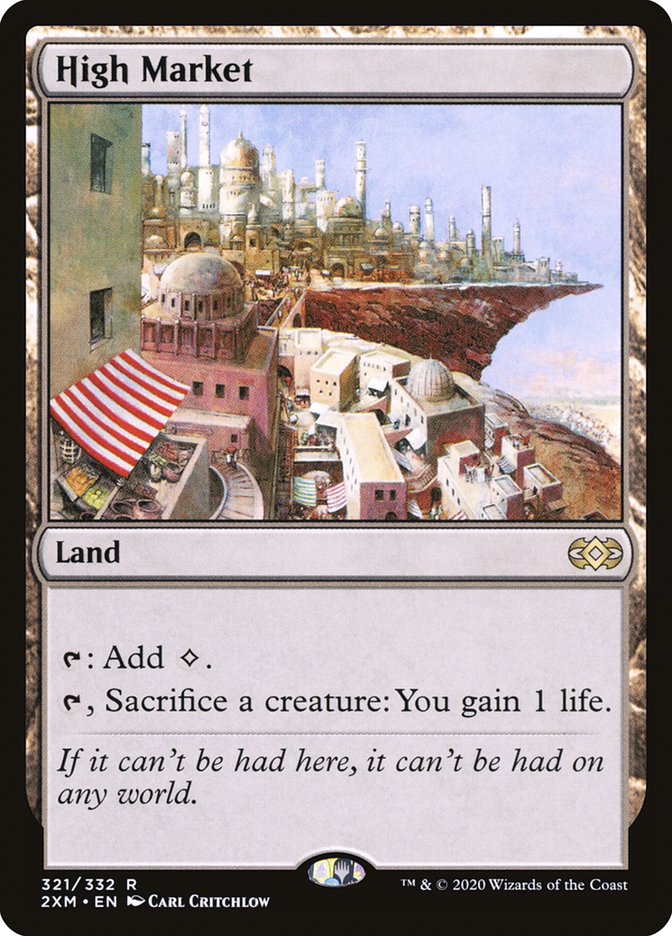
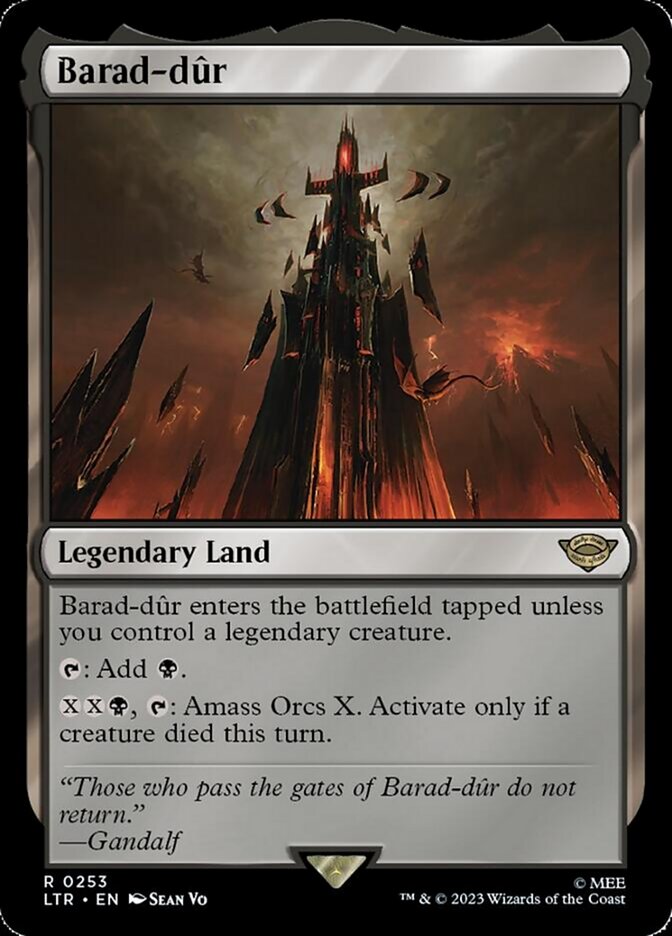
Colorless lands are sparse, but you’ve got a reliable Rogue's Passage to push an army through blockers. Plus, I love the idea of a massive army of orcs and goblins sneaking through a little door undetected. High Market helps if you find yourself transitioning to a value-oriented gameplan and you want to make the most out of 1/1 armies before you amass again. Barad-dûr fits right in, though it’s the least important land in the deck.
The Strategy
Amass pulls you in two different directions: you can either go tall with a single army and make it as large as possible or you can feed small armies to sacrifice outlets and use amass as token generation. This version has elements of both, but it leans heavily on making large armies.
Step one is getting Saruman, the White Hand on board, which means your ideal opening hand has all three colors and a cheap mana rock to get the commander out on turn three. You can use cantrips like Consider and Ponder to smooth out your first few turns, but you ideally want to keep your spells in hand until after Saruman hits the board.
Killing Saruman before you have a chance to cast any spells effectively kills your army ahead of schedule. That means you might want to wait to cast Saruman until you can either hold up protection or cast a flurry of cheap spells to make sure you’re left with a sizable army. Casting Saruman into something like a discounted Treasure Cruise on the same turn is a nice insurance plan in case the table is being hostile towards your commander.
If your opponents aren’t letting you have your villainous ways and keep answering Saruman, you can resort to a go-wide backup plan with other spellslinger payoffs. Poppet Stitcher, Sedgemoor Witch, and Deekah, Fractal Theorist are token generators that convert a bunch of instants and sorceries into on-board damage. It’s not a foolproof plan, but you can’t expect Saruman and your giant army to survive every game.
Combos and Interactions
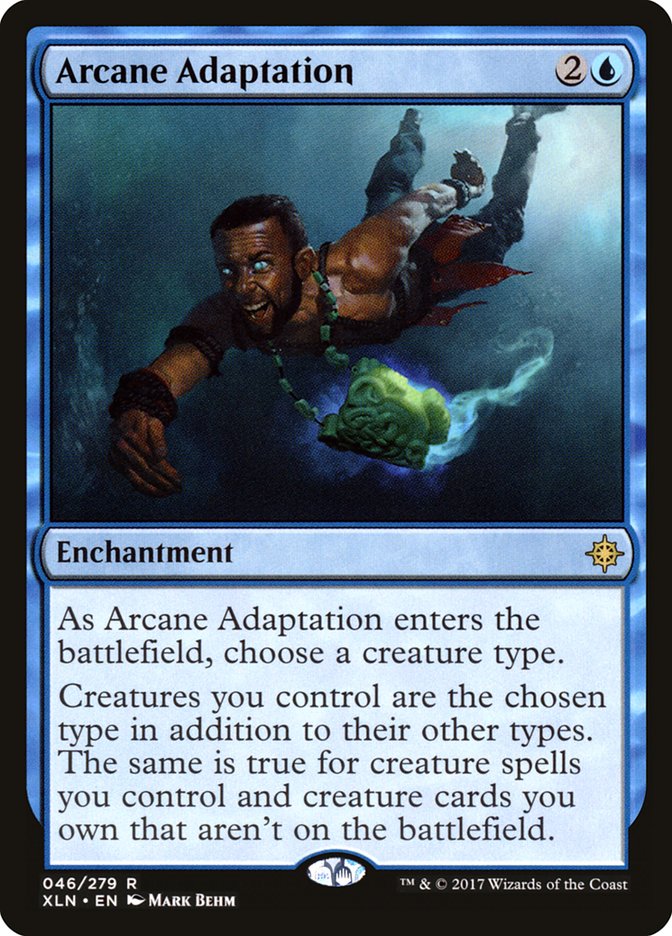
Perhaps the most fun and unique thing this deck can do is resolve Arcane Adaptation or Maskwood Nexus. These turn all your creatures into armies, which means you can amass onto anything! Saruman can even start amassing itself, and it gains ward since it also becomes a goblin/orc. Even better, both permanents are noncreature spells, so just casting them gives you something.
I won’t get into the nuances of the amass mechanic, but be aware that there’s a difference between amass orcs and amass zombies. It won’t normally matter since your armies stack together, and you’ll often end up with a zombie orc army in this deck. However, it’s possible to amass zombies first then cast Saruman and forget that ward {2) doesn’t apply to that army until you’ve amassed orcs onto it.
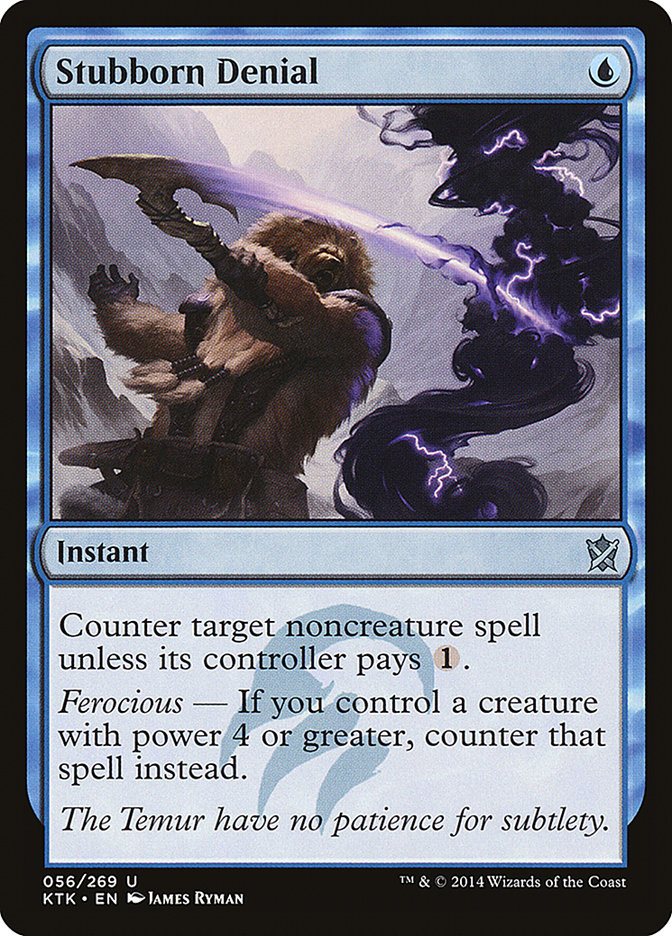
Stubborn Denial’s a counterspell worth checking in on. The ferocious ability isn’t checked until resolution, so it’s possible to cast Stubborn Denial while you have a 3/3 army, amass 1 with Saruman’s trigger, then fulfill the ferocious condition by the time the counterspell resolves.
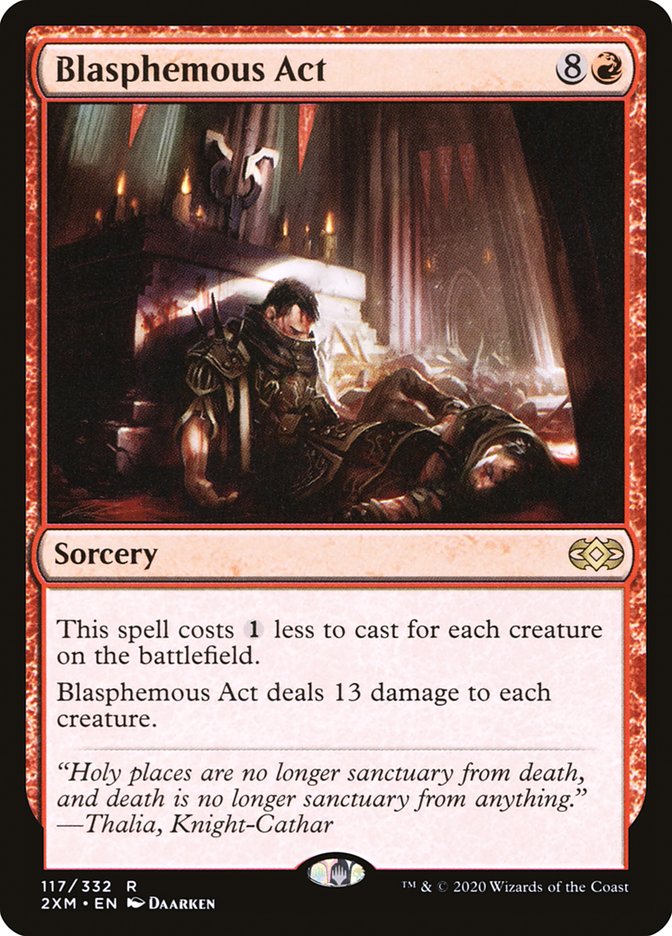
Blasphemous Act works similarly; it triggers an amass 9 from Saruman, which sometimes pushes the army out of range before the board wipe resolves. Your commander might not be so lucky though.
Budget Options
As always, I’ve constructed this list so that you can make adjustments in either direction. If you’re looking to cut down on costs, I recommend removing Black Market Connections, Orcish Bowmasters, and Sea Gate Restoration. You can also sub out the trio of shock lands for an inexpensive set of tapped dual lands. Embercleave hovers around $10 at the time of writing, but it’s one of the best finishers in the deck. I’d prioritize it over other pricey cards.
Naturally, you can sink some money into the deck to take it to the next level. More competitive versions want access to many of the free spells I purposely omitted. Deadly Rollick and Deflecting Swat are amazing in this deck (and every other), and free counterspells like Force of Will and Fierce Guardianship are even better here than in an average deck. You can of course add Mana Vault and Jeweled Lotus if you own them, or you can make the deck significantly more boring and generic with Dockside Extortionist (wow I hate this card).
Other Builds
While this version of Saruman, the White Hand wants to amass one giant army, you can take it the entire opposite direction by playing more of an aristocrats gameplan. This version cuts the top-end spells and expensive enablers in favor of more sac outlets and death trigger payoffs. It also loads up on cheap cantrips to keep churning out new armies, which are fed through your sacrifice engine of choice.
My version plays around with this idea a little bit. Cards like Merciless Executioner and Anhelo, the Painter work fine in either deck but excel in this more sacrifice-oriented version.
You could go the typal route with goblins and orcs since Saruman specifically calls out both sets of creatures. Orcs don’t have much meaningful support and ward isn’t the strongest boost for a goblin deck, so it’s not a compelling build.
I’d be interested in seeing an enchantress version of this deck. Grixis doesn’t really have a strong enchantment identity outside maybe Lynde, Cheerful Tormentor, and that’s more of a curse deck than a full-on enchantment deck. Saruman turns enchantments into armies, so the idea isn’t as strange as it might seem.
Commanding Conclusion
Curtains' Call | Illustration by James Ryman
And with that, our trickery comes to an end. Saruman, the White Hand isn’t that much different from other popular spellslinger payoffs, but amass is an interesting tweak to the usual “cast a spell, make a token” formula. I’m still just trying to wrap my head around the naming conventions for these cards though. You’re telling me the White Hand was a better name for the Grixis Saruman than Saruman of Many Colors, who has exactly the same number of colors, one of which is white?
Have you played with this version of Saruman yet? If so, how’s it working out for you, and what spicy army tech am I missing out on? Let me know in the comments below or over in the Draftsim Discord.
Thank you for making Draftsim your #1 stop for all things Magic!
Follow Draftsim for awesome articles and set updates:


6 Comments
Hello, I’m a little late but I just built a Saruman deck and I’m still improving it as I test it. I’m really enjoying it and I love the theme, although I see that it depends on the commander too much. My friends know that its weak point is killing Saruman as quickly as possible, so in order to play it, I’m forced to either put Hexproof on it the same turn, or have a counter (and extra mana) ready to defend it.
Moreover, it gets too expensive to be played after being killed 1 or 2 times, and as long as I can’t play the commander, the deck feels very weak.
On the other hand, when I manage to build a strong army, the attack can be devastating, and I love it.
Could you give me any advice to improve the deck in this aspect?
Thanks in advance!
I think there might be a couple different routes you could take here.
You could try to play a few cards that can circumvent commander tax. Netherborn Altar and Campfire are spells that can trigger Sauron and skip commander tax at least once.
You could also play very cheap protection spells and just wait to cast Sauron on a turn where you can hold up your interaction. I really like Slip Out the Back, but something like Dive Down/Shore Up could work too.
Also a big fan of Crystal Shard, which again can trigger Sauron since it’s a non-creature, but also lets you bounce your own commander back to your hand if it’s about to die.
Hi, thanks for your built and ideas. However, I have two main points: 1) in my search I didn’t find that you can amass many small orc armies.
2) is arcane Adaptation really worth it? Yes the ward 2, to saruman is nice and it amasses orcs but the ward 2 to other creatures isn’t that big. Isn’t a Mithril Coat or something, better for protection?
Heyya, believe we talked on Discord but I’ll answer here too in case these answers help anyone else:
1. There aren’t many amass orc cards, since the mechanic’s limited to just cards from Lord of the Rings. However, the mechanic works with ALL amass cards, and the creature types combine together. So you could use amass zombie cards from War of the Spark to get an army chain going or add to one, and any amass orcs card you play after will add the orc type to that army.
2. The Arcane Adaptation-style cards are more cute than necessary or highly competitive. The advantage is that if you turn Saruman into an army, it can start amassing itself and become an actual wincon via commander damage. Feel free to drop those for something more competitive though.
Hello there. Dreadhorde ivasion is a good card to add?
Sure, pretty much any amass card is playable here, and Invasion’s one of the better ones.
Add Comment