
Tymna the Weaver | Illustration by Winona Nelson
Commander is an endlessly complex format. Magic itself is plenty complex, and that only grows as you have to factor in more than two board states. With every player throwing around spells—probably ones you haven’t even heard of due to the huge card pool—keeping track of what threats are the most prominent can be tricky.
But good threat assessment is essential to succeeding in Commander, whether because you’re a Spike who wants to win or just somebody looking for a satisfying game where everybody gets to do their thing.
Today, I’m explaining why Commander threat assessment is so crucial and how you can improve your skills!
What Does Threat Assessment Mean in Commander?

Threats Around Every Corner | Illustration by Andrea Piparo
Threat assessment is when you analyze the board state in a Commander game and identify the cards, boards, and players who are the closest to winning (or preventing you from winning) the game, and you dole out your interaction and aggression accordingly. Commander board states are incredibly complex, and it’s important to remember that threat assessment is a dynamic process as each player fights for prominence and victory.
Why Is Threat Assessment So Important?
Good games of Commander rely on threat assessment, assuming that you consider a good game one in which all players interact with each other on reasonable terms, advancing their game plans while stymieing the plots of others.
Without good threat assessment, you’ll lose the game to a player who just builds a good, uncontested board because you don’t interact with the key cards that win them the game. Commander’s not just about winning, of course, but games certainly feel more satisfying when you interact properly and give yourself a chance to win.
What Makes Somebody a “Threat” in Commander?
These are some common factors to consider when you decide who at your table is the current, most pressing threat. Commander is a very contextual format, so know that none of these are ironclad, plus you may have players who are ahead in different factors. But if one player excels at multiple factors, they’re probably the threat.
Card Advantage
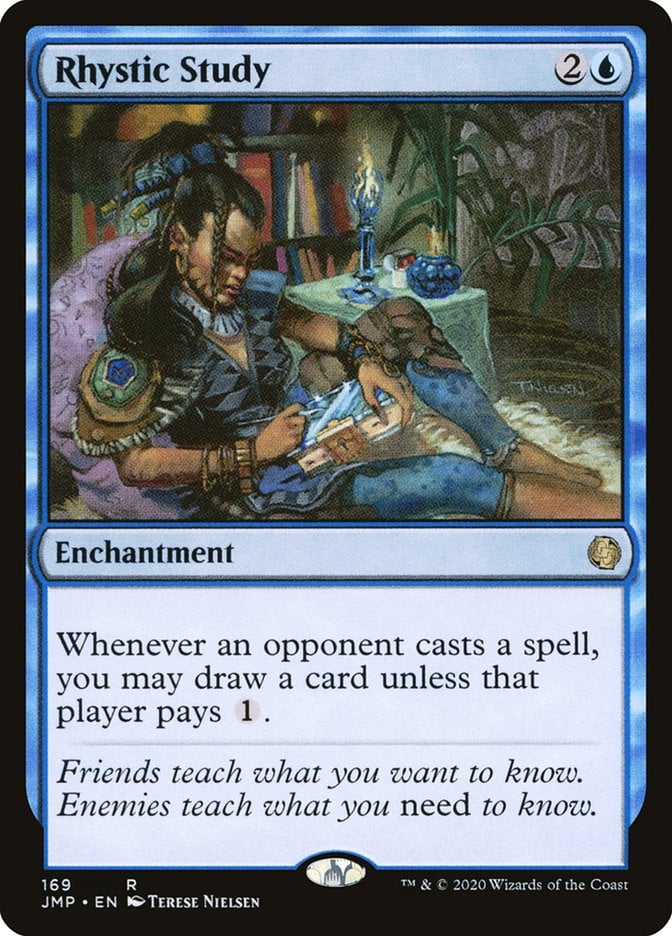
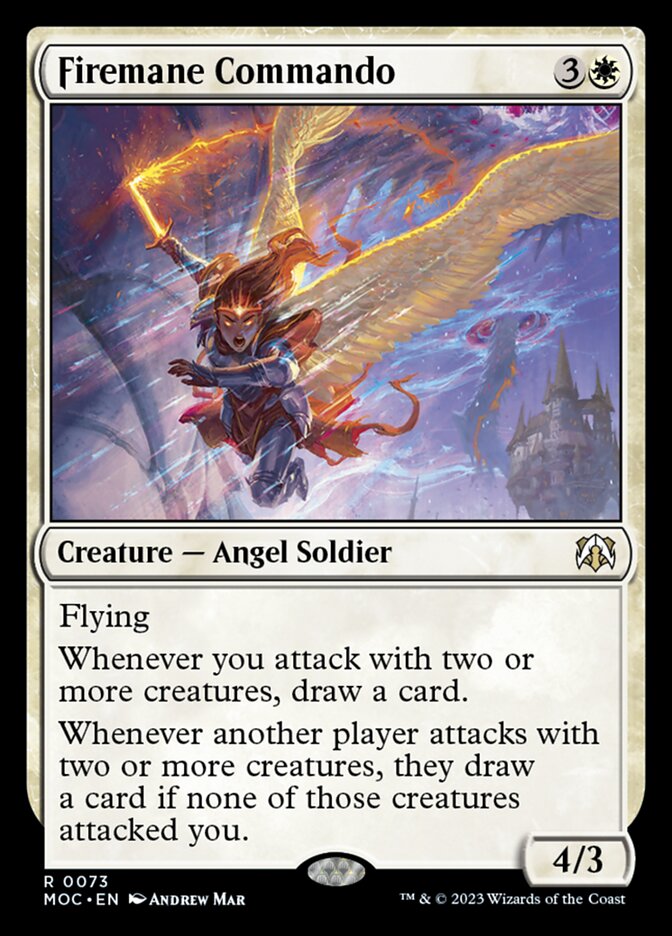
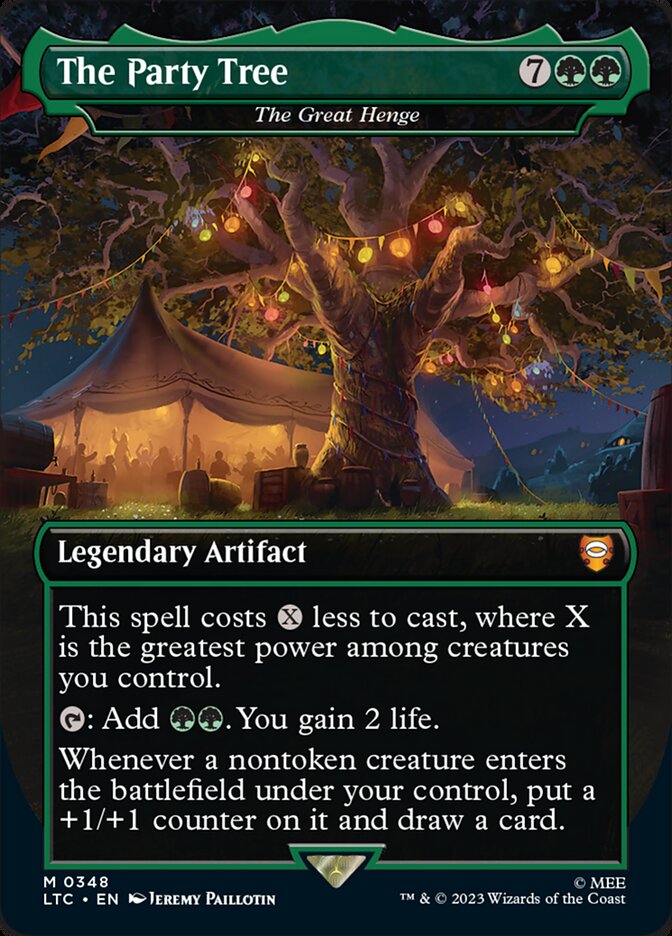
Drawing cards is the best thing you can do in Commander, with ramping close behind. The format’s all about resource accumulation, and this is the most potent form of that. The player who controls cards that draw multiple cards, like Rhystic Study, Firemane Commando, Tymna the Weaver, or The Great Henge is mostly likely to win the game because that player has more resources than the others. They have more chances to find removal, wincons, ramp, etc. These are must-kill permanents, in large part because the longer they stick around, the more they do.
Mana Production
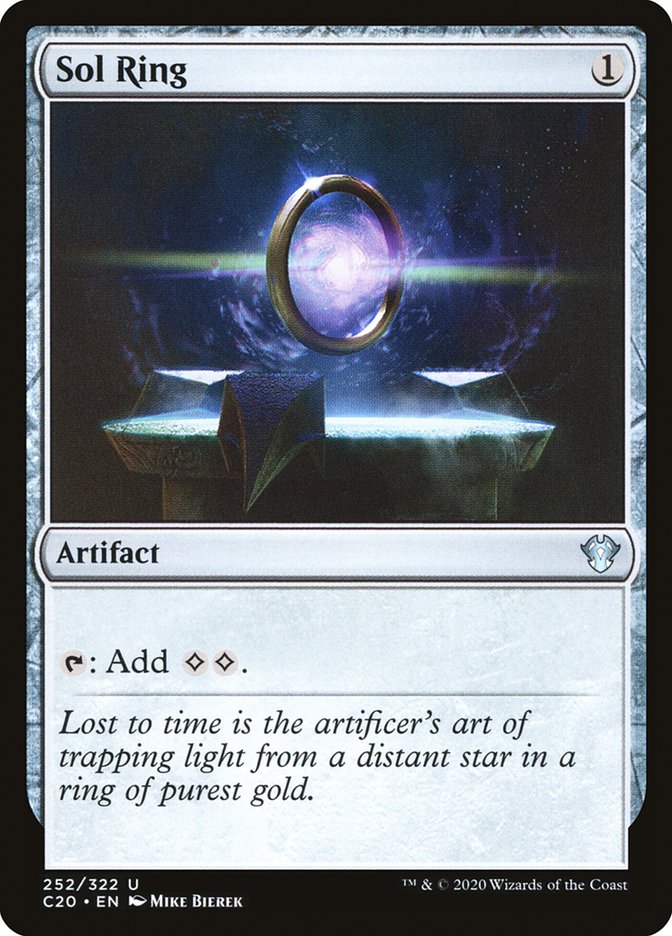
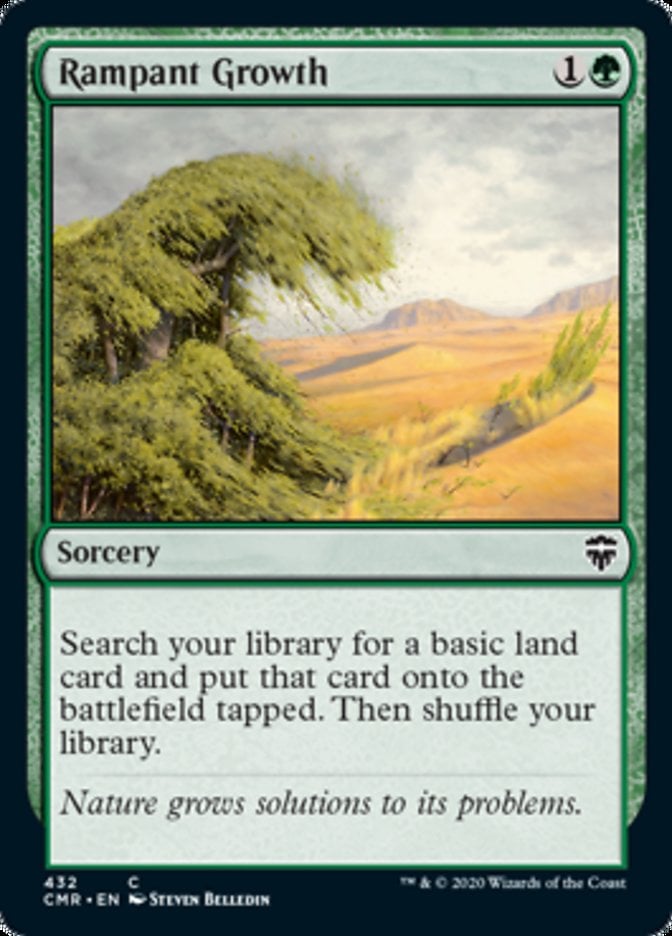
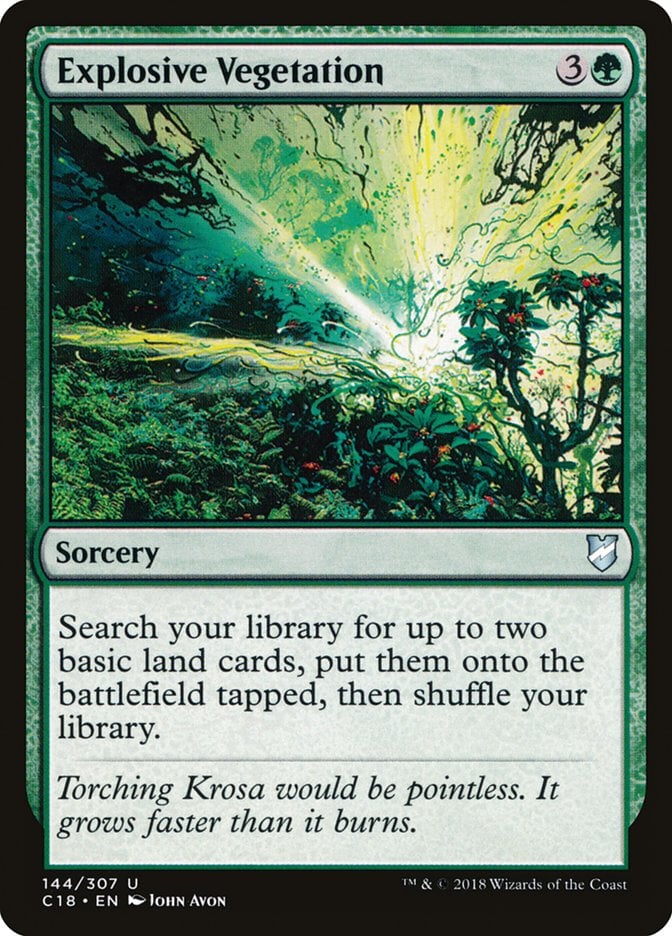
The player with the most mana has a similarly dominant position to the one with the most cards. We all know that a turn-1 Sol Ring gives a player a massive advantage, but I see a surprising number of players not realize that ramping through more “honest” means like Rampant Growth and Explosive Vegetation can be just as potent. Having more mana than your opponents lets you have more explosive turns, whether that’s because you play multiple spells a turn cycle to their one or because you can play battlecruisers way faster.
Board Presence
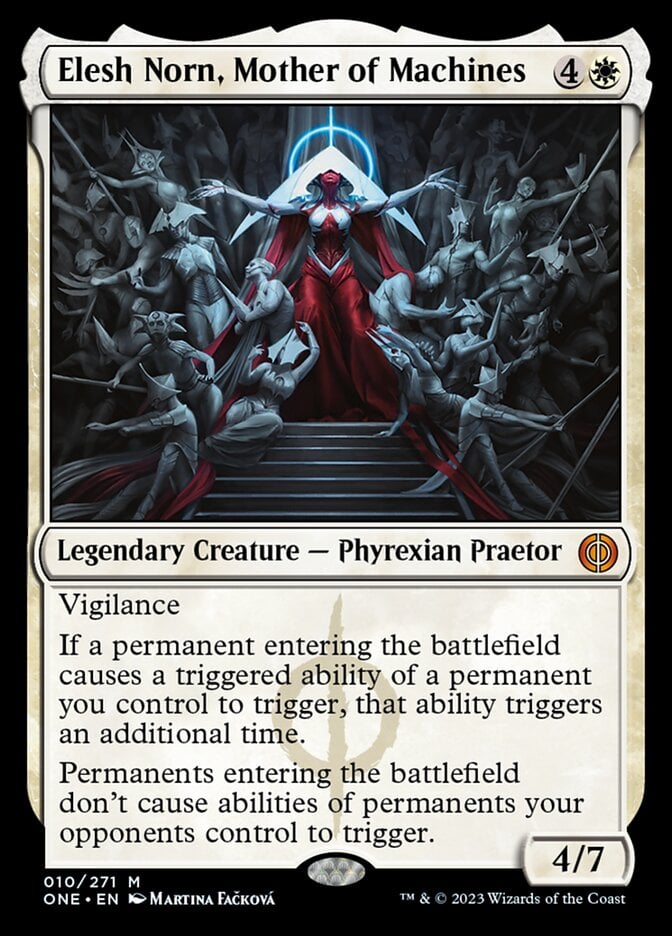
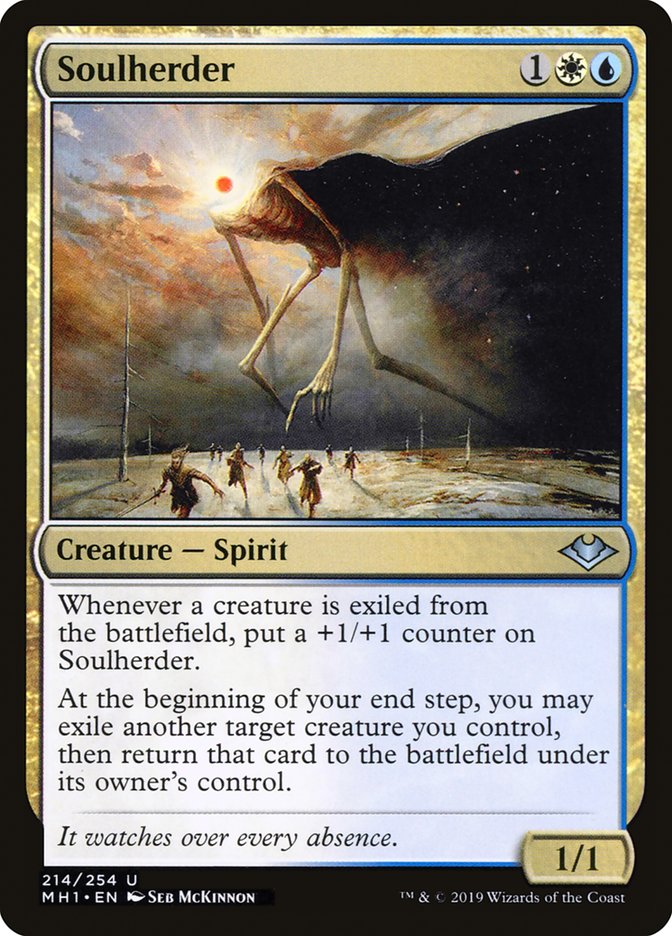
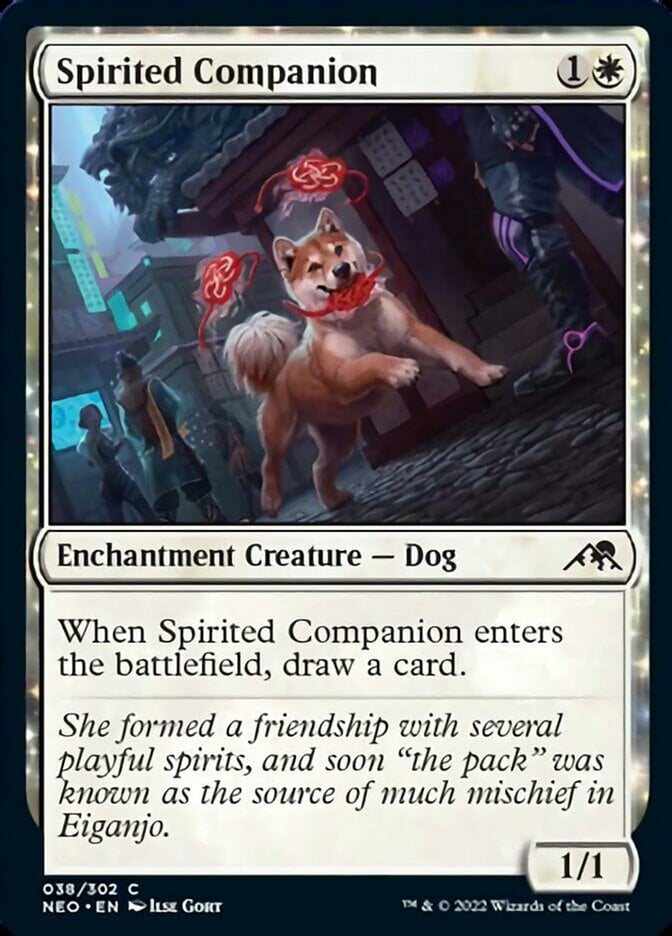
A player with a wide board has some threat potential. Evaluating boards properly requires that you consider both quality and quantity; a board with five 2/2s has lots of power, but it might not be the better board compared to the player with Elesh Norn, Mother of Machines, Soulherder, and Spirited Companion.
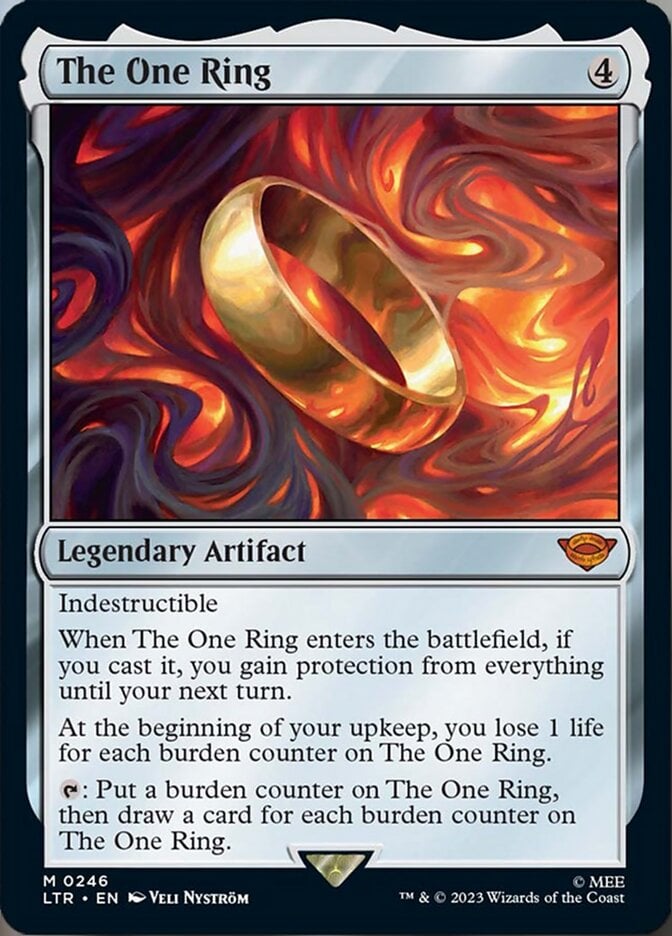
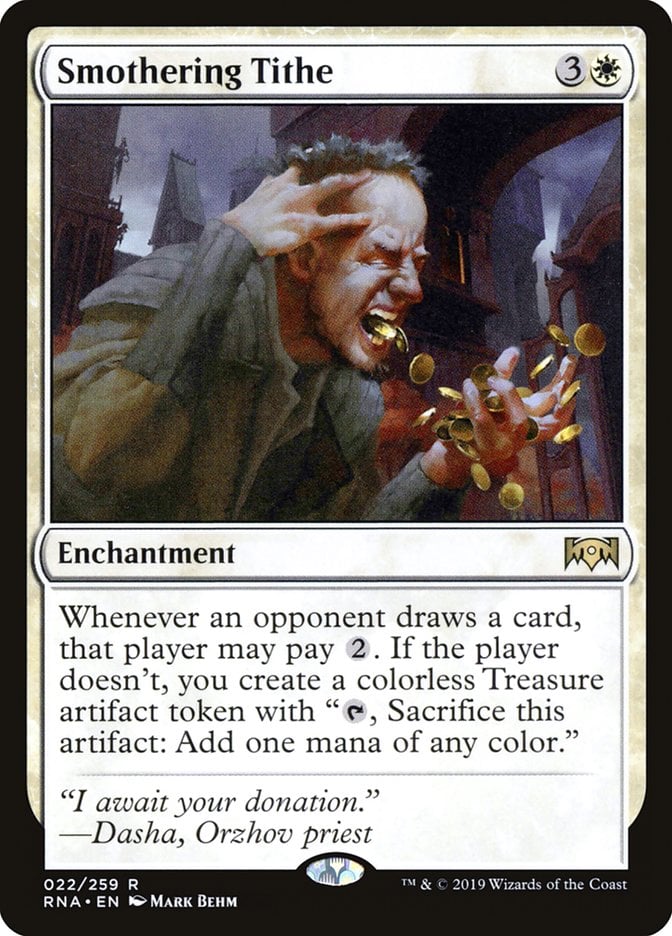
A trap some players fall into is mistaking power for the threat at all points in the game. I’m generally more afraid of the player sitting on The One Ring and Smothering Tithe than I am of the player with a few dorks in play.
Combo Potential
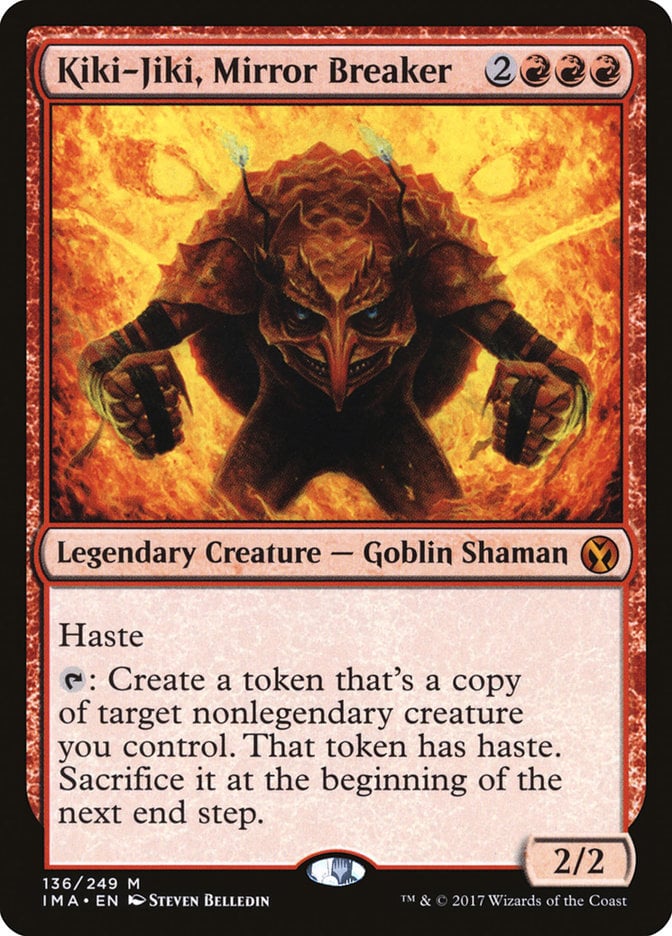
Combo potential can be tricky. You might not even have to worry about this depending on your Bracket. Many players at casual tables are quite forthcoming about impending combo turns if you simply ask. The best way to learn about combos is to play and get some experience. You can also learn about common combo cards like Kiki-Jiki, Mirror Breaker, Peregrine Drake, Devoted Druid, and other cards that go infinite with the kitchen sink. If your opponent tutors for or casts one of these, you should be aware of their combo potential with another card or two.
Synergy Engines

Synergy engines are similar to combos, except they provide continuous value over time instead of ending the game. One example is Aesi, Tyrant of Gyre Strait and Simic Growth Chamber. You can use this combo to draw two cards a turn plus accrue value from any other landfall cards you have laying around. That’s a massive problem because it involves generating continuous card advantage, and you don’t even need to commit additional mana to the board!
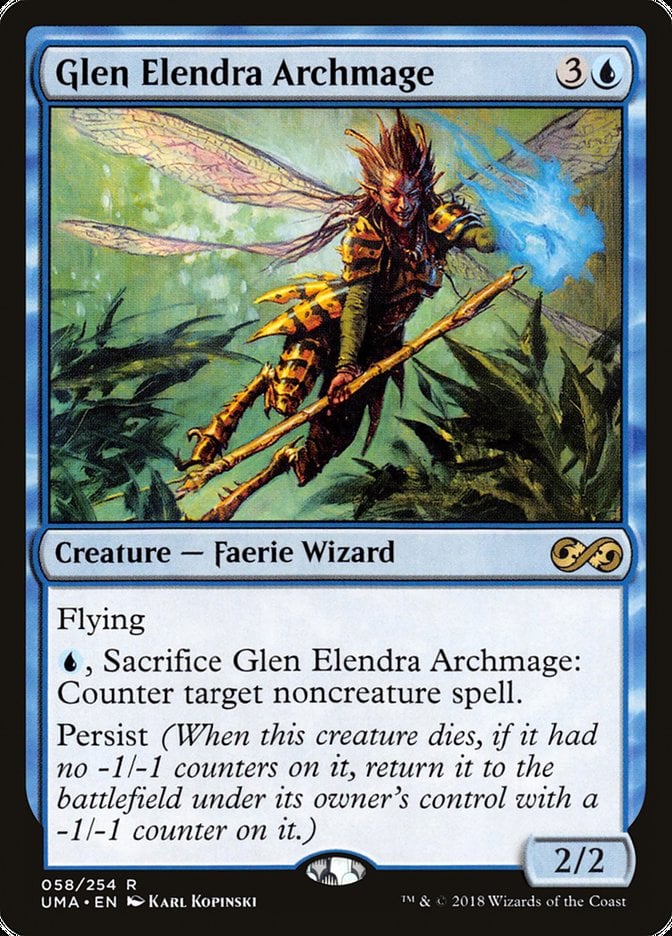

A few more of my favorite examples include Falco Spara, Pactweaver + Glen Elendra Archmage to counter noncreature spells, Manifold Key with mana rocks that tap for more than 2 mana or The One Ring for lots of mana/card draw, and Springheart Nantuko with Wood Elves to pull a ton of lands from your deck. Any time you see a player assemble something like this, you should remove at least one part of the engine or they’ll overwhelm you with value accrued over multiple turns.
Life Total
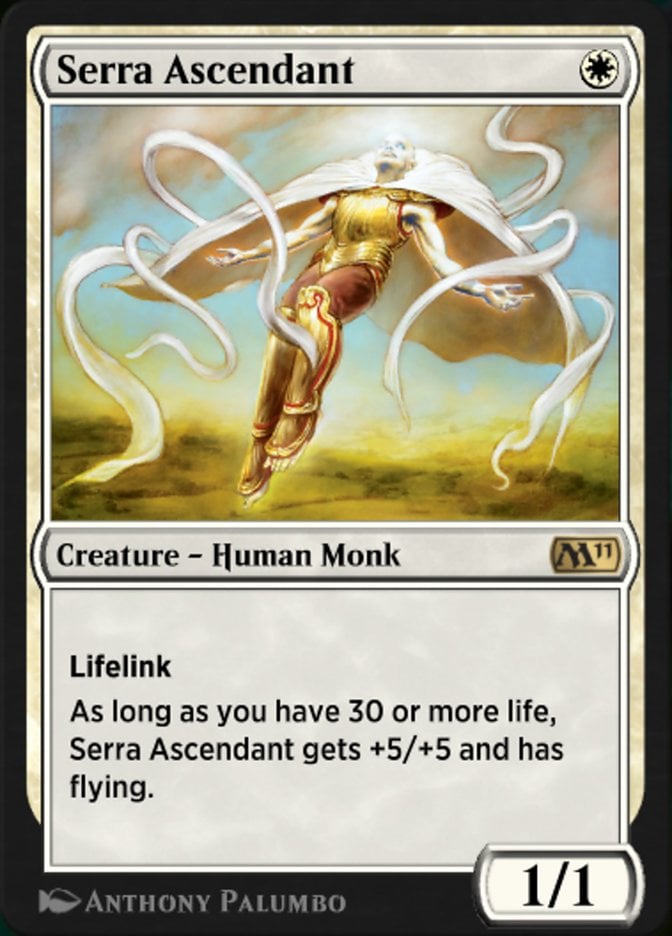
Life total is a tricky metric to translate into threat assessment. Outside of cards like Serra Ascendant that specifically care about it, having a high life total doesn’t necessarily make a player the threat. You can win at 5 life as easily as 40.
What having a high life total offers is time. The higher a player’s life total is, the longer it takes to kill them. If a player with a controlling strategy has a high life total, you should consider whittling it down to make it easier for you to close the game out; control players chilling at 35 life have a much better time than those below 20.
You should also consider how your deck wins when you evaluate whether an opponent’s life total is a threat—after all, a threat can stop you from winning. If you’re a hard combo deck that wins with infinite whatever, opposing life totals are mostly irrelevant. But if your aggressive strategy relies on overrun effects to close the game, you don’t want your opponents to have super high life totals. A good go-wide deck can easily take out three players hovering around 20 life, but it becomes way harder to deal with multiple opponents at full health.
What Should You Use Your Removal On?

Swords to Plowshares | Illustration by Dmitry Burmak
The trite answer is whatever the greatest threat at the table is, but what qualifies as such varies so much based on power level and the context of four separate decks. The best way to define “the greatest threat” is as one of the following:
- The card(s) at the table most likely to kill you. This might be an Eldrazi, a planeswalker inching up to its ultimate, a combo piece, or a wide board that just needs a combat or two to close things out.
- The card(s) most likely to win your opponents the game, eventually. This often means cards like Rhystic Study, The Great Henge, and Aesi, Tyrant of Gyre Strait that provide substantial mana or card advantage. You want to kill these ASAP so your opponents get as little value from them as possible.
- Cards that stop you from winning the game. Your 5-color deck likely can’t survive the Blood Moon, your spellslinger deck needs to remove Rule of Law, your wheel deck can’t do its thing through Sheoldred, the Apocalypse, and so on.
As a final note here, before you fire off that removal spell, you should consider how threats as defined above interact with your opponents. Take Blood Moon, for example. If you’re a 2-color deck that’s annoyed but not crippled by the BM, it might be worth leaving it alone to keep Jodah, the Unifier from playing the game for a few turns. If a card provides a speed bump to you while throwing up a wall for another opponent, it might be worth slowing down and letting your opponents’ permanents do some work for you.
Who Should You Attack in Commander?
The blue player. Just the blue player, which I say as a blue player.
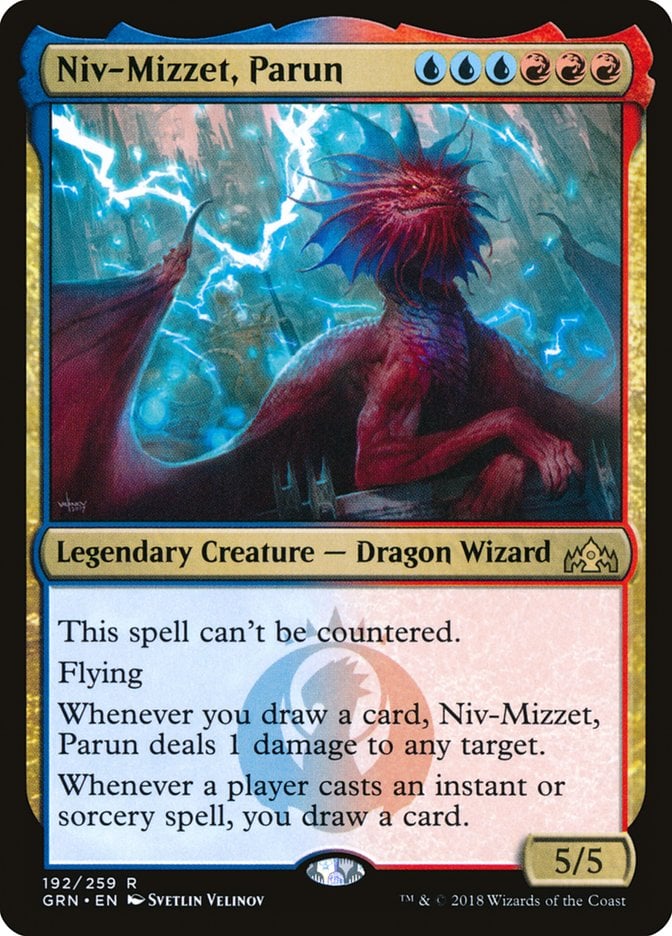

More specifically, you should attack the player looking to play the longest game. You need to apply plenty of pressure to them. Think about commanders like Niv-Mizzet, Parun and Y'shtola, Night's Blessed that want to play a long game; if you ignore them while you duke it out with the Naya () player who built a fast board, you just give them turns and turns to set up their controlling game plan and sculpt their hand until they can sweep you away. If you glance at the control player on turn 7 and realize they’re still at 30 life with a full hand and 10 mana, you’ve lost.
Green players are also quite threatening due to their ability to take the first three or four turns off to ramp, then make up for the lost tempo with the quality of their threats. Basically, the green and blue players are the best at exploiting Commander’s slow pace to accumulate resources, and you should use your aggression to make them uncomfortable (mechanically, of course) so they don’t have time to spin their wheels.
How Important Are Commanders for Threat Assessment?
For cEDH players, commanders are incredibly important since you often get an idea of how meta decks work based on the card(s) in the command zone. But most of us play casually, where it can be trickier.
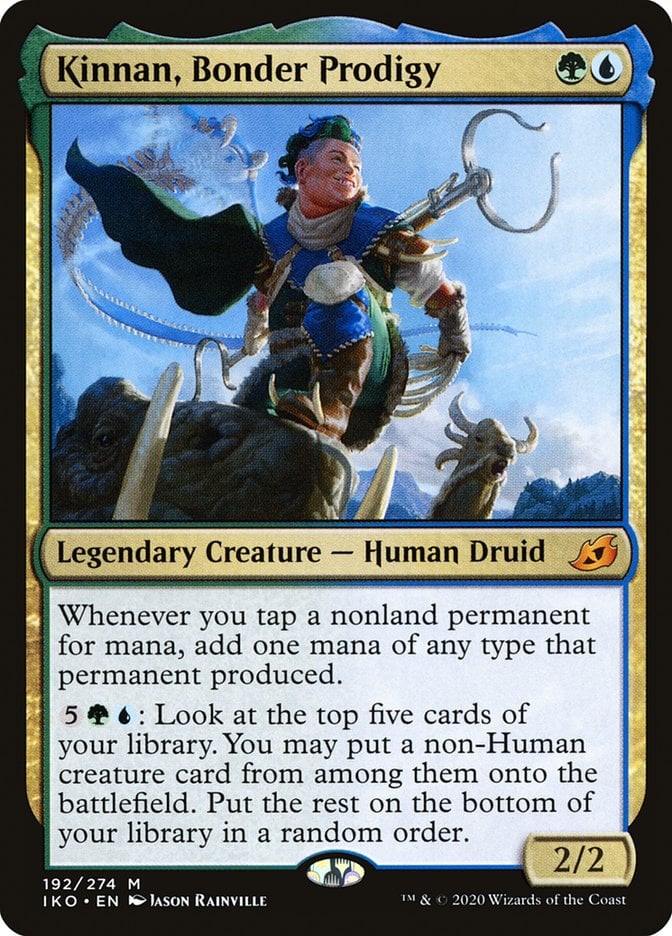
One of the best things you can glean from the commander is how soon an opponent might become a threat. That Niv-Mizzet, Parun player probably wants to play the long game, while the player with Kinnan, Bonder Prodigy will take an aggressive lead early and try to leverage the mana advantage into a swift win.
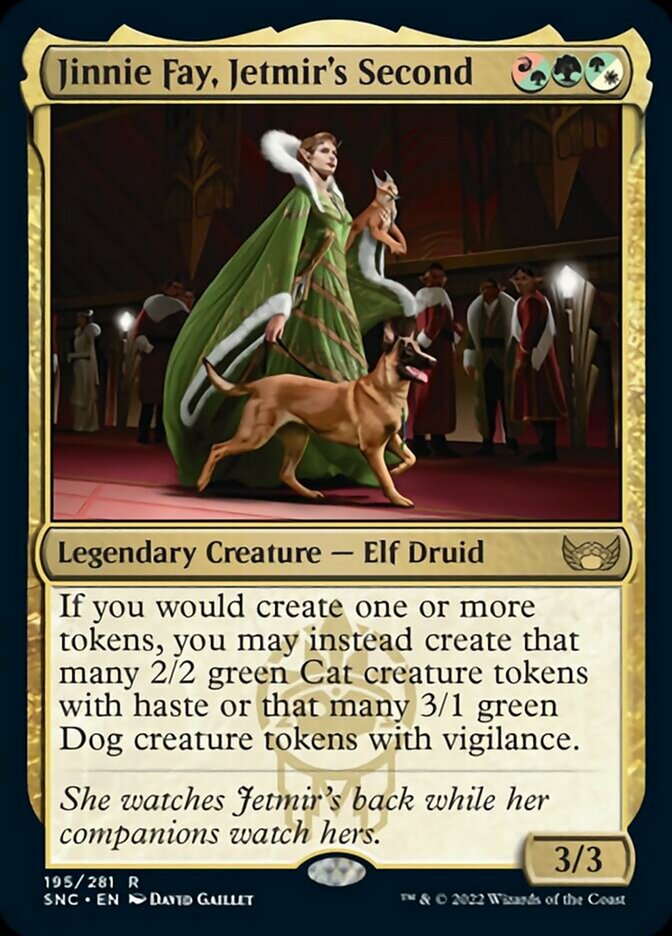
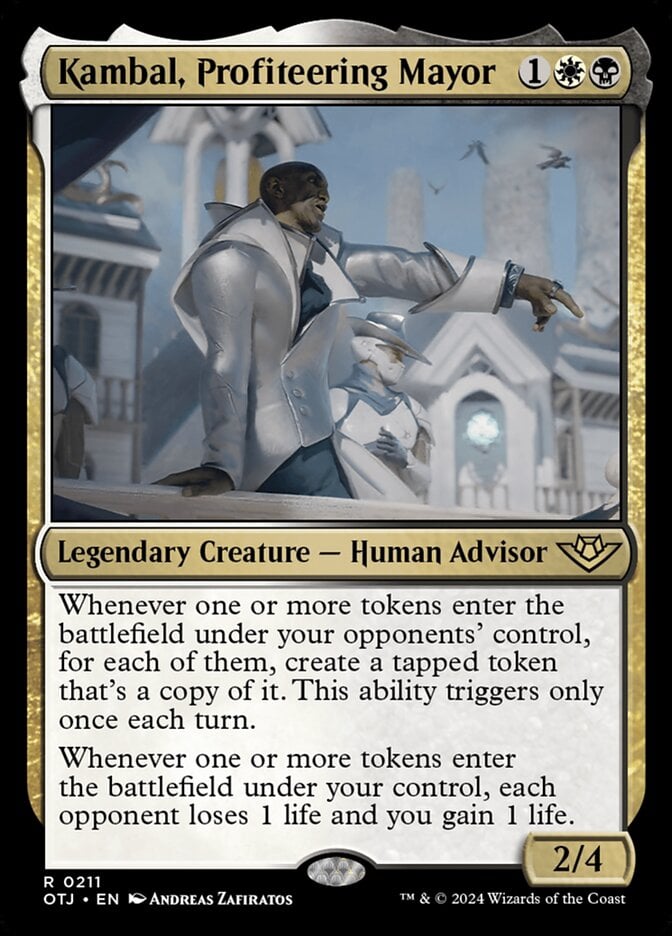
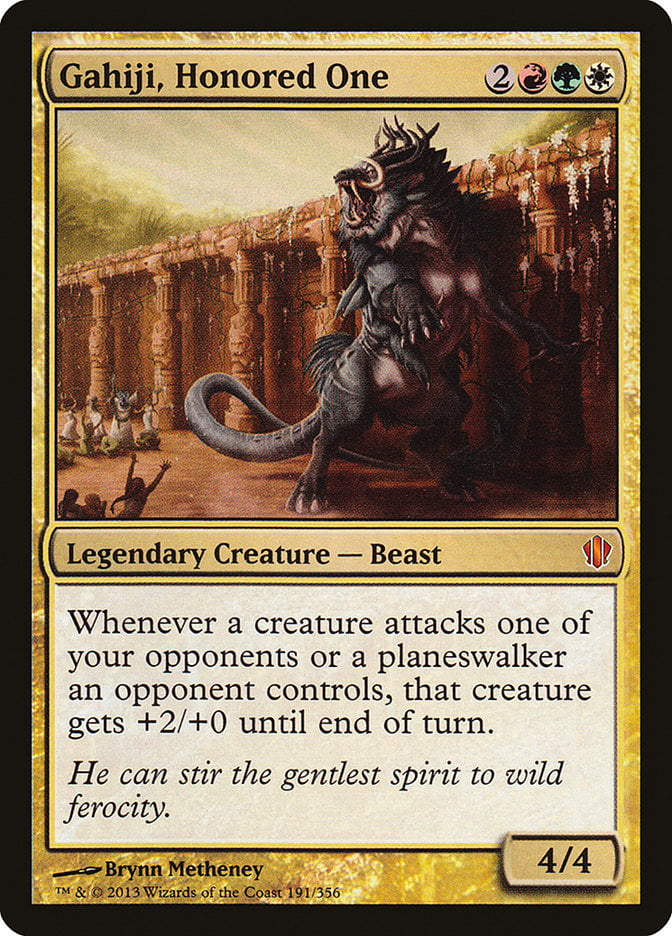
You can also figure out which decks are a problem for your strategy. If you’re playing Jinnie Fay, Jetmir's Second, you probably need to be more afraid of the Kambal, Profiteering Mayor player than the Gahiji, Honored One player—at least in terms of which commander you should kill.
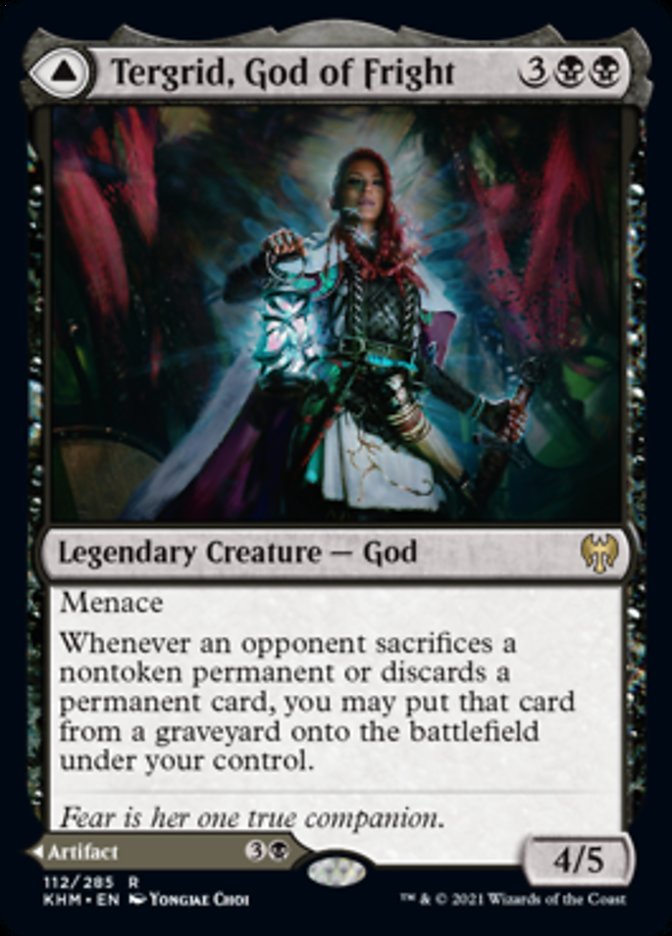
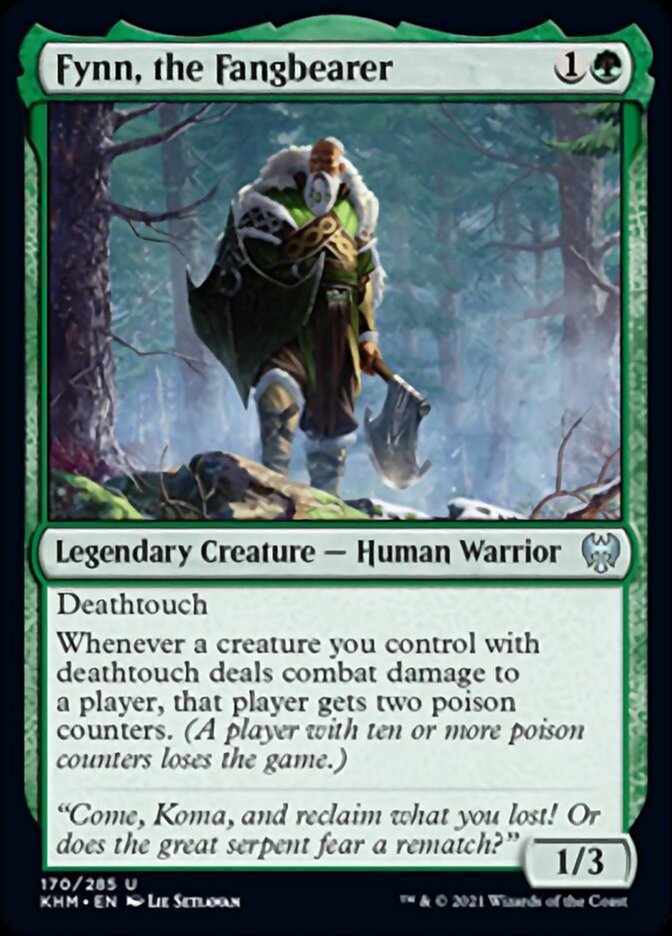
Some commanders are critical for threat assessment because they’re always the threat. Two great examples of build-around commanders are Tergrid, God of Fright and Fynn, the Fangbearer; decks with these in the command zone often have 99s built around exploiting them, and it can be more useful to keep them off the table than to interact with anything in the 99.
What If You’re the Biggest Threat?
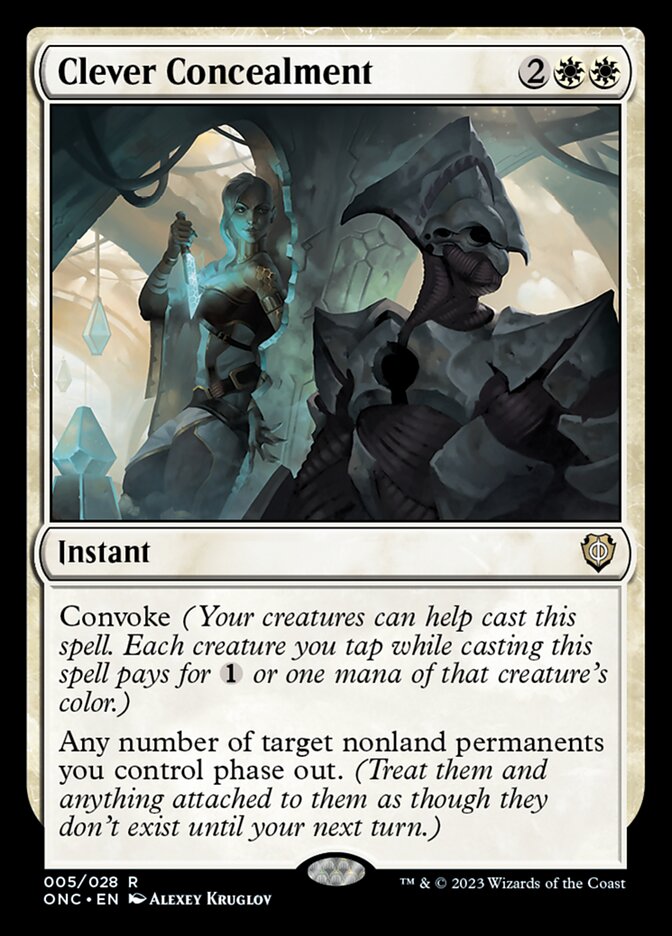
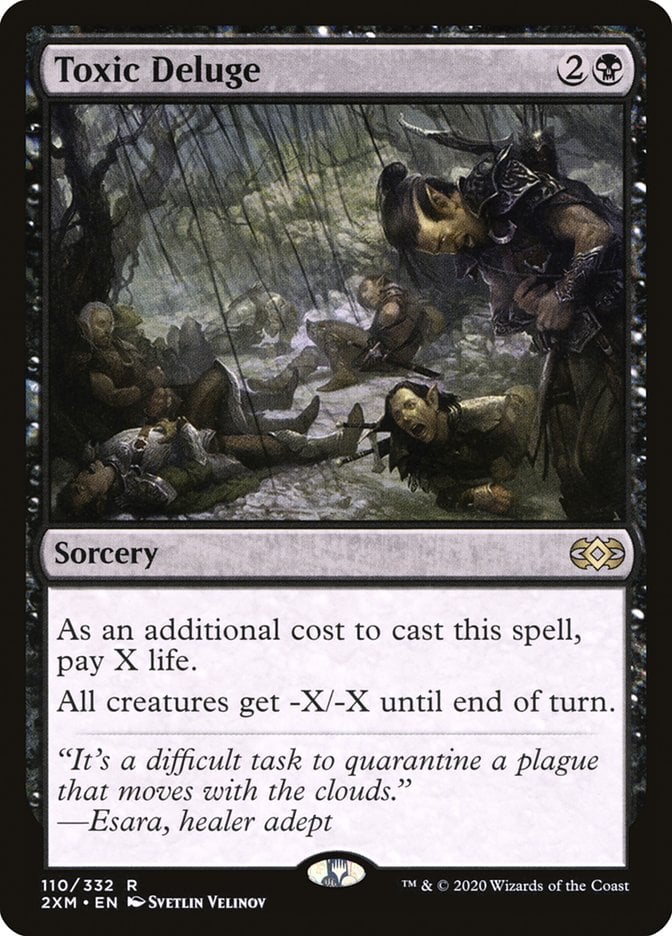
Handling the attention of the table when you become the biggest threat begins in deckbuilding. You need adequate tools to handle when your opponents designate you the threat, which often means countermagic if you have blue, protection spells like Clever Concealment if you’re developing your board, or board wipes like Toxic Deluge if you need to protect yourself from early aggression.
How Can You Avoid Becoming a Threat Too Early?
Not to be too reductive, but try not to play early threats. How this works really depends on your strategy, but you should generally let somebody else play the first big threat or develop their board the furthest. If you wait until your opponents stick a threat that draws a board wipe or counterspell from a player, you have a better chance of keeping yours around.
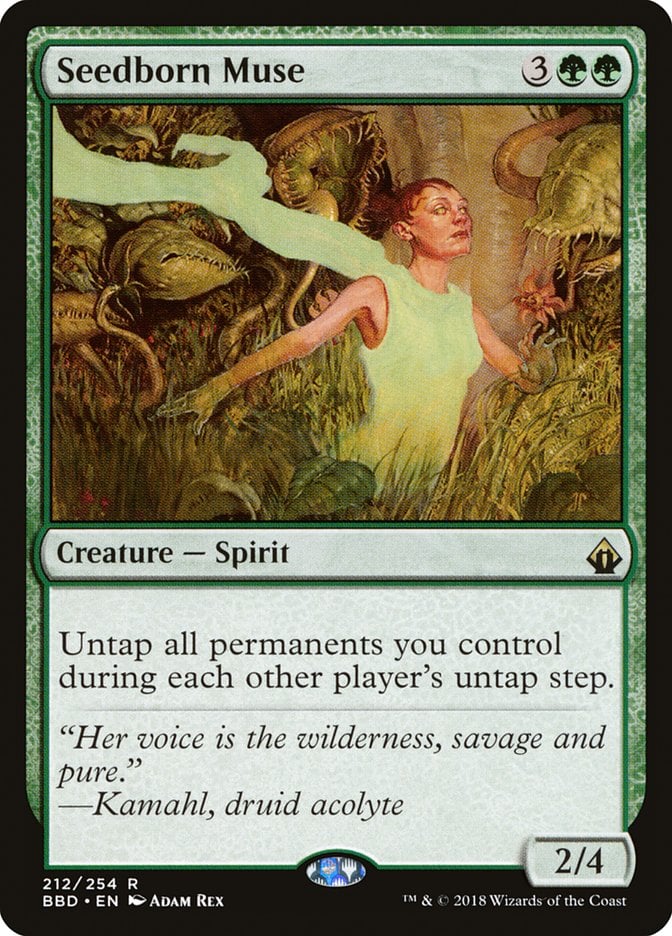
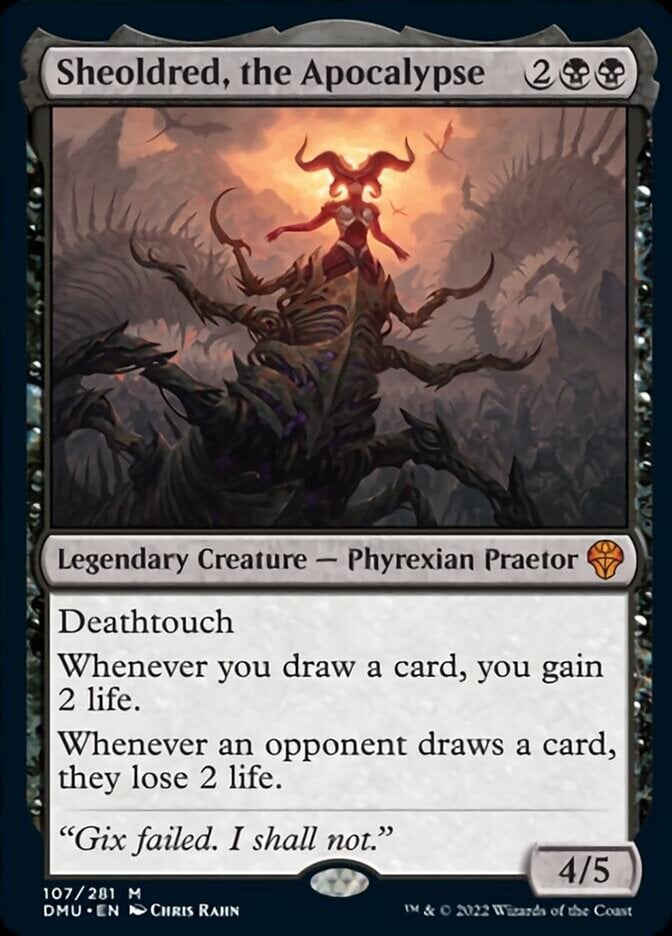
You can also try to avoid playing cards that paint a target on your back. Think of Game Changers like The One Ring or Seedborn Muse that scream “I have an advantage.” Though these don’t have to be official Game Changers—cards like Eldrazi titans or Sheoldred, the Apocalypse all indicate to your opponents that your board should be answered. If you can construct a deck that wins with cards that fly under the radar, you won’t paint as large a target on your back—for a couple games, at least.
Politics and Threat Assessment
Illusion of Choice | Illustration by John Severin Brassel
Politics and threat assessment go hand in hand, and this interacts with several ideas on this list. One of the most common ways politics and threat assessment come together is when two players broker an agreement to handle the player who’s ahead. This could be as simple as when two players gang up to attack a planeswalker, or Player A lets Player B draw cards to try and find a board wipe.
In general, I recommend using politics to pair with a player who’s behind to take out the player that’s ahead. If you strike a deal with the player who’s already winning—which probably means that you’re agreeing to leave them alone so they don’t mess with you—you often end up feeding them the game (of course, if you’re ahead, you should try to strike a deal with somebody to prevent an archenemy situation). But a brief partnership with another player who’s behind makes it way easier to avoid losing to one player’s explosive start.
Politics are also useful to deal with threats you might not be able to. A blue-black deck’s best chance at removing a troublesome artifact is savvy politicking with the white player, and the Gruul () player relies on the blue ones to stop a lethal combo on the stack.
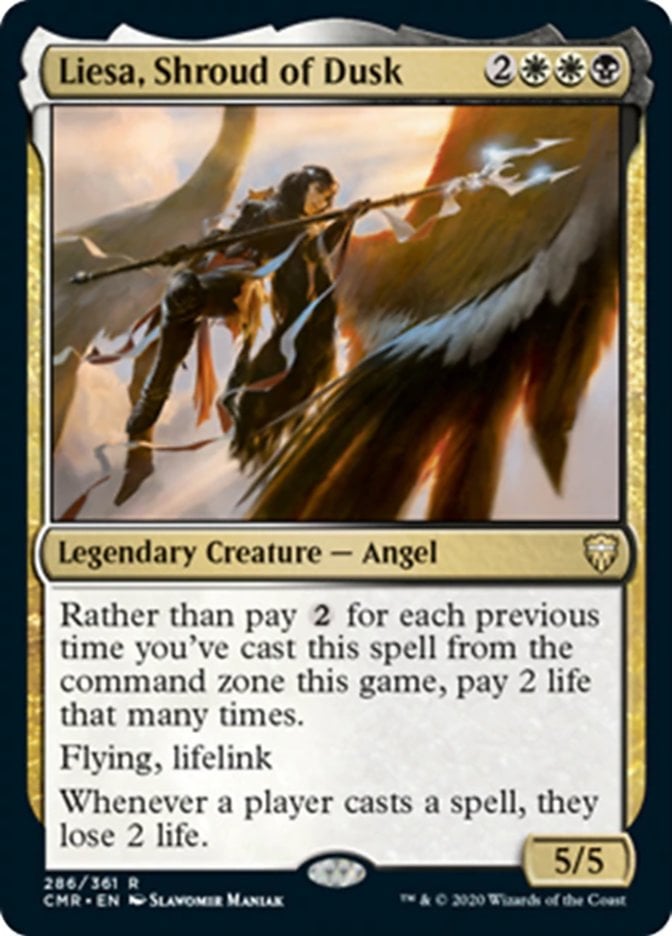
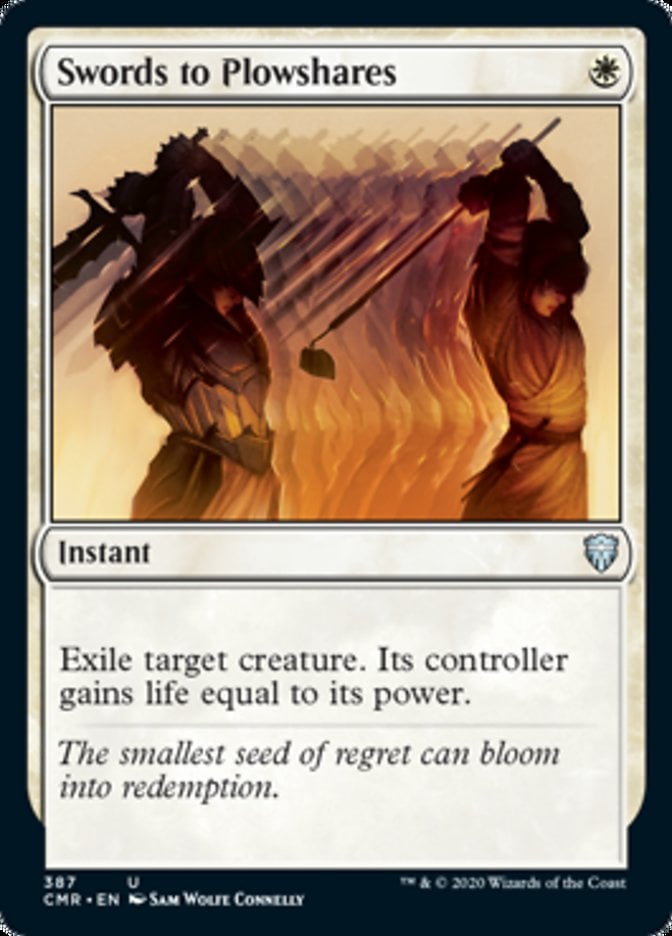
You can even reduce a player’s assessment of your threats with politics. Maybe you have a Liesa, Shroud of Dusk in play that a player considers removing; you might convince them to hold their Swords to Plowshares by pointing out that Liesa is preventing the storm player from going off.
Learning Better Threat Assessment
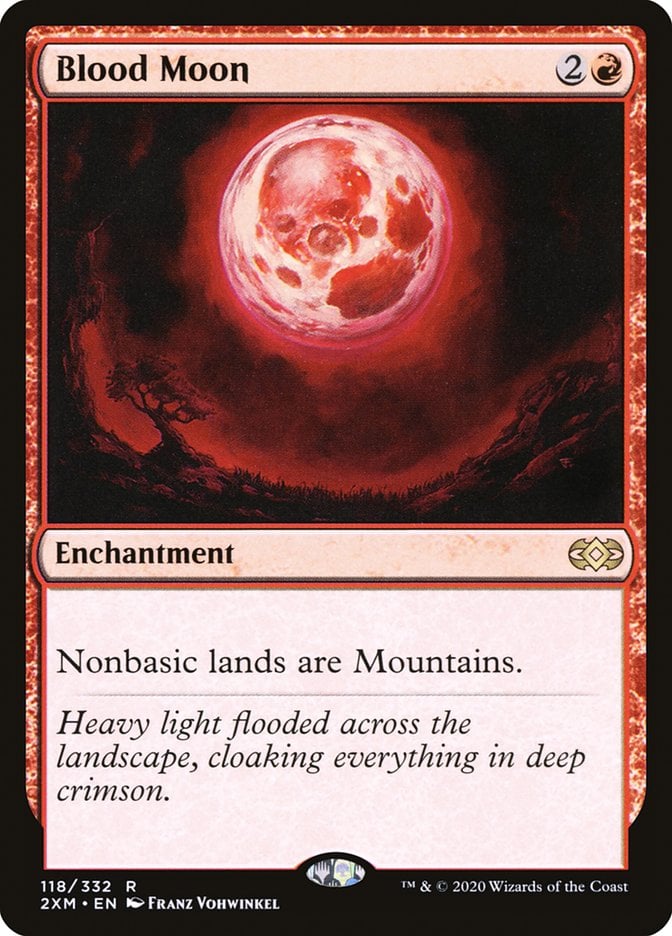
The simplest and best way to learn threat assessment in Commander is to play a lot of Commander and lose often. You should specifically pay attention to what you’re losing to. Did that combo player really win because of the combo, or did it have something to do with the Rhystic Study that drew 15 cards? Did you blow up the Blood Moon at the table, only to lose to the crazy 5-color deck?
You should also talk to the players at the table after the game’s done. Most players are more than happy to discuss the game and how their deck works, and they're the best resource you have to understand what went well or right in a given game.
While lived experience is your best bet to learn, I want to highlight a few common threat assessment mistakes I see newer players make. You can also check the web for other resources, like this episode of The Command Zone podcast, or this Card Kingdom article that looks at each stage of the game.
Linear Threat Assessment
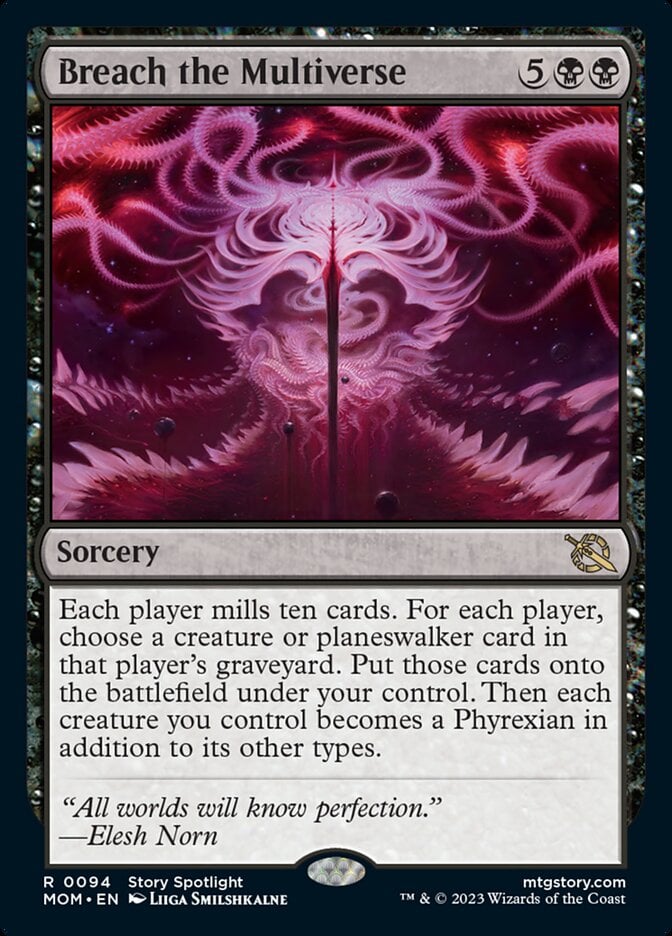

It’s the first game of the night at your LGS, and things are pretty tame. All the players are even, having spent the early turns developing their mana rocks, getting down set-up cards… then somebody drops Breach the Multiverse and ends up with four banger creatures. They’re the threat, they need handling, so you drop Wrath of God.
The mistake here comes after that very reasonable exchange: Some players then devote their resources to bullying the Breach player out of the game, just for playing something scary once. Threat assessment is a dynamic process, and a player doesn’t necessarily need to be killed just because they committed a threat to the board, especially if it was answered. That just gives another player with a subtler presence the victory.
Vindictive Threat Assessment
Vindictive threat assessment is when you decide that the biggest threat at the table is whoever interacted with you last—this is the player who says something like: “I won’t attack you if you don’t attack me,” or refuses to spend a removal spell unless it’s on the permanent of somebody who removed theirs. They effectively operate under an eye-for-an-eye philosophy.
This is just nonsensical. Someone’s ability to Counterspell your commander, or attack you, or anything else doesn’t always mean they’re The Threat. This strategy most likely just feeds the game to the control player because they didn’t attack you. It also sours the social aspect of the game, as you end up punishing people for participating in the game—which is not the goal of threat assessment.
Short-Term Threat Assessment
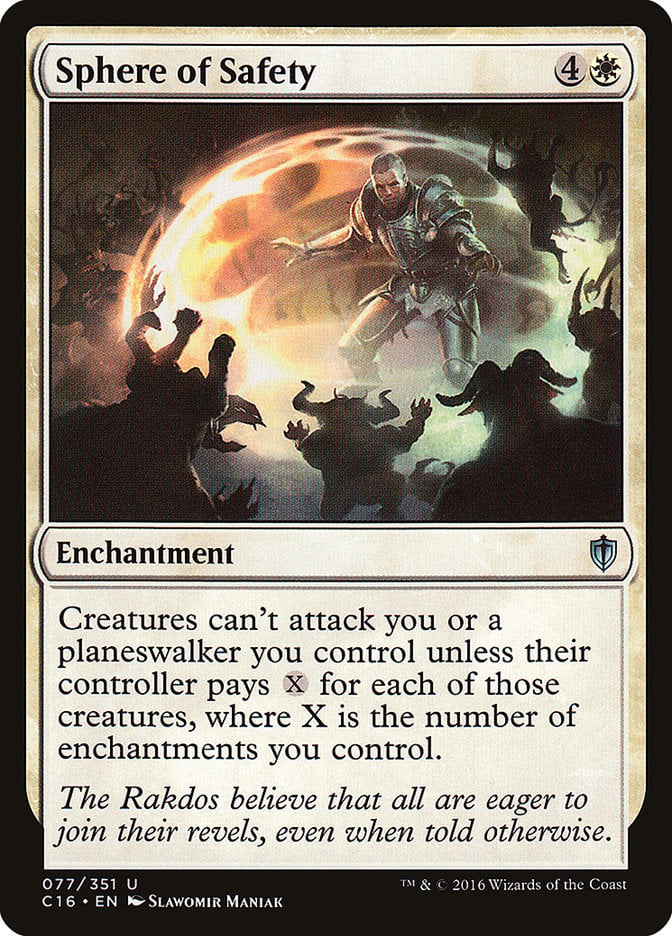
This is when you make a threat assessment play based on the immediate game state. And this can be tricky, since Commander’s hideously complex, but you should always ask yourself if you must use your removal now. Do you need to Doom Blade that creature right now? Maybe you just need another mana or 2 to land that Sphere of Safety and can hold up on the removal, or somebody indicated they had a board wipe. Try to hold your removal until it really counts, a skill you’ll develop simply by playing a lot of Magic.
Letting a Player “Do Their Thing”
Commander players really like trying to squirm their way out of aggression with political talk, like “I’ve barely done anything,” or “I haven’t even done my thing!” This is basically them weaponizing politics to try to skate under the radar—a perfectly respectable strategy, but you should try to avoid falling for it.
Like anything else, this is contextual; the player who missed five land drops really is behind and probably isn’t a problem you should focus on. But Commander’s a powerful format, and letting a player do their thing can often be game-winning. You should be especially wary of players who utilize this tactic by claiming they haven’t done anything because they spent the first four turns ramping and/or drawing cards—as I covered, that makes them a huge threat.
Commanding Conclusion

Threats Undetected | Illustration by Randy Vargas
Understanding threat assessment takes a lot of work and practice, but it’s crucial to becoming a better Magic player and playing more fulfilling games of Commander that give everybody a chance to participate. The skill translates well to other formats as well; threat assessment even becomes easier when you only need to track one board!
What’s your best tip for threat assessment? What other indicators do you use to evaluate opposing threats? Let me know in the comments below or on the Draftsim Discord!
Stay safe, and thanks for reading!
Follow Draftsim for awesome articles and set updates:


Add Comment