Last updated on March 18, 2026
| Illustration by Pauline Voss
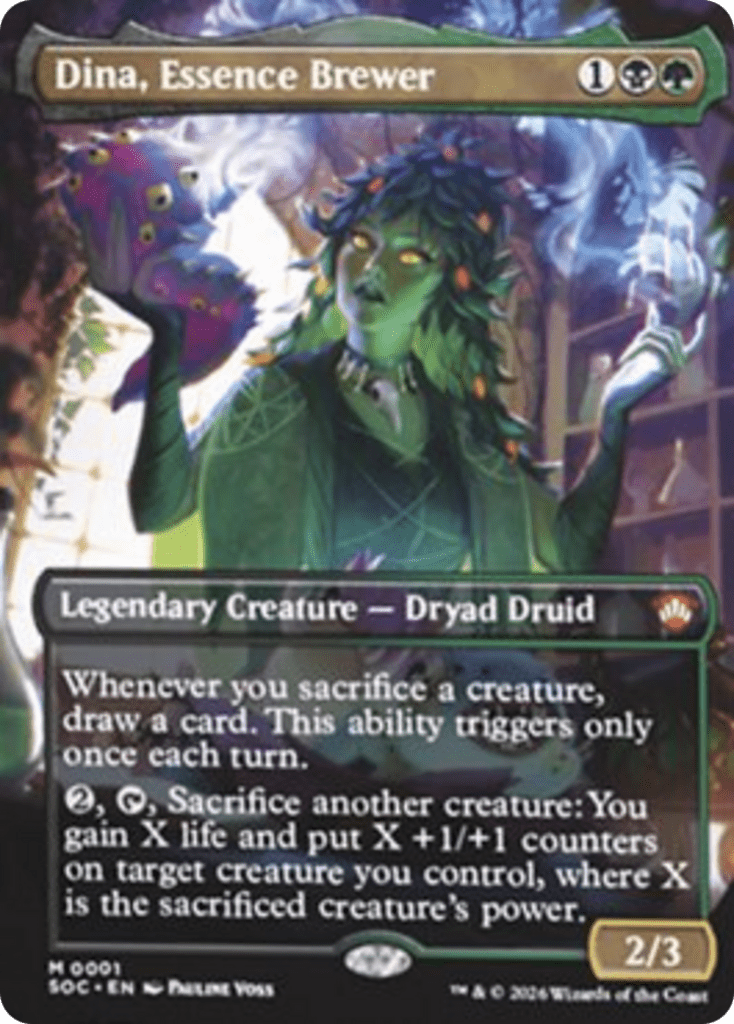
I've explored combos to upgrade multiple Secrets of Strixhaven precons, with Zimone and Killian taking the spotlight. This time, I have combos for [card]Dina, Essence Brewer, with an emphasis on sacrificing creatures until your opponents are fit subjects to test that new reanimation spell on.
Persist Creature Loops
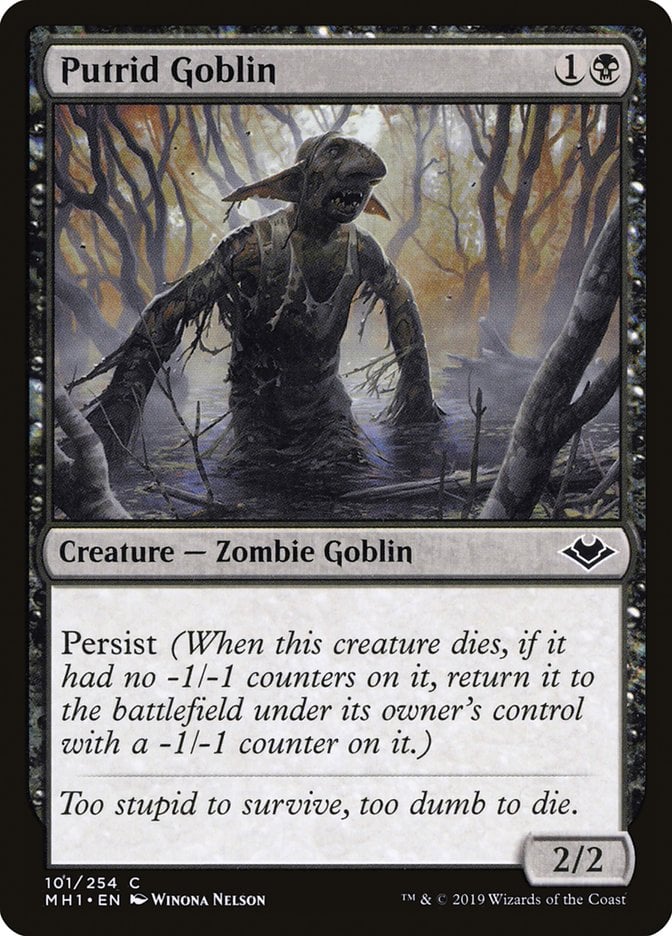
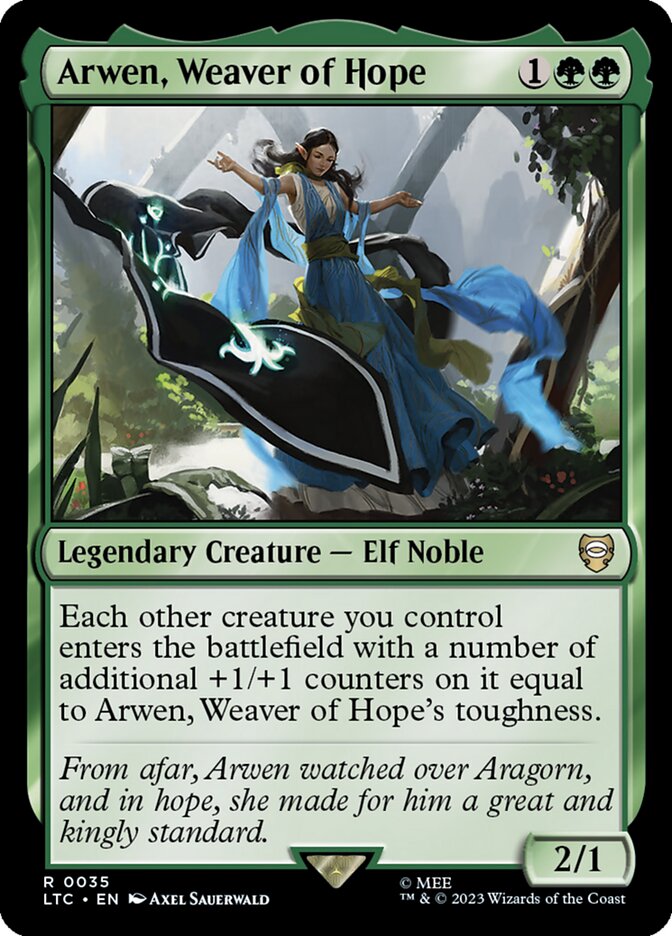
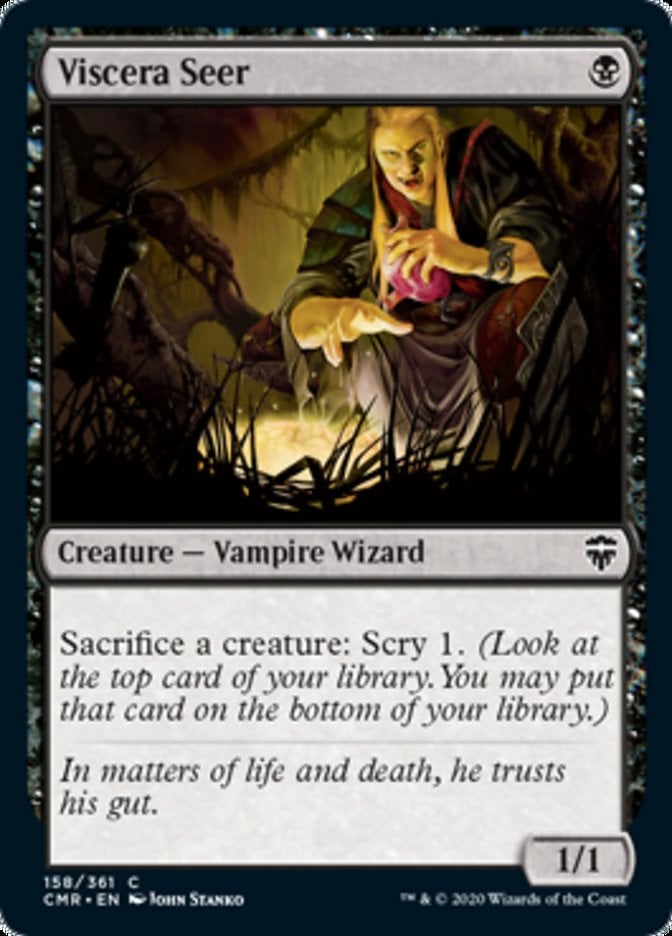
This combo requires three pieces: A creature with persist, a way to negate or remove the -1/-1 counter (adding a +1/+1 counter is typically easiest) and a free sacrifice outlet. This example uses Putrid Goblin, Arwen, Weaver of Hope, and Viscera Seer.
Start with all three permanents in play, then sacrifice the Goblin to the Seer. This triggers persist, which brings the Goblin back to play with a -1/-1 counter.
Since Arwen is in play, it also enters with a +1/+1 counter. When a creature has both counters, they negate each other, so it ends up with no counters—allowing you to sacrifice it and persist it back into play again as it dies without a -1/-1 counter.
A notable weakness is the number of pieces required: Three, in addition to something that actually wins, like Blood Artist. But the combo has great flexibility; you don’t need specific cards, so you can run two, three or even more redundant copies of each effect for consistency. Since these infinite combos use so many pieces, they’re also appropriate for Bracket 3 play.
Vito, Thorn of the Dusk Rose + Exquisite Blood
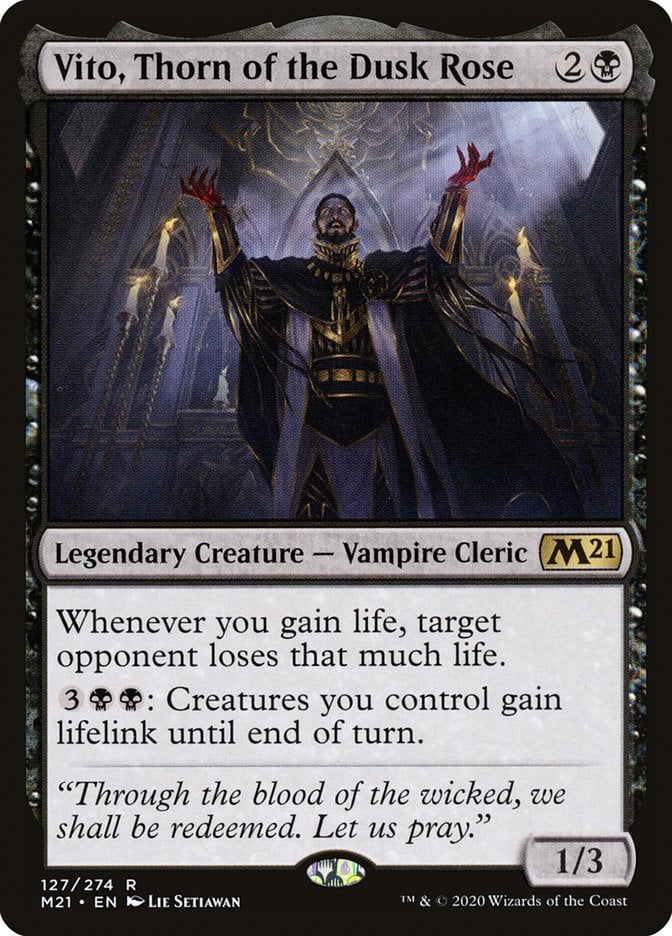
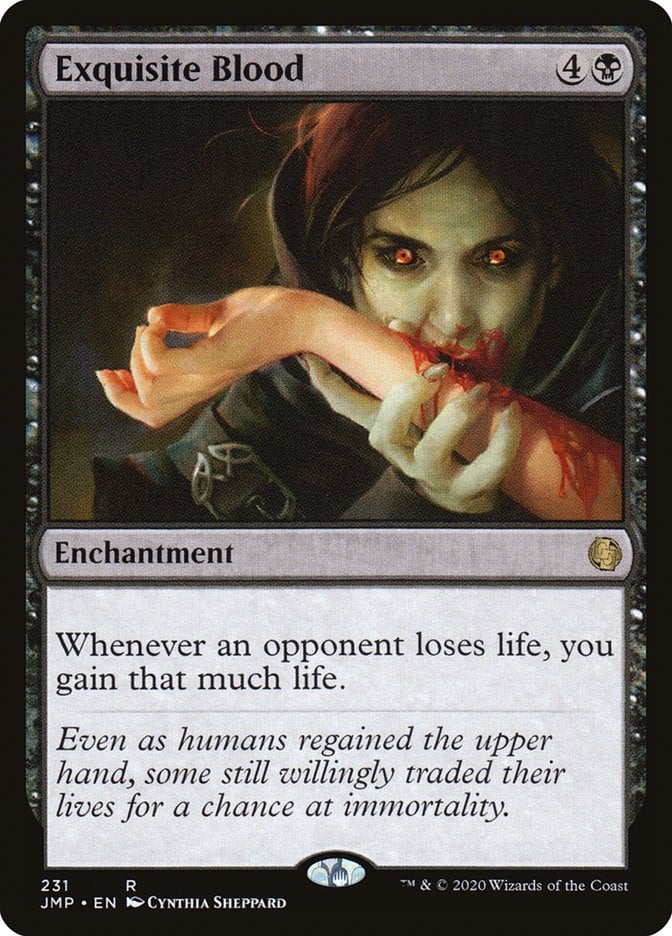
Vito, Thorn of the Dusk Rose and Exquisite Blood isn’t a sacrifice combo, but sacrifice and lifegain are married in Dina’s textbox as well as about a billion sacrifice payoffs.
The combo is extremely simple: With both permanents in play, you gaining life or an opponent losing life kills the table because each card triggers the other. That works particularly will with Dina because you always have lifegain to start the combo.
As a two-card combo that’s reasonably cheap, it’s too much for Bracket 2 and maybe too much for Bracket 3 depending on your group’s temperament—I think 8 mana of permanents is slow enough, but your mileage may vary.
Jarad, Golgari Lich Lord + Wall of Blood
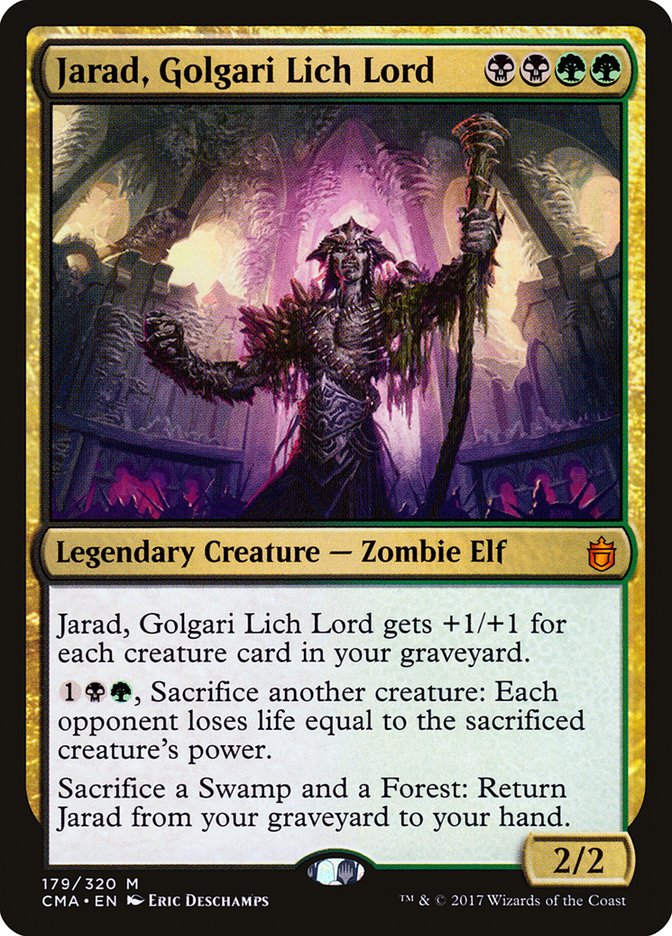
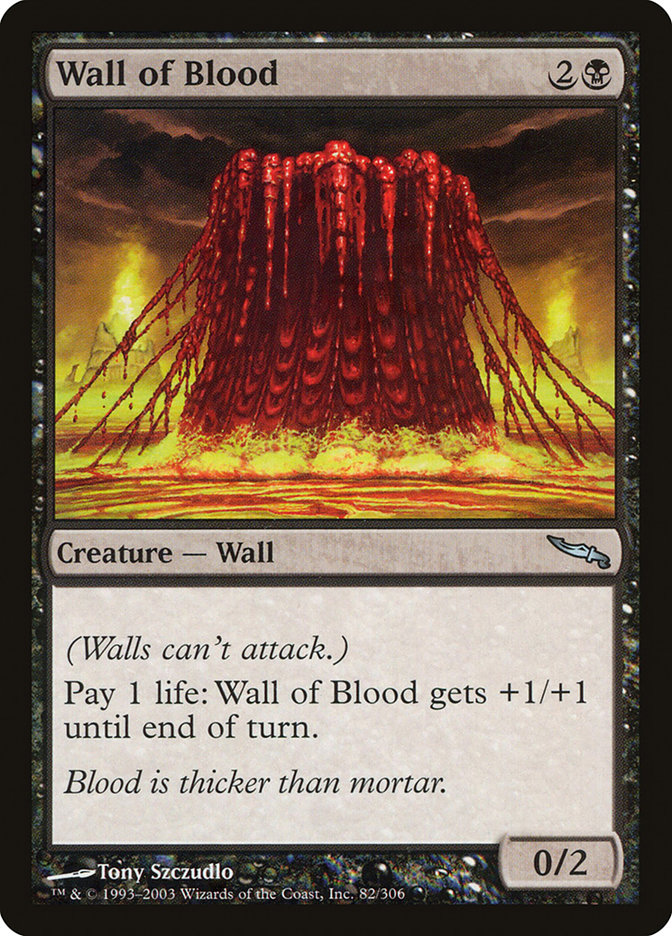
Another pretty aggressive combo, Jarad, Golgari Lich Lord and Wall of Blood wins on the spot if you have the highest life total, which shouldn’t be a problem with a commander that gains life.
Just pour all but one life into Wall of Blood and sacrifice it to Jarad’s ability to make the table lose life, the game, their faith in world, etc, etc.
While this is another fairly cheap two-card combo, the pieces synergize with the deck seperately. Wall of Blood pairs wonderfully with Dina, Essence Brewer because it recoups the life you lost and puts a silly number of counters on a creature. Dina already wants you to play high-power creatures like Kalakscion, Hunger Tyrant, so Jarad has plenty of fodder.
Warren Soultrader + Gravecrawler + Blood Artist

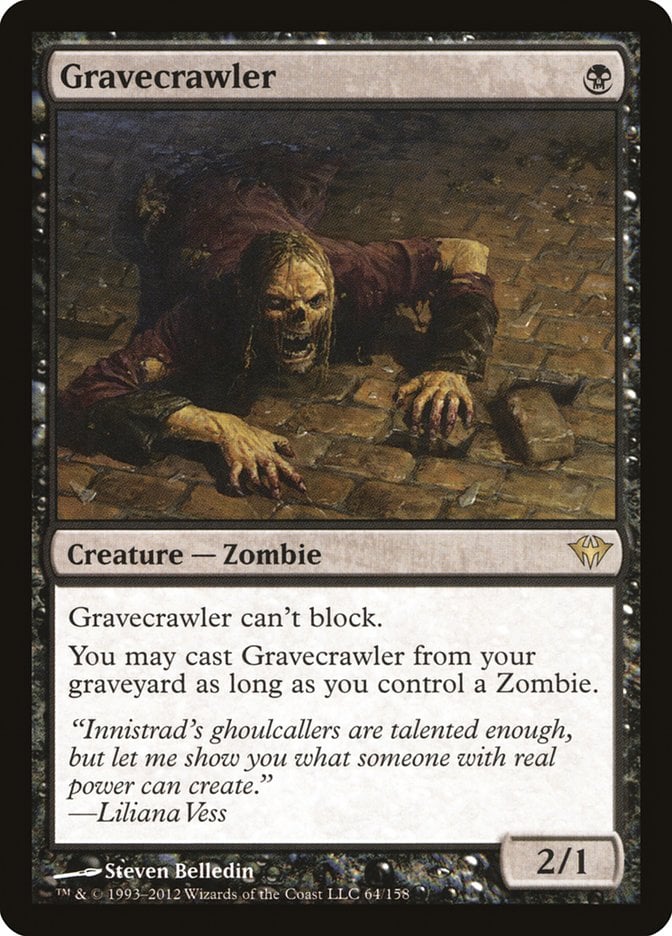
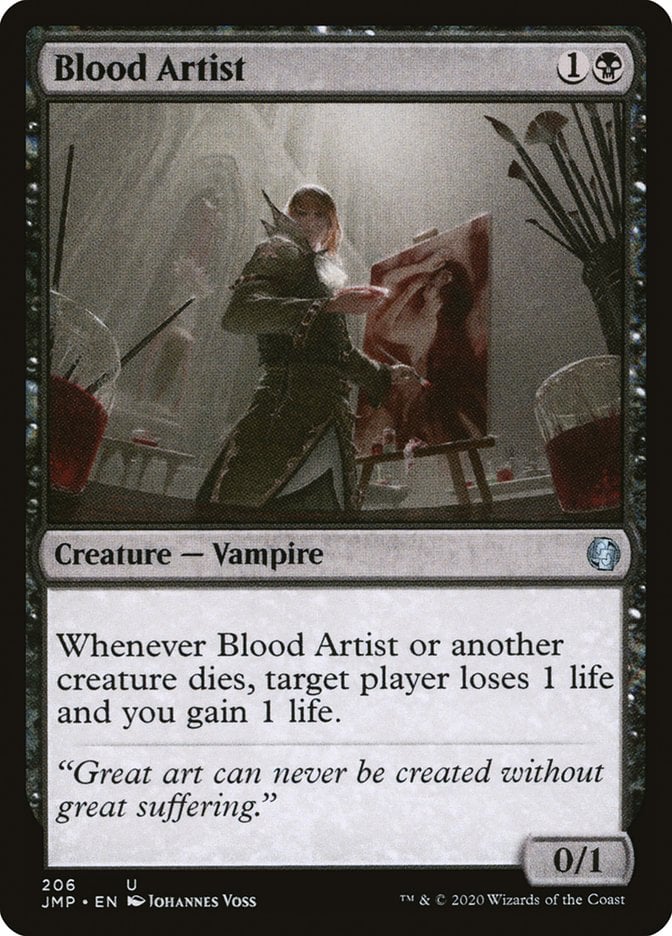
This combo’s pretty simple: Start with all three in play, then sacrifice Gravecrawler to Warren Soultrader. This makes a Treasure and triggers Blood Artist, whose lifegain offsets the life lost to the activated ability. You can then cast Gravecrawler, and loop from there.
This combo only works with a Blood Artist effect that gains life when creatures die—something like Ninja Teen that only involves the life loss would kill you.
The Skullspore Nexus + Beifong’s Bounty Hunters + Ashnod’s Altar
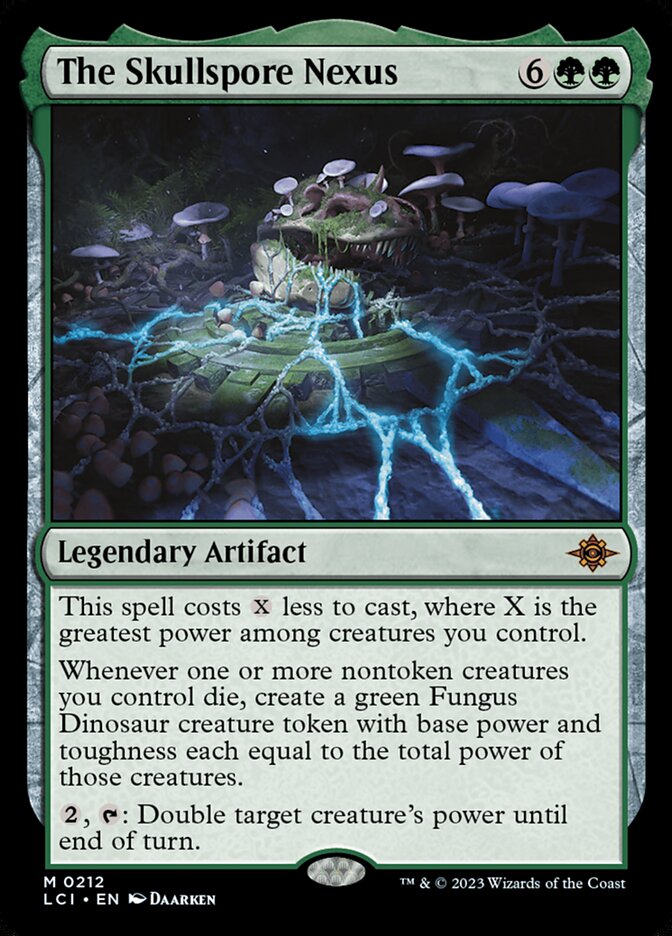

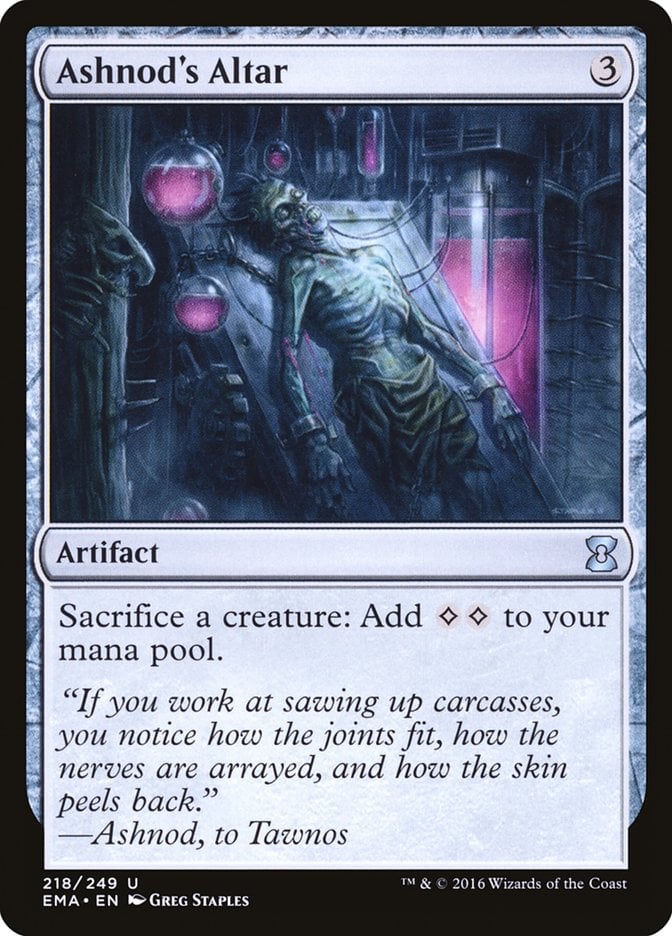
This combo uses The Skullspore Nexus and Beifong's Bounty Hunters to get around the other’s restrictions for a unique finisher.
Start will all three permanents in play, and sacrifice any creature other than the Bounty Hunters. That lets you earthbend and make a fungus token. Sacrifice the land to Ashnod's Altar; that triggers the Skullspore Nexus and makes a token. You can then sacrifice the token to let the Bounty Hunters earthbend again, and keep flipping between the two to generate infinite mana.
Of note, this works with any free sacrifice outlet. The Skullspore Nexus also has many substitutes, like Golgari Germination and Blight Mound (though TSN works very well with Dina). Only the Bounty Hunters is essential because of its unique ability.
Follow Draftsim for awesome articles and set updates:


Add Comment