Last updated on February 18, 2024
Sauron, Lord of the Rings | Illustration by Alex Brock
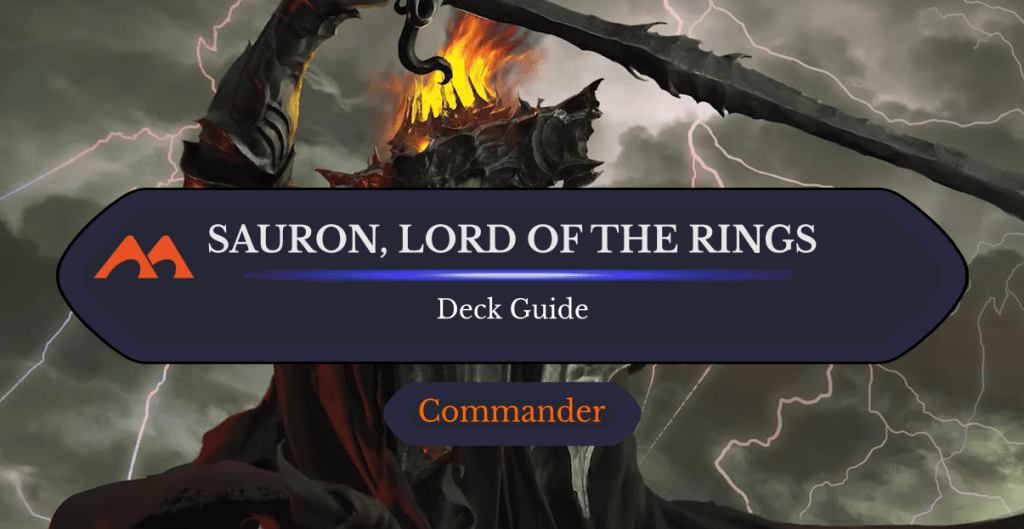
Sauron, Lord of the Rings helms the Hosts of Mordor preconstructed deck to great success. What if you don’t want all the mess of the precon, and instead want a powered-up Sauron deck that packs a lot more punch? This, then, is the perfect deck for you.
Reanimator is a classic archetype looking to put some of Magic’s most fearsome creatures onto the battlefield frighteningly quick. With Sauron in the command zone, we’re letting everyone know we’re going to be the villain by cheating in monstrous threats that can take over the game if not immediately answered.
The Deck
Anger | Illustration by Svetlin Velinov
Commander (1)
Creatures (18)
Ancient Brass Dragon
Ancient Copper Dragon
Ancient Silver Dragon
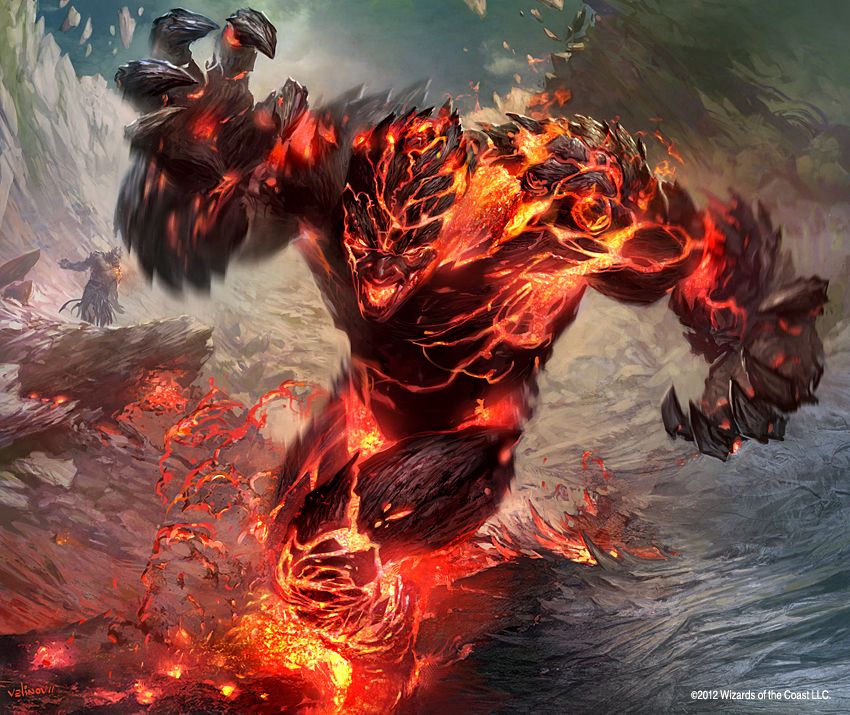
Anger
Arcanis the Omnipotent
Archon of Cruelty
Consecrated Sphinx
Dockside Extortionist
Doomed Necromancer
Etali, Primal Storm
Geth, Thane of Contracts
Jin-Gitaxias, Core Augur
Kaervek the Merciless
Massacre Wurm
Nezahal, Primal Tide
Obsessive Stitcher
Sauron, the Dark Lord
Sheoldred, Whispering One
Sorceries (13)
Blasphemous Act
Buried Alive
Demonic Tutor
Exhume
Faithless Looting
Incarnation Technique
Persist
Reanimate
Sea Gate Restoration
Shatterskull Smashing
Toxic Deluge
Wheel of Fortune
Windfall
Instants (13)
Arcane Denial
Brainstorm
Chaos Warp
Counterspell
Cyclonic Rift
Dark Ritual
Entomb
Fact or Fiction
Frantic Search
Mana Drain
Mystical Tutor
Swan Song
Terminate
Artifacts (12)
Arcane Signet
Dimir Signet
Expedition Map
Izzet Signet
Mana Crypt
Rakdos Signet
Relic of Sauron
Sol Ring
Talisman of Creativity
Talisman of Dominance
Talisman of Indulgence
Wayfarer's Bauble
Enchantments (3)
Animate Dead
Mystic Remora
Rhystic Study
Lands (38)
Ancient Tomb
Blood Crypt
Bloodstained Mire
Cabal Coffers
Command Tower
Dragonskull Summit
Drowned Catacomb
Drownyard Temple
Exotic Orchard
Frostboil Snarl
Geier Reach Sanitarium
Haunted Ridge
Island
Luxury Suite
Morphic Pool
Mount Doom
Mountain
Path of Ancestry
Polluted Delta
Prismatic Vista
Reflecting Pool
Scalding Tarn
Shipwreck Marsh
Shizo, Death's Storehouse
Smoldering Marsh
Steam Vents
Stormcarved Coast
Sulfur Falls
Sunken Hollow
Swamp x2
Temple of the False God
The Black Gate
Tomb Fortress
Training Center
Urborg, Tomb of Yawgmoth
Watery Grave
Xander's Lounge
This list is a major departure from the Hosts of Mordor precon. It doubles down on the small reanimation package with a larger quantity of premier reanimation spells, and shoves in some of the scariest, most expensive threats you could dream of reanimating with plenty of tools to get them from the hand or deck to the graveyard.
The Commander

Sauron, Lord of the Rings costs eight mana to deploy, and predominately does one thing on cast: bring a creature from your graveyard back to the battlefield. It comes with a free 5/5 army and a mill five, but the reanimation is particularly powerful.
Sauron is insurance in this list. Consistency is often a big hurdle reanimator decks struggle with. If you draw all of the cards that get creatures into the graveyard but no reanimation spells, the deck does nothing. Sauron gives us a tool we can always have access to in a worst-case scenario to dig five cards deep and flip a threat into play so long as we can get to eight mana.
This highlights the deck’s strategy pretty well, which can be separated into three main categories: filling the grave, cheap reanimation spells, and scary threats to cheat In.
Filling the Grave
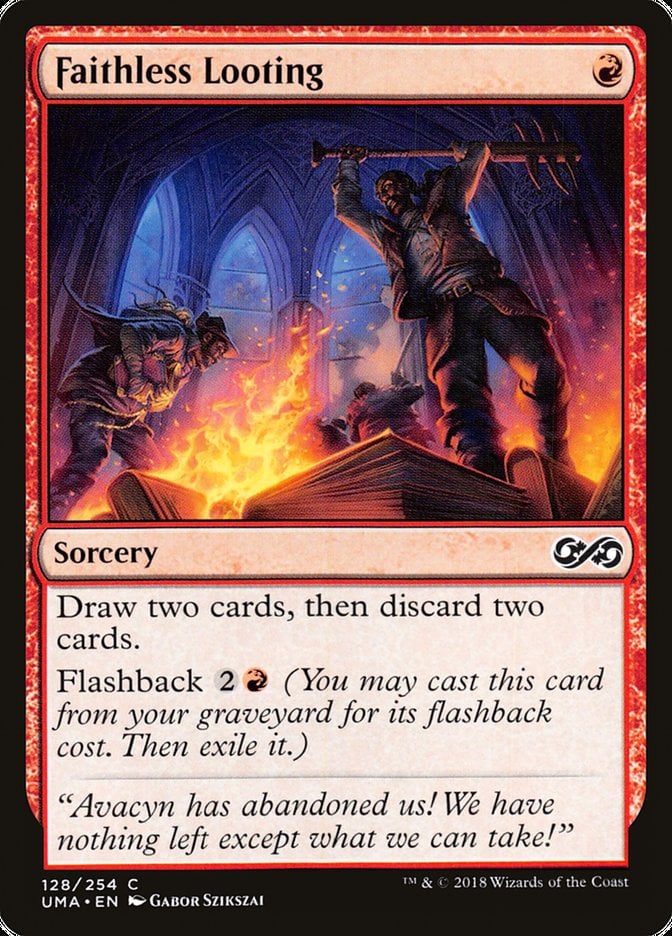
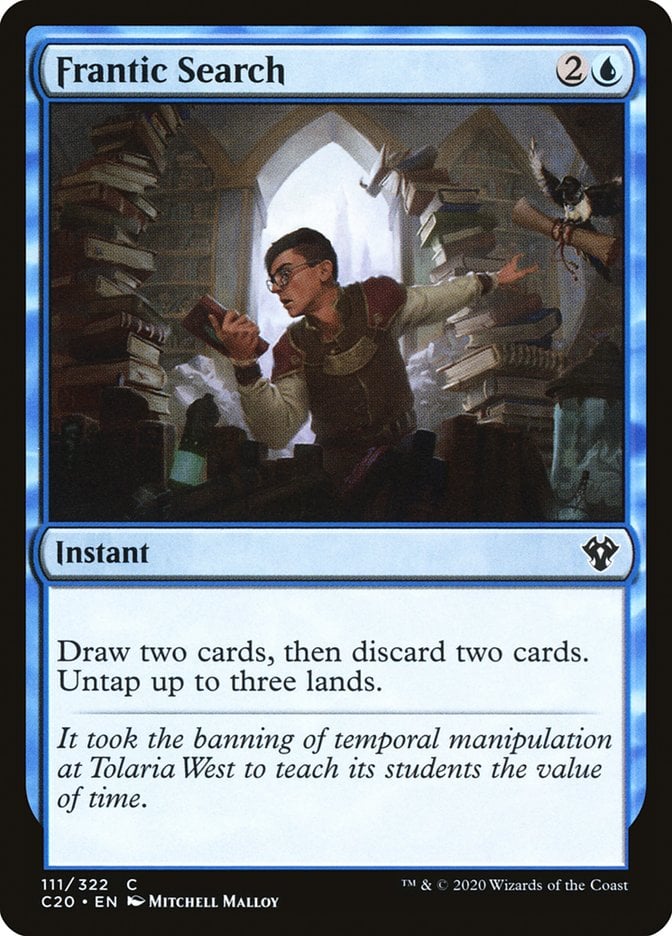
Faithless Looting and Frantic Search are both cheap, efficient tools to see some more cards and put important pieces into our graveyard. They’re going to offer some of the deck’s fastest starts.
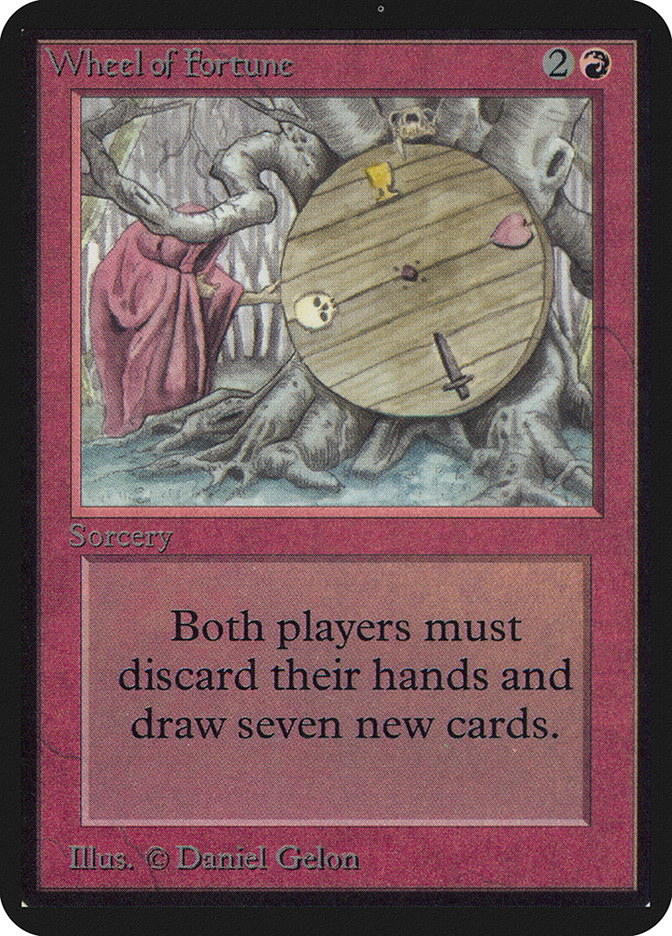
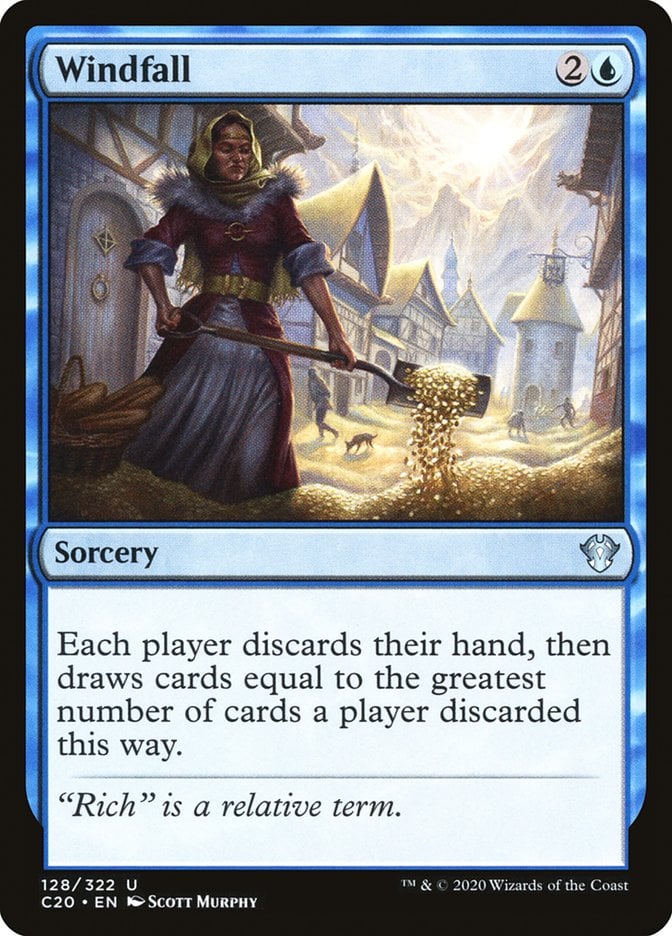
We can dump our mana rocks on the table, the use Wheel of Fortune and Windfall to discard our remaining expensive creatures and refill up to seven.
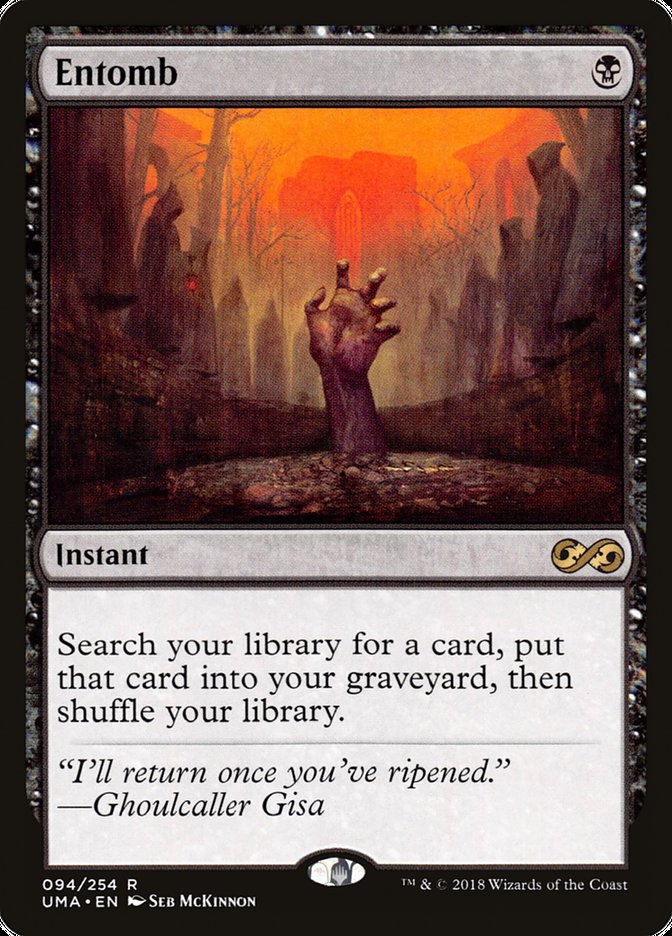
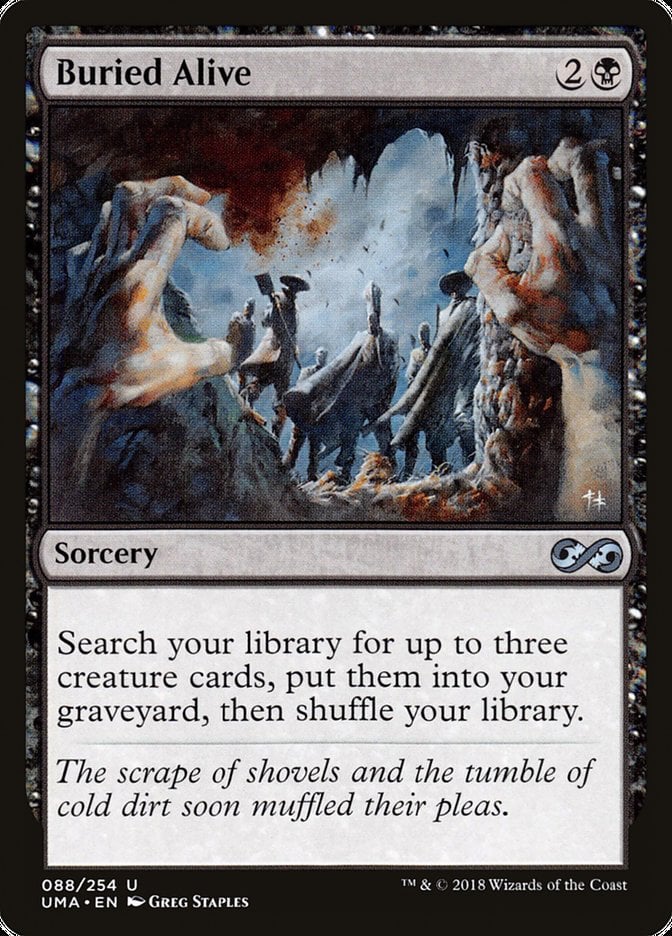
Entomb and Buried Alive both let us directly search our library for big, angry threats and put them into the bin. From there, we’re just one step away from getting them on the table.
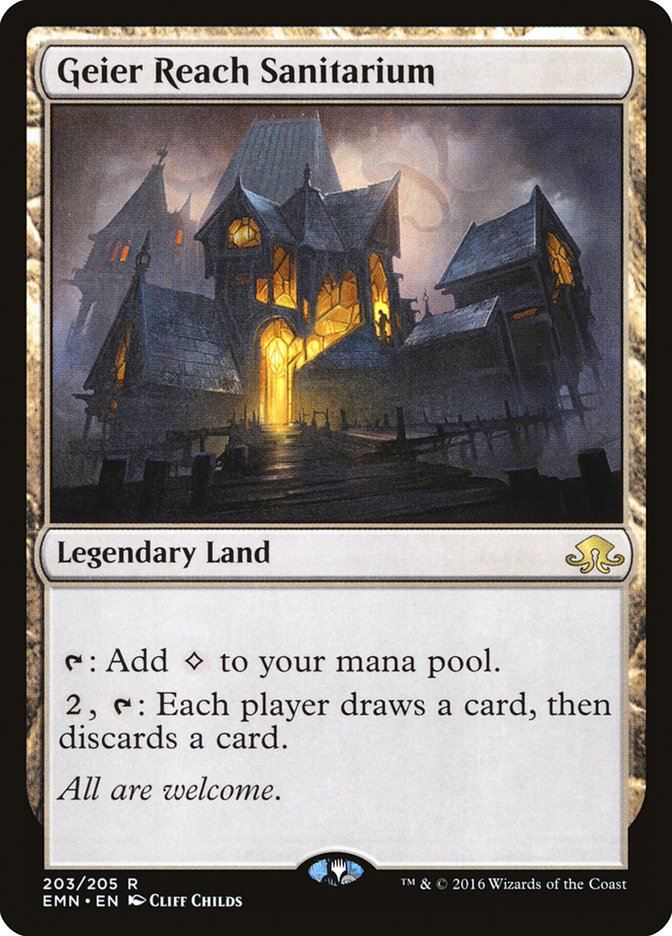
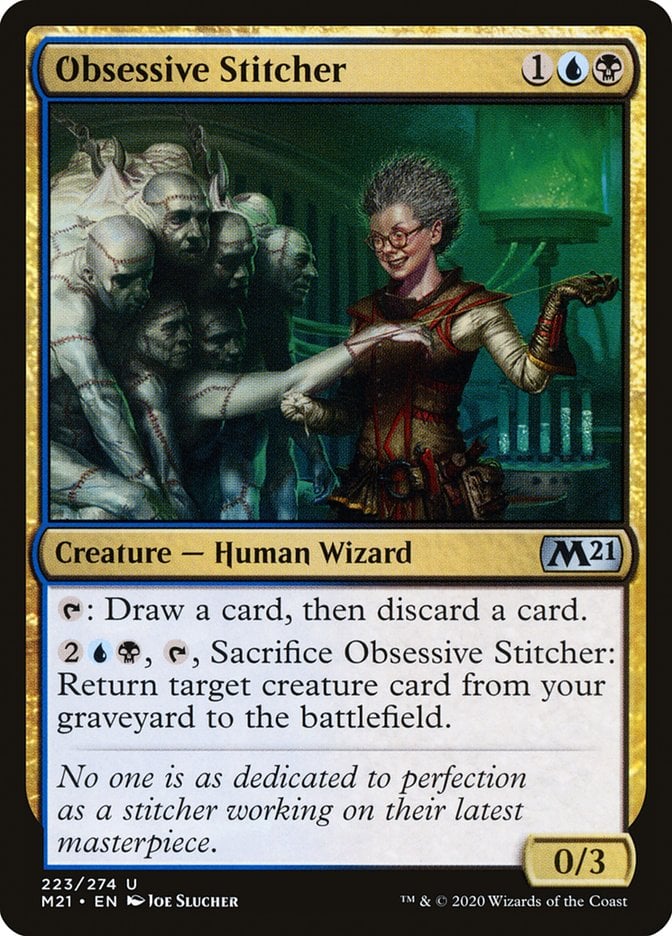
Geier Reach Sanitarium loots, as does Obsessive Stitcher. While expensive, Geier Reach only takes up a land slot, and Stitcher doubles as a reanimation effect in a pinch.
Cheap Reanimation Spells
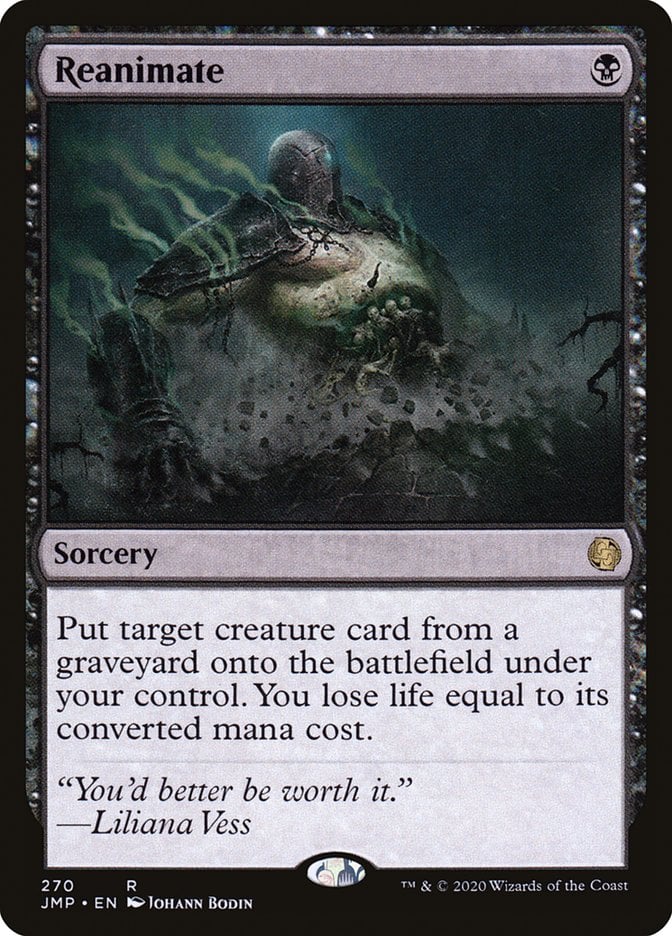

Reanimate, the card after which the archetype is named, is the most efficient version of this effect we can get. We’ll happily pay seven or eight life on turn two to put an Archon of Cruelty into play!
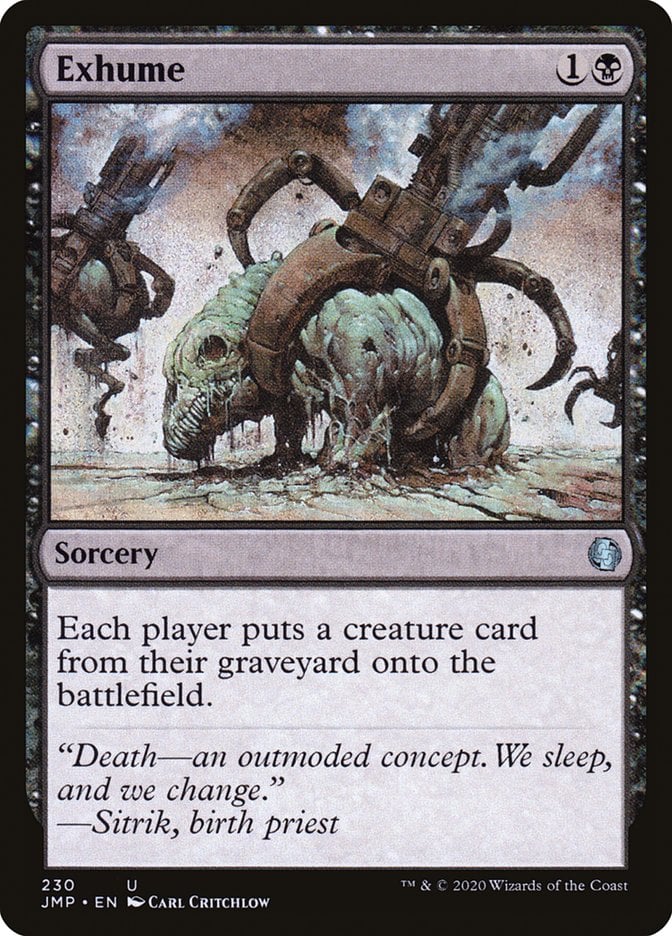
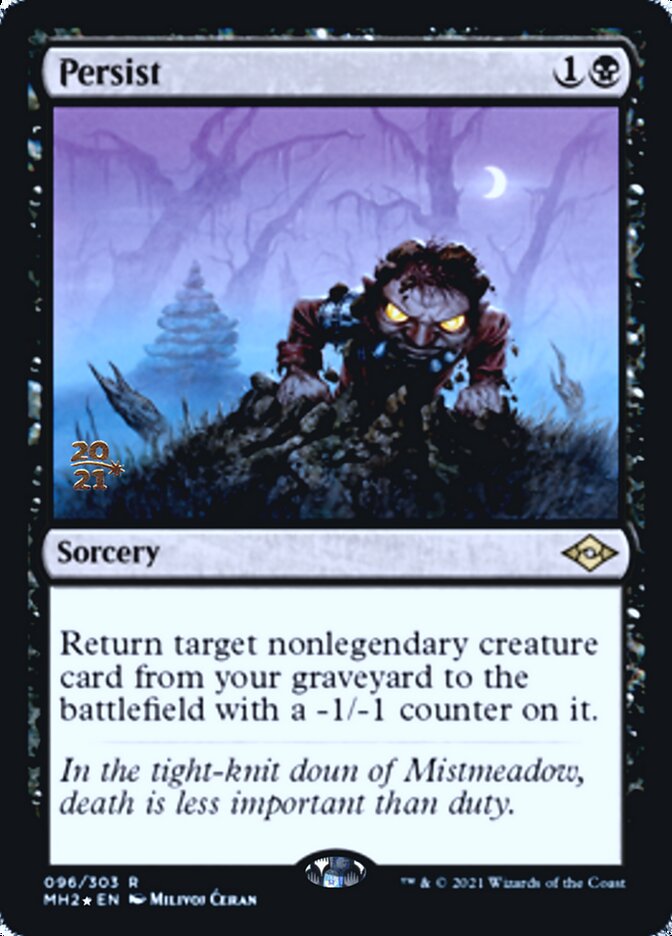
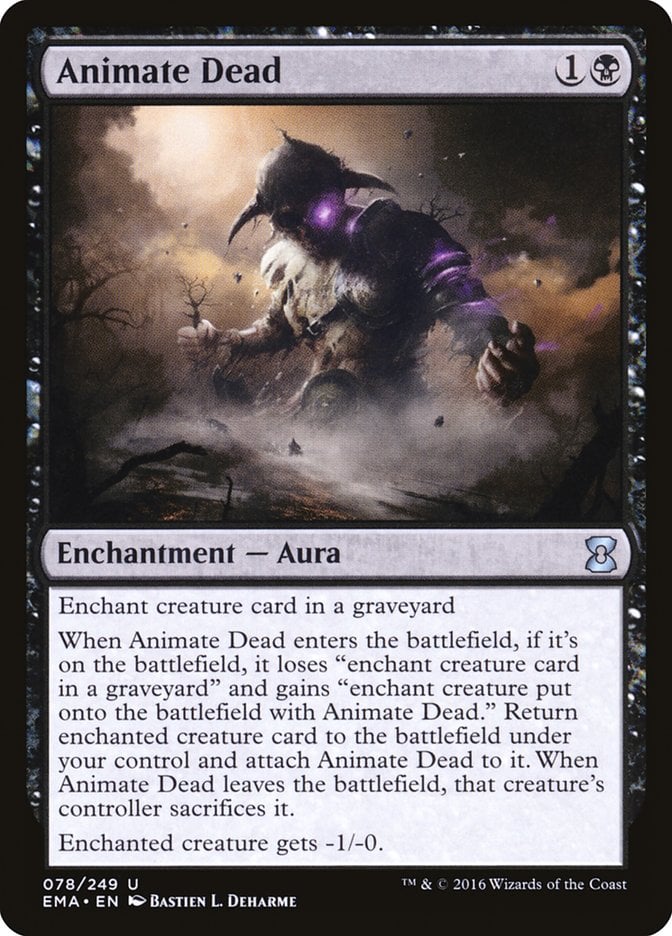
Exhume, Persist, and Animate Dead each cost just two mana and have various downsides. For the most part, we don’t care at all about these, as Exhume should work out in our favor, and we just don’t mind Animate Dead taking a single point of power off of a 7/7 that draws us tons of cards. We’re running enough non-legendary targets that Persist is regularly going to be online.
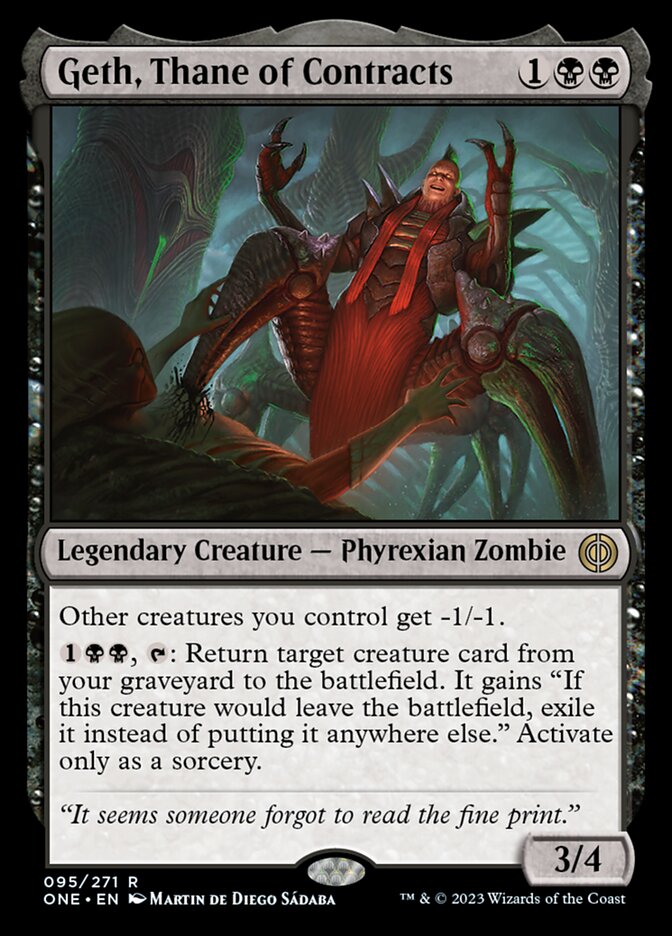
This seems to be a home run deck for Geth, Thane of Contracts. We’re running almost no other cheap creatures, making the -1/-1 penalty a non-factor, and can start repeatedly fishing out threats as soon as turns three or four.
Scary Threats to Cheat In
Now that we’ve got an understanding of how we’re getting these threats into play, lets look at our options for big, spooky monsters that take over games quickly!
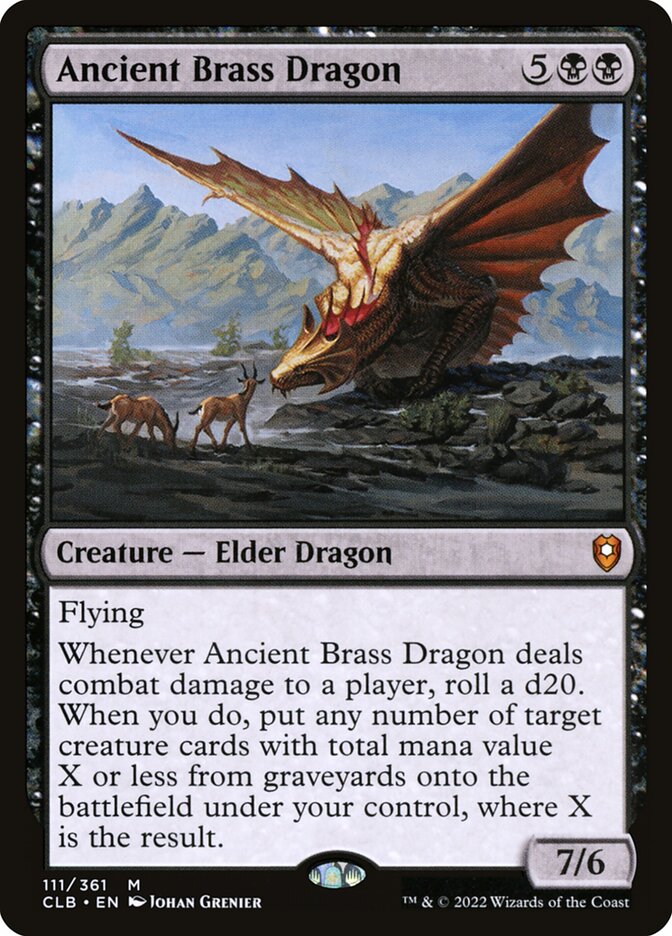
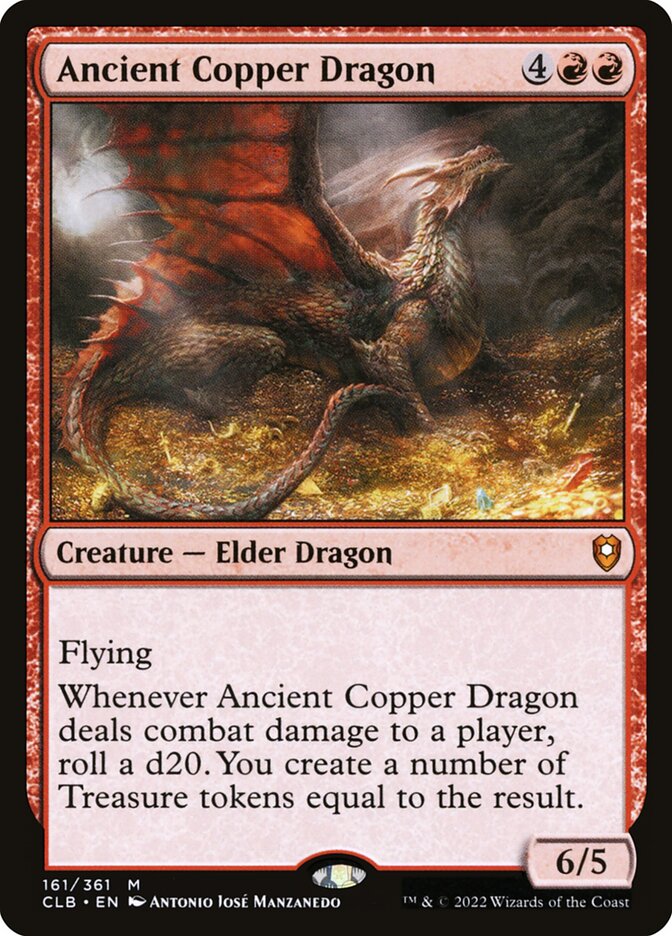

Ancient Brass Dragon, Ancient Copper Dragon, and Ancient Silver Dragon all are superb hits so long as they get a single attack in. Brass reanimates more creatures, Copper creates a ton of mana, and Silver draws us a ton of cards. What’s not to love?
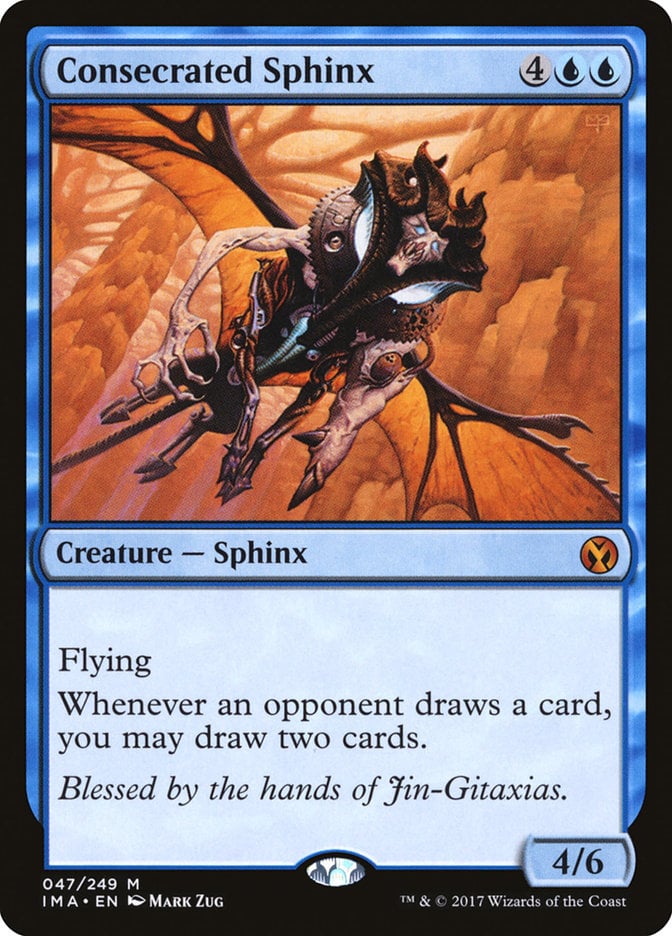
Consecrated Sphinx draws unreasonable amounts of cards. It will not only fill our hand but also our graveyard since we’ll be discarding to handsize thanks to the massive amount of cards we’re drawing.
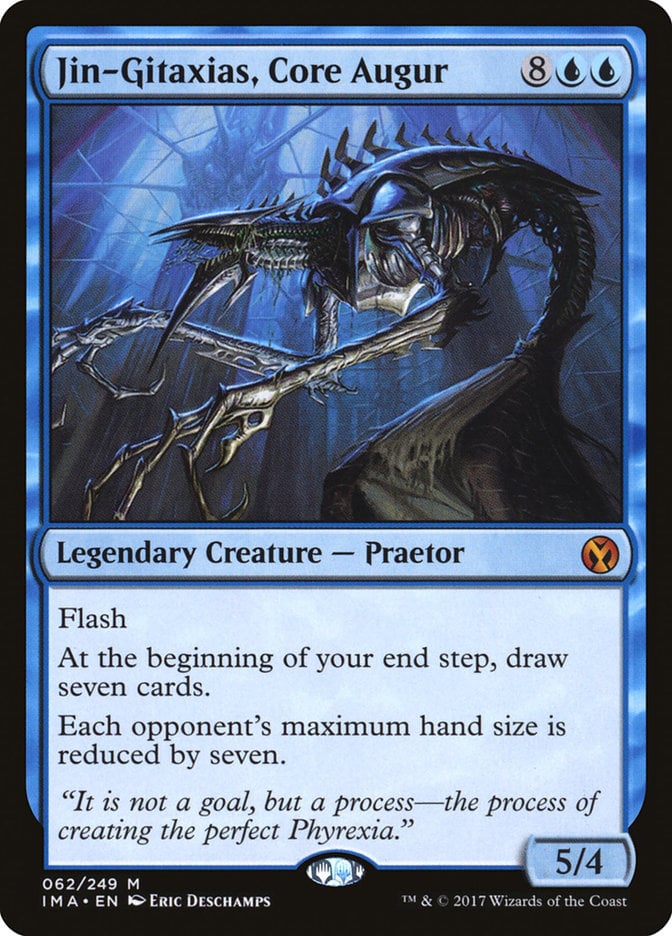
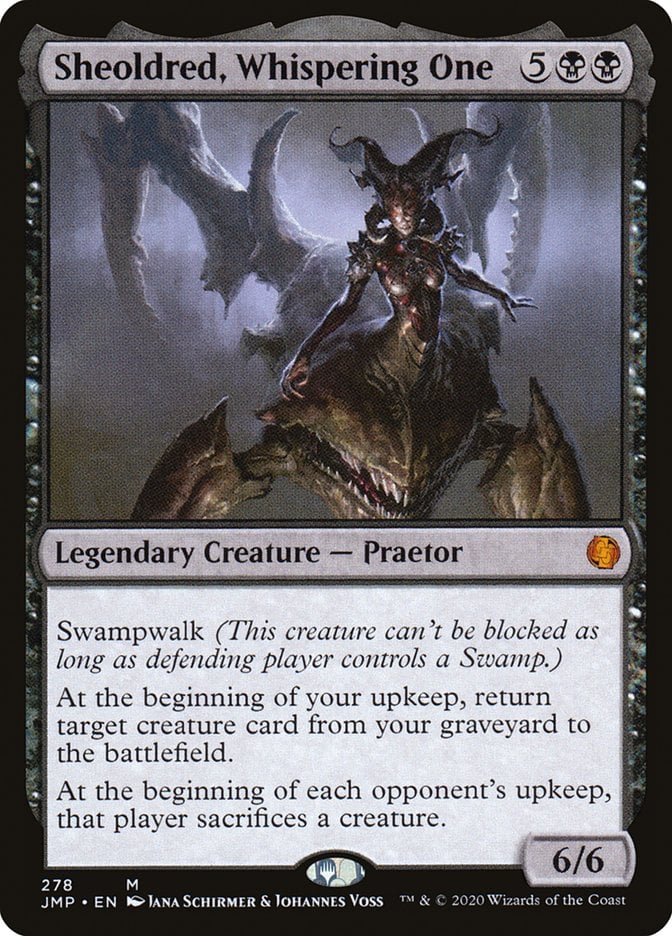
Jin-Gitaxias, Core Augur and Sheoldred, Whispering One are massive win conditions in a box. If you can land a Jin on turns two or three, the game is likely over as it takes all of our opponents' hands away. Similarly, Sheoldred edicts each opponent each turn and reanimates something on each of our turns, easily ending games before they get a chance to start.
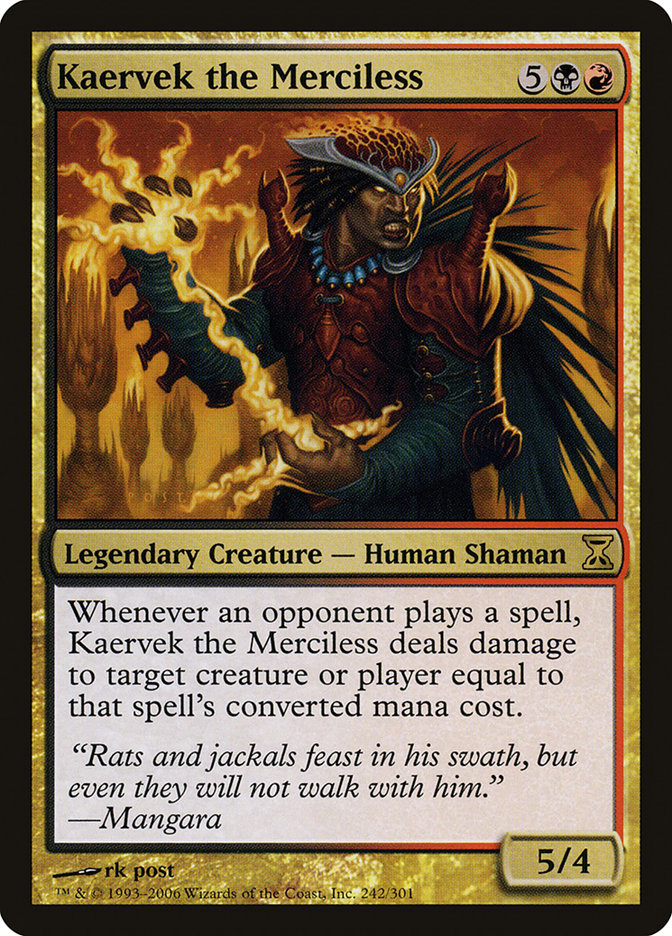
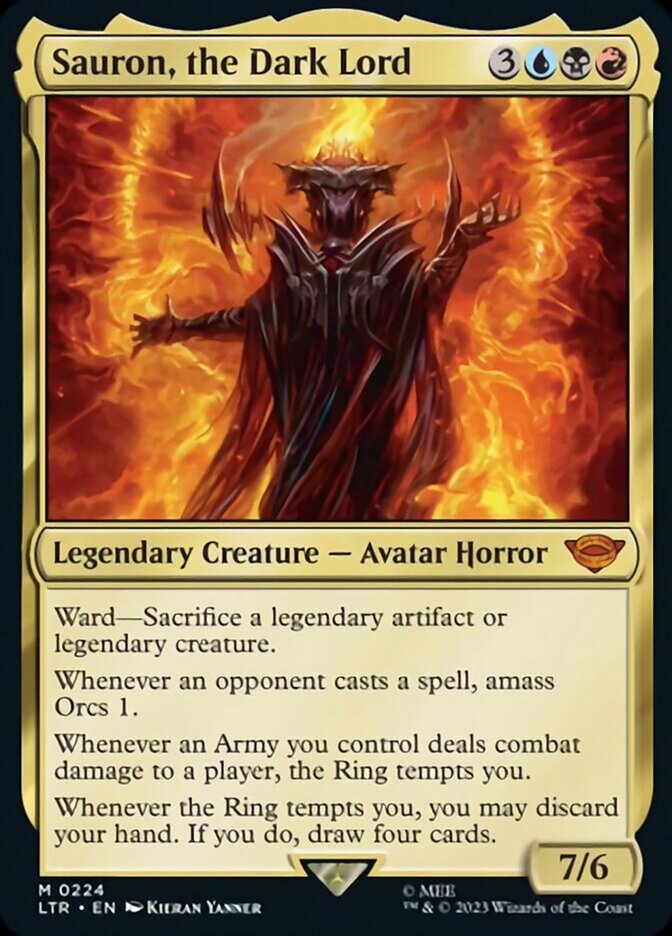
Kaervek the Merciless and Sauron, the Dark Lord each have powerful triggers any time an opponent casts a spell. These are still nightmares for our opponents in the late game, but when they come out early, they’ll snowball to victory should they stay alive.
The Mana Base
Reanimation alone isn’t going to work for winning every game. Sometimes we’ll need to hard cast some threats, or cast our commander to fish them back out. When that happens, we rely on a solid package of mana rocks and a robust land count.
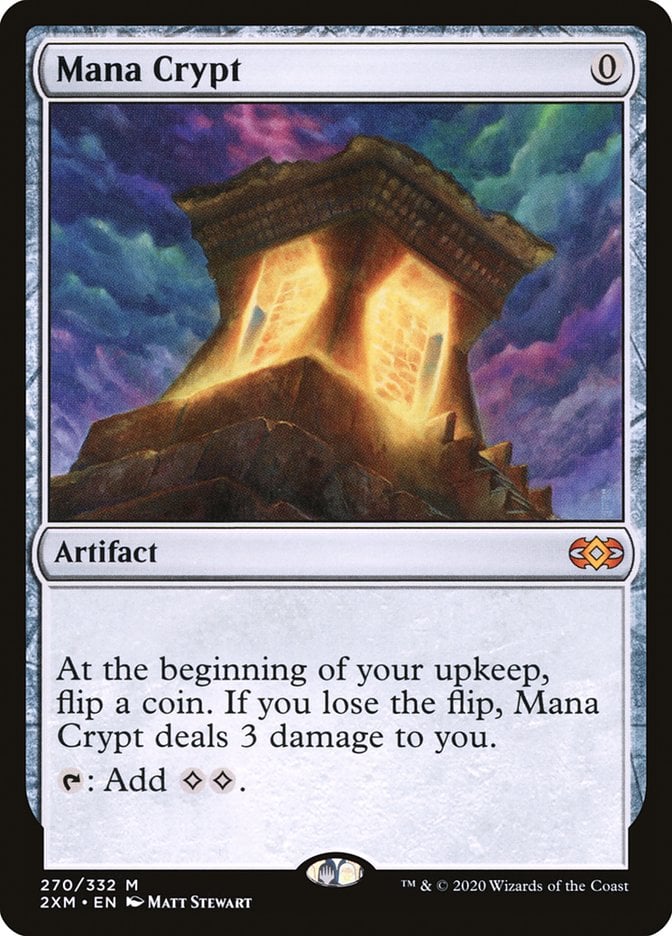
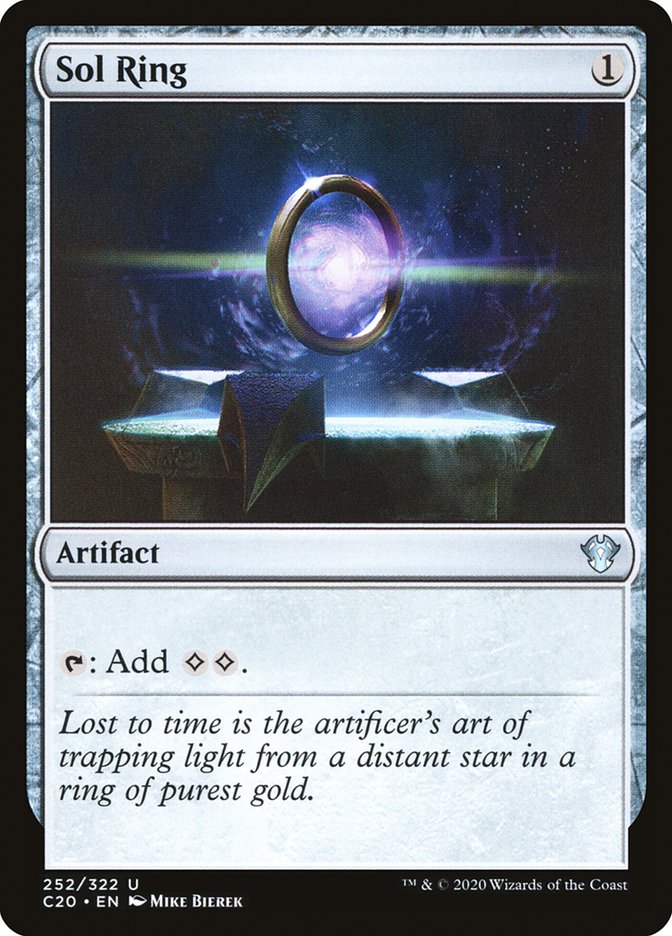
Mana Crypt and Sol Ring are two of the most powerful mana accelerants ever printed. They each net two mana per tap, and cost zero and one mana respectively.
The talismans and signets in our colors also are easy inclusions. We want to take off quickly; ensuring we’re ramping on turns one or two alongside setting up our graveyard is crucial.
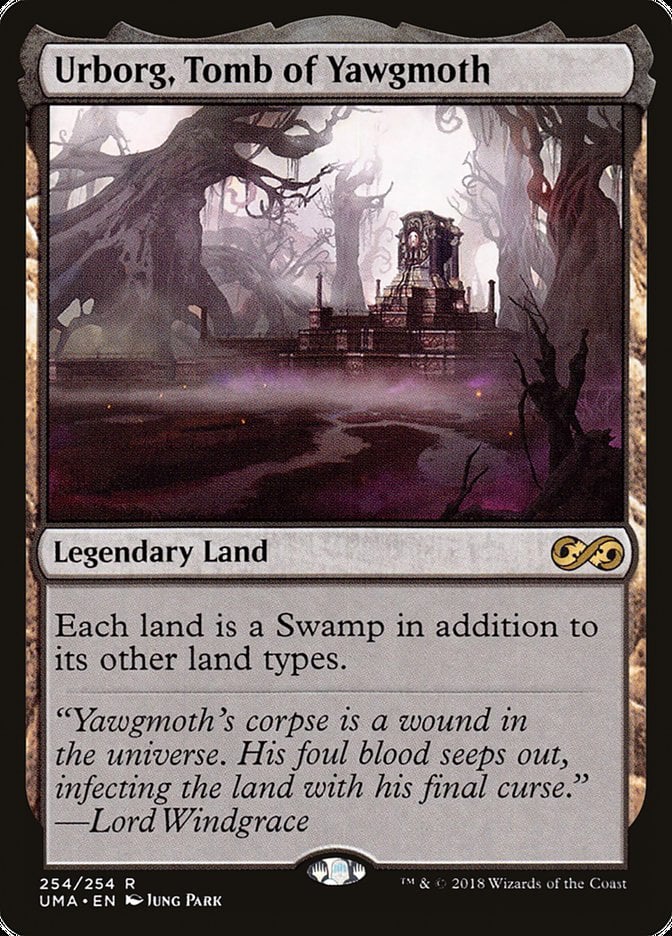
Expedition Map is flexible with the lands package we’re working with. It can find Ancient Tomb or Temple of the False God for land-based ramp, or can find either half of the Cabal Coffers/Urborg, Tomb of Yawgmoth combo.
The Strategy
This deck’s goals are clear, leading to a fairly linear strategy with complex decision-making. We want to use spells like Faithless Looting and Entomb to get powerful creatures into the bin.
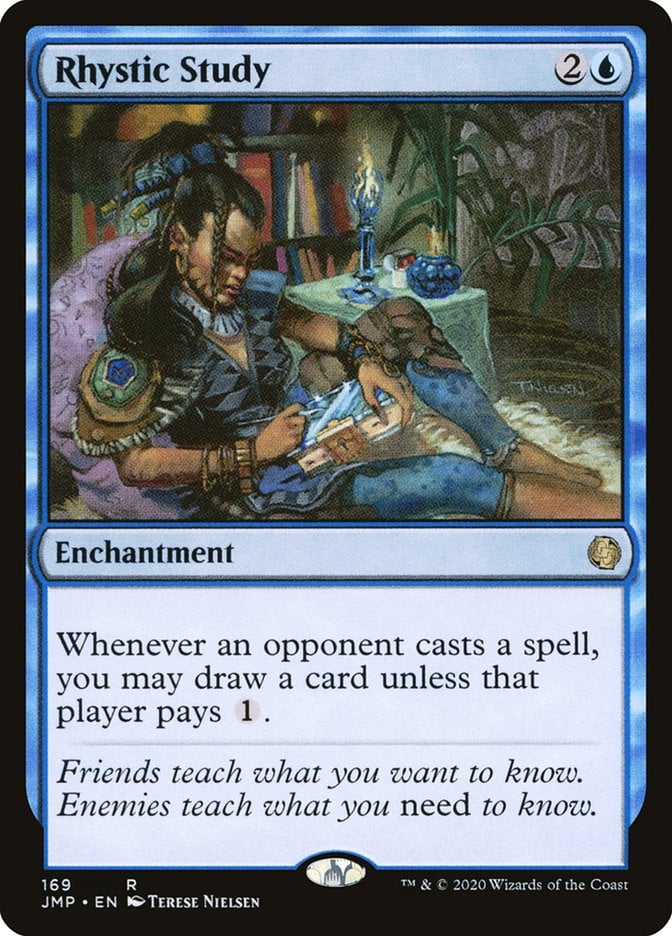
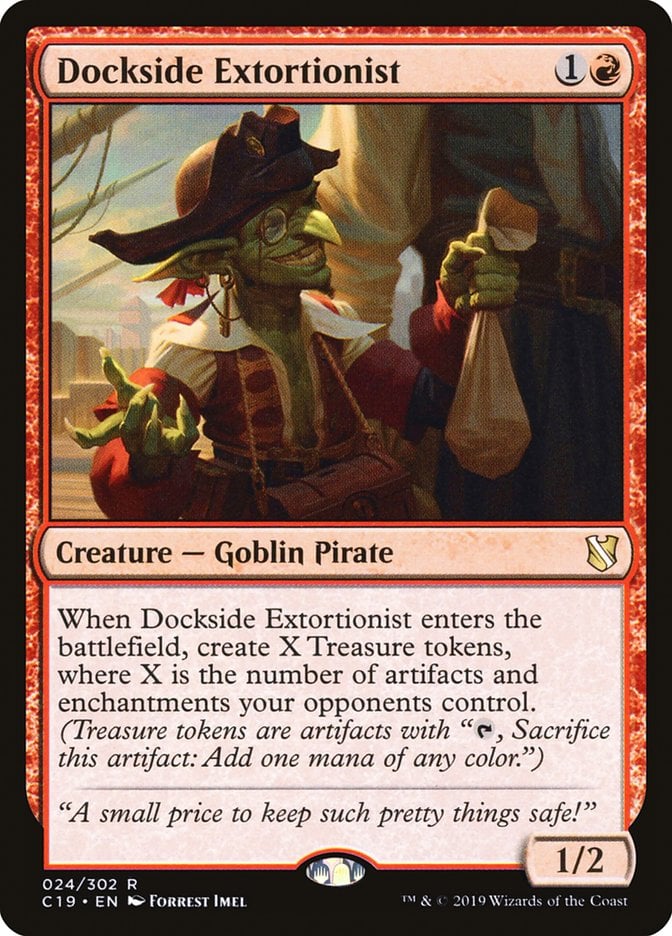
While we’re setting up our graveyard, we’re going to want to set ourselves up with more cards and more mana. Classics like Rhystic Study and Dockside Extortionist make this a breeze.
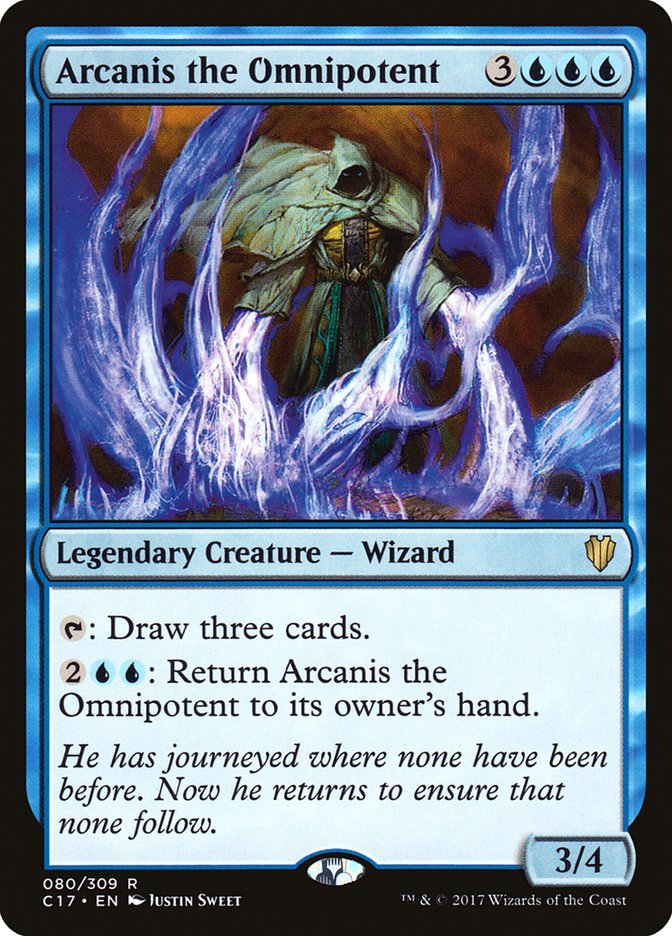
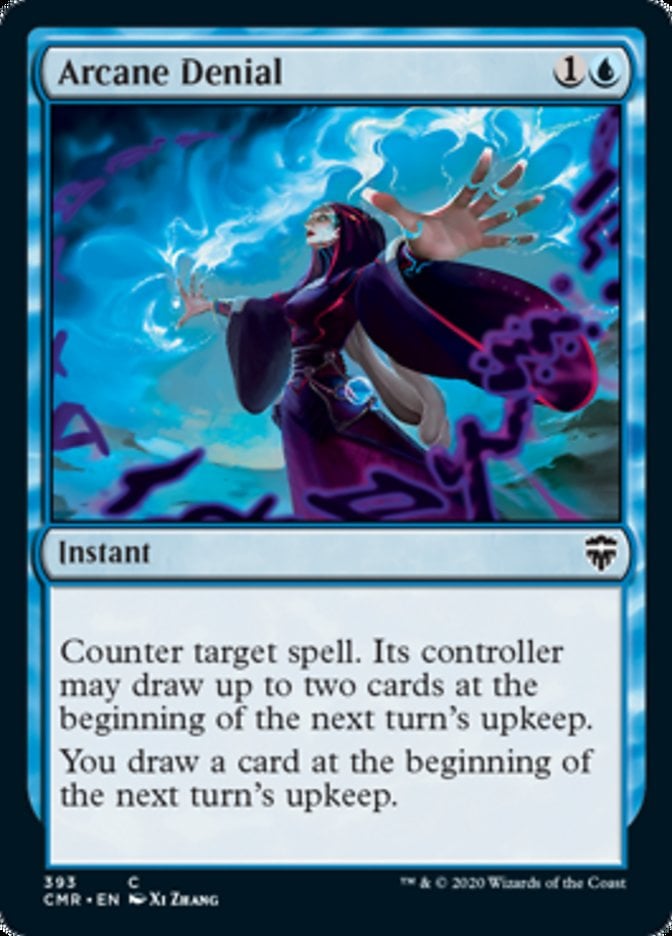
Deciding when to reanimate big threats is at the heart of the deck’s complexity. Often we’ll want to be able to cheat a creature like Arcanis the Omnipotent into play while simultaneously holding up defensive counterspells like Arcane Denial. Sometimes the best call is going all-in on a turn one or two Reanimate; other times you can afford to wait a bit for people to use interaction on other threats and leave more room to hold up interaction of your own.
We can fall back on our commander to have a consistent second wave of pressure should our opponents handle our threats early. It’s a 9/9 trample on its own that comes with a 5/5, often with another game-winning card alongside it. Our opponents not only have to deal with early reanimation, they have to deal with it all a second or third time with our commander. We’ll always have a place to put extra mana in the late game should Sauron keep getting answered, making our 42 lands and 12 sources of extra mana useful throughout the game.
Combos and Interactions
One particular interaction of note is Sauron’s cast trigger. Even if Sauron is countered, the reanimation, amass, and mill all still happen so long as the ability isn’t countered. This also means there isn’t much reason to put our commander into the graveyard should it die, since we don’t get it’s cast trigger if we cheat it into play by some other method.
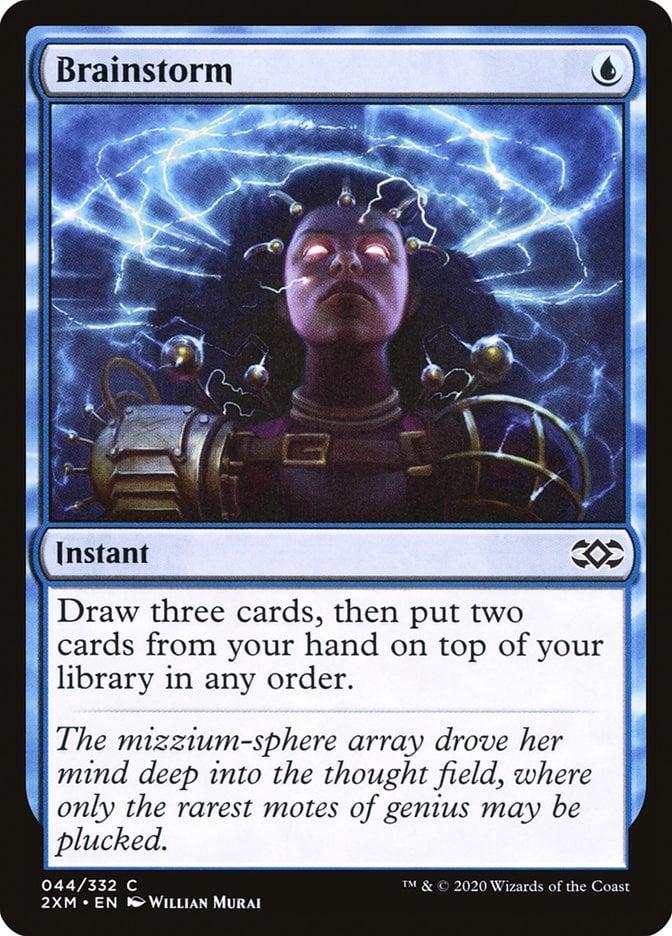
Another important little combo to keep in mind is with Brainstorm and cards like fetch lands that shuffle our library. Having a 1-mana way to dig three cards deep is valuable, and even more valuable if we can get rid of two cards we don’t want for good instead of having to draw them over the next two turns.
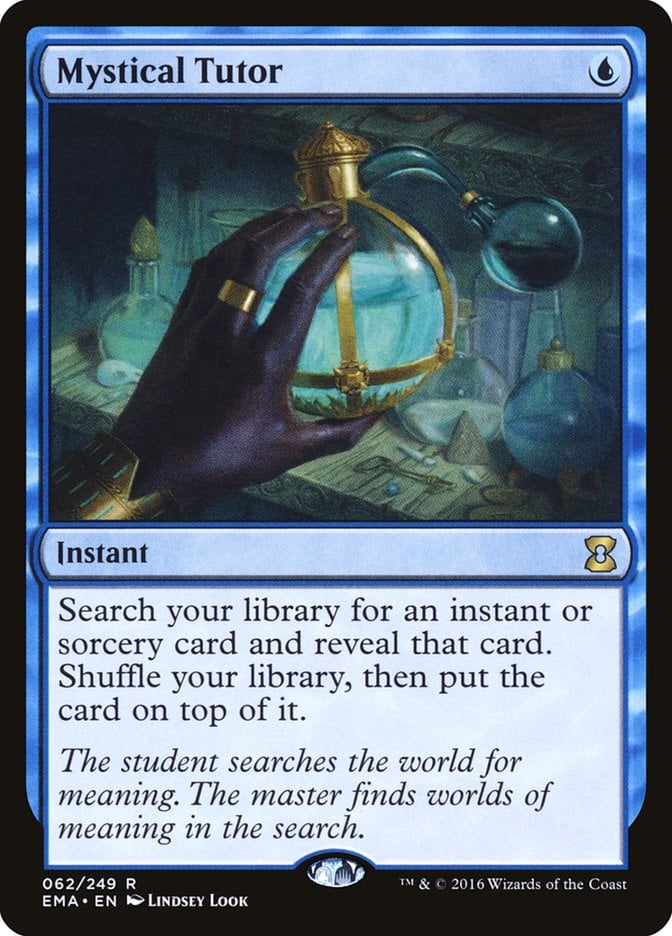
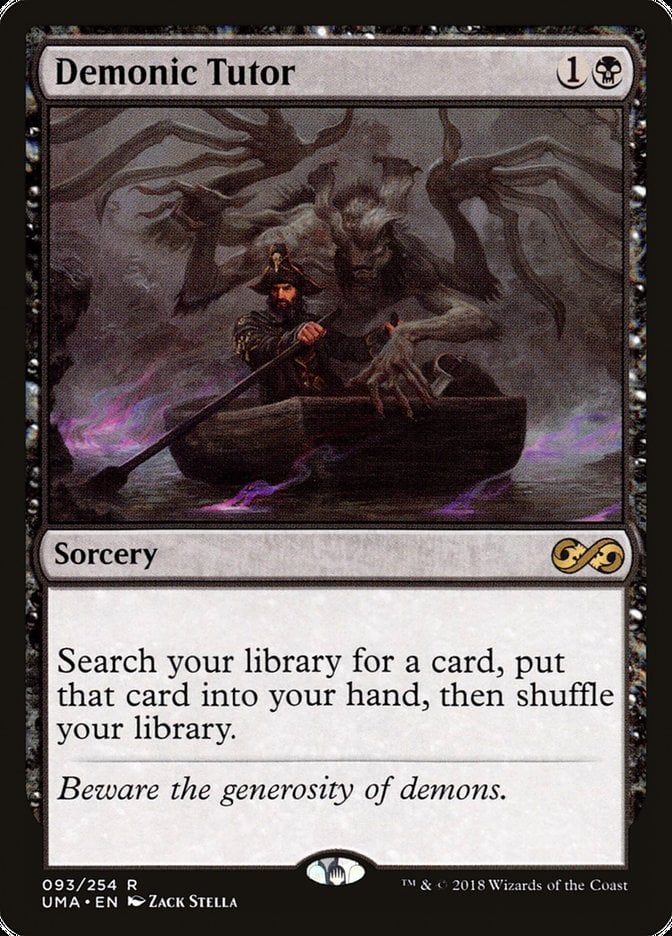
Mystical Tutor and Demonic Tutor usually serve one of two purposes: answering a threat by finding an appropriate response, or finding the other half of our reanimation combo should we have the reanimation spell or the way to get a creature into the graveyard but not both.
Budget Options
You can definitely make a slower version of this deck with a bit less bite to save on costs.
The land base is an easy place for savings, as more basics and cards like Foreboding Ruins and Choked Estuary can do a fine job getting you all of the colors you need.
Wheels can be replaced with other more mana-expensive draw/discard effects, which is a reasonable direction to go for price cuts. Wheel of Fortune costs hundreds of dollars after all, and sometimes a Reforge the Soul can be even better.
It can also be a challenge to find replacements for reanimation targets, as we do want to be fairly selective in what kinds of giant creatures are hitting the battlefield. Budget options do exist though; cards like The Balrog of Moria can put a lot of pressure on the table, and cards like Baleful Force drawing four cards per rotation of the table is excellent.
Other Builds
Sauron’s other main objective is killing with commander damage. A 9/9 only needs double strike and 2 more points of power to kill somebody in one attack step, and trample already helps Sauron get through blockers. A Voltron version of the deck running effects like Avatar of Slaughter and Death-Greeter's Champion could be a blast to play.
The other ability on the card is a small payoff for seeing enemy commanders die. Building around “The Ring Tempts You” could be a flavorful win and make for an interesting brew. That version of the deck probably runs as many ring-tempting cards as it can, with big hits like Call of the Ring, Bilbo, Retired Burglar, Fiery Inscription, and In the Darkness Bind Them.
Commanding Conclusion
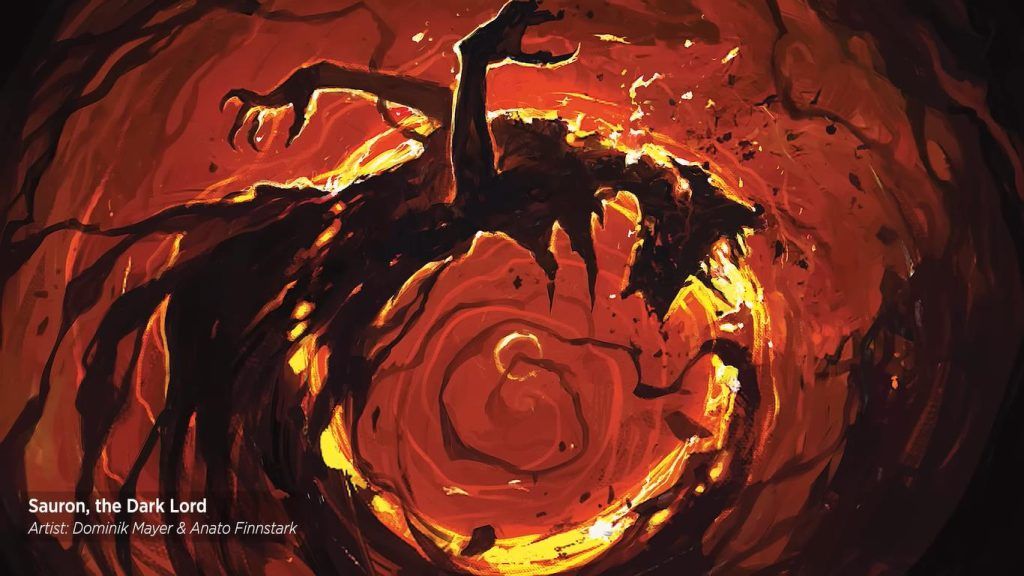
Sauron, the Dark Lord | Illustration by Dominik Mayer & Anato Finnstark
Sauron, the Dark Lord is just one of a ton of new amazing legendary creatures Tales of Middle-earth offers. I’m a sucker for big, splashy, expensive commanders, and Sauron certainly fits that description.
Want to build around the other Sauron? Draftism has you covered; check out this deck! If you’re looking for something a bit less evil, Aragorn, the Uniter may be the commander for you! If you just want the preconstructed deck, check out this breakdown of the product and see if it’s worth it for you!
Thanks for reading, make sure to stay with us on Twitter, and thanks for making Draftsim your first stop for all things Magic!
Follow Draftsim for awesome articles and set updates:


Add Comment