Last updated on September 26, 2024
Meren of Clan Nel Toth | Illustration by Mark Winters
Meren of Clan Nel Toth quickly became one of the most prominent Golgari () commanders in the format after it was printed as a commander in the Commander 2015 precons. It's the 11th most popular commander with over 5,500 lists online, and for good reason. Supporting an aristocrat/sacrifice playstyle with an incredible upside, it should be a crime not to build Meren around Birthing Pod.
Today I bring you a mid-power Golgari Pod deck with Meren of Clan Nel Toth in the command zone. I’ll go over everything important you may need to know including Pod chains, what to sacrifice and when, how to close out games, and more.
Let’s get into it!
The Deck
Birthing Pod | Illustration by Daarken
Commander (1)
Planeswalker (1)
Creatures (39)
Satyr Wayfinder
Fleshbag Marauder
Terastodon
Shriekmaw
Viscera Seer
Springbloom Druid
Yavimaya Granger
Spore Frog
Butcher of Malakir
Plaguecrafter
Caustic Caterpillar
Gray Merchant of Asphodel
Midnight Reaper
Hornet Queen
Sakura-Tribe Elder
Solemn Simulacrum
Golgari Thug
Izoni, Thousand-Eyed
Wood Elves
Ravenous Chupacabra
Grim Haruspex
Sepulchral Primordial
Noxious Gearhulk
Syr Konrad, the Grim
Cavalier of Night
Puppeteer Clique
Eternal Witness
Tergrid, God of Fright
Mitotic Slime
Blood Artist
Massacre Wurm
Rune-Scarred Demon
Mazirek, Kraul Death Priest
Avenger of Zendikar
Underrealm Lich
Protean Hulk
Yahenni, Undying Partisan
Sidisi, Undead Vizier
Yawgmoth, Thran Physician
Instant (1)
Sorceries (7)
Victimize
Twilight's Call
Jarad's Orders
Kodama's Reach
Profane Tutor
Buried Alive
Living Death
Enchantments (5)
Golgari Germination
Moldervine Reclamation
Journey to Eternity
Pattern of Rebirth
Dictate of Erebos
Artifacts (10)
Arcane Signet
Sol Ring
Strionic Resonator
Lightning Greaves
Altar of Dementia
Panharmonicon
Skullclamp
Eldrazi Monument
Ashnod's Altar
Birthing Pod
Lands (36)
Terramorphic Expanse
Tranquil Thicket
Temple of the False God
Command Tower
Golgari Rot Farm
Khalni Garden
Temple of Malady
Forest x9
Oran-Rief, the Vastwood
Swamp x10
High Market
Llanowar Wastes
Dakmor Salvage
Tainted Wood
Bojuka Bog
Command Beacon
Darkbore Pathway
Woodland Cemetery
Cabal Coffers
This deck is meant to be a mid-power list, meaning it isn’t cEDH or conventionally “high-power.” That said, it still holds its own at any casual table pretty well.
This midrange power level carries a midrange price with it, which makes it an exceptionally accessible deck even if you buy each individual card on its own. The price currently sits at around $300, which can still be a lot for many players, so I’ll be going over some budget options and replacements you may be interested in a little later.
The Commander
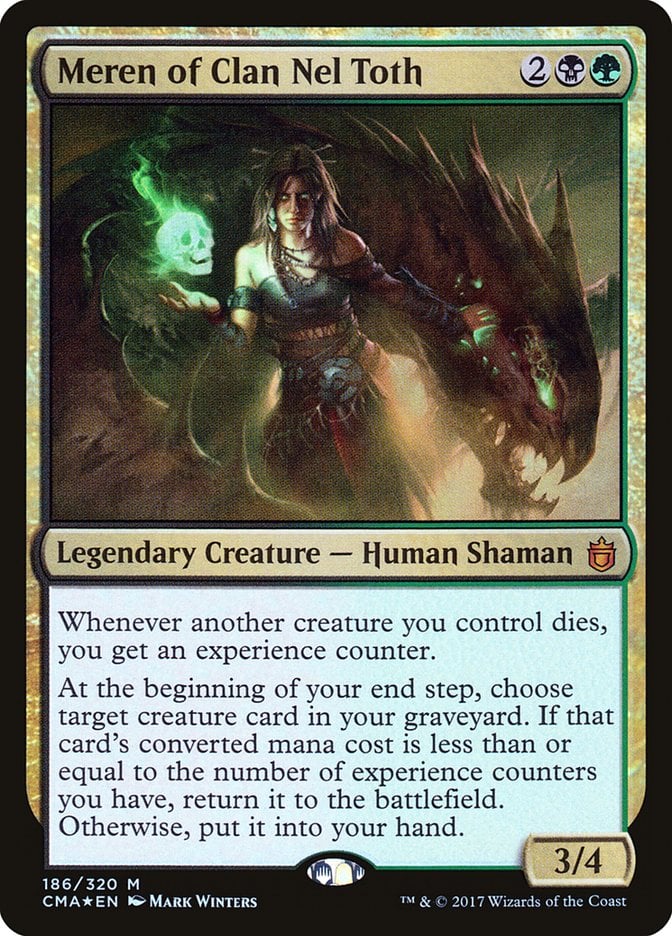
Meren of Clan Nel Toth is enabled entirely by the experience counter mechanic that was introduced with Commander 2015. The mechanic allows for the creature’s triggered ability to become stronger the more it’s used. In Meren’s case you can reanimate creatures of larger and larger mana value as the game progresses.
Since your commander gains experience counters each time a creature dies, you’re focused on the sacrifice/aristocrats theme that’s so heavily supported in the Golgari colors. You have plenty of sacrifice outlets and powerful creatures to sacrifice (and then reanimate), and you even take advantage of Birthing Pod a little bit.
Sacrifice Outlets
Part of sacrificing creatures and having as many die as possible with Meren of Clan Nel Toth in play is having engines to sacrifice them to. These engines allow you to trigger the creature death ability on your commander and take advantage of many creatures with on-death triggered abilities. Most sacrifice outlets also give some kind of extra benefit for sacrificing creatures, like gaining life or scrying.
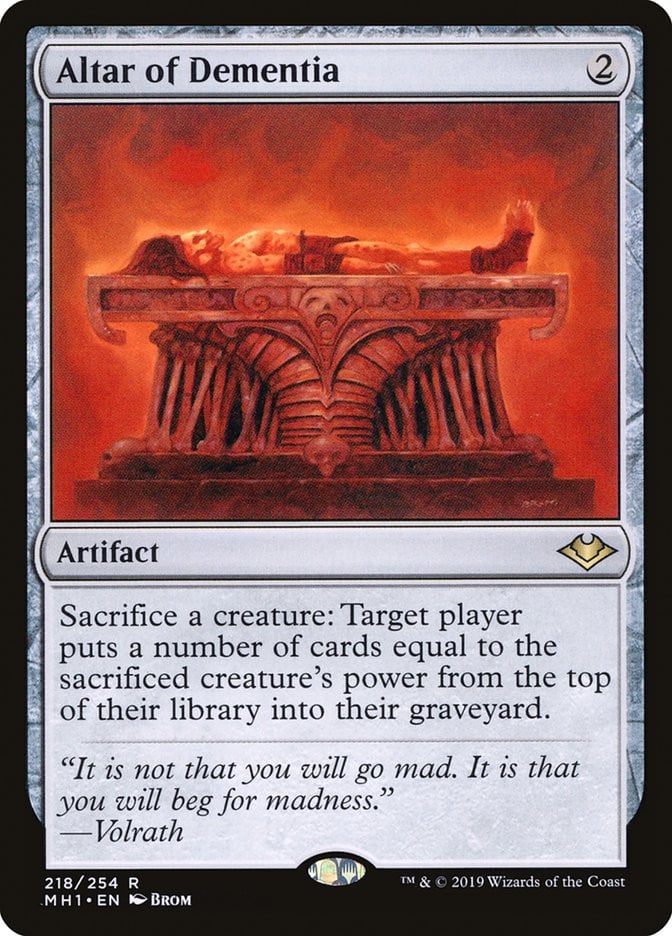
Altar of Dementia is a harder-to-kill outlet that also mills your opponents.
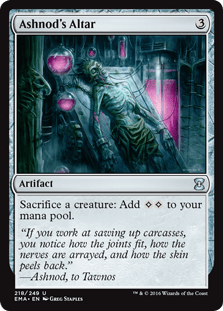
Ashnod's Altar is a similar artifact that adds to your mana pool so that you can chain creatures together.
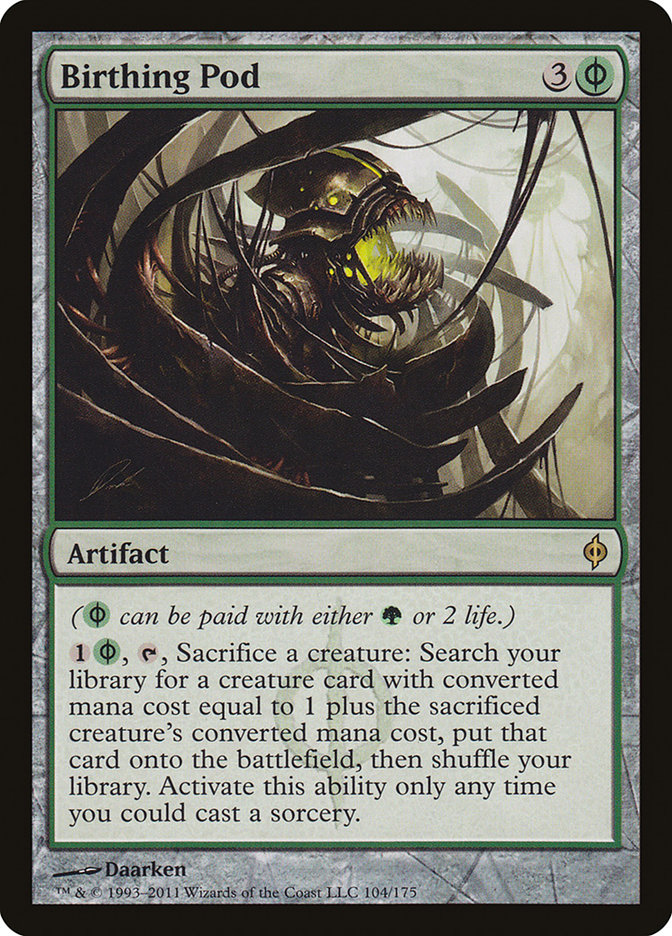
Birthing Pod is a sacrifice outlet that tutors creatures from the deck. The idea with this card is that you can go through your deck and get various enter- and leave-the-battlefield effects each turn.
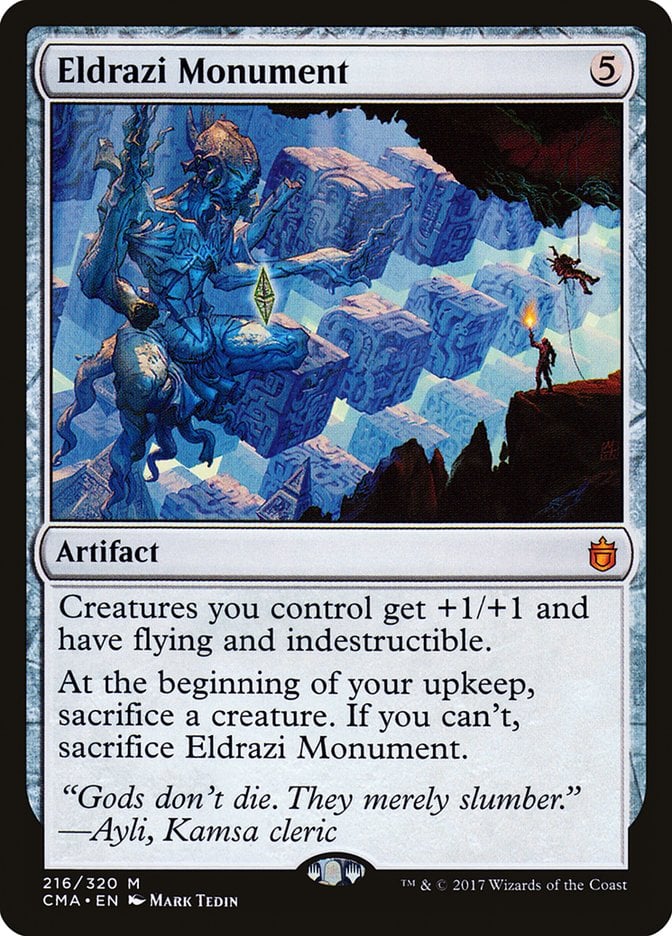
Eldrazi Monument gives you a static upkeep-sacrifice outlet that makes your creatures much more threatening with flying and indestructible.
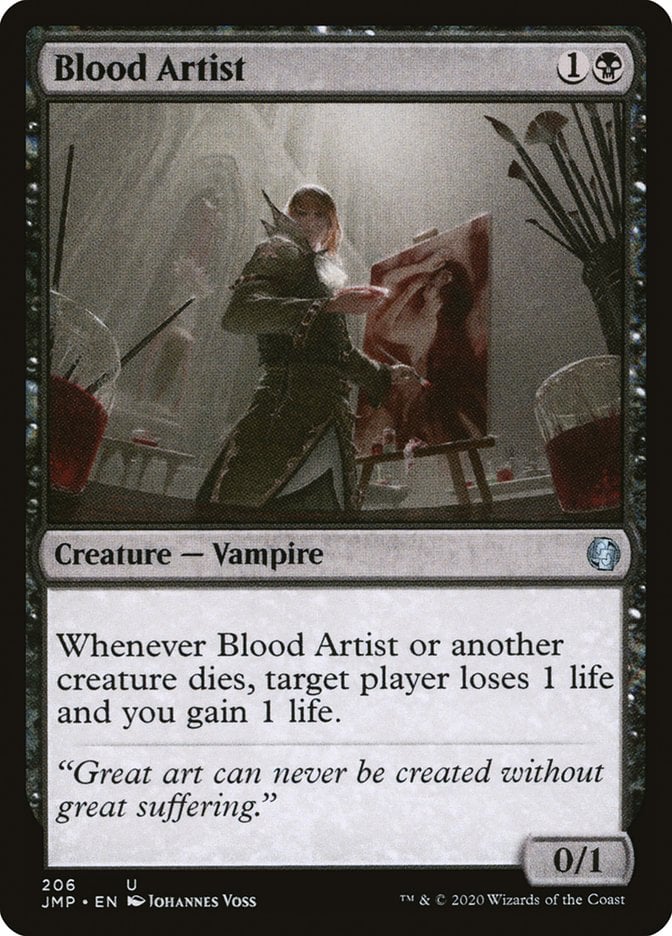
Blood Artist is the cheapest and most accessible sacrifice outlet in the deck. It drains players to keep your life total padded while dealing significant damage over the course of the game. It also curves well into your commander since it lets you play it and some other kind of creature on turn 3 to set up a sacrifice.
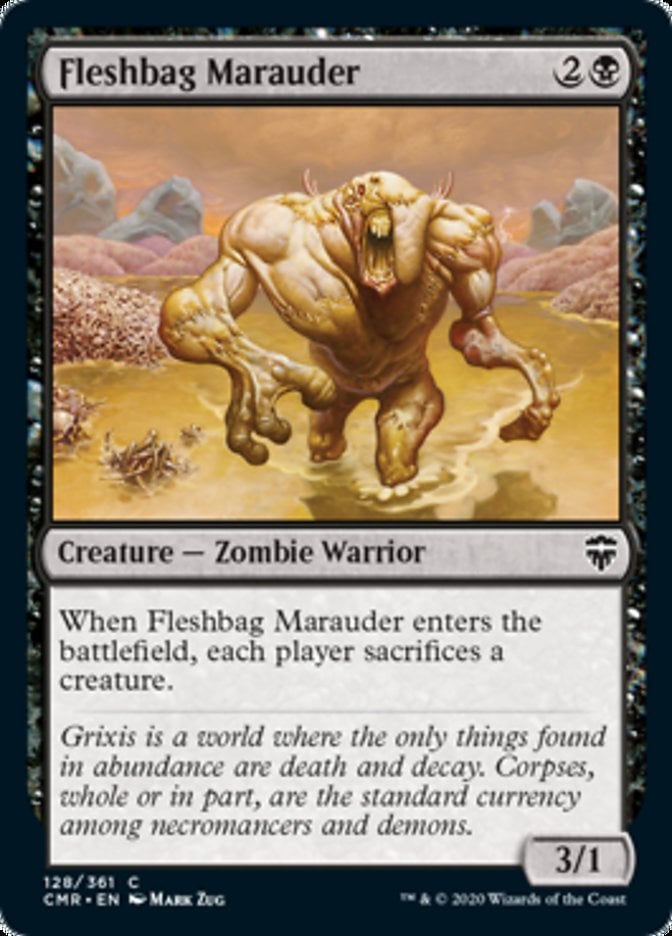
Fleshbag Marauder lets you sacrifice one creature while also acting as decent removal for opponents with only one creature in play (which is usually their commander!).
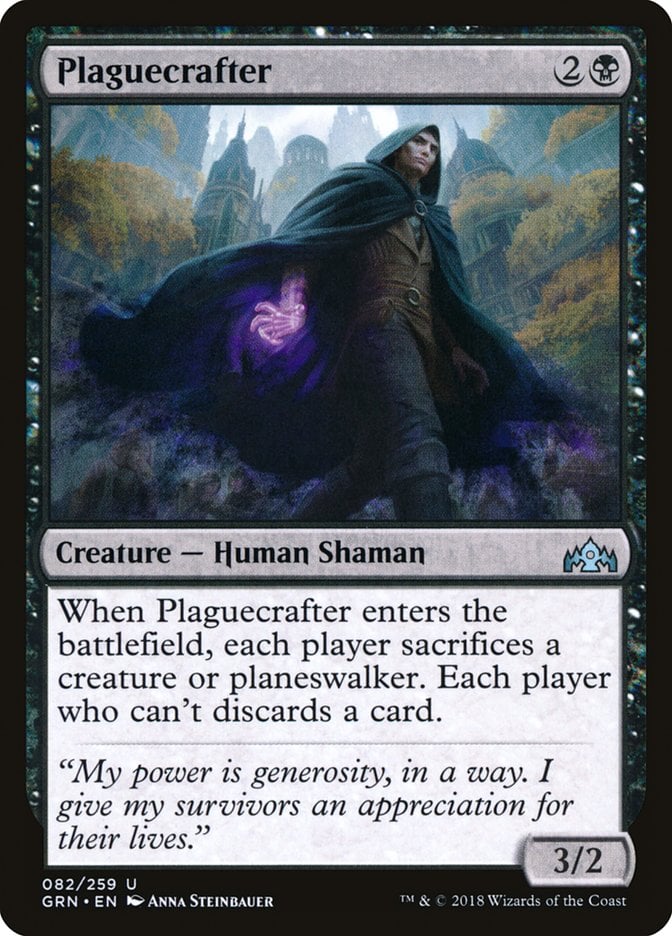
Plaguecrafter is similar to Fleshbag Marauder except that it forces players that can’t sacrifice to discard a card.
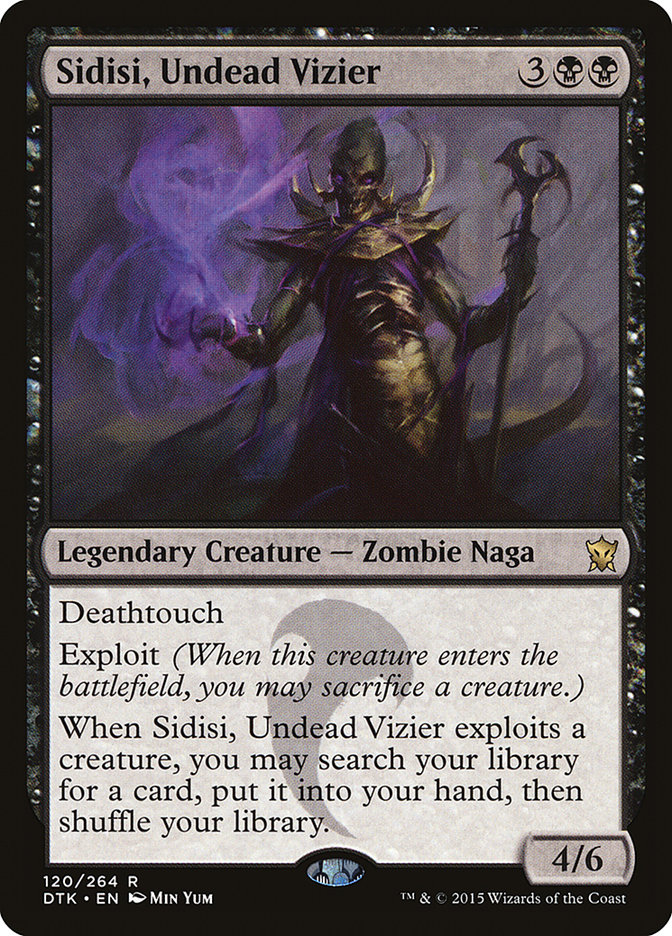
Sidisi, Undead Vizier can exploit a creature on ETB which also gives you the ability tutor any card from your deck. Sidisi is especially strong in this list since it curves perfectly with Meren of Clan Nel Toth, coming into play the turn immediately after.
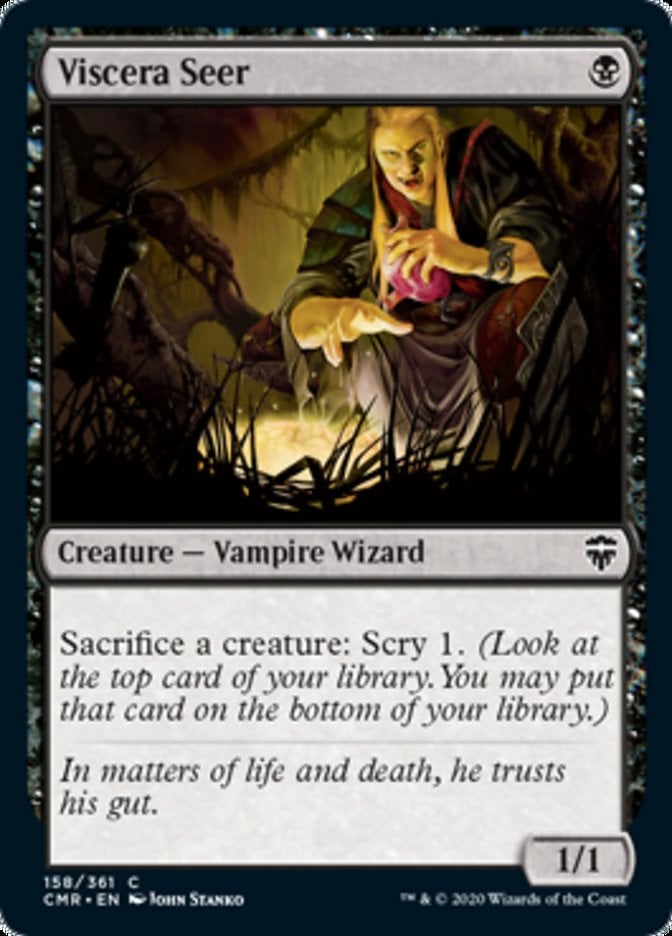
Viscera Seer is a 1-drop sacrifice outlet that lets you scry 1 each time you feed it. It’s one of the strongest sacrifice outlets in the game. Scrying gives you critical card advantage through selective draws and being able to turn infinite-sacrifice combos on for just is incredibly potent.
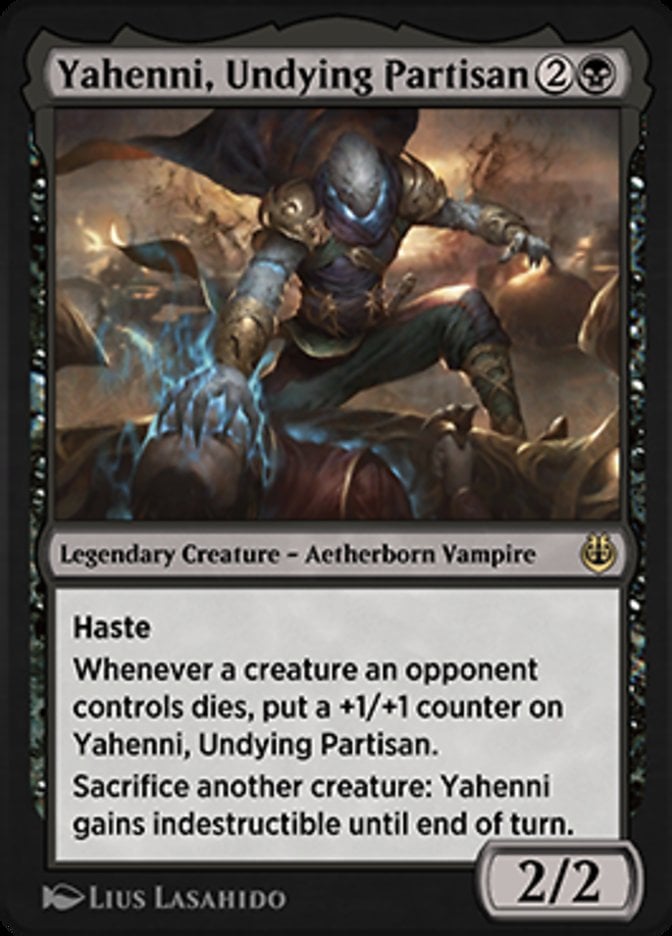
Yahenni, Undying Partisan is a slightly worse sacrifice outlet since it only gives it indestructible. But it’s still a sacrifice outlet that can take as many creatures as you can give it which adds some consistency to your list.
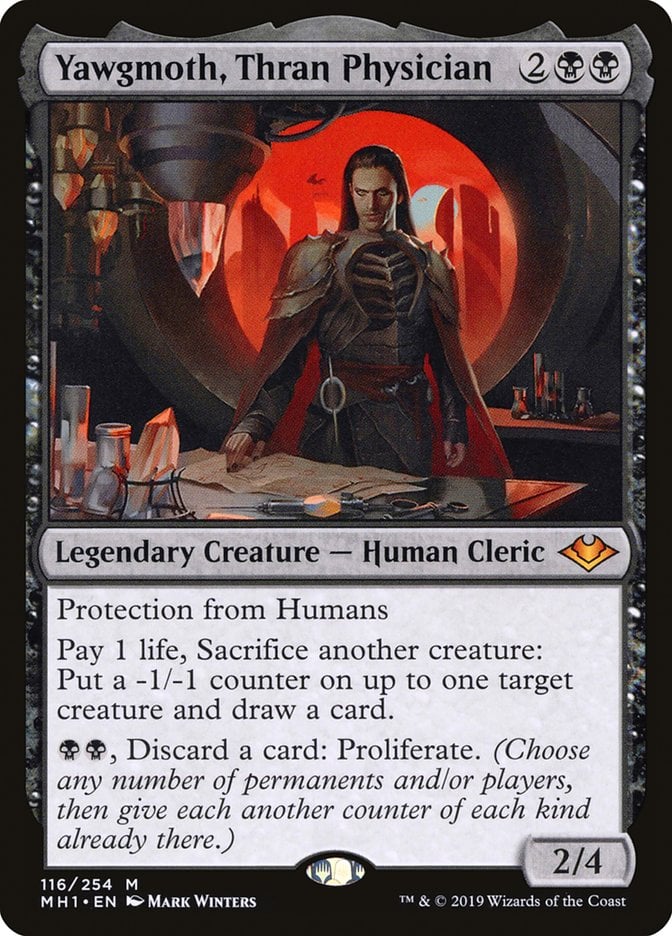
Yawgmoth, Thran Physician is the last sacrifice outlet you run. It does require you to pay one life to do it but you still get to draw a card and put a -1/-1 counter on another creature. This is undoubtedly one of the best sacrifice outlets in the deck.
Sacrifice Fodder
I went over the things you’re sacrificing creatures to, but you still need actual creatures to sacrifice. Luckily there are plenty of creatures (and things that make them) to get you started.
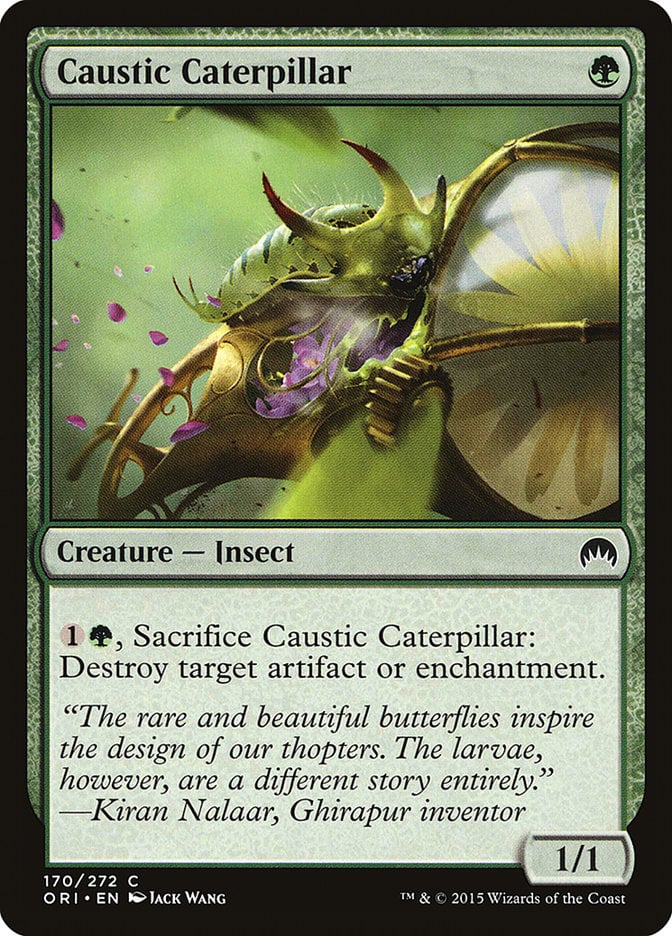
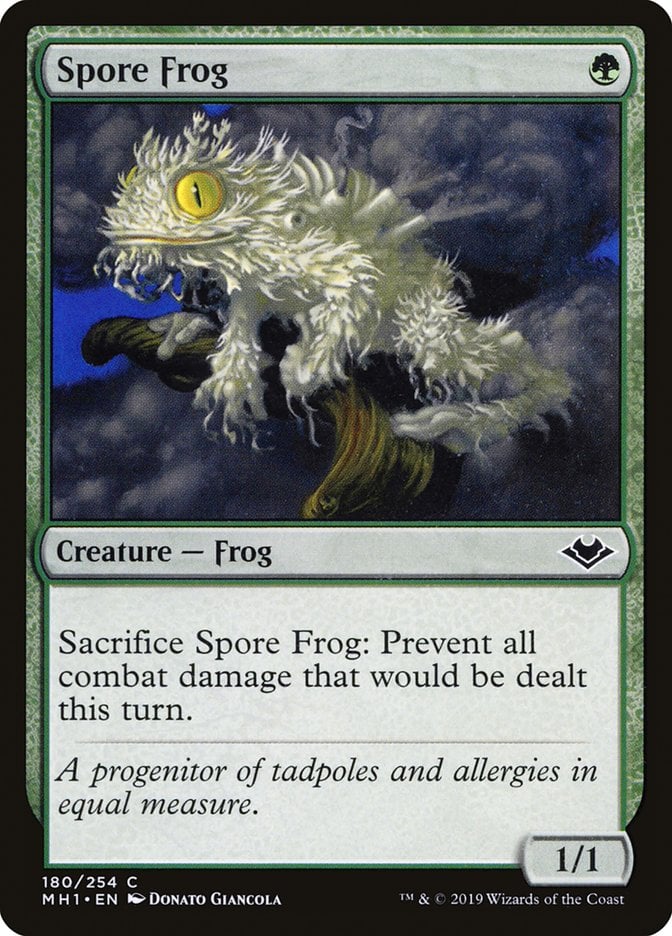
Caustic Caterpillar and Spore Frog are both self-sacrificing creatures that give you decent benefits. They can also just as easily be thrown into the meat grinder if there aren’t any opportunities to use them on their own.
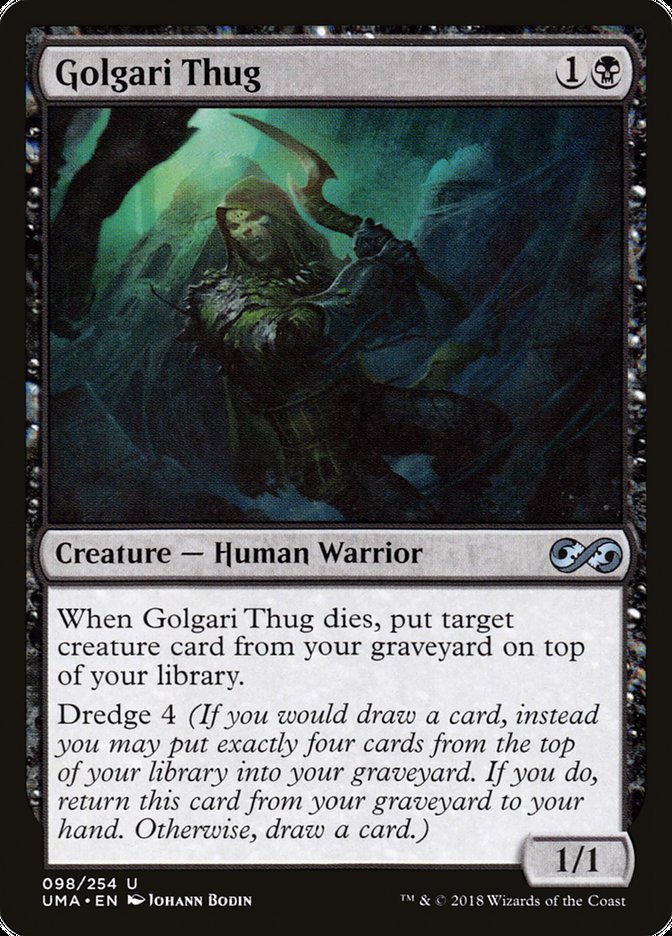
Golgari Thug brings back other creatures and allows you to fill your graveyard for other recursions later with the dredge keyword.
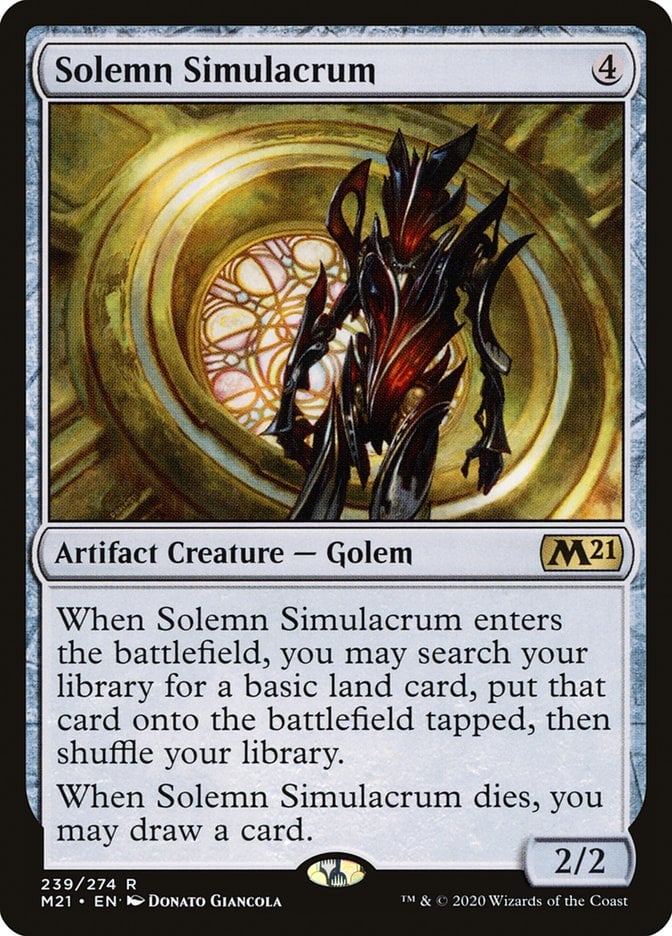
Solemn Simulacrum is basically asking to be killed with that death trigger to draw a card.
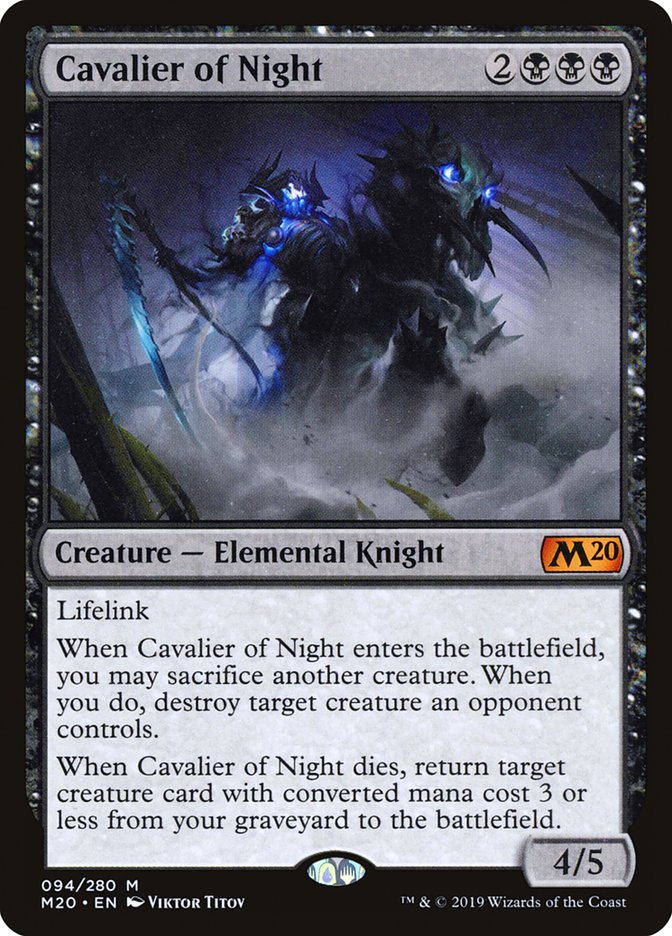
Cavalier of Night returns 3-mana value creatures to the battlefield when it dies which can hit one of your mana dorks or another sacrifice outlet.
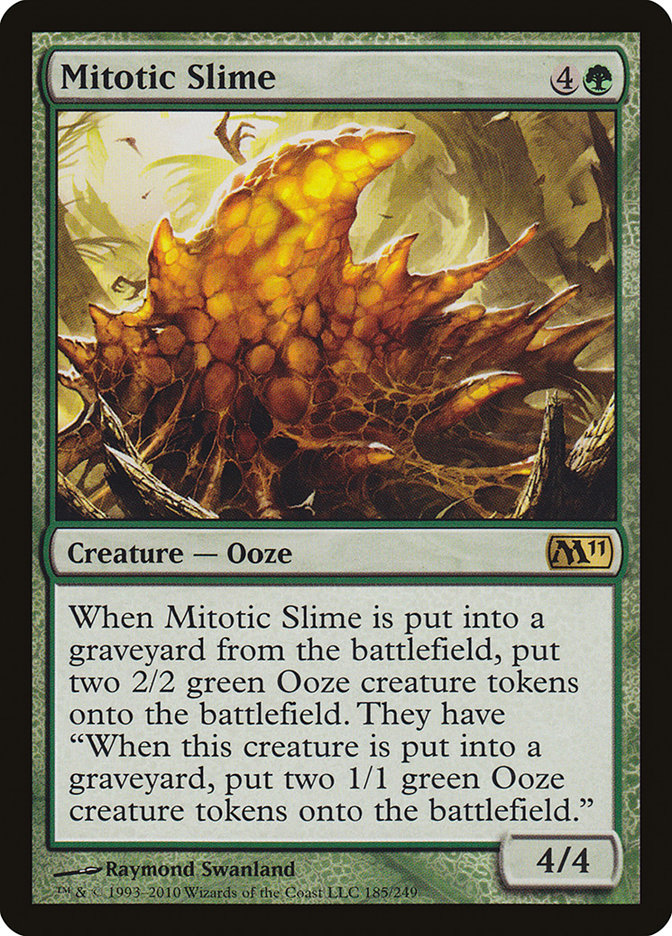
Mitotic Slime is a must-kill creature that continues to provide more and more fodder to be used.
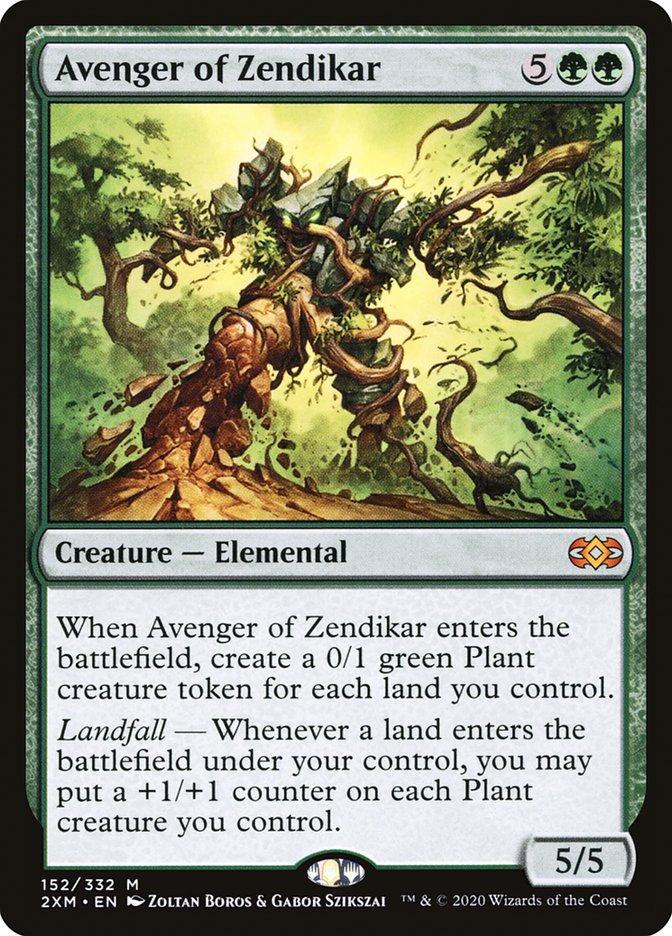
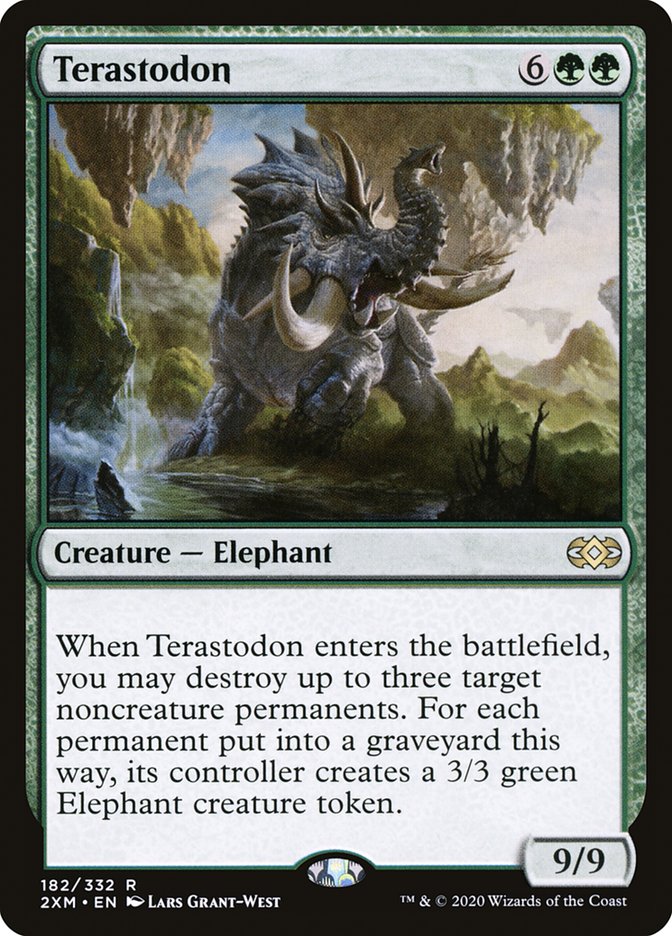
Avenger of Zendikar gives you more than enough sacrifice targets for one turn and can also help you win through combat damage if you end up going that direction later on.
Aristocrat Enablers
Sacrifice strategies are so potent in the EDH meta thanks to their ability to combine sacrifice-empowering permanents to amplify the value from each sacrifice. Sacrificing some 1/1 token to scry 1 and put an experience counter on Meren of Clan Nel Toth is lovely, but why stop there?
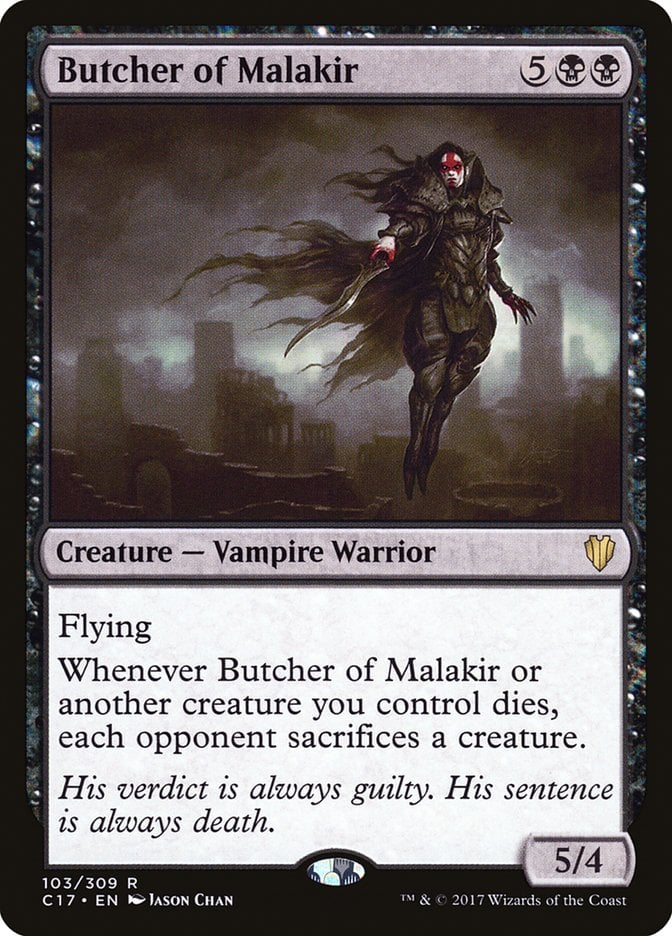
Butcher of Malakir causes each opponentto sacrifice a creature whenever one of yours dies. This is really strong and, quite frankly, is so good it makes you feel like you’re playing a banned card.
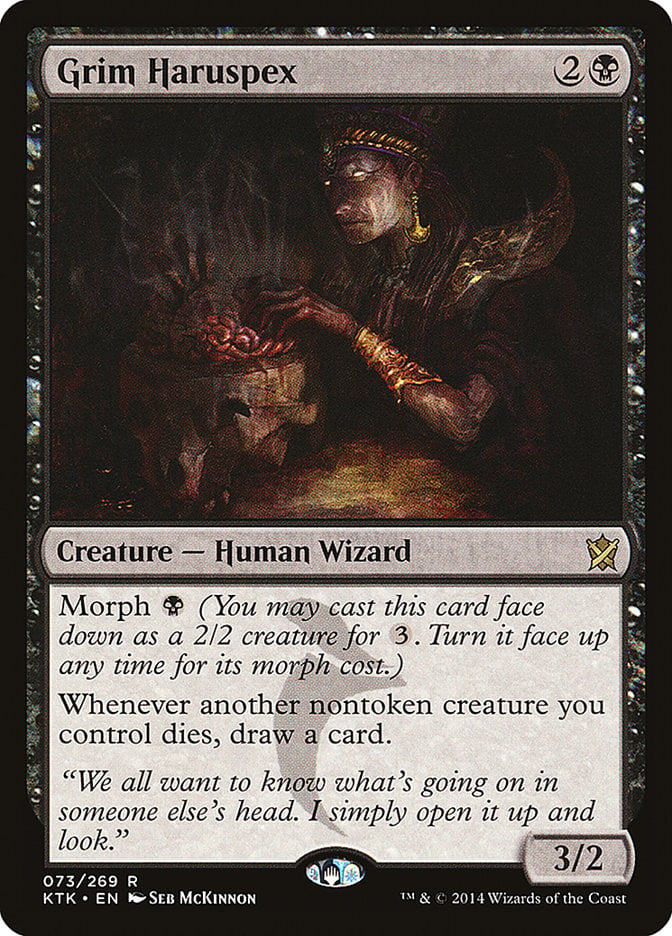
Grim Haruspex is an absolute monster when it comes to card advantage. You’ll be sacrificing creatures like it’s your job with this deck, and the fact that those creatures become card-neutral through Haruspex is too good to pass.
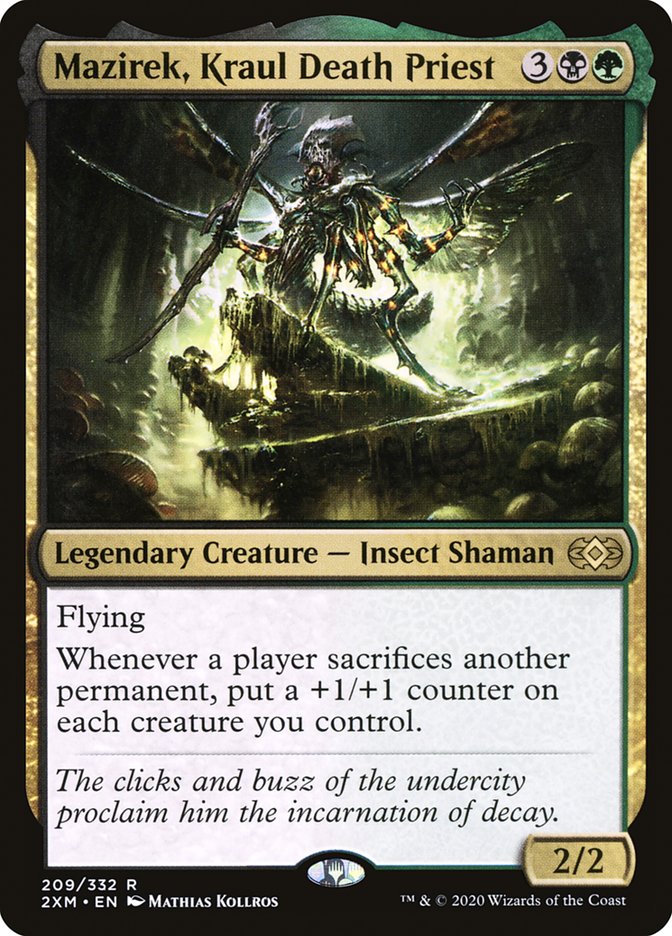
Mazirek, Kraul Death Priest buffs your entire board whenever you or another player at the table sacrifices a creature. This gets out of hand very quickly and can easily turn your somewhat threatening board into a one-shot attacking army that needs to be dealt with right away.

Midnight Reaper is like Grim Haruspex except it only hits nontoken creatures and deals one damage to you. This may seem much worse, but remember that you start with 40 life. Losing one life for one card is always a great trade.
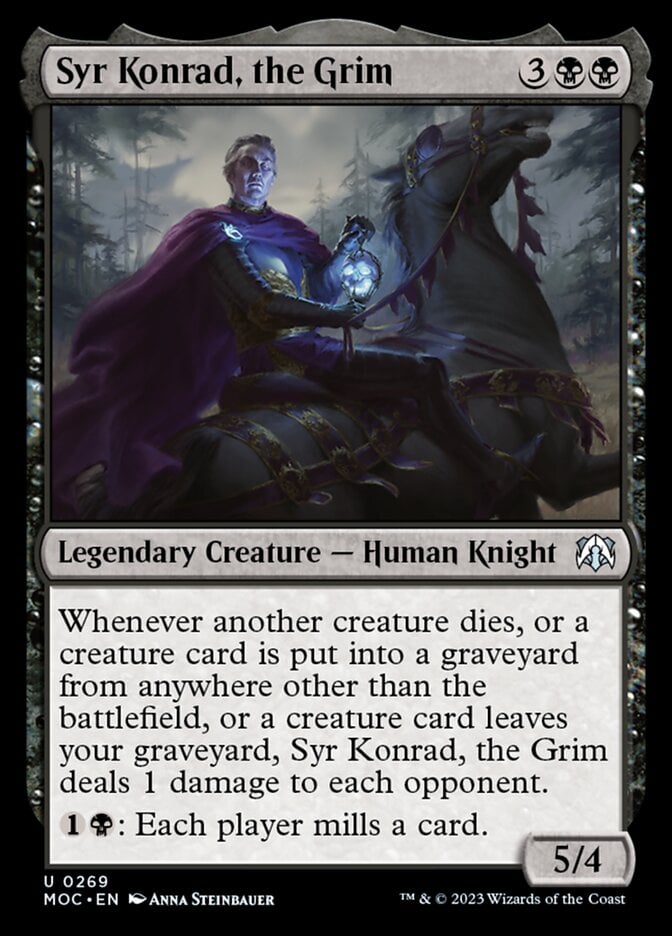
Syr Konrad, the Grim blows your opponents up for one damage each whenever you sacrifice a creature. It’s very strong and starts to add up quickly.
Pod Chains
One of the most satisfying things in this deck is using Birthing Pod to chain through your deck and go from Caustic Caterpillar all the way to Terastodon over the course of the game. Pod presents a very valuable sacrifice outlet to the deck. Despite being a once-per-turn use, it provides consistent sacrifice triggers and a way to grab the right creatures for the right situation.
Here’s a list of what creatures you should go for:
- Mana Value 1: Caustic Caterpillar and Spore Frog.
- Mana Value 2: Golgari Thug, Sakura-Tribe Elder, and Satyr Wayfinder.
- Mana Value 3: Eternal Witness, Fleshbag Marauder, Grim Haruspex, Plaguecrafter, Wood Elves, and Yahenni, Undying Partisan.
- Mana Value 4: Ravenous Chupacabra, Solemn Simulacrum, and Yawgmoth, Thran Physician.
- Mana Value 5: Gray Merchant of Asphodel, Mitotic Slime, Shriekmaw, and Sidisi, Undead Vizier.
- Mana Value 6: Massacre Wurm, Izoni, Thousand-Eyed, and Noxious Gearhulk.
- Mana Value 7: Avenger of Zendikar, Terastodon, Protean Hulk, and Hornet Queen.
The Mana Base
The mana base for this decklist is fairly straightforward and cheap. There are no fetch lands or original dual lands, which means you won’t need to head to the bank for a personal loan any time soon. The costliest land in this mana base is Cabal Coffers at around $15.
Mana Acceleration
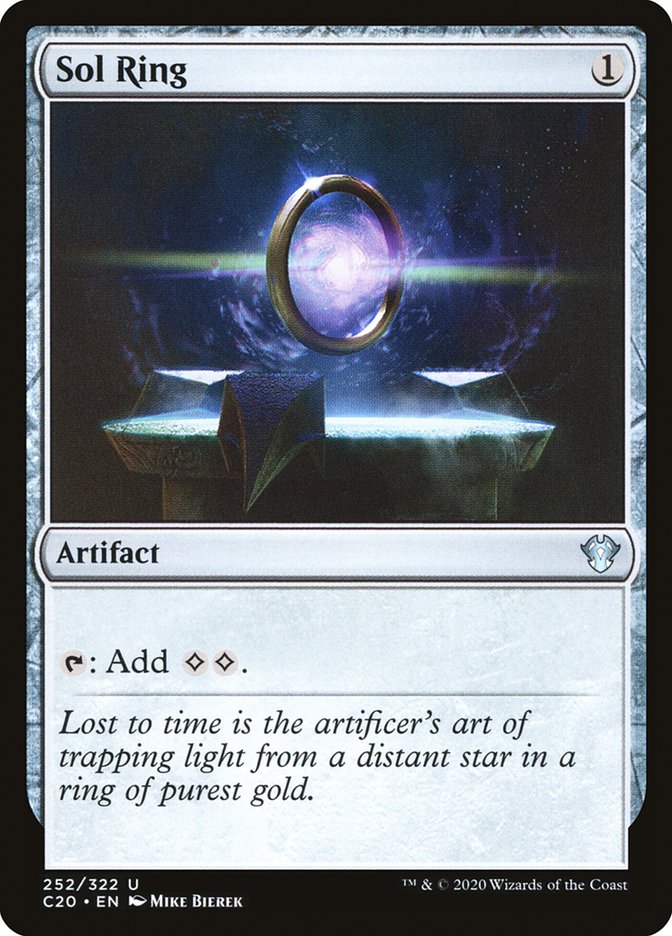

The deck includes a few mana rocks including the staple Sol Ring and Arcane Signet, but it focuses most of its acceleration in creature-based mana. Especially the kind that die.
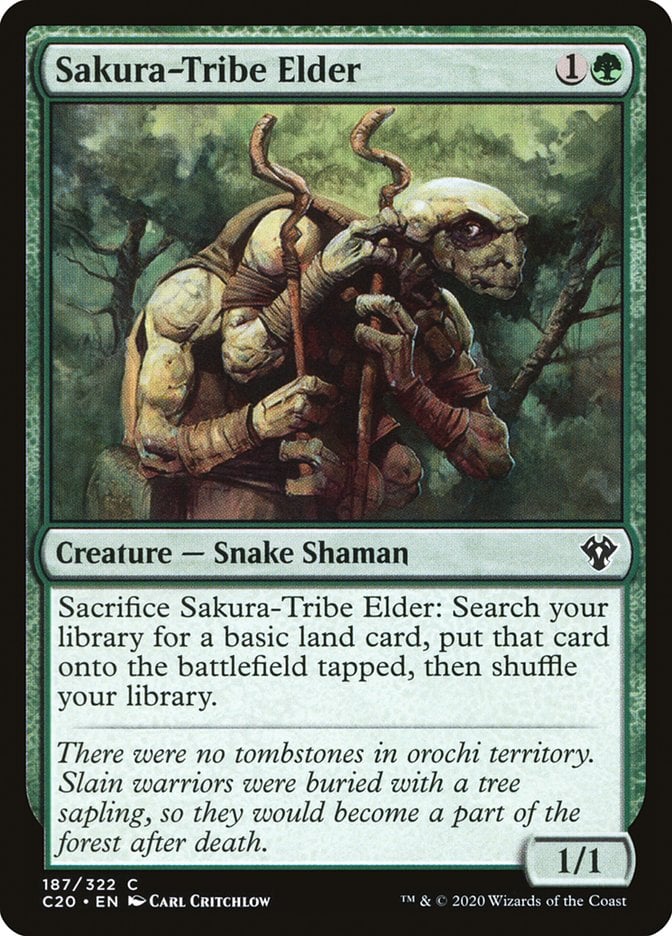
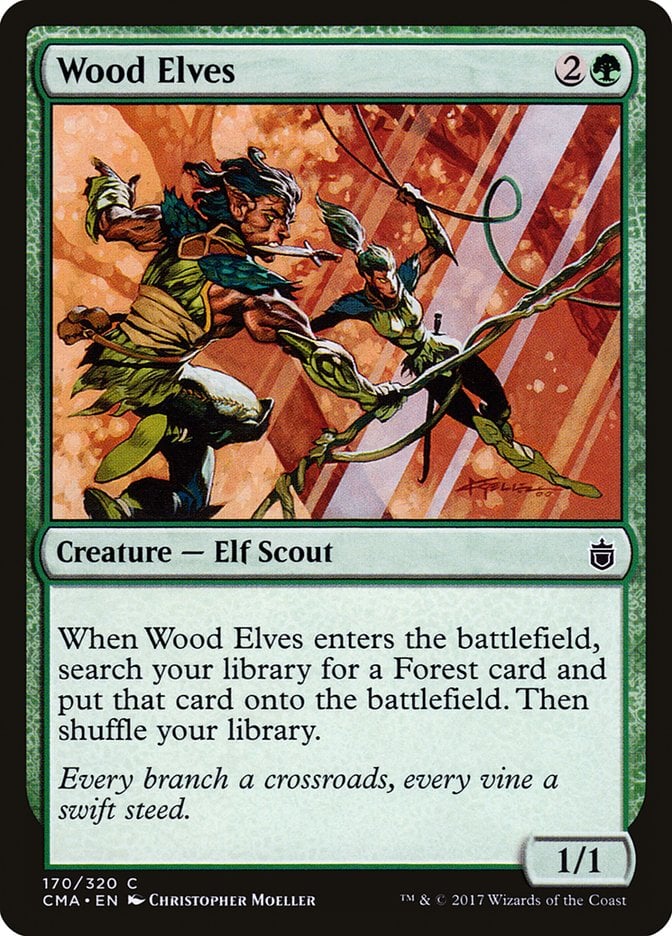
Sakura-Tribe Elder and Wood Elves both give you more lands, but the trick here is that they can be sacrificed and come in clutch with Birthing Pod chains. They’re better than mediocre rocks like Golgari Signet which is why you prefer them in this list.
The Lands
As far as utility lands go, this version of Meren of Clan Nel Toth includes five.
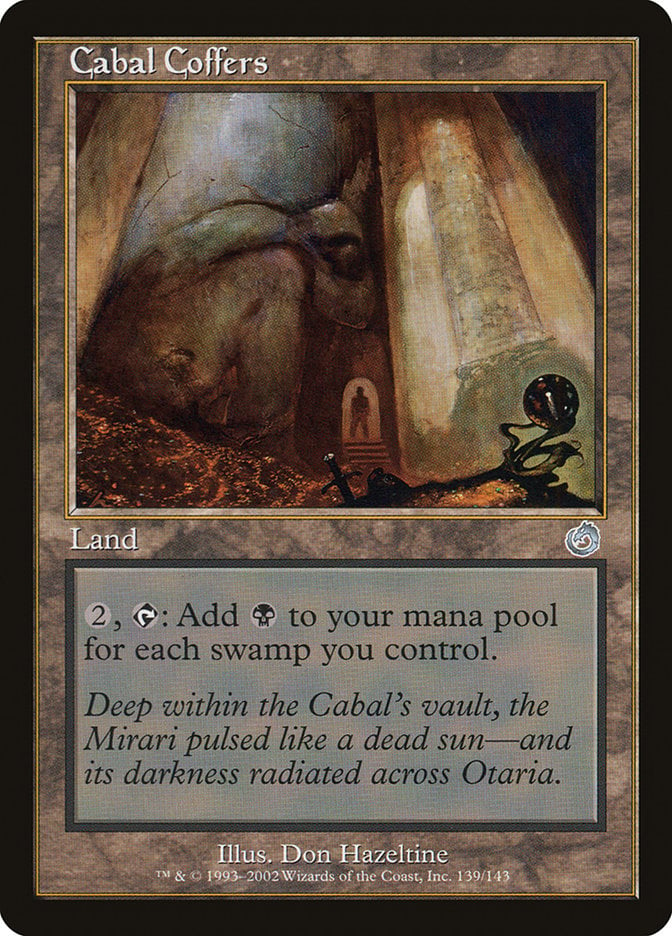
Cabal Coffers is the costliest but also the most powerful utility land in the list. It generates dozens of mana for you over the course of the game and is crucial to pulling ahead.
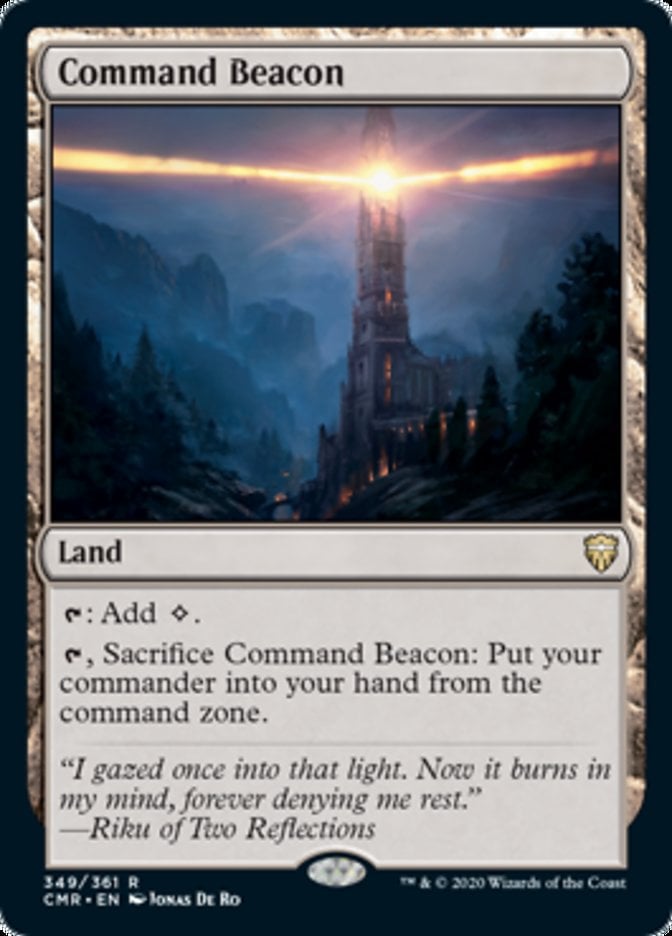
Command Beacon is very important since your entire strategy revolves around your commander and losing it is life-threatening.
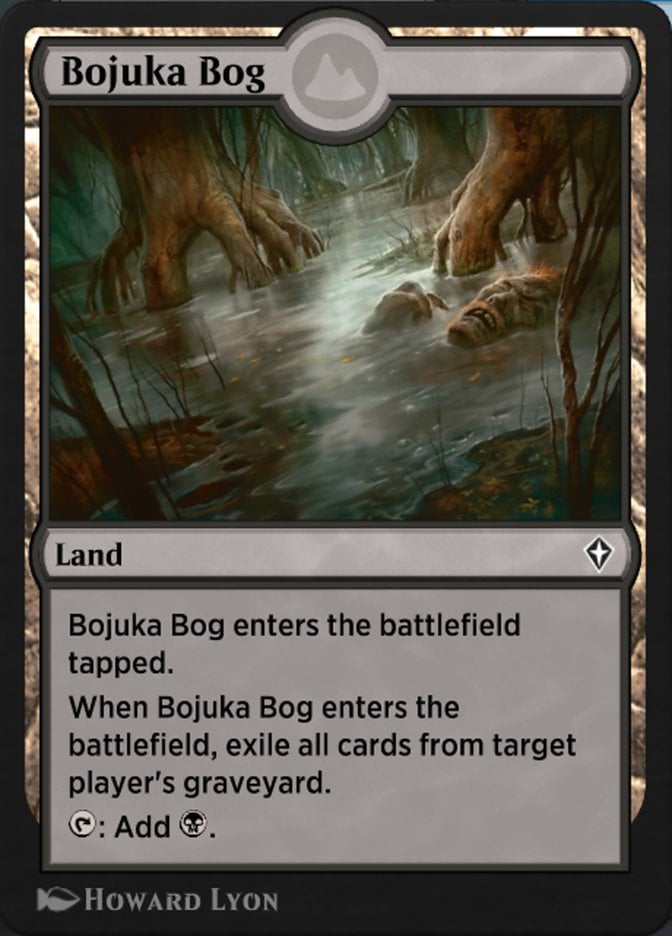
Bojuka Bog is a great inclusion thanks to the prevalence of graveyard-based decks.
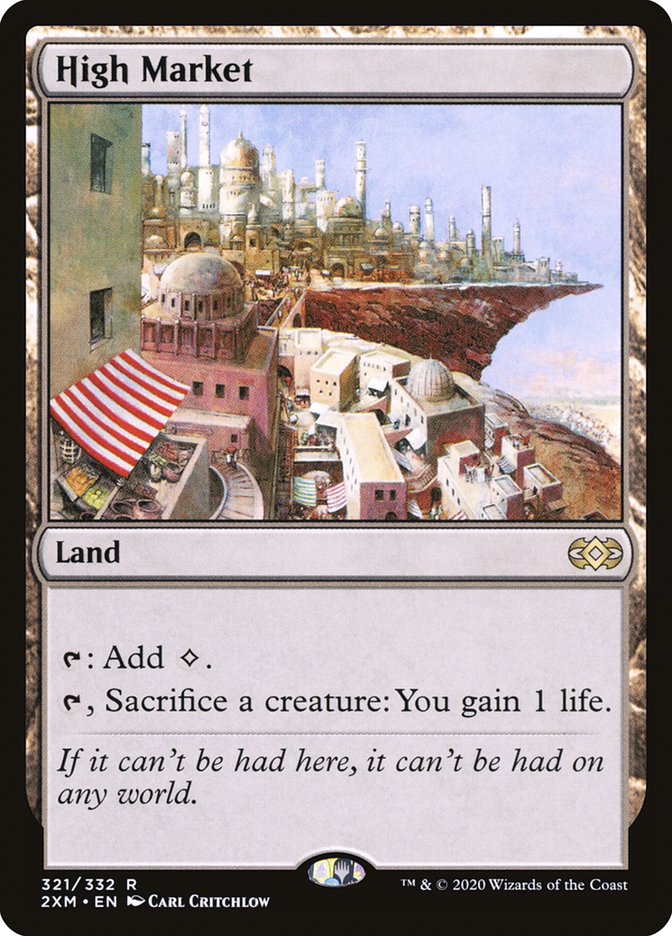
High Market is a backup sacrifice outlet that also gains you life.
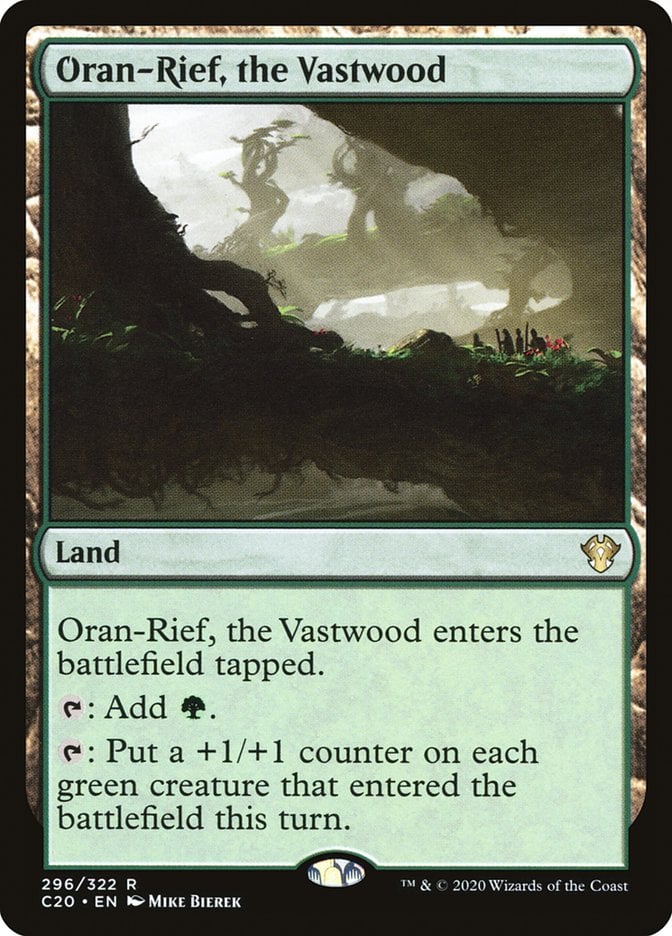
Oran-Rief, the Vastwood buffs all your green creatures and pairs very well with Hornet Queen.
The Strategy
This deck’s strategy is pretty simple and easy to understand. Your primary goal early on is to keep a hand with some kind of cheap sacrifice outlet and something to throw into it. Once you have a hand with this your goal shifts to playing Meren of Clan Nel Toth and gaining experience counters. This is a sacrifice deck through and through, but it’s also a graveyard-recursion deck that only really comes online once those counters start adding up on your commander.
You need to start gaining experience counters once your commander is resolved and safe on the battlefield. Hopefully you kept a hand with something like Viscera Seer and a few early creatures. This lets you get the engine started.
You can then start to recur any of the creatures you sacrifice by adding a few experience counters to Meren. And if you can manage to get something like Midnight Reaper out you’ll start to get out of control in terms of card advantage. That’s the general idea and what allows you to get into the endgame quicker and start winning.
This list wins through value and persistency. It’s hard to shut this Meren deck down. It takes multiple kill spells for your commander, graveyard hate, and board wipes to completely negate us. These are difficult to come by all together and your opponents won’t be able to match the value of having a Terastodon enter the battlefield each turn most of the time.
Combos and Interactions
There are no infinite combos in this deck so you don’t need to worry about disclosing anything in advance for casual tables.
Possible Rule 0 Violations
Some playgroups and game stores institute a “Rule 0” to their Commander pods that essentially excludes competitive decks and specific cards. This usually applies to things like fast mana or free and efficient counterspells, but sometimes they also hit infinite combos. Lucky for you this build is meant to be a casual dec, so there’s nothing to worry about here.
If you want to explain the deck’s power level in a sentence, you could say something like:
My deck is casual, has no infinite combos and no fast mana, but it does play one Profane Tutor.
Budget Options
This Meren deck is already relatively cheap to play. It doesn’t have any cards worth more than your first car and can be reasonably assembled on the cheap. But if you’re looking to cut the budget down even more and lower the blow to your wallet, I’ve got some suggestions.
Yawgmoth, Thran Physician should be your first cut. It isn’t totally necessary to the game plan and can easily be replaced by another sacrifice outlet of your choice. It carries a big price tag that’s nearly 11% of the deck’s price so it makes a sizeable dent.
Cabal Coffers can also be cut even if it’s a very powerful card. It’s the second-most expensive card so it unfortunately falls in your sights.
Finally, many of the $3 to $5 duals can be replaced with basic Swamps and Forests. You don’t have too much room to cut in the main list since this deck is already fairly budget, so lands start to lose their value.
Other Builds
While sacrifice and Pod builds make up nearly all Meren of Clan Nel Toth builds, there are still some out-of-the-box brews you should consider looking at.
Elves is one of the more prominent ones that succeeds by taking advantage of the naturally cheap mana value of elves. This leads to the deck coming online the instant Meren of Clan Nel Toth is played and has one experience counter.
Elf decks are pretty straightforward. You play a lot of cheap dorks like Elvish Mystic and Llanowar Elves and use your copious amounts of mana to snowball your way into the most powerful creatures green has to offer. A common way to win with elves in Commander is to cheat out Craterhoof Behemoth with something like Chord of Calling, which you’re perfectly capable of doing with Meren of Clan Nel Toth.
Commanding Conclusion
Finale of Devastation | Illustration by Bayard Wu
That wraps up my guide for Meren of Clan Nel Toth! I really enjoy playing with Meren and enjoyed writing about it just as much. It’s a very powerful commander that can be great for players of all skill levels. Meren supports decks of varying power levels at the same time which made it an excellent choice for today’s deck guide.
What do you think of the list? Did you think it was too weak, or maybe it wasn’t powerful enough for you? Let me know down in the comments down below.
Until next time, stay safe and stay healthy!
Follow Draftsim for awesome articles and set updates:


1 Comment
Just picked up my Meren and I’m about to finish a deck based on her. Thanks for some insights!
Add Comment