Last updated on February 19, 2024
Urabrask / The Great Work | Illustrations by Campbell White
I hope your Commander matches are going well. Let’s look at a Praetor from March of the Machine that might make for a solid commander: Urabrask and its transformed saga The Great Work!
Using Urabrask as your commander limits your color identity, but the static ability and transformation can be huge in a Commander game. This commander lends itself to storm and cheap instant- or sorcery-style decks. Let’s turn back the clock and focus on a semi-storm flashback deck!
The Deck

Lightning Bolt | Illustration by Christopher Moeller
Commander (1)
Battle (1)
Planeswalkers (2)
Chandra, Hope's Beacon
Chandra, Dressed to Kill
Creatures (17)
Kessig Flamebreather
Electrostatic Field
Firebrand Archer
Young Pyromancer
Thermo-Alchemist
Electrostatic Infantry
Runaway Steam-Kin
Magus of the Wheel
Grinning Ignus
Magus of the Moon
Guttersnipe
Bonecrusher Giant
Solphim, Mayhem Dominus
Torbran, Thane of Red Fell
Goldspan Dragon
Manaform Hellkite
Backdraft Hellkite
Instants (16)
Lightning Bolt
Lava Dart
Devil's Play
Shock
Play with Fire
Gut Shot
Pyretic Ritual
Dual Strike
Lightning Strike
Thrill of Possibility
Electrodominance
Increasing Vengeance
Seething Song
Stoke the Flames
Big Score
Invoke Calamity
Sorceries (13)
Grapeshot
Banefire
Rite of Flame
Renegade Tactics
Firebolt
Faithless Looting
Cathartic Reunion
Jeska's Will
Light up the Stage
Skewer the Critics
Galvanic Relay
Deflecting Swat
Ignite the Future
Enchantments (5)
Mechanized Warfare
Burning Vengeance
Aria of Flame
Braid of Fire
Arcane Bombardment
Artifacts (5)
Sol Ring
Sentinel Tower
Ruby Medallion
Primal Amulet
Pyromancer's Goggles
Lands (40)
Mountains x30
Sandstone Needle
Sokenzan. Crucible of Defiance
Barbarian Ring
Forgotten Cave
Valakut, the Molten Pinnacle
Dormant Volcano
Field of Ruin
Blast Zone
Crystal Grotto
War Room
The general strategy is to ping your opponent to death with the sheer number of spells you play. Spells with flashback and interactions between creatures and spells maximize the value of each card. The deck takes advantage of every single little damage it can to circumnavigate combat damage.
The Commander

Urabrask works as an accelerator for mana and pinging damage. With a mana value of four, Urabrask is relatively easy to cast from the commander zone. Once on the battlefield, it helps to cast more spells and deal more damage with each consecutive spell played.
When three instants or sorceries are cast in a single turn Urabrask can be transformed into The Great Work. This works as a possible board wipe and lets you cast even more spells from your and other graveyards. Note that the transformation is at sorcery speed and costs one red mana, so prepare accordingly.
The ability to play many cheap and damaging spells from your hand or the graveyard is the key to this deck, and Urabrask helps you to achieve this.
The Creatures
This deck’s creatures can mostly be broken into three categories: pingers, rompers, and accelerators.
The cheap creatures of this deck focus on pinging your opponent whenever you play noncreature spells. Creatures like Kessig Flamebreather, Thermo-Alchemist, and Guttersnipe highlight the group.
Like any good Commander deck, you need some ways to ramp your strategy. Goldspan Dragon, Grinning Ignus, and Runaway Steam-Kin help to produce mana.
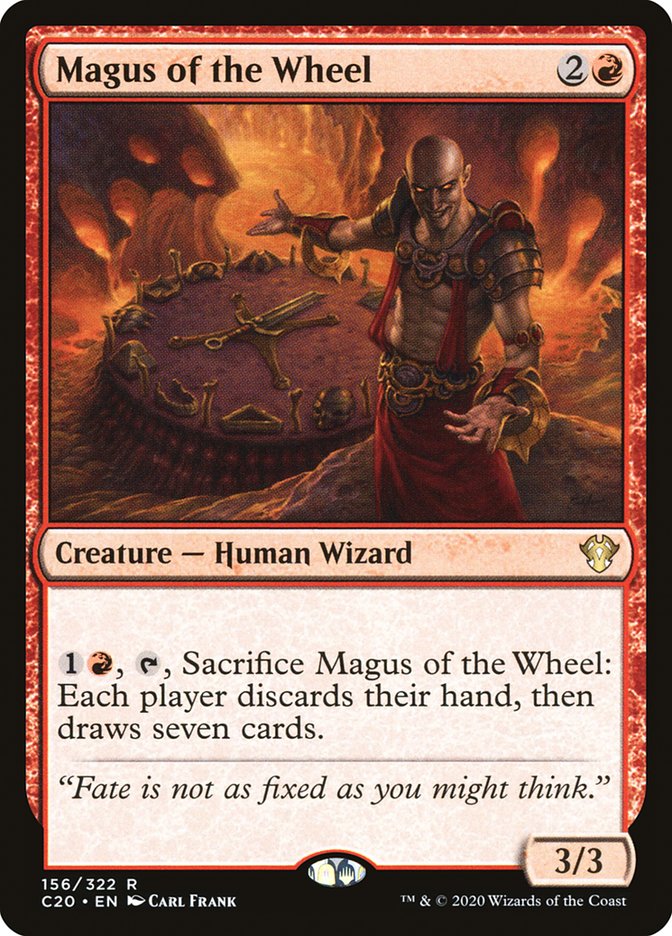
Magus of the Wheel can help load up on multiple cheap spells.
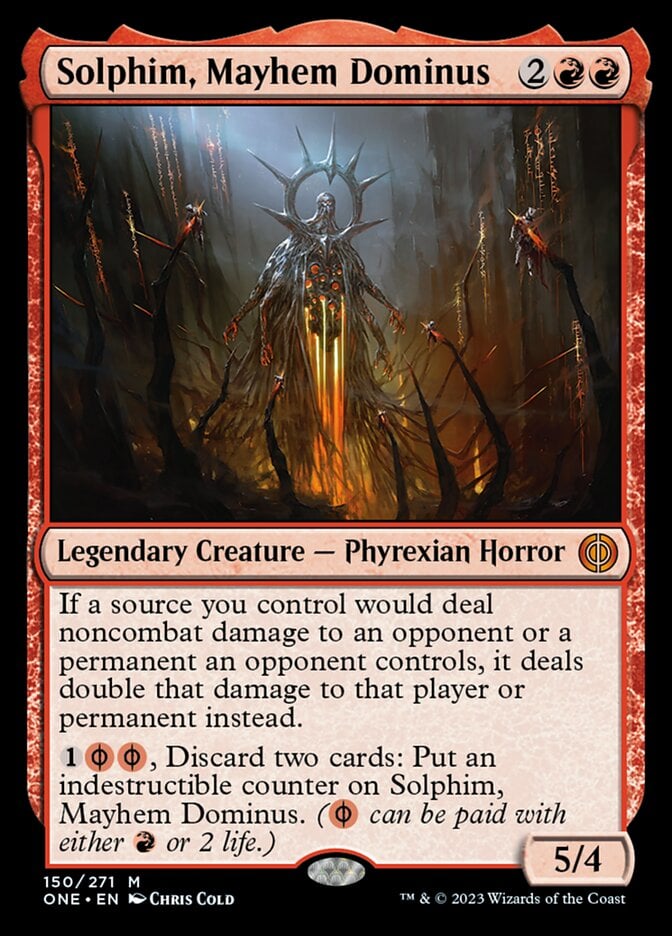
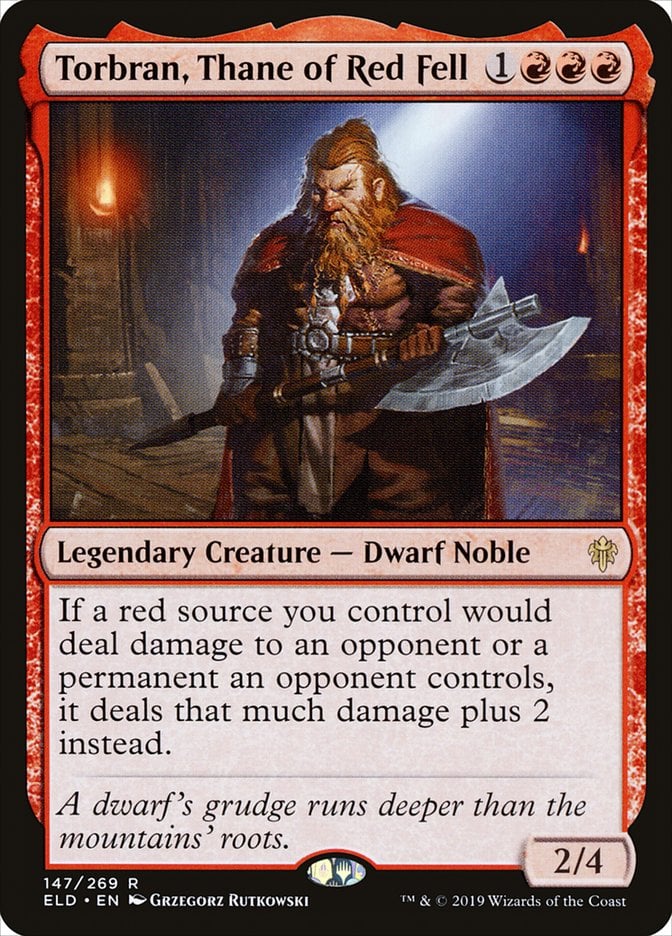
The accelerators are the creatures that increase damage done or can apply pressure to your opponent. Solphim, Mayhem Dominus and Torbran, Thane of Red Fell greatly increase the damage done by the spells and triggers.
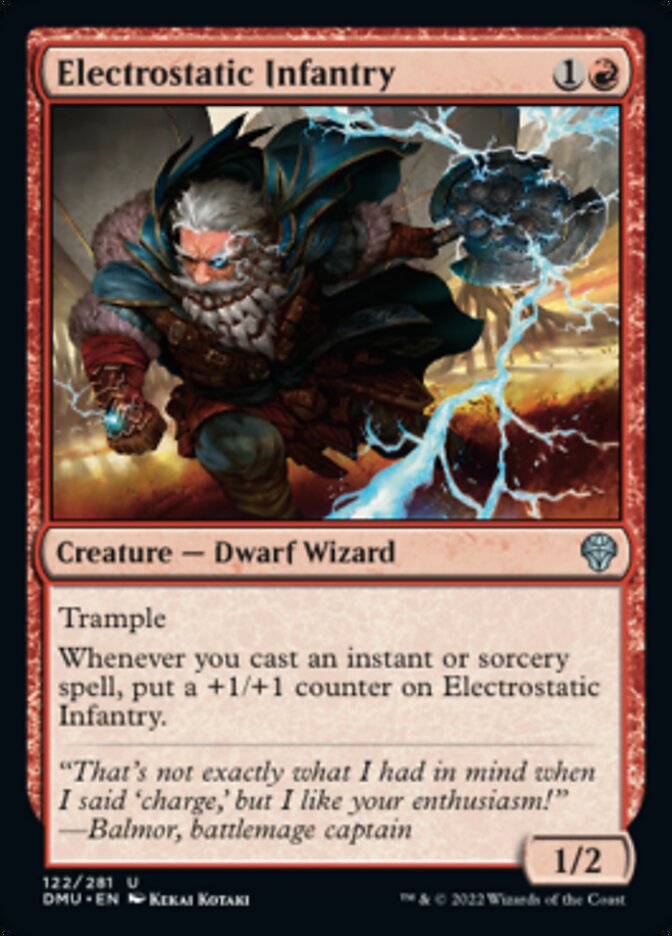
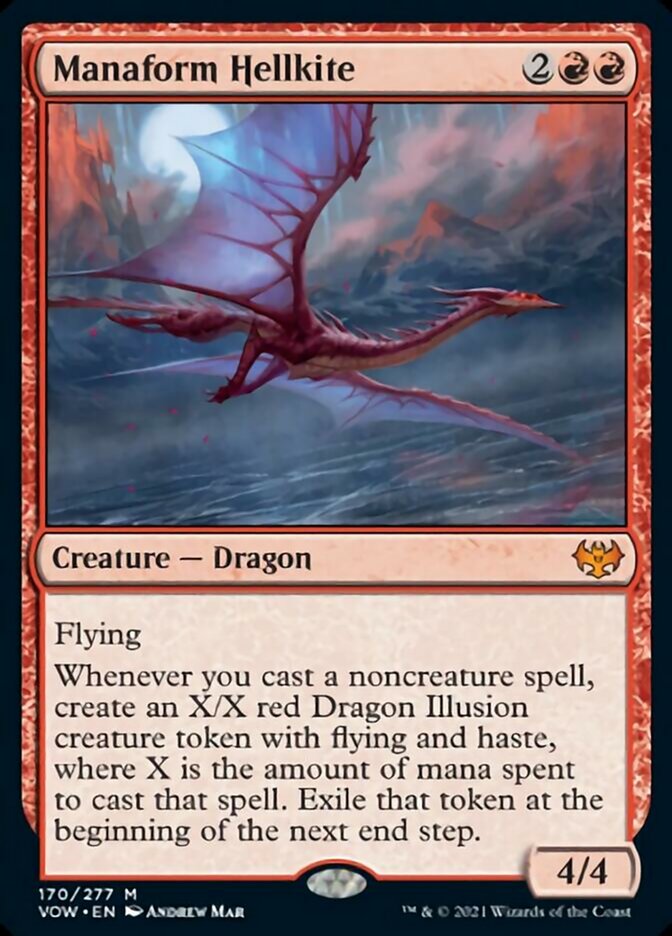
To not be so one-dimensional, cards like Electrostatic Infantry and Manaform Hellkite use your spells to pressure your opponent.
The Instants and Sorceries
The instants and sorceries are the main driver of the deck. Using triggers and direct damage from casting these spells maximize their potency.
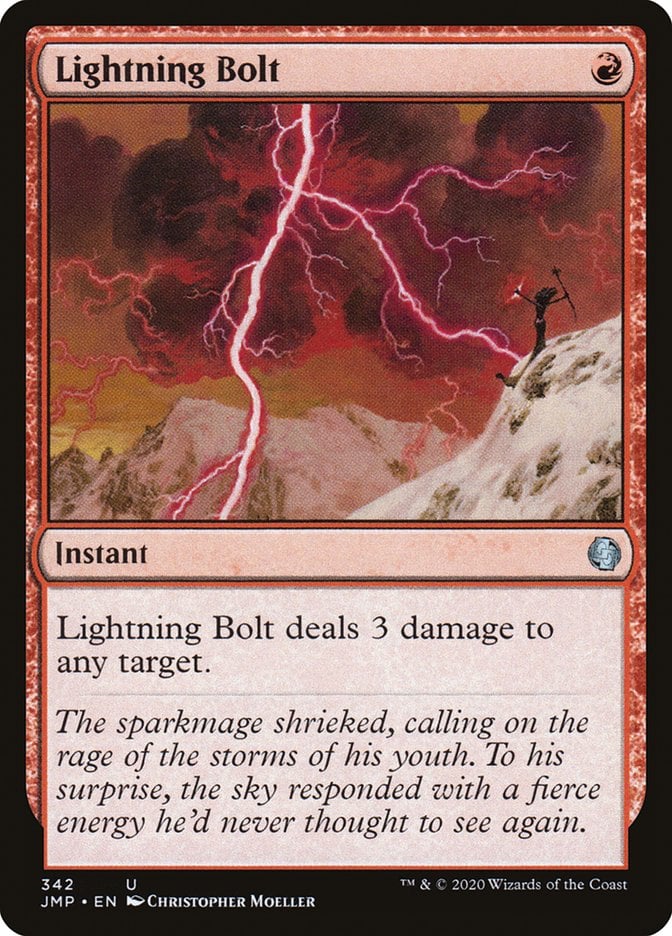
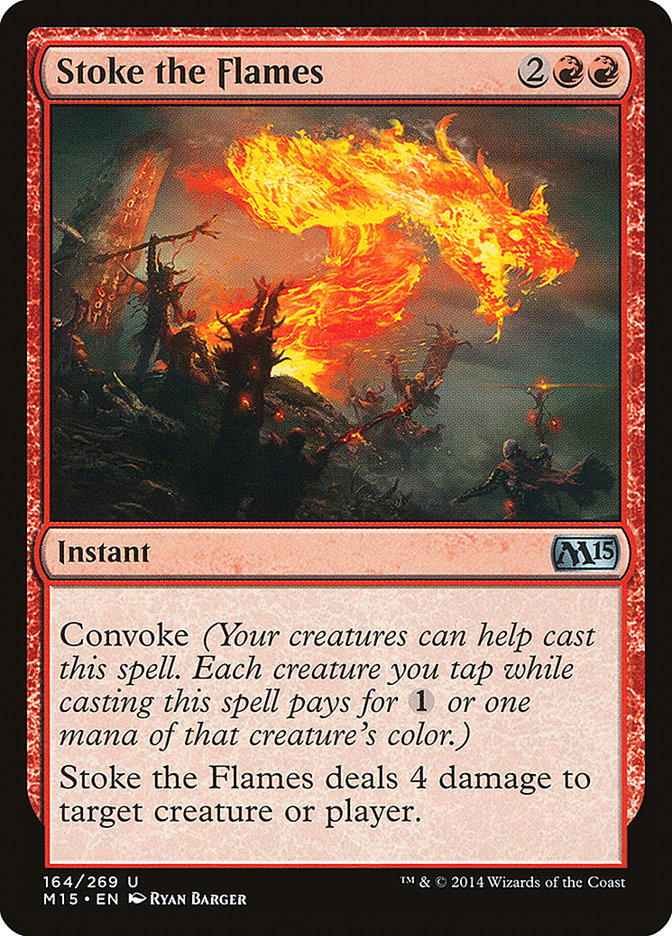
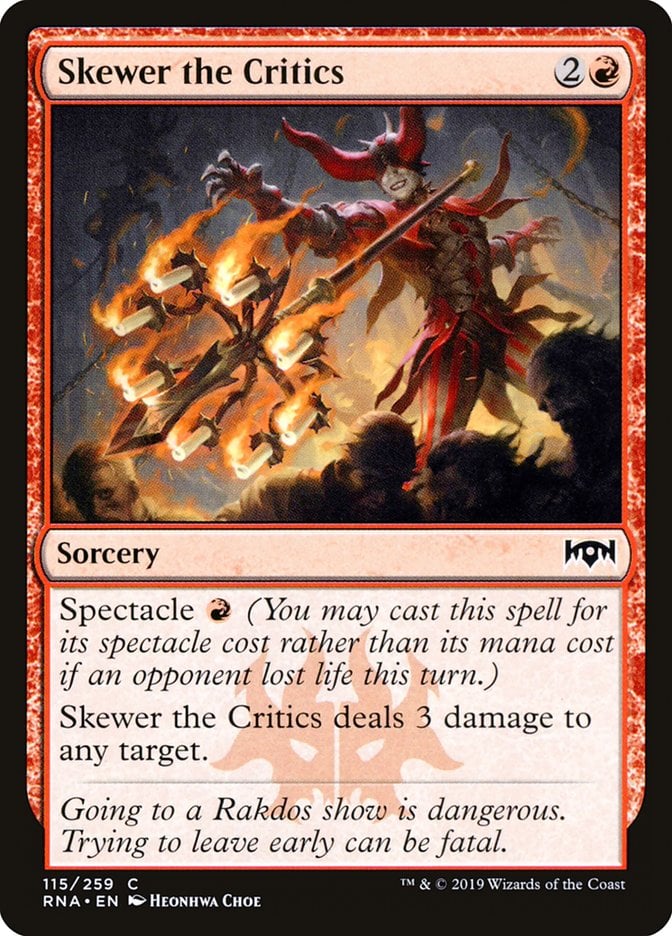
Many of the spells are cheap direct damage spells. Cards like Lightning Bolt, Stoke the Flames, and Skewer the Critics don’t need much further explanation. Remove creatures or deal direct damage to an opponent.
The flashback spells allow you to get multiple uses out of the spells. Flashback cards like Faithless Looting and Devil's Play help to increase the number of spells you can play each turn.
To increase the storm capability of this deck, cards like Big Score, Jeska's Will, and Electrodominance are included.
There are many other cheap and effective instant and sorcery spells all to take advantage of triggers and playing many spells each turn.
The Supporting Cast
Thirteen of the cards in this deck aren’t the main focus of creatures, instants, and sorceries. The enchantments, artifacts, planeswalkers, and even a battle are all used to support the main strategy.
The enchantments range from damage accelerators like Mechanized Warfare to mana support like Braid of Fire.
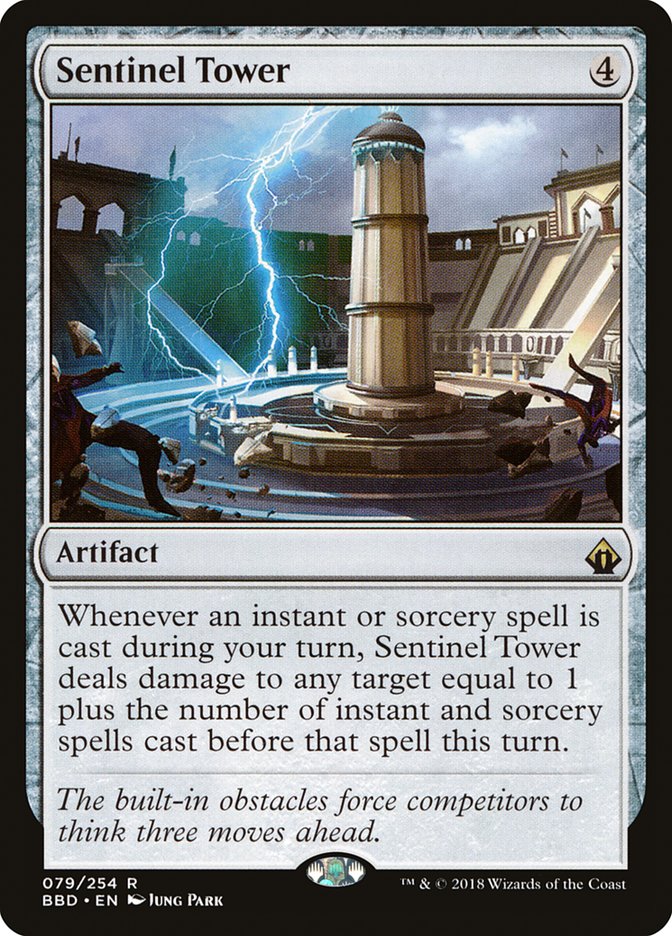
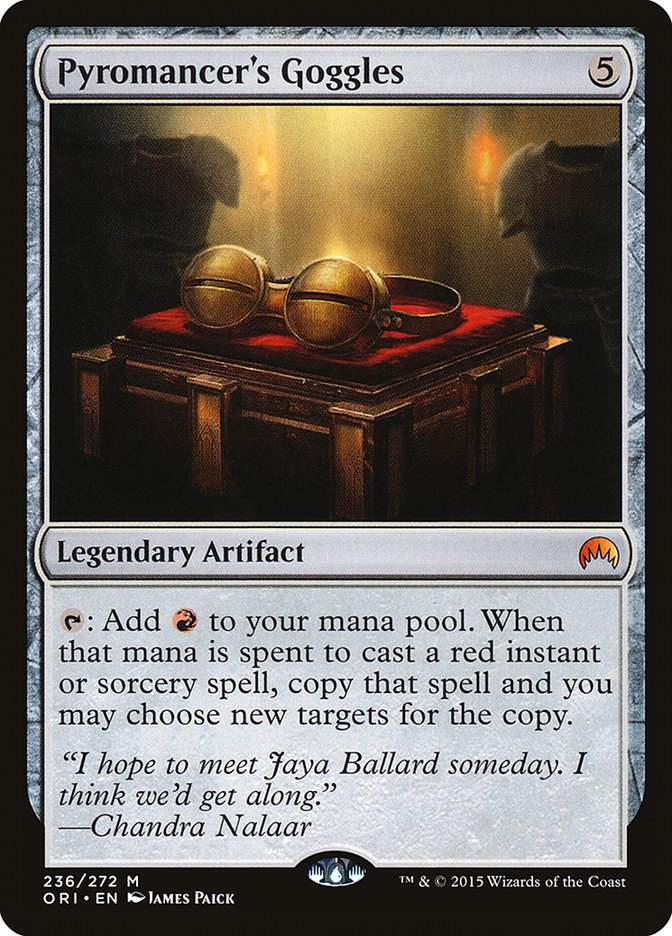
The artifacts are mostly used for mana support with cards like Sol Ring. There are some extra benefits for the instants and sorceries from Sentinel Tower and Pyromancer's Goggles.
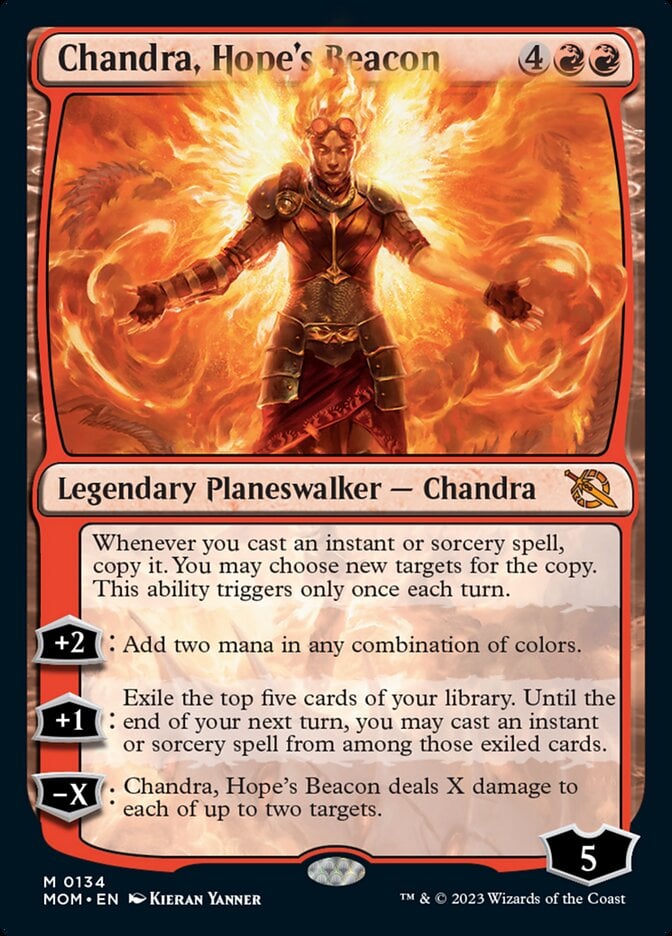
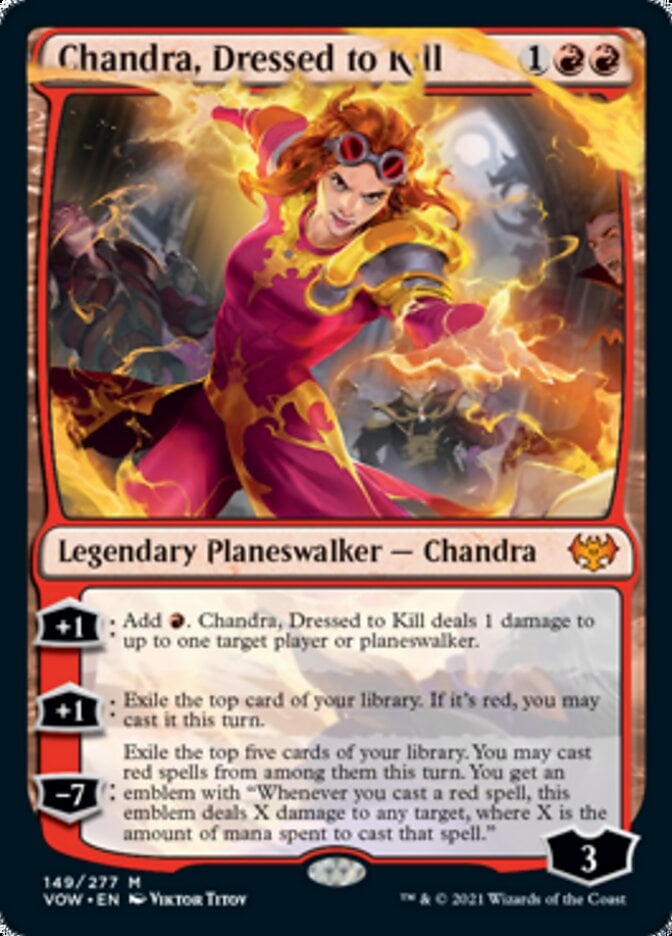
The Chandra planeswalkers, Chandra, Hope's Beacon, one of the best planeswalkers from MOM and Chandra, Dressed to Kill, ramp up your ability to play more spells, copy spells, and deal direct damage.
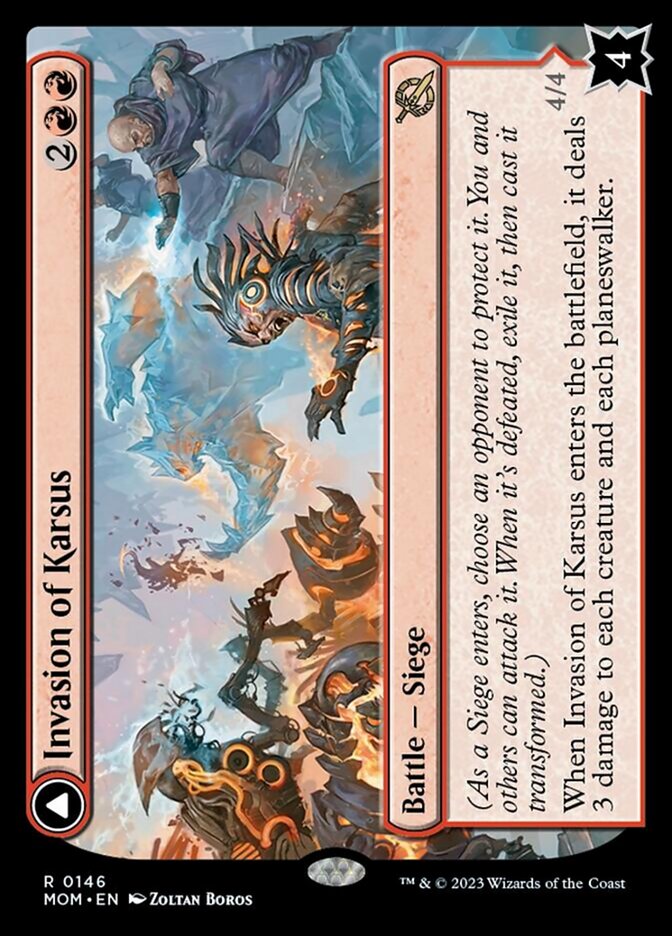
I included Invasion of Karsus because of the mass removal potential and transformed creature.
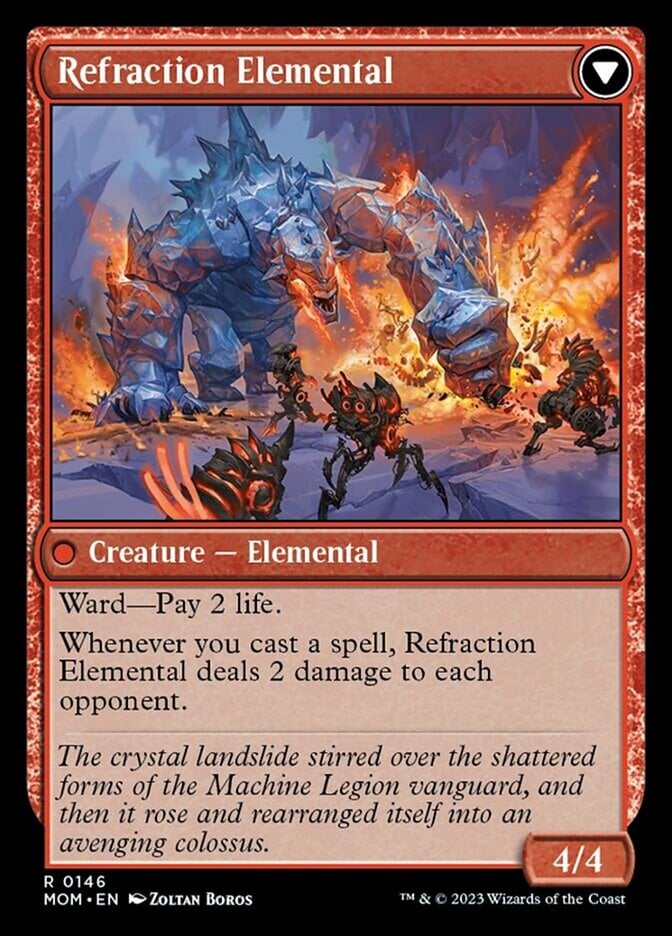
You can use Refraction Elemental like another big pinging-trigger creature.
The Mana Base
The mana base is simple for this deck because it only has one color. You don’t want to slow this deck down with too many fancy lands that come in tapped, but there are 10 special lands to benefit your strategy. The nonbasic lands have a few different roles to play in this deck.
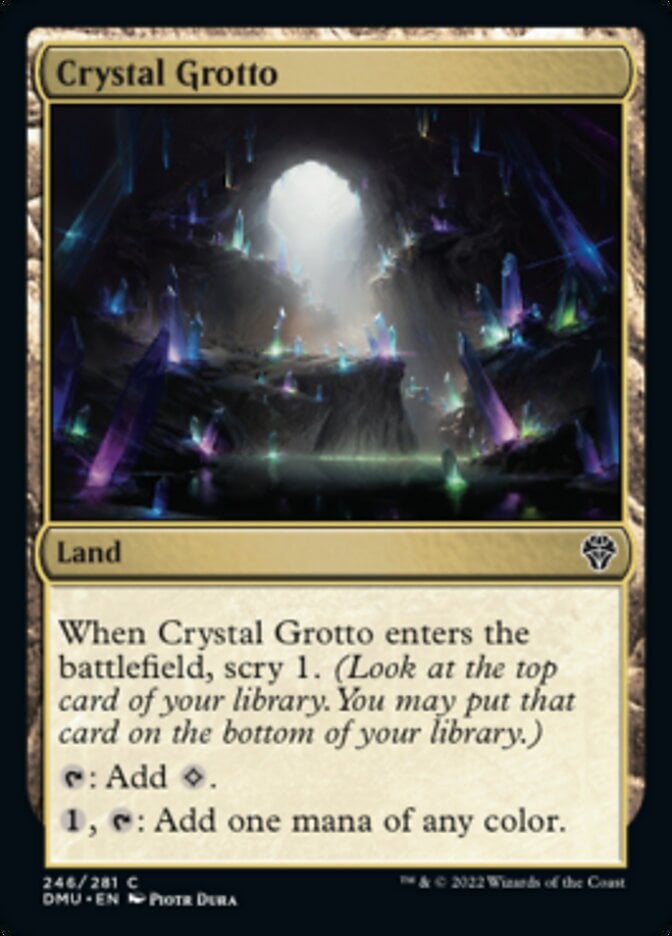
Forgotten Cave, War Room, and Crystal Grotto help to stabilize the deck with some draw and scry abilities.
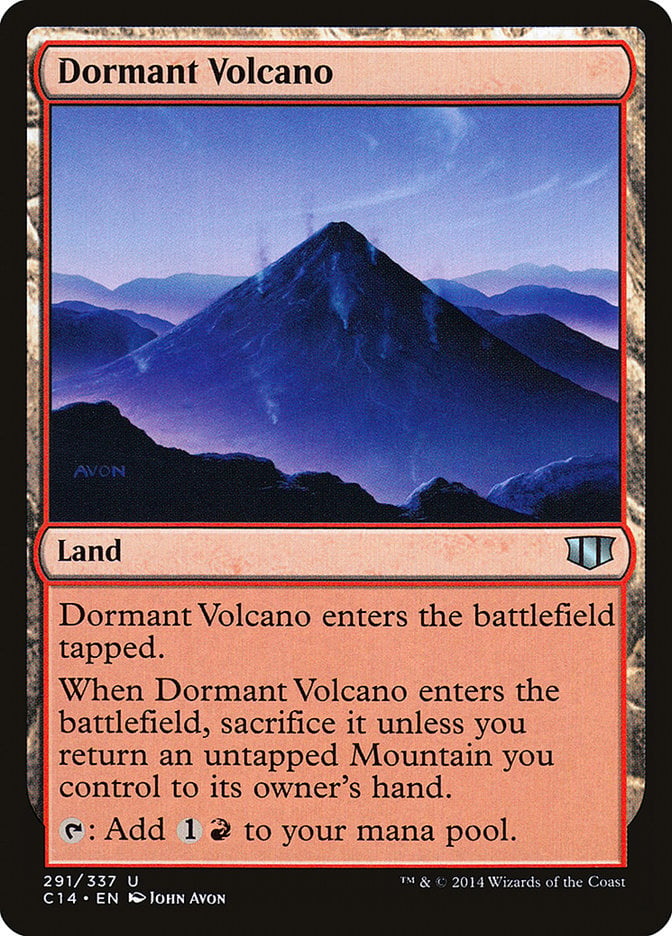
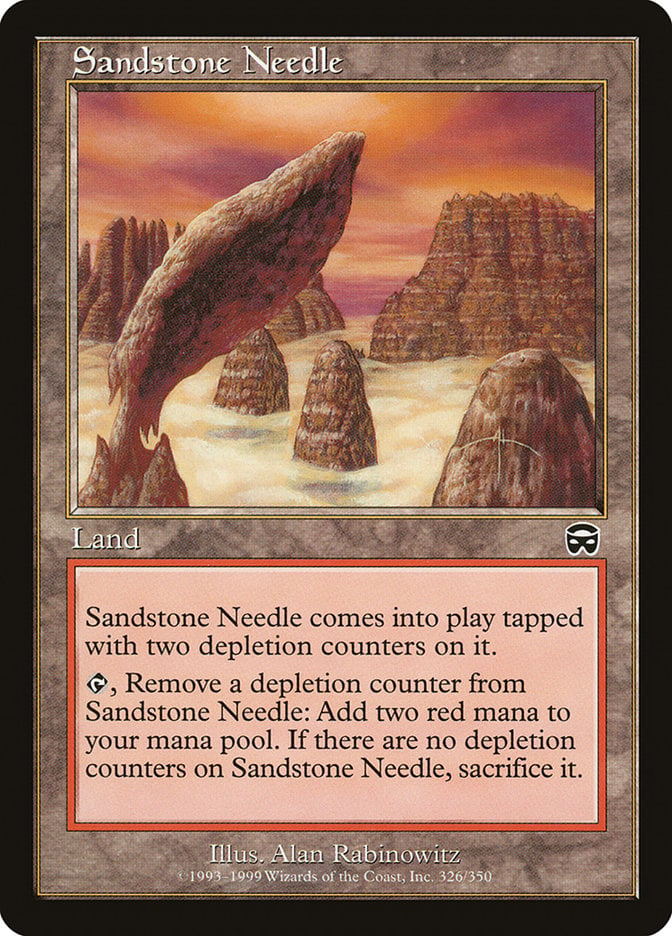
To get ahead of the curve, you have lands like Dormant Volcano and Sandstone Needle.
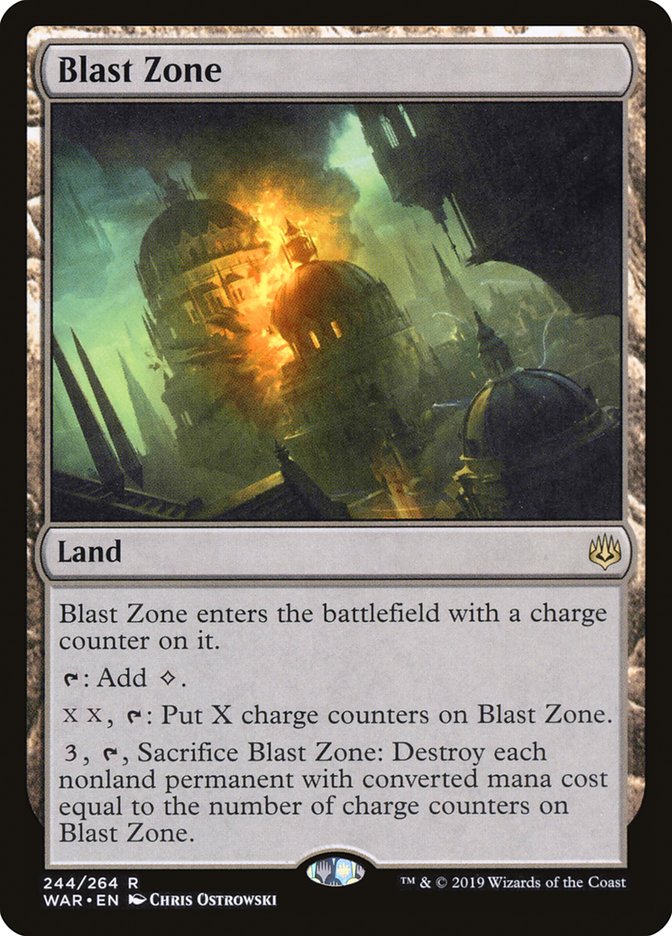
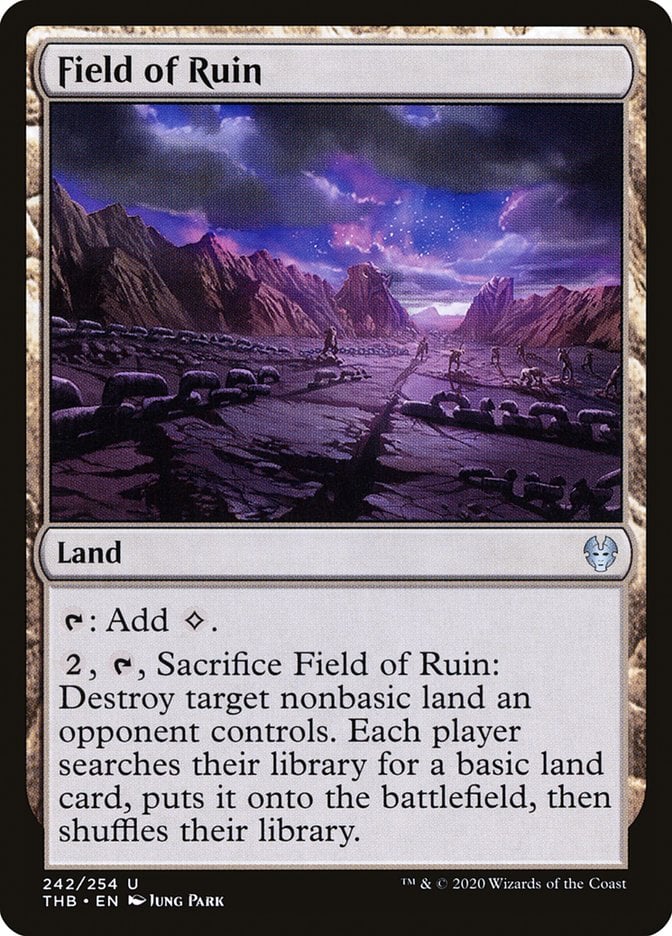
As some removal assurance against certain strategies, there’s Blast Zone and Field of Ruin.
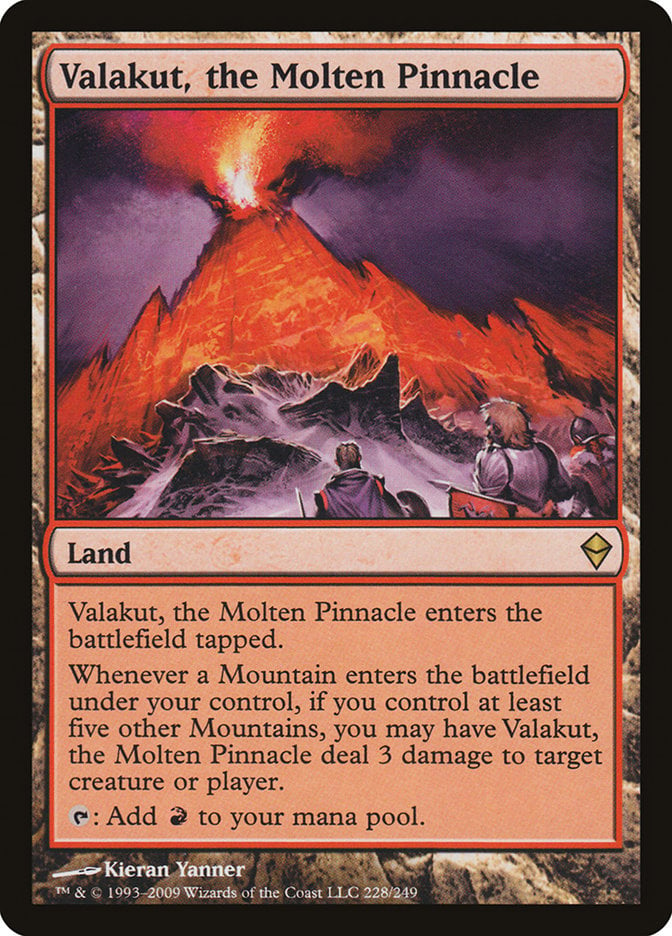
You also have some lands that can deal direct damage like the wonderful Valakut, the Molten Pinnacle.
The Strategy
The strategy is simple: do a ton of small damage that adds up to the death of your opponent. To achieve this effectively, you’ll rely on cheap and recurring spells to maximize the number of instants and sorceries you play each turn. With the final lore counter of The Great Work and cards with flashback, you can maximize your graveyard and use each spell more than once.
The general match strategy is to get quick and cheap creatures out as defenses and to ping some damage. Hopefully, there won’t be a need to use too many of your spells as removal early on. Bring in Urabrask from the command zone as soon as possible and each following turn use compounding effects to generate storm and damage value.
Combos and Interactions
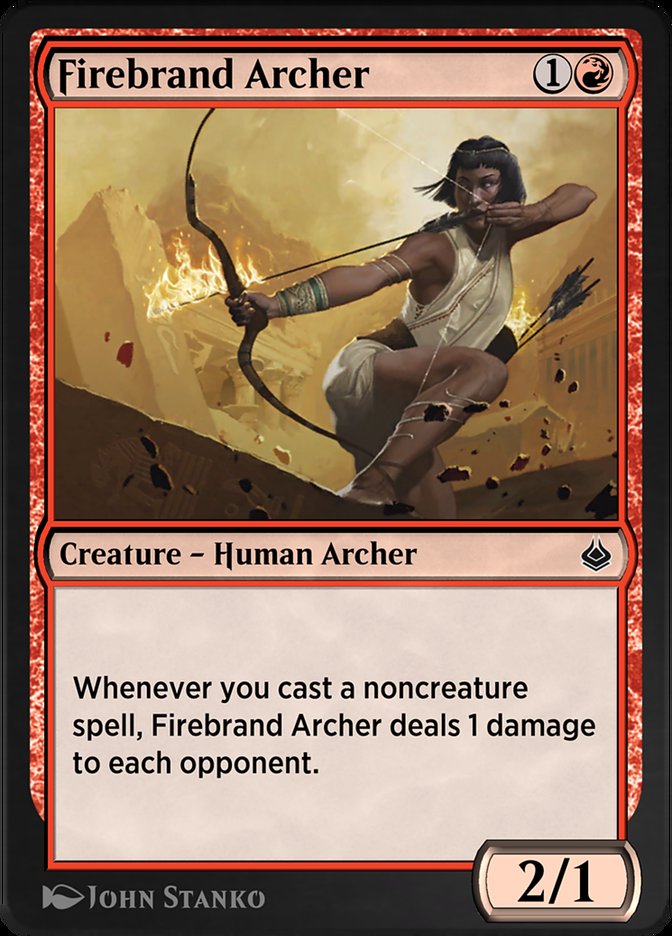
The main combo is the triggers from creatures whenever an instant or sorcery is played. The big creature of course is Urabrask. This trigger combo gives you a mana for every spell you play which lets you play many spells in a single turn. The ideal combo for the deck is playing Urabrask and quickly following it with Jeska's Will. In the meantime, small creatures like Firebrand Archer have consistent interactions from their triggered abilities.
Almost every interaction on your side of the board is about playing more spells or dealing more damage. These interactions come from the Chandra planeswalkers, accelerators like Solphim, Mayhem Dominus and Mechanized Warfare, and mana producers like Goldspan Dragon.
Rule 0 Violations Check
Rule 0 needs to be hashed out before any non-cEDH game commences. This is the sportsmen-like gesture of making sure everyone knows the rules before engaging in a casual match with friends. Competitors may also want to make sure that the games are fun and not dominated by infinite combos or other absurdities.
For this Urabrask deck I don't see too much that would be cause for worry from opponents. The strategy is straightforward and there aren’t any obviously overpowered cards or combos. Some cards to maybe have discussions about could be Arcane Bombardment, Magus of the Moon, Underworld Breach, or Faithless Looting.
I don’t see too many problems with these cards or the rest of the deck, but it’s always good to keep non-cEDH games cordial and above board.
Budget Options
For this deck, there’s nothing you can do about the around $12 price of Urabrask. There are a few cards you can change if you want a more budget deck.
Magus of the Moon isn’t necessary to the strategy, so it can be changed for a card like Chandra's Spitfire.
Goldspan Dragon can replaced with a cheaper mana and priced card like Glittering Stockpile.
For cards like Jeska's Will, there’s no straight-up replacement, but you could use cheaper cards like Wrenn's Resolve and Rite of Flame to mimic the effects.
The planeswalkers are relatively cheap, but to save money you can remove them from the deck or replace them with planeswalkers like Koth of the Hammer or Jaya Ballard.
Other Builds
The goal of using Urabrask is to play many spells and transform it into The Great Work. I believe that pinging damage in some way is the most effective strategy, but there’s also many different viable builds around Urabrask.
I’m always a fan of the classic goblin tribal decks. There are probably much better commanders for goblins, but in an Urabrask deck you can use cards like Impact Tremors, Goblin War Strike, Brash Taunter, and Brightstone Ritual. I think a possible big combo here is to make many goblins with cards like Krenko, Mob Boss and play huge damage spells like Mob Justice.
Another strategy I can see with Urabrask is control with board wipes and big damage win-cons. Wipe the board with cards like Pyrohemia and Brotherhood's End and then build your mana pool to deal massive damage with cards like Crackle with Power.
Another fun strategy with Urabrask might be to convoke massive spells. With early support from cards like Ral's Reinforcements, you can hopefully convoke great spells like City on Fire or Stoke the Flames easily.
Commanding Conclusion
Shock | Illustration by Randy Gallegos
Well, there you have it. This is my stab at making a cEDH deck with Urabrask as the commander. I hope you enjoyed it, and even if you don’t want this commander maybe you have gotten ideas about your own builds. As the only Praetor not explicitly said to be dead, maybe we will see Urabrask again working on another Great Work.
How would you build an Urabrask deck? Let me know in the comments below, or over on Draftsim's official Twitter.
Take care of yourselves and keep innovating this wonderful game.
Follow Draftsim for awesome articles and set updates:


Add Comment