Last updated on October 5, 2023

Rograkh, Son of Rohgahh | Illustration by Chris Seaman
As long as there’s been Magic, there have been sacrifice decks. They use cheap creatures or tokens as fodder for powerful effects that demand a life in exchange for power. It’s a deal that’s deeply steeped in black’s share of the color pie, though it's often paired with red or white for extra support.
Today’s Commander decklist pairs red and black for a classic Rakdos sacrifice deck that utilizes the partner pairing of Rograkh, Son of Rohgahh as an enabler for the sacrifice effects of Tevesh Szat, Doom of Fools. This pairing demonstrates everything you’d expect from a sacrifice deck in glorious form, so let’s get to it!
The Deck

Impulsive Pilferer | Illustration by Jakub Kasper
Commander (2)
Rograkh, Son of Rohgahh
Tevesh Szat, Doom of Fools
Planeswalkers (2)
Chandra, Acolyte of Flame
Liliana, Dreadhorde General
Creatures (21)
Walking Ballista
Carrion Feeder
Impulsive Pilferer
Viscera Seer
Blood Artist
Dauthi Voidwalker
Jadar, Ghoulcaller of Nephalia
Loyal Apprentice
Orcish Bowmasters
Priest of Forgotten Gods
Putrid Goblin
Reassembling Skeleton
Zulaport Cutthroat
Braids, Arisen Nightmare
Imperial Recruiter
Judith, the Scourge Diva
Mayhem Devil
Midnight Reaper
Ophiomancer
Plaguecrafter
Mikaeus, the Unhallowed
Instants (17)
Culling the Weak
Malakir Rebirth
Pyroblast
Red Elemental Blast
Vampiric Tutor
Village Rites
Abrade
Deadly Dispute
Imp's Mischief
Nasty End
Terminate
Tibalt's Trickery
Bedevil
Chaos Warp
Valakut Awakening
Fury Storm
Hagra Mauling
Sorceries (11)
Gamble
Infernal Plunge
Innocent Blood
Reanimate
Vandalblast
Demonic Tutor
Diabolic Intent
Dreadbore
Agadeem's Awakening
Toxic Deluge
Blasphemous Act
Enchantments (5)
Kaya's Ghostform
Bitterblossom
Goblin Bombardment
Bastion of Remembrance
Dictate of Erebos
Artifacts (7)
Skullclamp
Sol Ring
Arcane Signet
Fellwar Stone
Rakdos Signet
Talisman of Indulgence
Wishclaw Talisman
Lands (35)
Blightstep Pathway
Blood Crypt
Bloodstained Mire
City of Brass
Command Tower
Dragonskull Summit
Fabled Passage
Graven Cairns
Haunted Ridge
Luxury Suite
Mountain x8
Phyrexian Tower
Prismatic Vista
Reflecting Pool
Sulfurous Springs
Swamp x11
Tainted Peak
Takenuma, Abandoned Mire
It’s a clean, simple sacrifice deck. The goal is to sacrifice your cheap creatures to extract plenty of value. You’re interested in sacrificing them to generate either card draw or a burst of mana to ramp out your spells.
You’re putting that card draw and mana toward developing a wide board. You can win by grinding your opponents out, sacrificing all those permanents to outdraw your opponents while you eat away at their life totals with cards like Mayhem Devil and Blood Artist.
If you can’t just grind the game out, either because you’re facing stiff opposition or decks that are just too fast to play a slow game against, you can accelerate the game with a couple of infinite combos that use your grindy elements to end the game in an instant.
The Commanders
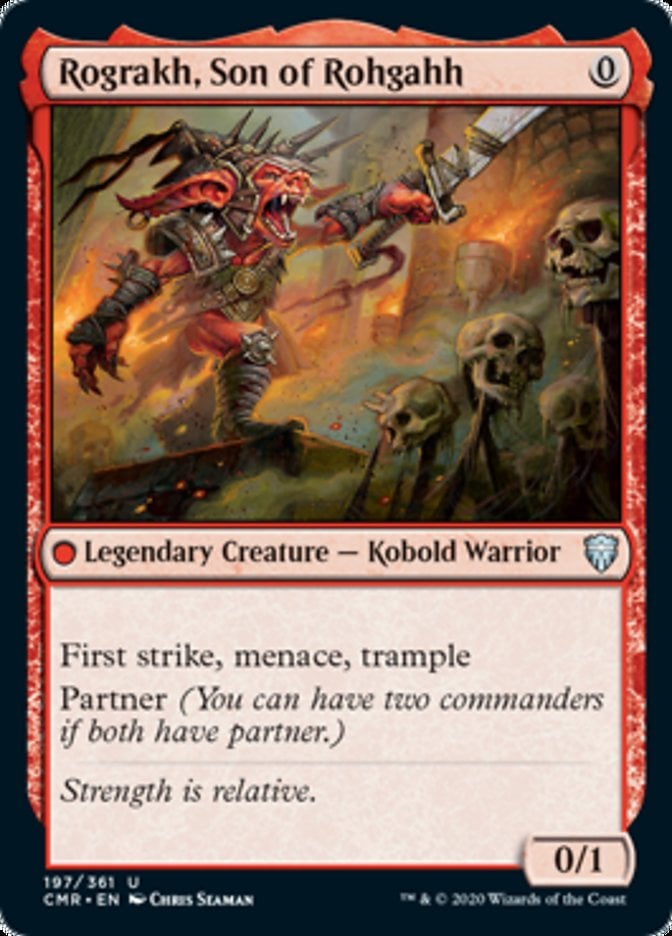
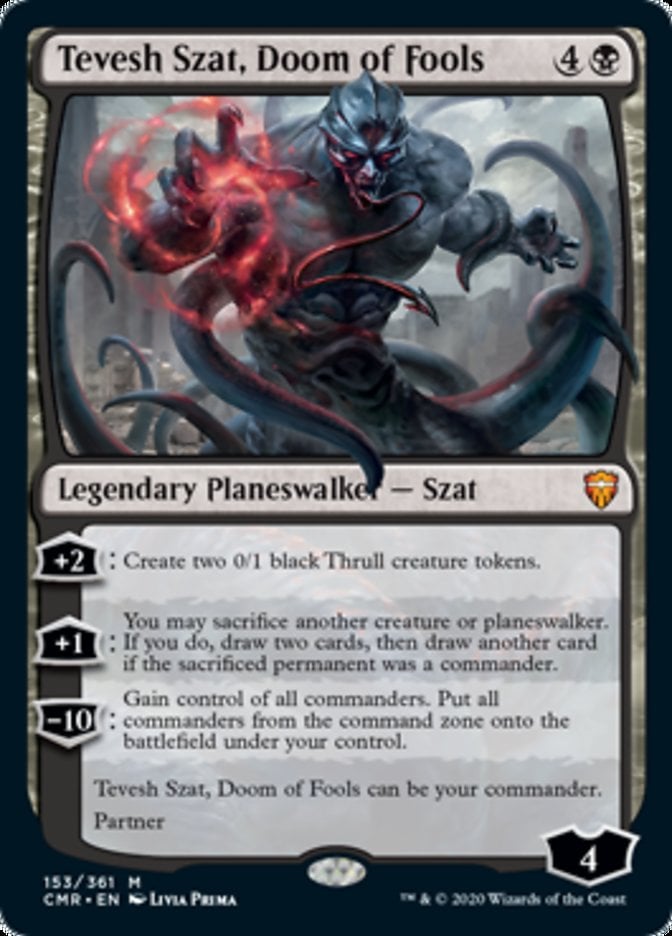
Your commander partners Rograkh, Son of Rohgahh and Tevesh Szat, Doom of Fools, a synergistic pair that provides sacrifice fodder in a cheap, recurrable creature and a sacrifice outlet that generates tons of cards.
The most common play pattern with these two is to play Tevesh the instant you have five mana and follow it up with a 0-mana Rograkh that you sacrifice to draw three cards. You’ll almost always want to sacrifice Rograkh as one of Tevesh’s first activations to keep you up on cards, even if Tevesh is removed.
This combination primarily serves as a great way to accelerate through your deck. Rograkh easily represents six cards for two mana with Tevesh but also provides free sacrifice fodder for the spells that let you generate a burst of mana or draw a bunch of cards. When you don’t need to draw cards, Tevesh provides plenty of tokens to sacrifice while serving as a unique win condition that throws a wrench in your opponents' plans.
Sacrifice Fodder
Rograkh offers plenty of sacrifice fodder, but you need a lot more than that to make the deck tick.
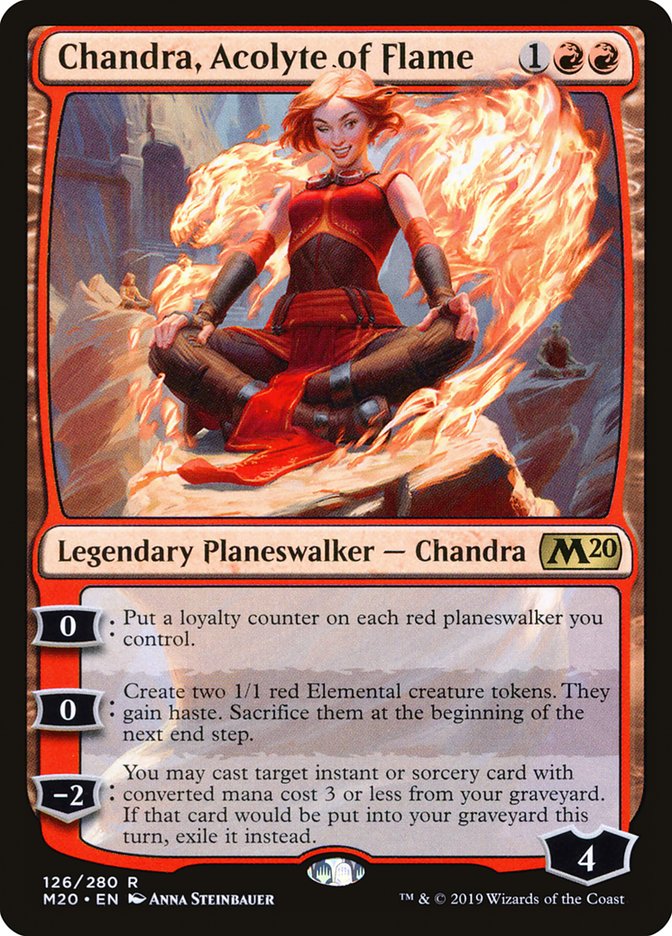
Chandra, Acolyte of Flame is your only red planeswalker, so you won’t often use its first ability. You’re more interested in making two tokens every turn. You can attack with them, though you’re likely to sacrifice them. Since the tokens sacrifice themselves, you don’t even need to do anything to reap the benefits of their dying.
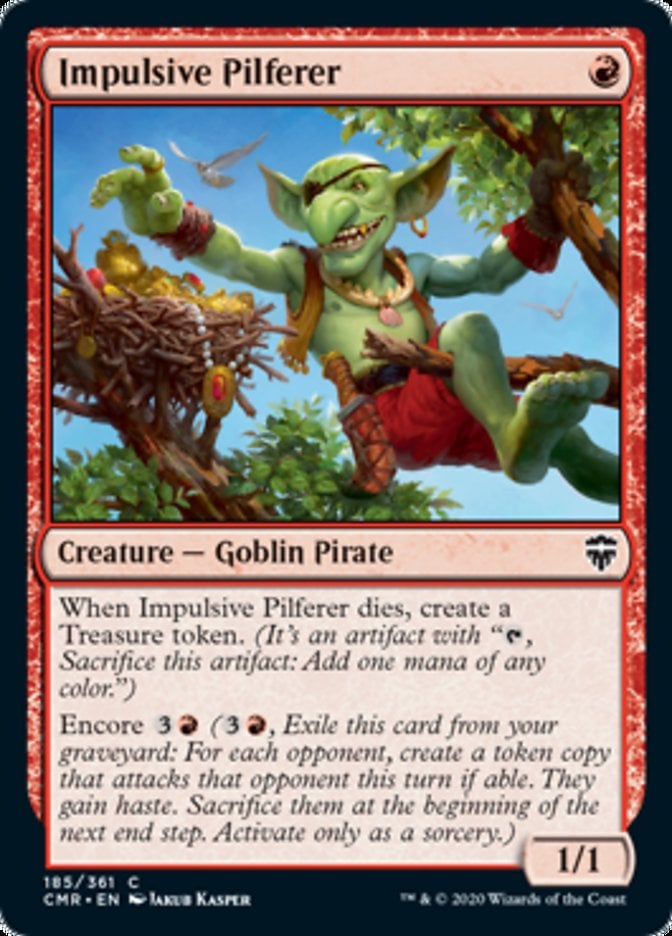
Impulsive Pilferer dies into a Treasure token, then dies into three more later. You don’t want to attack with the encore tokens so much as sacrifice them to draw cards and produce mana.
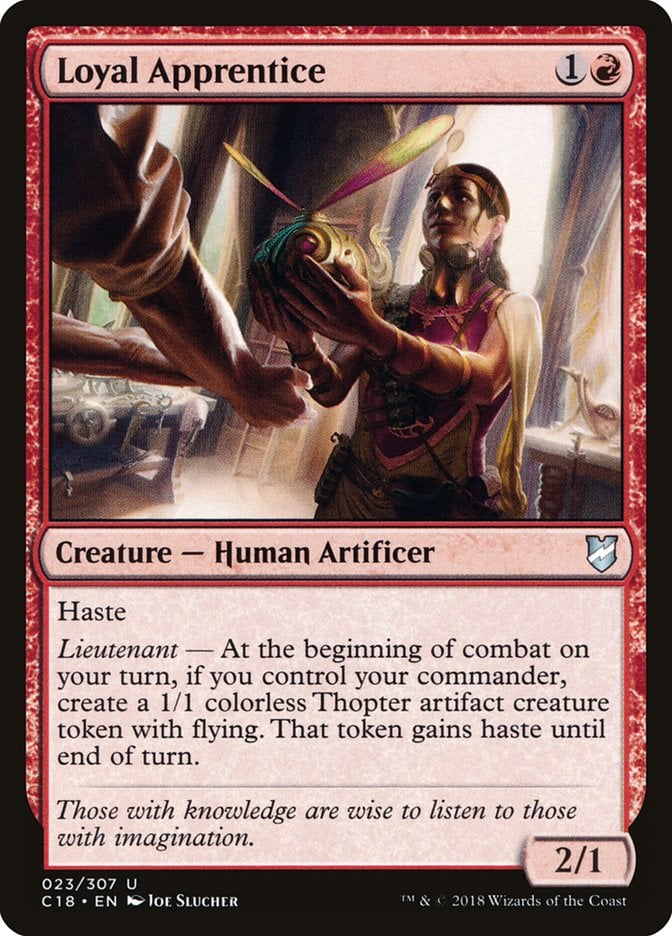
Loyal Apprentice is an aggressive little creature that generates a free token with your commanders. This token pairs nicely with Tevesh: it basically deals damage and draws two every turn unless you want to store up the Thopters for some attacks later.
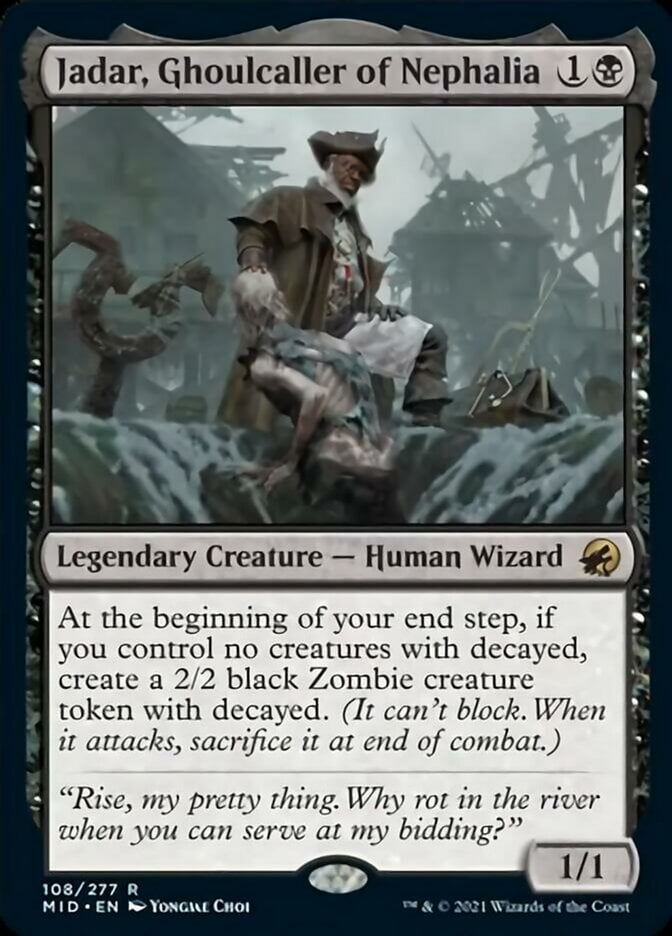
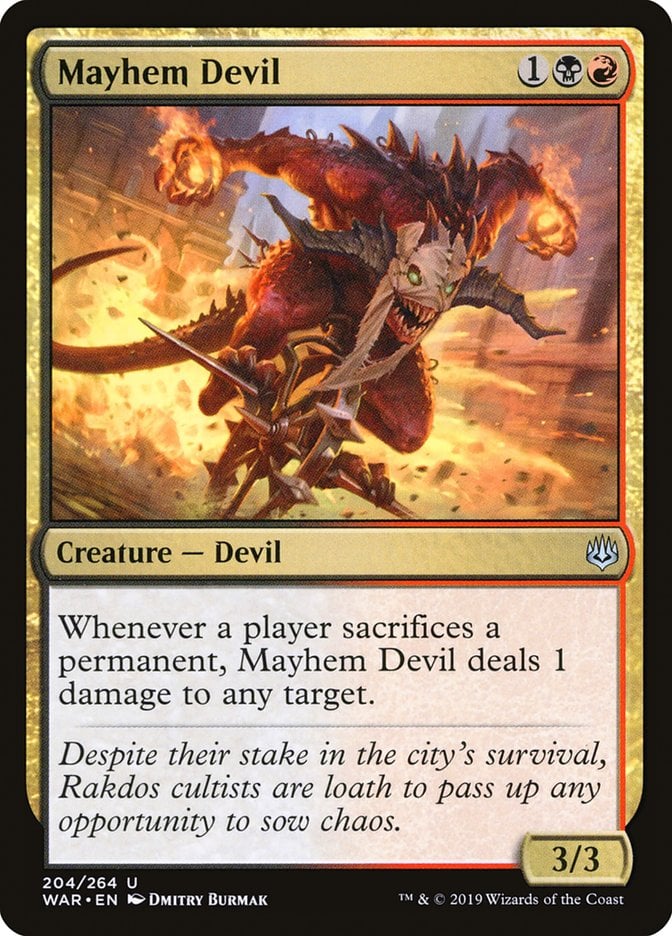
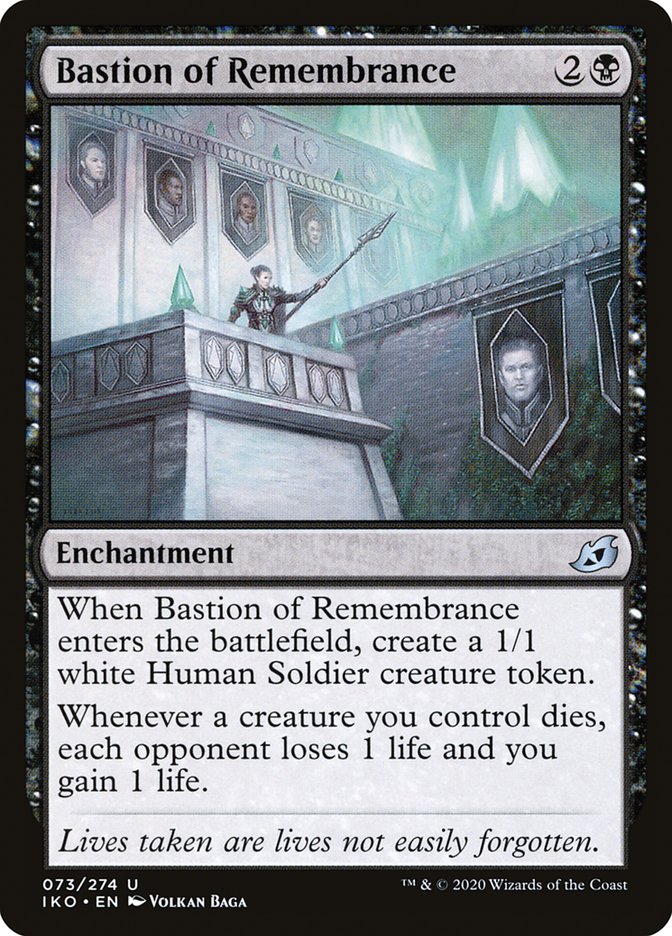
Jadar, Ghoulcaller of Nephalia is one of the best sacrifice cards printed in recent years. A free token you’re happy to sacrifice each turn? That can sacrifice itself every turn to get triggers off Mayhem Devil or Bastion of Remembrance? Sign me up.
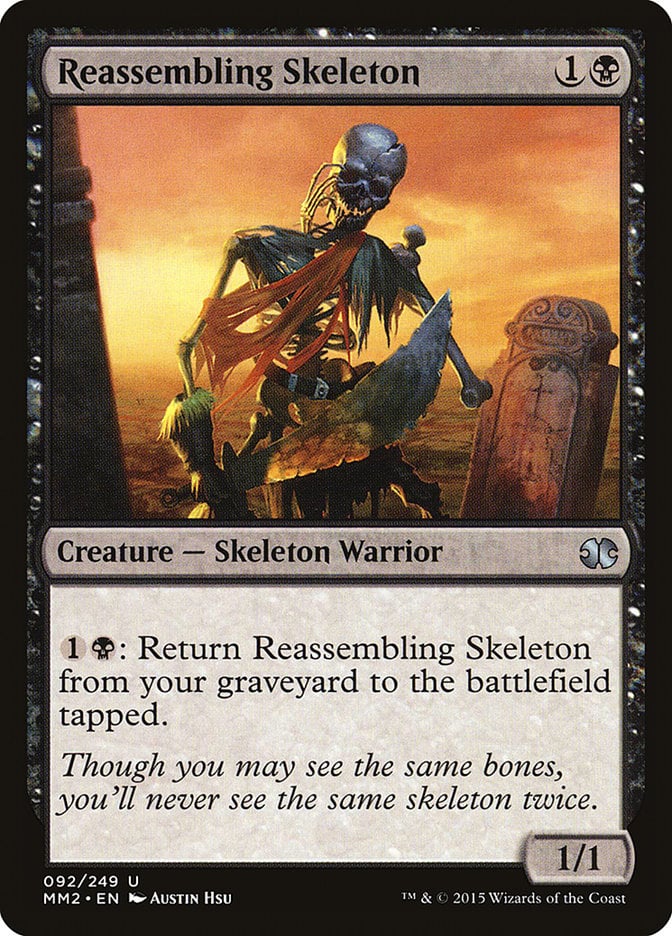
Reassembling Skeleton is a certified classic for this archetype. You sacrifice it and bring it back to play for a small fee. It’s also useful to fog an opponent’s creature each turn if they insist on attacking you.
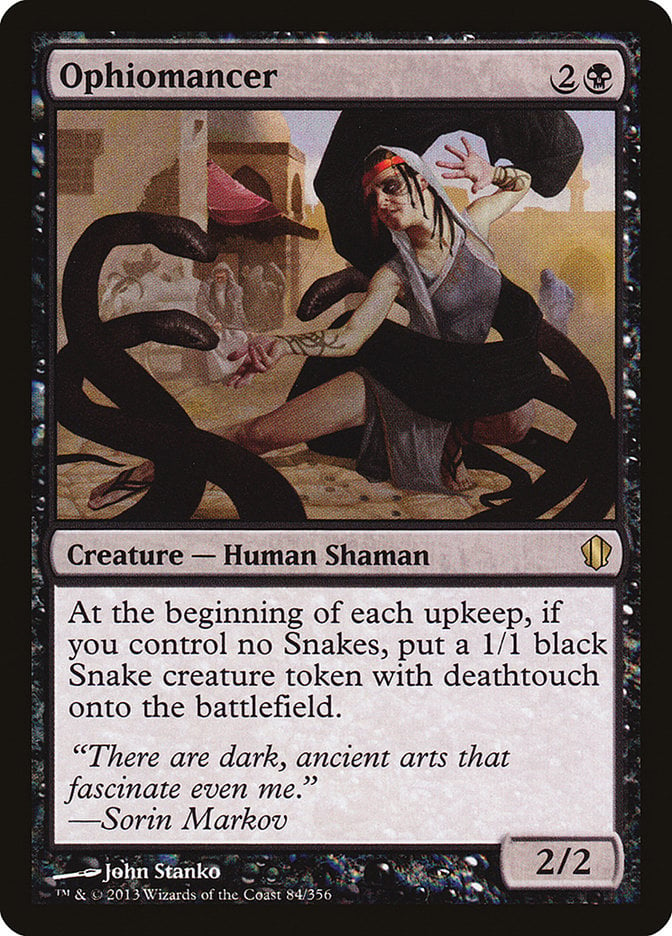
Ophiomancer makes tokens each turn, and is a card I really like playing with planeswalkers. It’s hard to effectively pressure Tevesh with this in play unless your opponent’s creature has flying or trample since the deathtouching snake trades for a creature, then another Snake is made before the next player can attack.

Bitterblossom provides a steady stream of tokens to sacrifice to your various sacrifice cards. The faerie tokens are also effective attackers and especially good at pressuring opposing planeswalkers or defending you from flying threats.
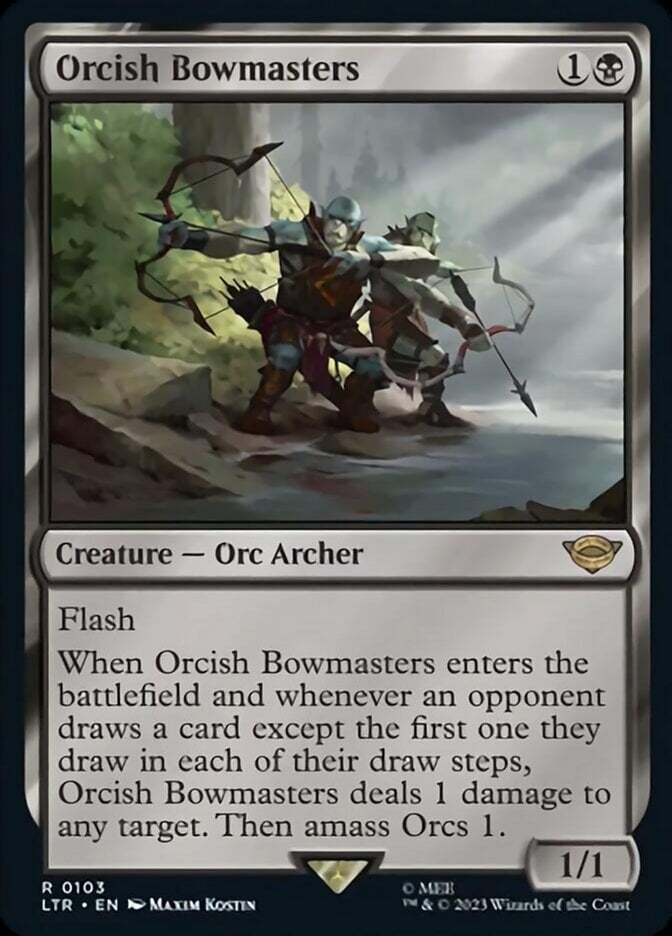
Calling Orcish Bowmasters a sacrifice outlet drastically undersells what this card can do. It’s the hottest Commander card on the block from Tales of Middle-earth, but sacrificing the Army token lets you extract even more value from it than your opponents can.
Sacrifice Outlets
Now that you have these tokens floating around, what are you sacrificing them for? Mostly mana and cards.

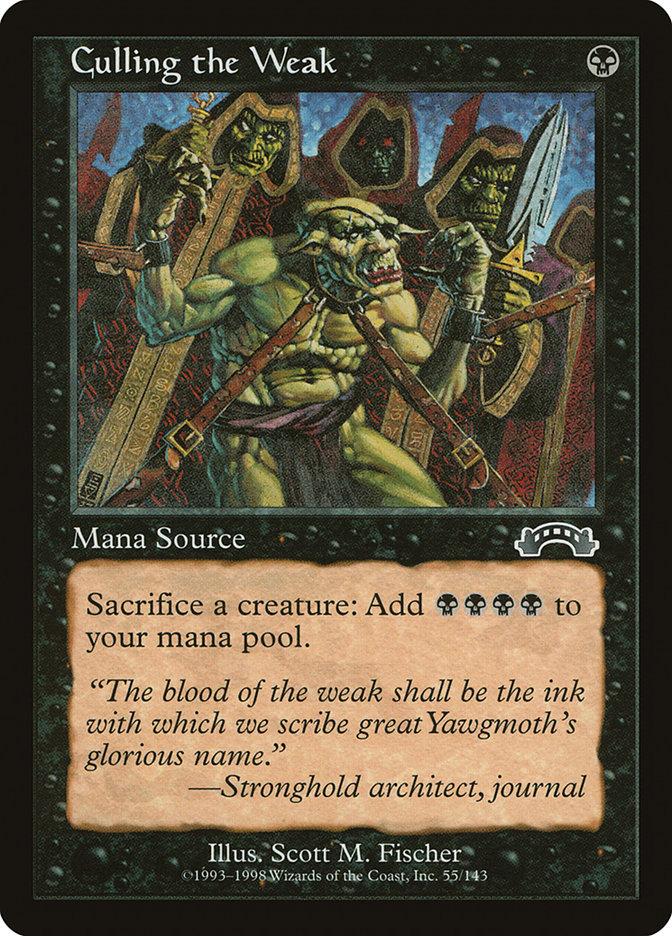
Infernal Plunge and Culling the Weak are incredible rituals. Sacrificing creatures doesn’t matter much in this deck. A common play pattern with these is to play Rograkh, then sacrifice it to cast Tevesh on turn two or three, before your opponents can hope to pressure it.
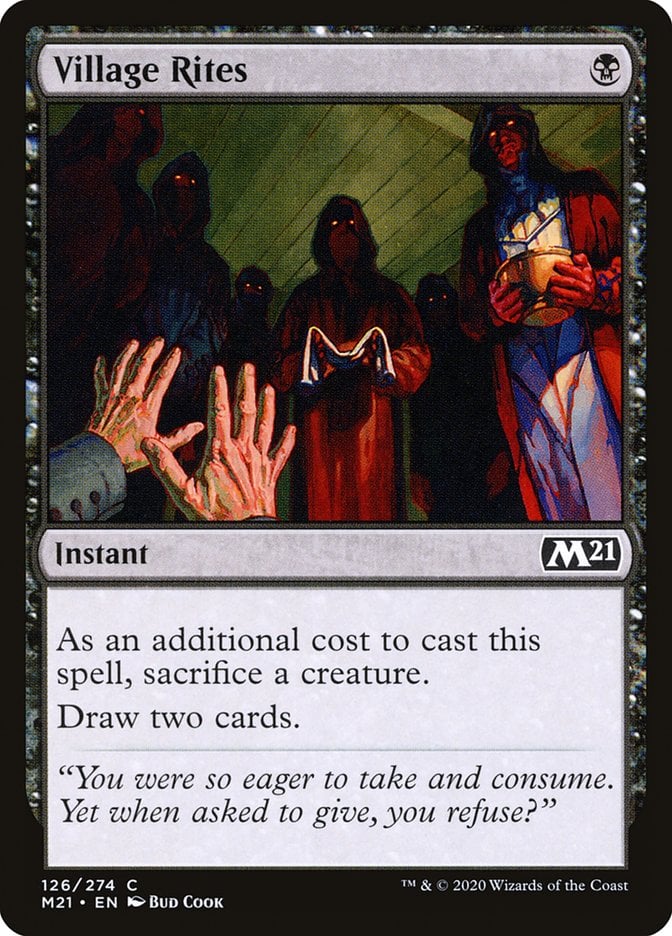
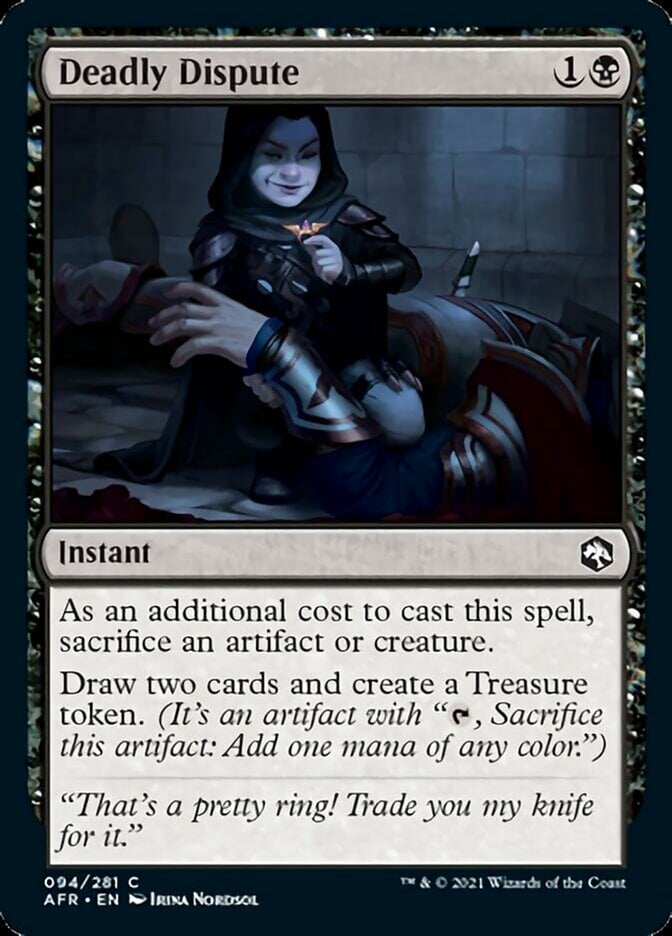
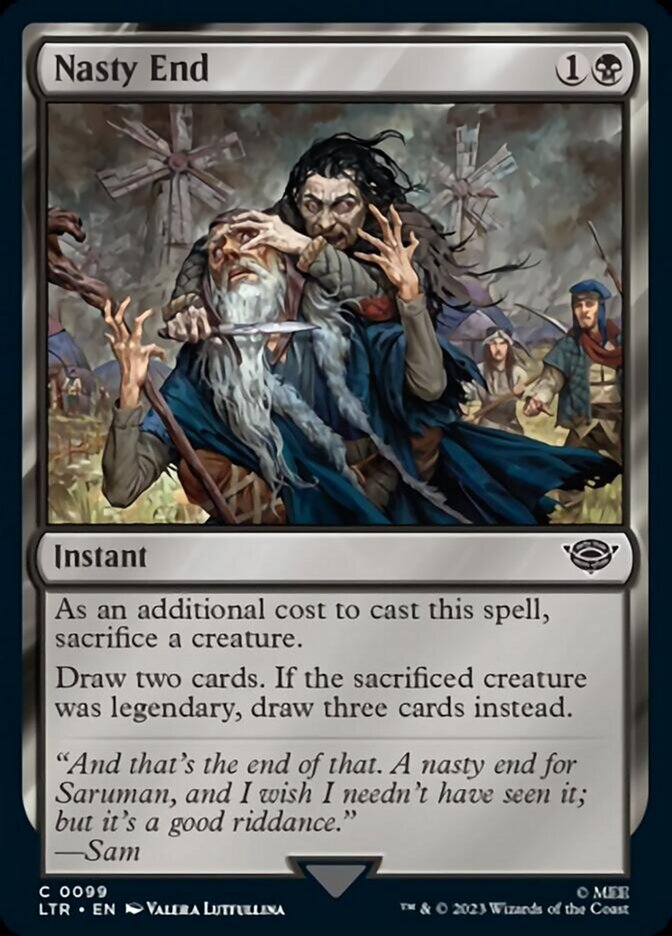
Village Rites, Deadly Dispute, and Nasty End are a suite of spells that let you draw cards if Tevesh is unavailable. Nasty End is especially noteworthy because you can sacrifice Rograkh for three cards instead of two.
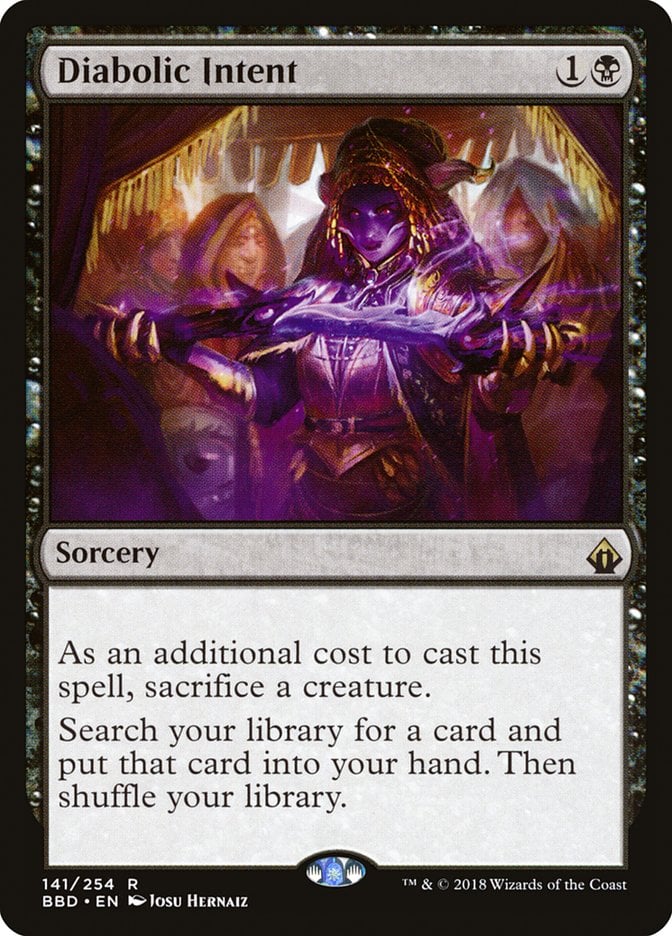
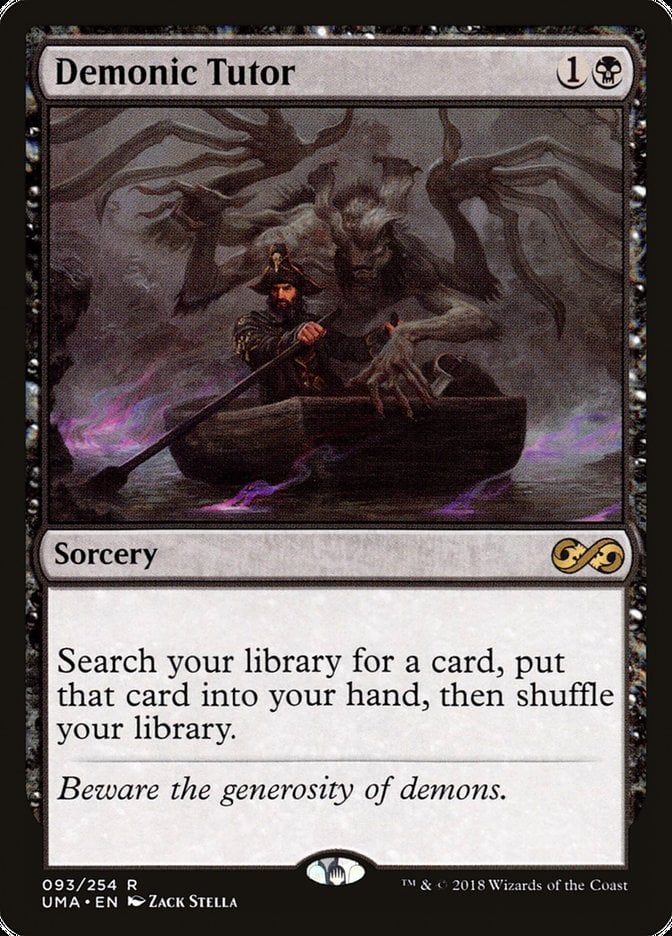
Diabolic Intent is just one of this deck’s many tutors and the only one that requires a sacrifice to work. It’s this deck’s second Demonic Tutor that goes a long way toward assembling your combos to finish the game.
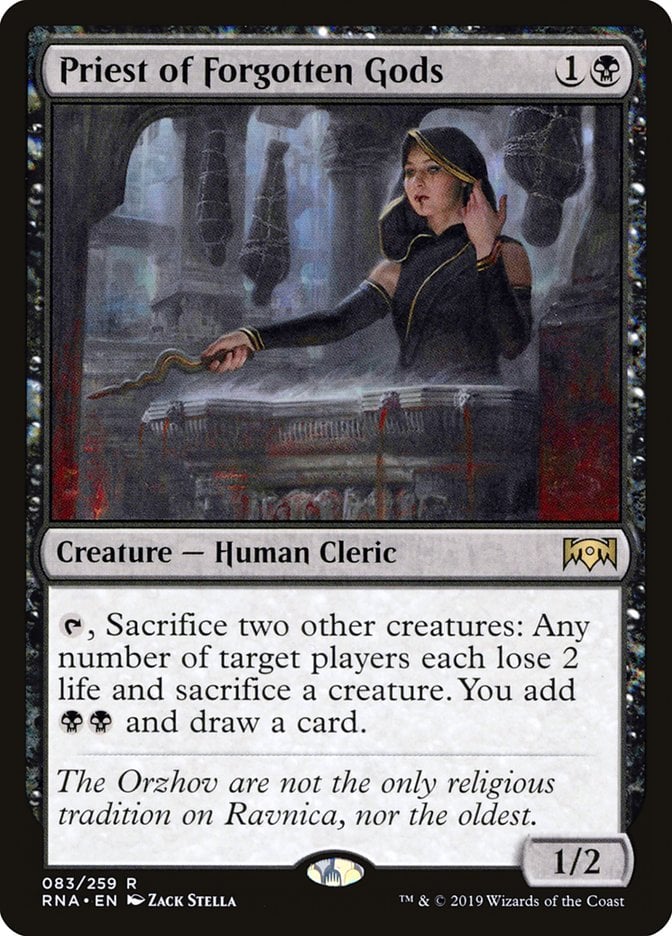
Priest of Forgotten Gods can be a bit clunky because it needs you to sacrifice two creatures. The rewards are worth it, however. Card and mana advantage while controlling the board? Tevesh making two tokens helps streamline the deal, making this a devastating engine.
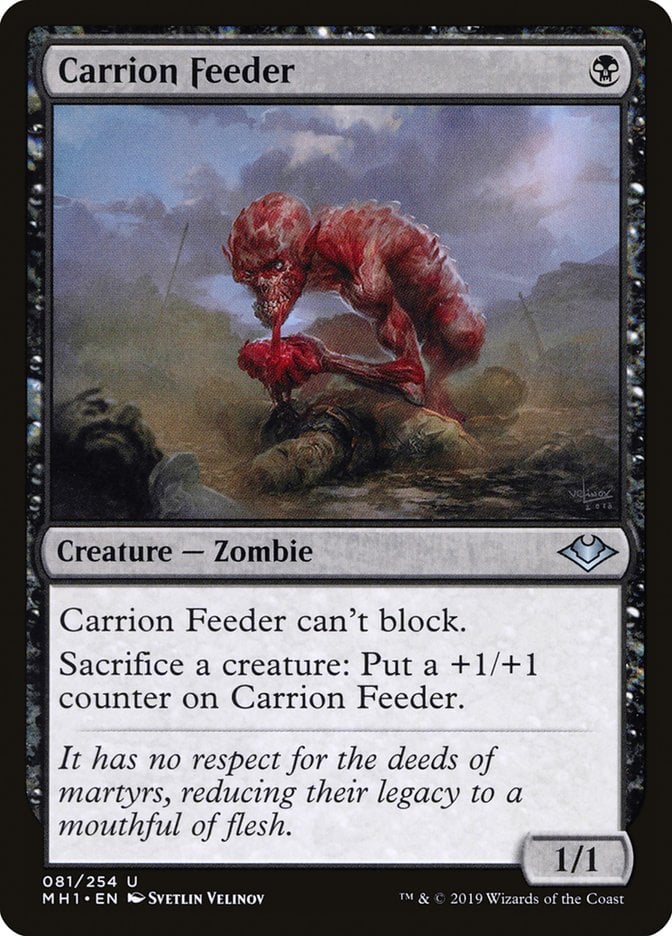
Carrion Feeder and Viscera Seer are classics of the archetype. Free, spammable sacrifice effects are just what this deck wants. Carrion Feeder can get huge quickly, taking out opponents with your burn effects, while Seer scrys to give you plenty of control over what you’re drawing. They’re also essential combo pieces.
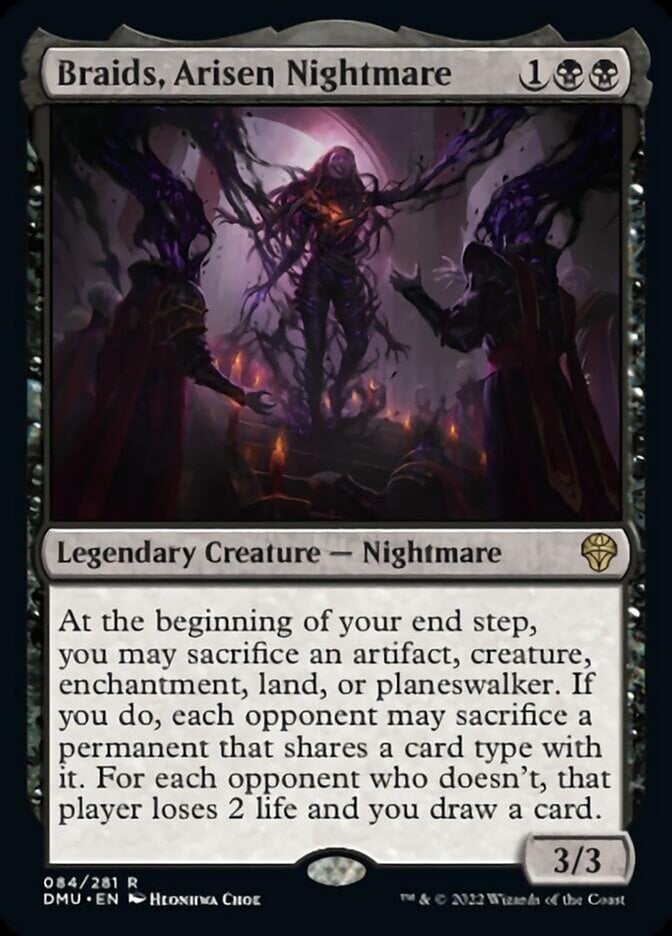
Braids, Arisen Nightmare rounds this section out with one of my favorite sacrifice cards. You’ll often be sacrificing creature tokens, putting your opponents in a rough spot where they have to decide between their board and giving you extra cards. Either way, you often come out on top.
Sacrifice Payoffs
While the sacrifice outlets often reward you for using their abilities, you have a few cards that want your creatures to die.
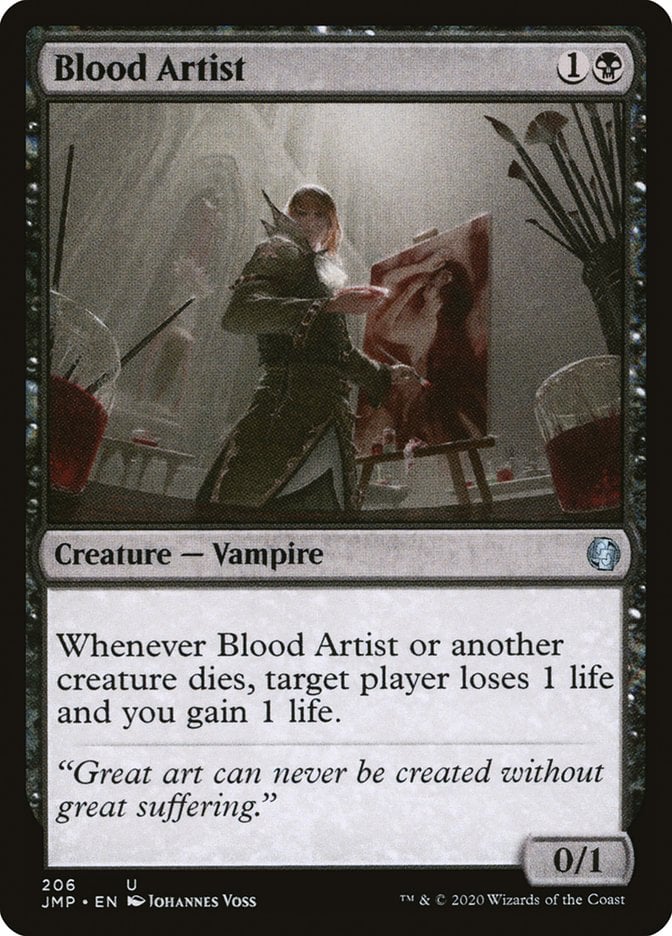
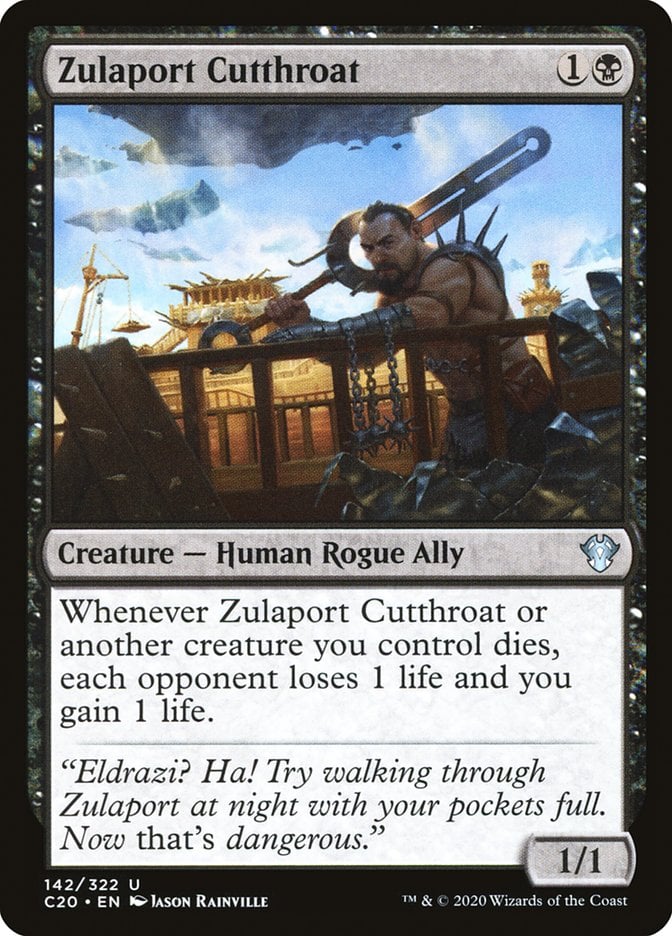
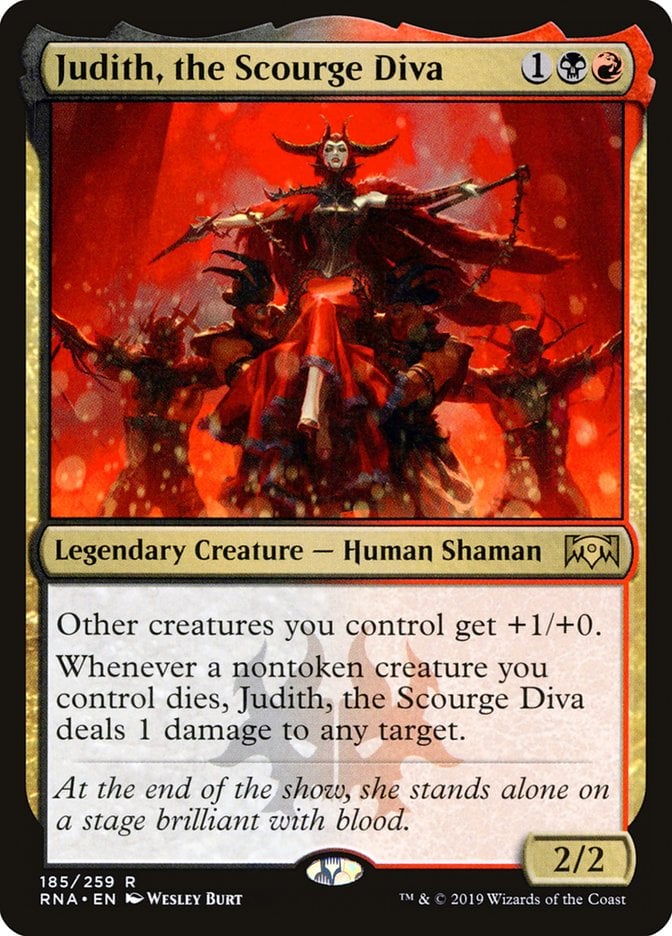
Your deck has a pretty standard burn package. Mayhem Devil, Blood Artist, Zulaport Cutthroat, Bastion of Remembrance, and Judith, the Scourge Diva all deal plenty of damage to your opponents when your creatures die. These are a huge part of the deck’s strategy, giving you a way to drain your opponents out while giving you easy wins with your infinite combos.

Midnight Reaper gives you even more card draw, though it won’t trigger off your various tokens. It also gives you a little protection against board wipes, letting you draw a ton of cards if somebody tries to interfere with your plans.
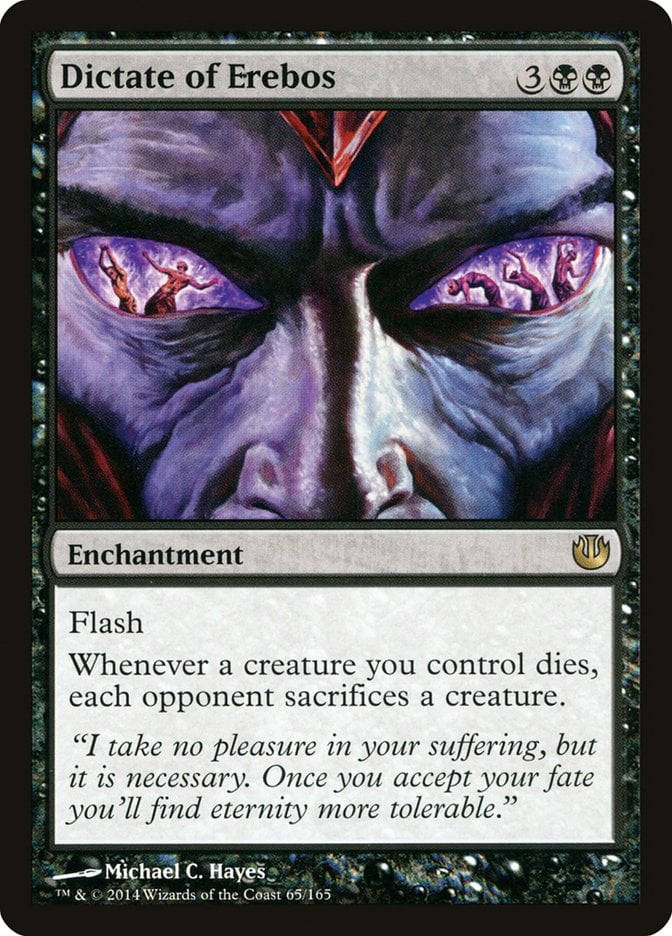
Dictate of Erebos is a powerful tool that offers complete board control. You’re producing and sacrificing so many creatures that it’s often impossible for your opponents to keep up. When you’re sacrificing two tokens a turn, and they’re sacrificing real creatures, they’ll run out of resources and give you all the time in the world to find a win.
Interactive Spells
You’ll need ways to interact with your opponents to win, and Rakdos gives you some interesting tools.
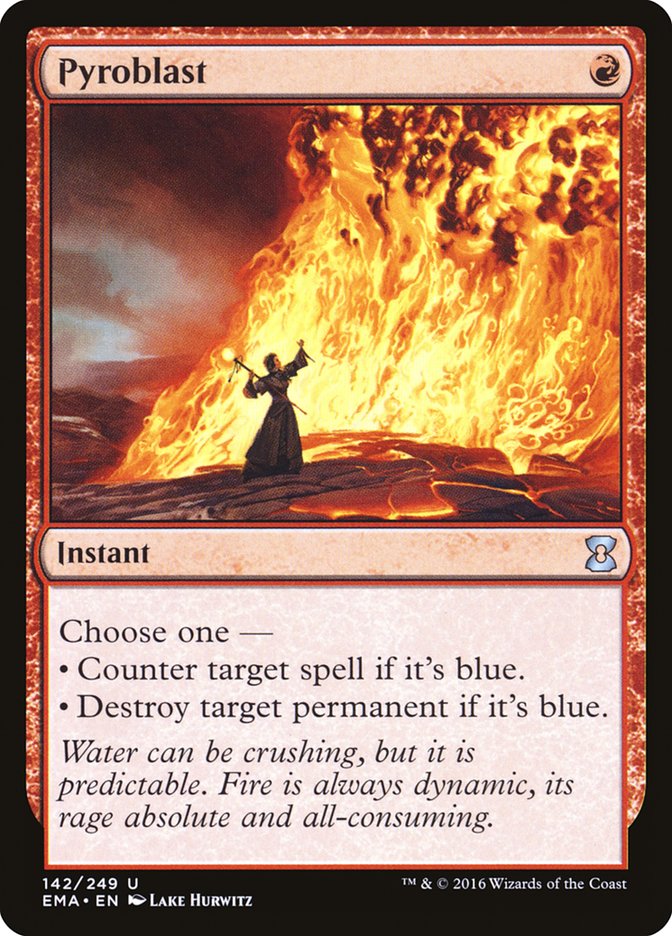
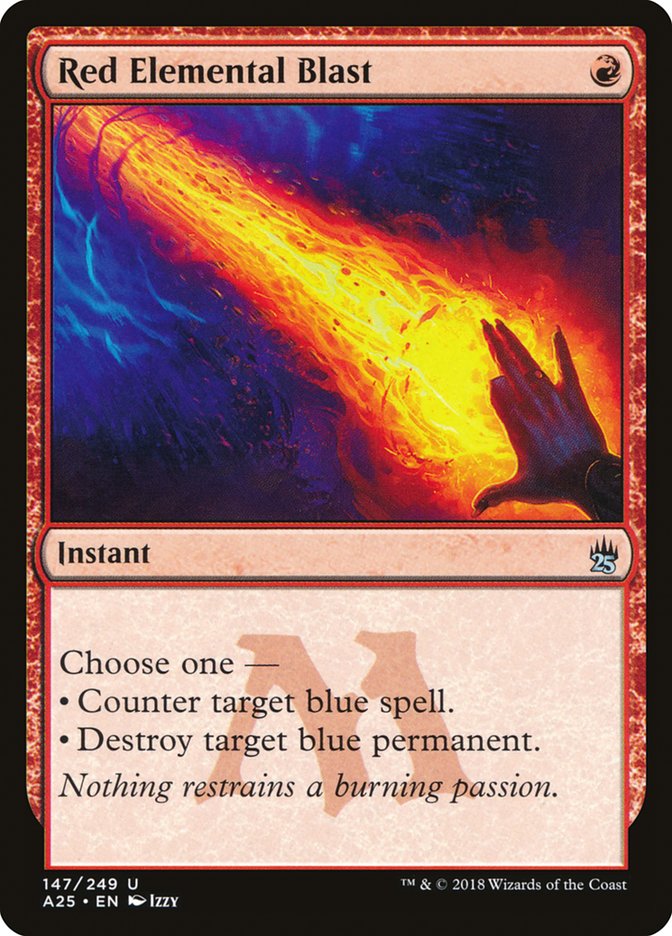
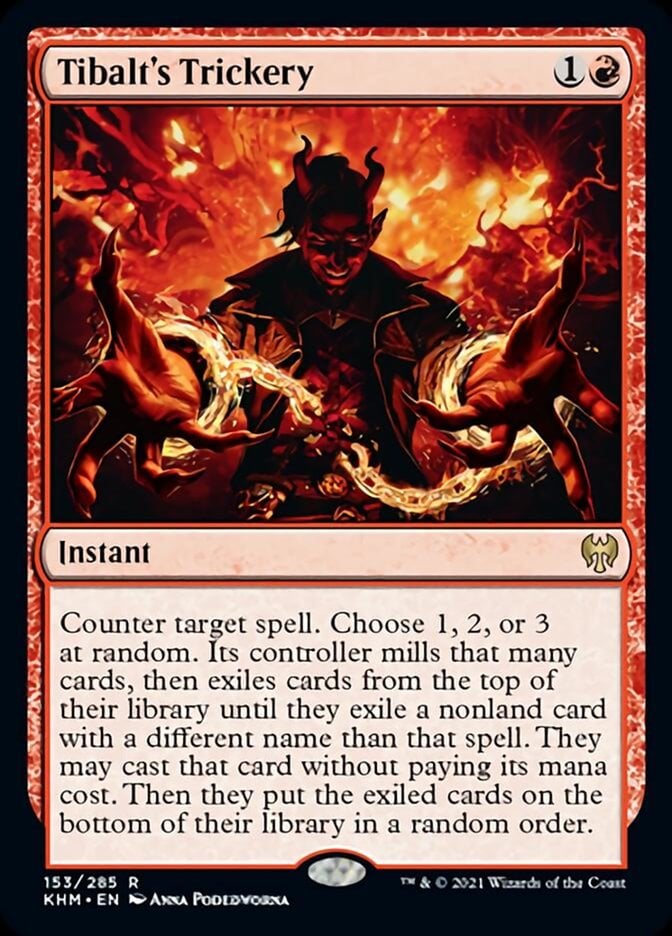
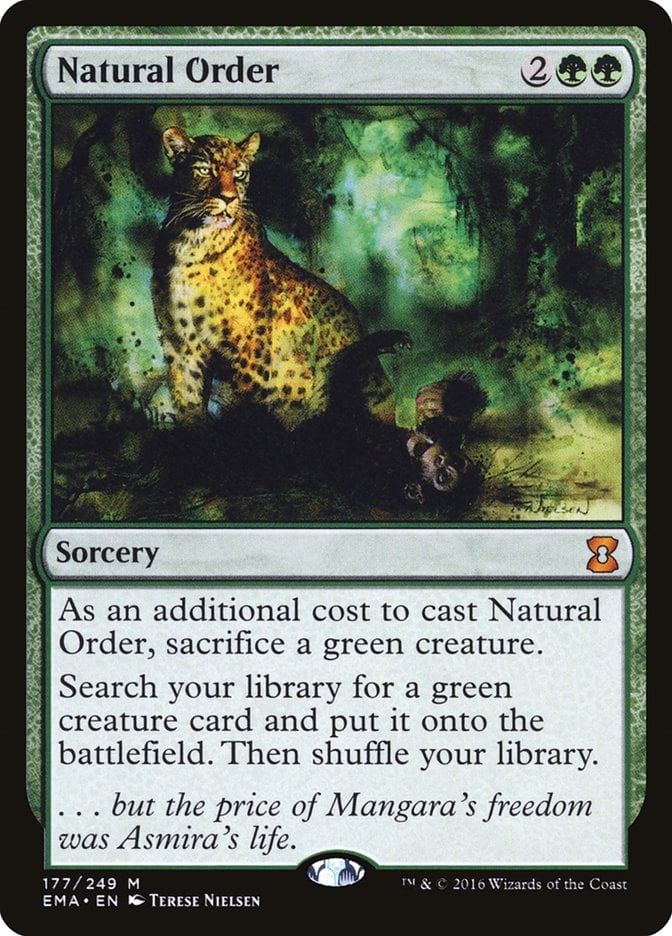
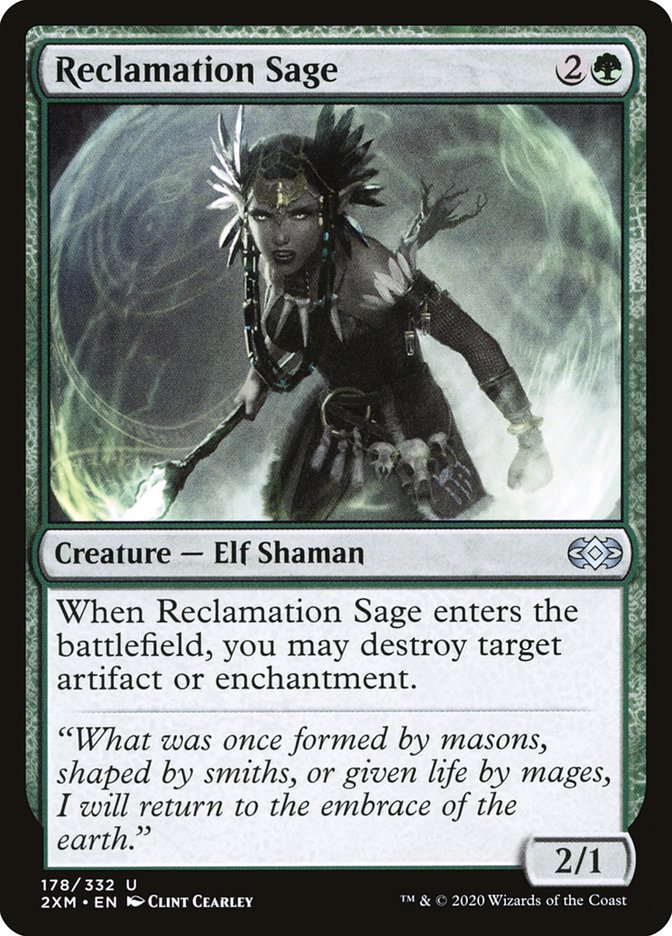
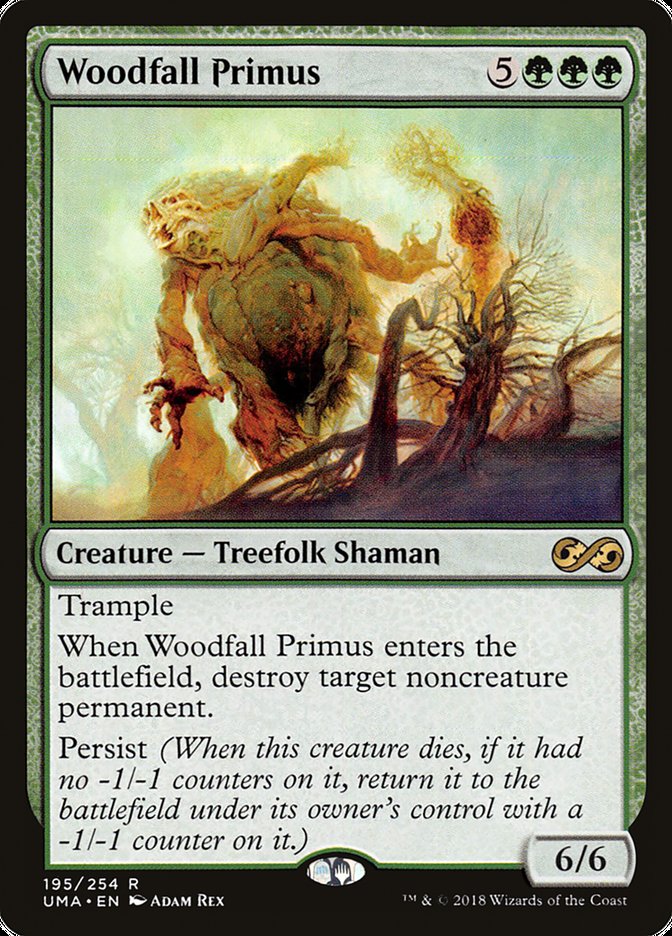
Just because you aren’t playing blue doesn’t mean you can’t get in on some counterspell action. Pyroblast and Red Elemental Blast let you win counterwars and deal with problematic permanents. Tibalt's Trickery is a fantastic way to stop a must-answer threat. You should reserve it for game-winning plays like Natural Order so you don’t accidentally turn a Reclamation Sage into Woodfall Primus.
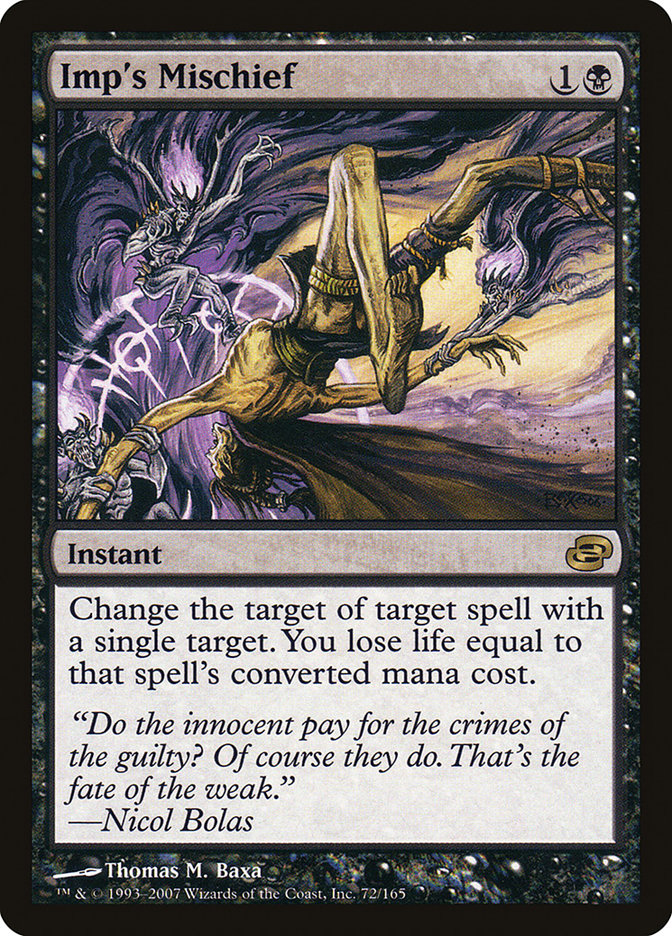
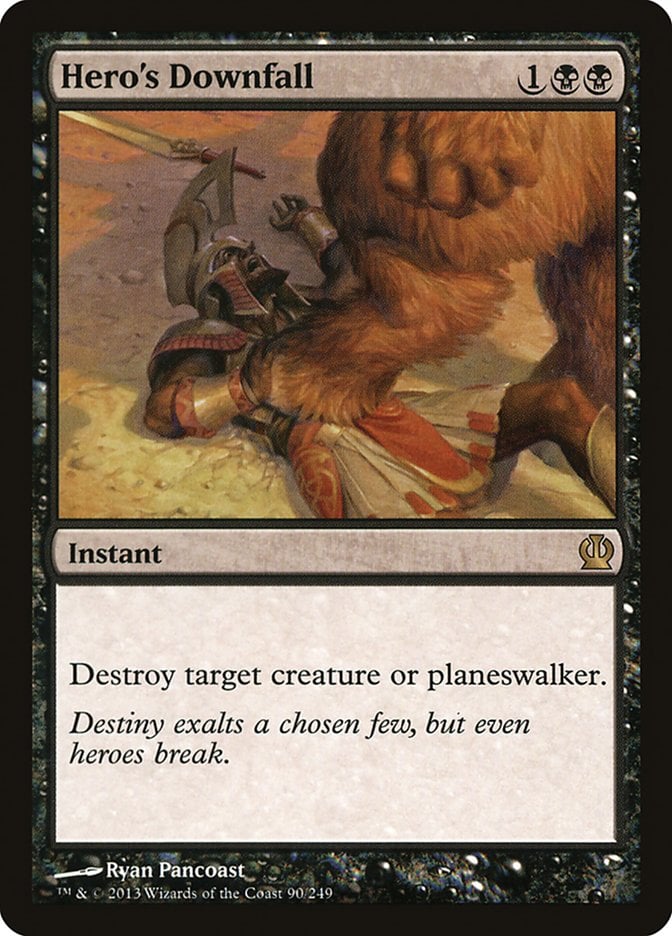
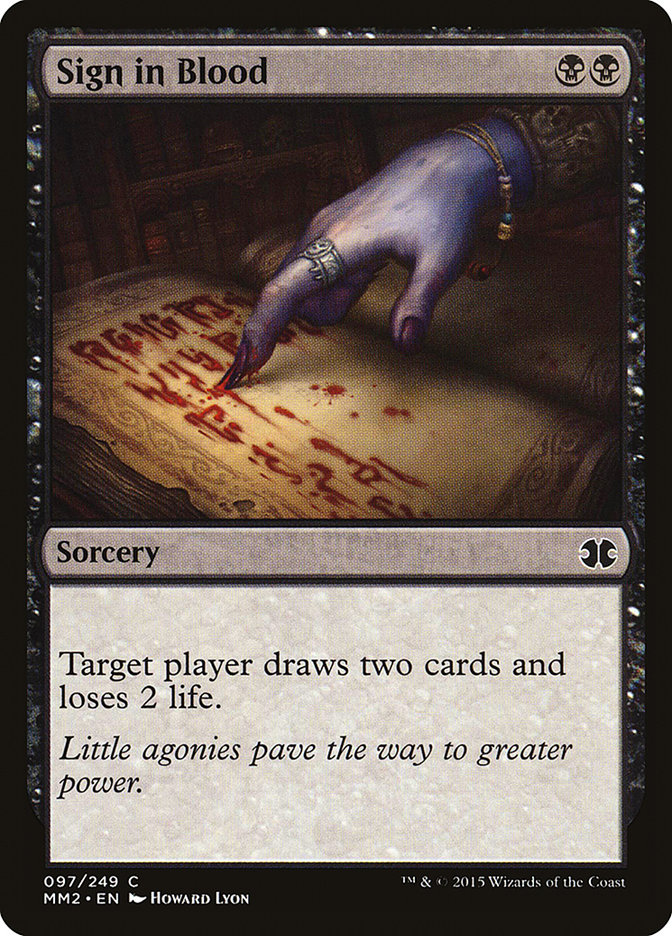
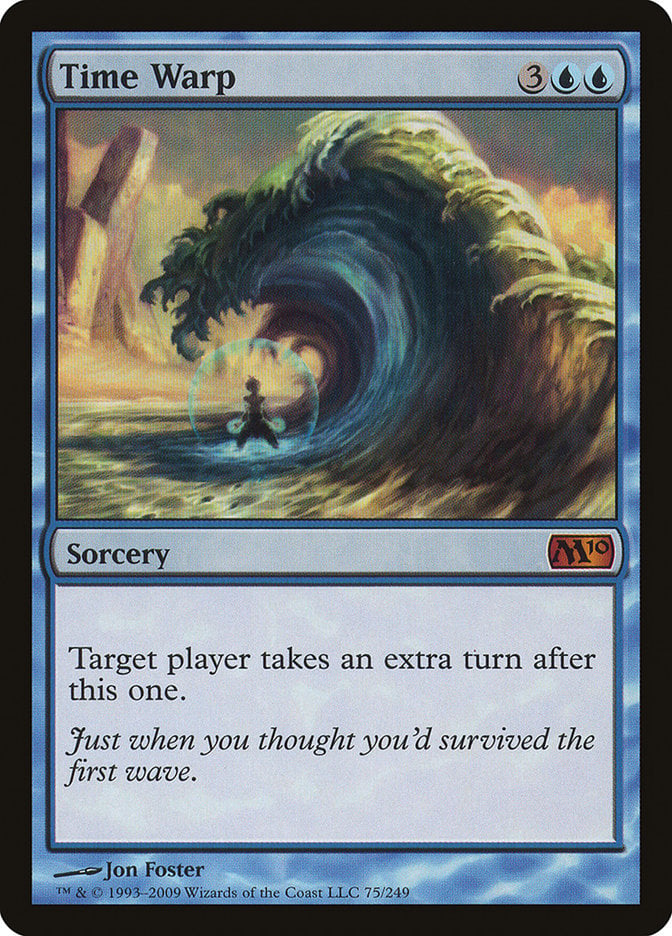
Imp's Mischief is a Future Sight card I recently discovered and love dearly. It redirects interaction, stopping Hero's Downfall from answering your combo pieces, but it’s also a great gotcha for opponents playing cards like Sign in Blood or Time Warp that you’d rather have target you than them.
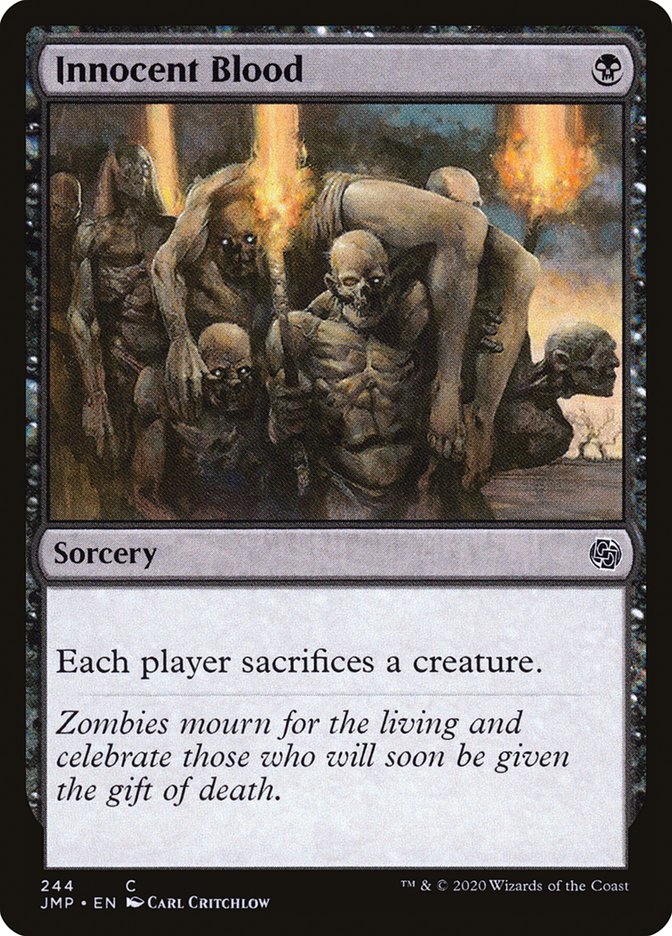
I think Innocent Blood is heavily underrated in EDH. Any deck with creatures to spare can kill two or three of their opponents’ creatures without losing anything meaningful for a single mana. It’s great on turn one or two to kill off early mana dorks, but it’s also effective in the late game as a cheap enabler for Dictate of Erebos or in the midgame against Timmy-style decks that drop a single threat each turn.

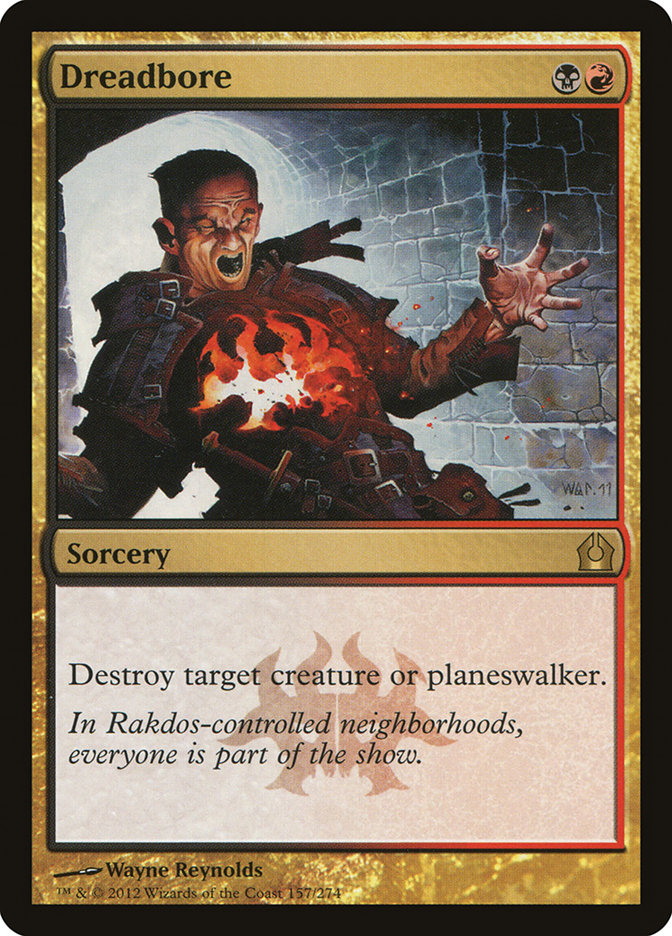
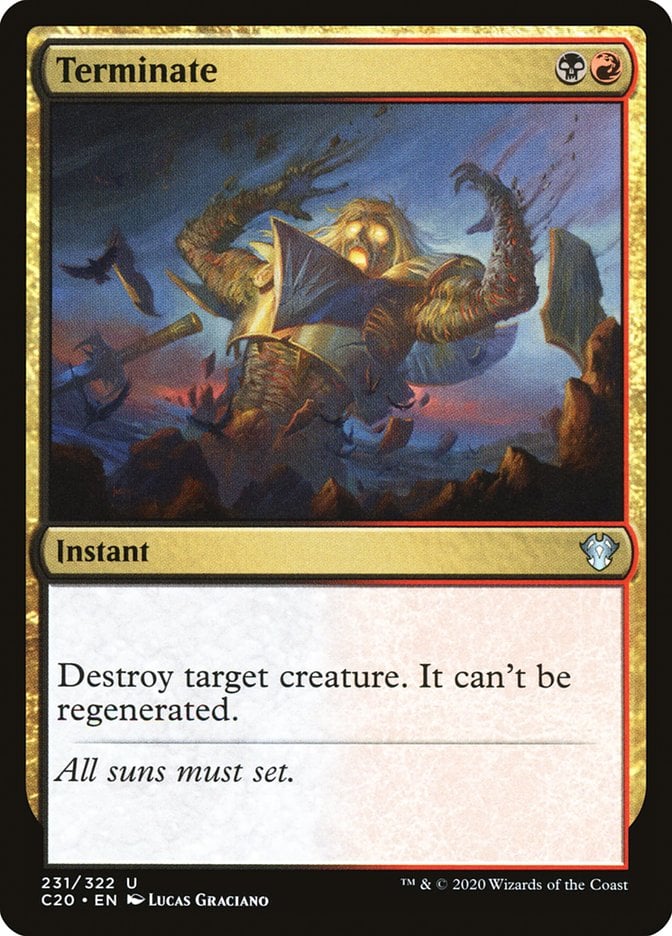

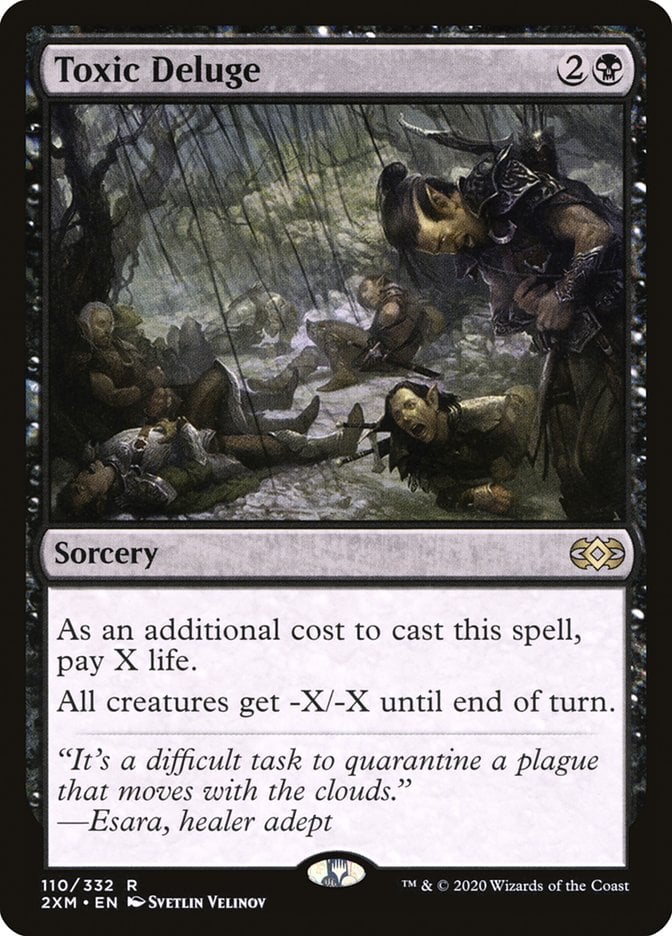
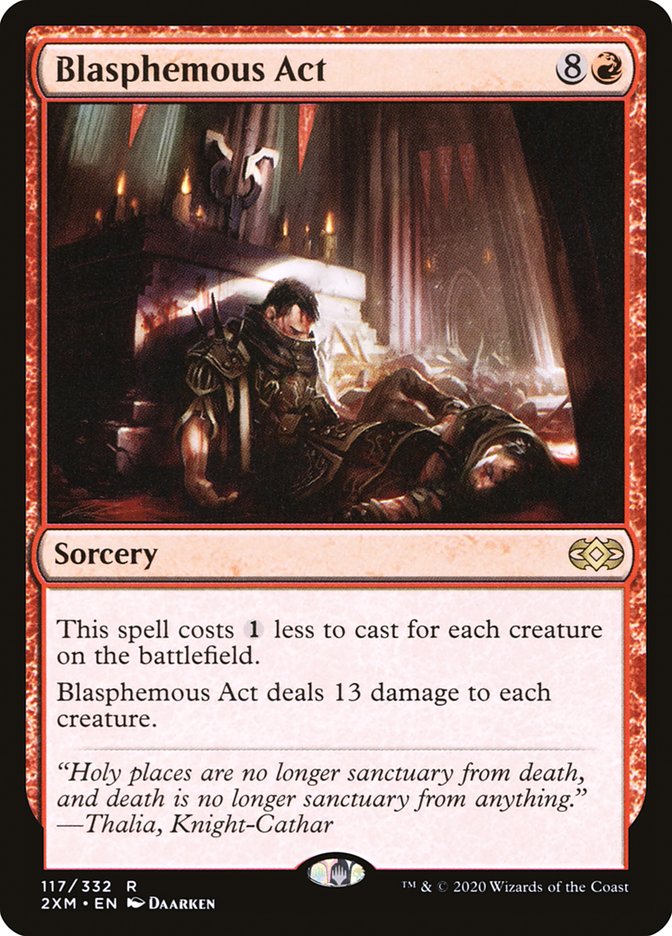
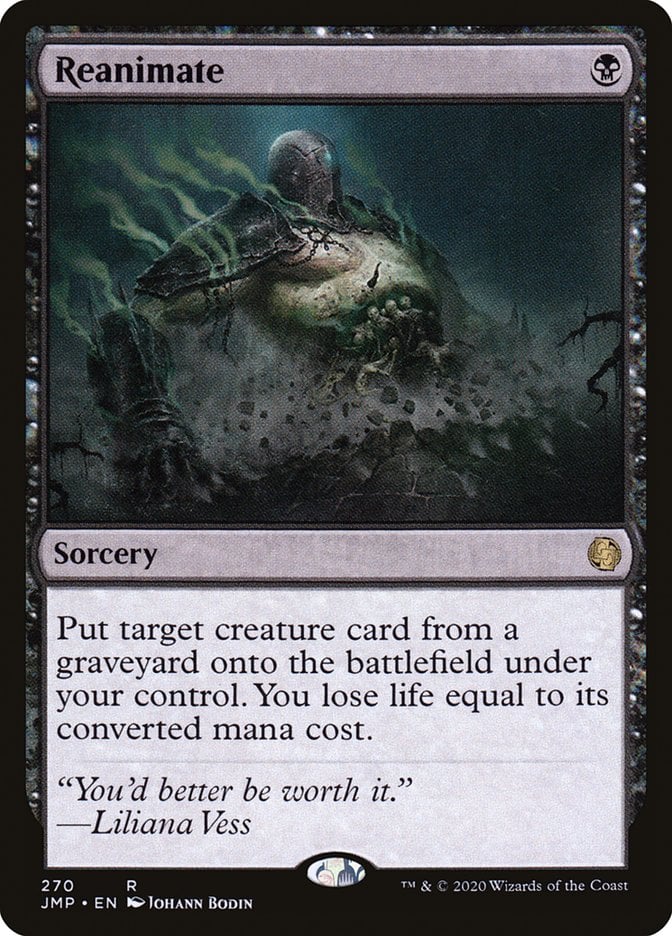
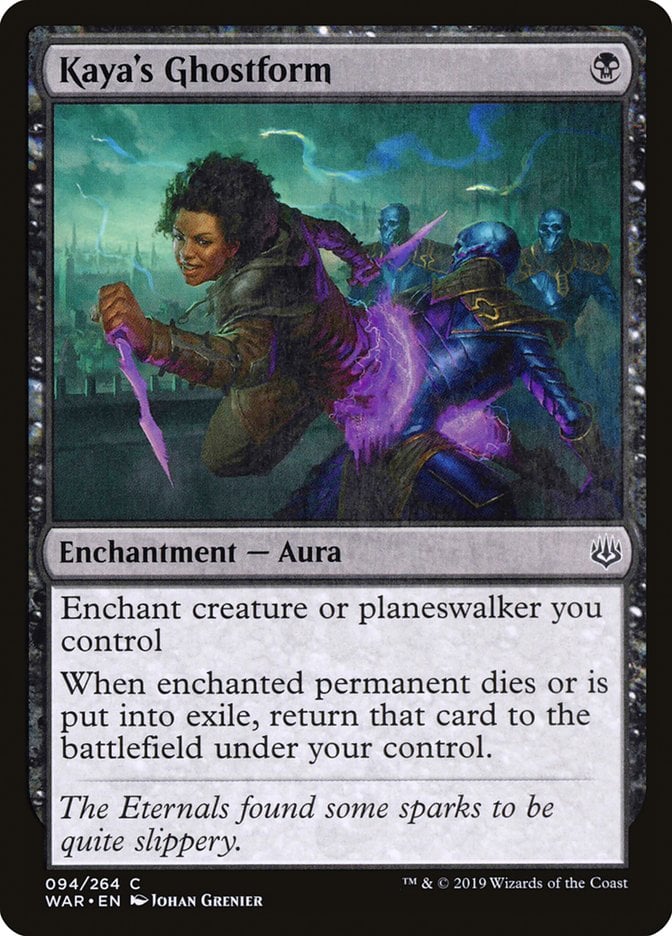
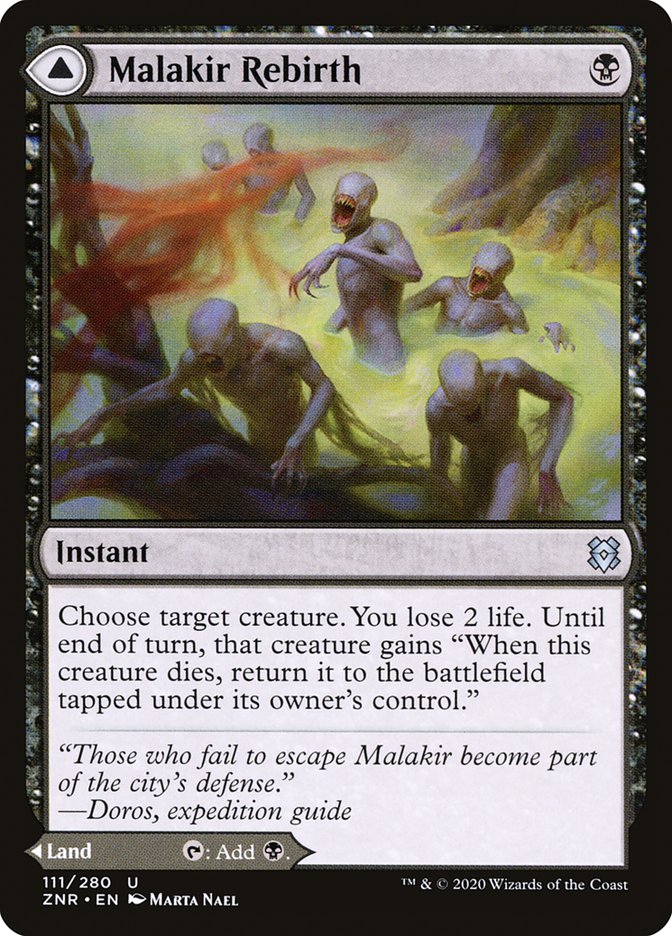
Rakdos is excellent at dealing with creatures. Abrade, Dreadbore, Terminate, and Bedevil snipe off individual creatures with ease. In case you’re playing against token commanders, Toxic Deluge and Blasphemous Act give you a couple of ways to deal with opposing hordes.Reanimate, Kaya's Ghostform, and Malakir Rebirth give you a few ways to minimize the effect board wipes have on your side of the board.
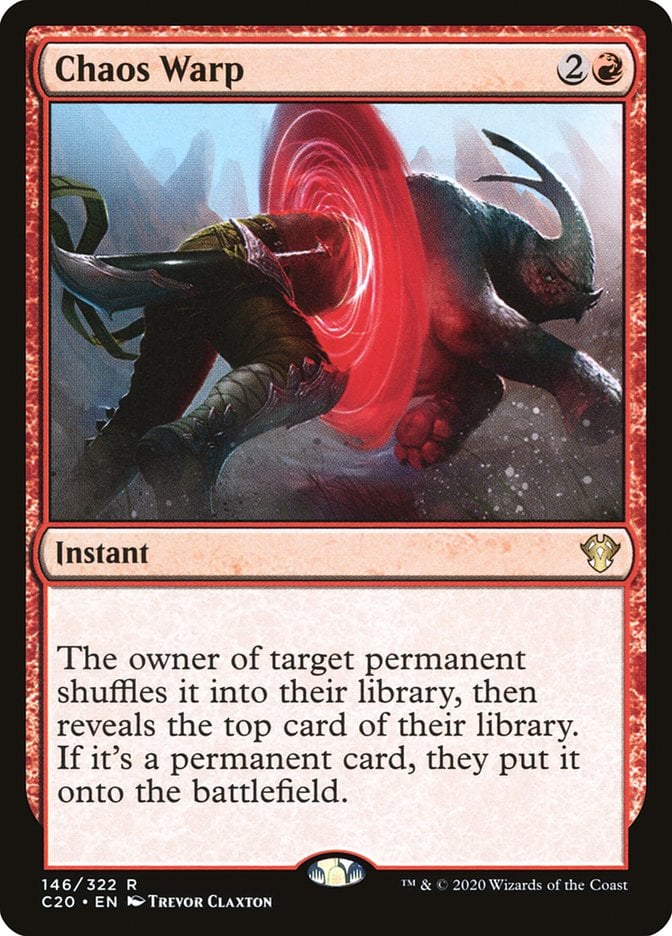
Chaos Warp gives you a catch-all removal spell. It deals with a permanent, gets around indestructible, and is a fun spell to resolve and see what happens. A lot of the time you turn a creature into a land, but sometimes you turn an Ulamog into a Kozilek, and everybody laughs and then dies to eldrazi.
The Mana Base
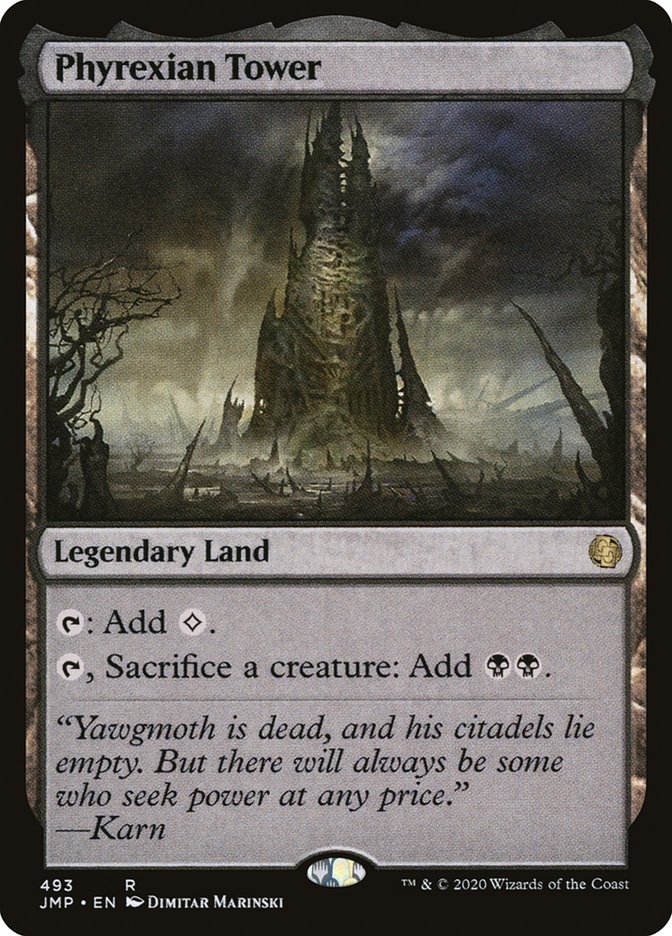
The biggest standout card in the mana base is Phyrexian Tower. Once you have regular token production, it’s just an Ancient Tomb that fixes your mana and doesn’t cost life.
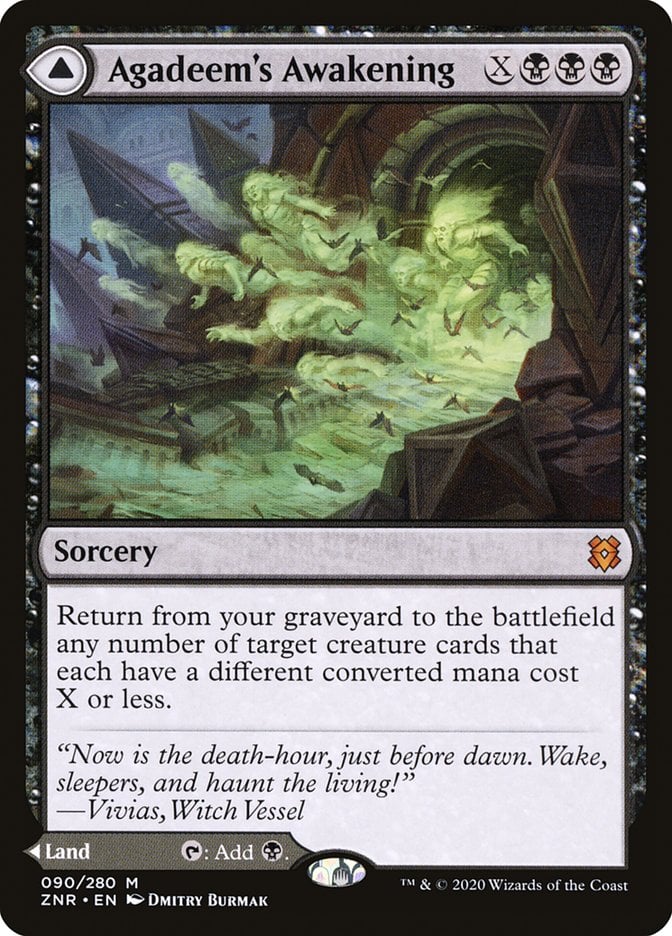
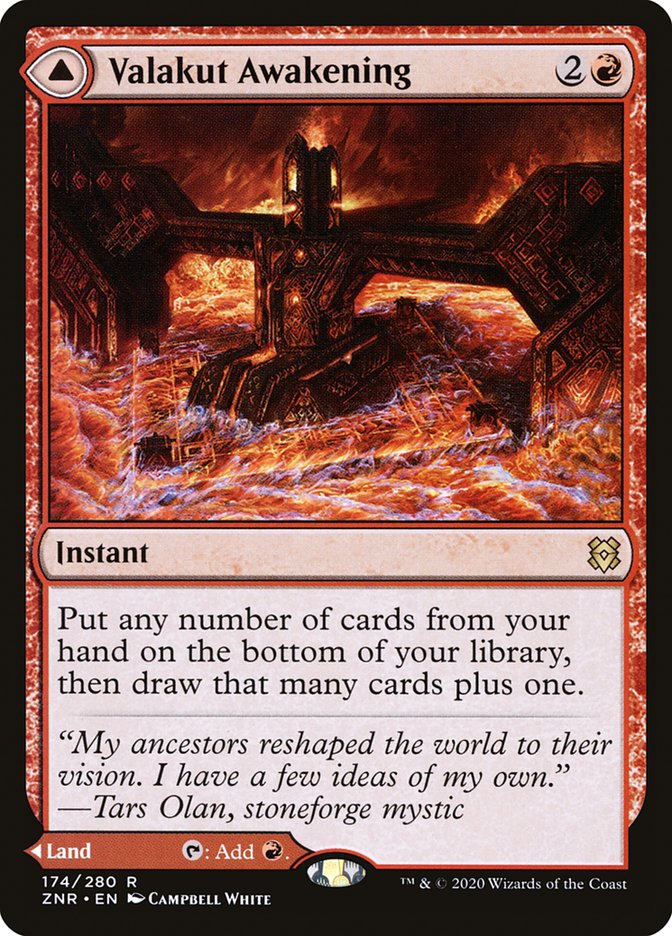
You also have some MDFCs that help smooth out your opening hands. Malakir Rebirth is an excellent protective spell, Agadeem's Awakening rebuilds your board after a board wipe or for value, and Valakut Awakening helps find those last cards you need to win the game.
Beyond this, it’s a bunch of lands for fixing, focusing on untapped lands to help curve cleanly. A bunch of 2-mana mana rocks helps accelerate you in the early game and utilize all the cards you draw.
The Strategy
The first thing to look for in your opening hand is a fast Tevesh Szat, Doom of Fools. The best-case scenario is to start with Infernal Plunge or Culling the Weak to power it out on turn two or three, but a couple of Talismans also do the trick.
Beyond that, you need to consider if you’re playing a combo game or trying to grind your opponent out. The deck does both, but it determines your early game. A hand with plenty of mana and several tutors lends itself to a fast game, but if you’re opening with Dictate of Erebos alongside some removal, you should set yourself up for a long game.
Balancing set-up and payoff is the key to piloting this well. How long can you wait to establish Midnight Reaper and Dictate of Erebos before you start sacrificing creatures? You have access to plenty of card draw, but when do you need to impact the board instead of just spending mana to refill your hand?
This heavily depends on when you get Tevesh out. If you can play it on turn two or three, you can pretty easily make a bunch of tokens and don’t have to worry about your opponents pressuring it since it’s a beefy planeswalker behind two Thrull tokens. This gives you plenty of time to draw, draw, and draw more cards, leaving your opponents in the dust.
If your opponents have a more developed board, you’ll look to set up defensive forces. Focus less on card draw and more on establishing something like Mayhem Devil with a token producer and sacrifice outlet to deter attackers and buy yourself the time you need to dig.
This deck also has a bundle of tutors, so you’ll need to consider what you want to get with them. Again, it’ll depend on the game’s tempo. In the early game, I’d prioritize cards like Ophiomancer or Mayhem Devil to set you up for a solid game plan. If you have no combo pieces, going for them early can be detrimental since you have to survive long enough to play them.
In the middle of the game, if the board stalls out, you have a few great options. Dictate of Erebos or your wraths do a lot to chew through your opponents’ boards while leaving you ahead. This period is also a great time to start the hunt for combo pieces, especially if a few are already in play or in your hand.
You may also need to grab interaction. Casting Demonic Tutor to get Terminate isn’t the most inspiring play, but sometimes it’s clear that the Ashaya, Soul of the Wild player is posturing for the win and you need to stop them. It’s also worth noting that all your combos utilize infinite sacrificing and recursion from the graveyard, so you may need to destroy cards like Linvala, Keeper of Silence, Rest in Peace, or Nemata, Primeval Warden to clear the way.
Combos and Interactions
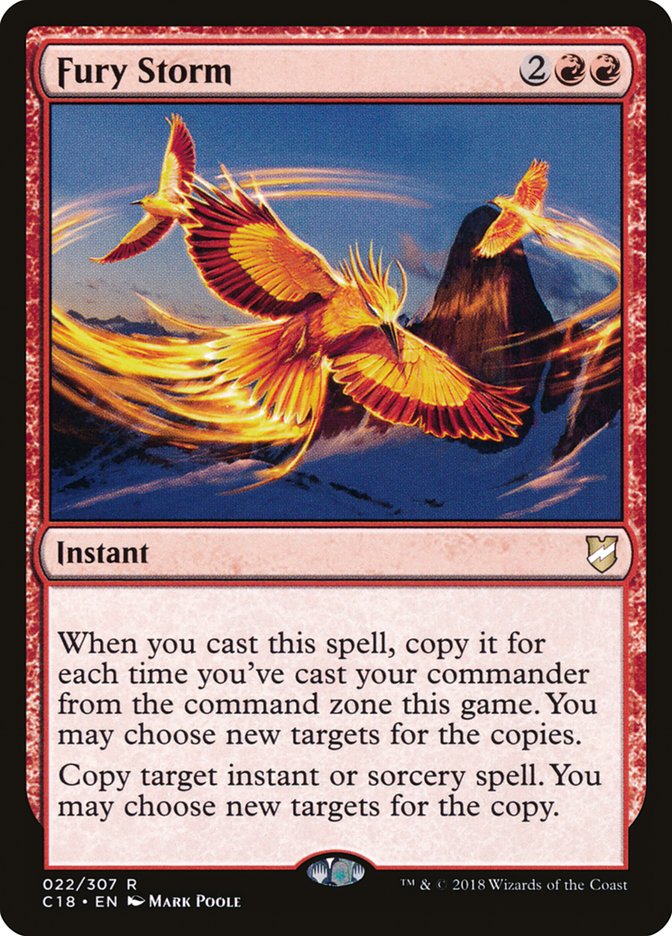
One interaction I want to highlight is Fury Storm with the two commanders. This instant counts each time you cast either commander, so casting Rograkh and Tevesh once apiece counts as casting your commander twice. In an ideal world, you’ll cast Tevesh once and Rograkh two or three times to get plenty of copies.
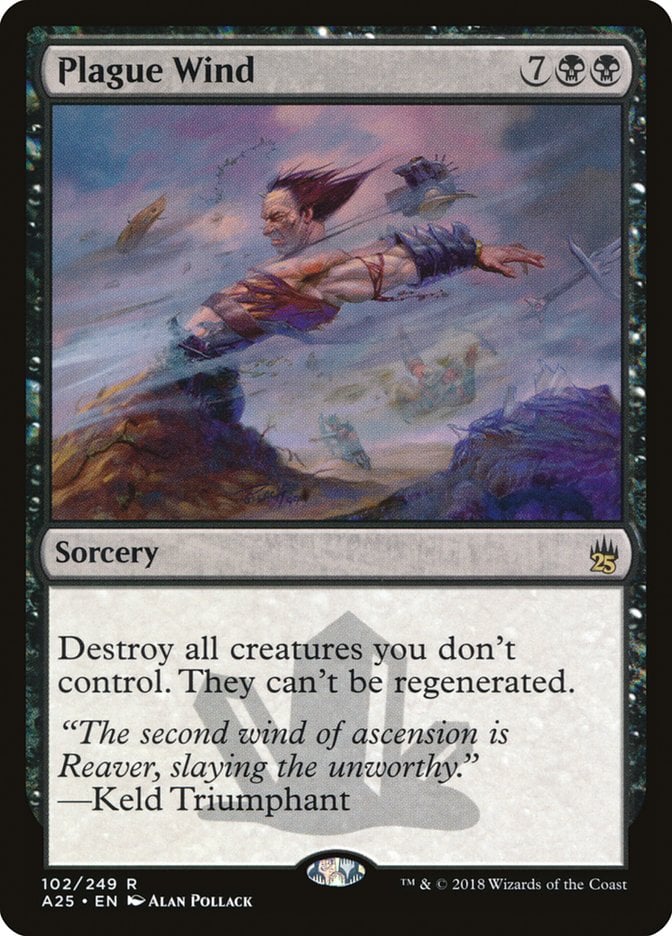
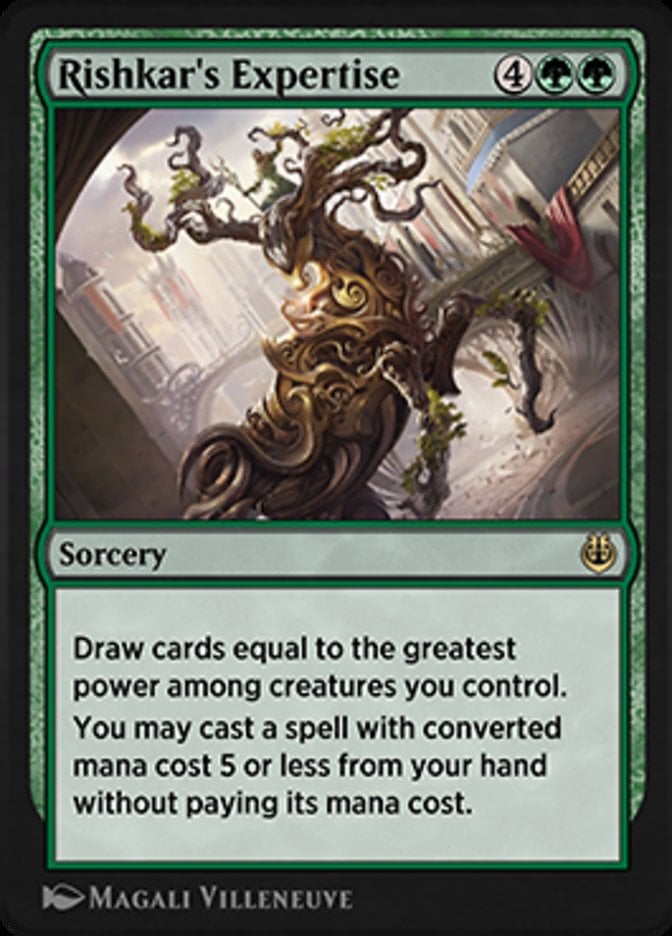
You can copy your spells, like Demonic Tutor, to find your entire combo or Dreadbore for a mini Plague Wind, or you can snipe your opponents’ big spells. Getting several copies of Time Warp or Rishkar's Expertise for four mana is an excellent bargain.
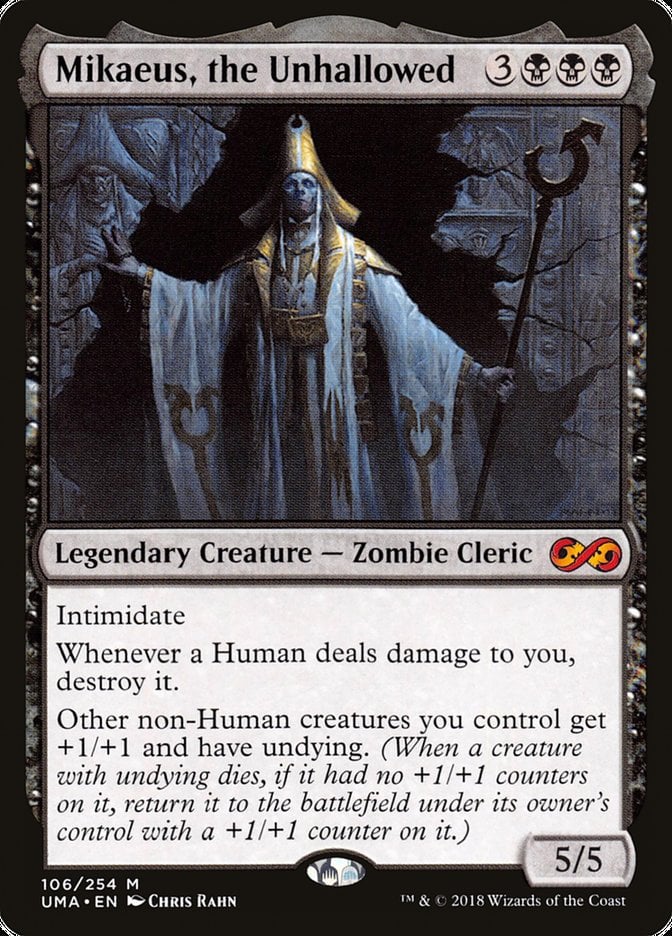
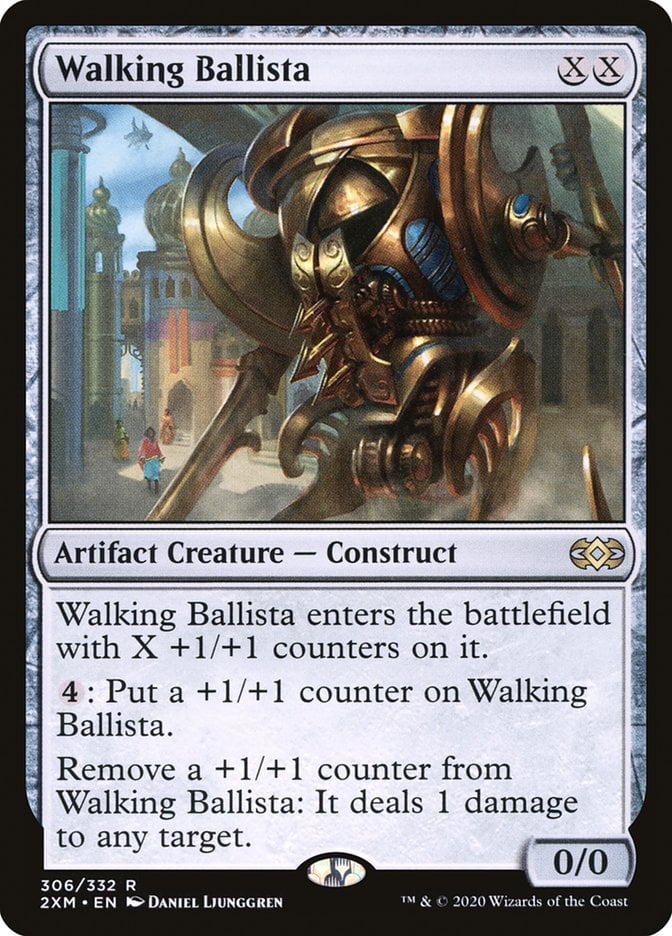

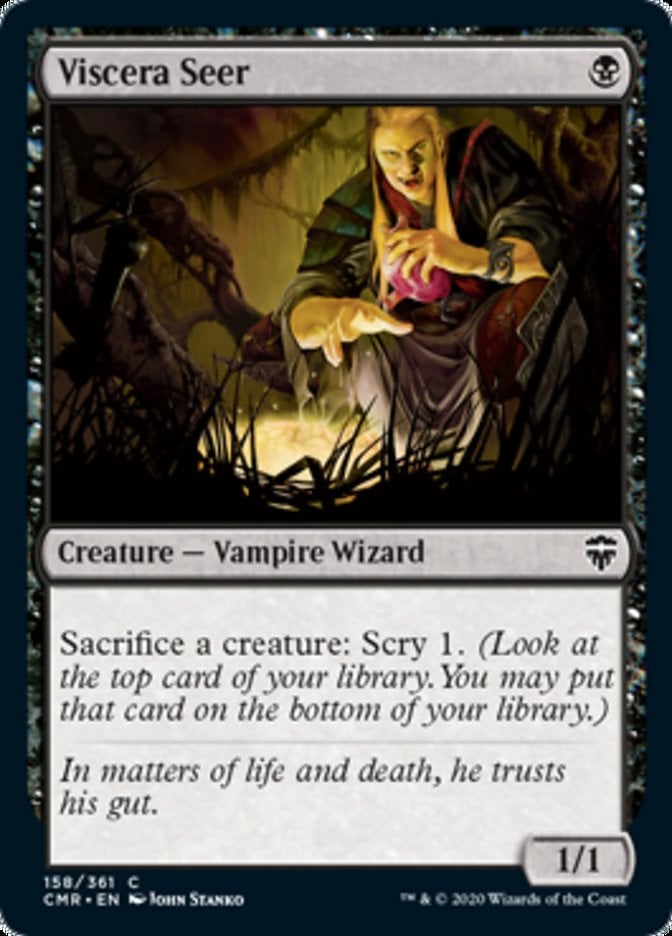
As for the actual infinites, they all utilize Mikaeus, the Unhallowed. The first one pairs it with Walking Ballista and any of your free sacrifice outlets: Goblin Bombardment, Viscera Seer, or Carrion Feeder.
You need all three creatures in play. If Walking Ballista has any counters, use its ability to remove them, dealing damage to one of your opponents. Once it has no counters, sacrifice the Ballista to Carrion Feeder or another outlet. This triggers undying, provided by Mikaeus, the Unhallowed.
Walking Ballista returns to play with a +1/+1 counter thanks to undying. Remove the counter, sacrifice it again, and repeat this loop to take out your opponents.
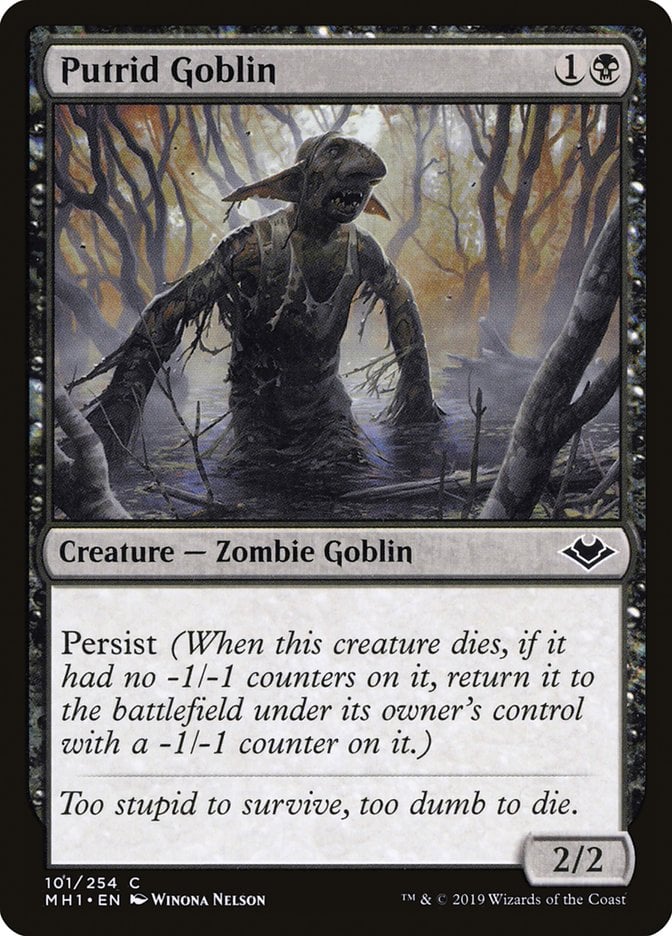
The next loop also utilizes Mikaeus, the Unhallowed and a free sacrifice outlet alongside Putrid Goblin.
You again need all three in play. We’ll sacrifice Putrid Goblin to Carrion Feeder, which triggers undying and persist. Stack them however you like; the abilities combine to bring the creature back with both a +1/+1 and a -1/-1 counter, which cancel each other out leaving you with a Putrid Goblin with no counters. Keep sacrificing the Goblin.
This combo only generates infinite death triggers. Goblin Bombardment is the ideal sacrifice outlet for this combo since it wins on its own, but you can also win by pairing this loop with any of your aristocrat effects (example: Blood Artist).
Rule 0 Violations Check
This deck mostly breaks rule 0 with its infinite combos. That said, they’re hardly streamlined. You need multiple pieces, one of which is fairly expensive and easy to remove. It’s easy to interact with this via disruptive pieces that target the graveyard.
If that’s still not your playgroup's cup of tea, I’d replace Mikaeus with something like Yawgmoth, Thran Physician or Sadistic Hypnotist. Either of these is a little fairer and still works as a sacrifice-based top end.
Not every table loves Dictate of Erebos. In some games it feels like a prison piece, preventing your opponents from maintaining any board state, and it can feel bad against decks focused on putting out one or two creatures. It’s just something to be mindful of.
Budget Options
The mana base is always a good starting point. You can absolutely swap out cards like Blood Crypt and Bloodstained Mire for Temple of Malice and Geothermal Bog, and other lands like Reflecting Pool can come out for more tap lands. It’ll just make the deck a little slower.
Phyrexian Tower doesn’t really have a great replacement, so it could simply be another Swamp. The same can be said for the MDFCs. It’s better to replace them with lands than more spells because of how this deck is structured.
Orcish Bowmasters has a premium price on its head. If you want to use it as a steady stream of sacrifice fodder, replace it with Dreadhorde Invasion. If you’re interested in punishing blue players who are drawing endless cards, Underworld Dreams is an intriguing option.
Imp's Mischief lets you get up to lots of fun, but it costs a pretty penny since it’s only had a single printing. Reverberate can fill a similar role. It doesn’t stop you from being targeted but lets you in on the fun.
Demonic Tutor and Vampiric Tutor up the deck’s consistency, but also its price. You can just run more card draw like Plumb the Forbidden or Wrenn's Resolve to go for quantity over quality.
Bitterblossom could also be swapped for Dreadhorde Invasion if you only want to get one of the expensive 2-mana black cards on the list.
Dictate of Erebos boasts a high price thanks to flash, but Butcher of Malakir is a fine if more expensive alternative.
Other Builds
What other paths can you take these commanders?
Rograkh, Son of Rohgahh is used as sacrifice fodder here since it costs nothing, but that’s a lot of keywords for a 0-mana creature. You can pair it with Ardenn, Intrepid Archaeologist for an explosive Voltron deck. Ardenn lets you chuck tons of great equipment like Swords, Argentum Armor, and Batterskull on Rograkh for lots of damage that your opponents will struggle to block.
As for Tevesh Szat, Doom of Fools, it could work well with Tana, the Bloodsower as a pair of commanders for Jund tokens. Tana makes plenty of tokens for Tevesh to sacrifice, and the color combination gives you access to great token cards like Bitterblossom and Craterhoof Behemoth.
Commanding Conclusion
Braids, Arisen Nightmare | Illustration by Heonhwa Choe
Sometimes, it’s good to visit the classics. The kind of archetypes that have always been part of the game, that experienced players have seen come and go as new sets are printed, and metas shift. It’s also cool to see how they grow.
This list makes use of the semi-recent partner mechanic and recent cards like Jadar, Ghoulcaller of Nephalia and Braids, Arisen Nightmare alongside oldies like Carrion Feeder and Culling the Weak to see how the sacrifice archetype has grown with the game.
Who would you pair Rograkh, Son of Rohgahh with? What’s your favorite partner pairing? Let me know in the comments or on the Draftsim Discord!
Stay healthy, and sacrifice your friends!
Follow Draftsim for awesome articles and set updates:


Add Comment