
Last updated on October 5, 2026

Dack Fayden, Helping Hand | Illustration by Josiah ‘Jo’ Cameron
While Dack Fayden, Helping Hand feels like a meme thanks to donating creatures, it has potential as a cEDH commander with the right pile of creatures, which Redditor Traffic_Kone uncovered. Choosing the right creatures turns Dack Fayden into an infinite combo revolving around Radiant Solar and Preston, the Vanisher.
What Are The Creatures?

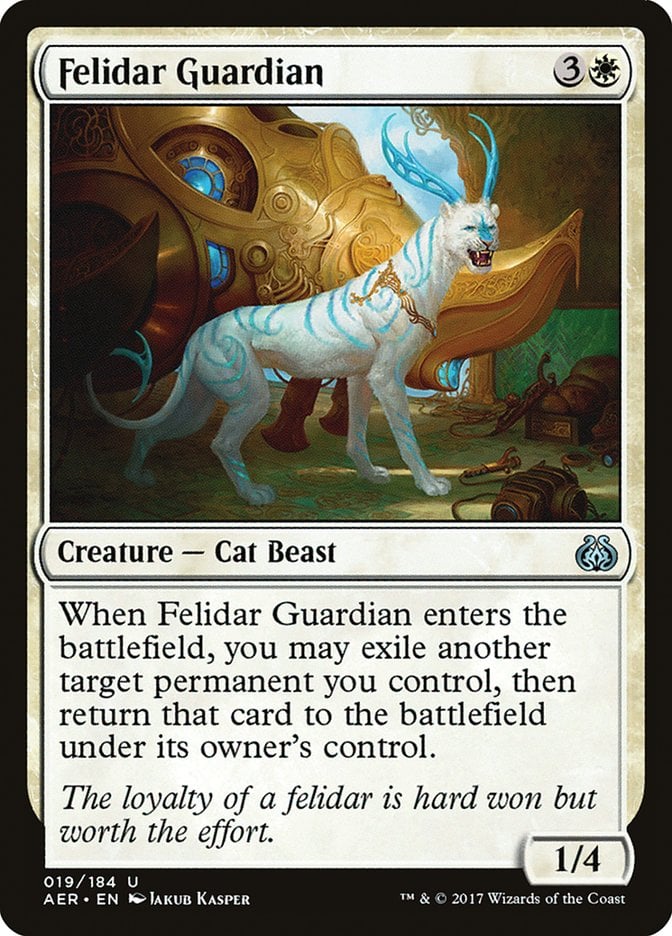

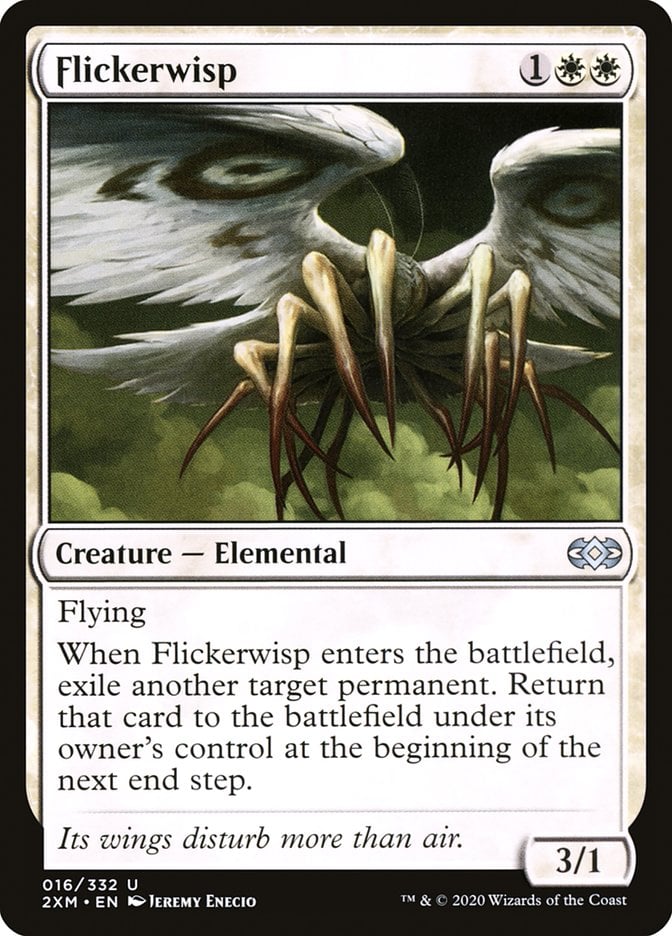


Traffic_Kone’s six creatures are as follows:
The perfect package eliminates the risk of Dack Fayden, Helping Hand fizzling. Because Dack flips three random creatures, you need to avoid them being useless, especially since your opponents gain control of them. This particular package leans on Felidar Guardian, Radiant Solar, and Preston, the Vanisher to generate the winning loops, with All-Fates Stalker, Fiend Hunter, and Flickerwisp stealing creatures back.
What Are The Combos?
Radiant Solar is the beating heart of the deck and your primary win condition. All the combo lines revolve around triggering Solar to infinitely venture into the dungeon. You need to take the Lost Mine of Phandelver so you can hit Dark Pool, the room that drains your opponents. This loop drains the table out.
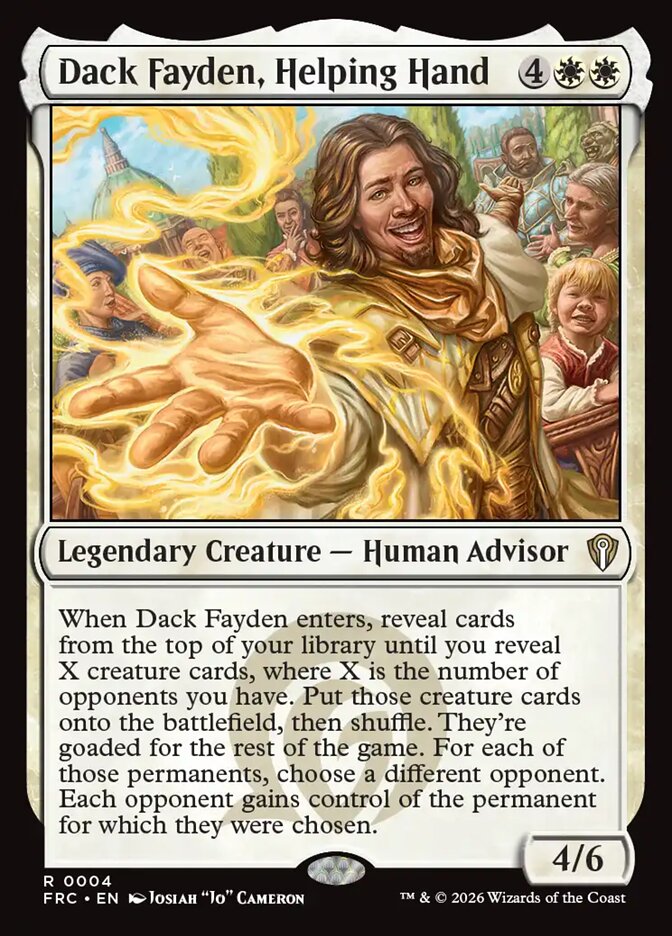
Dack’s role in the combo is assembly. A very, very important quirk of Dack’s is the templating: because the creatures enter under your control, then get gifted to your opponents, you get their enters triggers, but those don’t go on the stack until the creatures have already been donated, and your opponents have control of them (that’s why the Dack-Venser combo in the Multiverse Reforged precon works).
The actual combo lines are incredibly complex. The tldr on the different lines is pretty simple: All-Fates Stalker, Fiend Hunter, and Flickerwisp are all here to steal your creatures back. Because they exile creatures and “return them under their owner’s control,” you’ll get creatures back. Say your Fiend Hunter exiles All-Fates Stalker with its trigger, then Flcikerwisp targets Fiend Hunter. Assuming you stack your triggers properly, Flickerwisp exiles Fiend Hunter, which returns All-Fates Stalker to your control in the end step, so you get another trigger, and it’s under your control for the sake of Guardian and Preston.
Felidar Guardian and Preston, the Vanisher are critical sources of flicker effects. Preston is especially important, but you’ll always have access to it; any pile of creatures that doesn’t include Preston includes a flicker effect, so you can trigger Dack again and put the other three creatures into play.
The simplest line flips Felidar, Preston, and Solar into play. Felidar flickers Dack, and Preston copies Solar and Felidar. Your opponents gain control of those three creatures, then Dack flips the others into play. In order, Flickerwisp targets Stalker, then Stalker targets Fiend Hunter, then Fiend Hunter targets Felidar. Once these resolve, Felidar enters under your control, then Hunter goes under Stalker. Flickerwisp exiles Stalker, returning Hunter to your board, where it exiles Felidar again. Then, in your end step, Wisp returns Stalker into play. It exiles Fiend Hunter, returning Felidar to play, then Felidar flickers Stalker to bring both permanents back. Then you basically just shuffle these creatures together infinitely, which triggers that token copy of Radiant Solar we made way back at the beginning of the turn.
The other combo lines are at least this convoluted, if not more so (one involves moving through the Tomb of Annihilation first so you can sacrifice a token All-Fates Stalker). But every pile results in a win, and they all more or less follow this theme of stacking Felidar, Fiend Hunter, and All-Fates Stalker triggers such that the three permanents steal what you gave your opponents, then flickering each other for Radiant Solar. I wholeheartedly recommend Traffic_Kone’s primer, even if you don’t play cEDH—it’s a beautiful testament to a player’s passion and an expression of how wonderfully complex the rules of this game are.
Follow Draftsim for awesome articles and set updates:










Add Comment