Last updated on October 18, 2022
Galazeth Prismari | Illustration by Raymond Swanland
It’s a bird, it’s a plane, it’s superman! Wait… no it’s not.
When you think about big flying stuff in the sky, the only creature you should think of is a dragon. With Dungeon & Dragons finally featuring in its own set, these mighty creatures have returned in earnest. But make no mistake, dragons have been part of Magic lore since its beginning.
As you may have guessed, today is all about dragons. But are they popular enough to conquer the competitive scene? Let’s find out!
The Deck
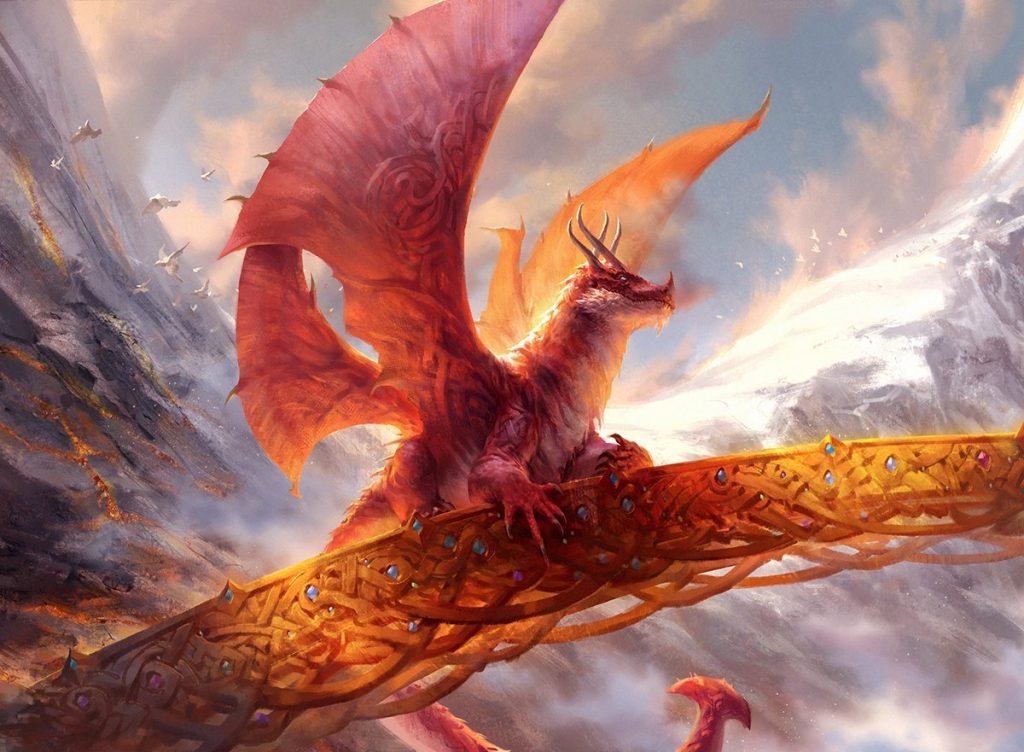
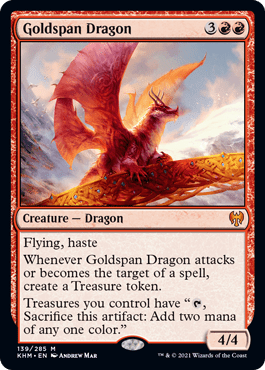
Goldspan Dragon | Illustrated by Andrew Mar
Since rotation just hit us, it only makes sense to highlight a deck from new Standard. Let’s take a look at the mighty Izzet Dragons. This deck is insane. Not only are all its creatures dragons, but it also has powerful spells that aim to interact during each phase of the game. Take a look:
Creature (8)
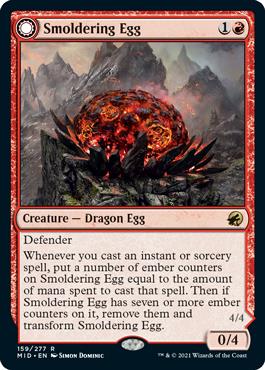
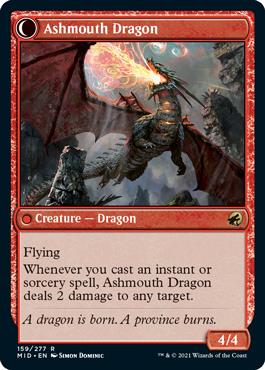
Smoldering Egg x4
Goldspan Dragon x4
Instant (18)
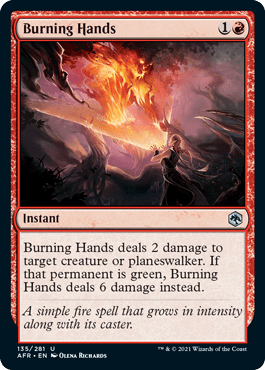
Burning Hands x4
Dragon's Fire x4
Saw It Coming x4
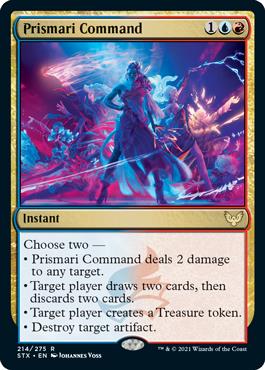
Prismari Command x4
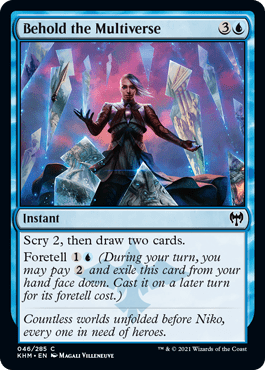
Behold the Multiverse x2
Sorcery (10)
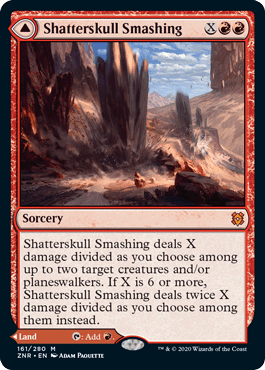
Shatterskull Smashing x2
Expressive Iteration x4
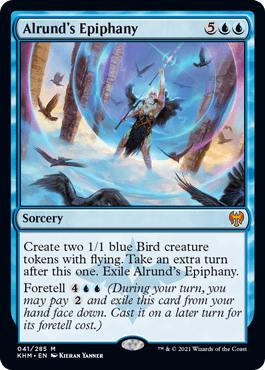
Alrund's Epiphany x4
Land (24)
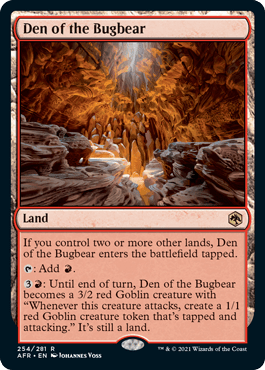
Den of the Bugbear x2
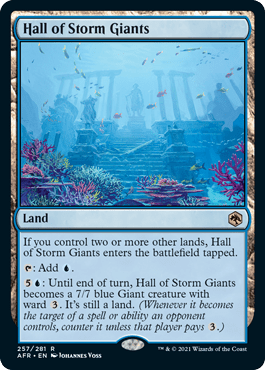
Hall of Storm Giants x2
Island x8
Mountain x4
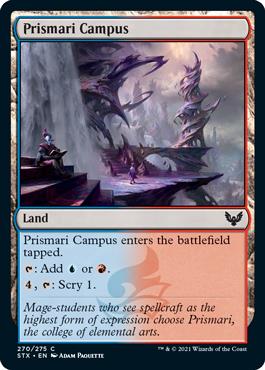
Prismari Campus x4
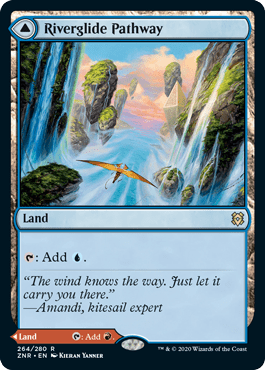
Riverglide Pathway x4
Sideboard (15)
Malevolent Hermit x2
Inferno of the Star Mounts x2
Disdainful Stroke x2
Into the Roil x3
Negate
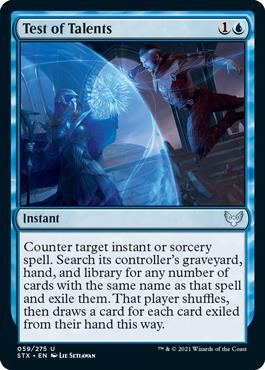
Test of Talents x2
Cinderclasm x3
The Strategy
In a format dominated by Orzhov and green decks featuring Esika's Chariot, you want to make sure to keep up with both at the same time. This is why this deck runs a combination of removal and tempo spells that aim to control the game depending on the situation.
With that in mind, look at this as a control deck where its finishers are giant destructive creatures flying across the sky.
The Creatures
Let’s start with the stars of the deck: the dragons!
The first creature of the deck is a baby dragon in the form of an egg that's very good to stop aggro strategies. A few instants and sorceries later and Smoldering Egg becomes a massive threat that aims to dominate the board while you protect it. The main synergy is getting to play Alrund's Epiphany and untap with a transformed or almost transformed dragon.
Next up is Goldspan Dragon. This dragon generates Treasures whenever it attacks. Considering it also has haste, accumulating multiple tokens during a match is an easy feat.
Now, is being dragon tribal worth it? I’d say so. There are only a few removal spells that can kill 4 toughness creatures and one of them is Power Word Kill.
The Removal
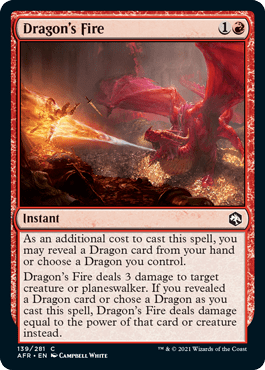
The primary removal spell you have in this build is Dragon's Fire. It deals three damage to any target in a vacuum but with eight dragons with 4 or more power in your deck it may as well say, “kill any creature that bothers you.”
Next we have Shatterskull Smashing playing a dual role as removal and land. Control decks struggle the most when they flood or get mana screwed. You’re basically running a deck with 26 lands which is just a bit more than what an ideal control deck runs. Modal double-faced lands are excellent examples of outstanding card design.
Burning Hands plays a significant role since the meta is dominated mainly by green decks and getting to deal six damage for two mana to a permanent is huge. Sorry not sorry Wrenn and Seven.
Finally you've got Prismari Command. While it has multiple effects, the most common one will be to kill one target or even two if you happen to run into someone using Esika's Chariot.
The Counterspell
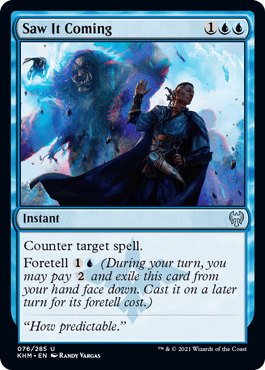
Counterspells are without a doubt the most annoying spells in Magic, but they're an excellent addition if you want to interact throughout all the game's phases. Saw It Coming is available in this format. It covers most of your angles especially since you don’t care about cheap spells since most of them will be creatures that you can burn.
The Card Advantage
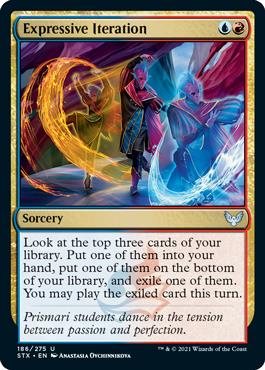
Strixhaven delivered one of the most potent card advantage engines we’ve had in a while with Expressive Iteration. You’ll be looking to play this 2-drop from turn 3+ in this deck. You can hit land and play it on the same turn which is very similar to drawing two out of three cards for two mana. This card is so powerful that it sees play in older formats as well and even in Vintage, which is a very exclusive club these days.
That being said, Iteration isn’t the only way this deck generates card advantage. A single copy of Behold the Multiverse has a very similar effect, especially if you cast it for its foretell cost.
Finally we have Alrund's Epiphany. It isn’t card advantage by itself but your opponent probably won’t survive if you chain a couple Epiphanies with a dragon in play. Time Warp effects are potent and work best in decks that can exploit them like this one.
The Lands
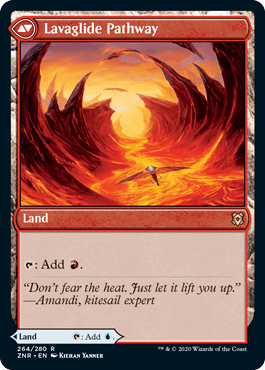
I already talked about the modal double-faced lands that we run but those aren’t the only non-basic lands you have.
Fixing is critical so you need to run Riverglide Pathway to help. Prismari Campus is an excellent addition as well, not only because it helps you cast your spells on a curve but also because it helps smooth your draws a bit in the late game.
Finally, Den of the Bugbear and Hall of Storm Giants fill the last few slots. Both fulfill very similar roles in which they can threaten activation anytime. I must say that they shine the most on empty boards along with Alrund's Epiphany.
Common Interactions
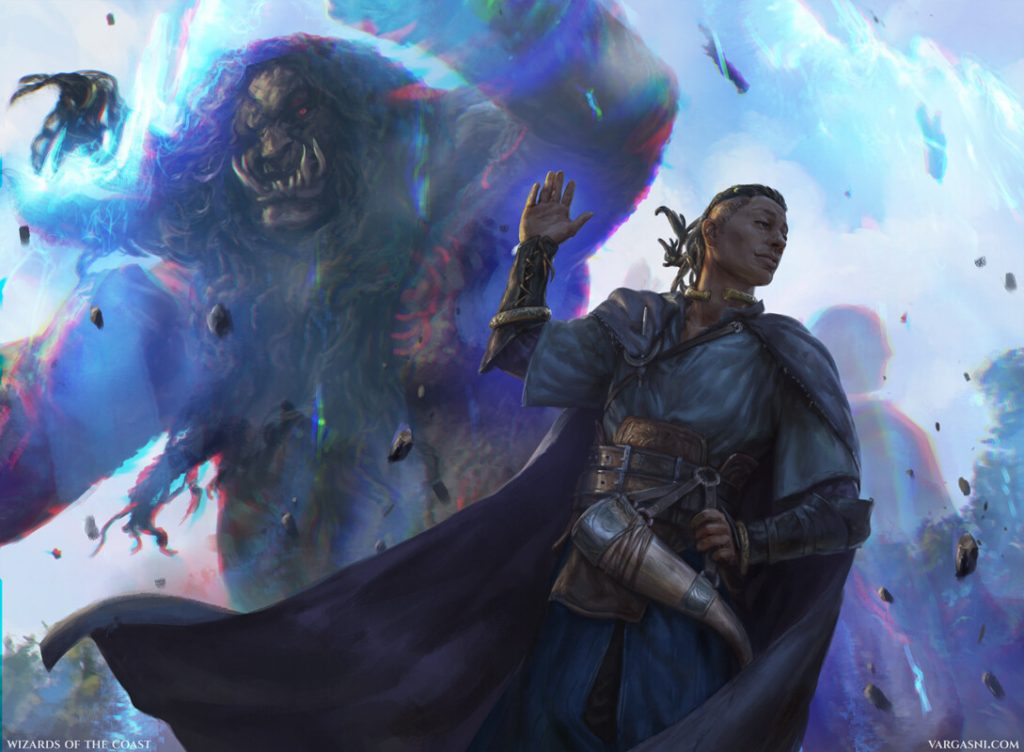
Saw It Coming | Illustrated by Randy Vargas
Some interactions may be very intuitive, but some are a bit more difficult to spot if you haven’t played with the deck before or haven’t seen it in action. But don’t worry, I’ve got you!
- Behold the Multiverse, Saw It Coming, Alrund's Epiphany, and Crush the Weak all have foretell, so you can trick your opponent into thinking you have foretell cards you’ve already shown, especially in games 2 and 3. For example, if you cast Saw It Coming in game 1, your opponent may assume you foretold that card and are holding a counterspell when in reality you have something else up your sleeve, leading them to play more conservatively than they usually would.
- Remember to always play Expressive Iteration from turn 3 onwards. That way you can exploit it the most if you’re looking for land. Also remember not to play a land before casting Iteration.
- Foretell and Expressive Iteration don’t mix well together so don’t mistake exiting a card to foretell it later. You’ll most likely just be losing your card.
- It’s always a good idea to lead with your MDFCs as lands in the early turns rather than holding them. Unless you feel like you’re drawing more lands than needed, consider playing them on their land side rather than having them in your hand before making basic land drops. You could end up behind on tempo or just lose three life for no reason otherwise.
- As I’ve already mentioned, Dragon's Fire can kill creatures based on the power of your mighty dragons, but it’s not worth revealing your plans to your opponent if you’re killing small creatures. Also keep in mind that it says “you choose,” meaning the spell won’t fizzle if your opponent kills your dragon in response.
Sideboard Guide
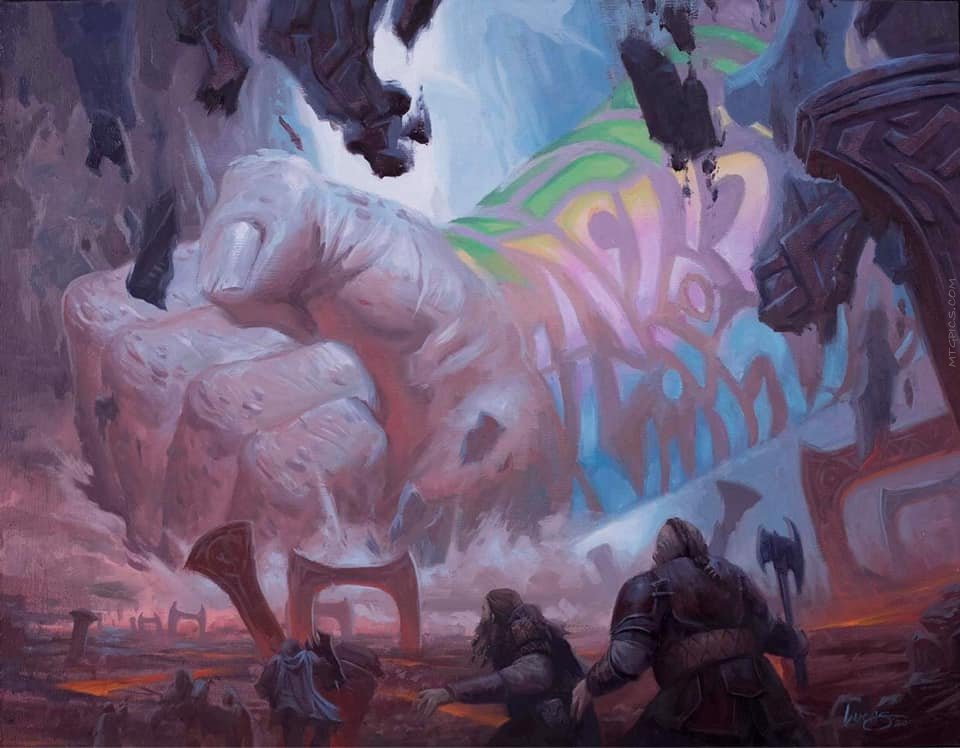
Crush the Weak | Illustrated by Lucas Graciano
Aggro Matchups
You have the upper hand in game 1 against aggro matchups since the format isn’t fast enough to pressure you to the point where you want to run more removal than needed. Four copies of Burning Hands are perfect against green decks. Counterspells are bad against these strategies so those should be the first to get cut unless you see Esika's Chariot on the other side of the field in game 1. In that case, your sideboard should be a little different.
Don’t feel bad cutting a couple of dragons if needed, but I wouldn’t remove any copies of Goldspan Dragon. It’s by far is the best of them all.
Green Decks
In
Out
Other Aggro/Midrange Decks
In
- +2 Cinderclasm
Out
Control Matchups
Your removal will be dead most of the time in control matchups. It’s still best to keep a couple copies of Dragon's Fire in case your opponent is running planeswalkers, though.
In

Out
Ramp Matchups
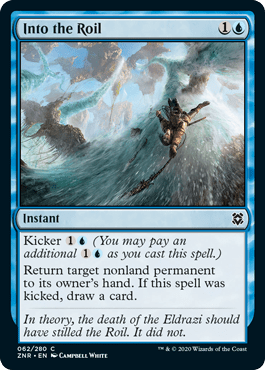
You should burn your opponent's ramp guys and counter their big spells like Esika's Chariot and Wrenn and Seven against these kinds of decks. Then you can bring in some copies of Into the Roil for the tempo plays and bounce their big treefolk tokens post-sideboard.
In
- +1 Negate
- +2 Disdainful Stroke
- +3 Into the Roil
Out
Other Cards to Try
Frost Bite
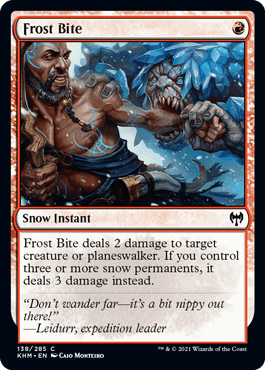
Depending on how the meta shapes up you can run Frost Bite and change your mana base to support it with more snow lands. This is an auto-include if the meta ends up being faster.
Volatile Fjord
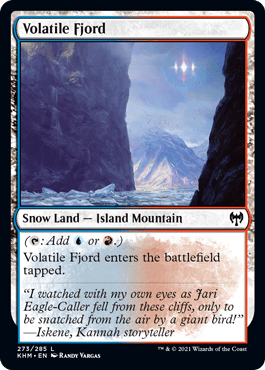
Speaking of snow, Volatile Fjord is an auto-include to fix your mana base if you do end up running Frost Bite.
Graven Lore
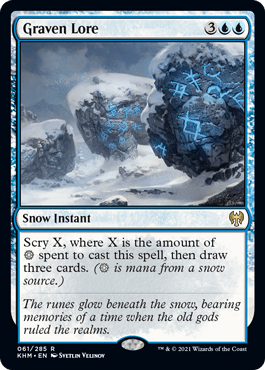
Another card that benefits from snow lands and Graven Lore is great when it comes to card advantage. I wouldn’t run a complete set but I’d feel very comfortable with a couple copies.
Jwari Disruption
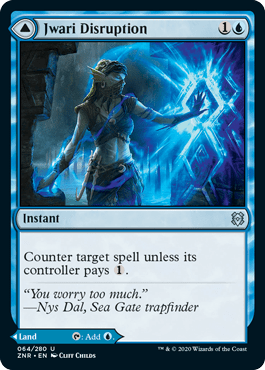
You can switch your copies of Spikefield Hazard for Jwari Disruption if you feel like you need more counterspells in your deck. This should do the trick and catch your opponent off-guard, even if it’s not a great card.
Divide by Zero
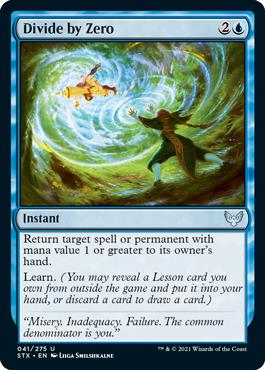
Divide by Zero is an excellent card to set up the tempo, plus it gives you access to your lesson board, and it also bounces spells that can’t be countered.
Delver of Secrets / Insectile Aberration
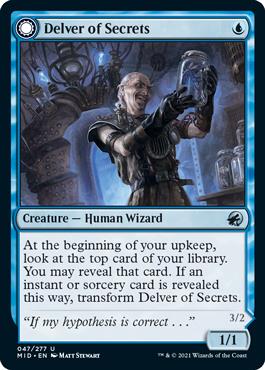
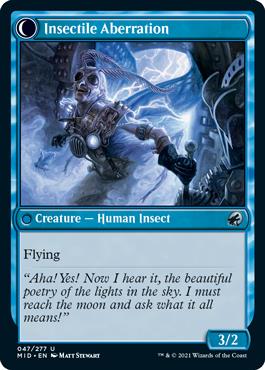
It's not a dragon but Delver of Secrets can flip as early as turn 2 and start beating your opponent for cheap. Games are almost always over with two of these transformed on the field.
Consider

You should consider playing Consider if you want a lower curve and quicker Smoldering Egg activations.
Memory Deluge
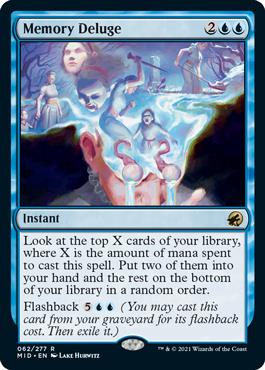
Memory Deluge is a lovely card to consider if you feel like you're missing a bit of card advantage. A single flashback activation of these will automatically turn on your Smoldering Eggs.
Burn Down the House
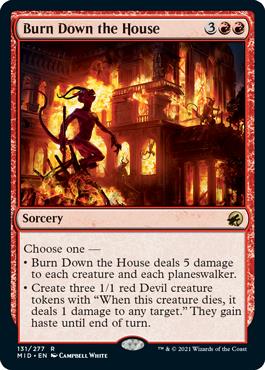
Burn Down the House comes in handy if you're behind on the board and when you're ahead or don't want to kill your dragons. It can create three devils that are annoying for your opponent to deal with at the very least.
Bonus Decklists
Historic
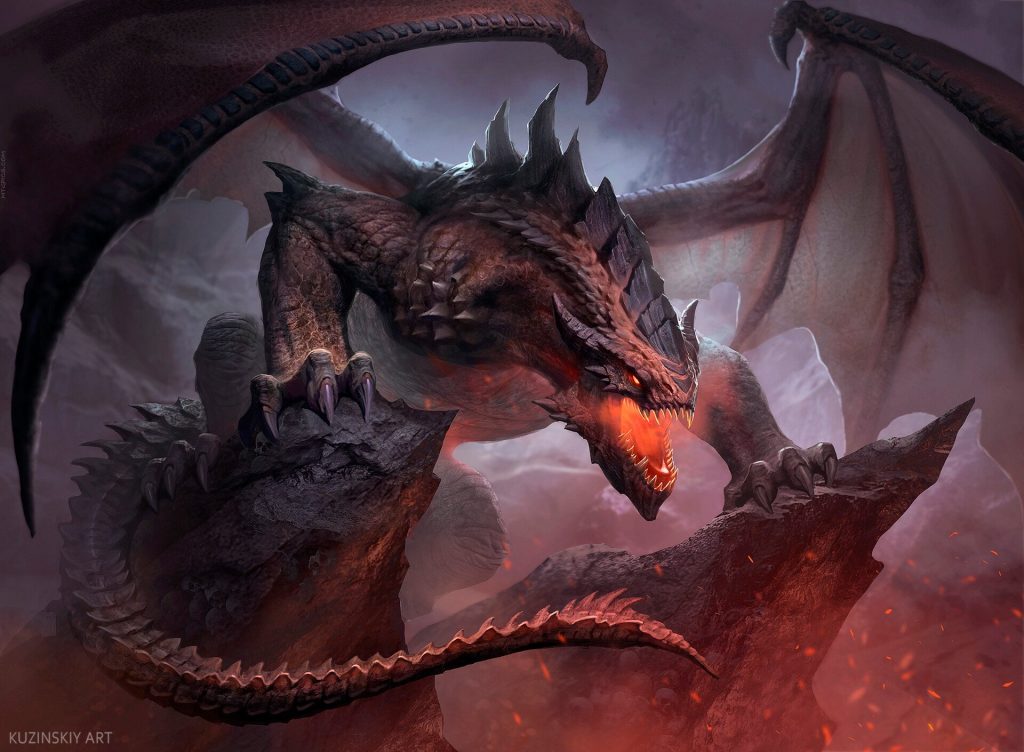
Terror of the Peaks | Illustration by Andrey Kuzinskiy
Planeswalker (1)
Creature (6)
Terror of the Peaks x2
Niv-Mizzet, Parun
Bladewing the Risen x3
Instant (9)
Memory Lapse x4
Prismari Command x4
Commit
Sorcery (20)
Faithless Looting x4
Expressive Iteration x4
Anger of the Gods x2
Sweltering Suns
Mizzix's Mastery x4
Sea Gate Restoration
Dragonstorm x4
Enchantment (1)
Land (23)
Island x5
Mountain x2
Riverglide Pathway x4
Spirebluff Canal x4
Steam Vents x4
Sulfur Falls x4
Sideboard (15)
Narset, Parter of Veils x3
Brazen Borrower x3
Aether Gust
Fire Prophecy
Mystical Dispute x3
Shark Typhoon x4
Although this deck is best in BO1, it can also be a fine BO3 deck if you don’t expect to run into tons of graveyard hate since your gameplan relies on reanimating your dragons or casting Dragonstorm.
It all starts with Bladewing the Risen and Dragonstorm in the graveyard. Cast Dragonstorm with Mizzix's Mastery to find Terror of the Peaks and another Bladewing. Bring your dead Bladewing back from the graveyard and sacrifice the other to the legend rule. Your fresh Bladewing ability goes to the stack and you target the one you just sacrificed. This creates an infinite loop that you can stop at any time.
What’s the point of doing all this? Well, your Terror triggers stack every time a Bladewing enters the battlefield, so you can deal as much damage as you want to your opponent’s face if everything goes according to plan.
Commander
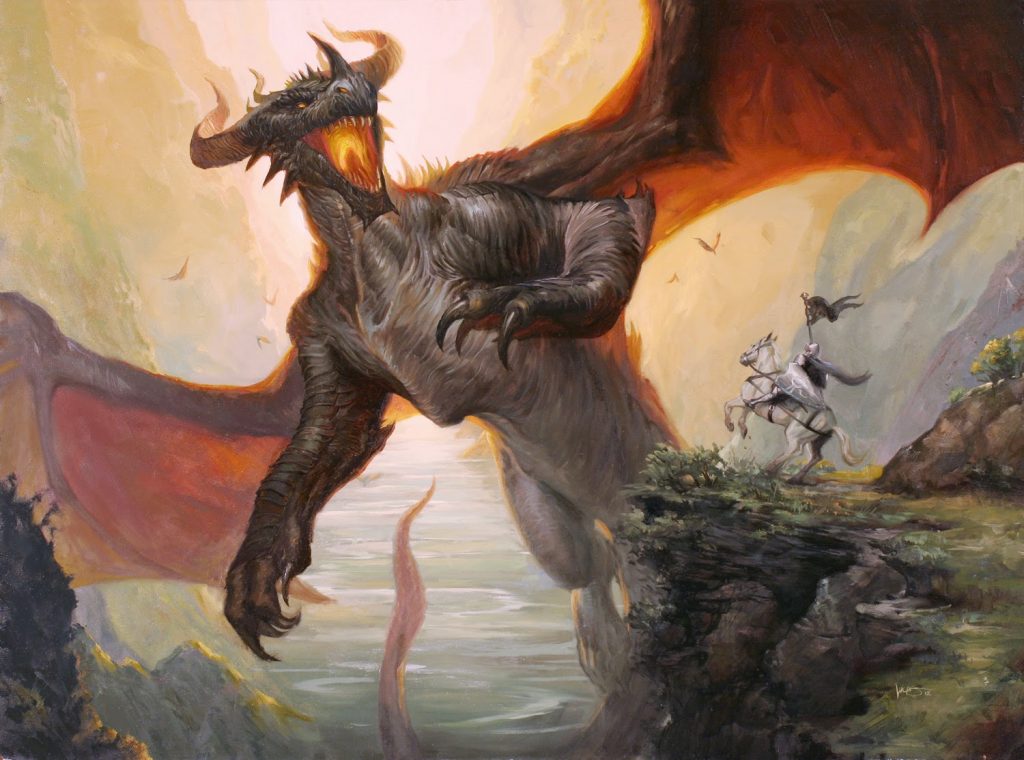
Scourge of Valkas | Illustration by Lucas Graciano
Commander (1)
Creature (10)
Snapcaster Mage
Goblin Electromancer
Scourge of Valkas
Niv-Mizzet, the Firemind
Dragonlord Kolaghan
Worldgorger Dragon
Bladewing the Risen
Knollspine Dragon
Shivan Hellkite
Bogardan Hellkite
Instant (23)
Pact of Negation
Brainstorm
Chain of Vapor
High Tide
Mystical Tutor
Swan Song
Dark Ritual
Entomb
Vampiric Tutor
Impulse
Peer Through Depths
Mana Drain
Lim-Dûl's Vault
Cabal Ritual
Desperate Ritual
Pyretic Ritual
Frantic Search
Intuition
Seething Song
Fact or Fiction
Turnabout
Gush
Force of Will
Sorcery (21)
Gitaxian Probe
Personal Tutor
Ponder
Preordain
Imperial Seal
Faithless Looting
Gamble
Merchant Scroll
Demonic Tutor
Night's Whisper
Tormenting Voice
Compulsive Research
Timetwister
Windfall
Yawgmoth's Will
Grim Tutor
Doomsday
Wheel of Fortune
Past in Flames
Time Spiral
Dragonstorm
Enchantment (3)
Animate Dead
Dragon Tempest
Mind Over Matter
Artifact (14)
Chrome Mox
Lion's Eye Diamond
Lotus Petal
Mana Crypt
Mox Diamond
Mana Vault
Sensei's Divining Top
Sol Ring
Voltaic Key
Grim Monolith
Helm of Awakening
Scroll Rack
Talisman of Dominance
Gilded Lotus
Land (28)
Ancient Tomb
Arid Mesa
Badlands
Blood Crypt
Bloodstained Mire
Command Tower
Flooded Strand
Island x7
Mana Confluence
Marsh Flats
Misty Rainforest
Polluted Delta
Scalding Tarn
Shivan Reef
Steam Vents
Underground River
Underground Sea
Urborg, Tomb of Yawgmoth
Verdant Catacombs
Volcanic Island
Watery Grave
Wooded Foothills
Speaking of Dragonstorm. This deck is very near and dear to my heart as it’s one of the most fun to maneuver. At least for me. It’s a bit more complicated than the Historic version, but it is faster.
You run a bunch of tutors and cheap spells to create little synergies, most of them relying on High Tide and untapping lands to cast multiple spells in a single turn. When all of that is done, boom! Throw down a big Dragonstorm to win on the spot. The idea here is to order your triggers correctly since Worldgorger Dragon is its core.
You’ll need to stack everything in a way that it resolves like this:
- Exile all permanents as Worldgorger enters the battlefield.
- Deal five damage to Worldgorger.
- Play Scourge of Valkas and deal the remaining 2 damage to Worldgorger using Valkas’ ability.
After Valkas’ ability resolves Worldgorger will die, bringing back every other dragon including Bladewing the Risen. Bladewing brings back Worldgorger which triggers Valkas’ and Worldgorger’s abilities.
Have Valkas’ ability resolve last and then deal six damage to Worldgorger with the help of Niv-Mizzet, the Firemind or Shivan Dragon. Worldgorger’s exile ability will resolve and exile all your dragons, and then bring them back again when Valkas’ damage kills Worldgorger again. Rinse and repeat until you get bored or finally decide to deal the final blow to your opponent.
There are easier ways to accomplish this with Dragon Tempest or Animate Dead, but you get the idea.
Brawl
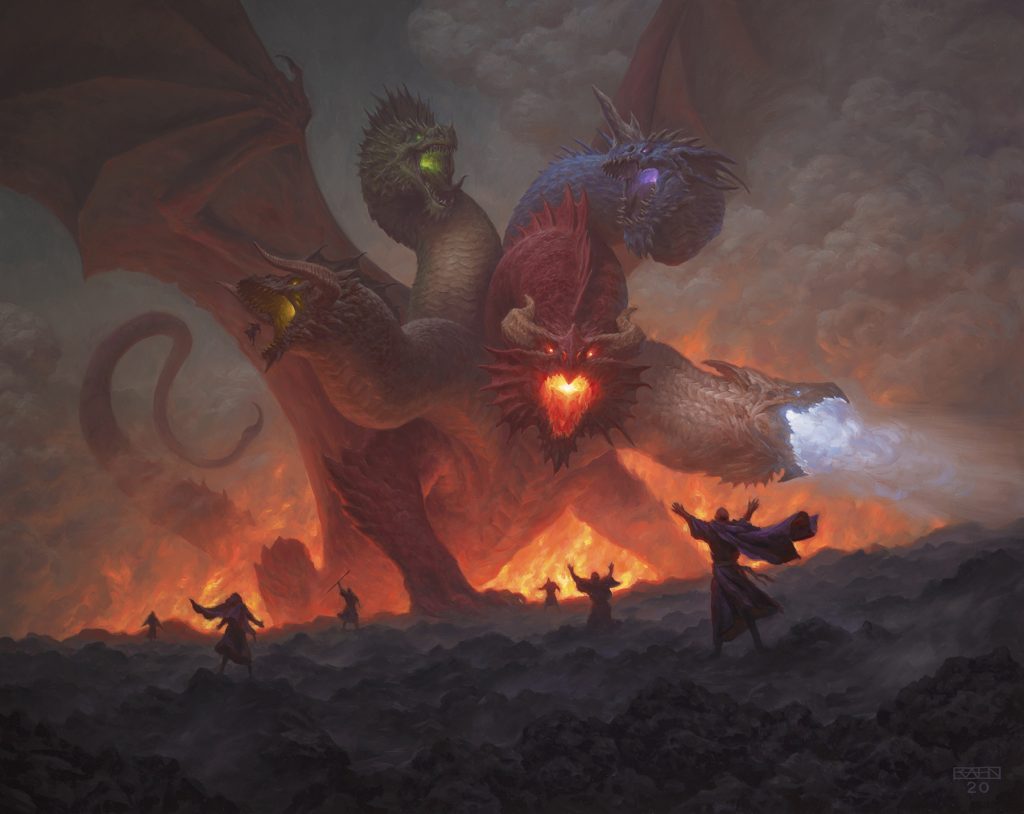
Tiamat | Illustrated by Chris Rahn
Commander (1)
Planeswalker (6)
Narset, Parter of Veils
Sarkhan, Fireblood
Chandra, Torch of Defiance
Kaya the Inexorable
Sarkhan the Masterless
Ugin, the Spirit Dragon
Creature (36)
Gilded Goose
Dragon's Disciple
Valki, God of Lies
Dragonlord's Servant
Ilysian Caryatid
Nadaar, Selfless Paladin
Dragon Turtle
Murderous Rider
Gadrak, the Crown-Scourge
Dragonspeaker Shaman
Dryad of the Ilysian Grove
Uro, Titan of Nature's Wrath
Esika, God of the Tree
Icingdeath, Frost Tyrant
Nicol Bolas, the Ravager
Galazeth Prismari
Ebondeath, Dracolich
Immersturm Predator
Leyline Tyrant
Verix Bladewing
Kenrith, the Returned King
Iymrith, Desert Doom
Adult Gold Dragon
Glorybringer
Goldspan Dragon
Terror of the Peaks
Niv-Mizzet, Parun
Inferno of the Star Mounts
Lathliss, Dragon Queen
Palladia-Mors, the Ruiner
Bladewing the Risen
Beledros Witherbloom
Velomachus Lorehold
Terror of Mount Velus
Drakuseth, Maw of Flames
Old Gnawbone
Instant (8)
Brainstorm
Lightning Bolt
Heliod's Intervention
Despark
Assassin's Trophy
Dragon's Fire
Lightning Helix
Spit Flame
Sorcery (10)
Bloodchief's Thirst
Demonic Tutor
Explore
Cultivate
Draconic Intervention
Time Wipe
Time Warp
Crux of Fate
Primal Command
Dragonstorm
Enchantment (1)
Artifact (4)
Arcane Signet
Orb of Dragonkind
Chromatic Lantern
Dragon's Hoard
Land (34)
Blood Crypt
Breeding Pool
Clifftop Retreat
Command Tower
Cragcrown Pathway
Dragonskull Summit
Drowned Catacomb
Fabled Passage
Forest
Glacial Fortress
Godless Shrine
Hallowed Fountain
Hinterland Harbor
Indatha Triome
Isolated Chapel
Ketria Triome
Mountain
Overgrown Tomb
Raugrin Triome
Rootbound Crag
Sacred Foundry
Savai Triome
Steam Vents
Stomping Ground
Sulfur Falls
Sunpetal Grove
Swamp
Temple Garden
Temple of Malady
Temple of the Dragon Queen
The World Tree
Watery Grave
Woodland Cemetery
Zagoth Triome
Finally, a deck that’s a bit fairer than the ones we just saw! This is a pseudo-control deck with a bunch of dragons in it. Having five colors means you have access to the most powerful spells available on the format, so that’s a plus.
Wrap Up
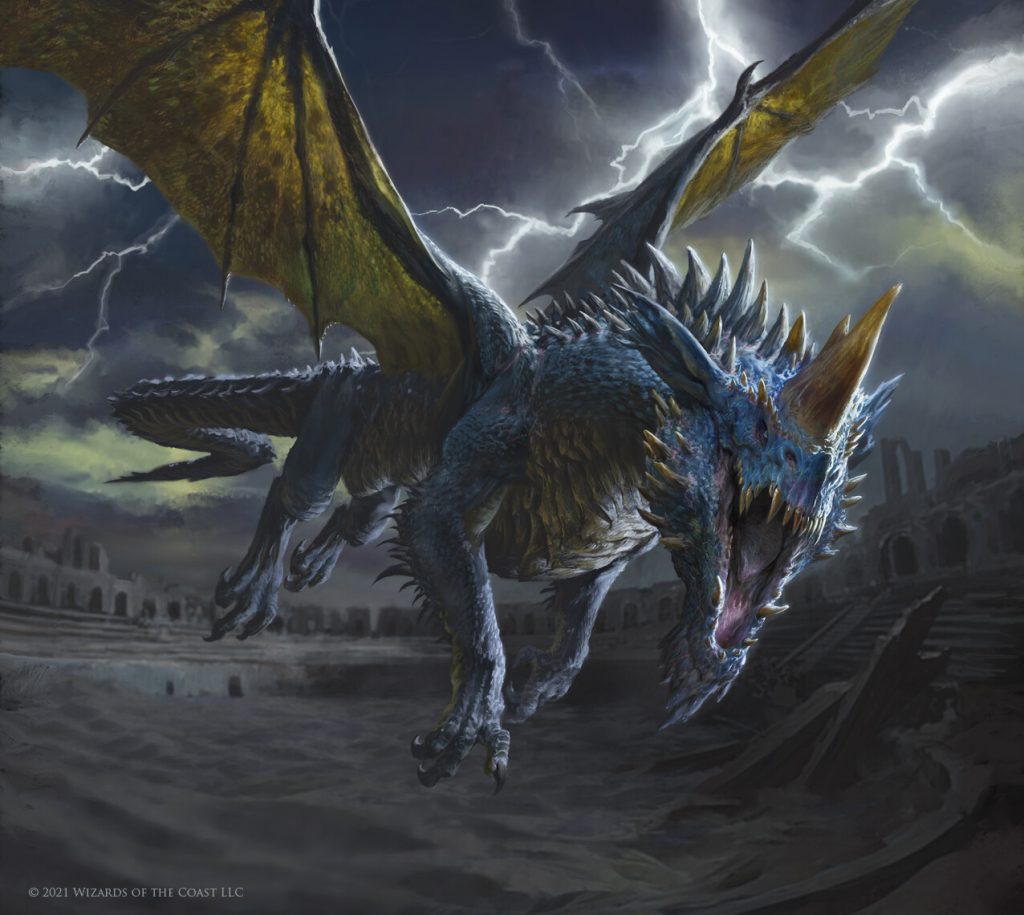
Iymrith, Desert Doom | Illustrated by Antonio José Manzanedo
Hopefully this journey across formats showcased what I think will be one of the most powerful decks post-rotation. I also didn’t want to miss this opportunity to show how potent dragons are in other formats.
What do you think? Do you like dragons as much as I do, or would you rather be a dragon slayer? Let me know in the comments! And don’t forget to grab Arena Tutor if you’re playing on MTGA a lot and want a free app to track your matches.
As always, take care and have a good one!
Follow Draftsim for awesome articles and set updates:
Add Comment