Last updated on November 1, 2025
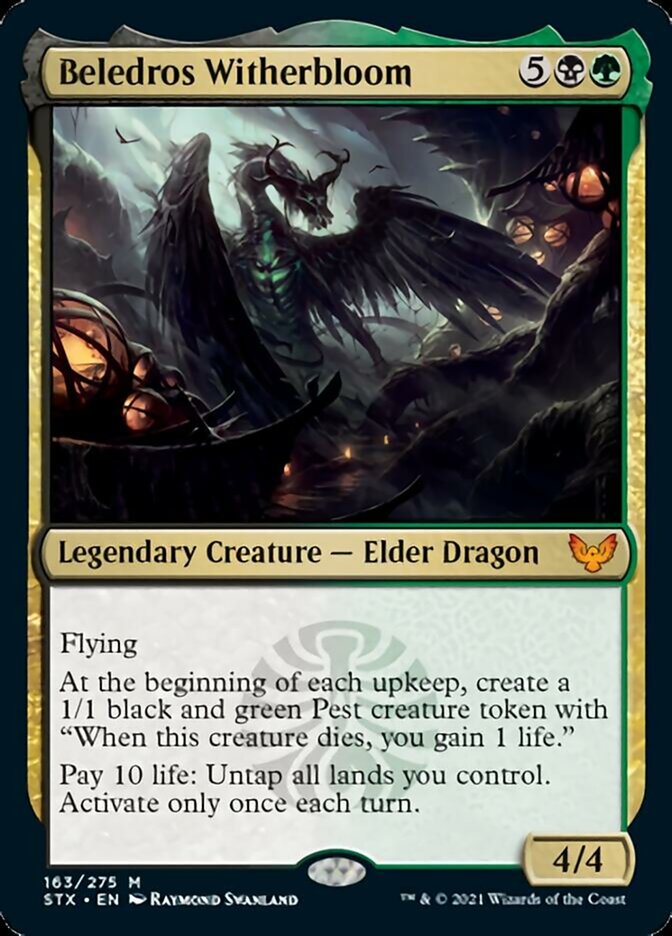
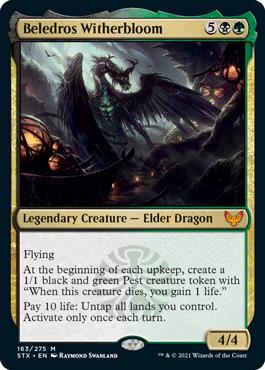
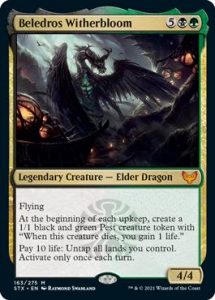
Beledros Witherbloom | Illustration by Raymond Swanland
Strixhaven brought along some fun new things upon release, like the new plane of Arcavios to explore in both Magic and D&D. The set featured good support for copying spells and new things to call the enemy color pairs. Strixhaven also spawned a new crop of Elder Dragons, one for each of the plane’s five schools.
I was personally a little disappointed with these cards, and I’d like to see a second pass at the school’s founders if set designers bring us back to Strixhaven. There was one dragon that stood out to me, however, and that was Beledros Witherbloom.
This Golgari commander may not have the power and toughness of the original elder dragons, but Beledros Witherbloom’s effects are what drew me in. The prospect of a free token during each upkeep seemed promising for an aristocrats theme, and the ability to untap all your lands can be powerful. Prismari may be my school of choice at Strixhaven, but I choose the Witherbloom founder to be my commander.
The Deck

Command Tower | Illustration by Evan Shipard
Commander (1)
Planeswalker (1)
Creature (30)
Blood Artist
Vindictive Vampire
Syr Konrad, the Grim
Vito, Thorn of the Dusk Rose
Ayara, First of Locthwain
Zulaport Cutthroat
Dina, Soul Steeper
Savra, Queen of the Golgari
Chatterfang, Squirrel General
Poison-Tip Archer
Valentin, Dean of the Vein
Pitiless Plunderer
Priest of Forgotten Gods
Eternal Witness
Essence Warden
Tendershoot Dryad
Sedgemoor Witch
Mycoloth
Falkenrath Noble
Creakwood Liege
Butcher of Malakir
Witch of the Moors
Mazirek, Kraul Death Priest
Scute Swarm
Avenger of Zendikar
Gray Merchant of Asphodel
Ophiomancer
Birds of Paradise
Yawgmoth, Thran Physician
Viscera Seer
Instant (9)
Second Harvest
Plumb the Forbidden
Village Rites
Mortality Spear
Assassin's Trophy
Tend the Pests
Heroic Intervention
Krosan Grip
Harrow
Sorcery (8)
Cultivate
Culling Ritual
Pest Infestation
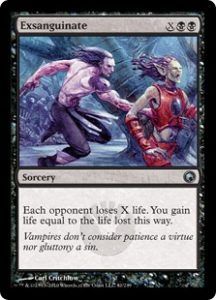
Exsanguinate
Farseek
Three Visits
Torment of Hailfire
Reanimate
Enchantment (8)
The Meathook Massacre
Bastion of Remembrance
Sanguine Bond
Exquisite Blood
Doubling Season
Parallel Lives
Moldervine Reclamation
Cryptolith Rite
Artifact (7)
Ashnod's Altar
Skullclamp
Bolas's Citadel
Aetherflux Reservoir
Sol Ring
Lightning Greaves
Arcane Signet
Land (36)
Bayou
Overgrown Tomb
Deathcap Glade
Undergrowth Stadium
Twilight Mire
Llanowar Wastes
Castle Locthwain
Takenuma, Abandoned Mire
Urborg, Tomb of Yawgmoth
Yavimaya, Cradle of Growth
Cabal Coffers
Command Tower
Witch's Cottage
Woodland Cemetery
Tainted Wood
Fabled Passage
Nurturing Peatland
Forest x11
Swamp x8
This deck was built to focus more on Beledros Witherbloom’s first ability than its second, though it’s possible to put both to good use. The main theme is an aristocrats style of play: lots of benefits from sacrificing your own creatures and ways to punish your opponents when you do. Beledros Witherbloom makes tokens each upkeep, so it’s great support for this style of play. The tokens it creates will give you life when you sacrifice them, so you’ll be able to work towards using her second ability.
You’ll also have other ways to create some tokens (read: sacrifice fodder). Creatures like Scute Swarm or Avenger of Zendikar will be helpful toward keeping any sacrifice-powered engines alive in this deck. Token doublers and Chatterfang, Squirrel General make you extra tokens to sacrifice.
There are lots of ways to cash in on your creatures dying. Most of them gain you life and drain your opponents’ life, but there are also cards like Moldervine Reclamation that draw you cards. Don’t get attached to any of your creatures; they’re resources to be exploited. It doesn’t matter if your board is empty or full when you win, after all.
The Commander
It’s a bummer that Beledros Witherbloom is so expensive. You’ll probably want to try and ramp quickly so you can make the most out of its token-creating ability. It’s also important that you have a high enough life total to use its second ability, so look out for aggro decks. Removal can save you some life early on so that you can make the most out of Beledros Witherbloom later.
Despite its high mana cost, Beledros Witherbloom isn’t a very strong attacker or blocker. You’ll most likely want to keep it out of combat unless you’re swinging at opponents who can’t block its attacks. Beledros Witherbloom is much more valuable on the field for its effects than it is dealing out a little bit of damage. A good idea is to equip it with Lightning Greaves or use a Heroic Intervention to keep it alive. This commander is going to be pricey if it dies once or twice.
Mana Ramp
It’s important to get this expensive commander onto the battlefield, so you’ll want to ramp as much as you can early in the game.
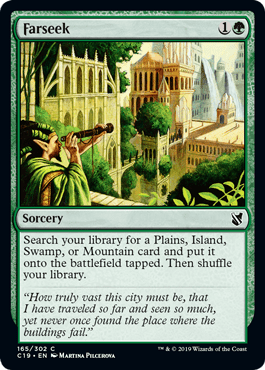
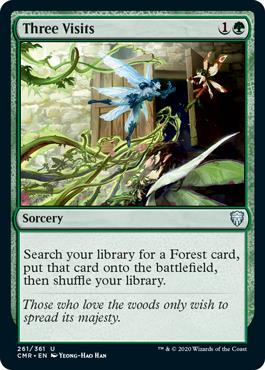
Farseek and Three Visits are both cheap ramp cards and can help you with mana fixing. Either of them can grab a dual land with basic land types. Cultivate allows you to potentially get ahead on lands and ensures that you don’t miss a land drop.
Ashnod's Altar allows you to sacrifice creatures to create mana. You’ll be making tokens at a decent rate, so you should be able to get some extra mana out of this card. It also pairs well with Pitiless Plunderer either to give you access to three mana each time you sacrifice a creature, or to give you a treasure to hold onto for later.
Bolas's Citadel doesn’t make any mana itself, but it allows you to spend life instead of mana to cast cards. You have pests and other death triggers that gain you life, so you should be able to cast a good amount of cards using life in addition to your lands and other mana sources.
Token Makers
You’ll want some other token generators while you wait to cast Beledros Witherbloom.

Ophiomancer and Tendershoot Dryad can make tokens at the beginning of each of your upkeeps to put plenty of creatures at your disposal.

Scute Swarm can be an exceptionally powerful token maker due to its exponential growth after you control six lands. This may draw out a board wipe, but you don’t have to worry about those as much as other players since you can take advantages when your creatures die.
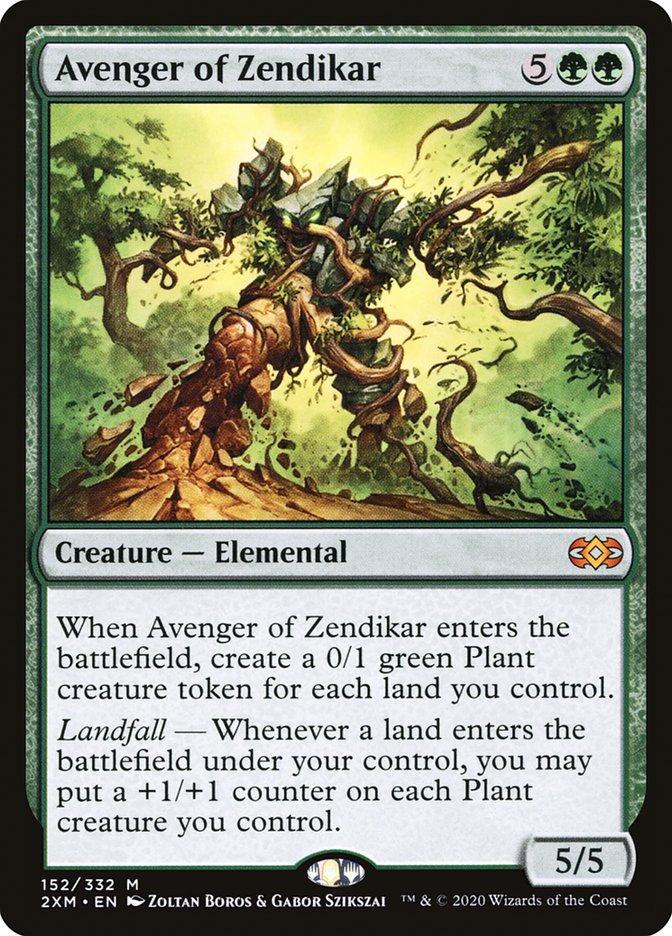
Avenger of Zendikar will create a supply of tokens when it enters the battlefield. You can easily buff these tokens to allow you either to use them as threats or to sacrifice them. Versatility like this makes Avenger of Zendikar a great choice for Golgari () aristocrats.
Token Doublers
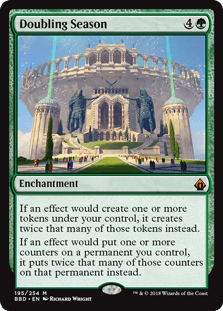
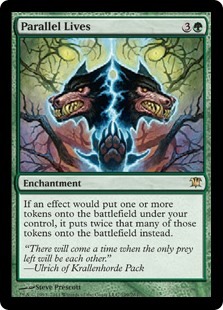
The more tokens you have, the better. You can give your token makers a boost by doubling their production with Doubling Season and Parallel Lives. It’s unlikely that you’ll get both to stay on the field, but these effects stack. If you’re lucky, you can make a ton of tokens with these two cards. One of them is good enough, but both are better.

While not strictly a token doubler, Chatterfang, Squirrel General will make you squirrel tokens equal to the number of any other token that you create. This won’t copy the power and toughness or abilities of the original tokens like other token doublers, but you still have double the creatures to block with, attack with, or sacrifice.

Once you’ve built up a healthy horde of tokens, you can use Second Harvest to create extras. This card can be used at instant speed so it can be good if you need some emergency blockers. You can also use it to trick your opponents into losing some extra life. If you have a Blood Artist or similar effect on the field and an opponent plays a board wipe, you can respond with Second Harvest.
Making Sacrifices
Putting your extra creatures to good use is a big aspect of this deck.
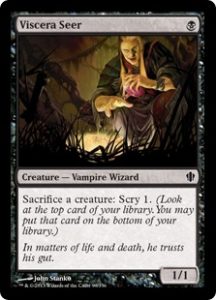
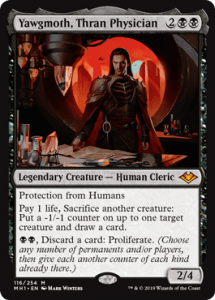
You can manage your draws by sacrificing creatures to Viscera Seer. Yawgmoth, Thran Physician allows you to sacrifice creatures for draw, in addition to weakening or removing your opponent’s creatures. Neither of these abilities has a tap requirement or a mana cost, so you can sacrifice any number of creatures you control and cash in on a lot of death triggers.
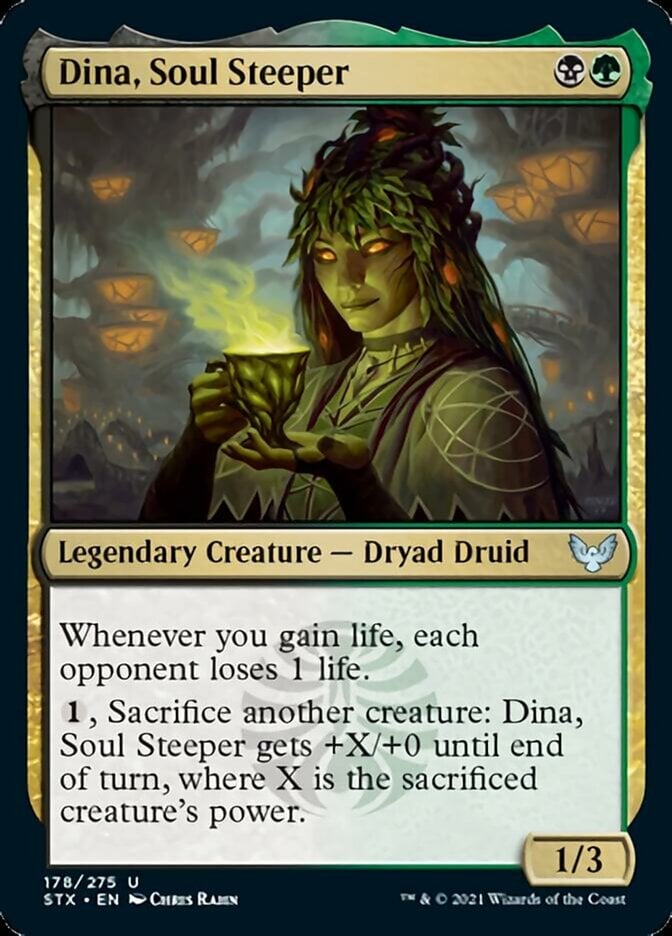
Dina, Soul Steeper can buff itself by sacrificing other creatures you control. This effect is also repeatable, so you can sacrifice multiple creatures to continue making Dina stronger.
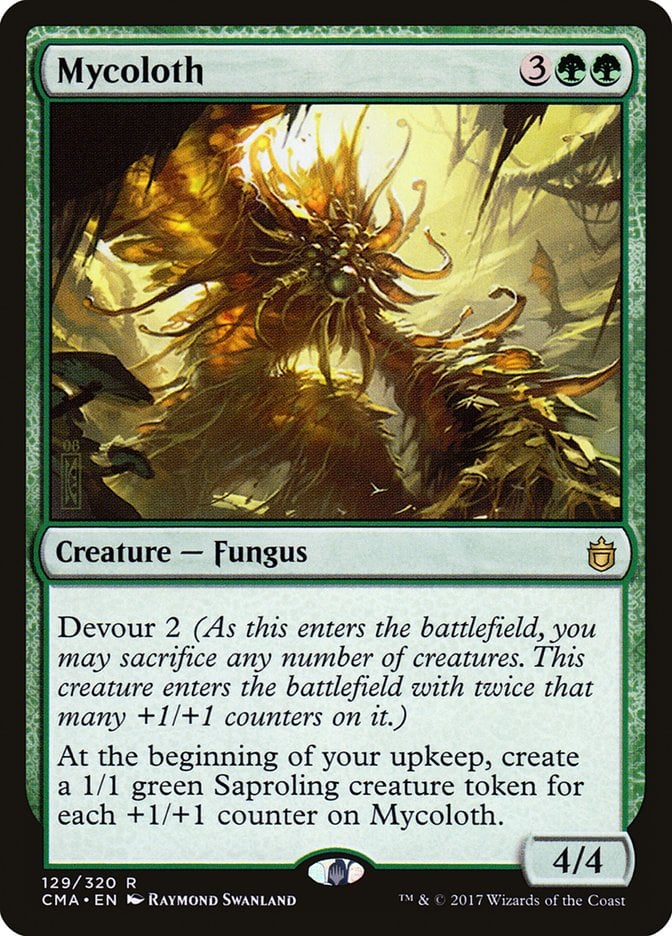
Though not repeatable, Mycoloth can give itself a one-time buff by sacrificing creatures as it enters the battlefield. You don’t have to sacrifice a lot of tokens because Mycoloth will replace however many creatures you sacrificed at the beginning of your next turn. Be confident that Mycoloth will stick around before you use it to take out a chunk of your own creatures.
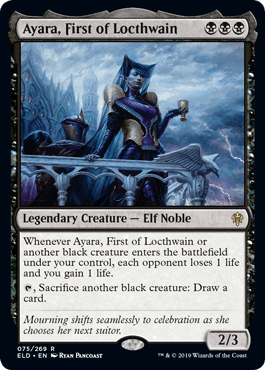
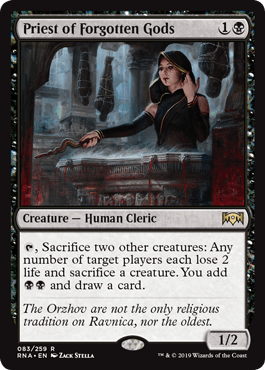
Ayara, First of Locthwain allows you to sacrifice other black creatures to draw a card, which works well with Beledros Witherbloom’s black token generation. Priest of Forgotten Gods can also sacrifice creatures to draw cards with the bonus of giving you mana and hurting your opponents.
Card Draw
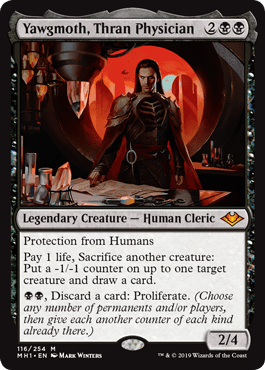
Aside from being good sacrifice outlets, Yawgmoth, Thran Physician, Ayara, First of Locthwain, and Priest of Forgotten Gods are all also good ways to draw some extra cards.
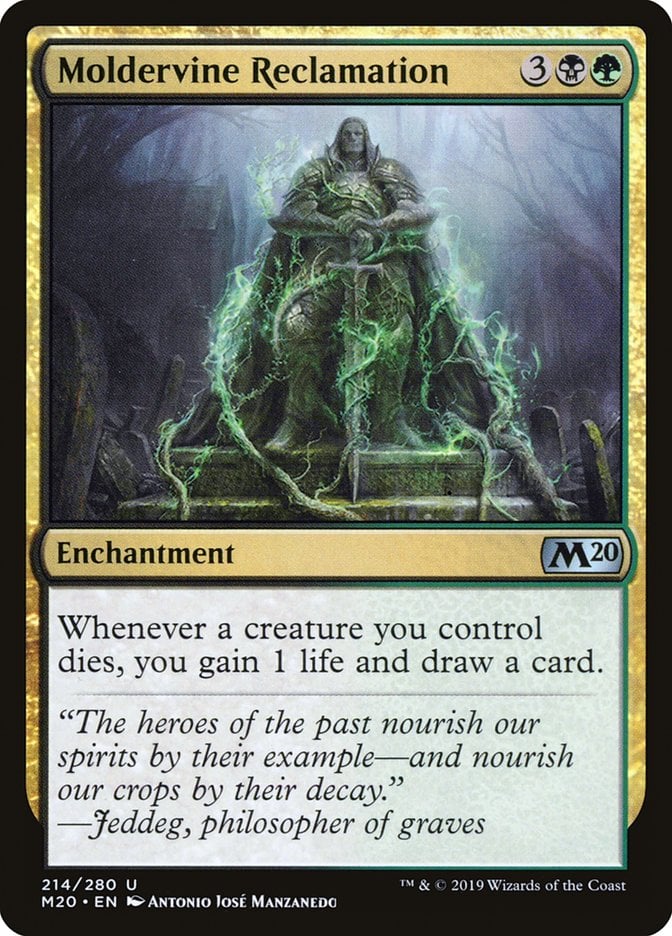
Moldervine Reclamation can draw you a whole lot of cards because you’ll be sacrificing a lot of your own creatures. It will also gain you life to help you to access Beledros Witherbloom’s land untapping ability. Liliana, Dreadhorde General’s static ability also allows you to draw consistently in this deck.
Village Rites is a good low mana draw spell. Plumb the Forbidden has a similar effect but allows you access to even more cards depending on how many creatures you choose to sacrifice. Plumb the Forbidden causes you to lose life, but cards like Vindictive Vampire can offset that additional cost.

Castle Locthwain is another good way to draw cards because you’ll have regular access to it once it’s on the battlefield. It can be a little expensive, but it’s a good way to ensure that you always have cards in hand.
Death Triggers

The most common type of death trigger in this deck are those like Blood Artist and Vindictive Vampire that deal out damage and gain you life each time one of your creatures dies. Poison-Tip Archer is one of the best types of these cards thanks to its ability to act as removal to most creatures. Syr Konrad, the Grim is unique because it also deals damage when creature cards simply enter the battlefield, making it a dangerous card to have on the board if a player is using a mill deck.
Butcher of Malakir can be a very powerful card, especially against decks that don’t run as many creatures as you do. You’ll likely be clearing other players’ boards with the number of creatures you’re sacrificing.
Some of the cards trigger specifically when you sacrifice creatures. Mazirek, Kraul Death Priest is a good way to pump up your creatures, and Savra, Queen of the Golgari can act as removal or a way to gain life. Savra will trigger both effects when you sacrifice a Golgari creature like the pest tokens that Beledros Witherbloom makes.
Reanimation and Recursion
Given all the sacrificing in this deck, it’s nice to have a way to get some creatures back when you need them.
Eternal Witness and Witch's Cottage can both get cards from your graveyard back into your hand.
Reanimate puts the card you grab back onto the battlefield. This can also be used to cheat in a higher-cost creature that’s in your graveyard due to milling or discarding. This can also be a good way to get around Beledros Witherbloom’s high mana cost after it gets removed. Instead of paying the nine mana it would cost with tax, you can let it go to the graveyard then reanimate it.
Draining Life and Doing Damage
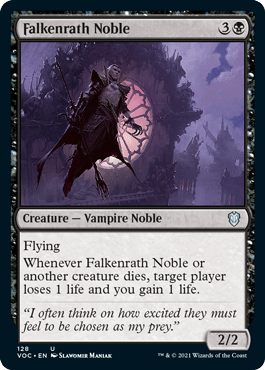
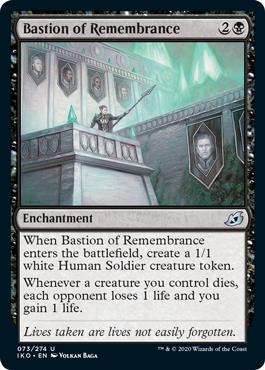
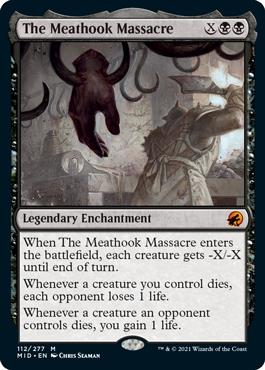
The main way you’ll be draining damage from your opponents is through death triggers on creatures like Falkenrath Noble or enchantments like Bastion of Remembrance. The Meathook Massacre is an exceptionally powerful card because it can also serve as a board wipe. Using The Meathook Massacre in tandem with similar death triggers and a big enough field can even be a way to win the game.

Sanguine Bond is a great card in this deck because it allows you to assign extra damage from any of the death triggers that gain you life. Quickly draining your opponents is good removal deterrent.
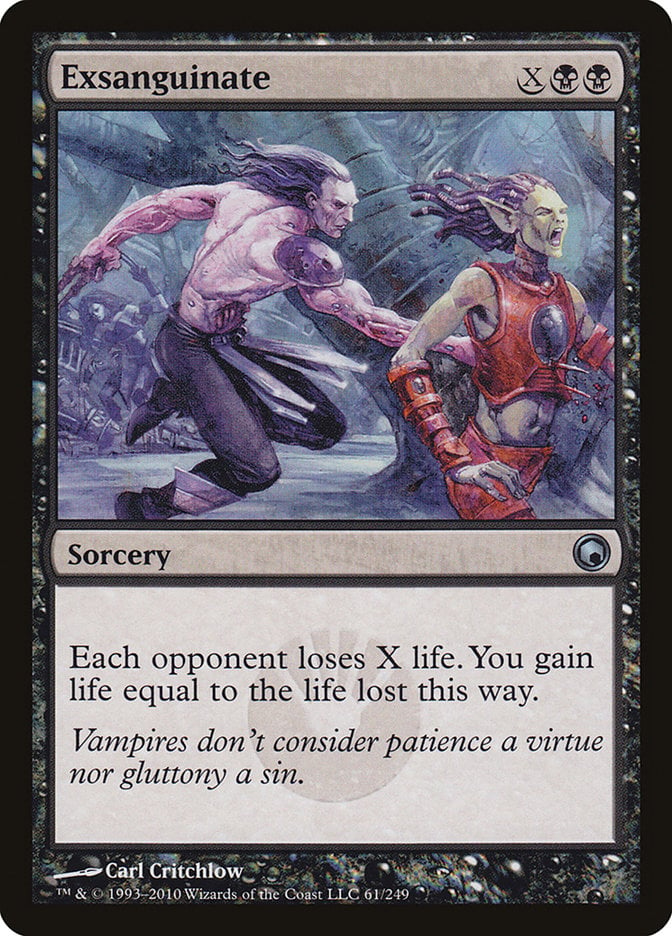
Exsanguinate can deal out a good amount of damage, especially if you have ways to create a lot of mana. If you have a lot of creatures and either Cryptolith Rite or Ashnod's Altar, Exsanguinate could help to take out one of your opponents. Gaining life from Exsanguinate is also very useful in this deck because it lets you access Beledros Witherbloom’s untap ability.
Torment of Hailfire is a great way to wipe the field, drain a good amount of life from opponents, or both. It can make a big splash late-game because this deck can generate a good amount of mana.
Aetherflux Reservoir works well with this deck’s strategy. The lifegain is decent, especially when you’re playing multiple spells per turn. You could get up to 50 life by coupling this with the other ways you gain life. It’s a huge life cost, but an instant speed way to take out an opponent can be a very powerful tool in Commander. You can also make a deal to stay in the game if you promise to take out the player who the table sees as the biggest threat.
Removal
You’ll want to have ways to take out your opponents’ threatening permanents because a big board state may be slow for you to set up.
Assassin's Trophy and Mortality Spear are good, versatile removal spells. Mortality Spear can be cheaper since you have options to gain life.
Krosan Grip is a great way to remove artifacts and enchantments without worrying about counterspells or other ways players might protect their permanents.
Culling Ritual isn’t your average board wipe because it only hits low-cost permanents. This can be good for wiping out other token decks or decks that run small creatures. Another great way to use this card is to remove treasure tokens. With the popularity of cards like Dockside Extortionist or Bootleggers' Stash, Culling Ritual is a great way to stop opponents from getting ahead on mana. Savvy opponents will likely sacrifice their treasures before this spell resolves, but it’ll still clear them off the board.
The Mana Base
Dual lands make up a good part of the mana base. Bayou and Overgrown Tomb are the more powerful dual lands because they can come in untapped and they can be fetched. Command Tower will essentially be a Golgari dual land as well.

Deathcap Glade, Nurturing Peatland, and Llanowar Wastes are great dual land options. Undergrowth Stadium usually comes in untapped unless you draw it after two of your opponents have been eliminated.
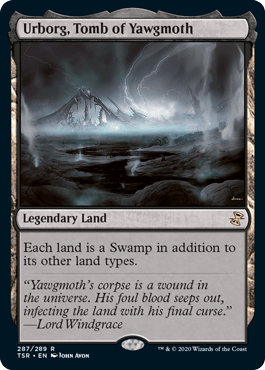
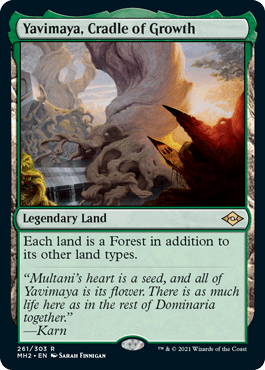
Golgari decks now have some of the best mana fixing between Urborg, Tomb of Yawgmoth and Yavimaya, Cradle of Growth. With both on the battlefield, all your lands essentially become Golgari dual lands in addition to everything else they do.
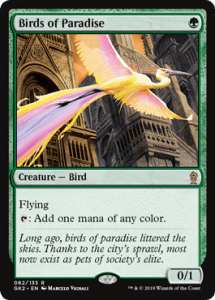
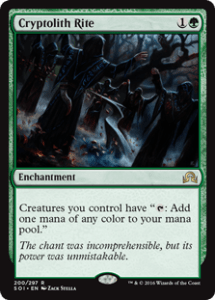
Birds of Paradise is the only dedicated mana dork in this deck, but Cryptolith Rite turns all your creatures into mana dorks and gives even more utility to your tokens.
Mana rocks like Arcane Signet and Sol Ring are useful, and Ashnod's Altar can be used to make some extra mana if needed.
The Strategy
The main strategy for this deck is a three-step process. Build up a good board state, ideally with your token makers and doublers. You then want to ways to benefit from death triggers and should hopefully get Beledros Witherbloom onto the field. Once you’re all set up, you’re ready to slowly drain your opponents of life until they’re ripe for picking off with a spell or big attack.
Ramp spells like Cultivate will be helpful in the first step, as will cards that generate tokens like Ophiomancer and Scute Swarm. Your removal spells can keep you from losing too much life early on. Fly under the radar until you’re a little more set up. Even once you start draining life from your opponents, they’ll likely see the one or two life here and there as an inconvenience more than a threat.
Cards like Mazirek, Kraul Death Priest and Savra, Queen of the Golgari can help you start to benefit from the sacrifices you make in the mid-game. You’ll ideally also have some ways to punish opponents for your creatures’ deaths, like Blood Artist. You want to turn your permanents into resources, so the more you can discourage opponents from removing your permanents, the better.
Once your opponents are low enough on life, a spell like Exsanguinate or Torment of Hailfire can help to close things out. Viscera Seer can be very helpful to search through your deck. Don’t worry about sacrificing too many creatures: if you’re able to draw into the right card, it won’t matter how empty your field is.
Combos and Interactions
Beledros Witherbloom’s ability to untap your lands has good synergy with Exsanguinate. You can tap all your lands for mana, pay 10 life, then retap your lands before casting. You gain a lot of life back from Exsanguinate, and you can repeat this several times if you think you can risk it. Be careful of direct damage or counterspells.
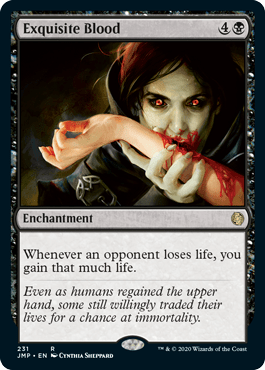
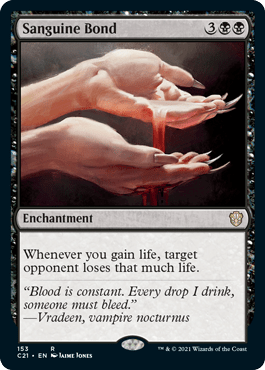
This deck has an infinite combo. With both Exquisite Blood and Sanguine Bond on the field, an endless loop of triggers starts as soon as either you gain life or an opponent loses life. The loop keeps going until all your opponents have no life left. They’ll try their best to remove these cards when they see them on the field together, so it’d be wise to not drop them both unless you’re sure that you’ll get the combo off.
Budget Options
This deck doesn’t have that many expensive spells: only seven cards cost over $20. Some of the cards in that group might put this deck out of reach of more casual players, but there are some replacements that can drop the overall price. You may be able to shave some cents off with budget lands.
The most expensive card is also probably the easiest to replace: Bayou. You already have a ton of great dual lands in this deck, so you can easily replace this with a cheap land like Temple of Malady or even just another basic.
Your next most expensive cards are going to be your token doubling cards. There unfortunately aren’t any cheaper versions of Doubling Season or Parallel Lives, but you can always add more token-generating cards instead. Izoni, Thousand-Eyed can create a good number of tokens and has an activated ability that fits into this deck well.
Other Builds
You can take this deck in a different direction by focusing more on lifegain cards. You can keep a lot of the same cards, especially Aetherflux Reservoir, Exquisite Blood, Sanguine Bond, and Vito, Thorn of the Dusk Rose.
You’d want to add cards that benefit from gaining life as well. Blood Researcher can get big in a deck with a lot of lifegain. Willowdusk, Essence Seer can buff up one creature a lot depending on how much life you gain in a single turn. It can also be very effective to use its ability to buff a creature with lifelink. Nighthawk Scavenger is a very good option for a deck like this: it’s hard to block and can gain you a good amount of life.
Commanding Conclusion

Bayou | Illustration by Karl Kopinski
Beledros Witherbloom isn’t the toughest or most powerful elder dragon, but it can be a lot of fun to play to its strengths. Take this deck out for a test run and see for yourself!
What direction would you want to take a Beledros Witherbloom deck? Is there another Strixhaven founder that you’d like to build a deck for? Let me know in the comments below, or over on the Draftsim Twitter.
I hope some great ideas for this deck have started to bloom in your head, and I look forward to seeing you on the next article!
Follow Draftsim for awesome articles and set updates:


Add Comment