Last updated on December 29, 2023

Sméagol, Helpful Guide | Illustration by Campbell White
Sméagol is well known for being the nicer half of the pair of minds inhabiting the body of a tortured hobbit. Today, we’re delving into the kinder half of his psyche with a $25 self-sacrifice landfall deck all about the temptations of the ring and juicing far too much value out of every creature we’ve got.
This deck is an introduction point for people looking to delve into a unique take on the classic landfall strategy. While most black and green landfall decks center around sacrificing lands and repeatedly playing them from graveyards, Sméagol, Helpful Guide wants to go in a bit of a different direction. It’s a fresh take on a classic archetype. Let's dive in!
The Deck

Dúnedain Rangers | Illustration by Eric Wilkerson
Commander (1)
Creatures (43)
Blisterpod
Burnished Hart
Butcher of Malakir
Cankerbloom
Carrier Thrall
Caustic Caterpillar
Dawntreader Elk
Diligent Farmhand
Disciple of Bolas
Dúnedain Rangers
Elvish Mystic
Fell Stinger
Foundation Breaker
Gorex, the Tombshell
Gravelighter
Grim Haruspex
Heart Warden
Kazandu Mammoth
Kinzu of the Bleak Coven
Llanowar Elves
Lotus Cobra
Marsh Flitter
Midnight Reaper
Nest Invader
Neverwinter Dryad
Nightmare Shepherd
Outland Liberator
Prowling Geistcatcher
Rampaging Baloths
Sakura-Tribe Elder
Scorn-Blade Berserker
Scute Swarm
Shadowheart, Dark Justiciar
Shriekmaw
Sporemound
Stone-Seeder Hierophant
Tangled Florahedron
Thrashing Brontodon
Viscera Seer
Vulturous Aven
Woe Strider
Yavimaya Elder
Yedora, Grave Gardener
Sorceries (7)
Claim the Precious
Cut of the Profits
Infernal Offering
Painful Truths
Rise of the Witch-king
Sam's Desperate Rescue
The Ring Goes South
Instants (3)
Bombadil's Song
Entish Restoration
Khalni Ambush
Artifacts (3)
Inherited Envelope
Sol Ring
Transmogrant's Crown
Enchantments (6)
Awakening Zone
Fecundity
One Ring to Rule Them All
Primeval Bounty
Ulvenwald Mysteries
Zendikar's Roil
Lands (18)
Barren Moor
Blighted Woodland
Command Tower
Cryptic Caves
Evolving Wilds
Exotic Orchard
Field of Ruin
Forest
Golgari Rot Farm
High Market
Hostile Hostel
Necroblossom Snarl
Swamp
Tainted Wood
Temple of the False God
Terramorphic Expanse
Tranquil Thicket
Westvale Abbey
The Commander
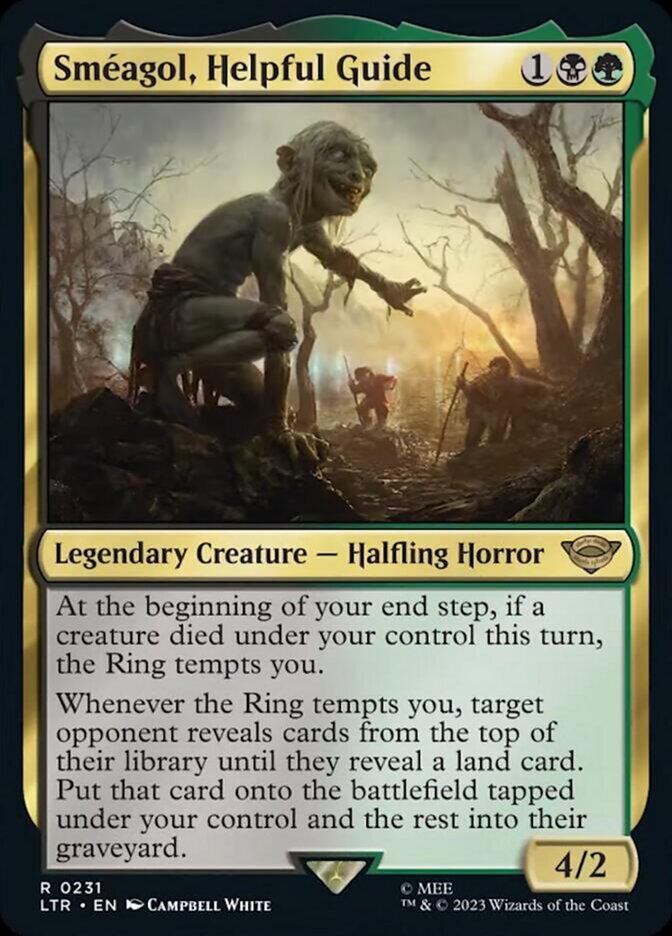
Sméagol, Helpful Guide works in two parts. First, it gives us a once-per-turn “The Ring Tempts You” so long as one of our creatures dies during our turn. Second, each time the ring tempts us, we get to steal an opponent’s land from their deck, putting it directly into play.
With these two abilities in mind, we want to play cards that work around them to get as much value as possible. This is broken down predominately into three categories: Creature sacrifice, temptations, and payoffs for using both abilities.
Creature Sacrifice
The central focus of this list is getting a Sméagol end step trigger on each of our turns. There are a lot of different elements of an EDH deck from getting extra mana to interacting with our opponents’ threats. This deck’s goal is to run as many of these effects as we can on creatures that sacrifice themselves to trigger Sméagol!
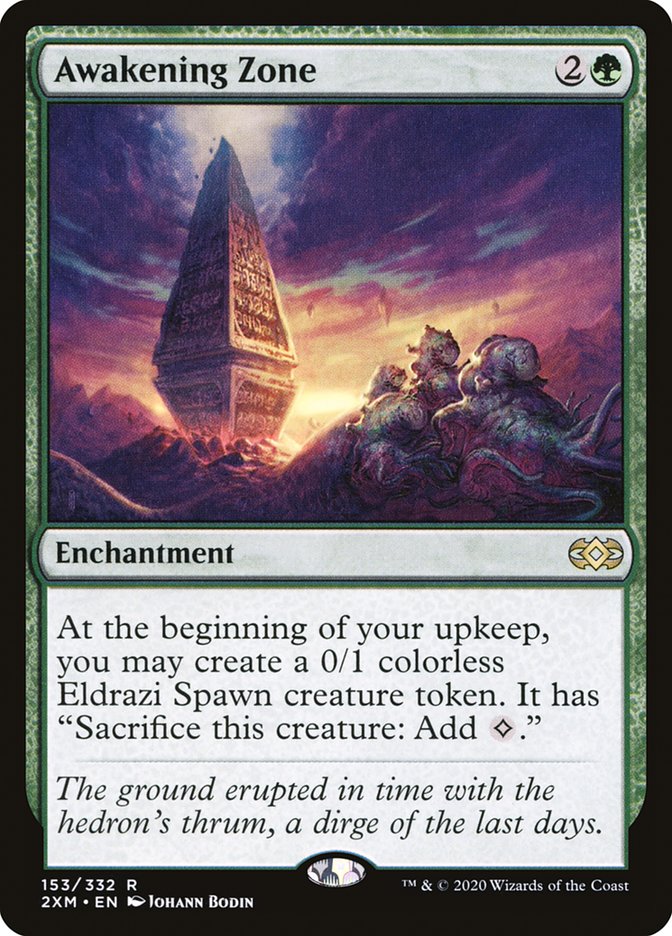
Awakening Zone provides an Eldrazi Spawn on each of our upkeeps, which can sacrifice itself for mana. On its own, Awakening Zone ensures our commander will trigger on each turn it survives for the rest of the game.
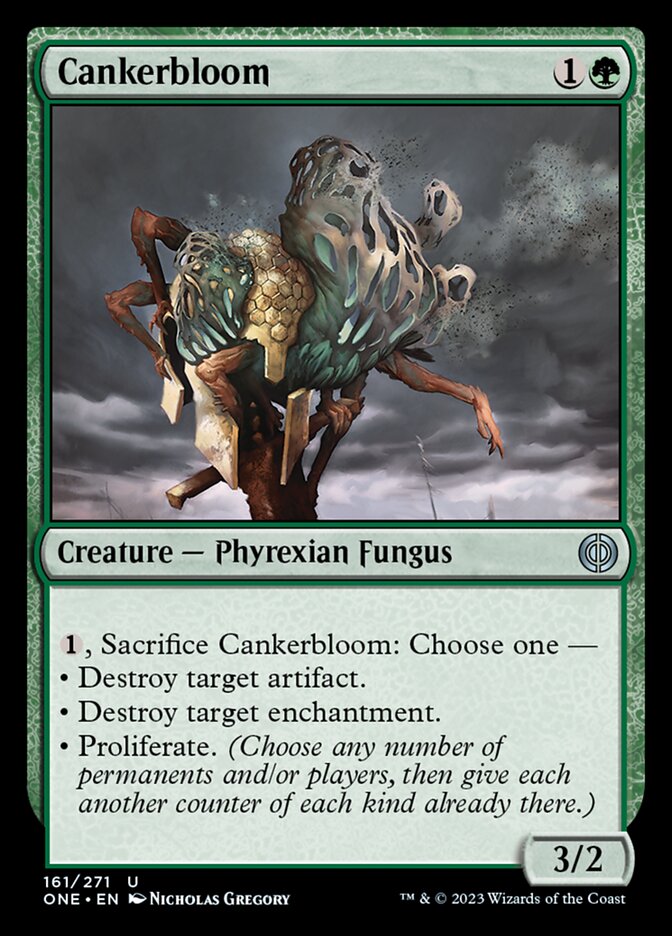
Cankerbloom is my gold standard 2-mana interaction piece in green. One mana to destroy an artifact or enchantment is exceptional, and in some niche scenarios, a well-timed proliferate can pump creatures with counters or spontaneously advance a saga to our advantage, all while also triggering our commander’s temptation.
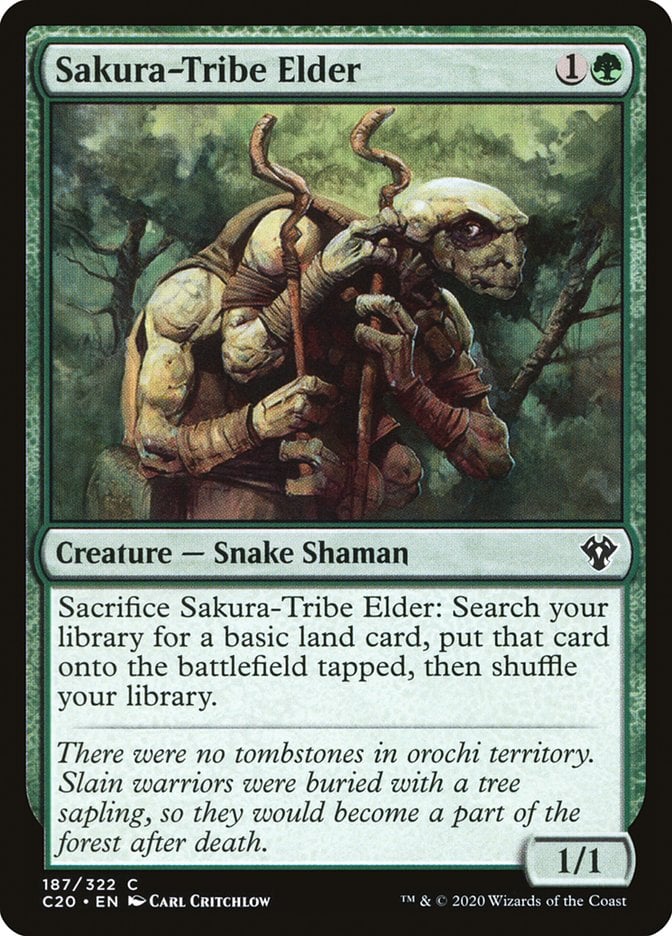
Sakura-Tribe Elder is a fairly generic staple and the best 2-mana creature in this deck. With the sequence of Sakura-Tribe Elder on turn two and Sméagol on turn three, we can sac the Elder with our commander out to immediately tempt us and ramp twice, setting us up with potentially seven mana on turn four.
Rise of the Witch-king delves into a theme you could go harder into: edicts. Forcing every player to sacrifice a creature is great, and we then get to buy back another permanent we’ve put in the graveyard. This lets us reuse our sacrificed ramp pieces and interaction while triggering our commander’s end-of-turn “morbid” ability. Plus, it's new and shiny and I want to try it out!
Temptations
To get the most out of Sméagol, Helpful Guide, we want to be tempted by the ring more than once a turn. Basically, every card that tempts us has a free Rampant Growth stapled to it, making even slightly inefficient kill spells ludicrous.
Bombadil's Song is the best example of an inefficient effect made far better when our commander is out. Hexproof and nothing else is normally worth one mana, but an instant-speed ramp spell that also protects our commander is a steal at two mana.
One Ring to Rule Them All ramps us when it comes down, protects a non-legendary creature we control by making it legendary, then destroys all non-legendary creatures. Just playing this on turn four after we play our commander stifles our opponents’ progress, as they’re not going to want to develop creatures into the incoming board clear. On top of that, the final mode is a payoff for milling our opponents with Sméagol, sometimes dealing a decent chunk of damage.
The Ring Goes South acts as an Explosive Vegetation with a massive upside so long as Sméagol’s in play with at least one other creature. This results in searching for two lands, a fair rate on its own, then triggers our commander for a third land. Three lands for four mana is a card I’ll play all day.
Payoffs
With all of these temptations and sacrifices being made, we’re putting a lot of bonus lands into play. This innately works great with landfall and dies triggers!
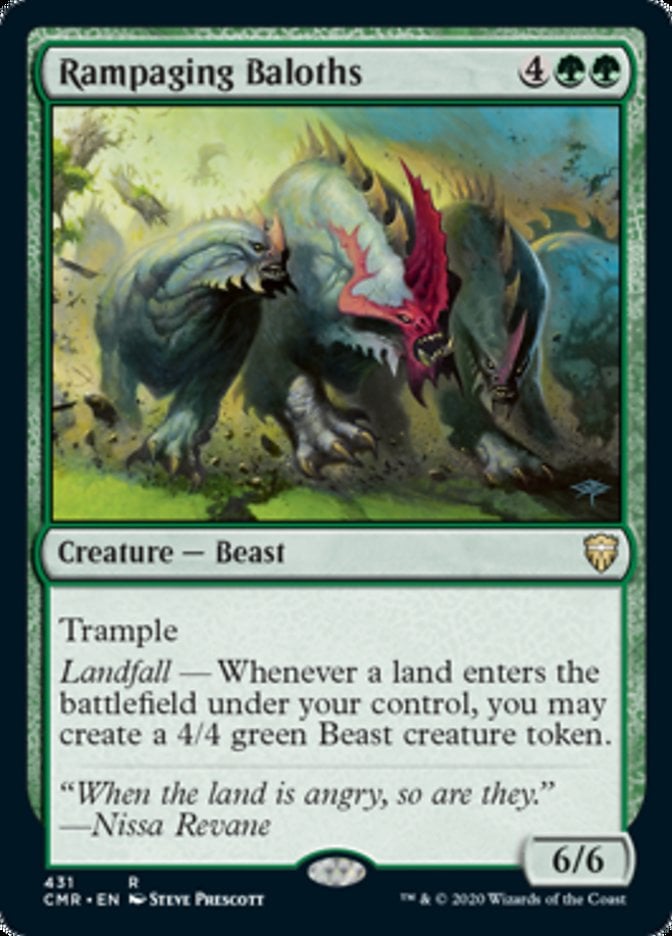

Rampaging Baloths and Scute Swarm are classic landfall win conditions. With enough lands entering the battlefield, they’ll easily run away with the game by creating a massive army of tokens. In this deck, -we can use the tokens to keep triggering our commander as well, making them not only excellent win conditions but great engine pieces to keep the deck going.
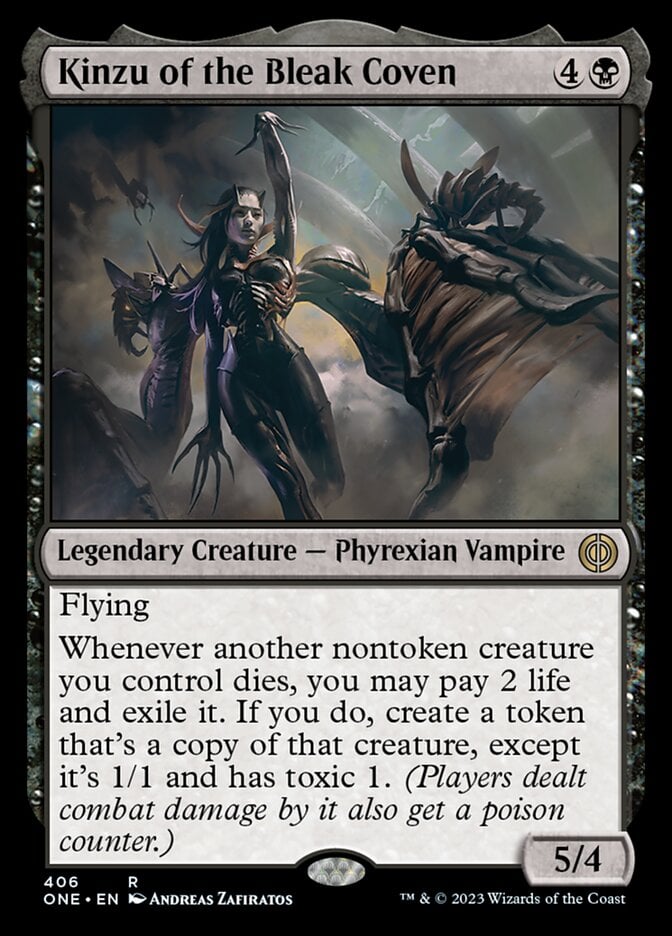
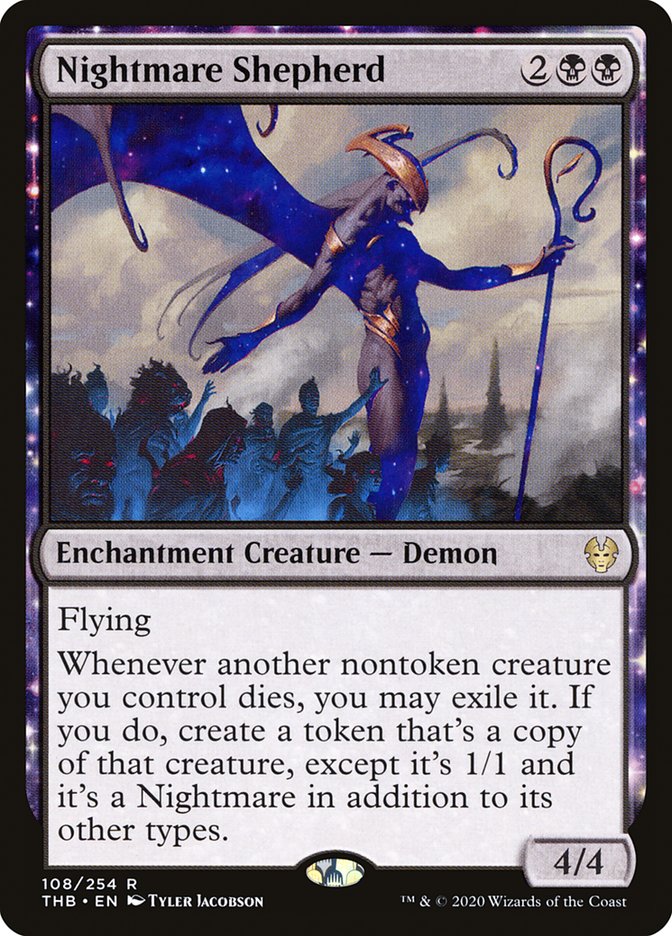
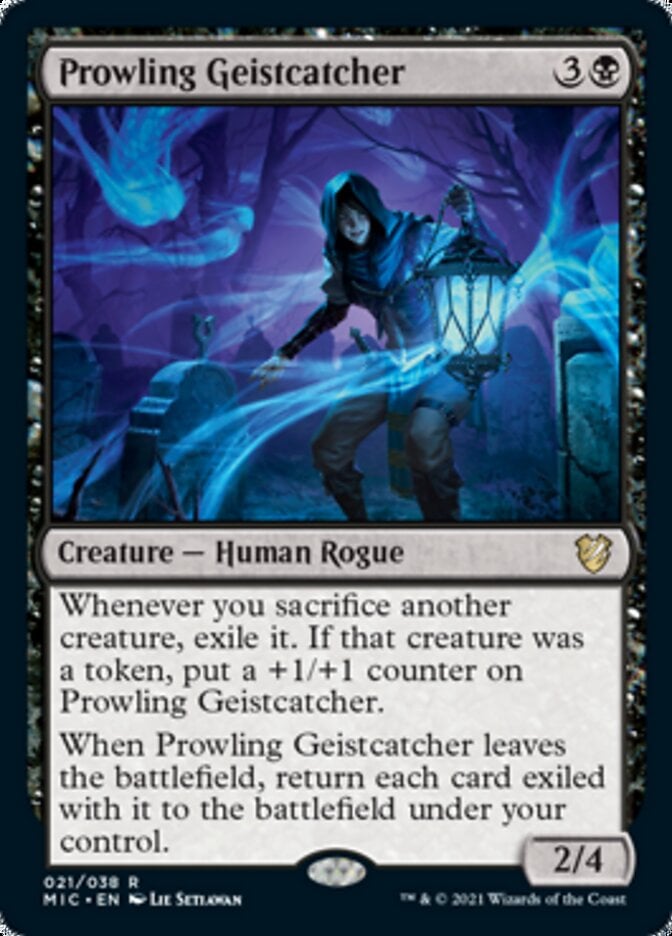
Kinzu of the Bleak Coven, Nightmare Shepherd, and Prowling Geistcatcher are all tools to get back the creatures we’re sacrificing for double the value. Geistcatcher needs to leave the battlefield to work, but that’s an easy mission to accomplish when we’re playing a Golgari () sacrifice deck running sac outlets like High Market.

Grim Haruspex and Midnight Reaper are aristocrat all-stars that draw us cards as we sacrifice the creatures we want to sacrifice anyway. Fecundity fits a similar role but it’s symmetrical and counts tokens as well.
Yedora, Grave Gardener may be my favorite card in the list. It turns all of our dying creatures into additional lands to trigger landfall abilities and give us more mana. It is a formidable commander on its own and it’s a force to be reckoned with in the 99 of this deck.

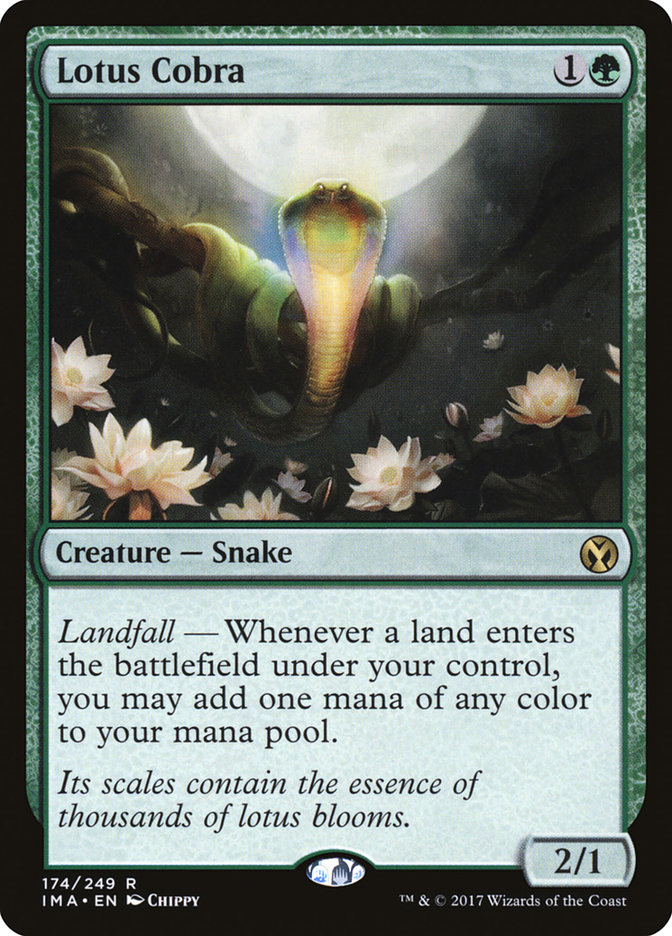
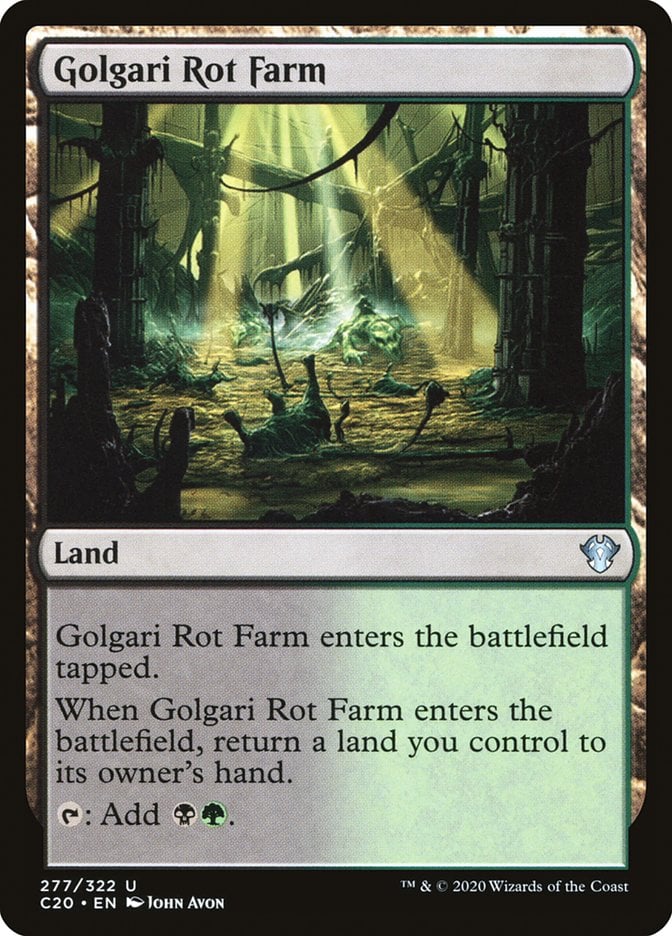
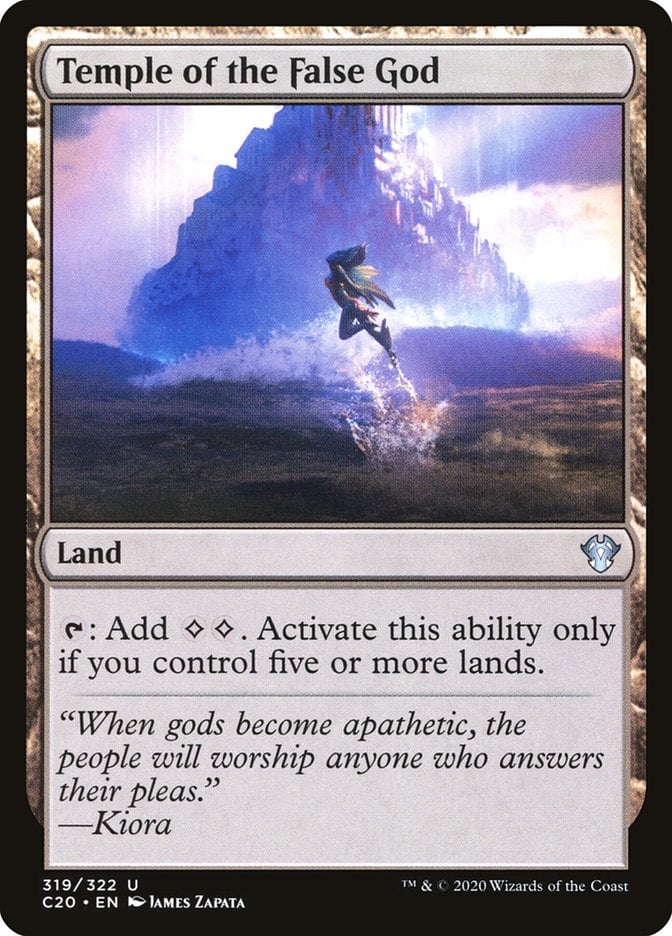
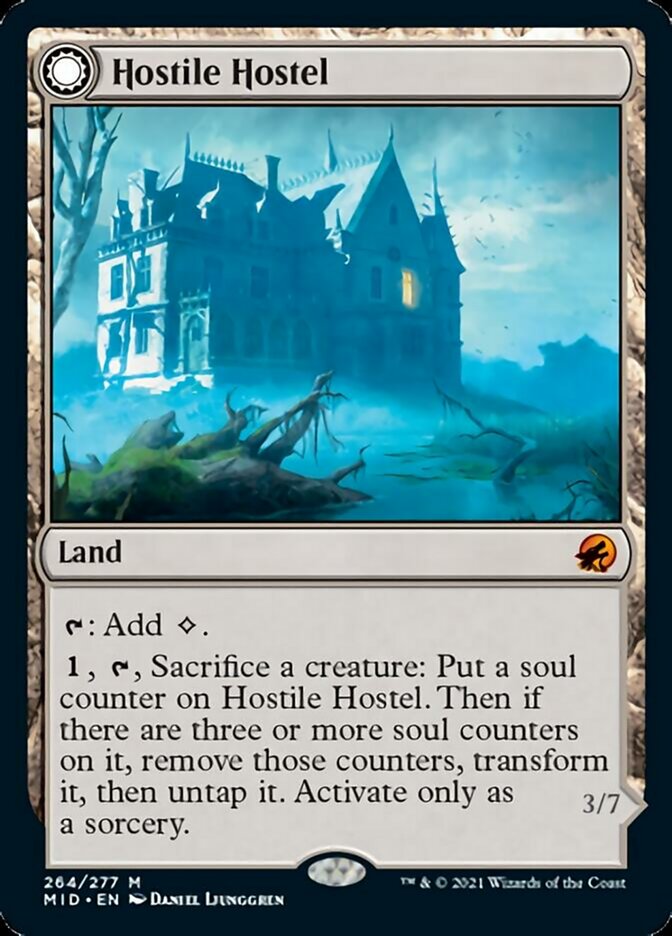
Stone-Seeder Hierophant works like Lotus Cobra, but generates more mana with Golgari Rot Farm and Temple of the False God, and can untap utility lands like Hostile Hostel.
The Mana Base
Budget mana bases don’t need to be lacking any fixing or utility. Ours has a good amount of both, and our ramp package is robust, as our deck is looking to take advantage of landfall as much as possible.
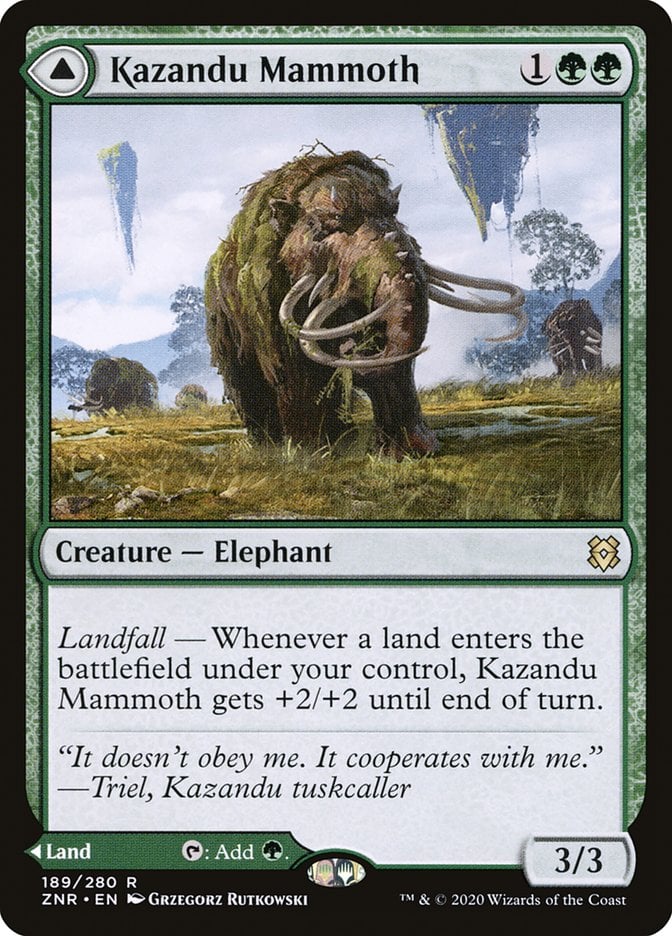
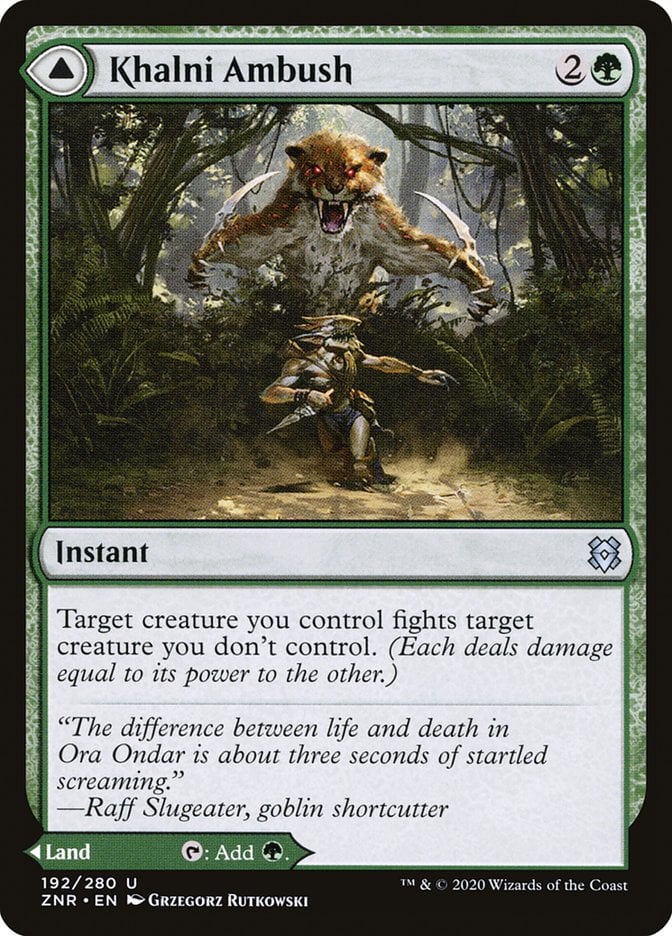
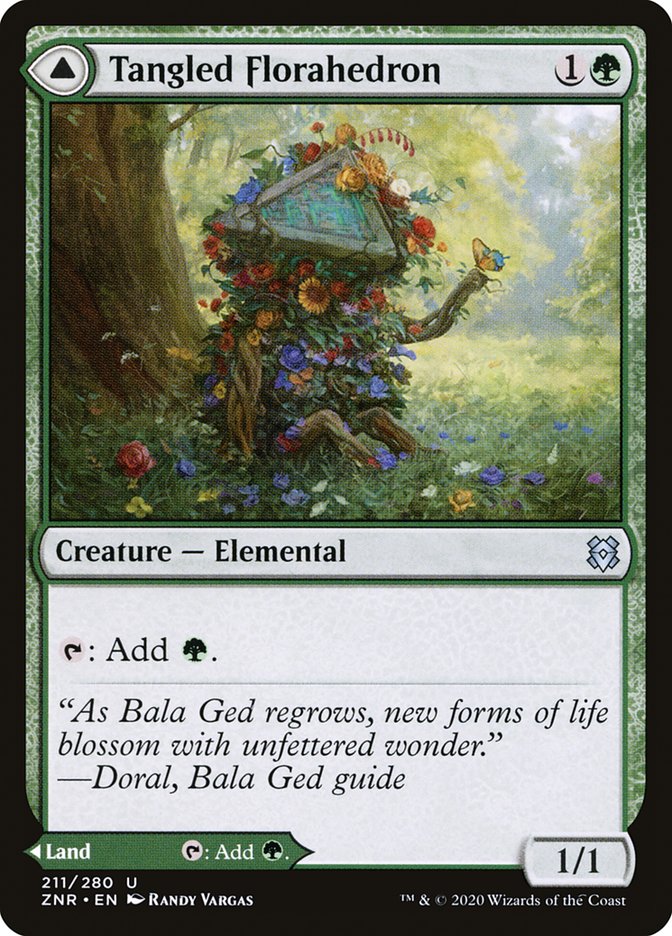
The modal double-faced options we’re running are Kazandu Mammoth, Khalni Ambush, and Tangled Florahedron. Spells that double as lands make for flexible cards in a landfall deck, and help us keep land-light opening hands while preventing late-game flood. Mammoth can easily get three or four triggers in a turn, too, making it a reasonable beater.
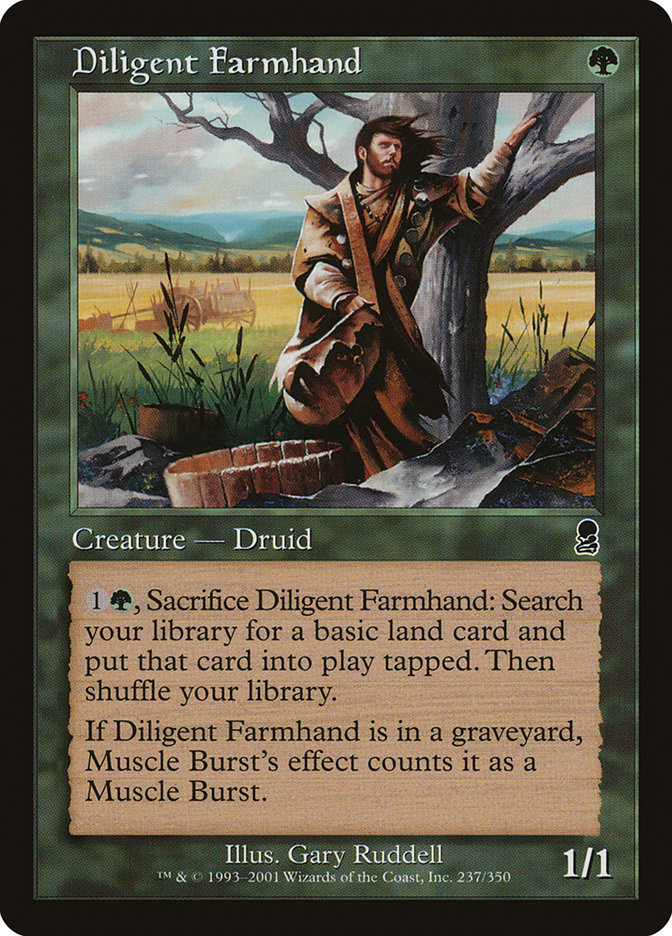
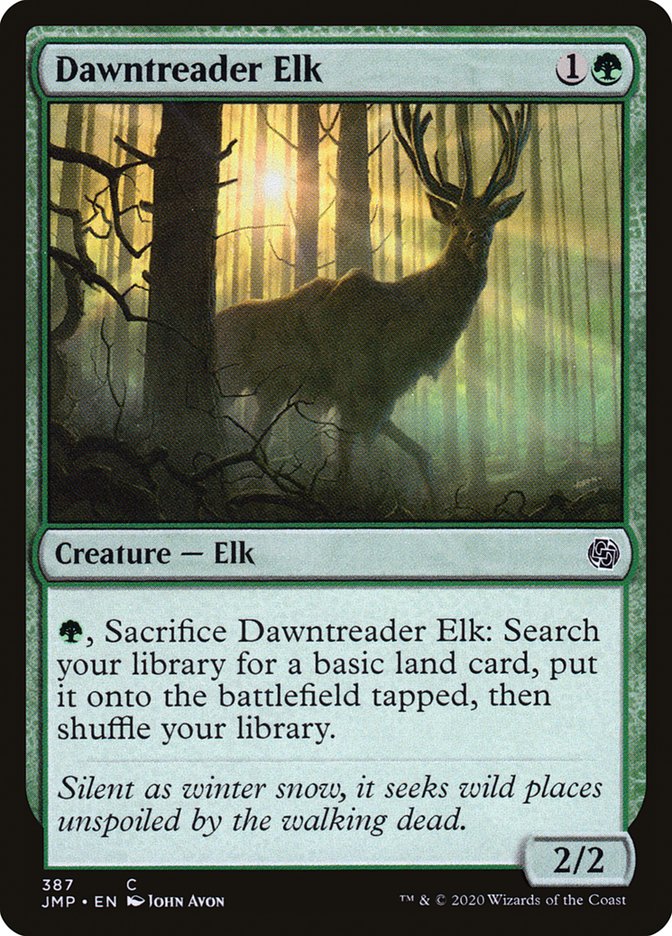
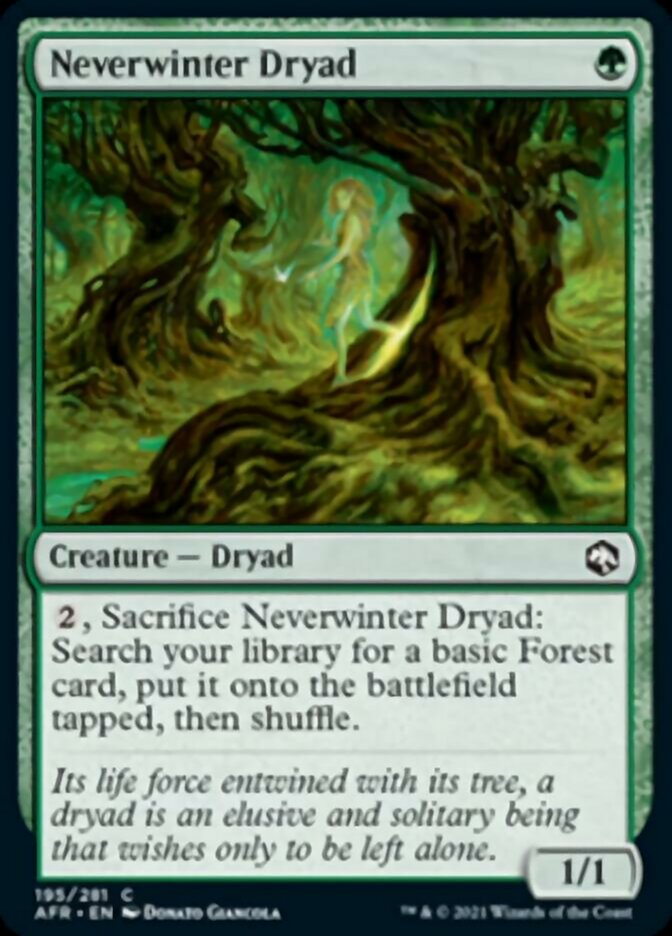
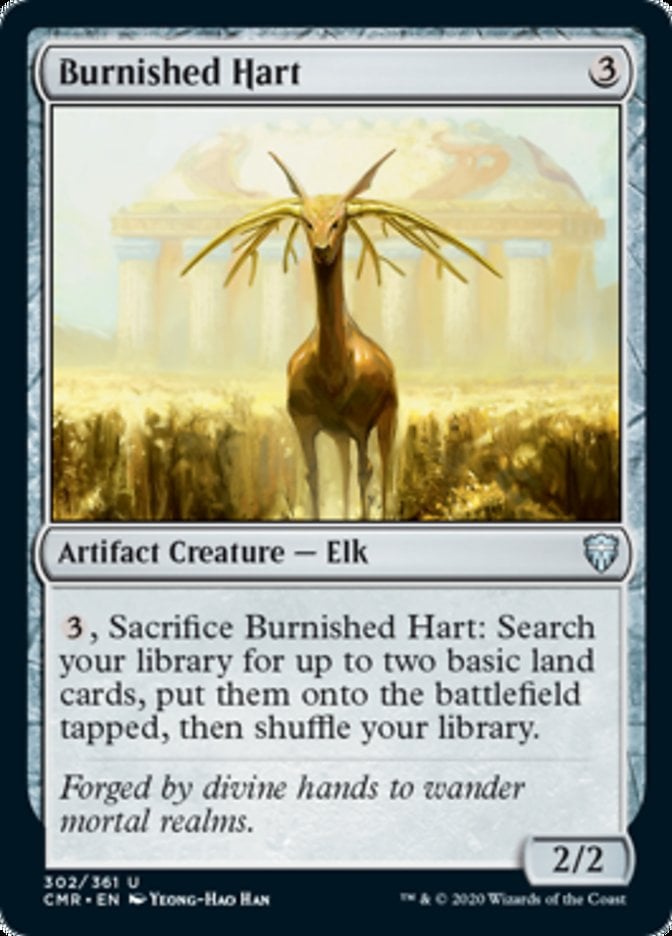
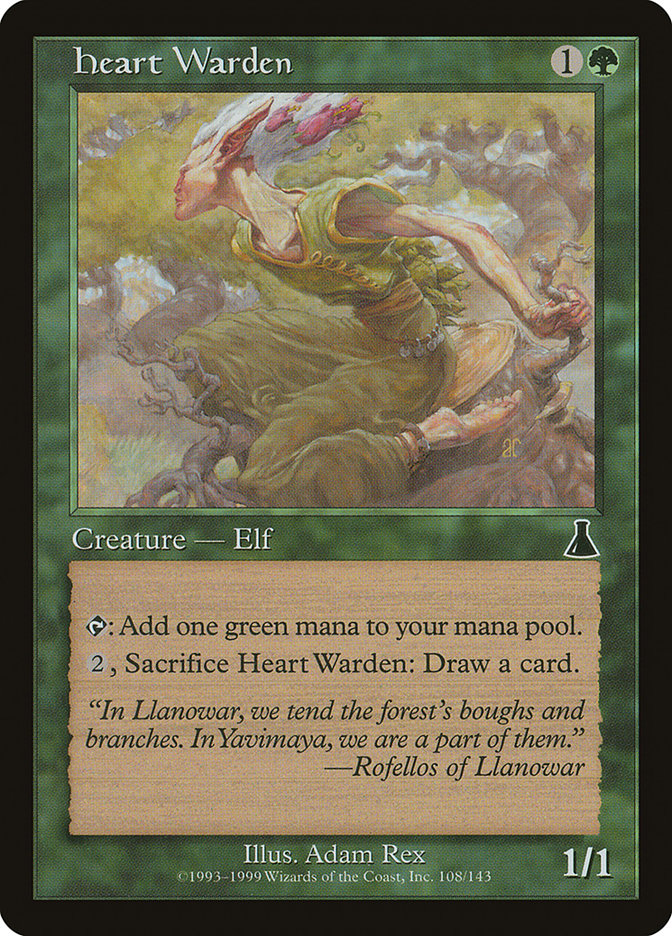
Diligent Farmhand, Dawntreader Elk, Sakura-Tribe Elder, Neverwinter Dryad, and Burnished Hart all offer dies triggers and extra ramp and landfall triggers. Heart Warden similarly produces mana when we need it and replaces itself while getting a dies trigger when we’re good on extra mana.
Elvish Mystic and Llanowar Elves both let us potentially cast our commander on turn two. Doing so massively speeds up the deck’s game plan by letting us play and sacrifice creatures on turn three for a huge burst of mana incredibly early. They’re probably the two cards I want to see most in my starting hand.
The Strategy
Sméagol, Helpful Guide is first and foremost an aristocrats payoff. It wants creatures to die and we’ve got 43 creatures in the list to make that happen. The rest of the deck is lands or spells dedicated to triggering Sméagol, or payoffs for lands entering the battlefield.
Our core objective is to get our commander on the table early and make sure we’re getting the dies trigger on each of our turns. That sets us up with more and more mana, which can snowball into bigger payoffs, more ring temptations, and more dies triggers to gain resources exponentially.
Knowing how to balance out your instant-speed sacrifice effects will meaningfully empower the deck. Sometimes you’ll want to fire off instant-speed sacrifice interaction on your turn to get the ring temptation on end step. Other times it’ll be more valuable to hold it up.
A lot of cards in the deck offer us ways to trigger our commander multiple times on their own. These free us up to more easily use interaction like Caustic Caterpillar on other peoples’ turns.
As we’re getting more and more mana, we’re going to want plenty of ways to refill our hand. Cut of the Profits is a draw X spell that we can copy with a 3-power or higher sacrifice. It gives us death triggers and rewards us for ramping.
We plan on winning by building up a board of creatures and attacking with them while having an abundance of interaction to prevent anyone from popping off. Zendikar's Roil and Primeval Bounty are additional ways to put power on the table.
This deck will get four ring tempts quickly, allowing small creatures to push through three damage a turn with little effort. The placement of our ring-bearer and the little mechanical advantages of The Ring are worth thinking about and getting as often as possible. You often want to start your turns by going to combat, attacking with a looting ring-bearer, and getting as much information as possible before doing anything else.
Combos and Interaction
Dúnedain Rangers has the highest ceiling of any card in the deck. Basically, for each creature we’re able to sacrifice, we can trigger our commander and get a land from an opponent. This can go pseudo-infinite if we have a single creature that creates a token when a land enters the battlefield and a free repeatable sacrifice outlet. The following example showcases the full combo using Viscera Seer and Sporemound:
- A land enters the battlefield, triggering Dúnedain Rangers and Sporemound.
- We resolve Sporemound’s trigger first, creating a [cardSaproling[/card], then make it our ring-bearer.
- Sméagol’s trigger goes on the stack.
- Before resolving Sméagol’s trigger, we sacrifice the Saproling to Viscera Seer, scrying 1.
- Sméagol’s trigger resolves, putting a land onto the battlefield and restarting the loop exactly where we started, but up a land and a scry.
This wins us the game by milling out our opponents, as the revealed cards are put into our opponents’ graveyards even if we fail to find a land.
It’s important to be aware of exactly how and when our commander’s abilities trigger.
The first ability triggers only if a creature has died under our control this turn, and triggers at the beginning of our end step. If you want to wait as long as possible to sacrifice a creature and get the trigger, make sure you sacrifice it before moving to your end step. A creature sacrificed during your end step won’t cause Sméagol to trigger.
The second ability triggers any time the ring temps us. This can occur any number of times per turn. The ring still tempts us if we already have all four abilities unlocked, and even if we don’t pick the same creature to be our ring-bearer.
Finally, should we resolve Sméagol’s final ability and our opponent has no lands left in their deck, the remaining cards are revealed and then sent to the graveyard as normal.
Budget Options
There are a ton of landfall, sacrifice, and ring tempting effects we can look to spend a bit more money on for some extra gas.
Call of the Ring feels like a 2-mana Phyrexian Arena, which is great on its own. When you also add on our commander’s ramp ability, it’s one of the most powerful upkeep triggers we could ask for.
Pawn of Ulamog staples an Eldrazi Spawn token to each non-token creature that dies. These creatures give us mana if we sacrifice them; extra mana is always great, and having free extra ways to trigger our commander is also gas. Sifter of Skulls does a similar thing, but costs a mana more.
Skullclamp draws us two cards when an equipped creature dies. We’re running a lot of creatures that can easily die. This turns any 1/1 tokens we make into two cards for one mana. Skullclamp is, as usual, utterly busted.
I find Boneyard Scourge to be a bit underrated. It’s a 4/3 flying Reassembling Skeleton we can loot away with a ring-bearer and bring back out whenever we sacrifice our creatures.
Ashnod's Altar and Phyrexian Altar are both unfair Magic cards that turn creatures into mana. Both would be the best sacrifice outlets we’d have access to, and give us an infinite mana combo in the deck.
Overgrown Tomb, Undergrowth Stadium, Cabal Coffers, Urborg, Tomb of Yawgmoth, Phyrexian Tower, Deathcap Glade, Verdant Catacombs, Twilight Mire, Field of the Dead, Boseiju, Who Endures, Ancient Tomb, Darkbore Pathway, and Fabled Passage are all improvements to the land base that either fix us or add a bunch of mana. Adding whichever of these fits your budget will improve your deck.
Crop Rotation can be a major player as well if you add in cards like Ancient Tomb, Verdant Catacombs, and Phyrexian Tower. Being able to get an instant-speed landfall trigger and tutor up one of the best lands in your deck is a huge deal. I don’t think you’d want to play Crop Rotation without these, but it’s excellent with more powerful lands.
Other Builds
Breach the Multiverse highlights a different direction to build this deck: enemy reanimation. Sméagol mills with each trigger. Using the mill to fuel cards that steal creatures out of our opponents' graveyards like Breach or Command the Dreadhorde can be a fun way to proceed. You don’t even need to deviate that far from where the deck is, either.
This deck also benefits from using edicts. Stacking additional edict creatures like Plaguecrafter and Merciless Executioner can be a meaner direction to go. That’s definitely something you’d want to talk about during a Rule 0 conversation, as getting your board ripped apart turn after turn isn’t a play experience some players want to go through.
You can take the combo route further and build up resilience with tutors. You have an infinite-mill win-con in the command zone if you can be tempted infinite times. Doing so with Dúnedain Rangers is relatively straightforward, but you could also infinitely reanimate or flicker something like Uruk-hai Berserker or Mirrormere Guardian to get the same effect.
Commanding Conclusion
Sporemound | Illustration by Svetlin Velinov
The flavor-win of Sméagol exploring enemy decks is wonderful. The temptation when your other creatures die is a perfect fit too. This deck provides a unique direction for a classic archetype, which I absolutely adore.
Are you prepared to follow this hobbit horror into lands unknown? Do you crave the ring, and desire to fall to its temptation? With this $25 budget list, you’re all set up to go out into Middle-earth under the fickle lead of the treacherous monster. Good luck, and make sure you stop by the Draftsim Discord before you go!
Follow Draftsim for awesome articles and set updates:


Add Comment