Last updated on July 30, 2026
Sram, Senior Edificer | Illustration by Chris Rahn
Commander is probably the most casual and popular format in Magic and features a plethora of color combinations, strategies, and ways to play the game. It can be almost overwhelming, so I sometimes like to kick back with a sweet mono-colored deck that just plays creatures, makes them huge, and goes in for beats.
Sram, Senior Edificer offers lots to the mono-white aura and equipment strategy. Which creatures can gain the most from it, and which equipment and auras should you run? More importantly, how should you generally pilot the deck?
Let’s get into it!
The Deck
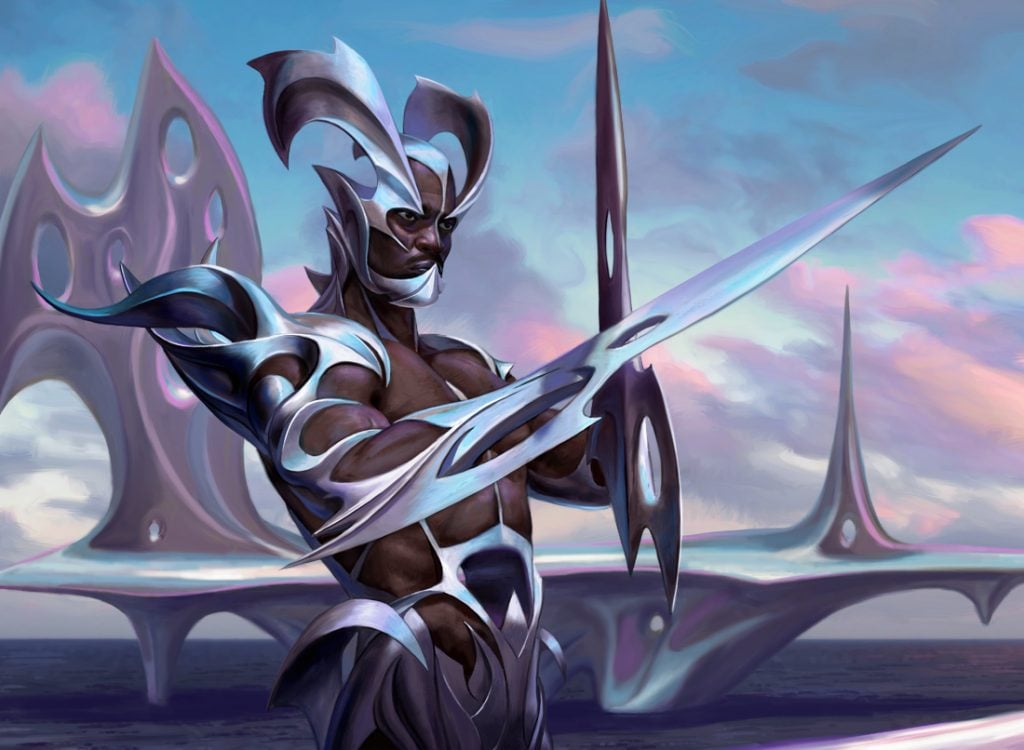
Esper Sentinel | Illustration by Eric Deschamps
Commander (1)
Planeswalker (2)
Nahiri, the Lithomancer
Ugin, the Ineffable
Creature (20)
Aven Mindcensor
Danitha Capashen, Paragon
Drannith Magistrate
Elesh Norn, Grand Cenobite
Esper Sentinel
Giver of Runes
Grand Abolisher
Heliod's Pilgrim
Indomitable Archangel
Mother of Runes
Puresteel Paladin
Relic Seeker
Restoration Specialist
Solemn Simulacrum
Starnheim Courser
Stoneforge Mystic
Stonehewer Giant
Sun Titan
Teshar, Ancestor's Apostle
Umbra Mystic
Instant (7)
Dispatch
Fateful Absence
Flawless Maneuver
Lapse of Certainty
Rebuff the Wicked
Swords to Plowshares
Teferi's Protection
Sorcery (2)
Enchantment (17)
Armored Ascension
Darksteel Mutation
Ethereal Armor
Faith's Fetters
Flickering Ward
Gift of Immortality
Hyena Umbra
Mantle of the Ancients
Mask of Law and Grace
Oblivion Ring
On Serra's Wings
Reprobation
Sage's Reverie
Sigarda's Aid
Sigil of the Empty Throne
Smothering Tithe
Spirit Mantle
Artifact (20)
Archaeomancer's Map
Basilisk Collar
Caged Sun
Colossus Hammer
Commander's Plate
Darksteel Plate
Dowsing Dagger
Masterwork of Ingenuity
Mystic Forge
Nettlecyst
Robe of Stars
Sol Ring
Strata Scythe
Sword of Body and Mind
Sword of Feast and Famine
Sword of Fire and Ice
Sword of Hearth and Home
Sword of Light and Shadow
Sword of the Animist
Sword of War and Peace
Land (31)
Emeria, the Sky Ruin
Plains x27
Reliquary Tower
Rogue's Passage
Temple of the False God
Sram, Senior Edificer sits at the helm of this deck and runs a simple strategy: use some of Magic’s most powerful buffs to create nearly unstoppable juggernaut creatures that often one-shot your opponents. Your powerful equipment offers you color protection, aggressive creature power buffs, and even other abilities leaning toward board control and combat pace-setting.
The artifact and aura playstyle is a refreshing theme and pace of play for a creature deck, separating it from Gruul () beatdown or Simic () big-mana-big-creature lists you might find familiar. If you enjoy a little more thought-provoking gameplay but still want to play a creature-based deck, look no further!
The Commander
Sram, Senior Edificer may not look like much, but this card’s value to the deck comes through in powering up your card advantage and resource game. Turning your equipment and auras into cantrips, this card keeps your hands full throughout the game and is consistently playable from the command zone thanks to its low mana value out of the gate.
I’m very impressed by Sram, Senior Edificer’s early game as a big fan of cheap and decent value commanders. It offers a decent body on turn 3 to play an equipment or two onto, and it helps get the ball rolling toward this creature deck’s success in the mid-to-late game. Such an underrated commander in mono-white.
Early Creatures
You execute your game plan more smoothly if you have an early play other than your commander on the first few turns. You have access to Esper Sentinel, Giver of Runes, and Mother of Runes at one mana.
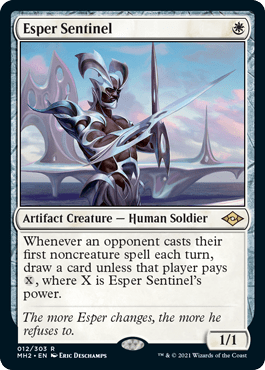
The Sentinel is one of the greatest 1-drops in the game and can be an early attacker and card advantage engine before Sram, Senior Edificer comes online later.
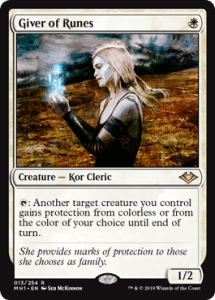
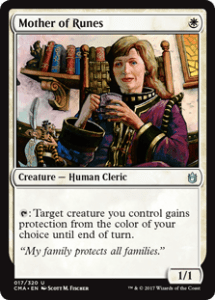
Both Giver of Runes and Mother of Runes are fantastic 1-drops that offer a single layer of protection to your commander from early removal. With a mom out early your opponents need either the will to use two pieces of their own removal on your commander, or the will to conspire with opponents toward that goal. You’re looking at some decent protection either way.
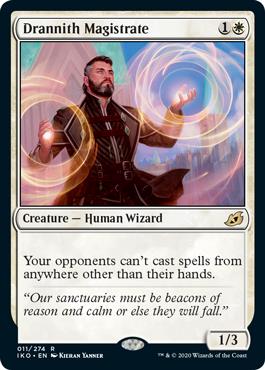
Two mana offers some great stax pieces and early creatures to play instead of your commander. Drannith Magistrate can be great if you already have plenty of resources and don’t need your Commander just yet (or just want to bait removal).

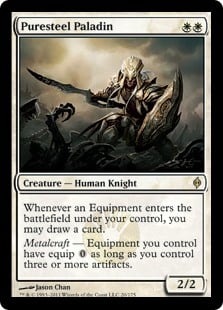
Grand Abolisher helps lock down your turn by preventing players from keeping up removal when you equip an artifact. Puresteel Paladin keeps equip costs at while offering a similar cantrip effect to your Sram.

Stoneforge Mystic is a card I don’t mind playing at just about any point since it tutors out important equipment and helps you avoid the higher mana costs on your various swords.
Equipment and Artifacts
There’s a lot to look at and enjoy among the equipment and artifacts at your disposal. The deck runs three equipment at the 1-mana level: Basilisk Collar, Colossus Hammer, and Commander's Plate.
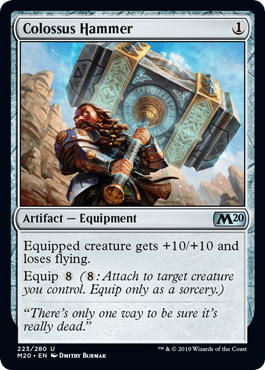
The Hammer is most useful with something that circumvents equip costs like Puresteel Paladin or Stonehewer Giant.
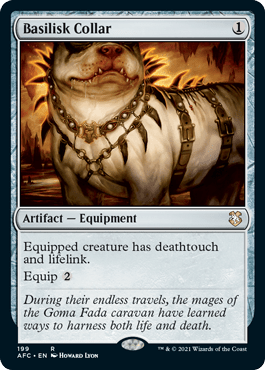
Basilisk Collar is cheap value that offers lifegain and dissuades your opponents from blocking, something you value highly.
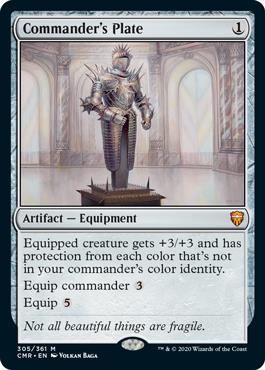
The Commander's Plate is one of the most powerful equipment and works very well on-curve with your commander.
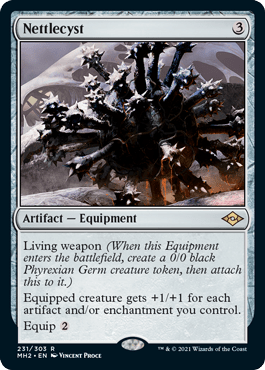
Nettlecyst is a sweet artifact with living weapon, which creates a 0/0 Germ that the equipment immediately attaches itself to. It creates an alternative threat for your opponents and naturally grows with your others thanks to its passive ability.
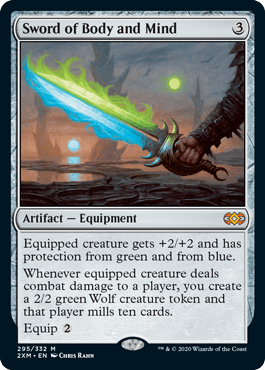
This deck also gets to use six of the most powerful artifacts in Magic; the swords. The first, Sword of Body and Mind, offers protection from green and blue, the ability to generate creature tokens, and can mill your opponents upon connecting with damage. Those creature tokens are extra important since they let you dodge sacrifice effects like Sudden Edict that would kill your creatures with protection.
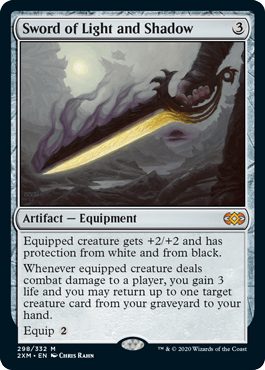
Sword of Body and Mind also pairs great with Sword of Light and Shadow, which offers protection from white and black, gains you some life, and brings something back from the graveyard to your hand.
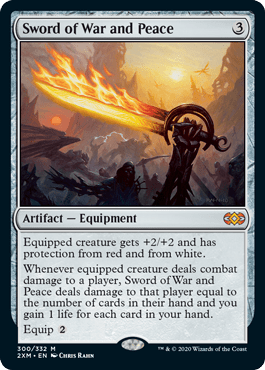
Sword of War and Peace may be for you if you seek to create an almost unkillable force. It offers protection from red along with some burn damage and lifegain.
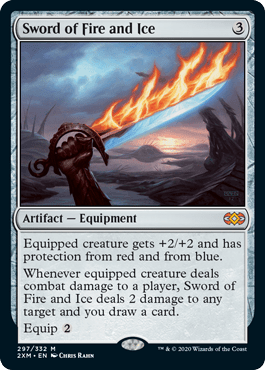
Sword of Fire and Ice is probably the best sword on its own. Drawing a card and Shocking something is great value, while protection from red saves you from some direct-damage removal.
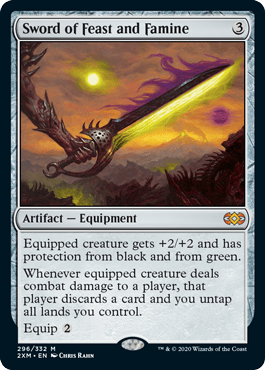
I’d also prioritize getting Sword of Feast and Famine on the board to get you out of black and green’s reach.
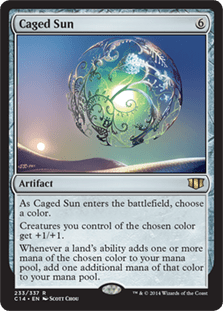
At the top-end of your mana curve, Caged Sun brings one of the best mono-colored effects in your arsenal. This non-equipment artifact offers all your white creatures +1/+1 and doubles the mana from your Plains.
Auras
Your commander gives you extra value from the enchantment auras in the deck, and there are some really great ones.

Ethereal Armor is among your most powerful. A +1/+1 buff and first strike for one are a fine start, but it gets out of control when you get more auras up and running.
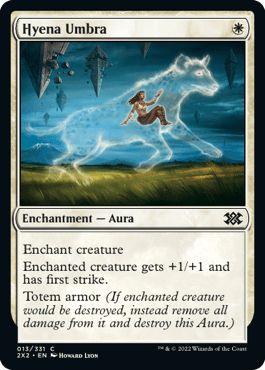
Hyena Umbra is sort of similar to the Armor, and it helps keep creatures alive by getting you a stack of totem armor.
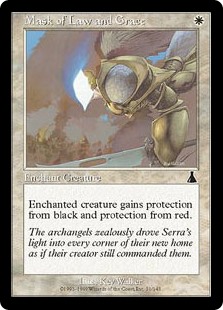
In theme with keeping things alive you've also got Mask of Law and Grace. It can be more difficult to get protection from red and black since you have more white and blue swords in the deck already, so this is some safe redundancy.
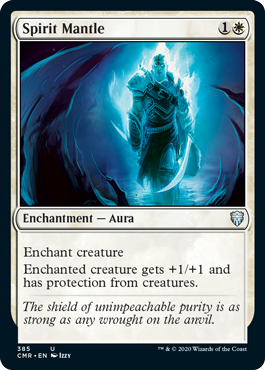
Spirit Mantle is equally important for protection by making your creature unblockable and safe from all-in blocks and abilities that might otherwise kill you (looking at you, first strike and deathtouch).
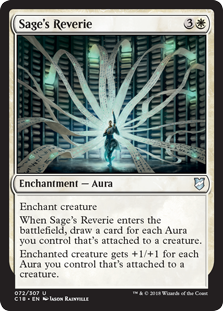
At the top end of auras, Sage's Reverie is a great way to draw the cards and resources you need to close out games. If you have a massive creature and draw four or five more cards you'll likely get the removal or tech you need to blow through an opponent’s defenses.
Removal
Every deck needs removal, and white has access to some great instants and enchantments.
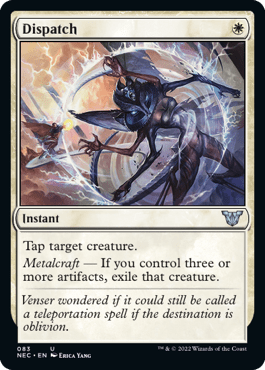
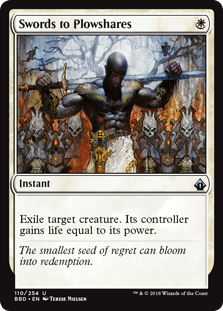
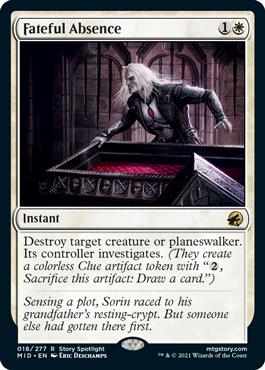
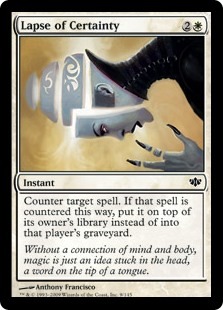
For instant speed removal you’ve got Dispatch, Swords to Plowshares, Fateful Absence, and Lapse of Certainty. These help shut down your opponents’ offensive and defensive threats and clear the way for your attacks to connect.
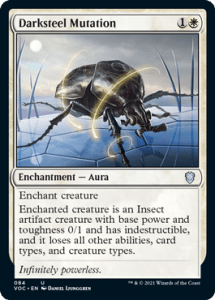
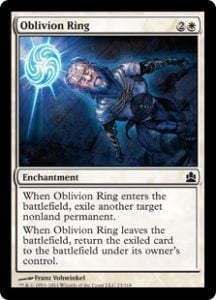

Darksteel Mutation, Oblivion Ring, and Faith's Fetters do most everything that the instants can. They also allow you to get rid of some pesky noncreature permanents like Propaganda and Ghostly Prison.
Protection
Protection protection protection. You can’t get enough of it, and you have most of the best.
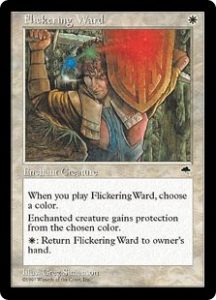
As mentioned earlier, the two mom cards, Mother of Runes and Giver of Runes, help provide a layer of protection against removal and act as lightning rods. The same can be said about Flickering Ward.
Your various swords offer protection from all five colors when used together. Color protection lets you get through colored creatures and surpass various removal spells your opponents might be running.
If those two weren’t enough, you can get Totem armor from Hyena Umbra and protection from creatures through Spirit Mantle. You’ve got all your bases covered!
Hatebears
You may have seen that this deck employs a slight hatebear subtheme. White is naturally good at employing and playing under stax effects, so it would be wrong not to throw in a few. They’re usually great attackers, after all.
The most prominent, Drannith Magistrate, shuts down all cards coming in from outside of player’s hands. Your commander is very powerful but isn’t totally necessary to your game plan, so this is a great spell to cast.
I love casting Grand Abolisher the turn before I really get going because it forces your opponents’ hands and denies them the pleasure of holding up removal for a better payoff later.
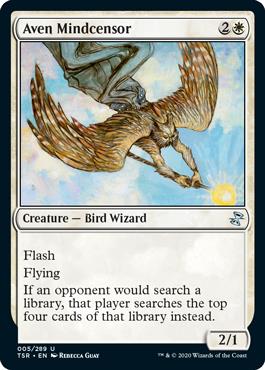
Aven Mindcensor needs no introduction. You don’t search your own library outside a few cards, so opponents who manage to gain this card’s ability won’t affect you much.
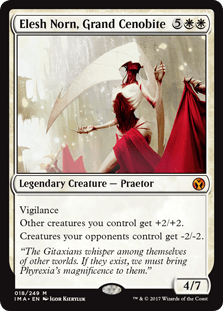
You’ve also got Elesh Norn, Grand Cenobite. This is the ultimate bomb of bombs and completely nullifies your opponents’ boards from blocking and attacking. If their creatures are even still alive, that is!
The Mana Base
Acceleration
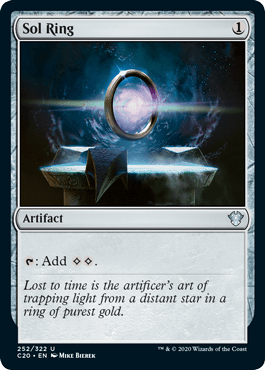
This deck sports a low curve but still has a few pieces of acceleration. The classic Sol Ring is included because of the prevalent colorless mana on your artifacts and equipment, not to cast your commander or early creatures.
Caged Sun is a solid late-game artifact that also effectively doubles your mana base, allowing you more flexibility by playing new cards or rotating equipment.
Lands
This deck doesn’t have many utility lands, which helps a midrange budget. One of the nice things about going mono-color is that you don’t need much outside of a few nonbasics.
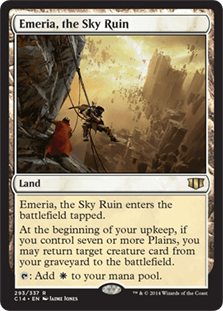
Emeria, the Sky Ruin is one of your nonbasics and a sick way to recur dead creatures into the late game.
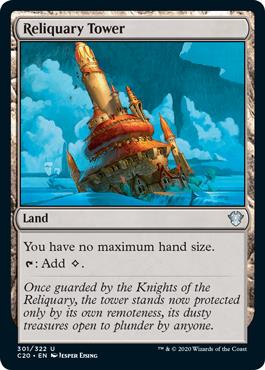
Reliquary Tower ensures you don’t have to discard if your card-drawing escapades get out of hand.
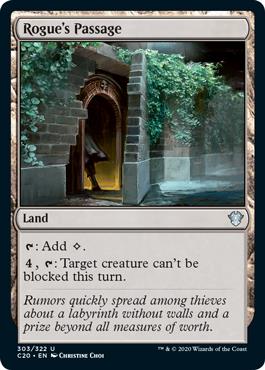
Rogue's Passage clears the way for a large creature to get through deathtouch or ridiculously big blockers.
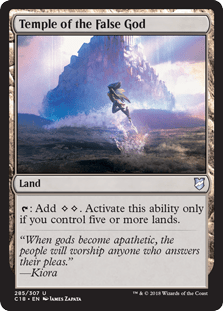
Temple of the False God helps pay for larger equip costs and other artifacts you may want to cast later in the game.
The Strategy
The deck’s simple strategy still offers enough choices to have meaningful turns at just about every stage of the game.
Your early game starts by getting out some early interaction and creatures, playing an artifact or two, and casting your commander. The deck really gets rolling once Sram, Senior Edificer is in play and starts cycling through your deck.
Your goal into the mid-game should be to establish a board presence through a creature that you can throw all your equipment and auras onto (don’t forget protection). Any creature in the deck works for this, but the fliers are obviously better.
You just start knocking skulls until you win once you’ve got a big juggernaut creature ready. It can obviously be a little more nuanced than that since you need to get a feel for the deck and what kind of risks you can and can’t take.
Knowing which players are the primary threats is often what determines how well the deck performs. Misidentifying a target can let a combo player get out of control and win without regard to their life total. The same is true for the other creature deck that might out-muscle you with bodies and a way through your protection.
Combos and Interactions
Rule 0 Violations Check
Lucky for you, this deck has no Rule 0 violations. There are no infinite combos, no super efficient tutors or counterspells, and no ultra-fast mana.
Budget Options
The deck is already meant to have a midrange budget of about $500, but there are a few great options if you’re looking to slash the price.
Sword of Feast and Famine and Sword of Fire and Ice are powerful cards, but also expensive ones. Cutting and replacing them with your choice of other powerful equipment trims the budget by about 20%.
Stoneforge Mystic is a powerful card and a great tutor, but it takes up a significant portion of the overall price. It can be replaced with some other equipment tutor like Steelshaper's Gift at half of the cost.
Other Builds
There aren’t any other builds to speak of for Sram, Senior Edificer considering how narrow its mechanics are. I suppose you could lean more into the hatebear option since it’s a strategy that can benefit from lots of auras and equipment. White also has some of the best creature-based stax pieces in the game.
You could also hyper-focus on vehicles, a strategy that's gotten a lot of new cards in Kamigawa: Neon Dynasty and can be supported just as easily.
Commanding Conclusion
Colossus Hammer | Illustration by Dmitry Burmak
I’m a sucker for mono-colored decks and I really enjoy how this Sram, Senior Edificer build plays and wins. Equipment is a super fun strategy in Magic and makes for very interesting moments against other creature decks.
What do you think of the list? Are there any changes you’d make, or cards you’d want to include? Decks are made to adjust, so let me know your thoughts in the comments below or over in the official Draftsim Discord.
Until next time, stay safe and stay healthy!
Follow Draftsim for awesome articles and set updates:


Add Comment